A Comprehensive Guide to the Raspberry Pi 4
Maybe you are new to the world of Raspberry Pi, having received one as a gift. You might be considering seeing what all the fuss is about. Maybe you just want to read up on all things Raspberry Pi. You’ve come to the right place!

What is a Raspberry Pi?
Just in case you are new to the world of Raspberry Pi, let’s start with a general introduction to what they’re all about. Enthusiasts remind yourselves of the capability of the brilliant Raspberry Pi. Newbies, get clued up!
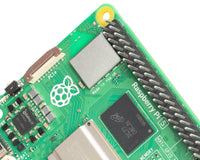
A Raspberry Pi is a single board computer, used in the field of robotics and computer science. Complete with CPU, on board memory, GPIO ports and USB ports, since its release in 2012 it has become a widely popular choice for introducing youngsters to the world of programming, computer science and robotics.
Raspberry Pi’s have also provided a way for passionate enthusiasts to get creative and challenge themselves with computing and tech projects of varying levels of difficulty. In a nutshell, most electronic project that needs a computing brain? Think of Raspberry Pi.
The latest model to become widely available was the Raspberry Pi 4 Model B. It’s most powerful and diverse model yet, it is now seen as the best choice for beginners and experts. It was released in June 2019, and our handy Raspberry Pi 4 blog post touches on the central features.
The Pi Hut have a solid range of Raspberry Pi accessories, starter kits, and Raspberry Pi products so you can find everything you need to get going. There are now a number of different models available, with various features including Wi-Fi and Bluetooth capabilities, processors and ethernet ports.
What’s the difference between the Raspberry Pi models?
There are a few key factors that differentiate the models from one another, including:
- GPU
- Processor speed
- RAM (Random Access Memory) (how much data the device can hold)
- Storage
- USB
- Voltage
- GPIO (how many input/output pins)
- Ethernet port
Using Raspberry Pi
The best Raspberry PI will depend on the specific project, and requirements from that project. You will need to think about memory, performance and the needs and functions of the Raspberry Pi in conjunction with the projects you undertake.
It’s worth noting… There may be a fair amount of trial and error when it comes to Raspberry Pi projects! Don’t forget that it’s good to FAIL – (First Attempt in Learning).
TOP TIP: If you’re inspired to get started with Raspberry Pi, then why not check out The Pi Hut’s Raspberry Pi 4 Starter Kit? It comes with everything you need to get you started, including a Raspberry Pi 4, a MicroSD card, 3A, Power Supply, a model display case and a MicroHDMI cable.
Essential Raspberry Pi Accessories
You will need:
- Windows software
- Linux - Raspberry Pi uses a Linux based operating system. If you are familiar with using Linux command lines, you may already know how this works.
- PC
- You can also use an Apple MAC Computer
- USB Keyboard - this is your means of entering commands, web addresses; essentially, control your Raspberry pi! (Check out just one of The Pi Hut's wireless keyboard option right here)
- Mouse
- HMDI – micro HDMI cable
- HDMI display
- SD Card
- Ethernet cable (optional for applicable models)
- USB hub (optional)
- Case (optional)
The next steps
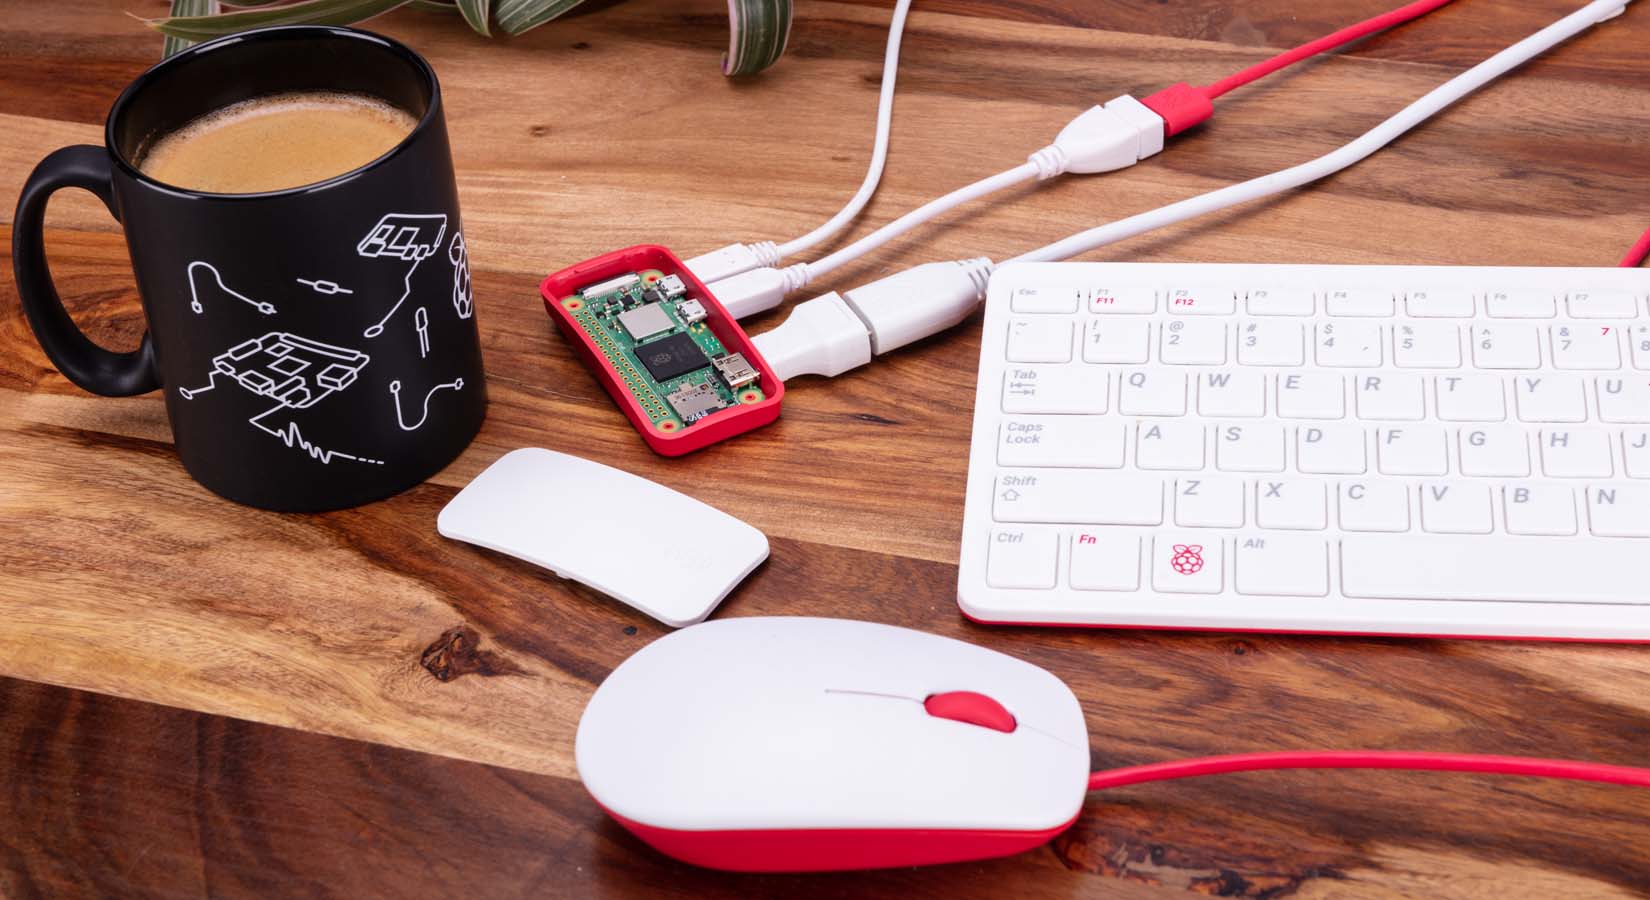
Connect your keyboard, mouse, monitor and cables. Set up you Raspberry Pi OS and install your operating system on your Raspberry Pi so you can start using it.
- Download an SD formatter tool.
- Download the SD formatter tool from the SD card association website.
- Attach the micro SD card to your PC / mac and launch the SD card formatter.
- Format the microSD. When the card's completed the formatting process, its ready to use within your Raspberry Pi.
If you don't have it, now is the time to download NOOBS (New Out of Box Software). This software installs Raspberry Pi Operating System on you micro SD card.
Read this Make Use Of article on how it can help first time users. This is an operating system installer for use with Raspbian and a variety of other Linux systems for Raspberry Pi. If your Raspberry Pi did not come with Raspbian already installed, then NOOBS is the easiest way to do this. Its purpose is to install Raspberry Pi operating systems on your micro SD card. It doesn't matter what OS this computer runs on because it is just for copying the files across.
Select Download Zip; your computer will provide you with a choice of Raspberry Pi OS and will install them for you. Save the file to your downloads folder. Double click to launch once the zip file is complete; this compresses the folder.
At this point, copy all the files from the NOOBS folder onto the SD card. Click Control – A as this selects all the files. You can then drag these to the SD card folder. Once this is complete, you're good to eject your SD card.
At this point, insert your micro SD card into your Raspberry Pi.
Installing Raspbian for your Raspberry Pi
Raspbian is free operating system specifically optimised for Raspberry Pi hardware. The name derives from the software it is based on Debian. Raspbian is not affiliated with the Raspberry Pi foundation, rather, it was developed by dedicated enthusiasts who decided to make it easier for beginners and exerts alike to undertake Raspberry Pi projects. With a number of basic programs and utilities already available on the operating system, the first version became available in 2012 and consisted of over 35,000 Raspbian packages.
How to install Raspbian;
Download the relevant software and files. This includes:
- Win32 Disk Imager
- SD Card formatter;
- Raspbian OS
Extract all files to the desktop.
Insert the SD card into the card reader, and plug this into the USB port.
You’ll now need to format the SD card. Find the SD card on your computer and format it; don’t alter any options!
Open win32diskimager. Browse for the image file of Raspbian OS – this will have been extracted from the downloaded file. Click open, and click write. Be patient at this point! It might take a while.
At this point your operating system is installed on your Raspberry Pi.
Setting up your Raspberry Pi
- Flip over your raspberry Pi 4 and locate the micro SD card socket underneath
- Carefully insert the micro SD card – it will only fit one way. Once it's inserted, start your Raspberry Pi.
- TOP TIP: Check that your PC monitor is plugged into the mains. Check that your HDMI cable is running to the corresponding HDMI port of your Raspberry Pi, as well. Also check that your keyboard and mouse are connected to the USB port on the Raspberry Pi 4.
- Plug in you Raspberry Pi power supply;
- After a few seconds, your screen should come on.
- The NOOBS installer should appear at this stage. Raspbian is the best choice to install here. You can opt for other Operating systems if required. After this has installed, your Raspberry Pi will reboot to load the Raspbian OS.
- At this point, type in your time zone, language etc.
Using Raspberry Pi 4
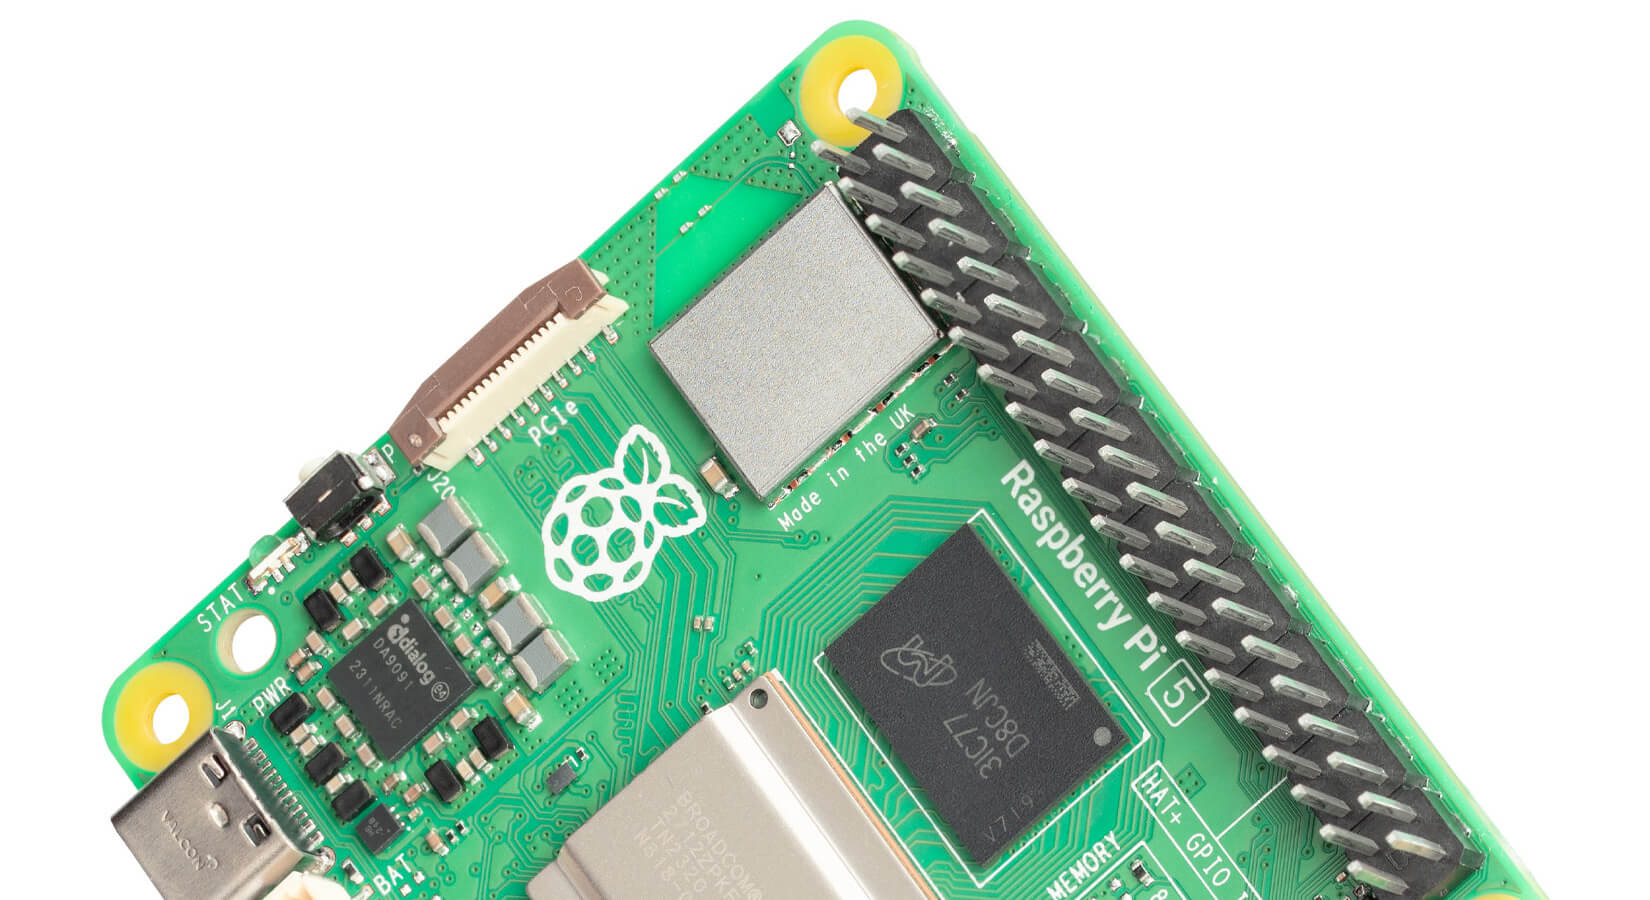
There are now various models of the Raspberry Pi board available since its initial launch in 2012. Nowadays, the Raspberry Pi 4 board is considered the perfect beginner board. However, it's design, although easy to use for beginners is also great for experienced users.
Let's look at the stats below.
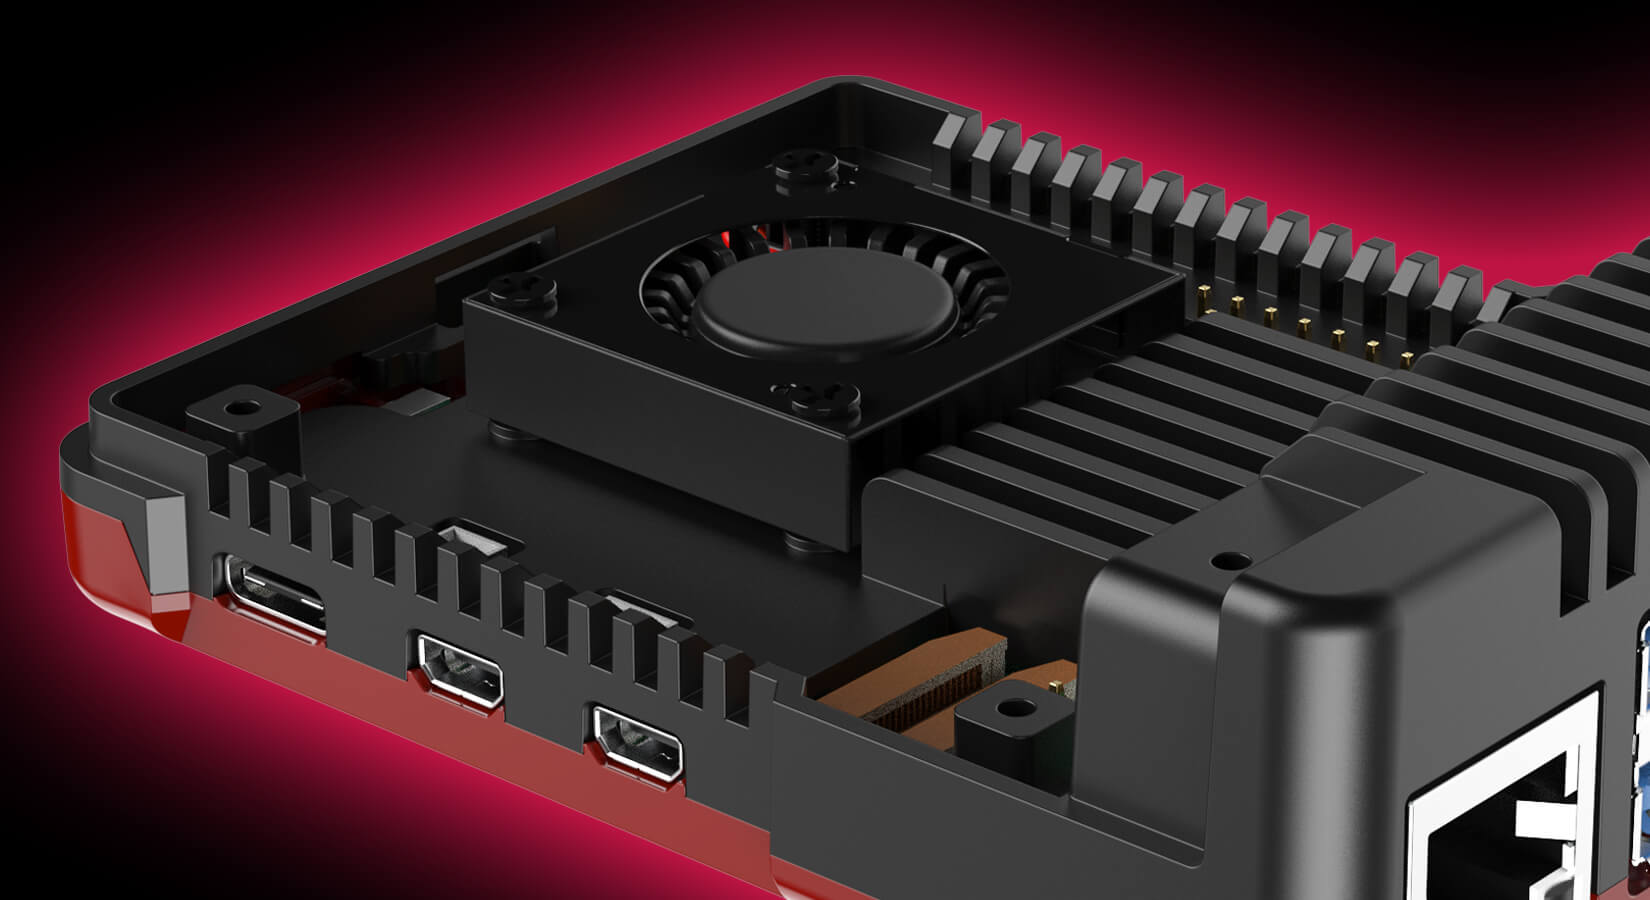
- The chip comes with a full redesign, which unlocks further levels of performance
- Improves specifications give it a noticeable increase in performance
- The new system on chip has more powerful processing cores and improved bandwidth, for memory and hardware. The performance boost is possible with a BCM2711BO chip.
- 2 micro HDMI connectors enable Raspberry Pi 4 to deliver two 4K displays.
- Ethernet port – this now offers full speed network connectivity to speed up performance with no bottlenecks.
Beginner Projects for Raspberry Pi
- Weather Station
- Internet of Things Weather Station
- GIF photo booth
- Smart Mirror
- Home Automation Centre
Need some advice on what to create? Go for one of the above, otherwise this article has some fantastic ideas of what to do for your first Raspberry Pi project.
Not sure of how to start? There are plenty of Raspberry Pi beginner projects plenty of projects for all levels of capabilities of computing and programming with Raspberry Pi. That's the beauty of it! With trial and error, and a little discovery, you can soon see yourself become an expert. So, to get on board, get to grips with your Raspberry Pi and get brainstorming!
For more information on all things Raspberry Pi, as well as help with set up and Raspberry Pi projects, head to our blog on the Pi Hut. Otherwise, check out our entire range of products and accessories from our Raspberry Pi store here.