MicroPython Skill Builders - #11 Keypads
Welcome to the eleventh instalment of our MicroPython Skill Builders series by Tony Goodhew, aiming to improve your coding skills with MicroPython whilst introducing new components and coding techniques - using a Raspberry Pi Pico!
In this episode, Tony will demonstrate how to input values from a Matrix Keypad.
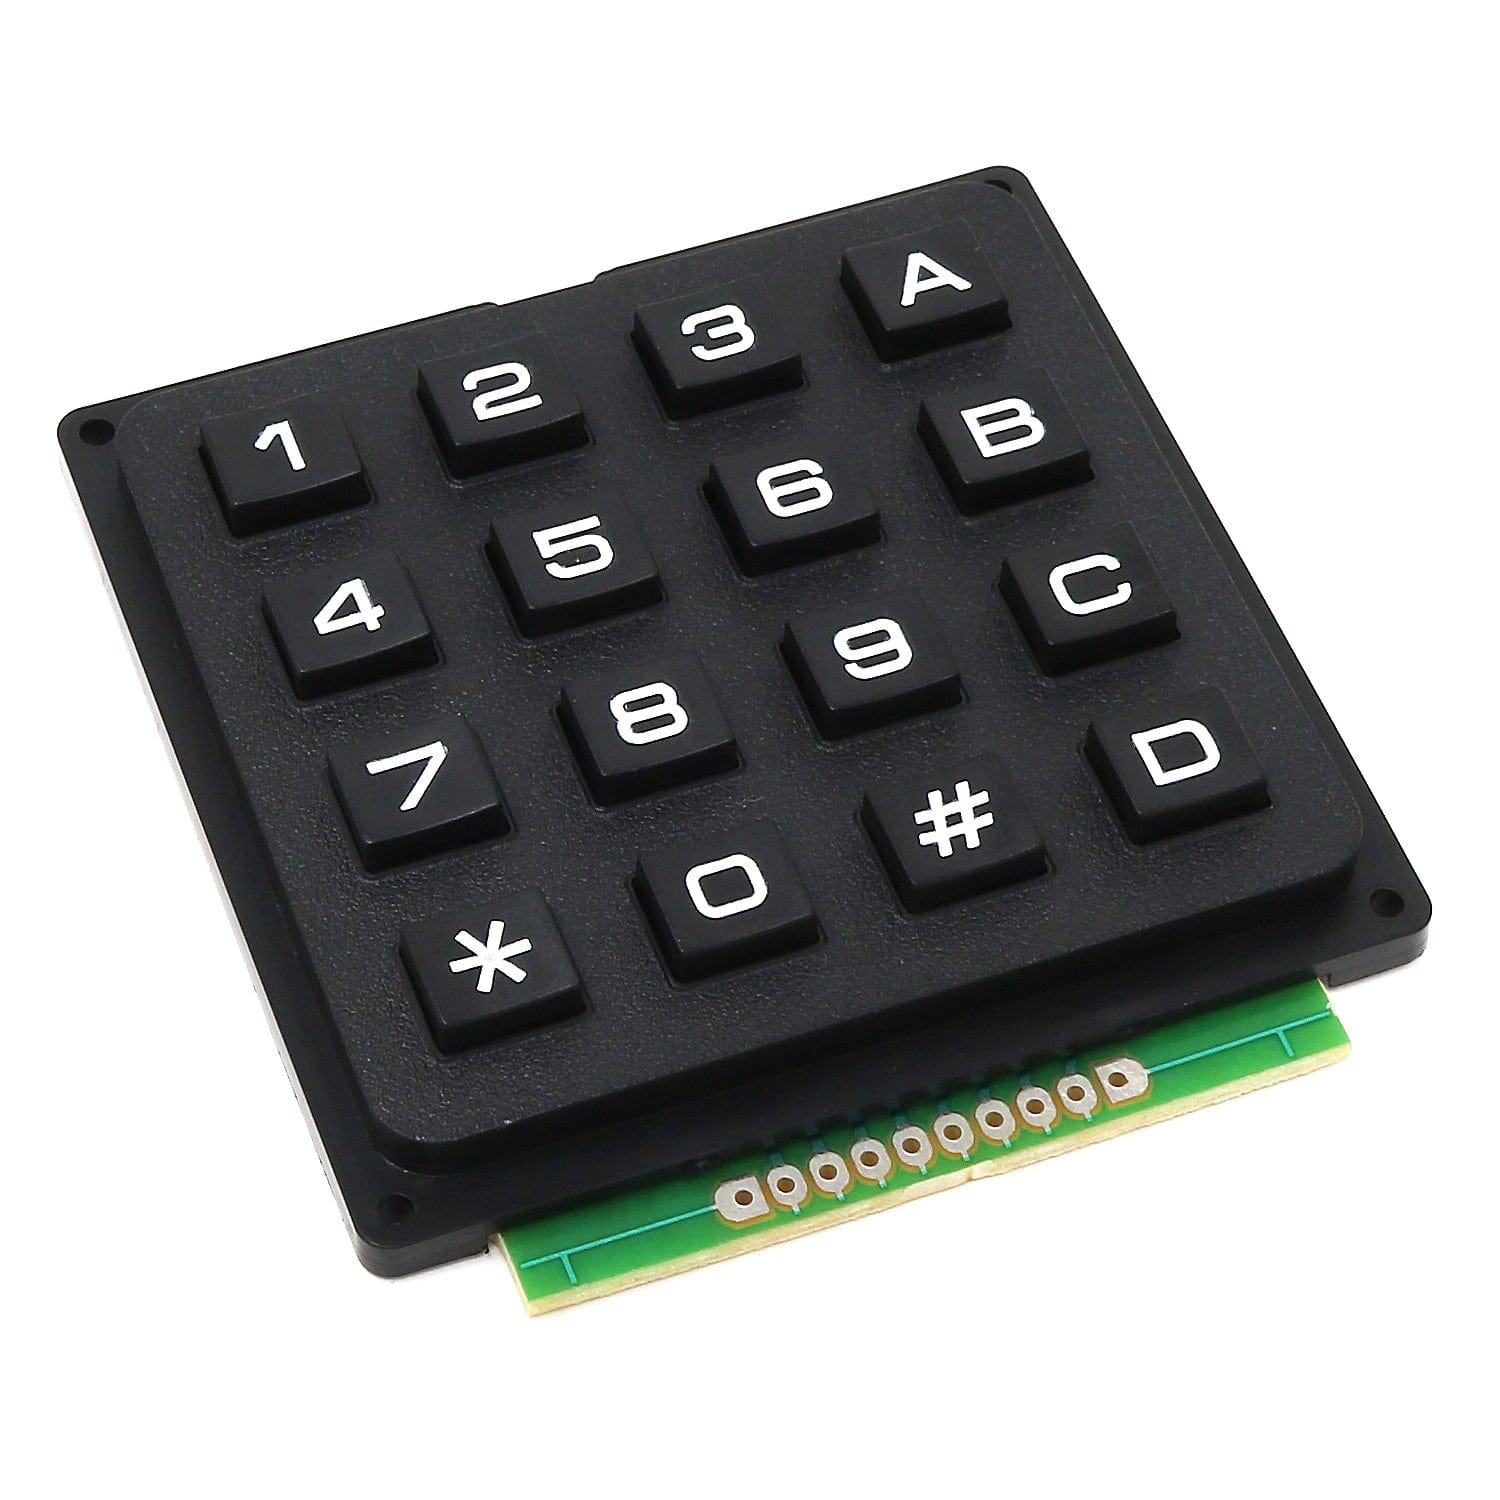
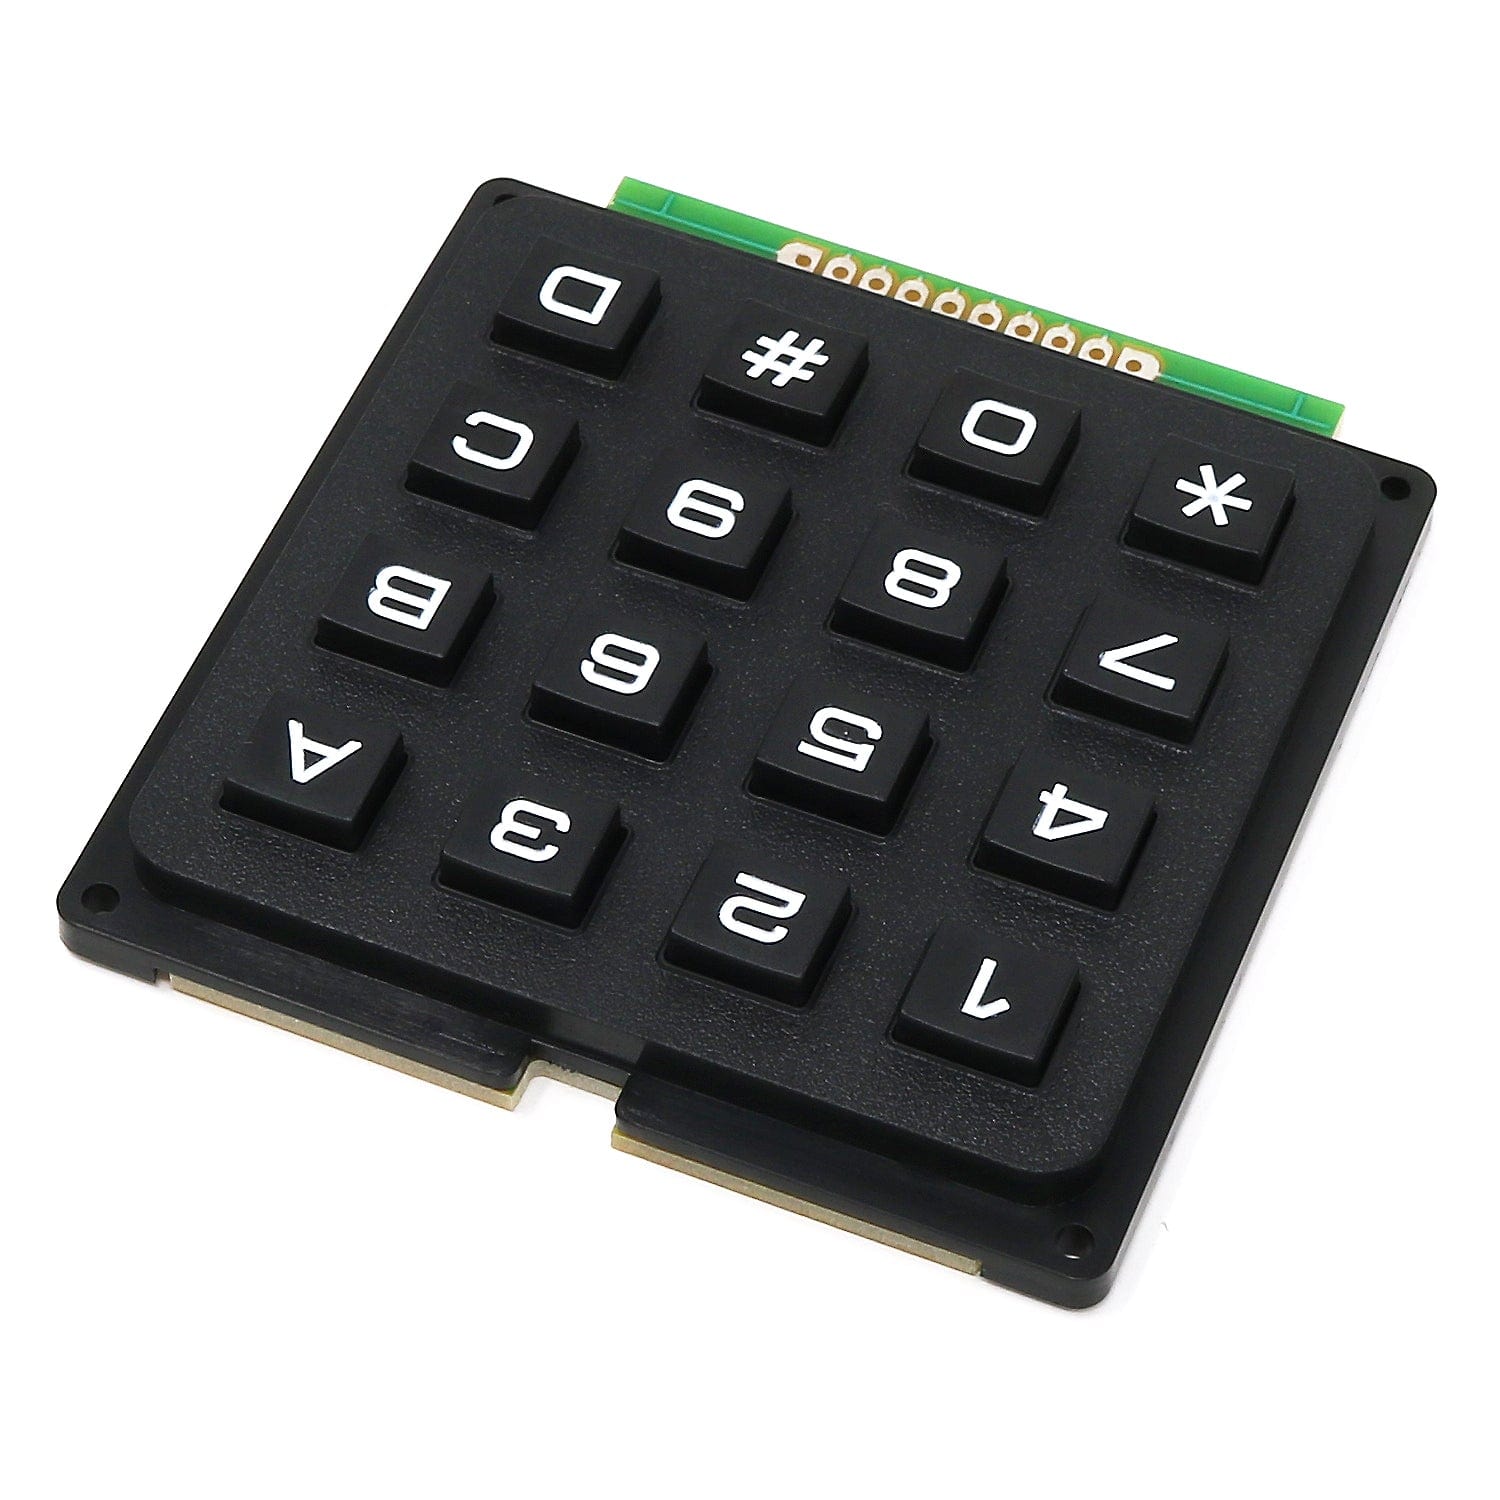
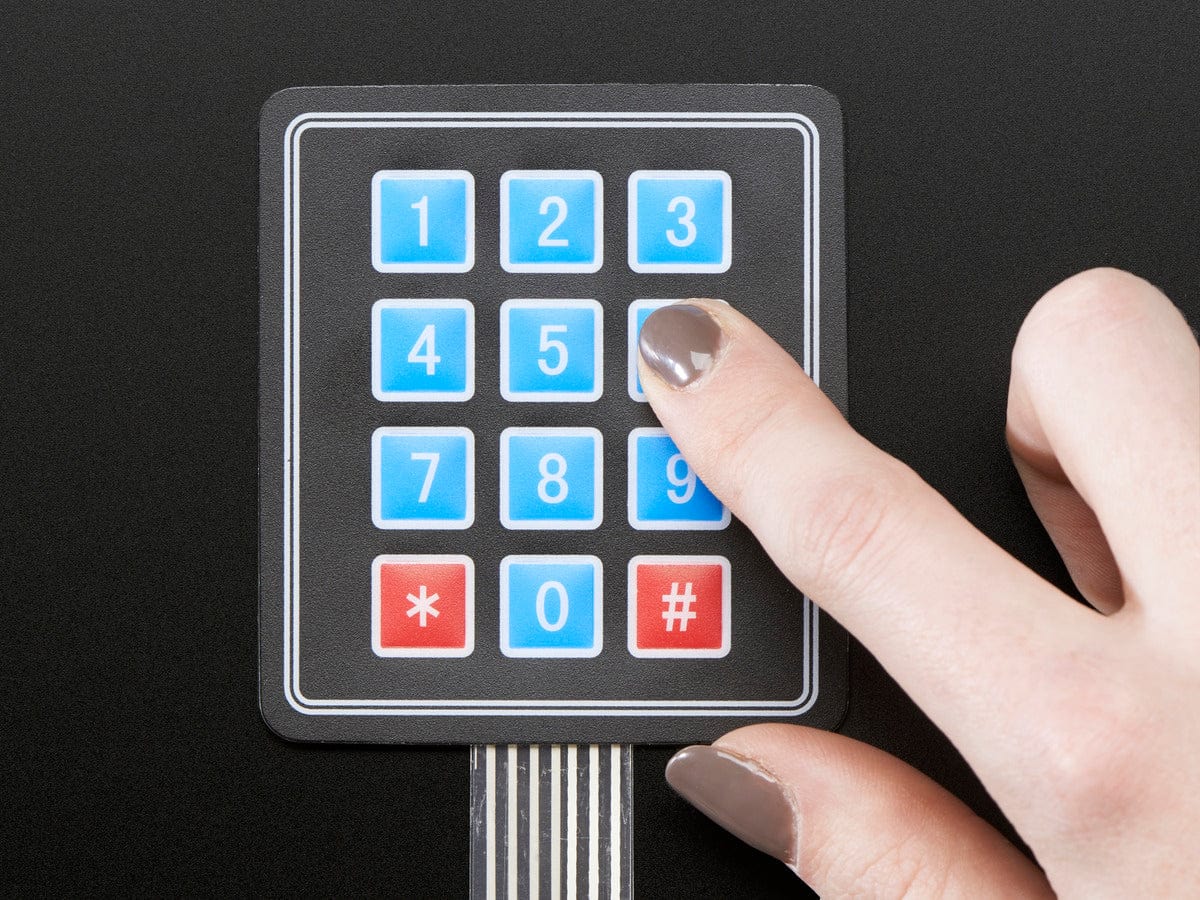
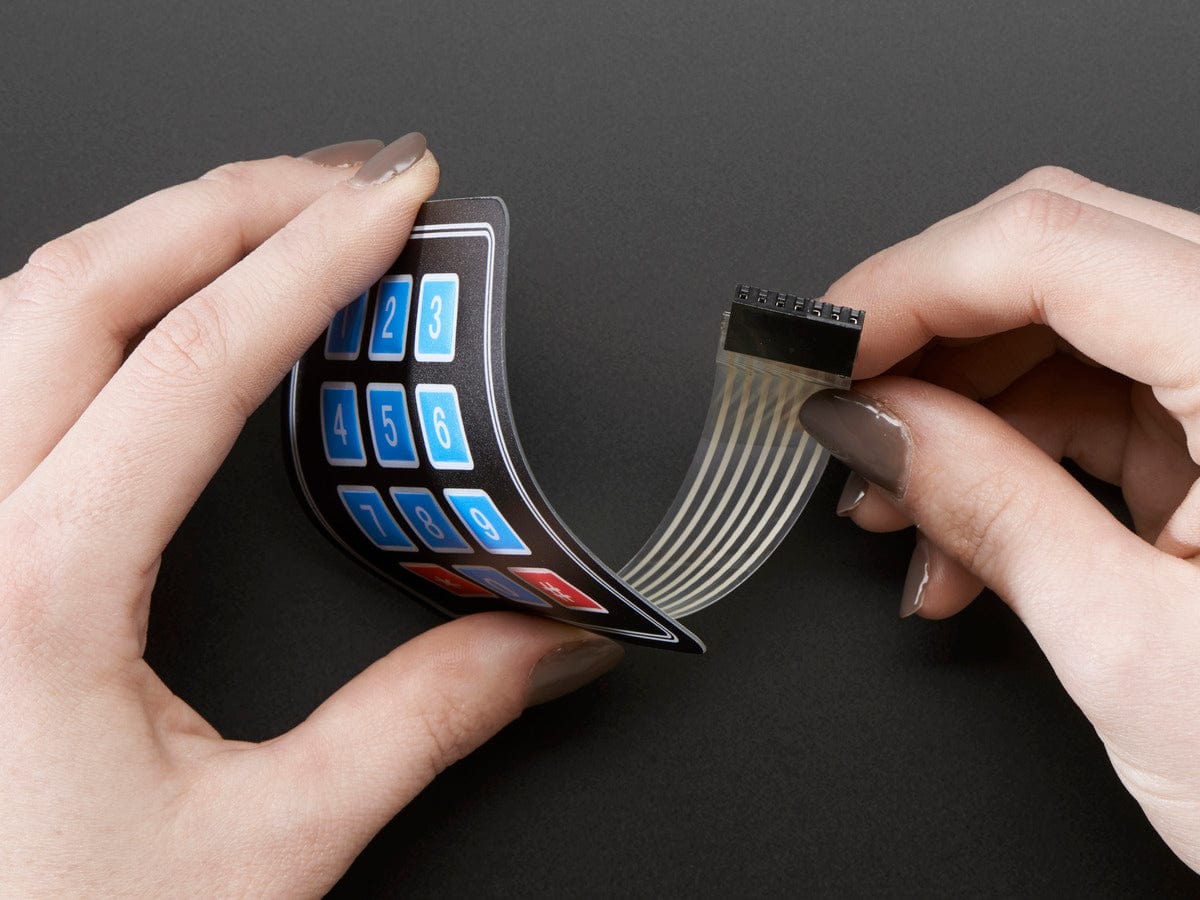
We stock several varieties in both 3x4 and 4x4 configurations, some of which can be easily connected to a Pico without any soldering of connections. The membrane keypads are inexpensive and have a sticky layer under the protective peelable backing paper making them easy to attach to a flat surface.
What you will need
We assume that you have installed Thonny on your computer and set up your Raspberry Pi Pico with the most recent MicroPython firmware (UF2). If not, check out our Raspberry Pi Pico Getting Started Guide where this is covered in detail.
You will need:
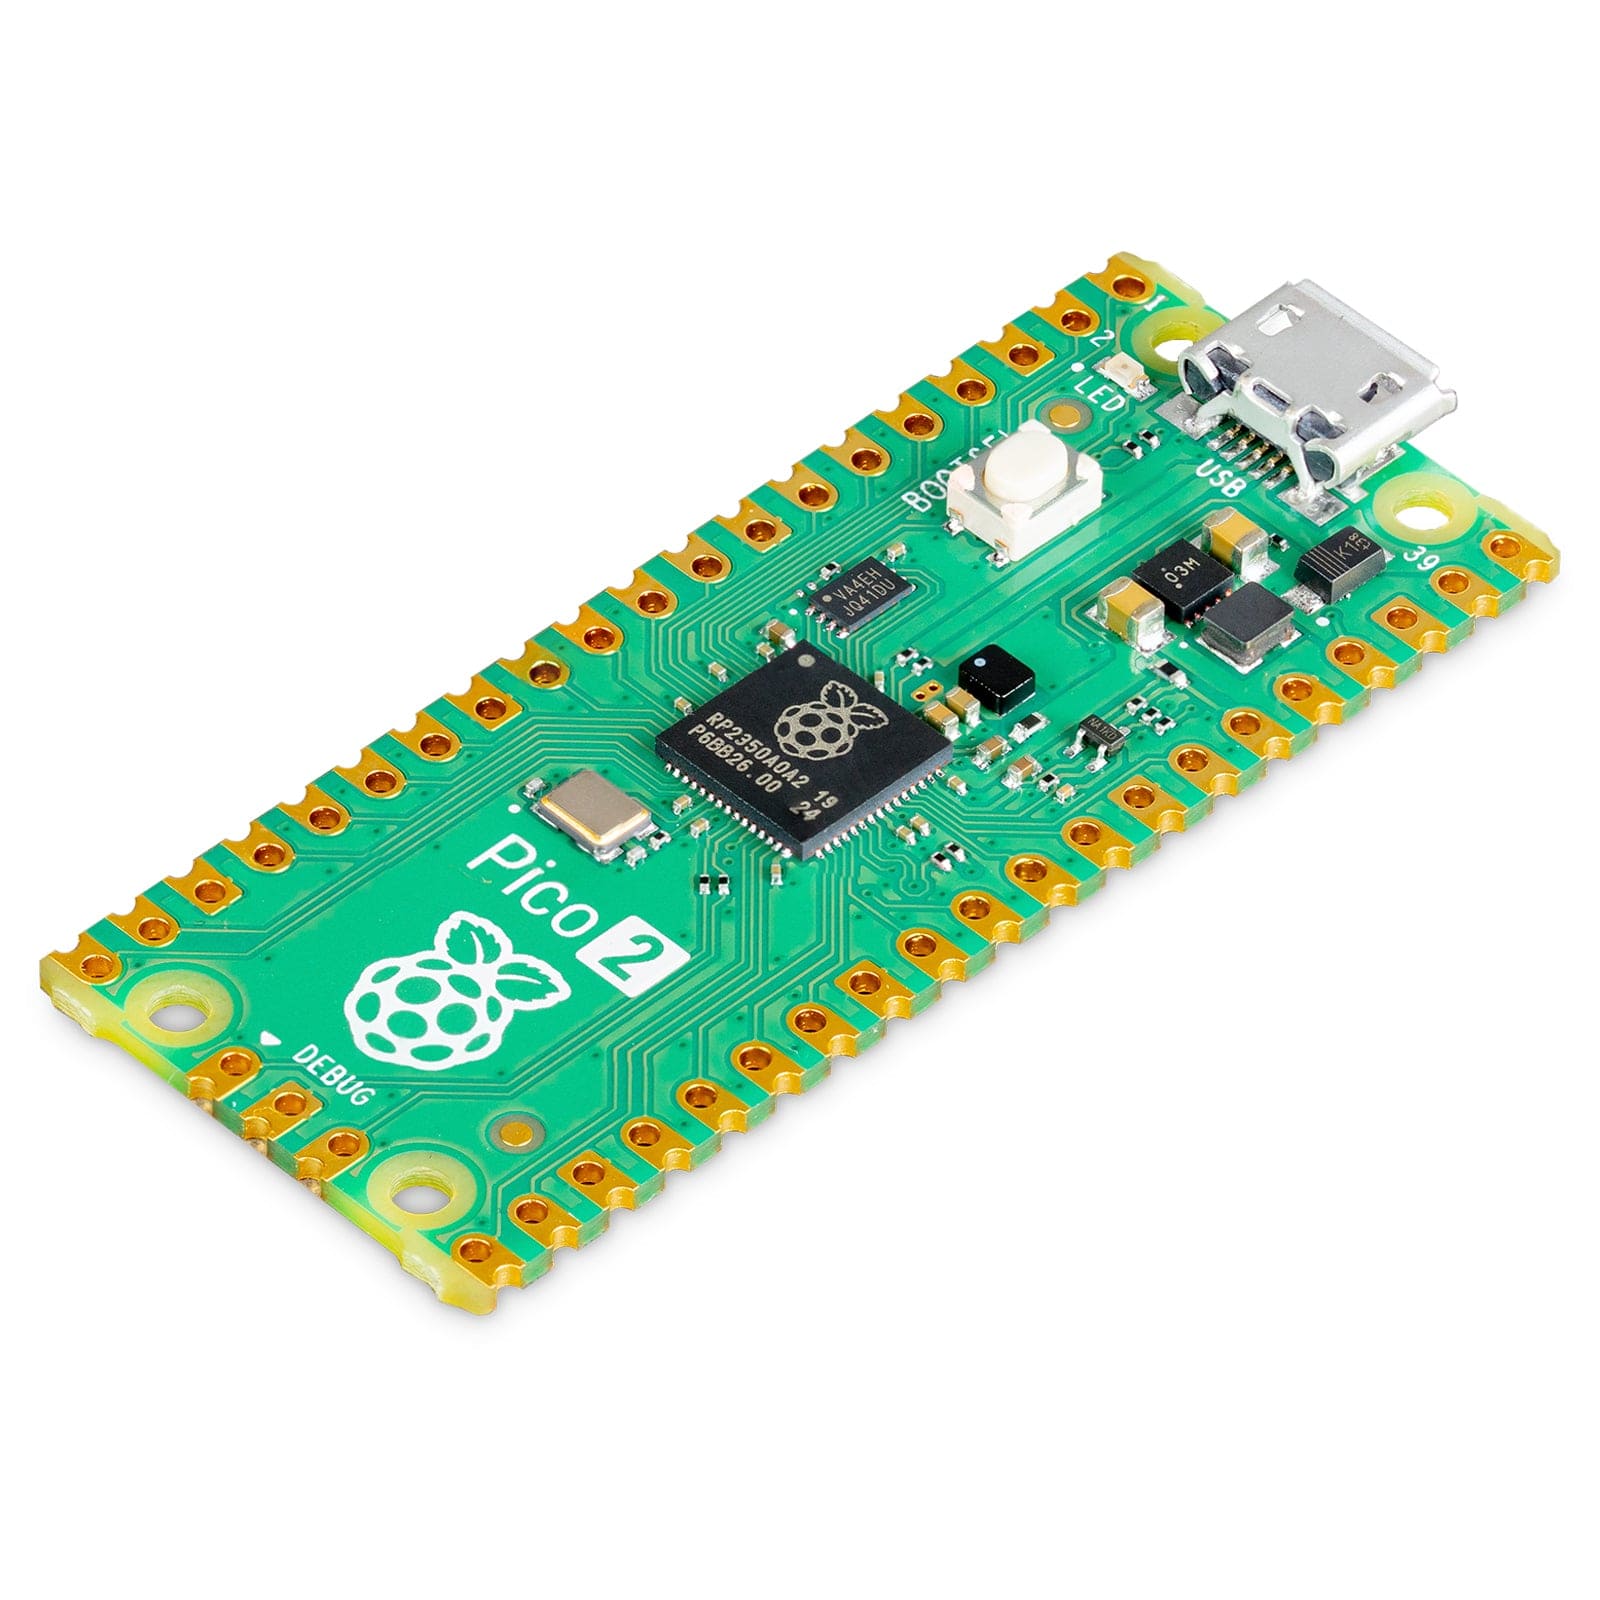
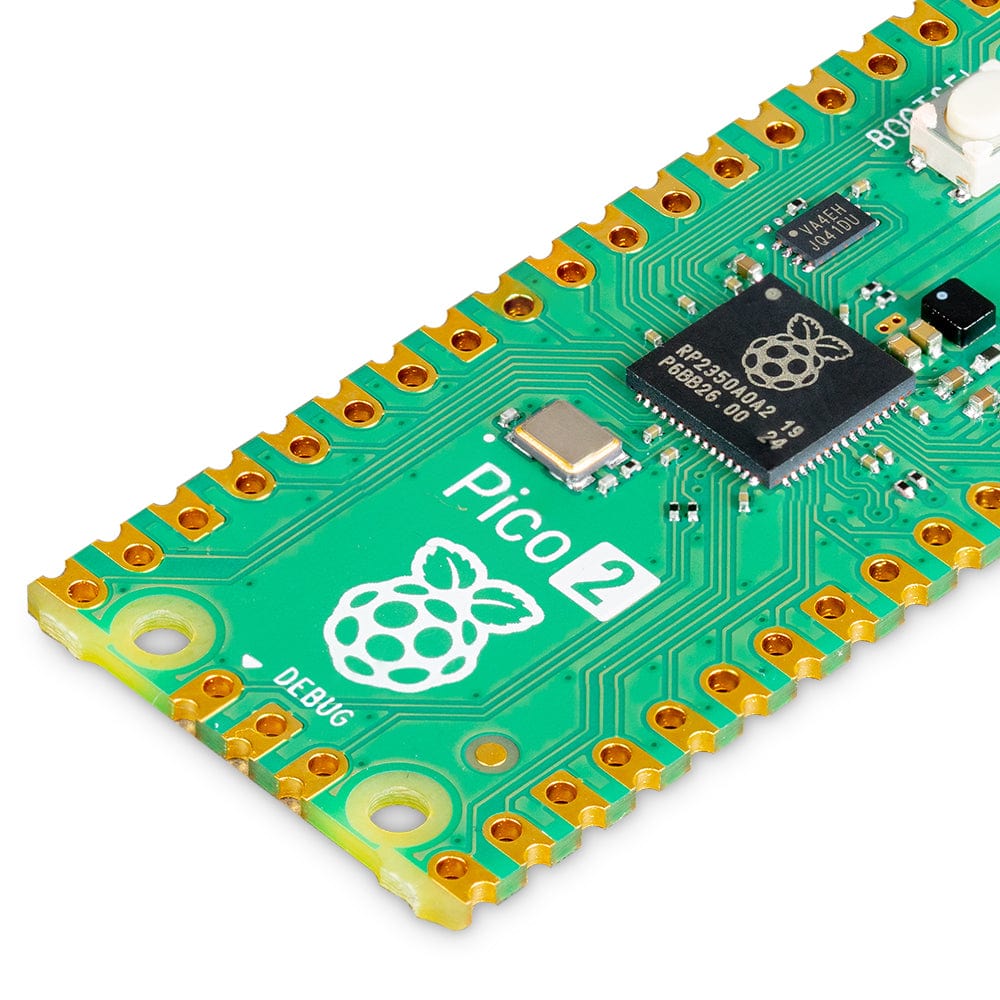
- Raspberry Pi Pico (or Pico 2) with header pins
- Micro-USB cable (for power and programming the Pico)
- A Matrix Keypad
- The membrane 3x4 version does not need soldering
- The 4x4 version requires pin soldering, but allows you to input floating point values as well as integers
- Jumper wires (male/male and male/female, mixed colours ideally)
Optional:
Integers and Floats
Let's first cover how numbers work in MicroPython as we'll be using this in our code.
There are two types of number in MicroPython: Integers and Floats.
Integers
Can be positive or negative and do not contain a decimal point ( -123, 3458, -999).
Floats
These contain a decimal point and can be both positive or negative.
If they represent very large or very small numbers they may be written in scientific notation and include the ‘e’ character. (-1.23, 0.000000789, 12345.678, 5.23e3 -2.75e-5).
The number after the ‘e’ represents a power of 10 and indicates how many places to move the decimal point, right for positive numbers and left for negative numbers.
1.23e5 represents the number 123000.0 and -1.23e-5 represents -0.0000123
To represent such numbers, we will use the following keys on our keypad:
- ‘A’ as the ‘minus’ key
- ‘B’ as the ‘e’ key
- ‘D’ as the decimal point key
- ‘*’ as a rubout/backspace key
- ‘#’ as the ENTER/RETURN key to indicate that we have finished entering the number

Matrix internal connections
These input devices are connected internally in the same way.
Horizontal and vertical wires link the contacts on the switches beneath each button. When a button is pressed a connection is briefly made between a row and a column wires, which are accessed via the ribbon cable or pins at the bottom of the device.
Note the small black blobs on the R0 to R3 connections. A 4x4 keypad has 4 columns, C0 to C3.
Membrane 3x4 version

Button 4x4 version

Connecting the keypad to the Pico
In each case we make the following connections:
|
Keypad Pin |
Pi Pico GPIO Pin |
| R0 | 13 |
| R1 | 12 |
| R2 | 11 |
| R3 | 10 |
| C0 | 9 |
| C1 | 8 |
| C2 | 7 |
| C3 (if present) | 6 |
The pinouts for the alternative keypads can be found in the documentation on our product pages. There are several different configurations.
We have chosen these pins to avoid the SPI GPIO pins used to connect the SSD1315 OLED display (covered in previous episodes) so that we can used both devices together (if you do not have the display just comment out the OLED lines and use the Shell window to see the results).
How we read keypad presses
We set each of the rows high in turn, moving on from R0 to R3 in turn.
While a row is set high (to 3.3V) we look at each column to see if it is set high. Most of the time, while no pad/button is pressed, we read ~0V or low.
If a pad/button is pressed we will detect a high on the column and break out of the scanning process noting the current row and column values. These allow us to identify which pad was being pressed and look up the character assigned to that pad/button using a table.
The code
This section imports the required libraries and sets up the OLED display.
# Using a Matrix Keypad
# Waveshare 0.96inch OLED Module via SPI (SSD1315)
# Matrix Keypad 4x4 or 4x3
# Tony Goodhew 21th Aug 2023 - for thepihut.com

from machine import Pin, SPI
import time

# ============ Set up the display ==========
# Connect Red to 3.3V and Black to GND
import ssd1306

# Uses SPI port 0
spi_port = 0
MOSI = 19     # blue
CLK = 18      # yellow
CS = 17       # orange
RST = 16      # white   #NB MISO not used
DC = 20       # green

WIDTH = 128
HEIGHT = 64

spi = SPI(
    spi_port,
    baudrate=40000000,
    mosi=Pin(MOSI),
    sck=Pin(CLK))

oled = ssd1306.SSD1306_SPI(WIDTH,HEIGHT,
    spi,
    dc=Pin(DC),
    res=Pin(RST),
    cs=Pin(CS),
    external_vcc=False
    )

oled.fill(0) # Clear display
oled.show()

def block(x,y,w,h,c): # Filled rectangle
    for yy in range(h):
        oled.hline(x,y+yy,w,c)
# ========= Display set up =========
This next section of code sets up a two-dimensional array, lists of lists, so that we can look-up characters when a pad is pressed:
# === MAIN PROGRAM ===
# Map characters to keys
# These are lists of lists!
#    A 2 dimensional array

#         C0   C1   C2   C3
keys = [['1', '2', '3', 'A'], # R0
        ['4', '5', '6', 'B'], # R1
        ['7', '8', '9', 'C'], # R2
        ['*', '0', '#', 'D']] # R3
Here we store the lists of row and column pin connections and setup the GPIO pins with the rows as OUTPUTS and the columns as INPUTs:
# Pin connections left to right
row_pins = [13, 12, 11, 10]
col_pins = [9, 8, 7, 6]

cols = []  # Creat empty lists
rows = []

# Set up rows and columns
# Rows are OUTPUTS / Cols are INPUTS
for x in range(0,4):
    # Rows are OUTPUTs which we set HIGH or LOW
    rows.append(Pin(row_pins[x], Pin.OUT))
    rows[x].value(0) # Set LOW = 0V

    # Columns are INPUTS with internal PULL_DOWNS
    cols.append(Pin(col_pins[x], Pin.IN, Pin.PULL_DOWN))
This sets up the built-in LED on the Raspberry Pi Pico for feedback flashes:
# Setup LED to indicate key pressed
led = Pin(25, Pin.OUT)     # Pi Pico    Comment out one of these
#led = Pin("LED", Pin.OUT) # Pi Pico W

# Short flash of LED to indicate program running
led.value(1)
time.sleep(0.5)
led.value(0)
In the next block of code, the following function scans the keypad waiting for a button to be pressed which is indicated by a column going high to 3.3V.
We setup a while loop controlled by the variable scanning which sets one row high one at a time. The columns are then read, one at a time, to see if a connection has been made:
if cols[col].value() == 1: # KEY PRESSED!
Once the key press has been found, the looping stops (running set to False) and the character value of the key pressed is looked up from the row and column values. If no press occurs the row is returned to LOW.
The Pico's LED is quickly flashed to indicate the key press and the character pressed returned to the calling code. A short delay has been included to reduce possible ‘bounce’ from the key. There is no time delay in the loops so scanning runs very quickly:
# Function to scan for a key press  - Returns the character pressed
def scan():
    scanning = True
    while scanning:     # Until key pressed - blocking!
        for row in range(4):
            for col in range(4):
                rows[row].high()     # Equivalent to .value(1)
                if cols[col].value() == 1:
                    scanning = False # Terminate looping
                    k = keys[row][col] # Read character from grid
                    time.sleep(0.3) # Debounce
            rows[row].low()          # Equivalent to .value(0)
    led.value(1)        # Flash LED to indicate key pressed
    time.sleep(0.1)
    led.value(0)
    return k            # Supply values to calling code
The following function, get_value(xx,yy) , slowly builds a string from the key pressed characters by adding them to a variable, ns, which starts as an empty string.
(xx, yy) is the screen position for displaying evolving string, ns. The finished string is indicated by the user pressing ‘#’ which is equivalent to pressing the ‘ENTER’ key on a keyboard.
The ‘*’ key acts like a ‘BACKSPACE’ key and ‘rubs out’ the last key pressed by shortening the string length, losing the last character stored. As the string changes it is printed to the screen and in the Shell Window. On the screen we overwrite the previous string displayed with a background-coloured block of pixels before updating it.
We need to indicate a negative number. This is easy on the 4x4 matrix as we can use button ‘A’. Here we use a coding ‘trick’ to enable a ‘-‘ character, on the 4x3 keypad. If the first key pressed, while the length of the ns string is zero, is a ‘*’ or ‘rubout,’ we interpret this as a ‘minus’.
For the ‘A’, ’B’ and ‘D’ keys we substitute characters concatenated to the ns string (‘-‘, ‘e’ and ‘.’).
After breaking out of the loop with the ‘#’ key we look first for an empty string and return the integer value 0. Otherwise, we look for either a ’.’ or and ‘e’ in the string, which indicates a FLOAT, and convert the string to an appropriate integer or float.
Finally, the value is returned to the calling code:
def get_value(xx,yy): # INPUT a float - includes e-format
    ns =""            # Needs 4 column keypad for full functionality
    while True:
        key = scan()           # Get a chacter from the keypad
        if key == '#':         # ENTER/RETURN
            break              # Break out of loop
        elif (key == "*") :
            if len(ns) == 0:
                ns = ns + "-"  # Minus character (for 3 column displays)
            else:
                ns = ns[0:-1]  # Backspace
        elif key == "C":
            pass               # Not valid
        elif key == "A":
            ns = ns + "-"      # 'Minus' character
        elif key == "D":       # Decimal point
            ns = ns + "."
        elif key == "B":
            ns = ns +"e"       # Allow scientific notation values
        else:
            ns = ns + key      # Add character to string
        print(ns)              # Current string to Shell window
        block(xx,yy,128,10,0)  # Remove outdated number from display
        oled.text(ns,xx,yy,1)  # Display updated number
        oled.show()

    if len(ns) == 0:
        return 0
    if (ns.find(".") > 0) or (ns.find("e") > 0): # This is a FLOAT:
        # It contains an "." OR an "e"
        return float(ns)
    else:
        # Integer
        return int(ns)
The last section of code uses the procedures to input values from the keypad and display them together with their type. Inputting a ZERO halts the program and blanks the screen:
# ======= Main Loop =========

while True:
    oled.text("N:",0,10) # Prompt
    oled.show()
    n = get_value(16,10)
    oled.text(str(n),5,25,1)
    oled.text(str(type(n)),5,35,1)
    oled.show()
    print("\n", n)
    tp = str(type(n))
    print(tp)
    time.sleep(2)
    oled.fill(0)
    if n == 0:  # HALT if zero
        break

# Tidy up
oled.fill(0)
oled.show()
Run the code
Now over to you - assemble the program in the code window of Thonny and run it - then try inputting numbers using the keypad. Use Integers, Floats and numbers in Scientific notation.
Check what happens if you just press the hash key.
Appendix - Pinouts
Adafruit have a handy pinout for these kinds of matrices here (note Adafruit count from 1 rather than zero, when numbering the rows and columns).
About the Author
This article was written by Tony Goodhew. Tony is a retired teacher of computing who starting writing code back in 1968 when it was called programming - he started with FORTRAN IV on an IBM 1130! An active Raspberry Pi community member, his main interests now are coding in MicroPython, travelling and photography.

