Login / Signup
Cart
Your cart is empty
A versatile, mid-level robot learning platform designed for the Raspberry Pi!
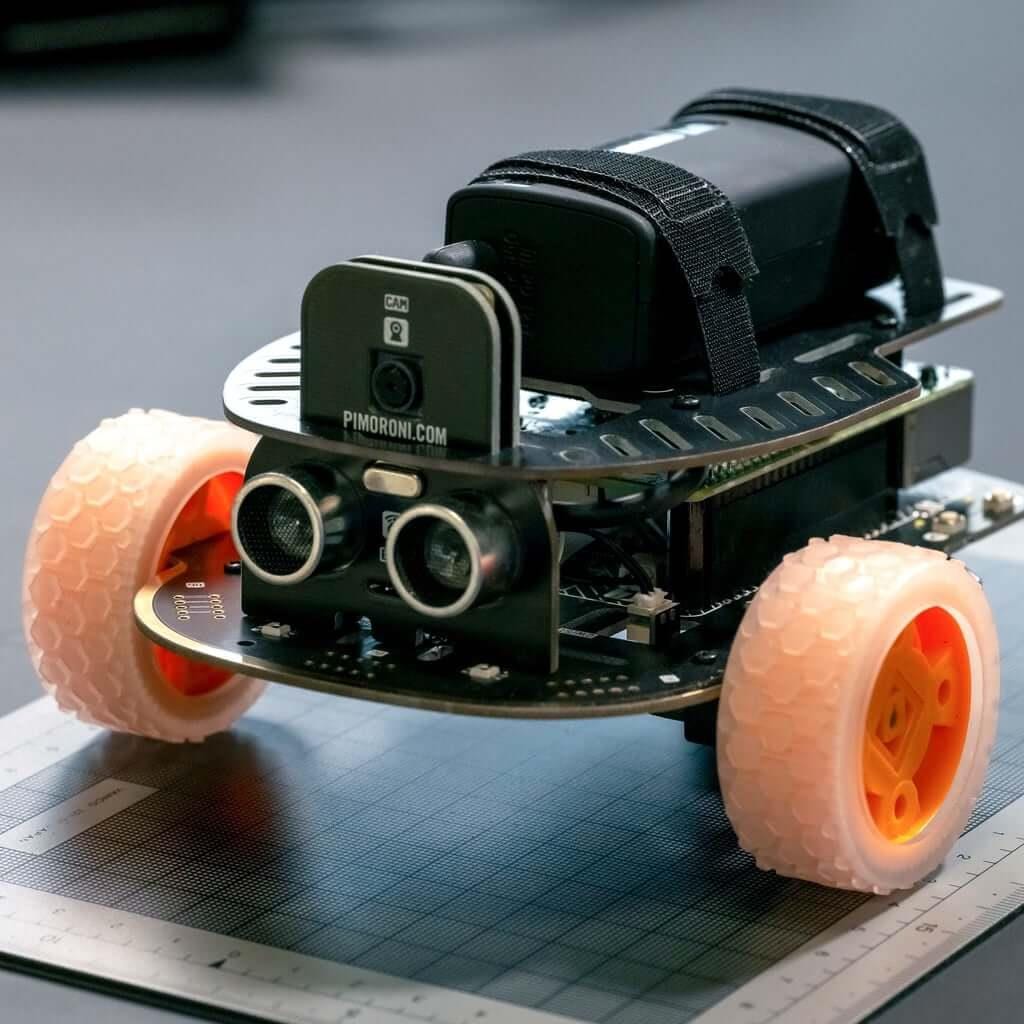
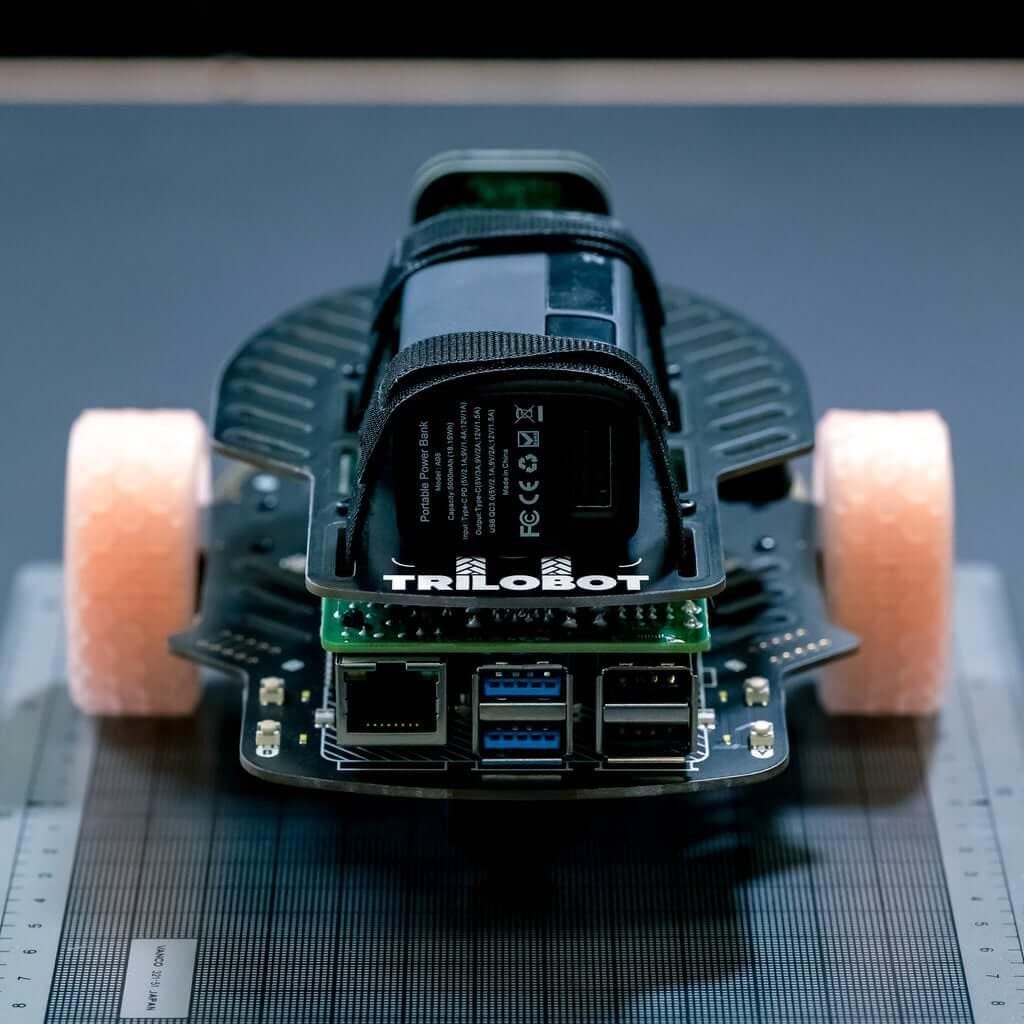
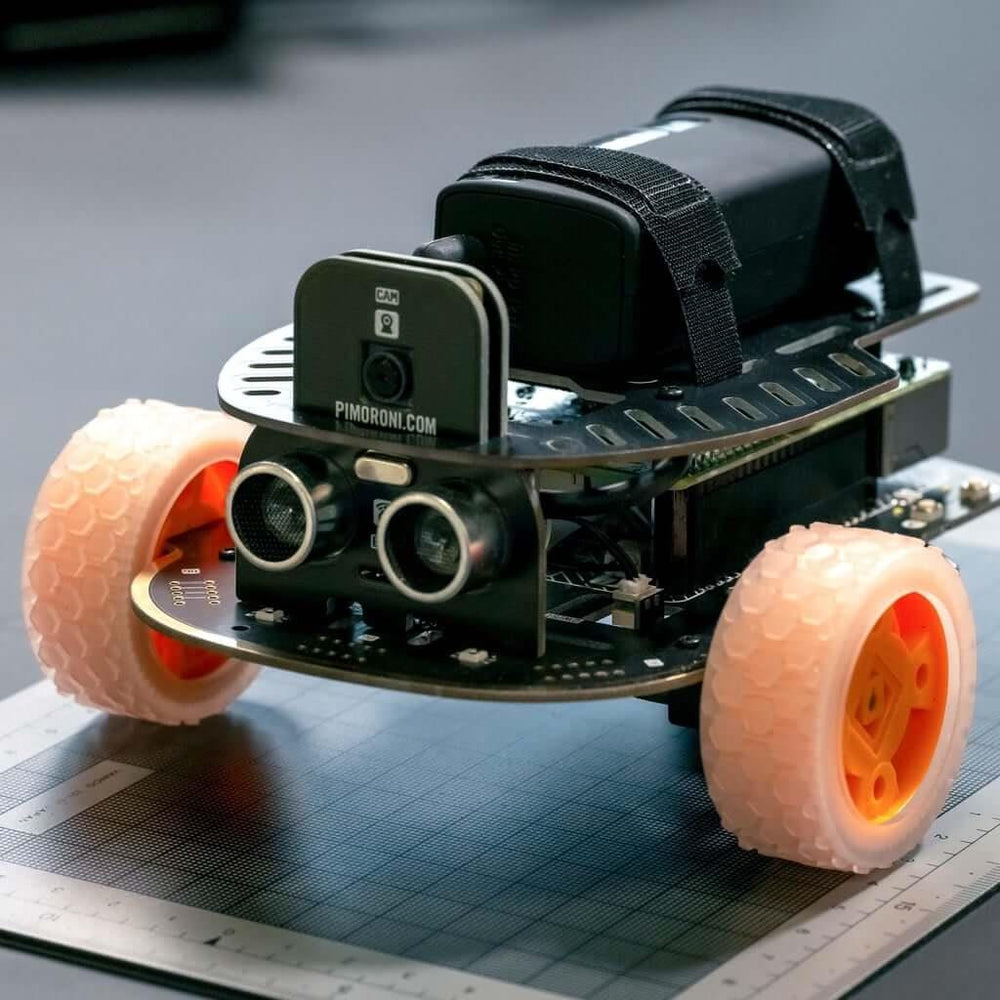
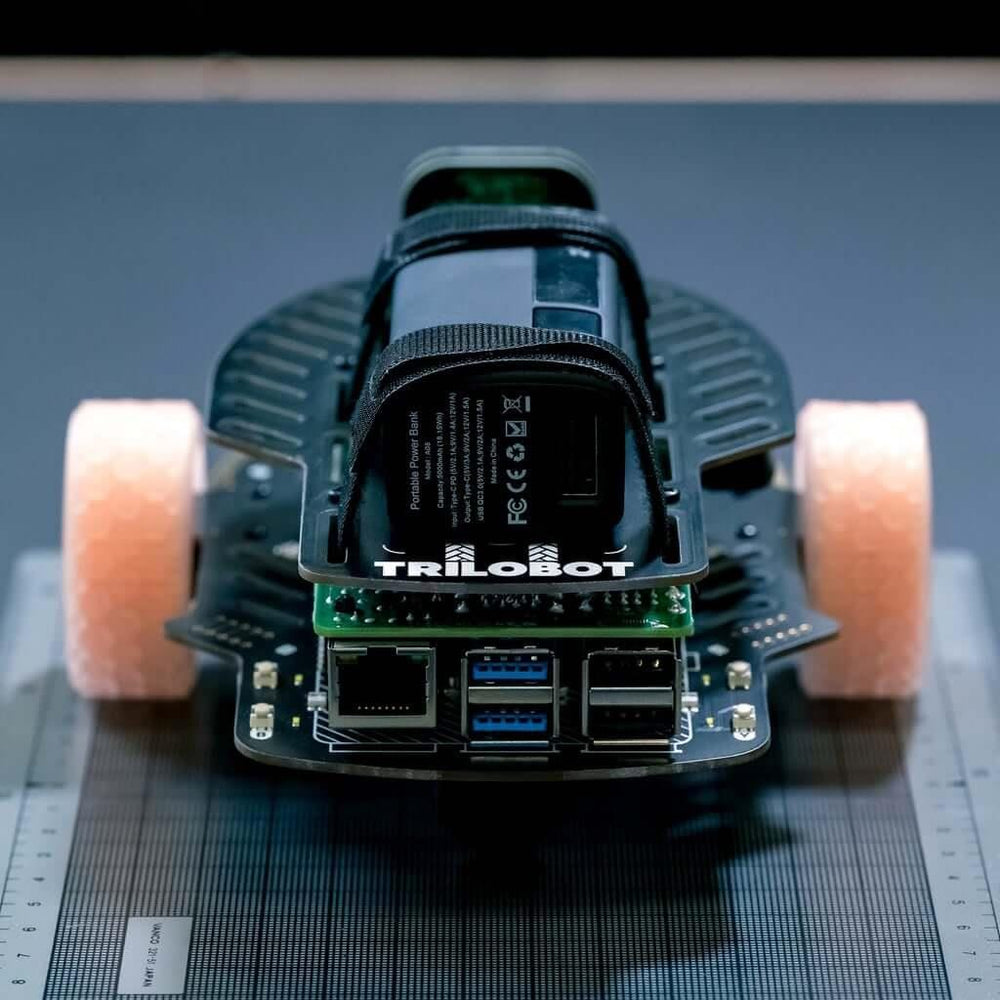
Trilobot is a sturdy Raspberry Pi-based robot kit, designed with educational use in mind. It's straightforward to get started with, but we've made it easy to add extra functionality, so it can grow alongside your plans for an unstoppable robot army robotics skills.
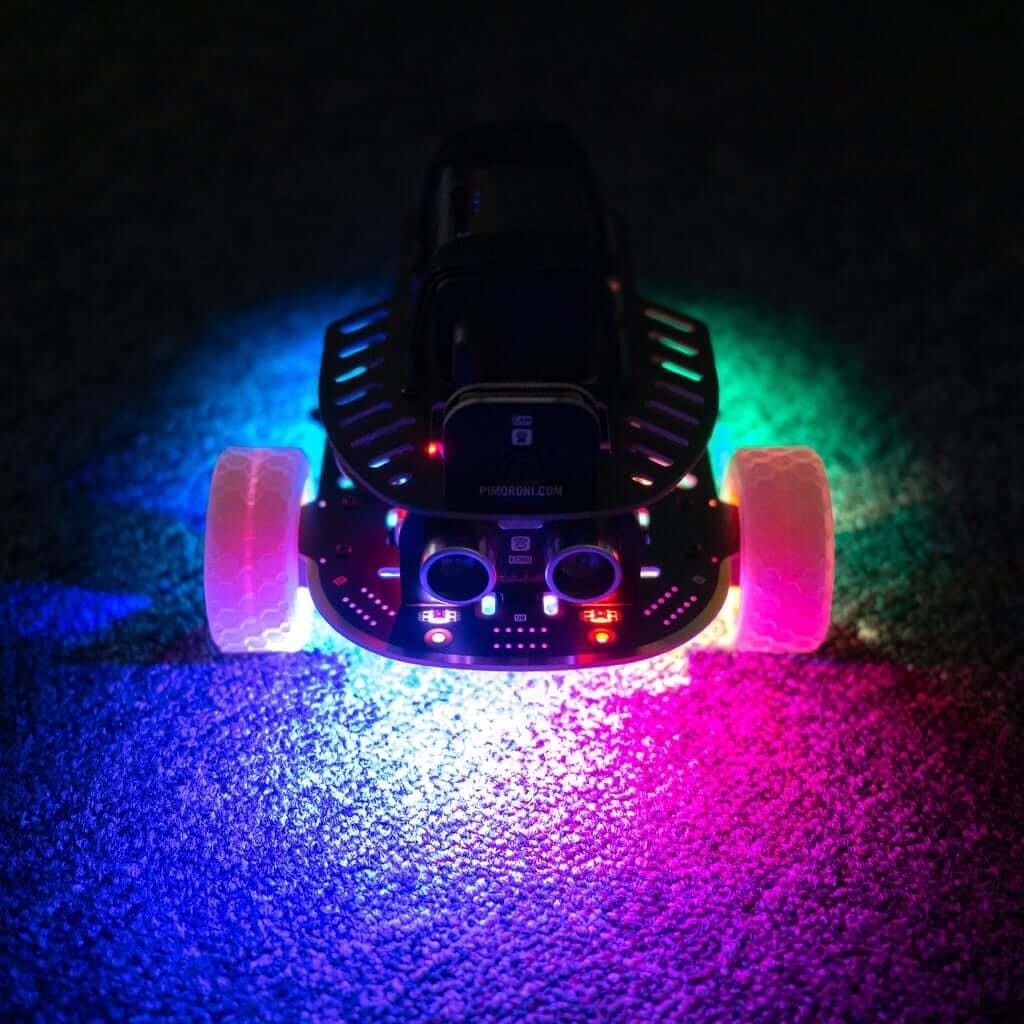
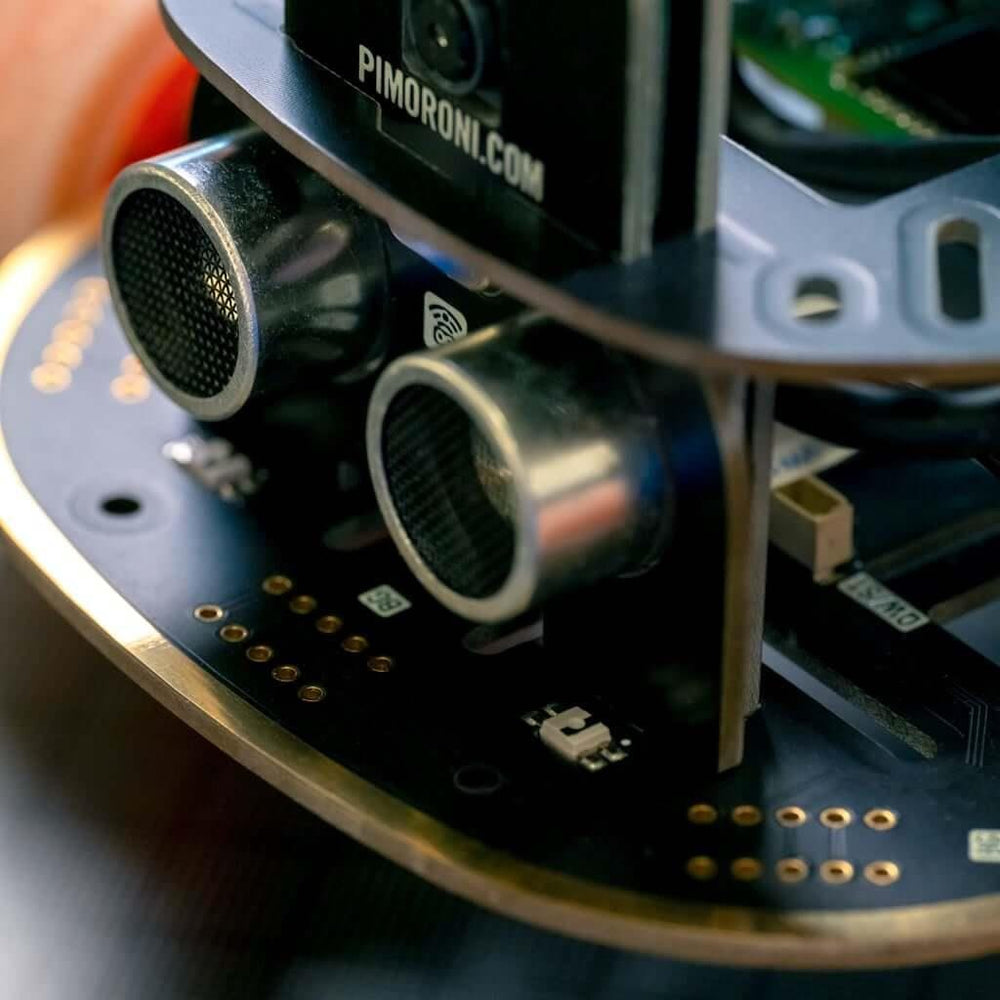
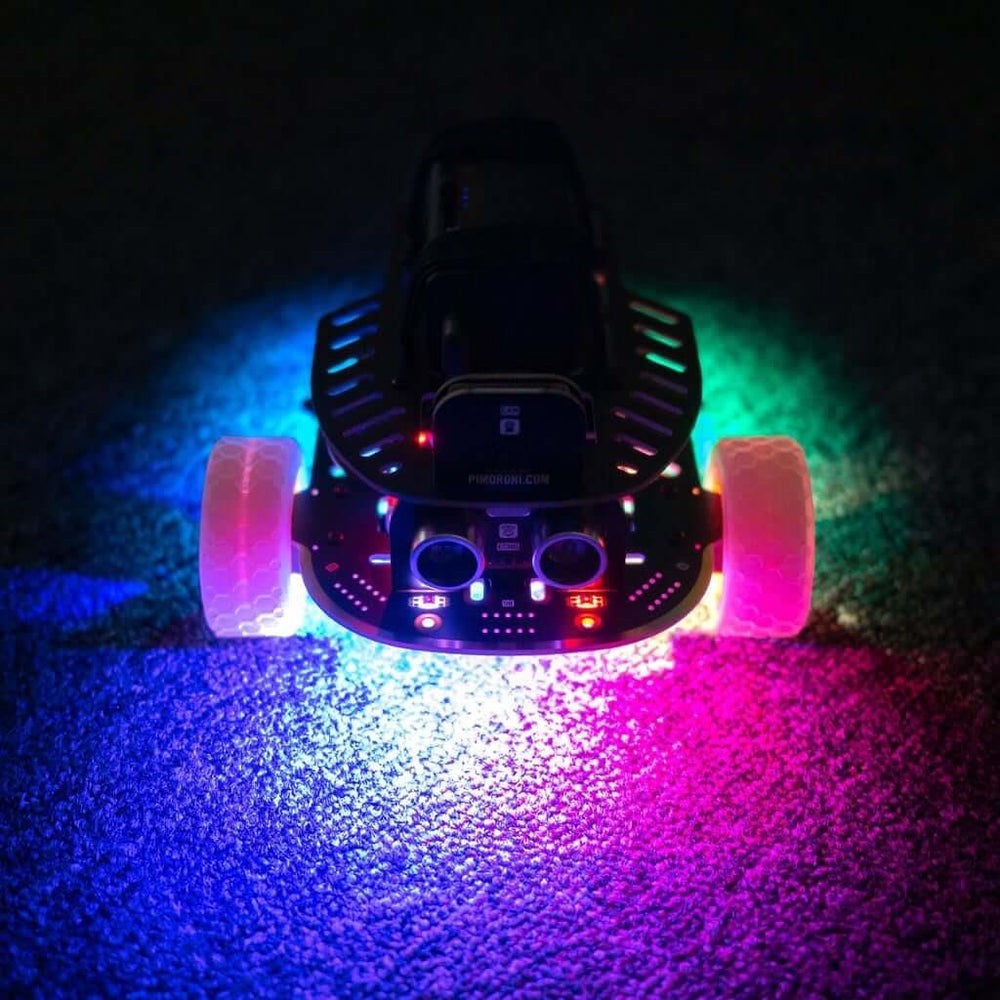
Trilobot's chassis is made of layers of resilient FR-4 printed circuit board, which lets us do some exciting new things not possible with our previous acrylic robots. The motor driver hardware is built right into the chassis itself so you don't need a separate HAT to handle the motors. We've marked up all the layers with useful labels to show you where all the bits go and squeezed in some nifty design touches, like a blingy gold bumper and a stylish reversible top plate. There's also some impressively bright onboard RGB LED underlighting built-in as standard!
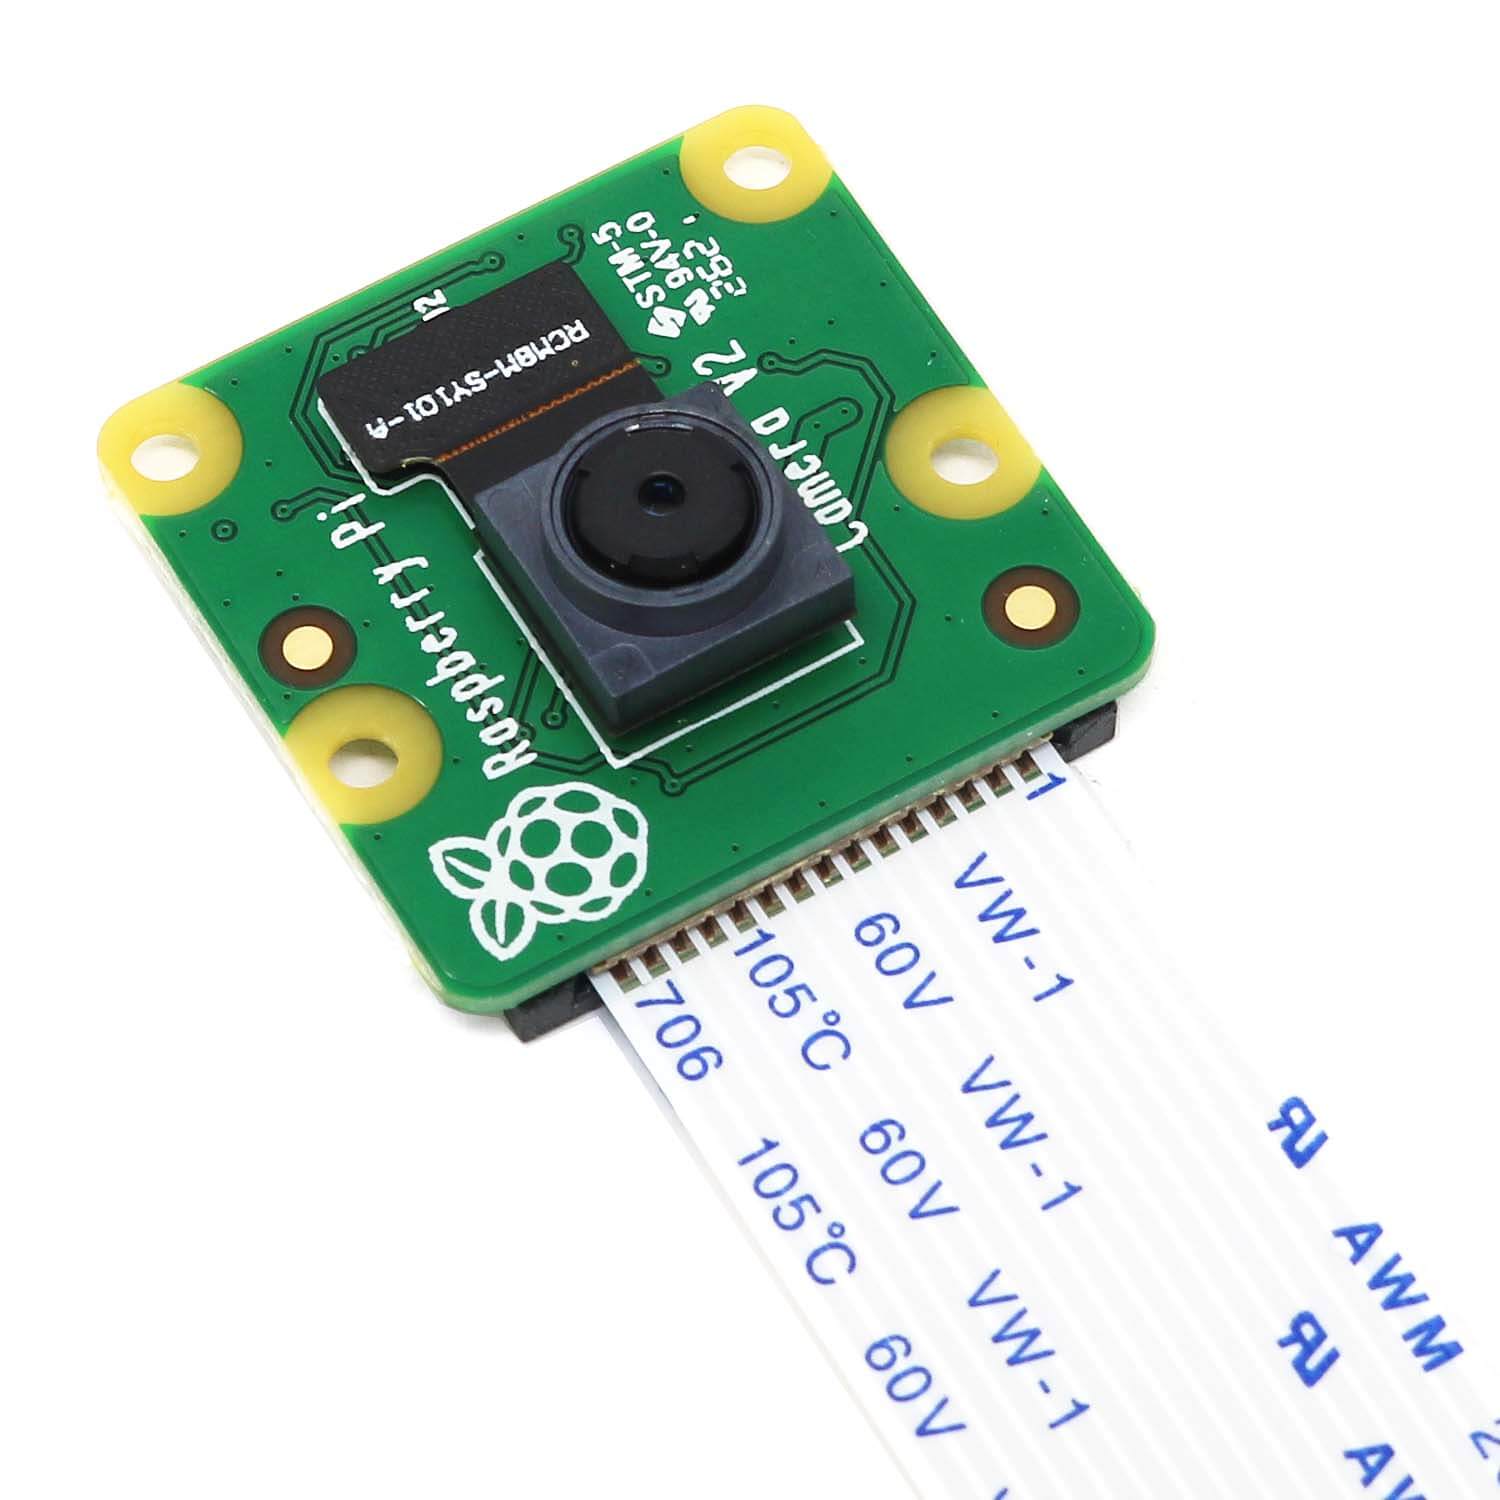
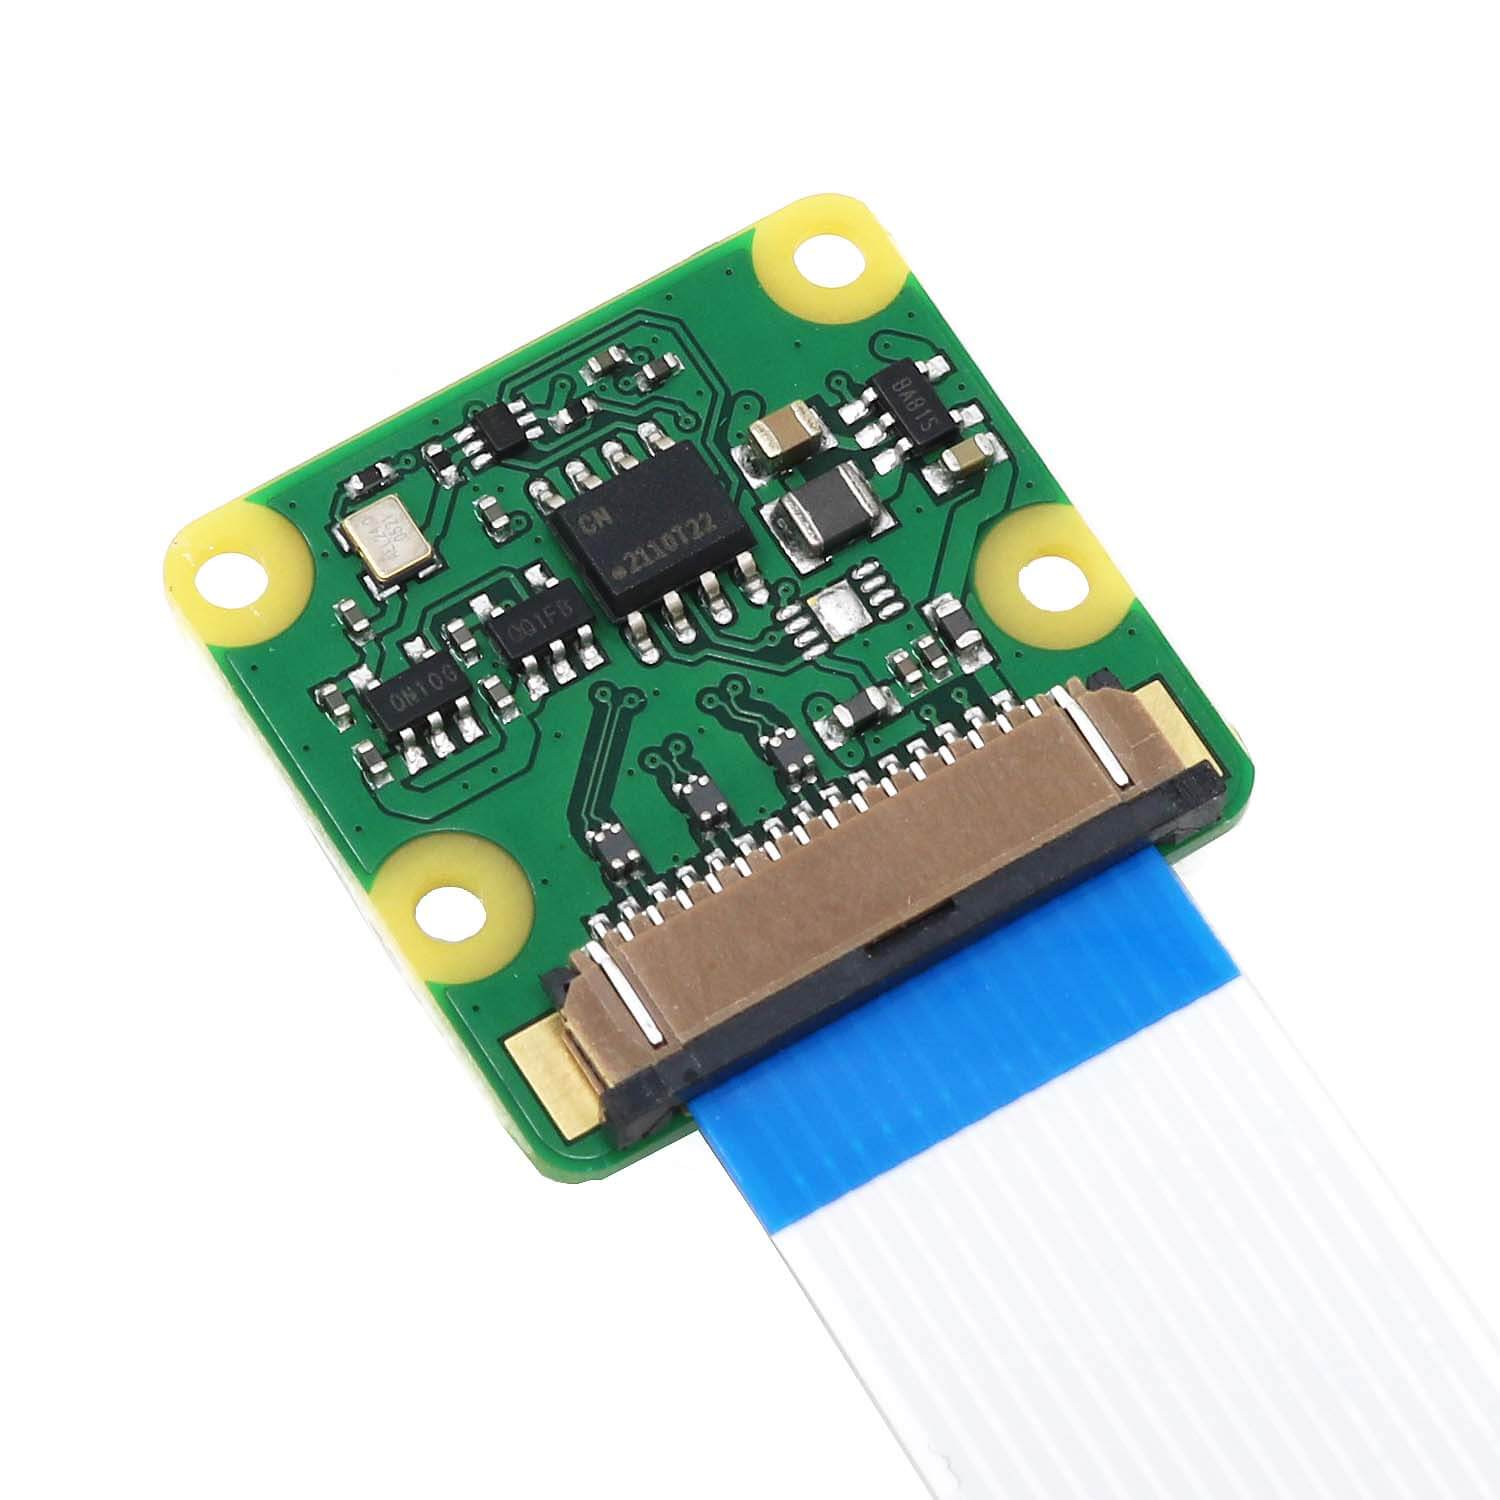
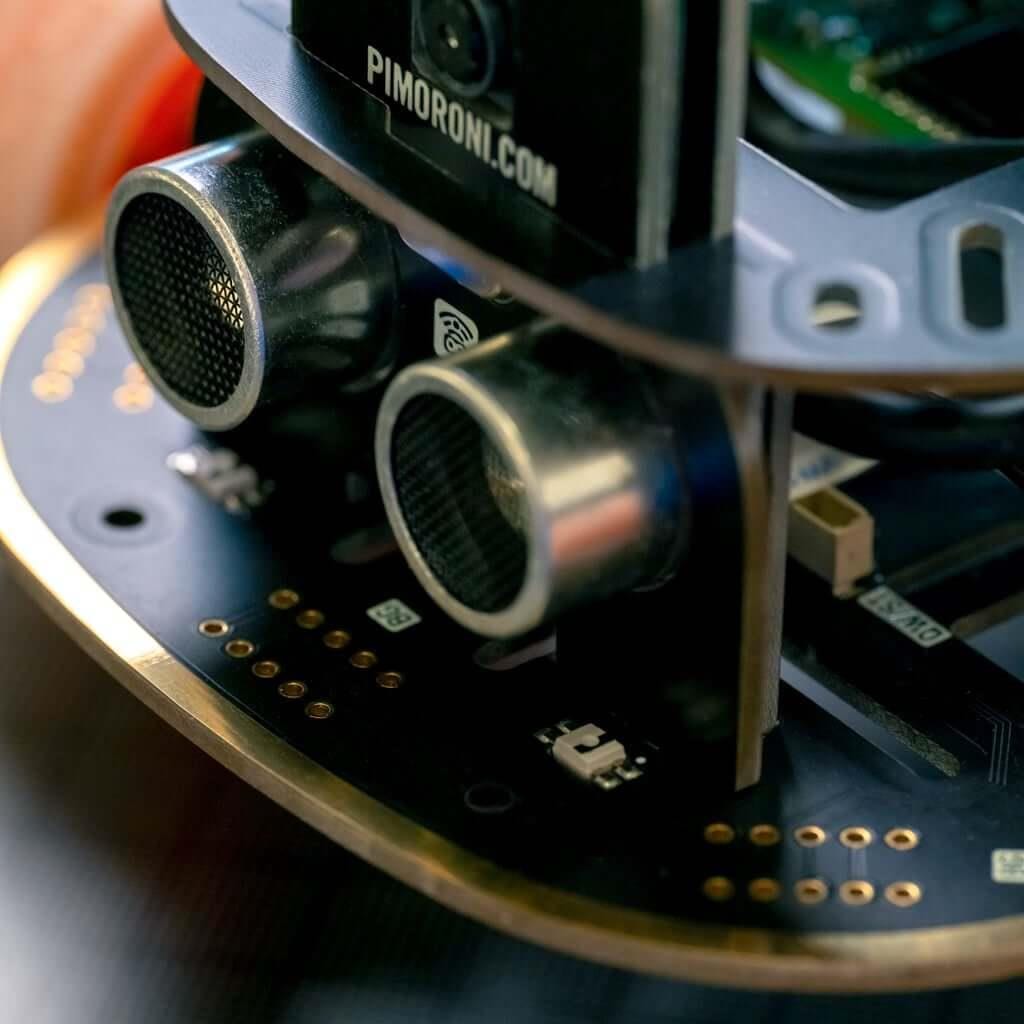
Driving around a tricked out horseshoe crab on wheels is fun, but if you want to add extra functions to your Trilobot, that's no problem. With a Raspberry Pi camera attached to the tidy built-in camera mount, you can record yourself a robot's eye view, or even add some AI/machine learning into the mix. It comes with an ultrasonic distance sensor so it can stop itself from bumping into things but we've made it easy to add more - there are two connectors for plugging in breakouts with Qwiic or STEMMA QT connectors, and broken out headers for adding up to five sockets for Breakout Garden breakouts (requires soldering).
The hardware is supported by a fully-featured Python library, with controller code and lots of examples developed with the help of a top-tier Trilobot testing team.
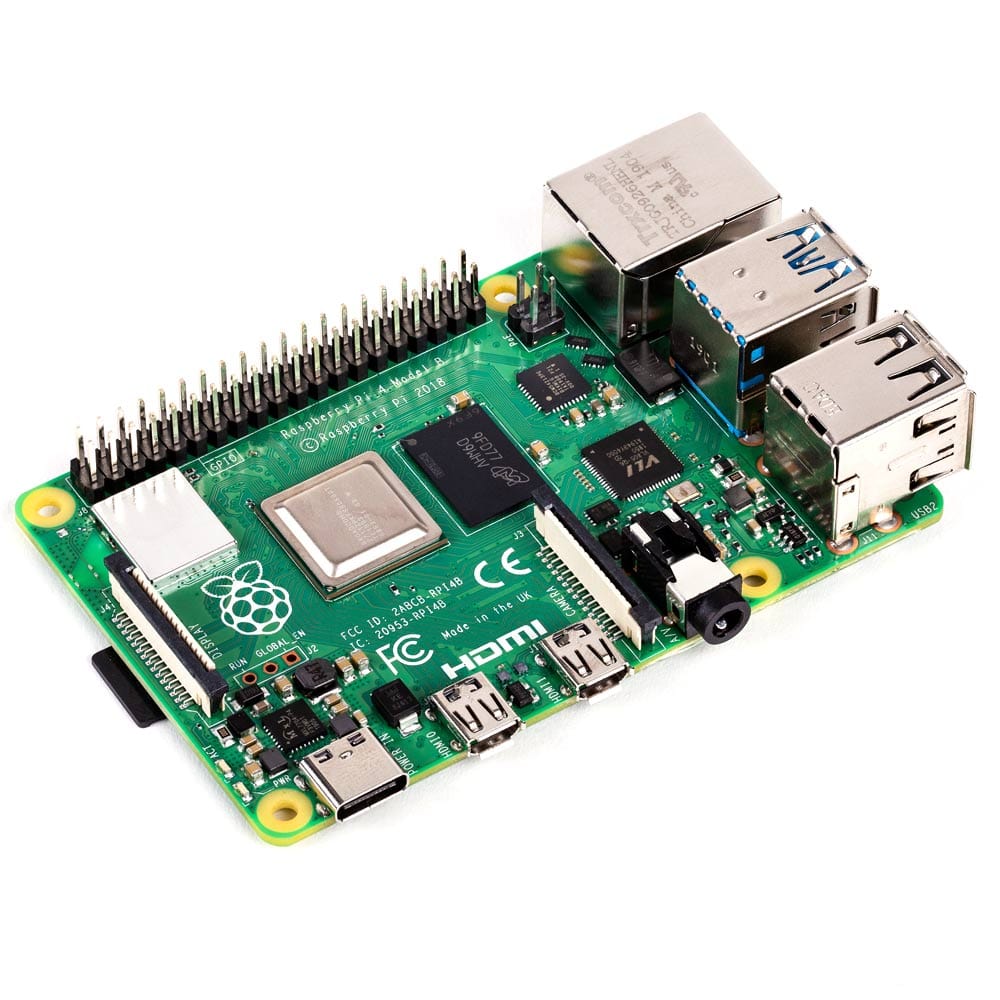
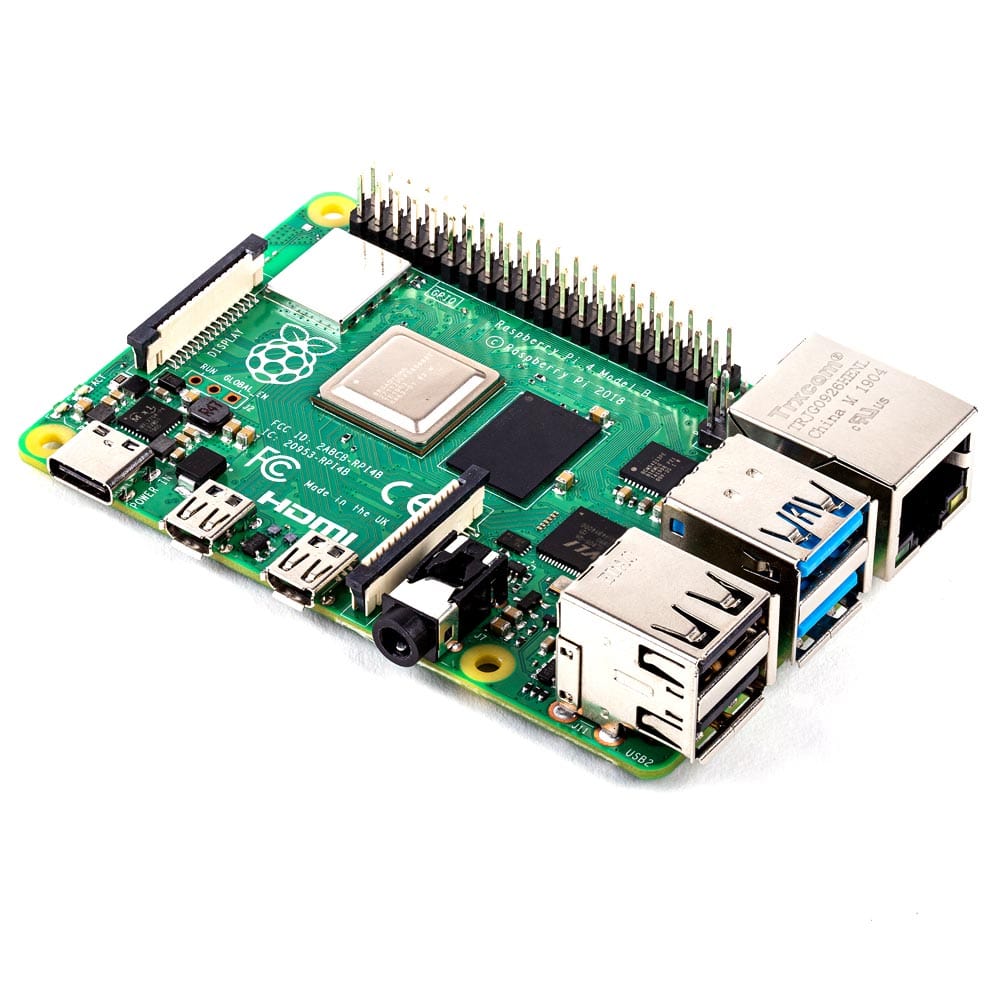
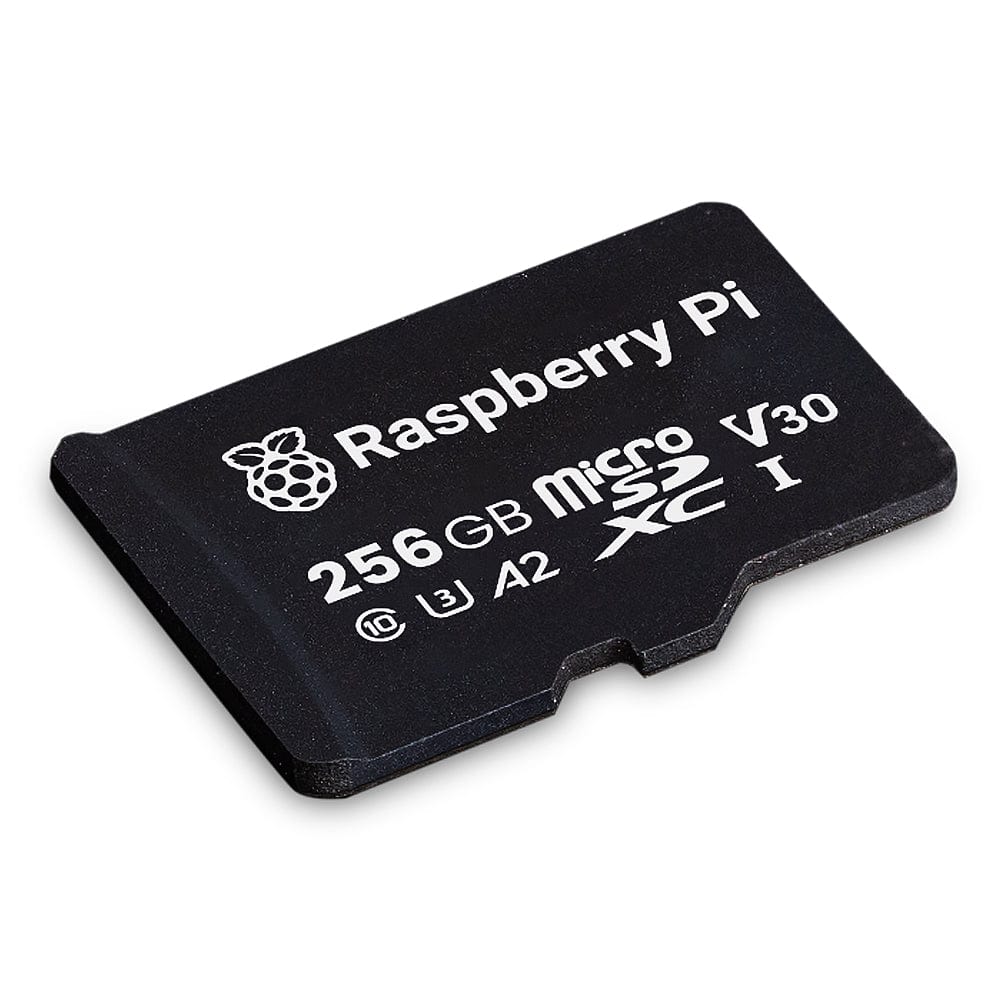
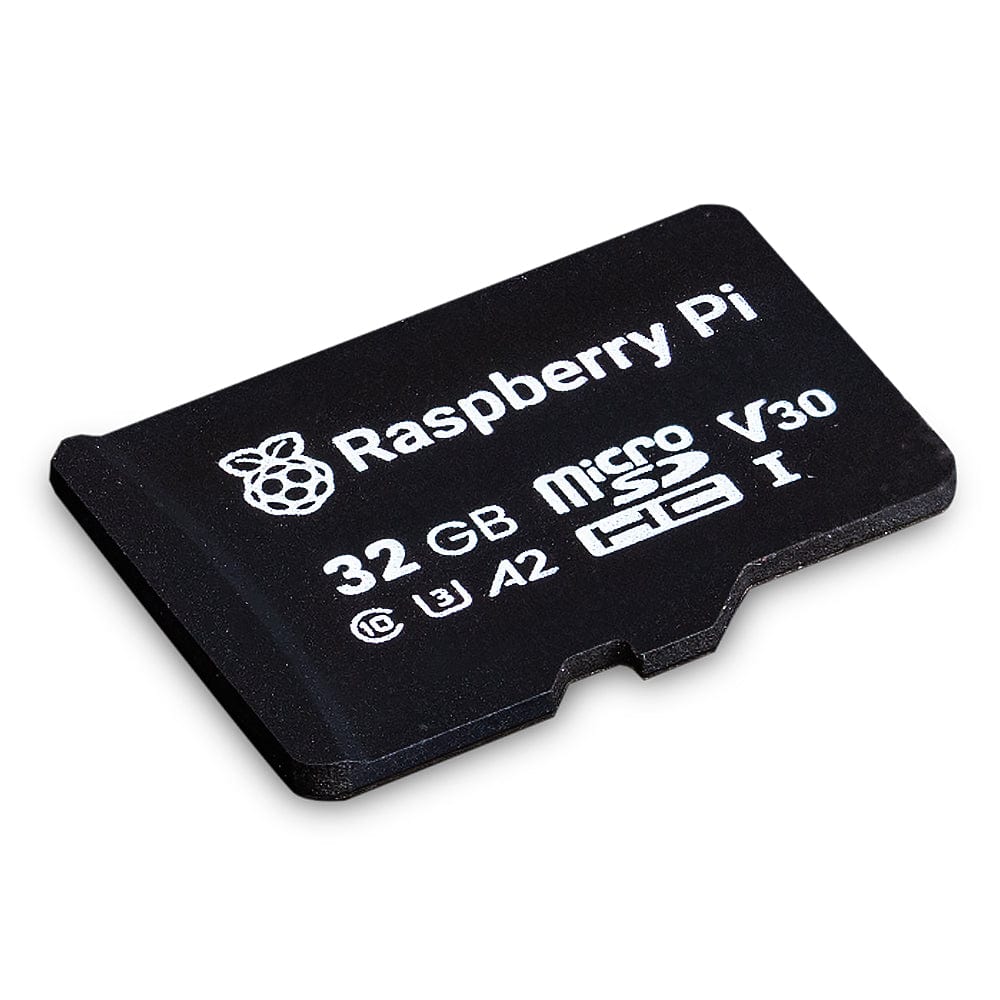
Please note this is the Trilobot Base Kit only, you'll need to add your own Raspberry Pi 4, SD card, Raspberry Pi V2 camera and a USB-C power bank.
To complete your robot you will also need a Raspberry Pi 4, SD card, Raspberry Pi V2 camera and a USB-C power bank.
We've got a full, beginner-friendly tutorial with plenty of photos to show you how to assemble your Trilobot and how to install the Python library.


