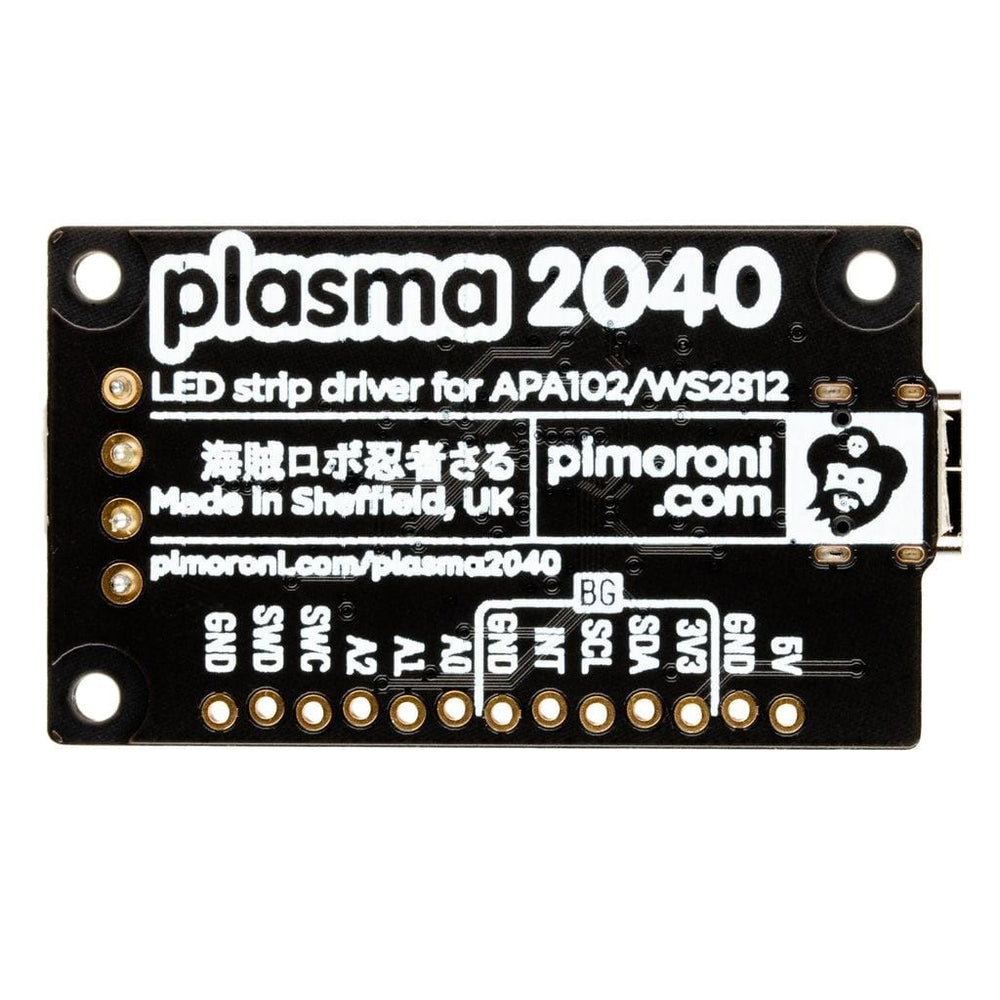
Plasma 2040
Price:
Sale price
£14.10
Stock:
Quantity:
 Skip to content
Login / Signup
Cart
Your cart is empty

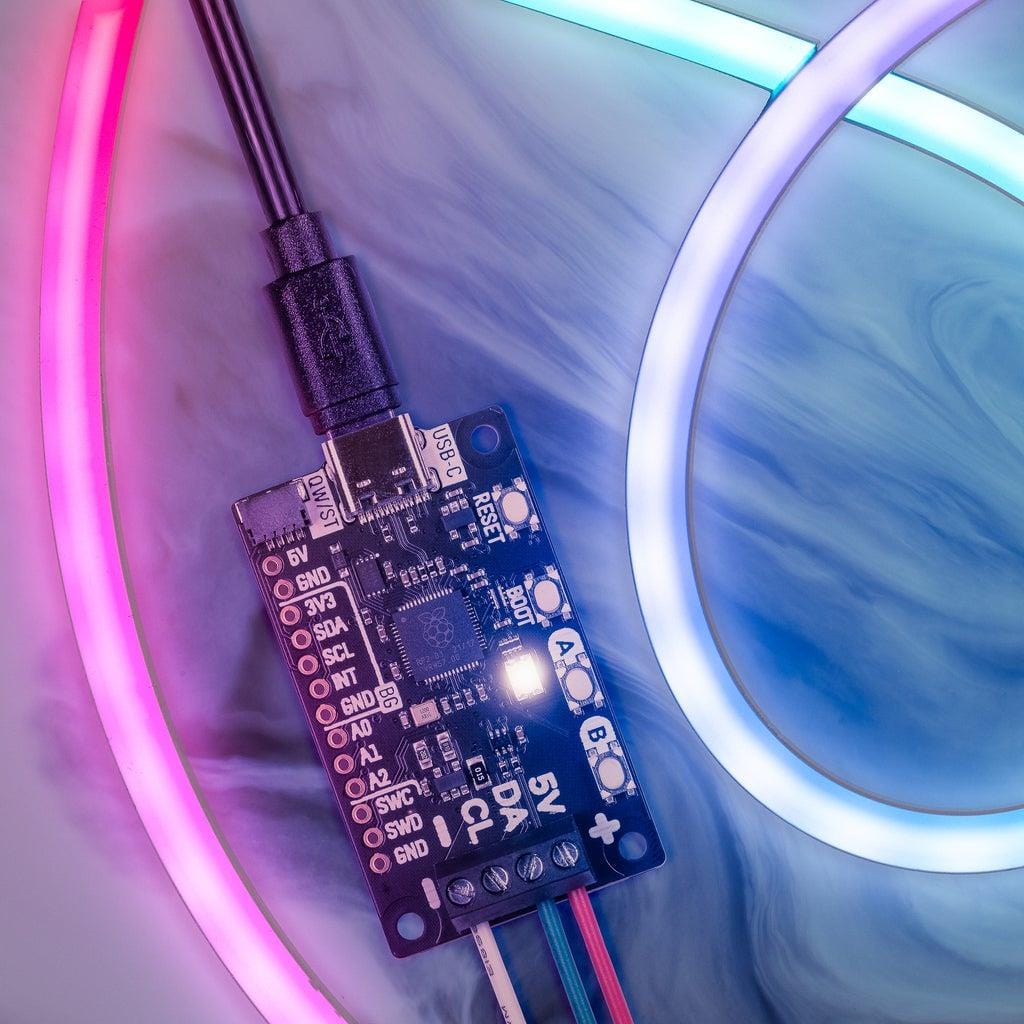
Swathe everything in rainbows with this all-in-one, USB-C powered controller for WS2812/Neopixel and APA102/Dotstar addressable LED strips.
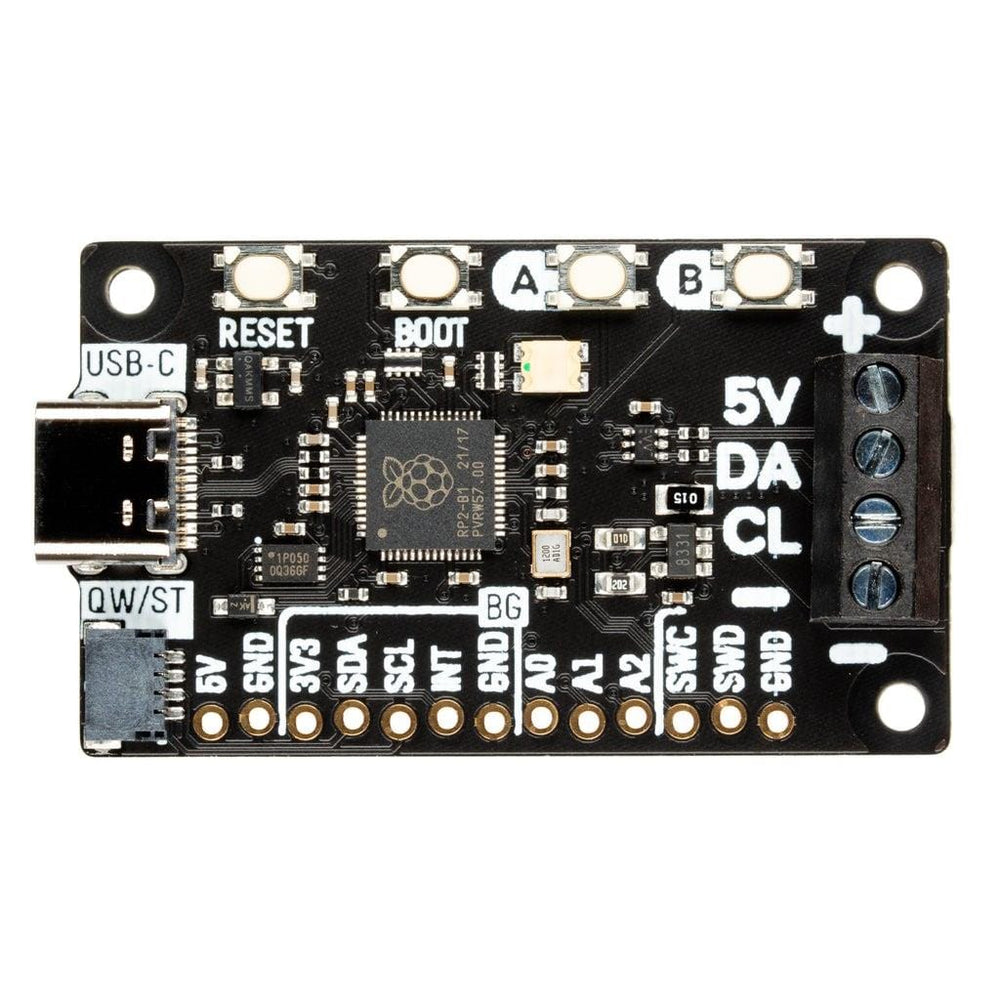
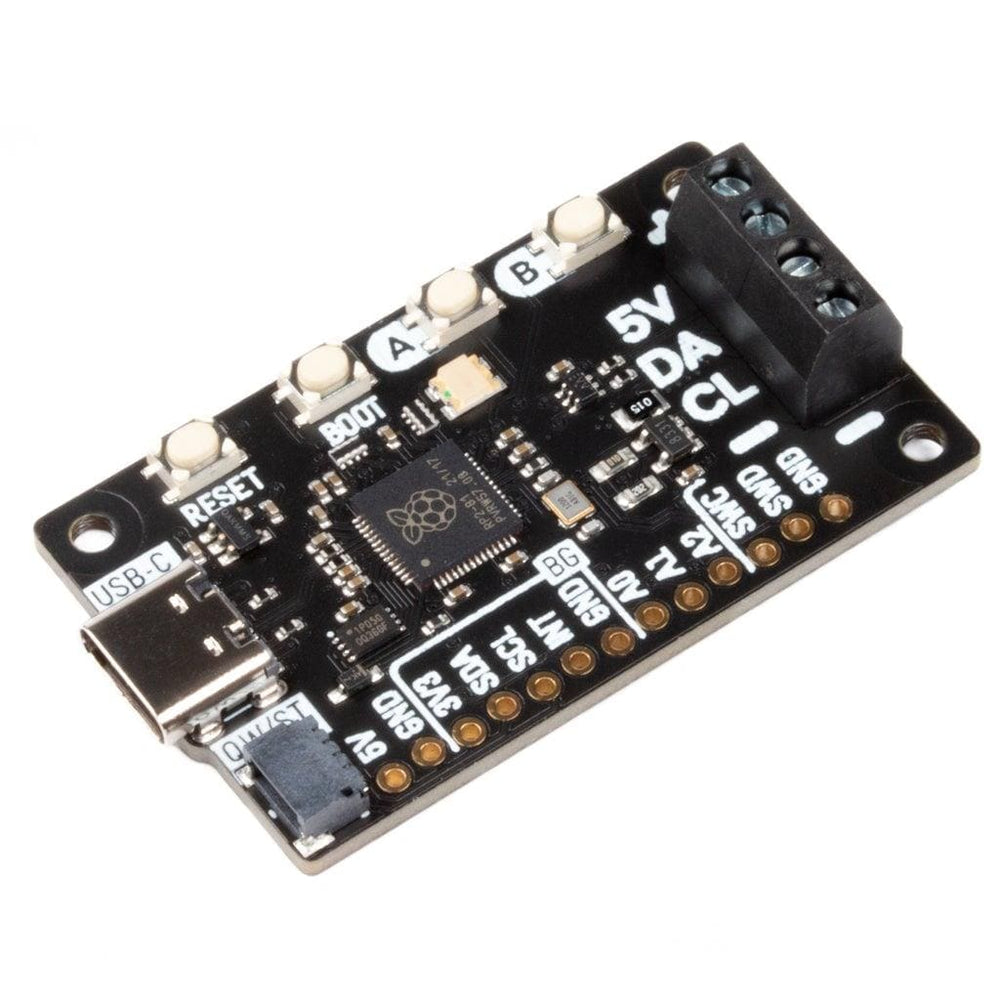
Plasma 2040 is an RP2040-based driver board for addressable LED strips (also known as magical rainbows by the metre). It's designed to make rigging up bits of custom, programmable lighting as straightforward as possible - perfect for whipping up some quick under-cupboard illumination, dramatically underlighting your sofa or providing some atmospheric mood-lighting for your workspace, PC or vivarium.
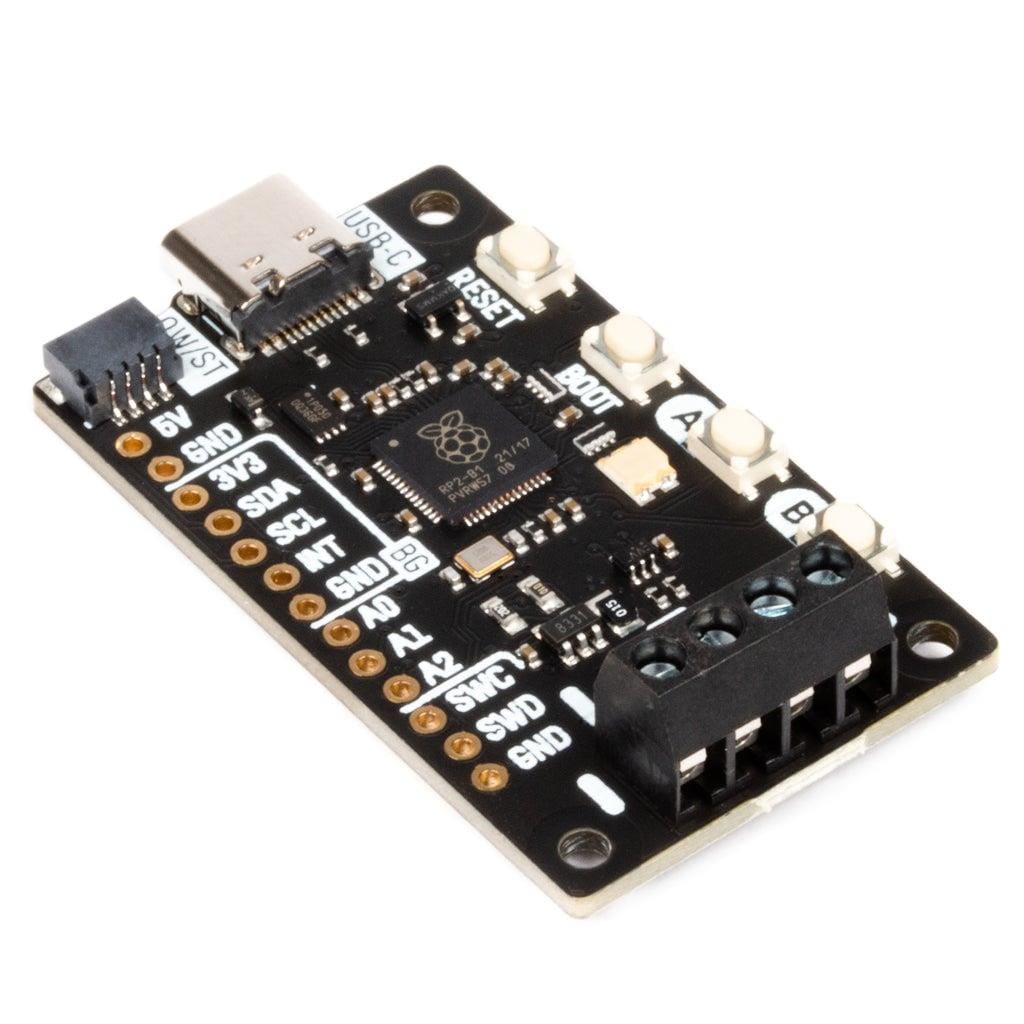
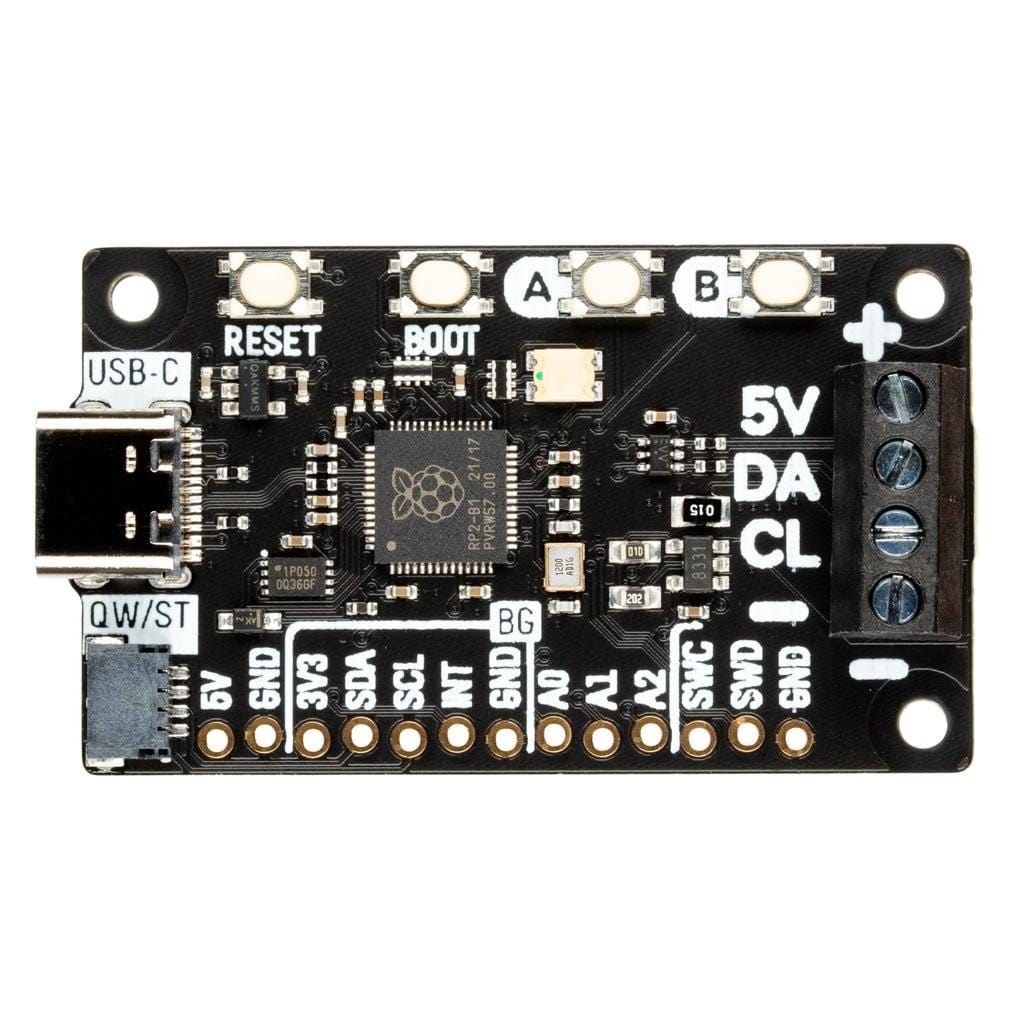
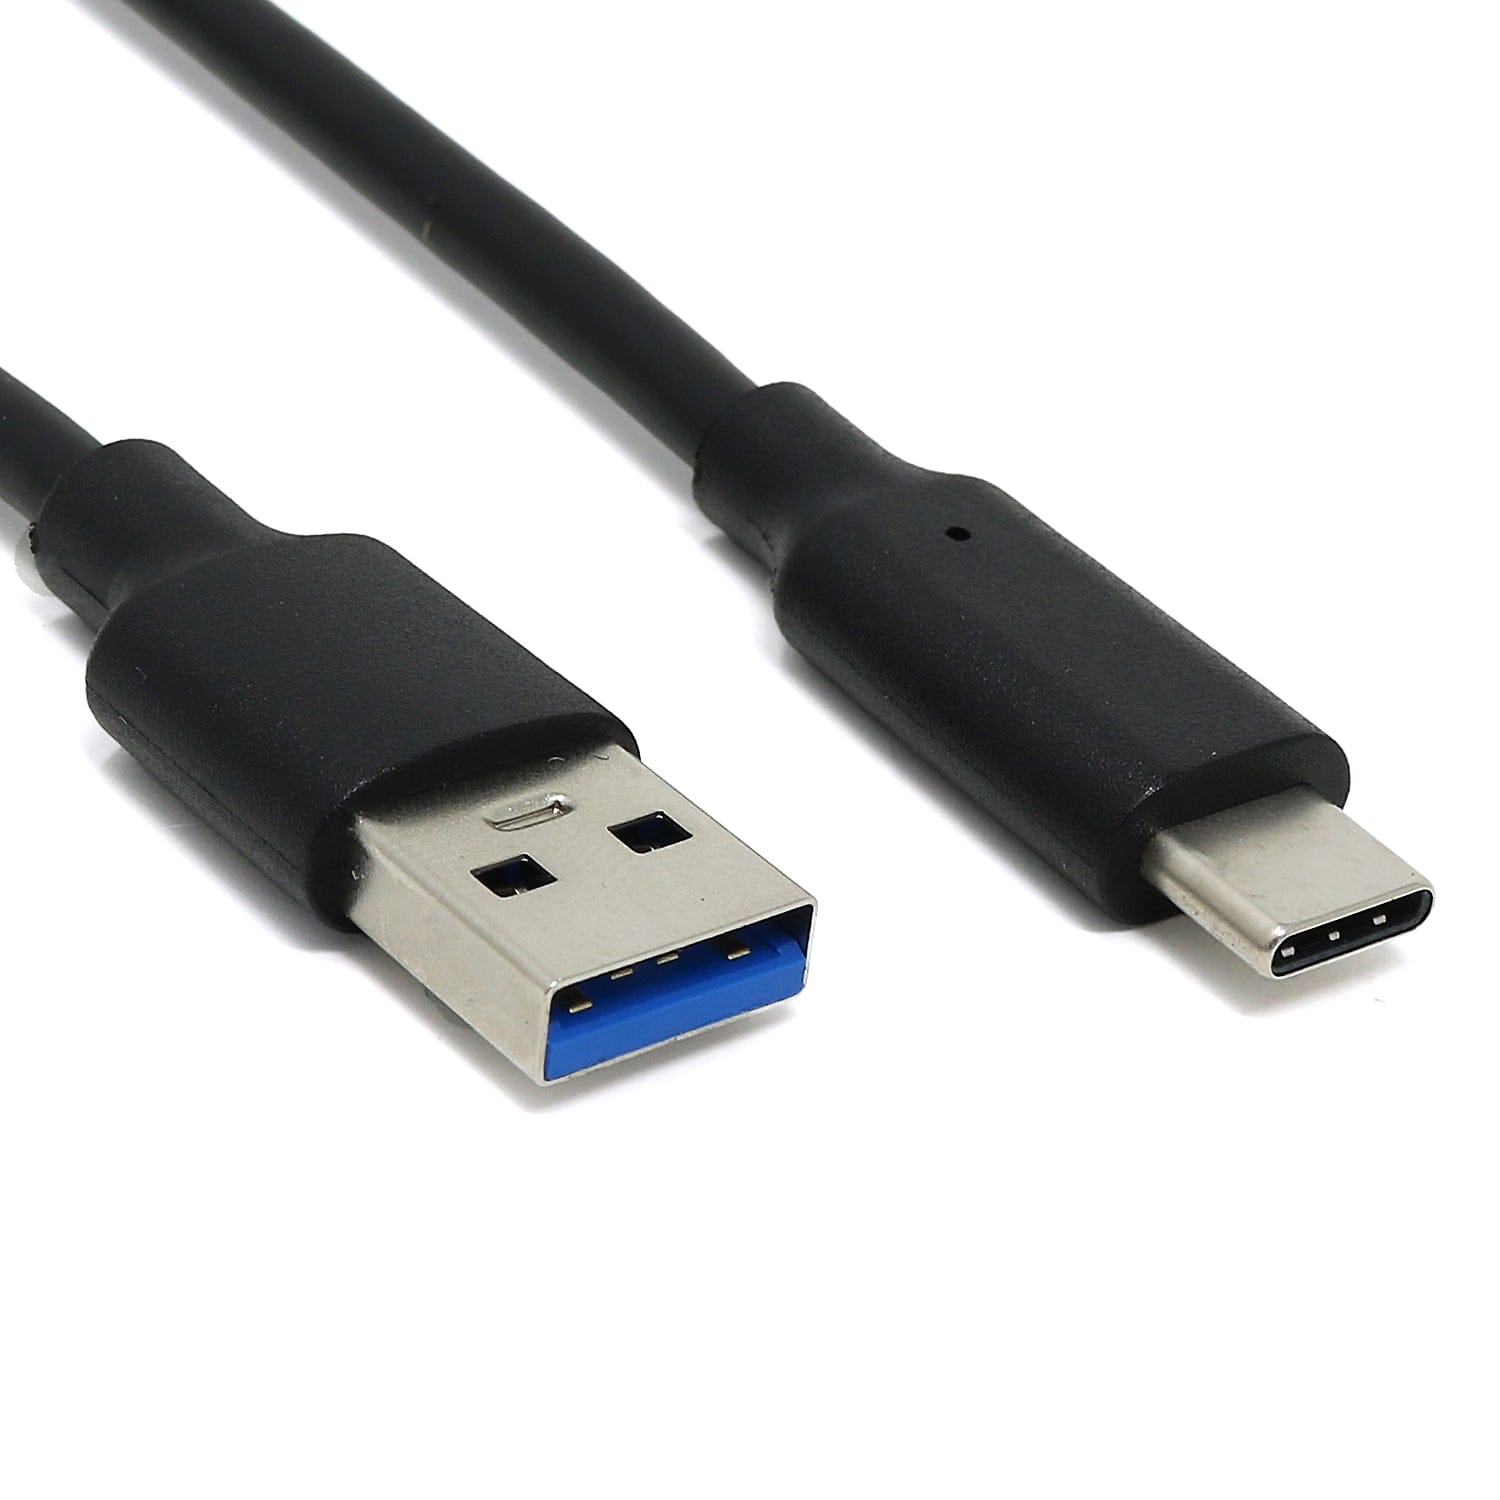
Plasma 2040 is powered and programmable by USB-C and, because USB-C is capable of drawing up to 3A of power, that's enough to power a healthy chunk of LEDs. There's three useful buttons that you could use for turning the lights on and off or to switch between colours or effects, plus a reset button and an eternally popular onboard RGB LED.
We've also popped a QW/ST connector on there, to make it super easy to plug in Qwiic or STEMMA QT breakouts - how about hooking up an RGB potentiometer to adjust the speed or hue of your lights, an air quality sensor to make your desk lighting into a giant thermometer or tell you when you should crack a window or a light sensor to turn them on automatically when it gets dark?
LED strip and connectors are sold separately, check out the extras tab for some options!
Plasma 2040 is firmware agnostic! You can program it with C/C++ or MicroPython in the same way as you would a Raspberry Pi Pico. You can find (lots) more information on how to do that (as well as download links for the firmware/SDK) on the RP2040 landing page. You can find documentation for our MicroPython Plasma module here.
You can also use CircuitPython on your Plasma 2040! CircuitPython is an easy to use, well-established ecosystem with lots of example code and drivers for interfacing with different kinds of hardware. Click here to download the CircuitPython firmware for Plasma 2040 and click here for a getting started guide.
Click here for a beginner friendly tutorial that covers how to hook up different kinds of LEDs to Plasma 2040 and how to use it to build a simple busy light. It includes both MicroPython and CircuitPython code!
If your breakout has a QW/ST connector on board, you can plug it straight in with a JST-SH to JST-SH cable, or you can easily connect any of our I2C breakouts with a JST-SH to JST-SH cable coupled with a Qw/ST to Breakout Garden adaptor.
You can find a list of which breakouts are currently compatible with our C++/MicroPython build here.
We've also broken out a set of I2C pins, analog pins and debug pins so you can solder things like breakouts or analog potentiometers directly to them (or solder on a strip of header and plug the whole shebang into a breadboard).
Your payment information is processed securely. We do not store credit card details nor have access to your credit card information.