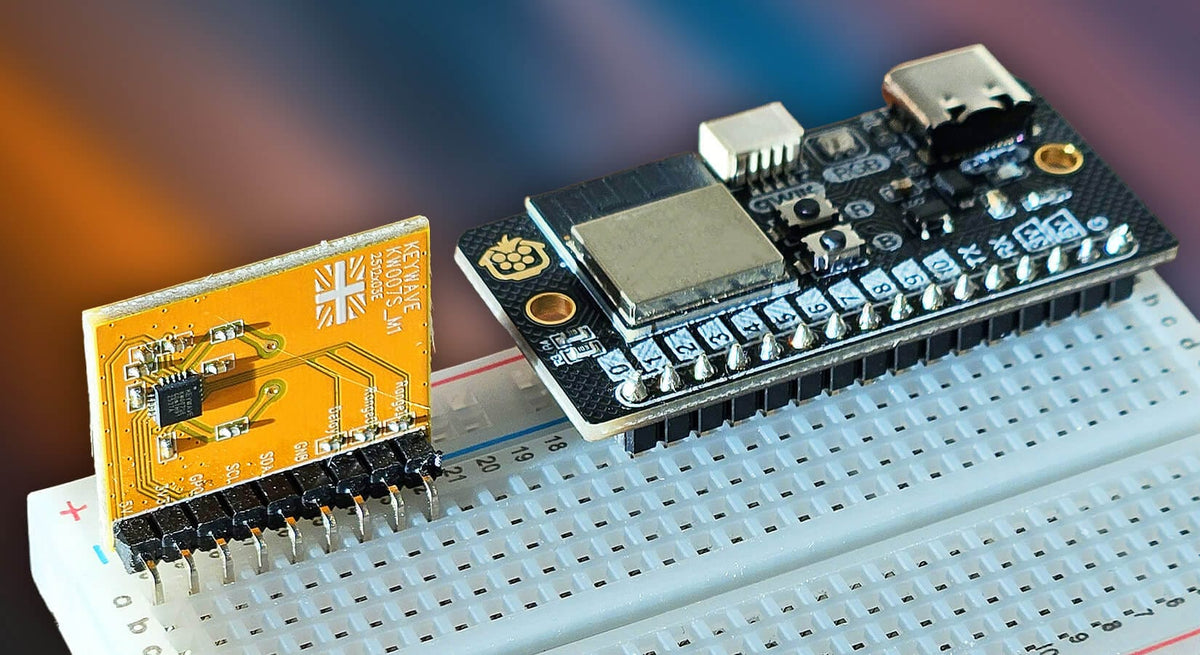
3-Wire Radar Motion Sensing in Home Assistant
Let's add radar motion sensing to Home Assistant with a few parts and just three wires!
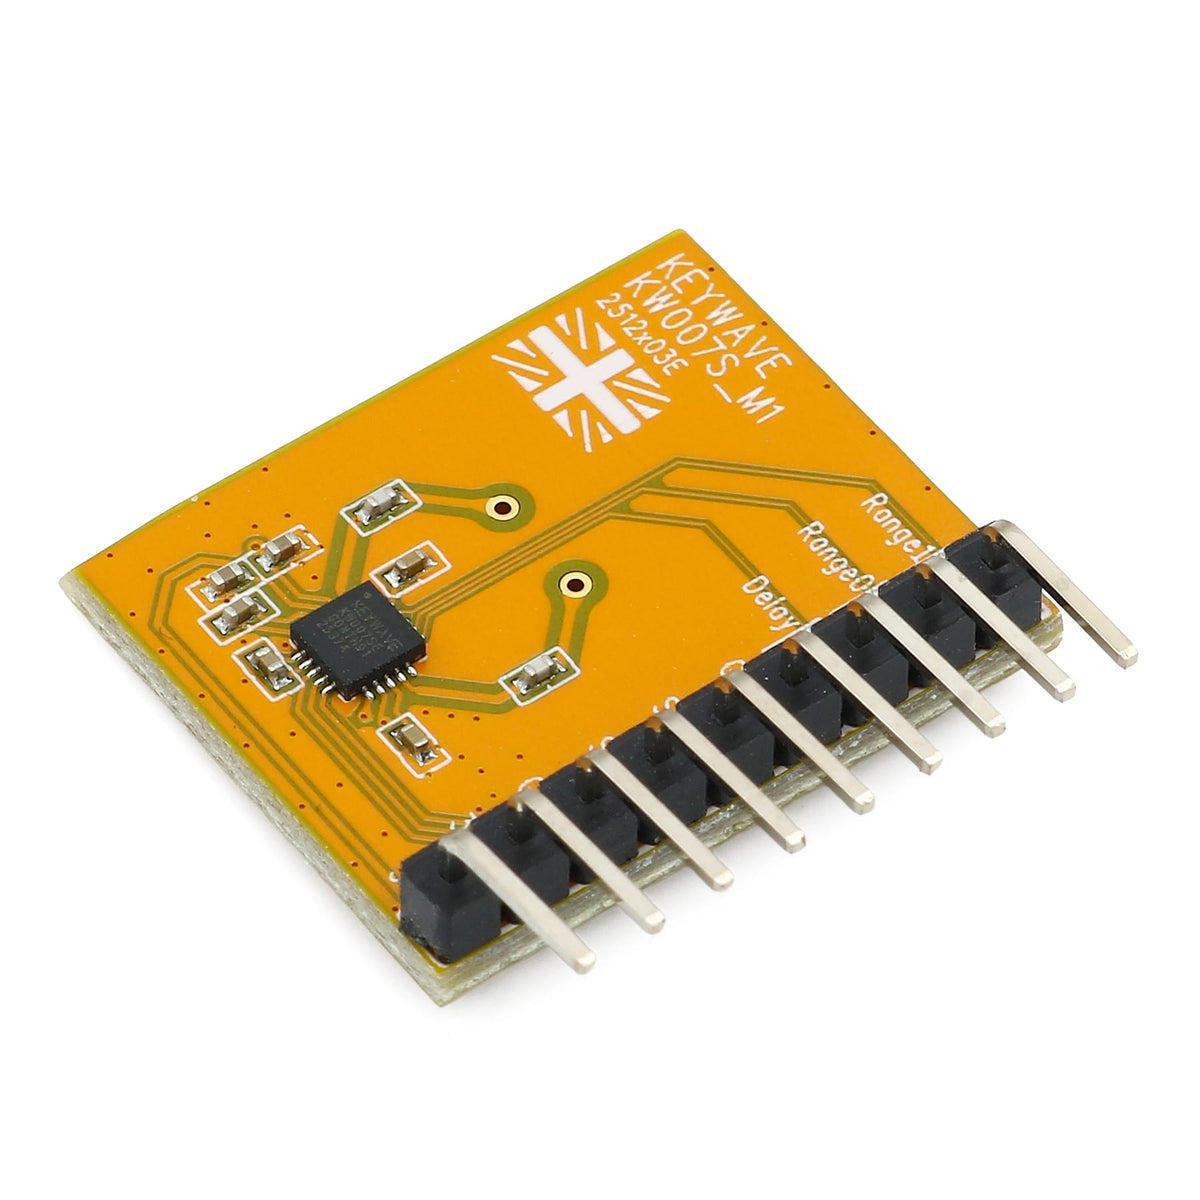
We're using the Keywave KW007-SE for this tutorial, a new sensor in the store that uses 5.8GHz Doppler radar to detect motion. It beats the pants off a traditional PIR sensor in many ways, as it doesn't require unreliable body heat for detection, senses in all directions, and (when used in the more advanced mode) can detect whether a subject is approaching or moving away.
Today we're using the sensor in its simplest mode, with just three wires and a basic motion detected/not-detected GPIO HIGH/LOW setup feeding an ESP dev board. Why? Because whilst an advanced I2C mode is available, we think this is a nice and easy 'non-scary' upgrade to the classic PIR, and means you can re-wire and re-code later - with the same sensor - to do more advanced stuff if you fancy it.
Let's get to it.
You will need
To follow-along at home, you'll need the following:
-
Keywave KW007-SE 5.8GHz RF Motion Sensor
-
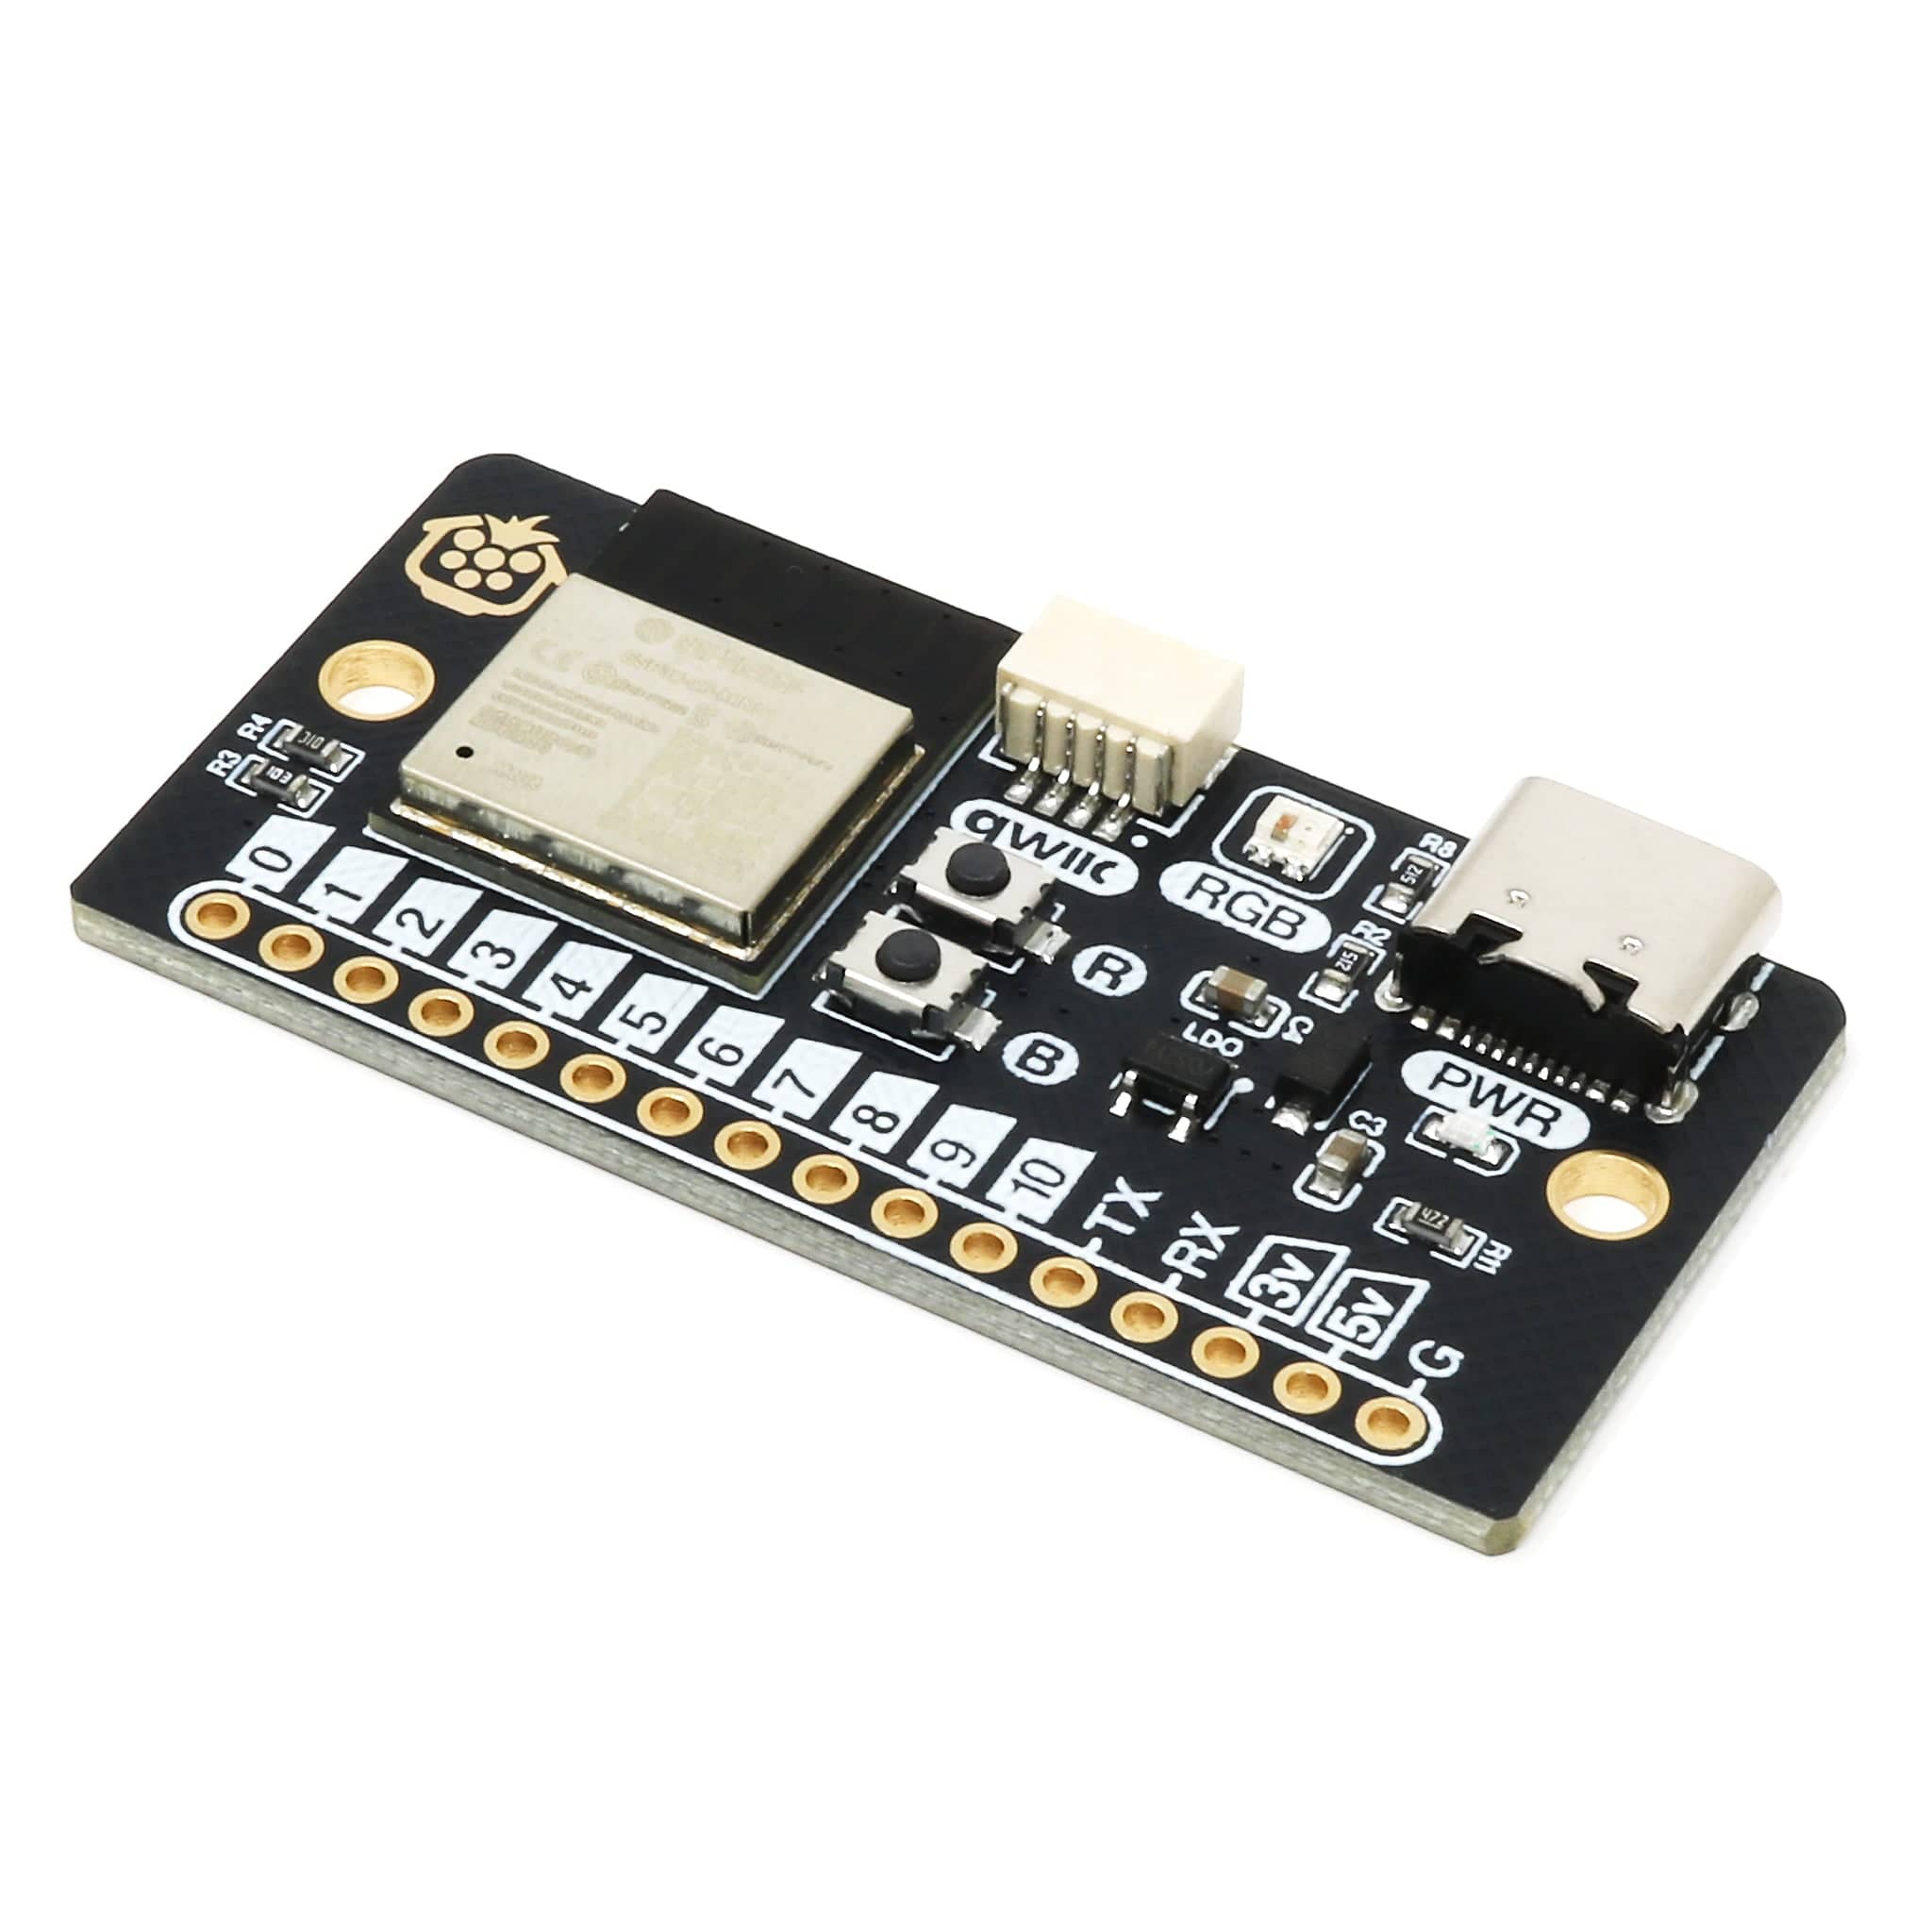
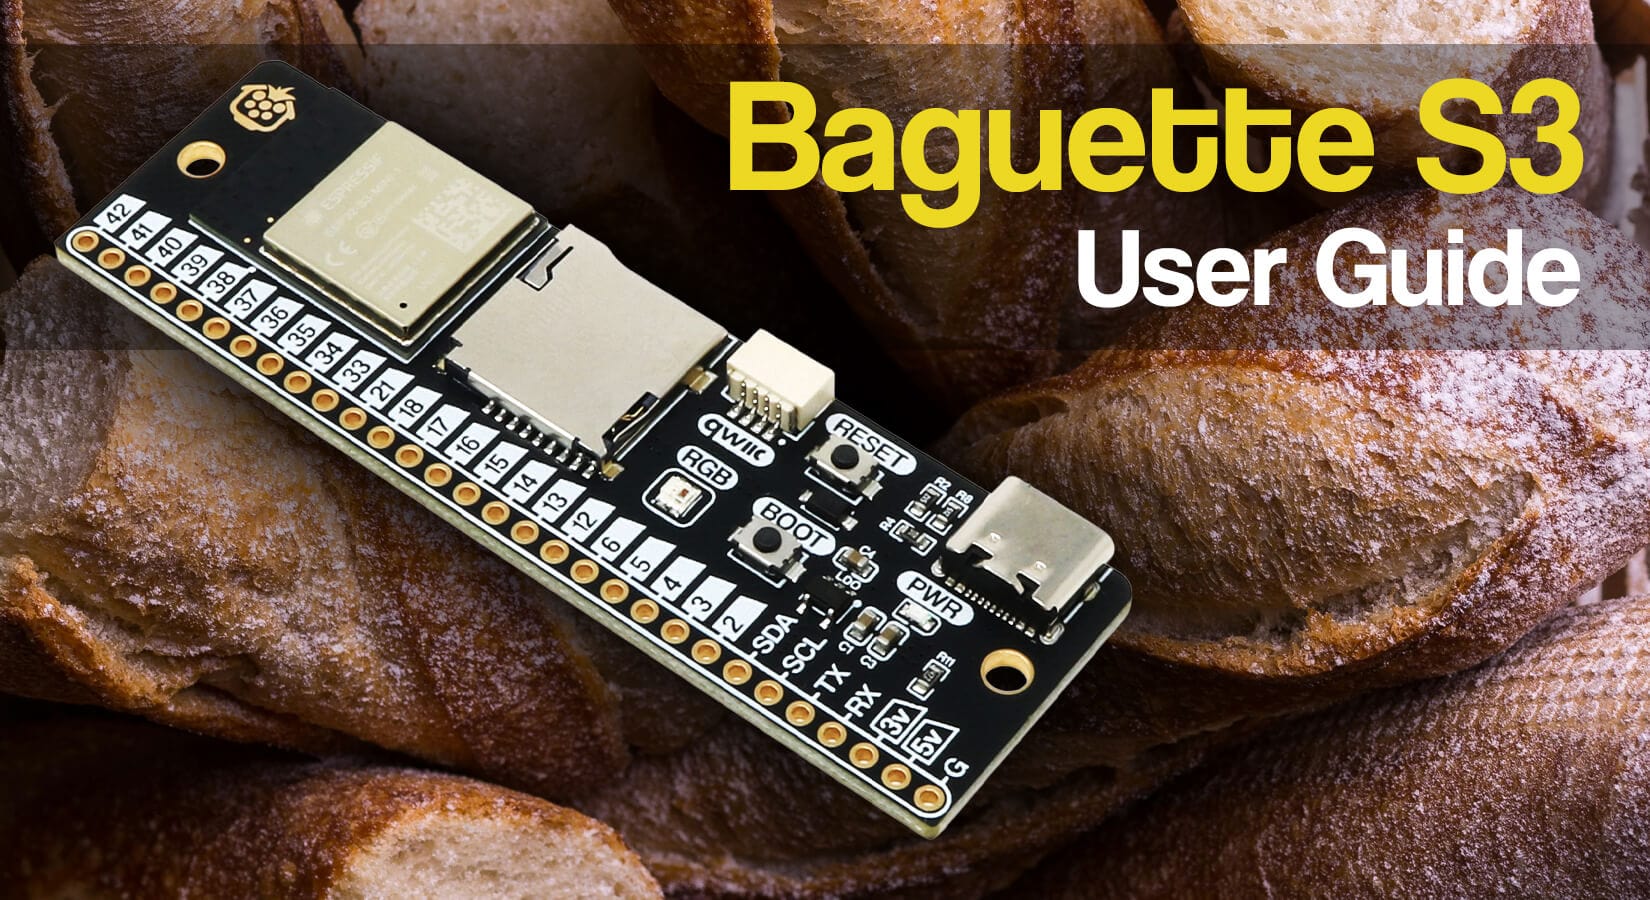
Baguette C3 board or a similar ESP32-XX board
- USB-C (data) cable for the Baguette
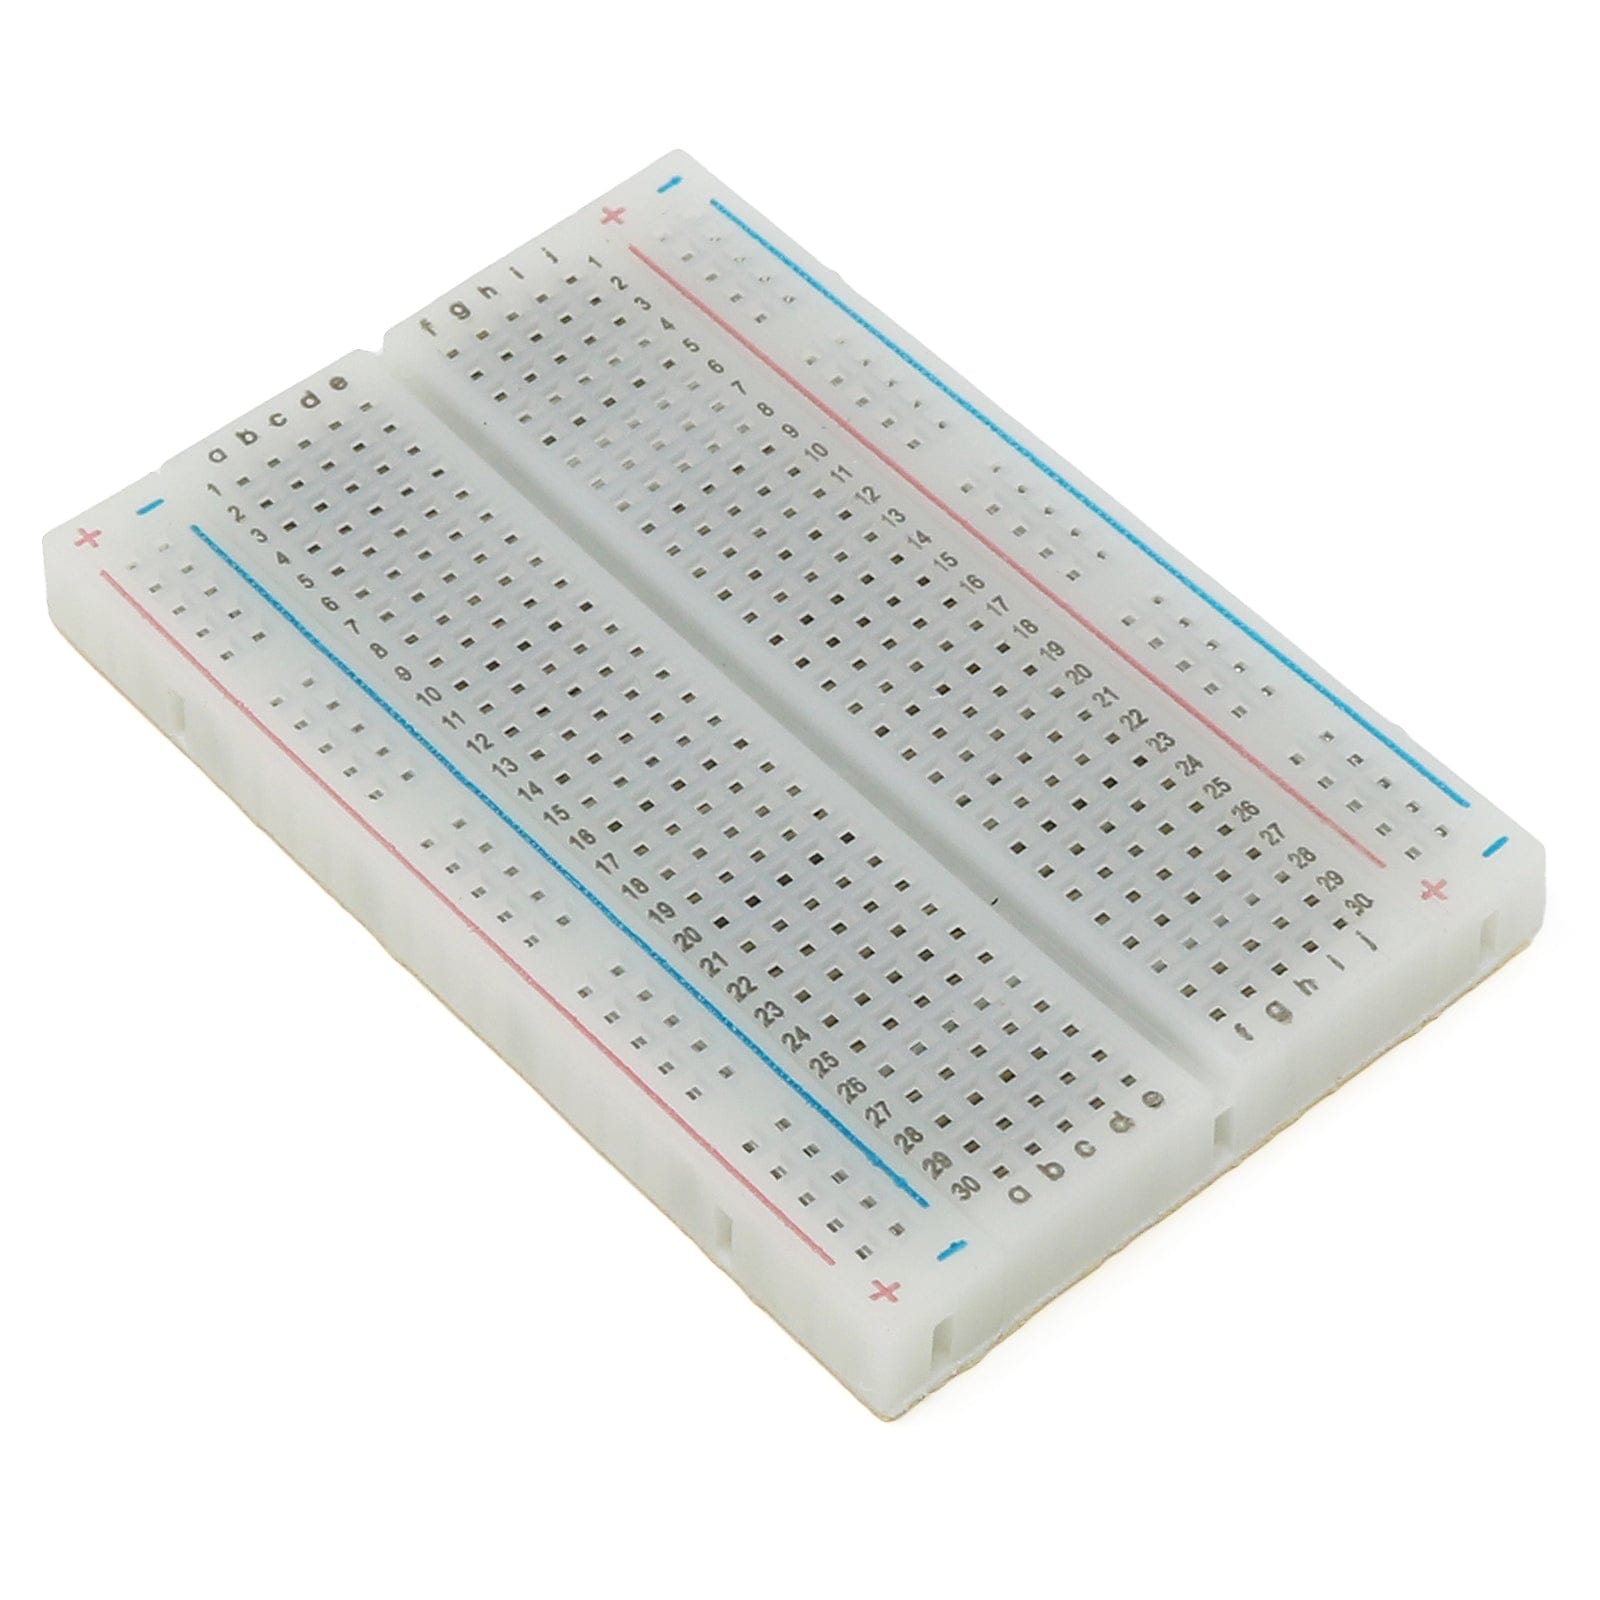
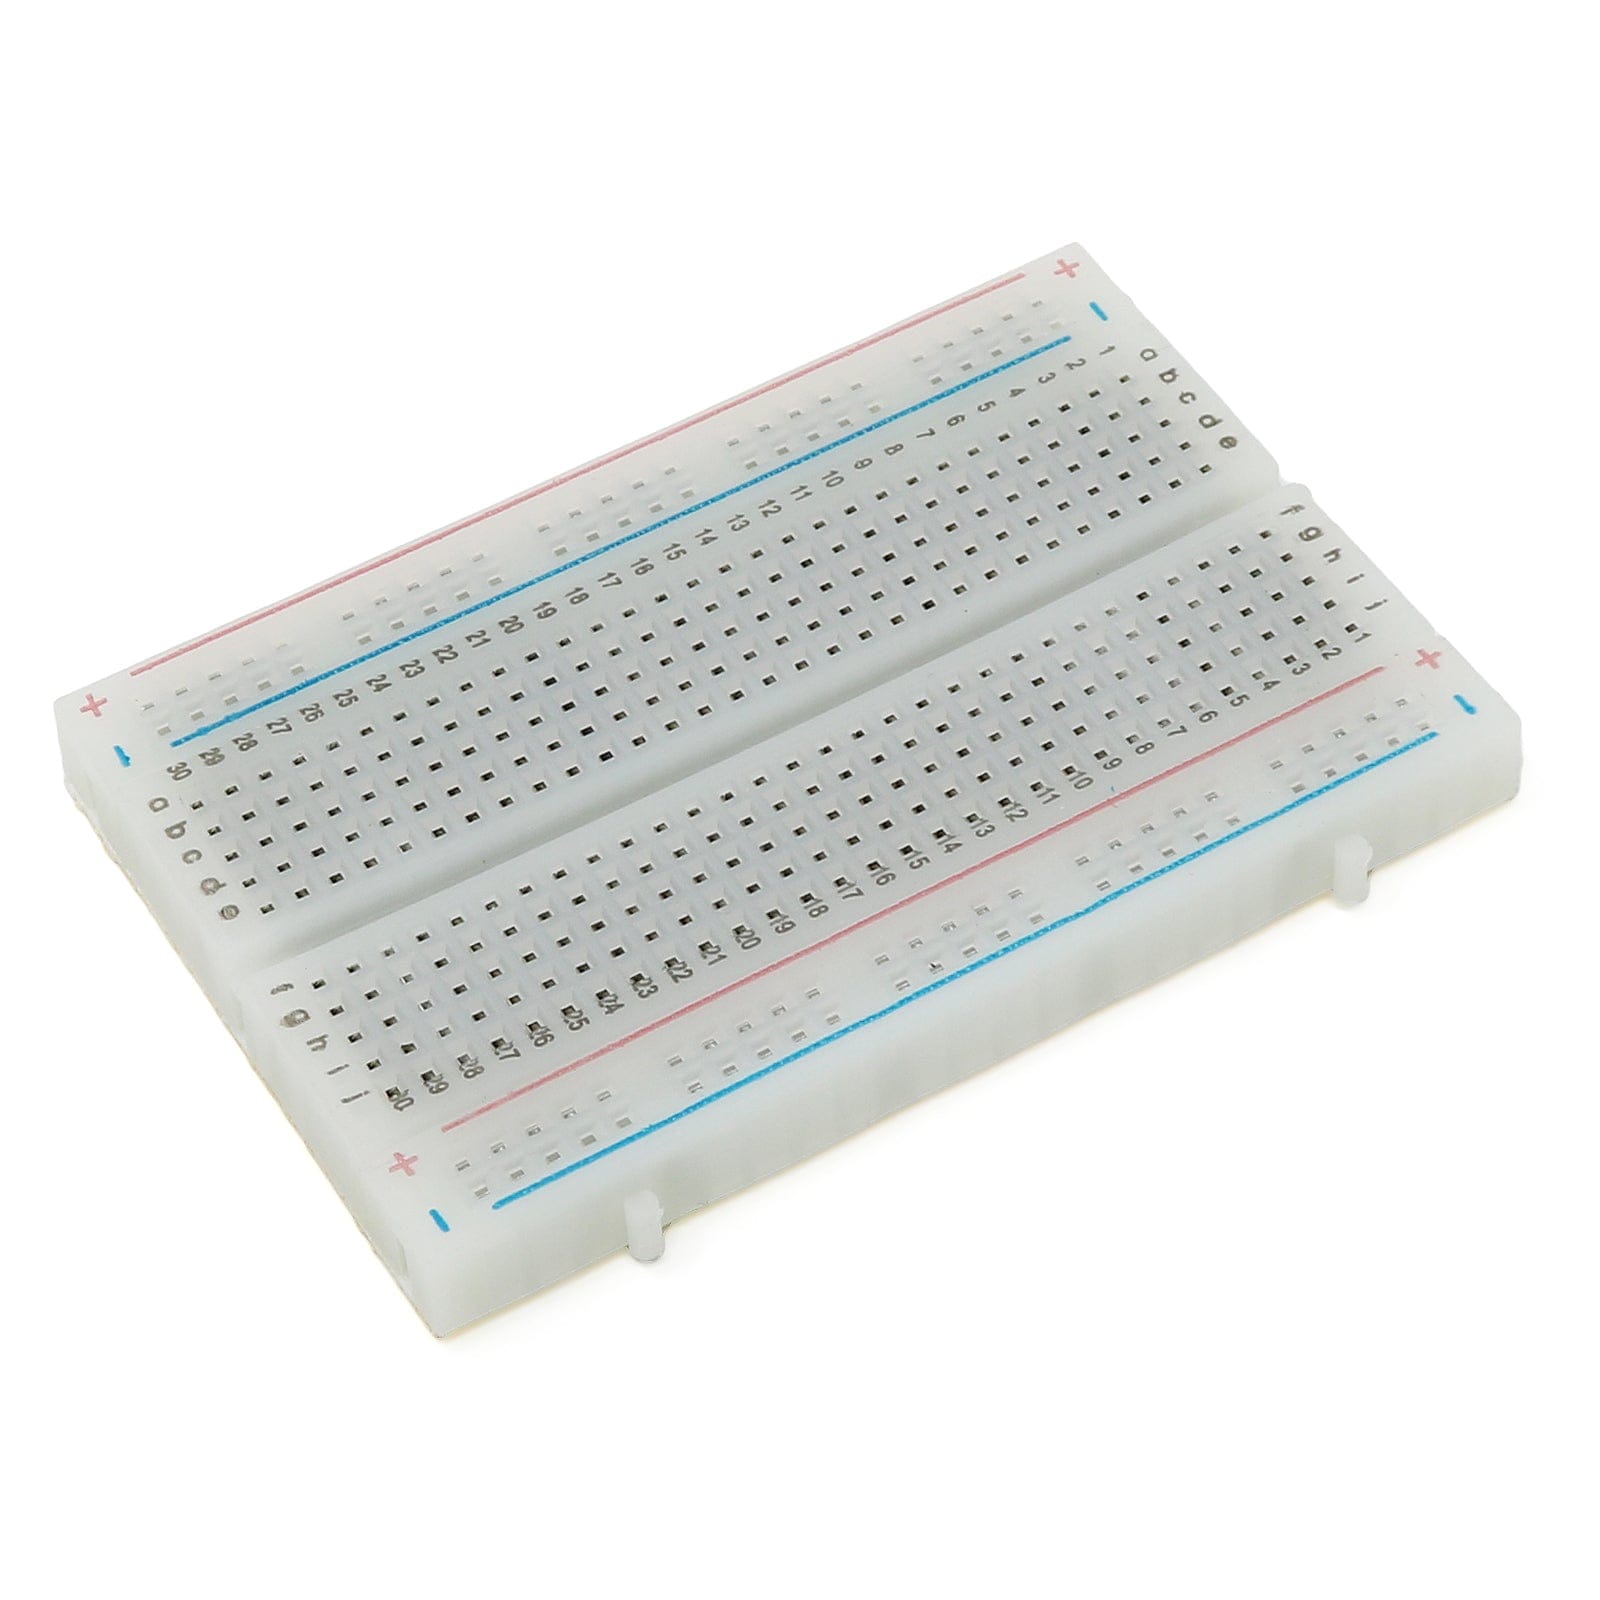
- Breadboard
- Jumper wires
- Optional: Resistors, for tweaking the timeout
Assumptions
This guide assumes you already have Home Assistant up and running, with ESPHome Device Builder installed. We're also assuming some basic prior knowledge of Home Assistant navigation/usage.
It's also worth mentioning that we're connecting the dev board to our laptop/PC, not the host HA device.
Wiring the sensor
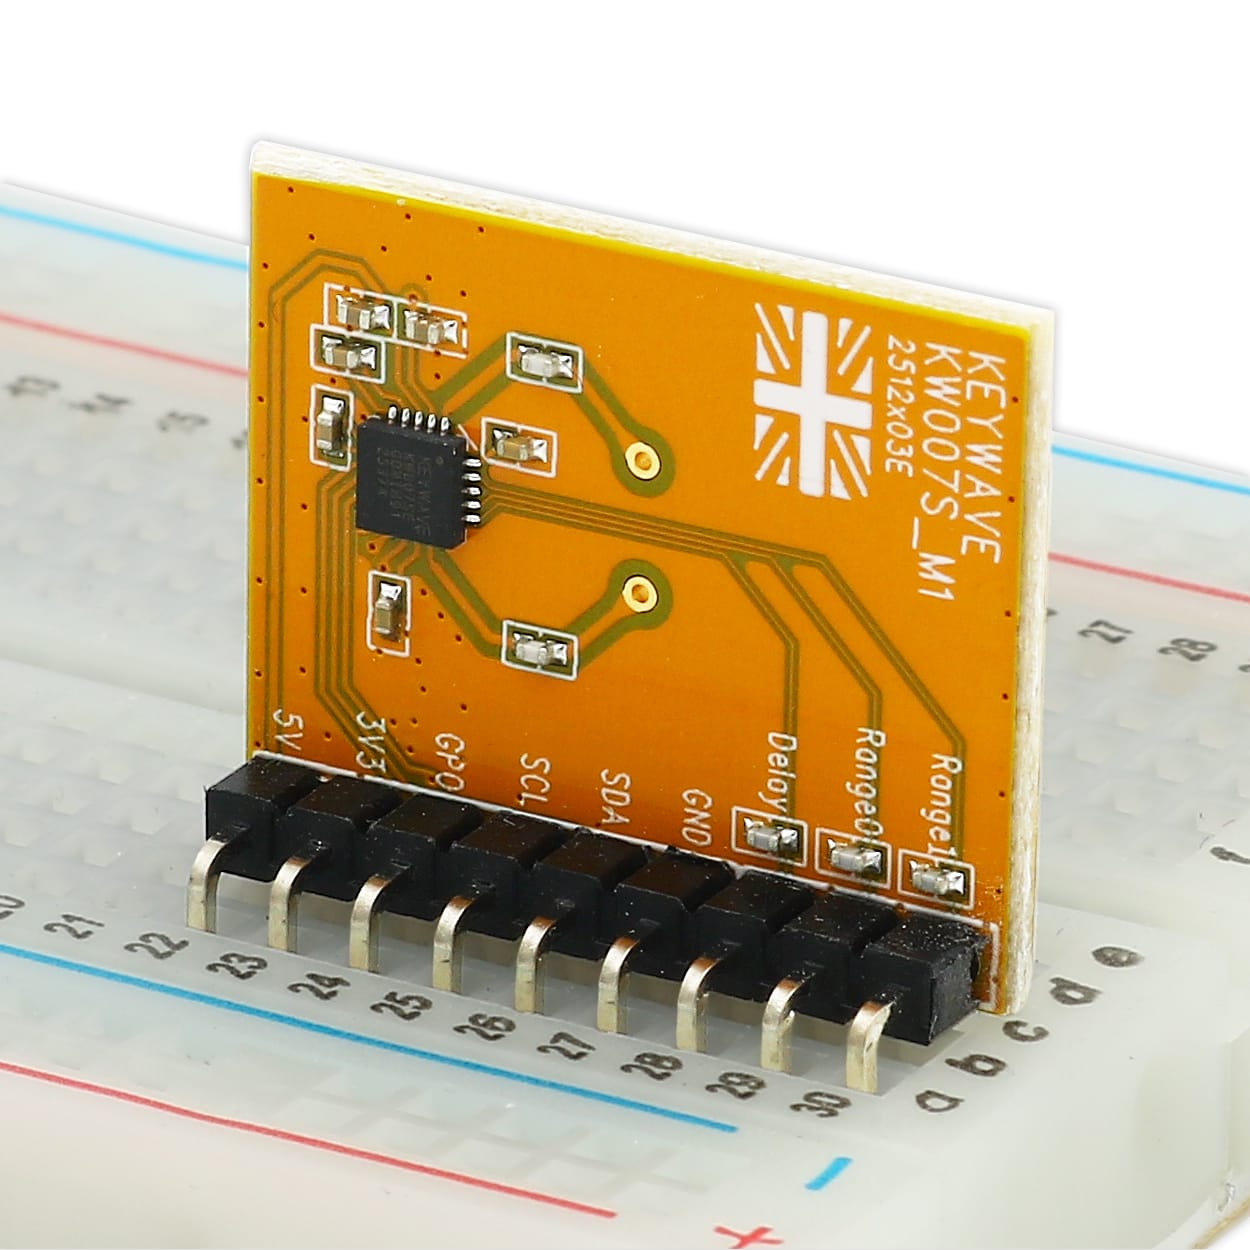
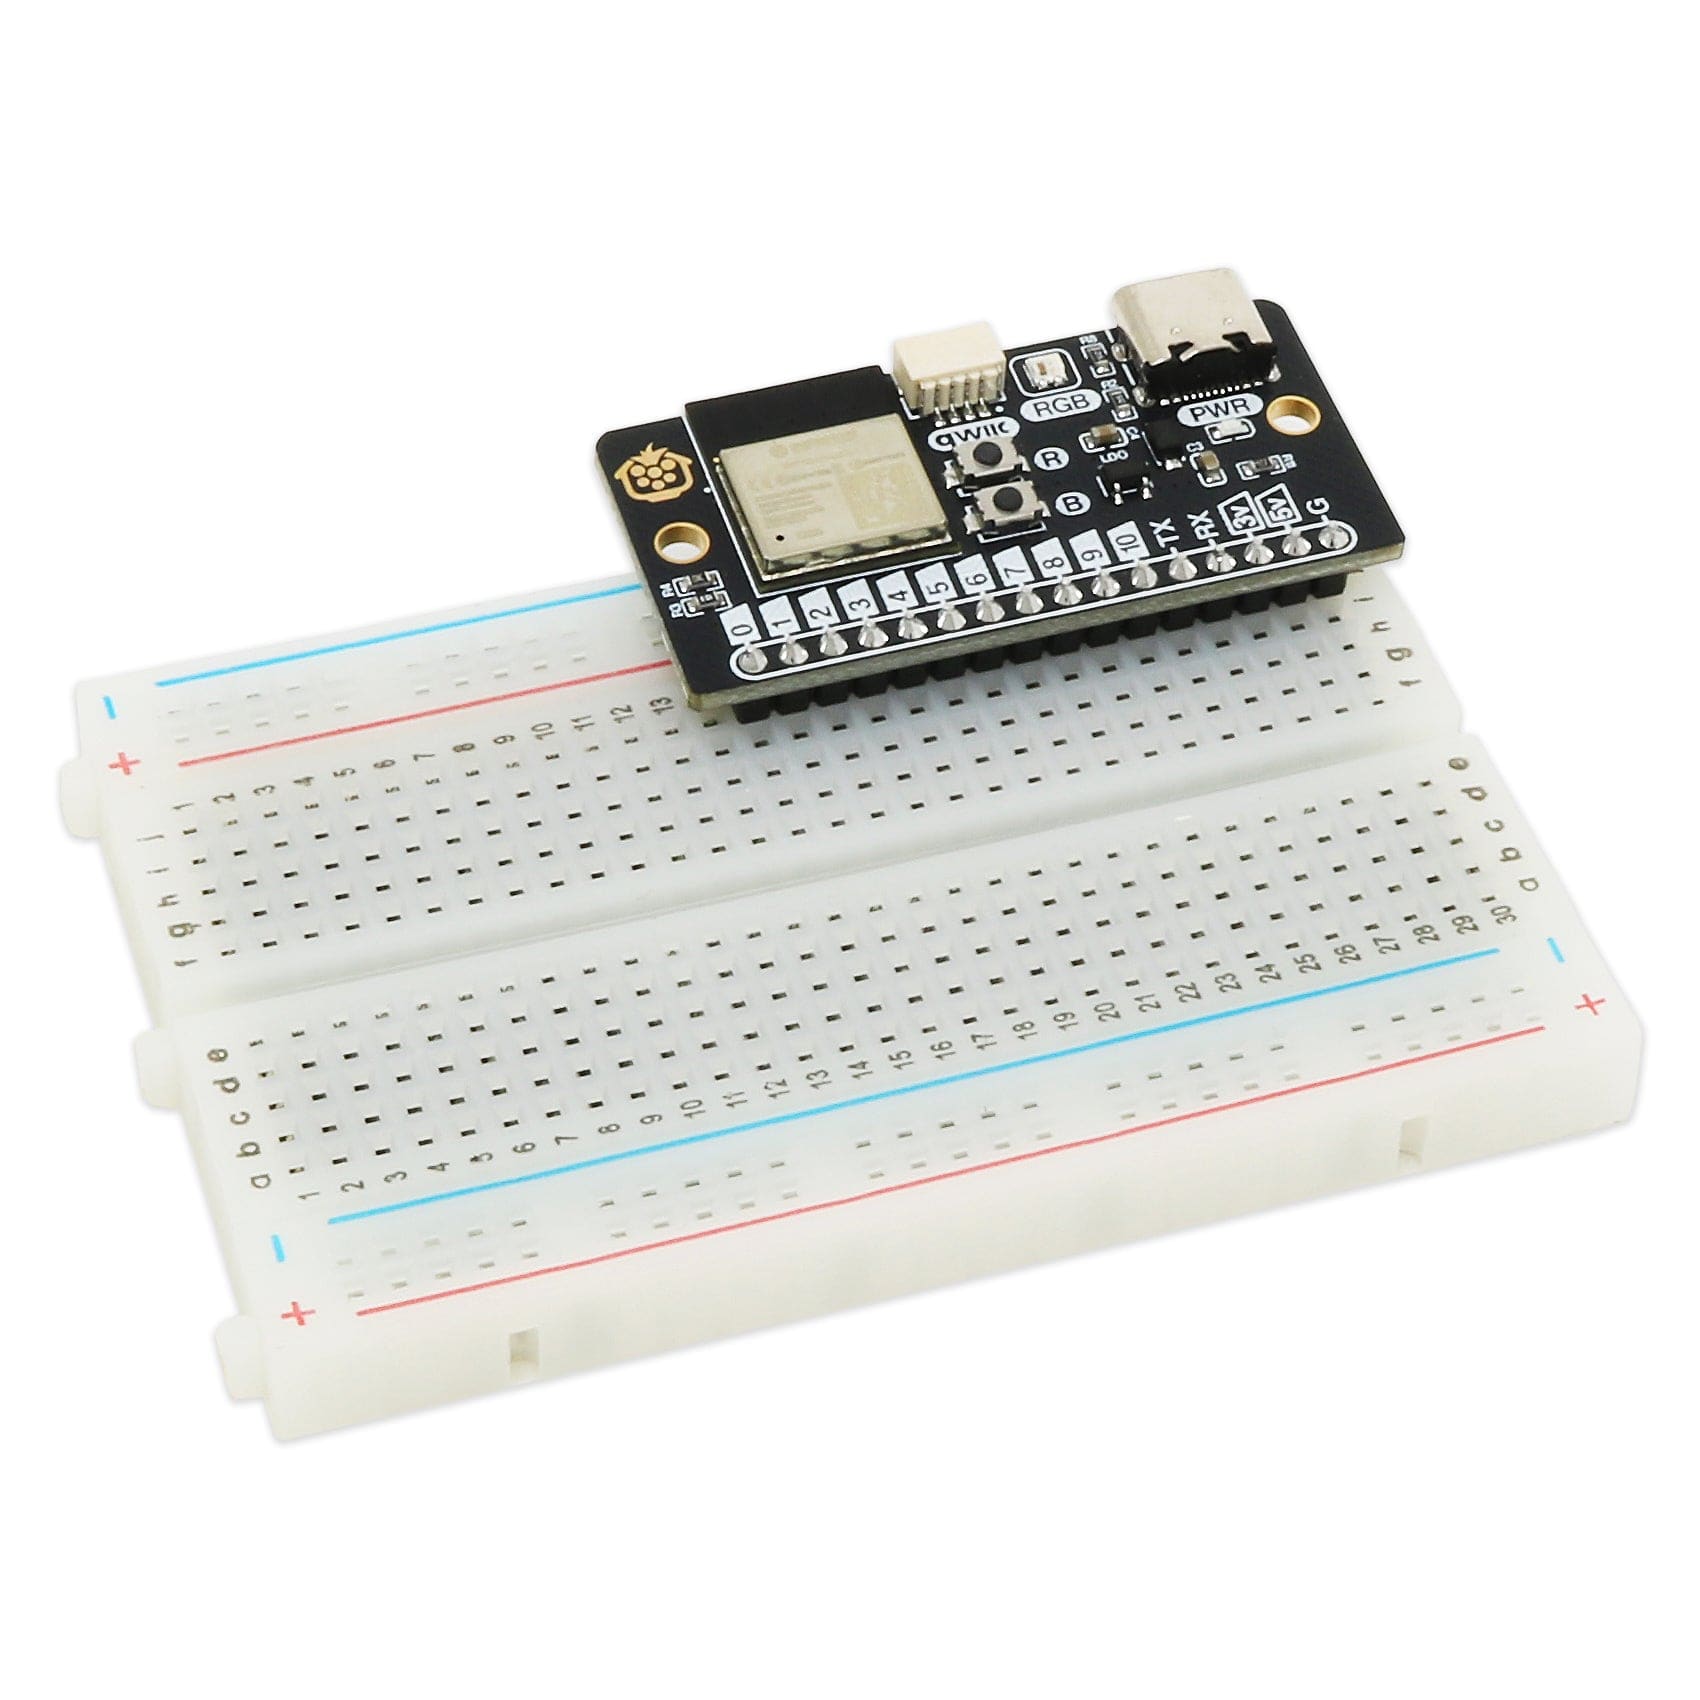
With our Baguette C3 already pushed in to our breadboard at one end, we fit the KW007 to the other side to allow us to use jumper wires to connect pins together - like this:

Then we just need three jumper wires to connect them together:
| Baguette | KW007 |
| 3V | 3V3 |
| G | GND |
| 4 | GPO |
Yep, just three wires! Your breadboard should look something like this:

ESPHome Device Builder setup
Plug your Baguette into a USB port on your PC using a USB-C cable.
Open ESPHome Device Builder, and select 'Create a new project'. It’s usually the first thing you see when you open the app.
Type or select ‘ESP32-C3’ and select the ‘Generic ESP32-C3 Board’ option (or adjust for the ESP variant you're using):

It’ll ask for a name, we used 'KW007-Baguette', then select finish/continue.
The next page looks a bit daunting but you can ignore most of it. Just copy the YAML code block below, then paste that at the end of the YAML code in ESPHome Device Builder:
binary_sensor:
  - platform: gpio
    pin: GPIO4
    name: "Motion"
device_class: motionTip: If you're using a different ESP board, be sure to select a suitable GPIO pin for the sensor's GPO data line, and change the pin number in the code examples above.
It should look similar to this:

Now just select ‘Save’ in the bottom-right corner, then hit ‘Install’.
When you do that, it will ask how you want to install the firmware – we’re using ‘Plug into this computer’:

After selecting that, you’ll see a spinning ‘Compiling firmware’ screen for a good few minutes. Be patient - you can select ‘show details’ if you want to watch what it’s doing:

Most of us don't run Home Assistant over HTTPS, so you'll likely see the screen below after it's done compiling. Nothing to worry about - just select the option to open the USB flasher:

Assuming your Baguette is still plugged into your computer, select 'Connect & Install' and choose the 'USB JTAG' option in the list that comes up like we have below - that's the Baguette:
Tip: If you're using a different dev board and you're not sure which option is the correct one, disconnect any other similar devices from your PC, then see which option disappears when you disconnect the dev board.

Now you'll see a wall of text on a black background. Yes my friend, you have now entered the Matrix. Red pill or blue pill?
Wait until you see lines referring to the device connect to Wi-Fi or the installer reports completion - this means it worked, the firmware installed, and we're ready to continue.
Click the 'X' in the top right corner and head back to Home Assistant.
Home Assistant device discovery
Back in Home Assistant, head to Settings > Devices & Services. You should see a new ‘Discovered’ entry with the name you gave the device, like this:

Select ‘Add’ and Home Assistant will flow you through the usual device setup screens, such as choosing an area. You’ll finally land at the device page, which will be familiar to most Home Assistant users:

It’s a very simple setup with the way we’ve wired it – you have a sensor section that shows if motion is either ‘detected’ or ‘clear’ i.e. the sensor detected motion and set the pin HIGH, or LOW when there's no motion.
You can now use that as a trigger to turn lights on or control anything else your Home Assistant setup has access to.
Tip: If you're getting unstable or erratic detections, try adding a 10µF capacitor between 3V3 and GND close to the KW007. If your microcontroller gives a clean, regulated 3.3V, you should have no issues.
Tweaking the hold time
It’s worth mentioning that by default, in this simple 3-wire setup, GPO stays HIGH for 64 seconds after the most recent motion detection. This is called the 'hold time'. If motion is detected during that time, the active period is extended. That might be useful for you, or a hinderance, depending on what you plan to do with that trigger.
You can tweak this really easily, by adding a resistor between the DELAY and GND pins on the sensor, as per the table below.
Tip: There seems to be some wiggle room on the values. I only had a 200kΩ resistor to hand, and it gave me roughly 1-second hold time. Your results may vary!
| Delay | Resistor/Connection |
| 1 second | 270kΩ |
| 16 seconds | 0Ω / DELAY connected directly to GND |
| 32 seconds | 150kΩ |
| 64 seconds | No connection (default) |
I detect...the end!
I know this tutorial didn't use the more exciting features of the sensor, but not all of us are confident when getting started with more advanced hardware.
We'll follow this up with a tutorial showing the juicier I2C side of this device, but for now, I hope this provided a nice stepping-stone for those breaking away from the old-school PIR world. The best bit is - you don't have to buy more hardware if you fancy trying the more advanced stuff later on.
You can also dig into the KeyWave documentation for more features to play with, such as the detection range. But we'll cover some of that in the next article.
As always, I love reading about your projects. If this helped you automate something fun in Home Assistant - please let me know in the comments.