
ProtoMate/PerfMate for XIAO Assembly Guide
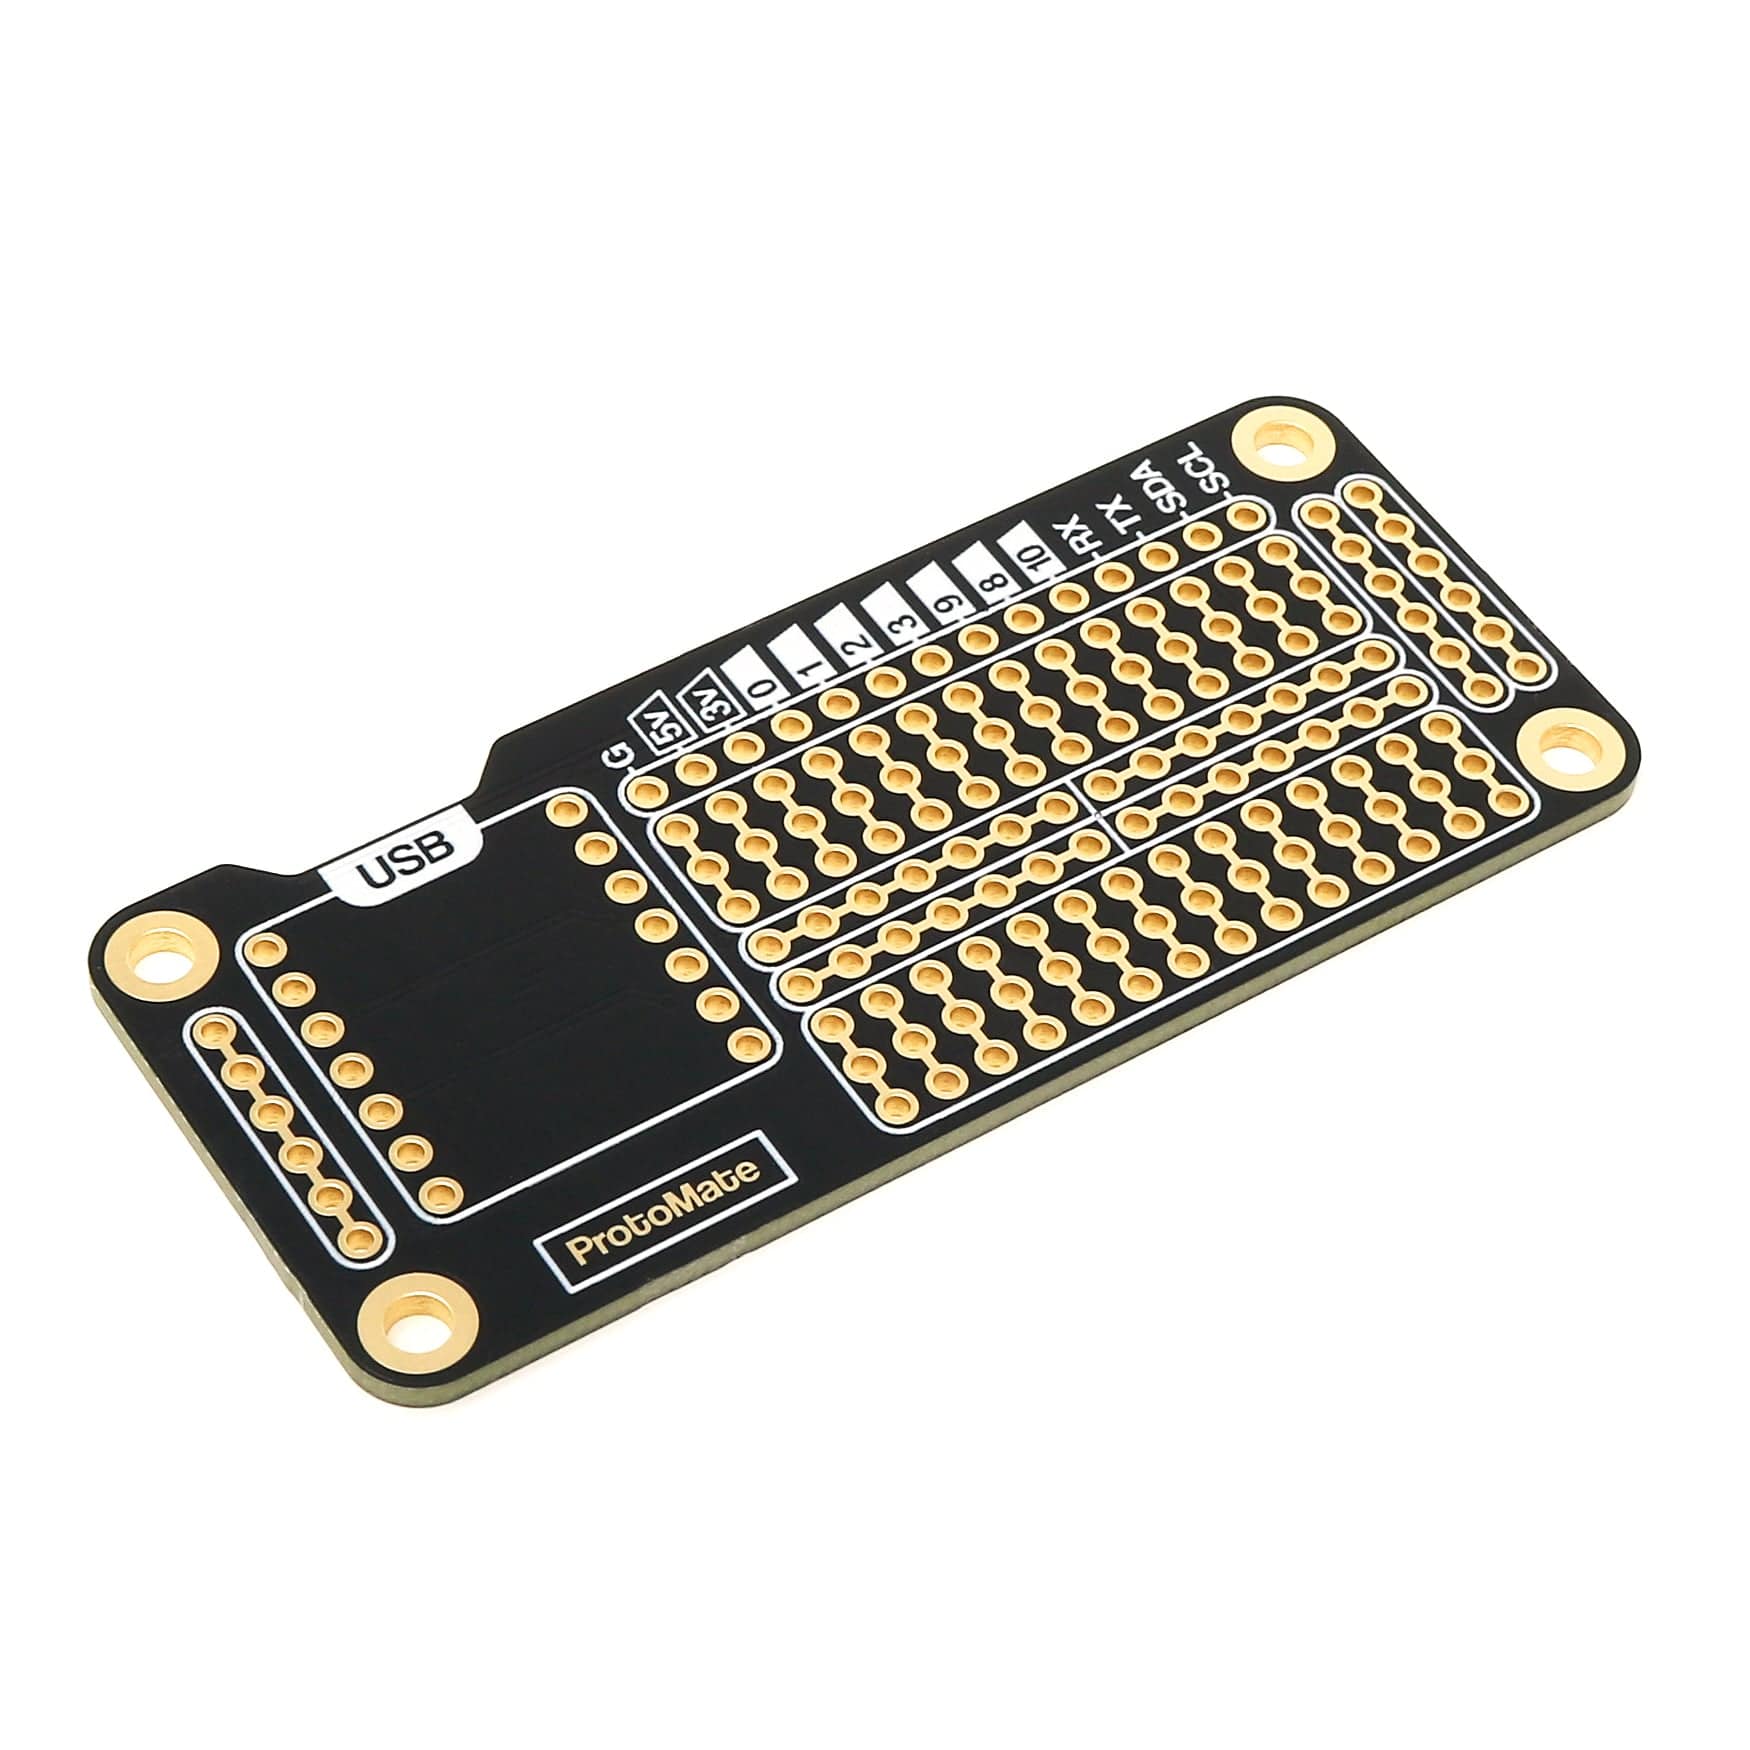
Important Notice: It has come to our attention that GPIO labels 8 and 9 have been swapped on the first batch of PCBs. This impacts PCBs with version numbers up to v1.1 for PerfMate and v1.2 for ProtoMate (orders placed before 25/09/2025). The pins go to where we wanted them to, but the labels are swapped 🤦.
If you've already soldered your board - don't panic - just switch pins 8 and 9 around in your code.
Boards with v1.2 (PerfMate) or v1.3 (ProtoMate) onwards have the correct label print. Orders placed after 25/09/2025 include the updated PCBs.
We are, of course, happy to replace any PCBs with this issue - simply get in touch with our support team, including your order number, and they will arrange a shipment.
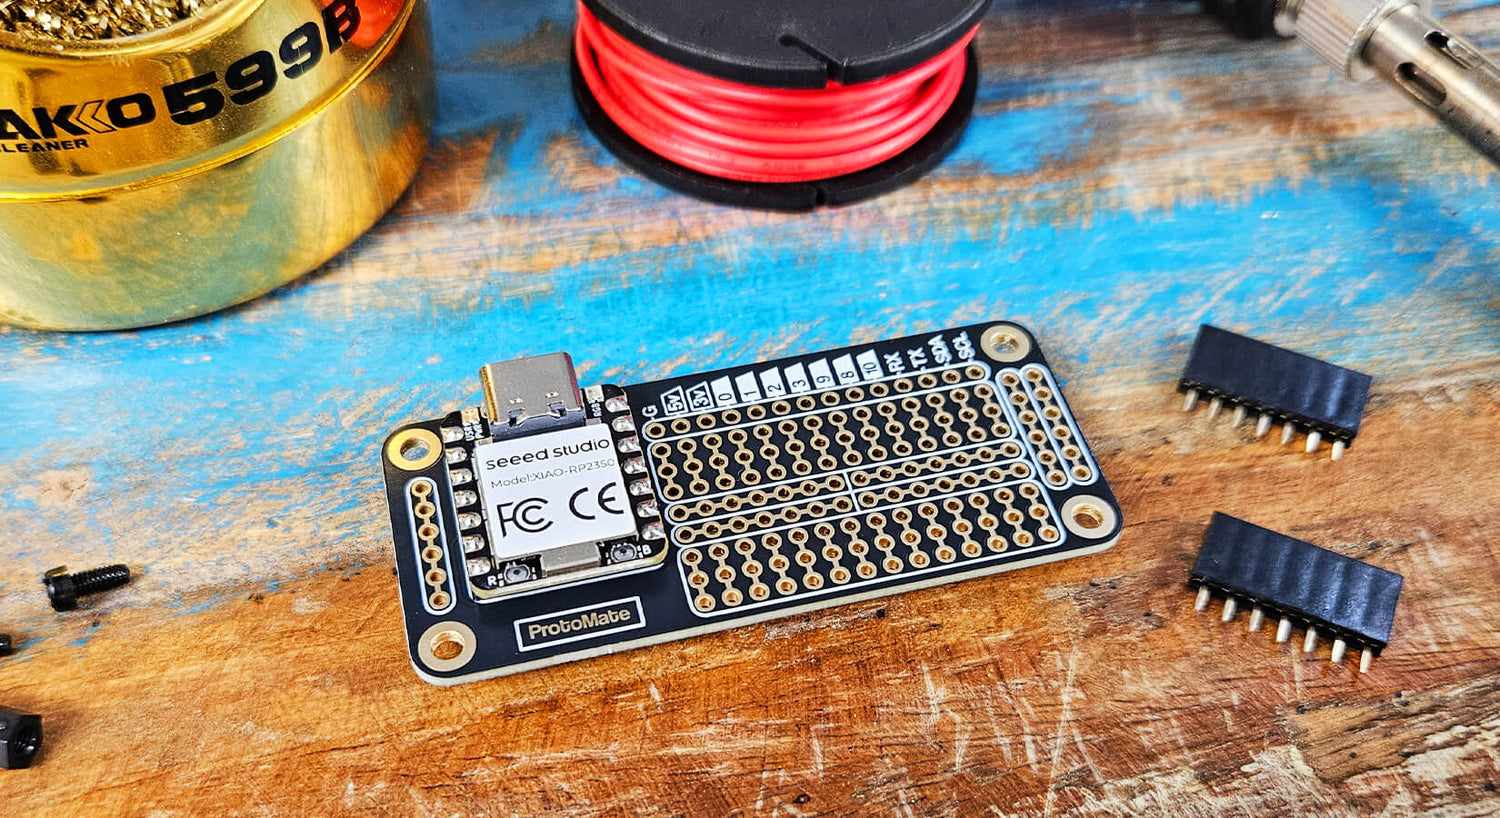
This guide will show you how to assemble your ProtoMate or PerfMate for XIAO and QT Py. Naturally, what you decide to solder to the board's proto area is up to you, however, this guide will cover a few basic pointers on orientation, header fitment and soldering order.
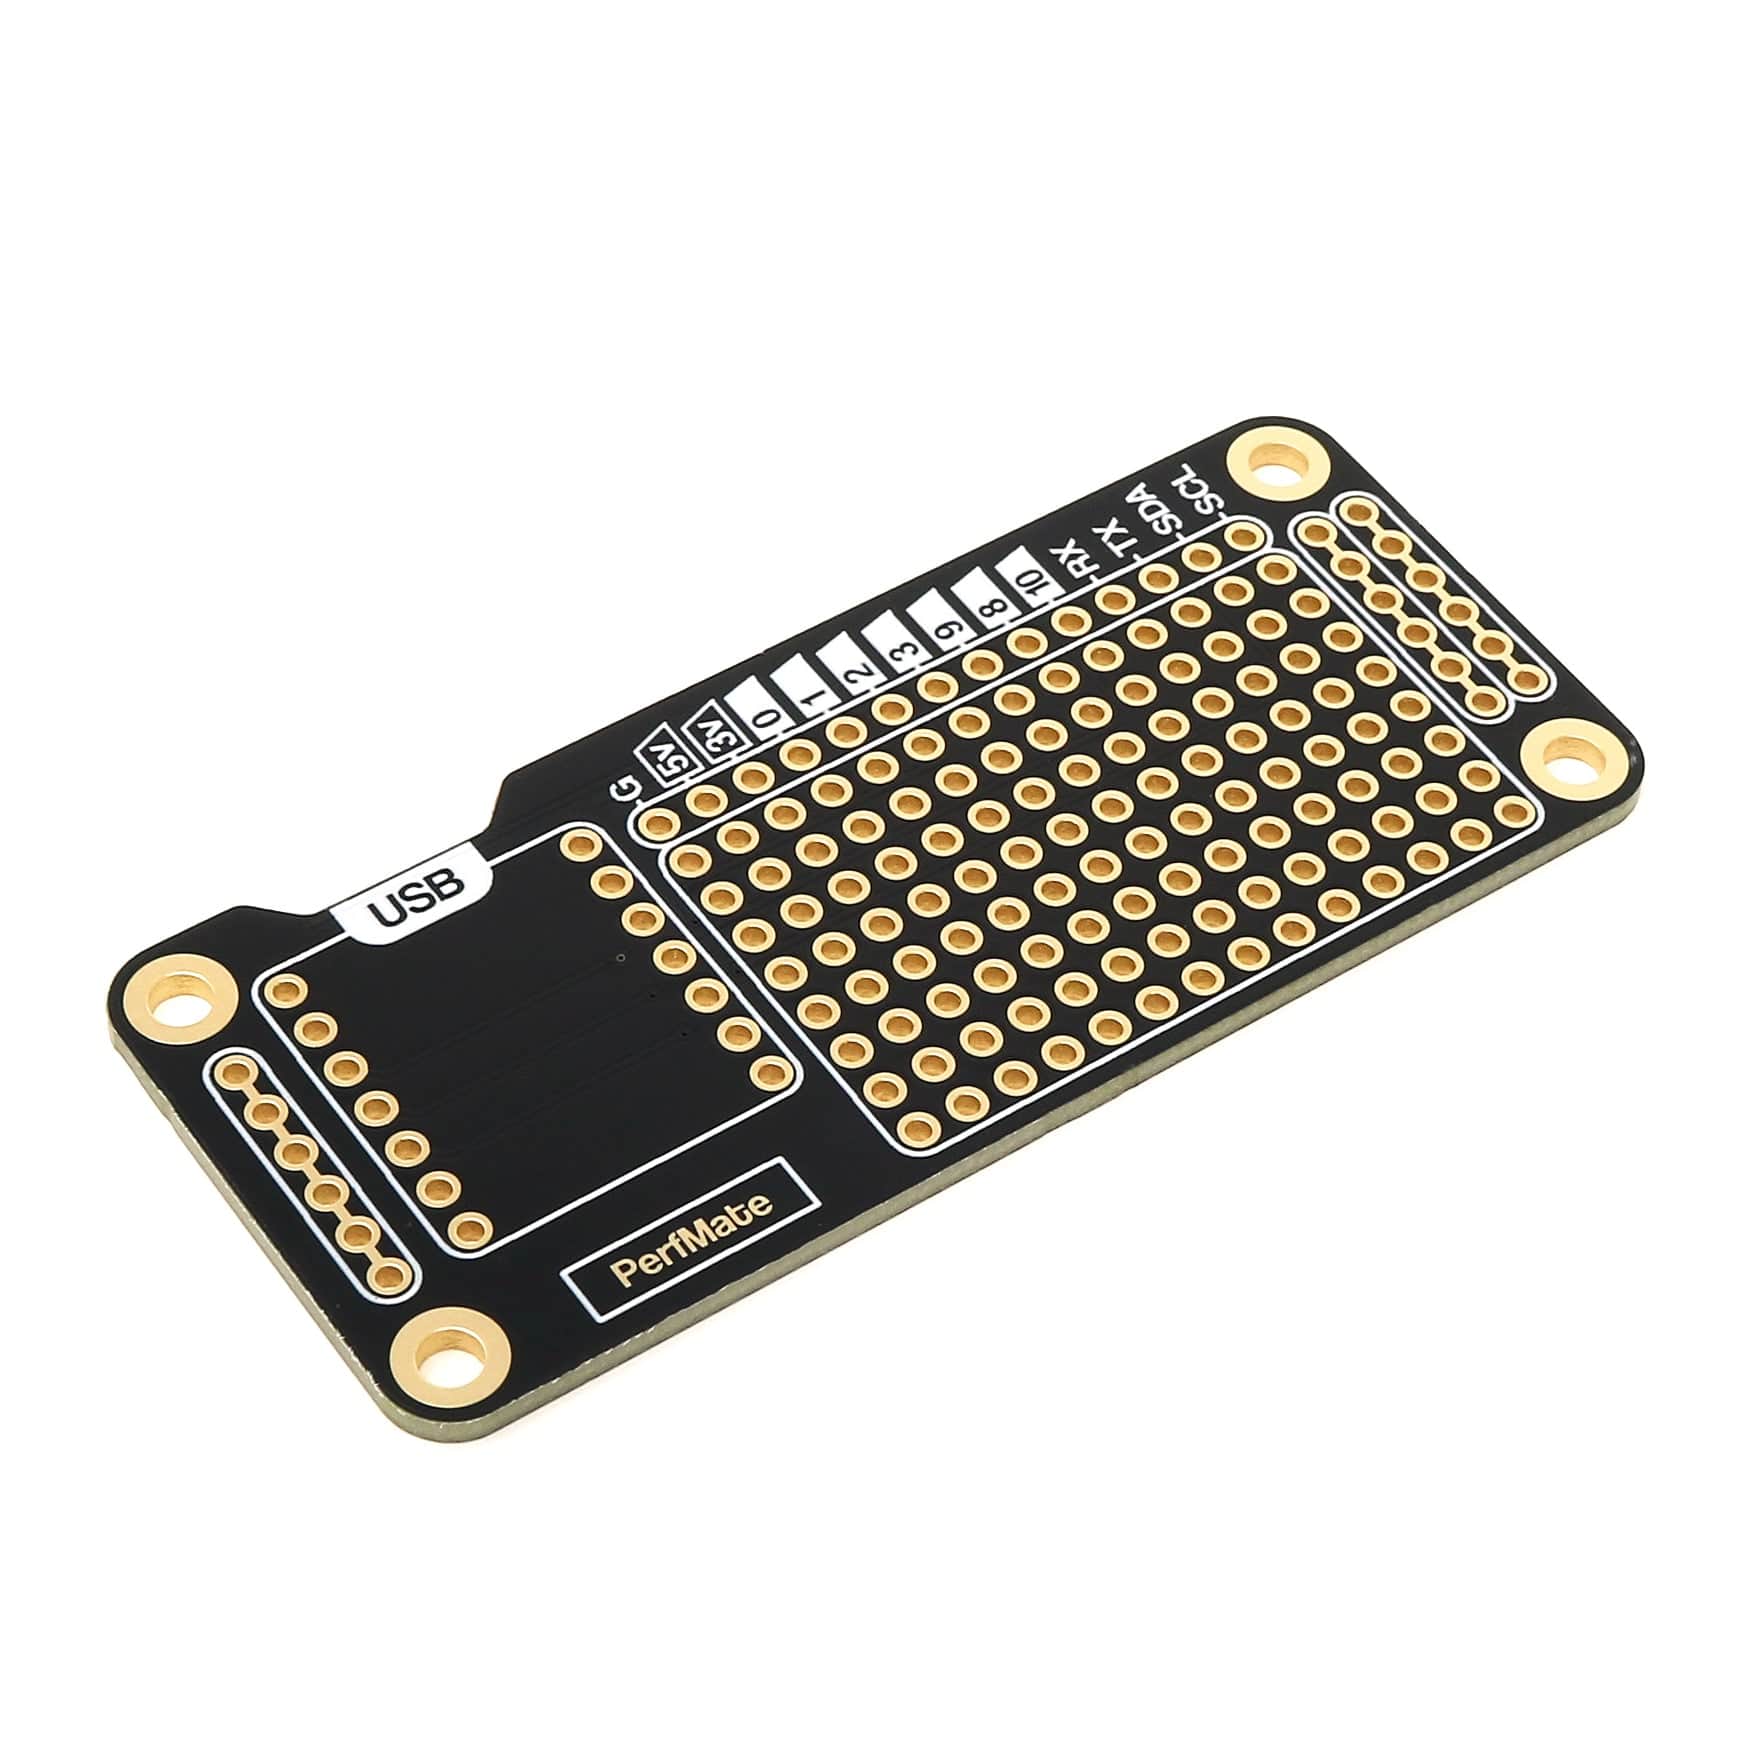
There are currently two versions in the ProtoMate/PerfMate range for XIAO/QT Py:
Parts Check
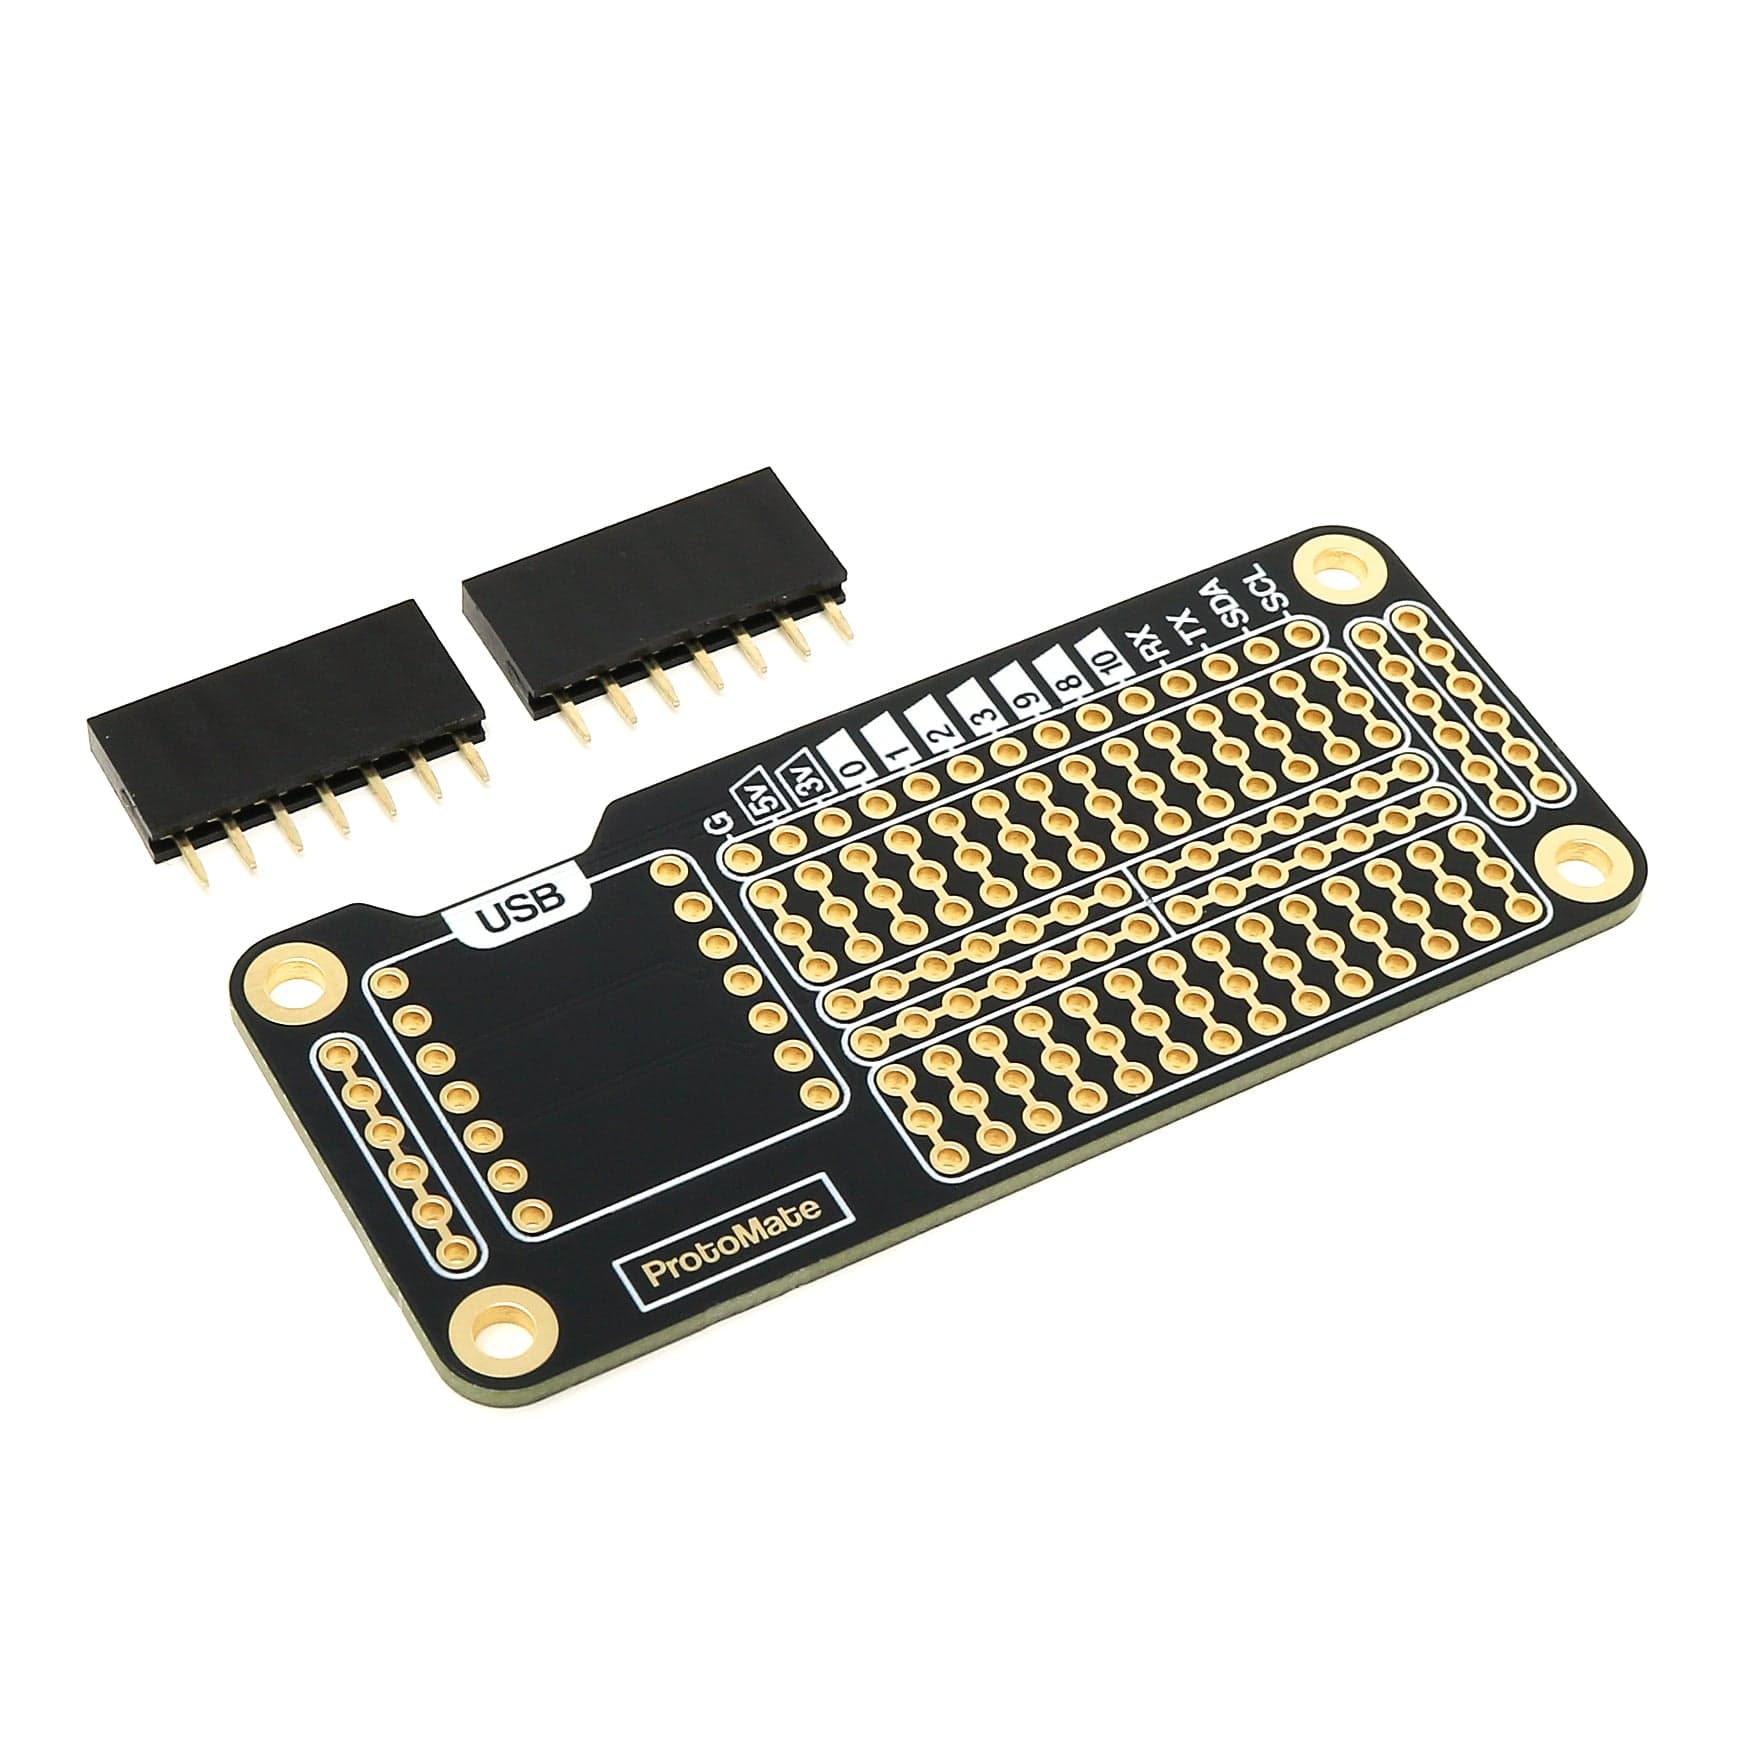
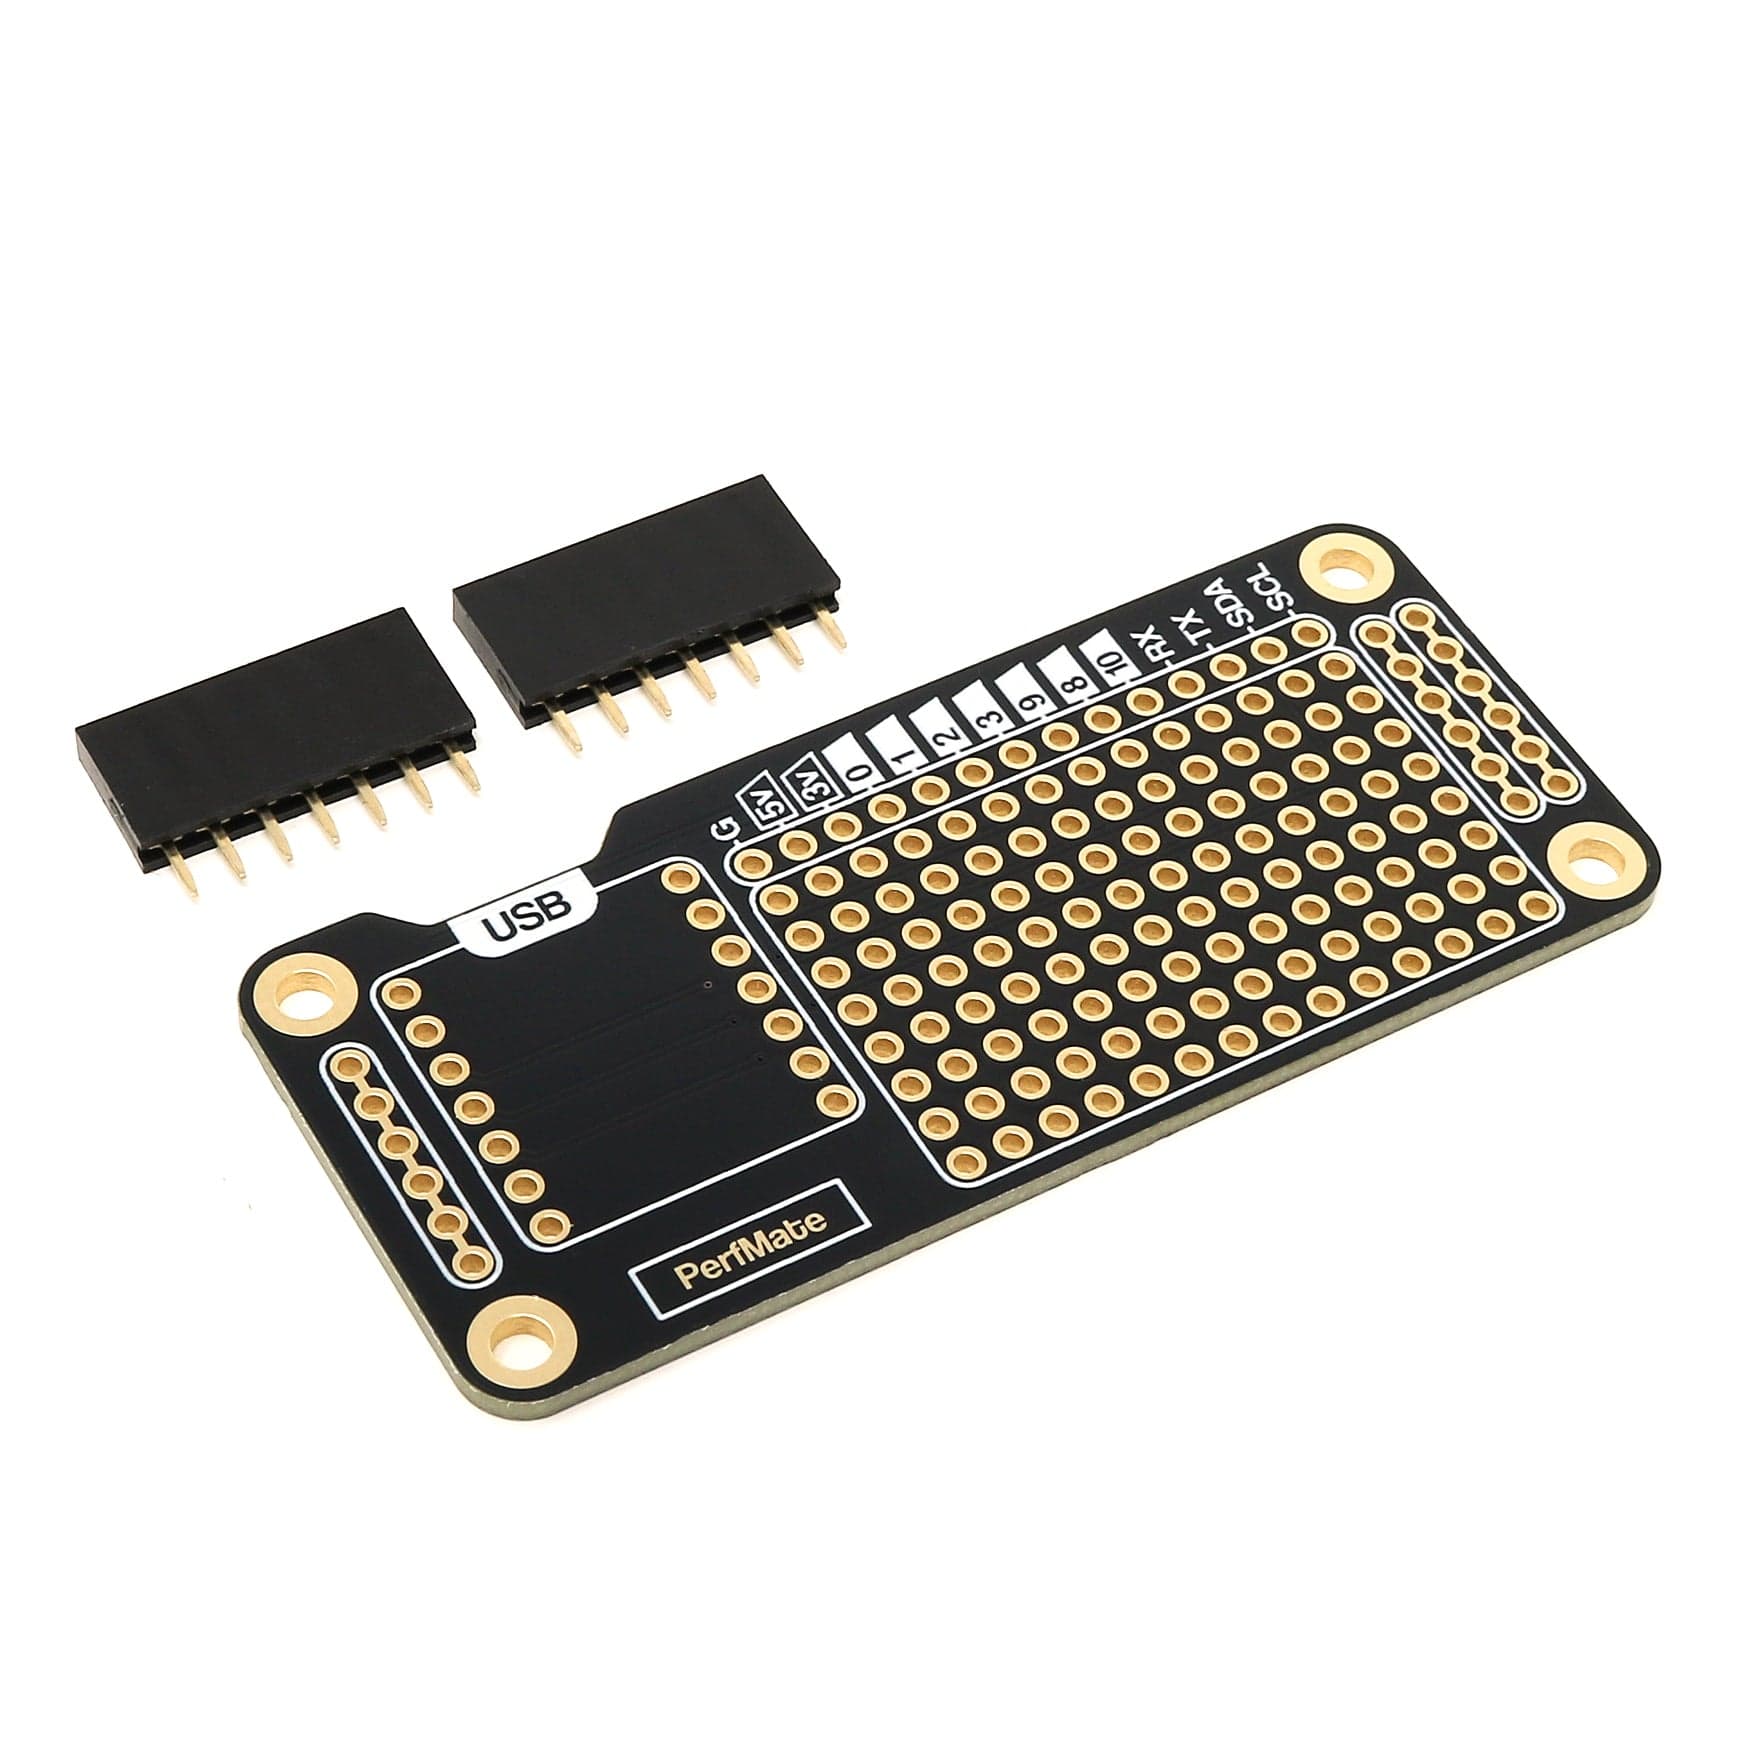
In the package, you will find the following two items:
- Your PerfMate/ProtoMate PCB
- 2x 7-pin female 2.54mm header strips
You may also need (not included):

Assembly Tips
XIAO Mounting Options
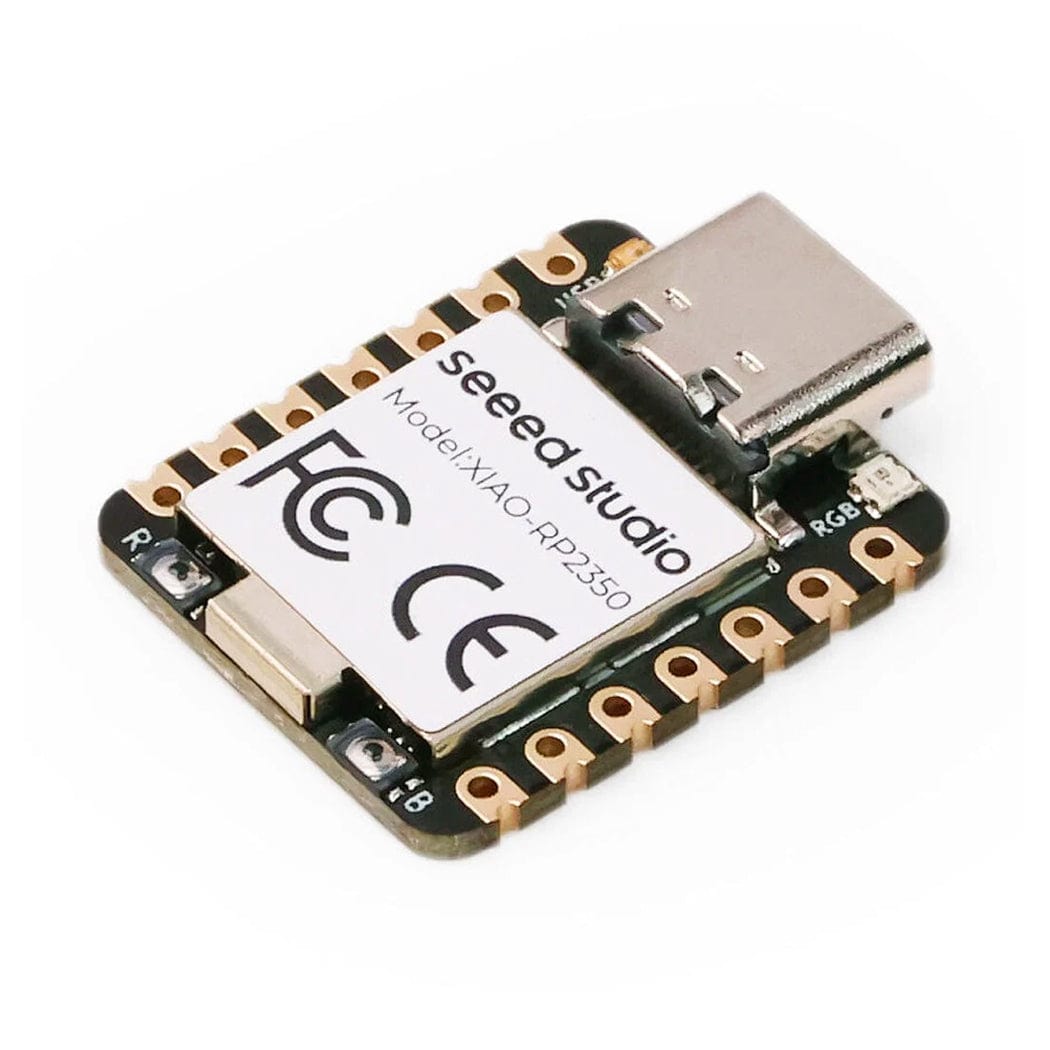
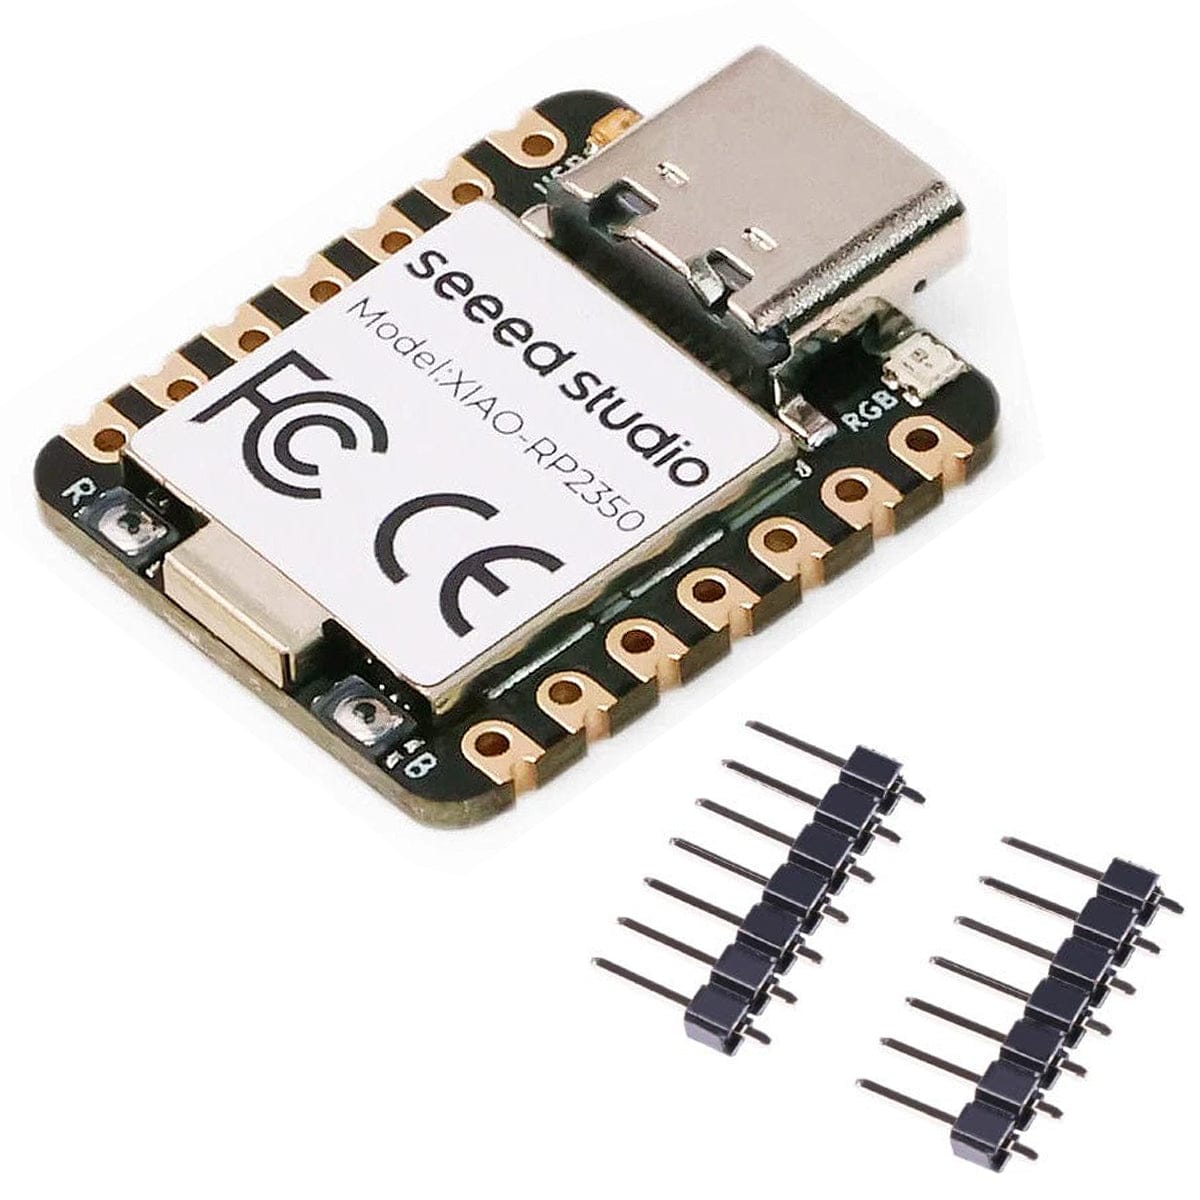
You can fit your XIAO board to the PCB in a few ways, depending on how you plan to use it.
To create a simple socket to push a headered XIAO into, solder the included 7-pin female headers to the top side of the board. This is still a firm connection, but allows you to swap out your XIAO as and when you need/want to.
Another option is to solder your headered XIAO directly to the board. This is best for those looking to keep things as compact and low-profile as possible, but doesn't allow switching out the dev board later on.

Solder the XIAO headers last
If you're going down the header socket route, it's best to solder the female headers last. Otherwise, we find they get in the way when trying to fit and solder your circuit's components and wires.

PCB orientation
Normally, you will solder your components and wires on the rear/underside of the board (but it's your project, so do it however you like).
The rear/underside of the board can be identified in a few ways:
- The 'REAR SIDE' text
- The QR code (which you may find tricky to scan - we're improving that on the next batch with a simpler code!)
- On the ProtoMate version - the gold bridges between pads are not on the underside (this allows you to cut top traces if you want to disconnect pads)
Also worth a mention - we added a 'USB' label and cut-out to make it super-clear which way your XIAO needs to be fitted - and if you're still not sure, check the product images.

Plan, plan, plan...then plan some more!
We can't stress this enough - plan where you want to fit components and wires before moving to the hot stuff! Use our black and white printable planning sheets to mark out where you want things to go:
The very last thing you want to do is get halfway through soldering components and wires, and then realise you've not left enough room for something (or just got your part placement wrong).
This is even more crucial with the breadboard-style ProtoMate boards, as the connected lanes need some careful forethought.
 Mounting & Standoffs
If you want to mount your ProtoMate/PerfMate with standoffs, you'll need M2.5 fixings.
We offer M2.5 nylon standoffs in the store, along with M2.5 nylon screws. The Raspberry Pi uses M2.5 fixings, so any packs designed for them will work too.

Over to you!
The rest is up to you, as is the nature of these prototyping boards - a blank canvas for you to move your XIAO or QT Py breadboard project on to.
Enjoy!
2 comments
The Pi hut
@Mark Lewis – Sorry about that – someone from the team should have already been in touch to ship you the missing parts. Re the labelling correction, boards with v1.2 (PerfMate) or v1.3 (ProtoMate) onwards have the correct label print (we replaced all stock, so only updated boards are shipping now).
@Mark Lewis – Sorry about that – someone from the team should have already been in touch to ship you the missing parts. Re the labelling correction, boards with v1.2 (PerfMate) or v1.3 (ProtoMate) onwards have the correct label print (we replaced all stock, so only updated boards are shipping now).
Mark Lewis
Re Order #1436116. I have just received this order that included three ProtoMate boards for Xiao and QT Py dev boards. All three only included one 7 pin headers strip. These boards have a batch number of 0210025, do they include the correction to pins 8 and 9?
Re Order #1436116. I have just received this order that included three ProtoMate boards for Xiao and QT Py dev boards. All three only included one 7 pin headers strip. These boards have a batch number of 0210025, do they include the correction to pins 8 and 9?