
ModMyPi Night Vision PIR Camera Box Assembly Instructions
The laser-cut parts of the case are protected by an adhesive film which needs to be removed before assembly.
Bill of Materials
- Raspberry Pi B+/2/3
- Night Vision Camera
- 6x Acrylic Pieces
- 4x 1" M/F Stand Off
- 4x 1/4" F/F Stand Off
- 8x 1/4" Black Screw
- 6x M2 x 10mm Black Screw
- 10x M2 Nut
- 4x Rubber Feet
- PIR Sensor
- 3x Wire F/F
Optional for wall mounting:
- Wall Mount
- 2x M5 Screws
- 2x M5 Nuts
NOTE: Acrylic is a hard and stiff plastic which is sensitive to stress concentrations and shares a certain level of fragility with glass. Acrylic can scratch easily and should be cleaned with a mild solution of dish detergent and warm water. Never use cleaners unsuitable for acrylic. Never use a dry, abrasive cloth.
Here are the parts from the case kit:

Follow these images checking parts and orientation of the acrylic pieces. You will see a before and after image for each step. Make sure you have all the parts ready, shown in the before picture.

Start by attaching the wall mount to the back plate. Double check the orientation of the acrylic plate.


Now we need to attach the 1/4" stand offs to the back plate, secure them from the back of the plate with 4 black screws.


Now add the Pi, and secure using the 1" stand offs.


Next, add each of the side plates. Starting with the plate that covers the USB ports, work clockwise.


You can move this to one side now as we attach the camera and PIR sensor to the top plate.

Insert 4 of the 10mm black screws into the 4 mounting holes around where the camera will go, and secure on the back using the M2 nuts.


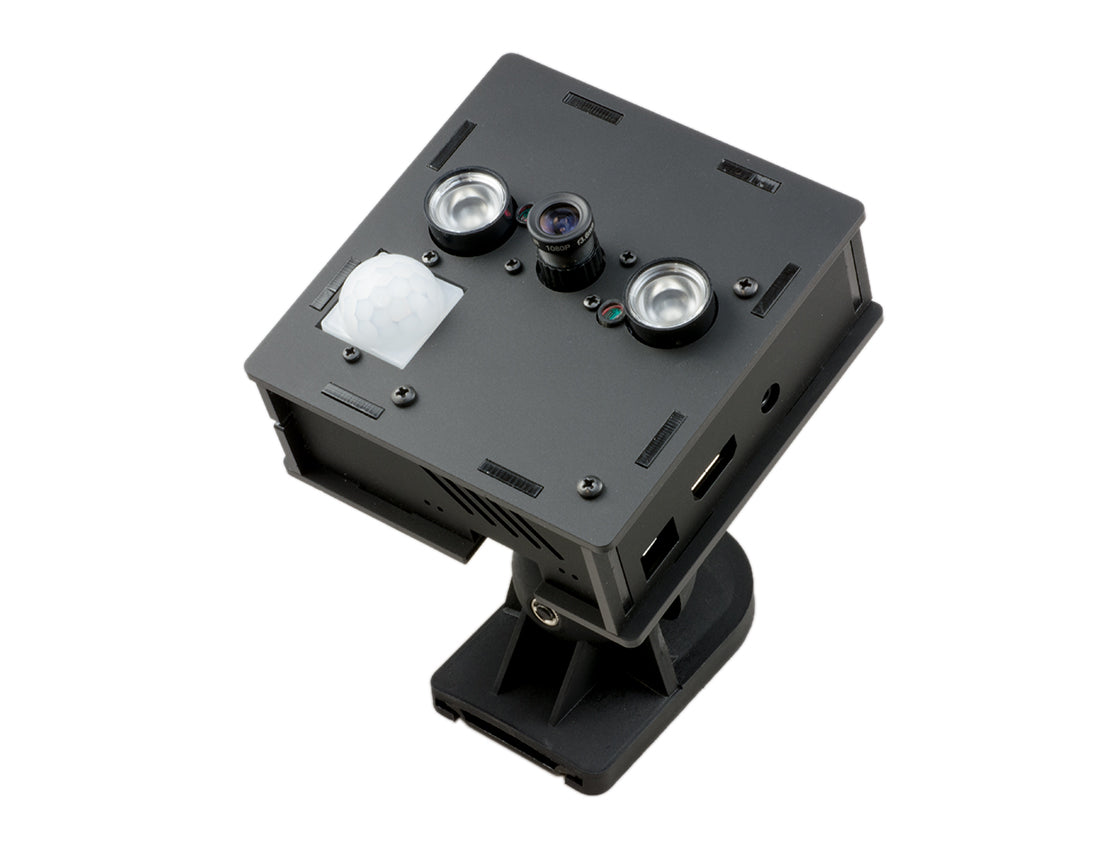
Now we can attach the night vision camera. Insert the camera from the back onto the 10mm black screws. Then add the IR leds to each side, finally securing the whole lot together with the M2 nuts.


Next, we need to add the PIR sensor, simply insert a 10mm screw into each of the PIR mounting holes and secure the PIR sensor in place from the back.


Time to hook our camera and PIR sensor up!. Attach the camera cable to the camera port on the Pi. For the PIR sensor we have a guide found here that explains how to wire up the sensor.


Last step is to attach the top plate and fasten with the remaining black screws.


