
MicroPython Skill Builders - #6 Temperature & Humidity Sensors
Welcome to another instalment in our MicroPython Skill Builders series by Tony Goodhew, aiming to improve your coding skills with MicroPython whilst introducing new components and coding techniques - using a Raspberry Pi Pico!
This tutorial will demonstrate the use of temperature & humidity sensors using MicroPython with a Raspberry Pi Pico, to obtain handy readings to display in your projects.
Need to catch up? Check out our tutorials section for the previous episodes.
What you will need
We assume that you have installed Thonny on your computer and set up your Raspberry Pi Pico with the most recent MicroPython firmware (UF2). If not, check out our Raspberry Pi Pico Getting Started Guide where this is covered in detail.
We're are also assuming that you have read/completed the previous tutorials in the series (see the link above if not).
You will need:
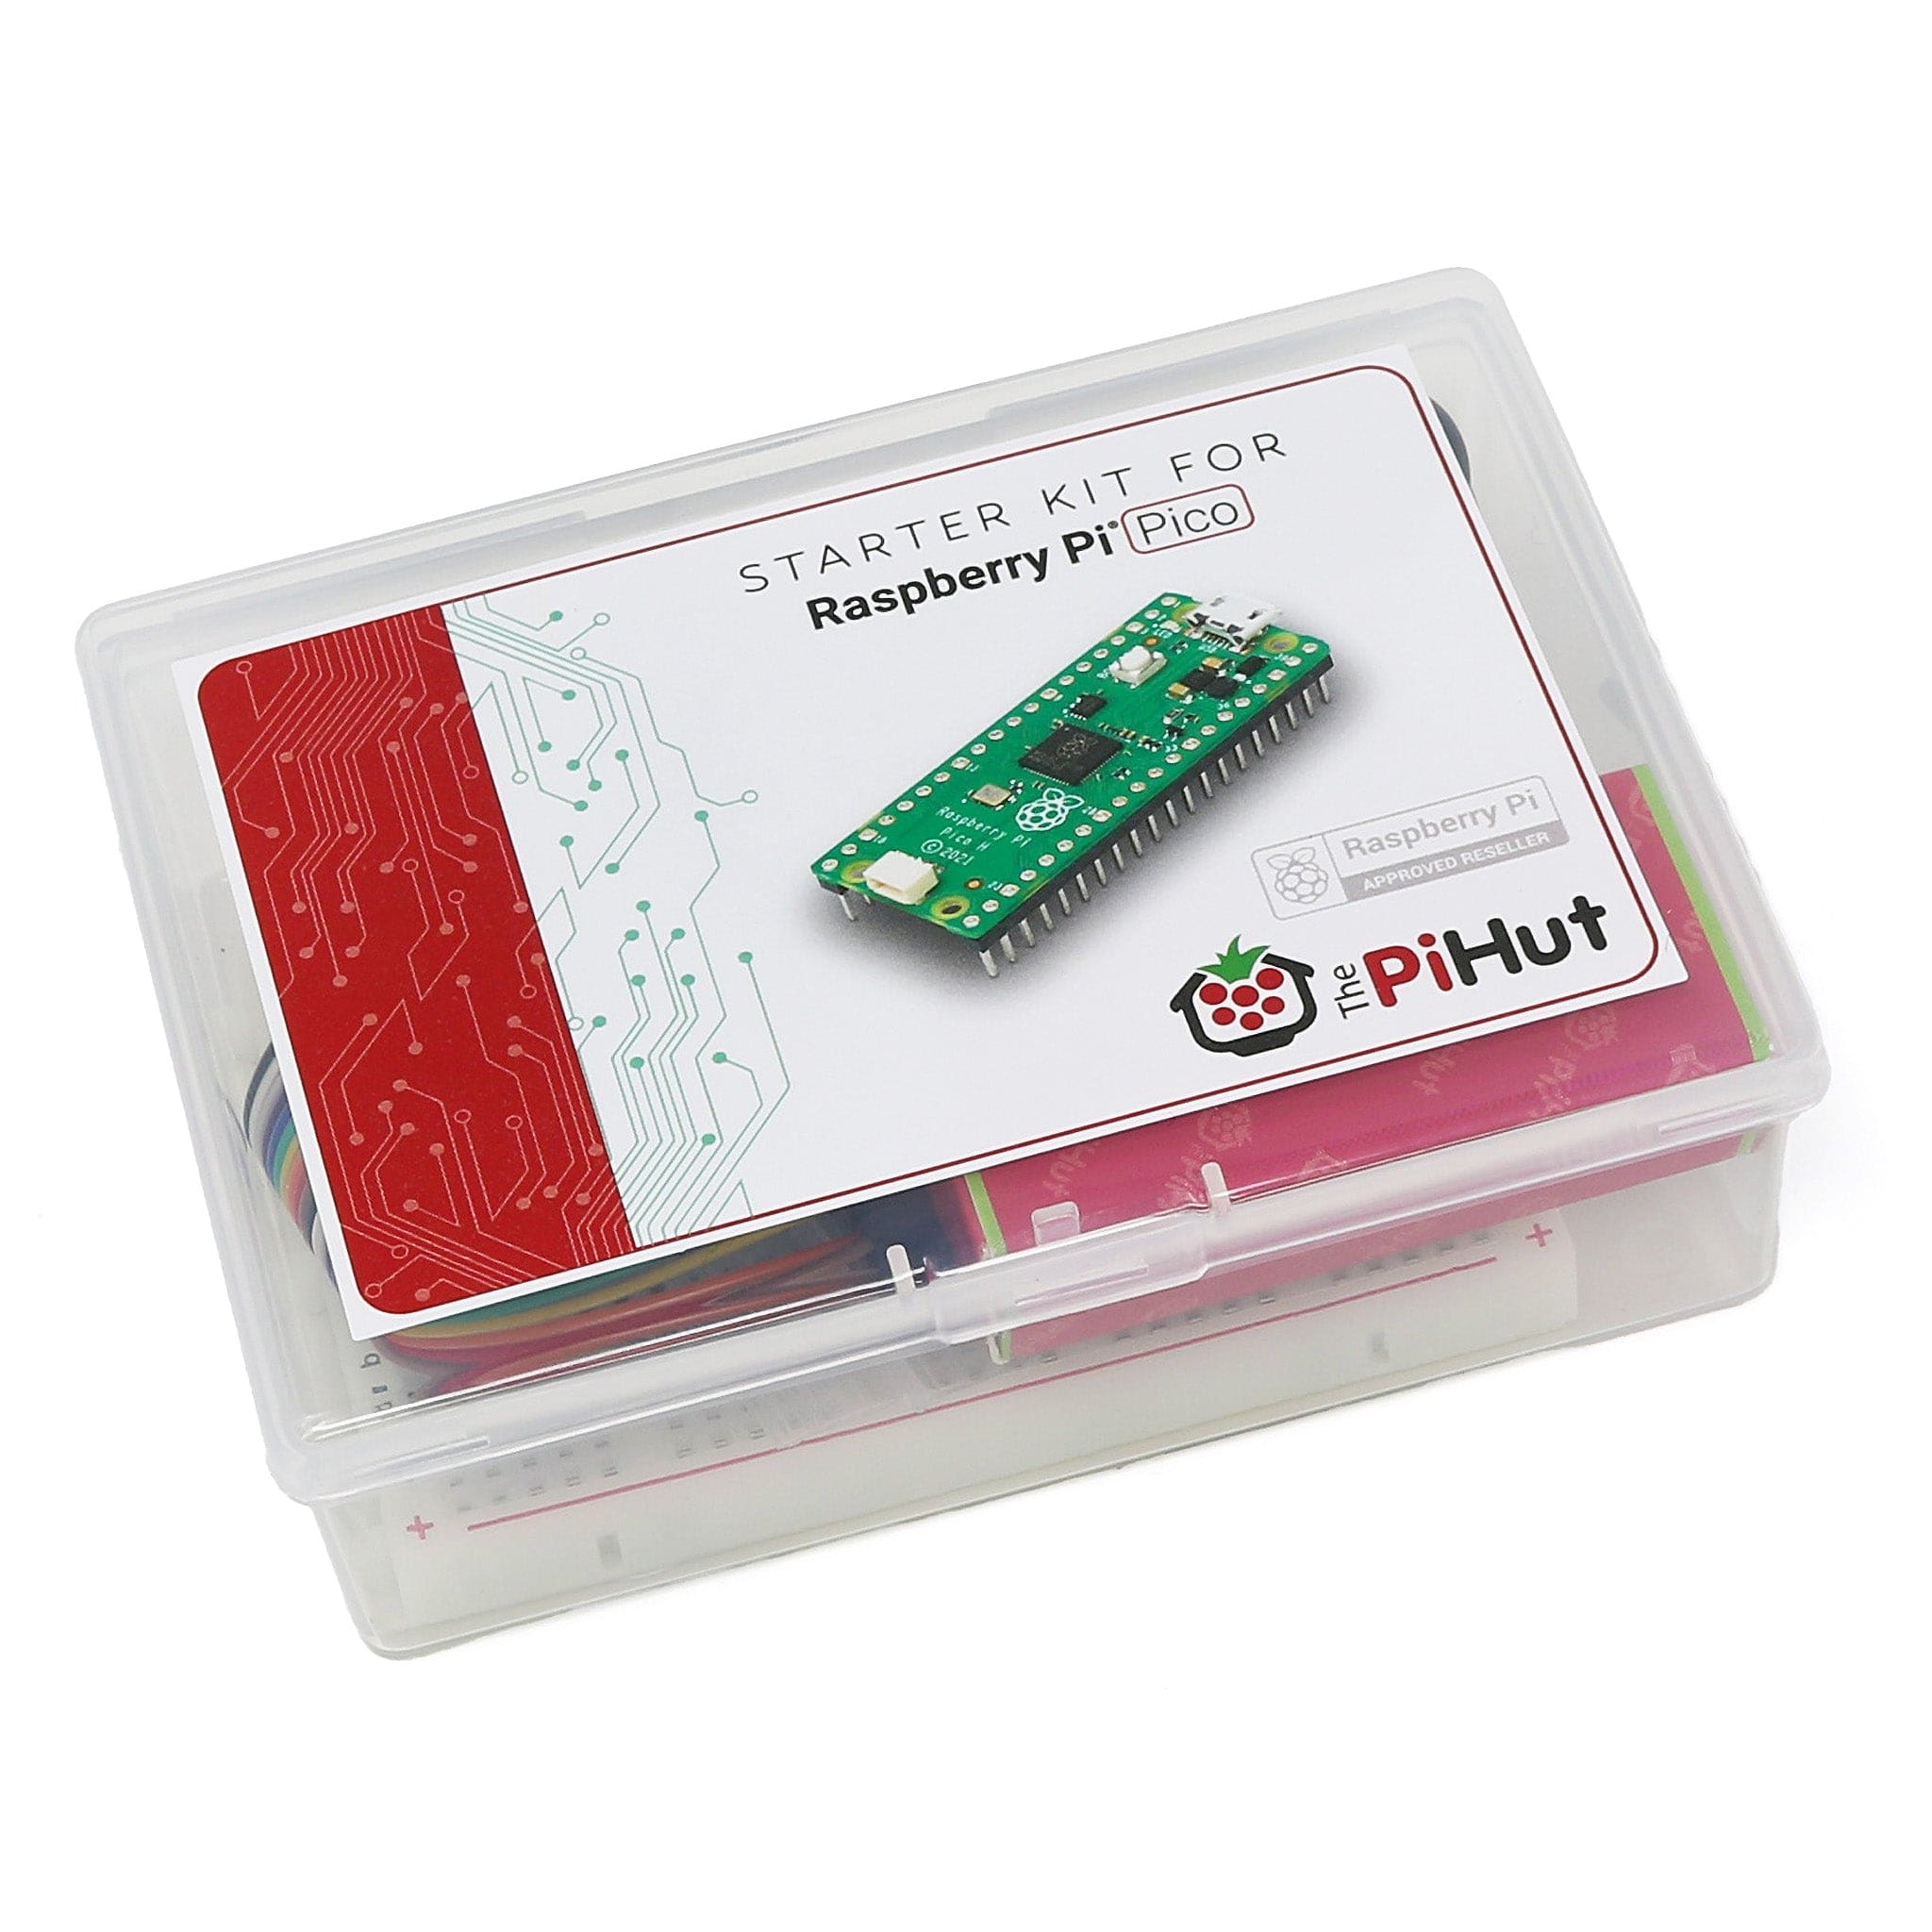
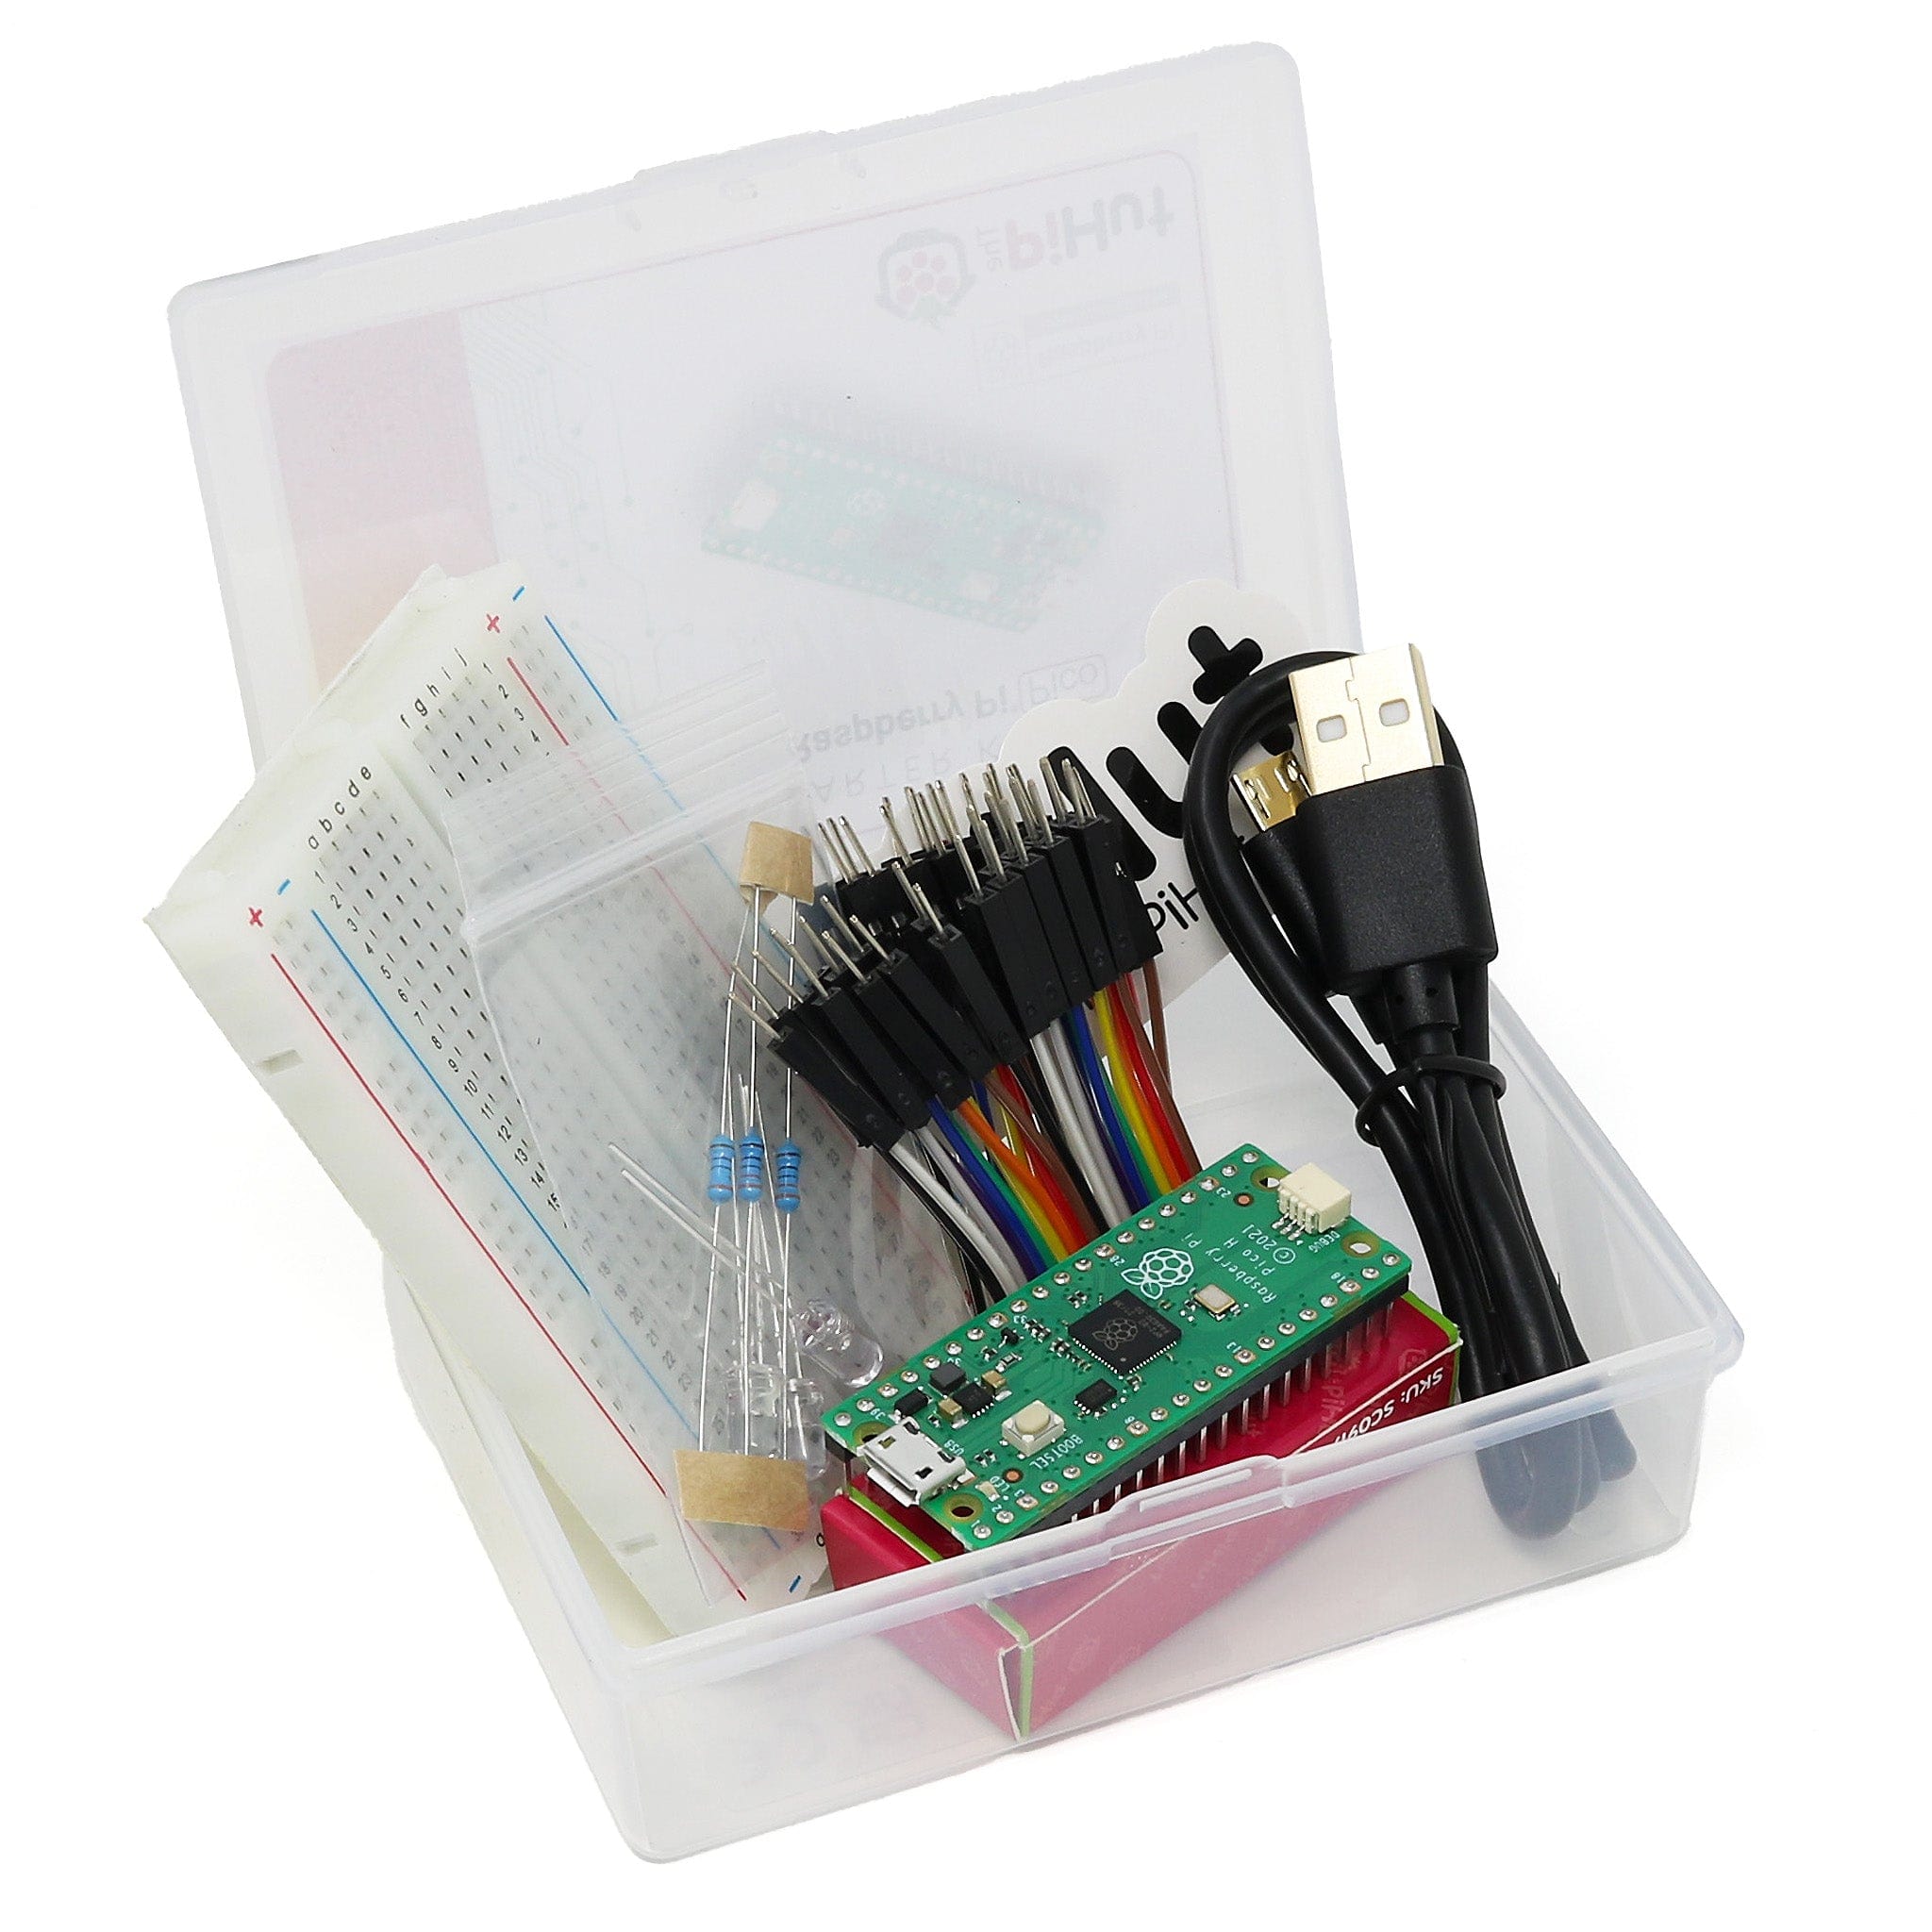
- Raspberry Pi Pico with header pins
- A full-size breadboard
- Micro-USB cable (for power and programming the Pico)
- Jumper wires (male-male & male-female)
- A DHT11 or DHT22 sensor
- Optional - Resistor (when using unmounted sensors, read on for more info and suggested values)
Sensor options
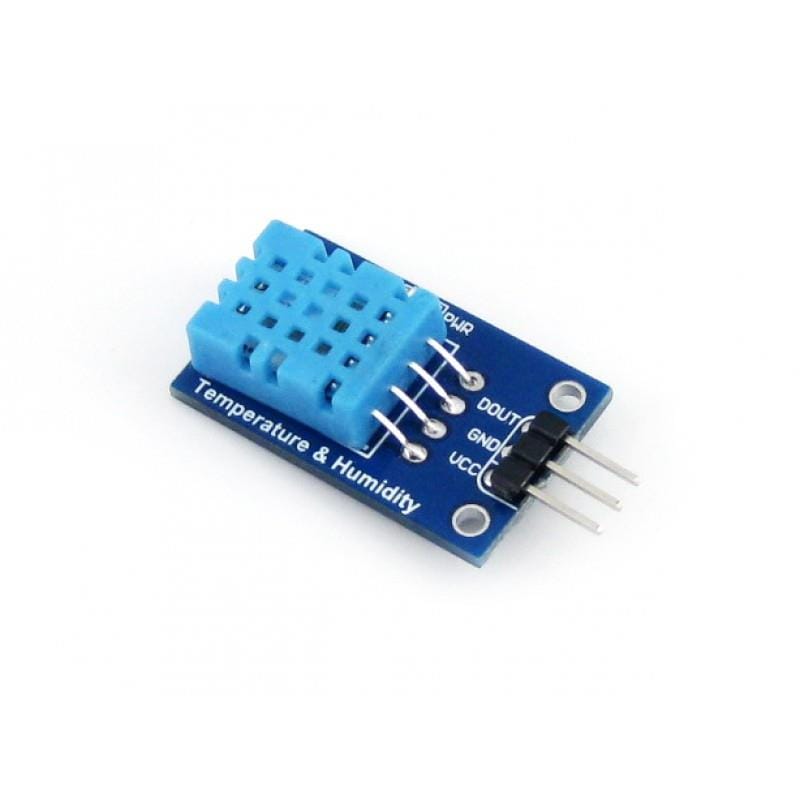
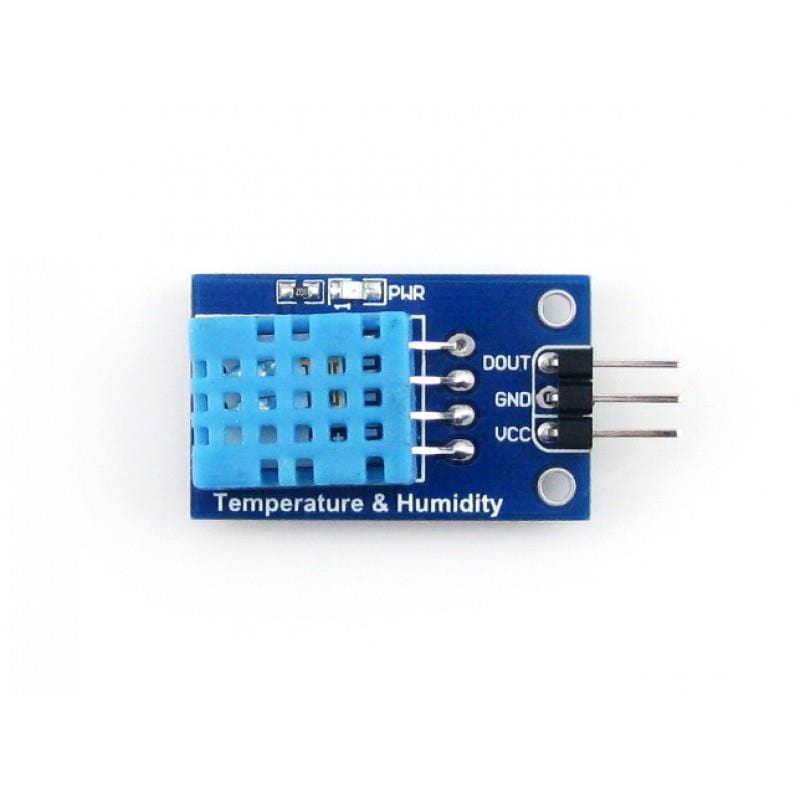
The Waveshare Sensors Pack contains a DHT11 sensor on a handy board with connectors, but we also supply it as a separate item.
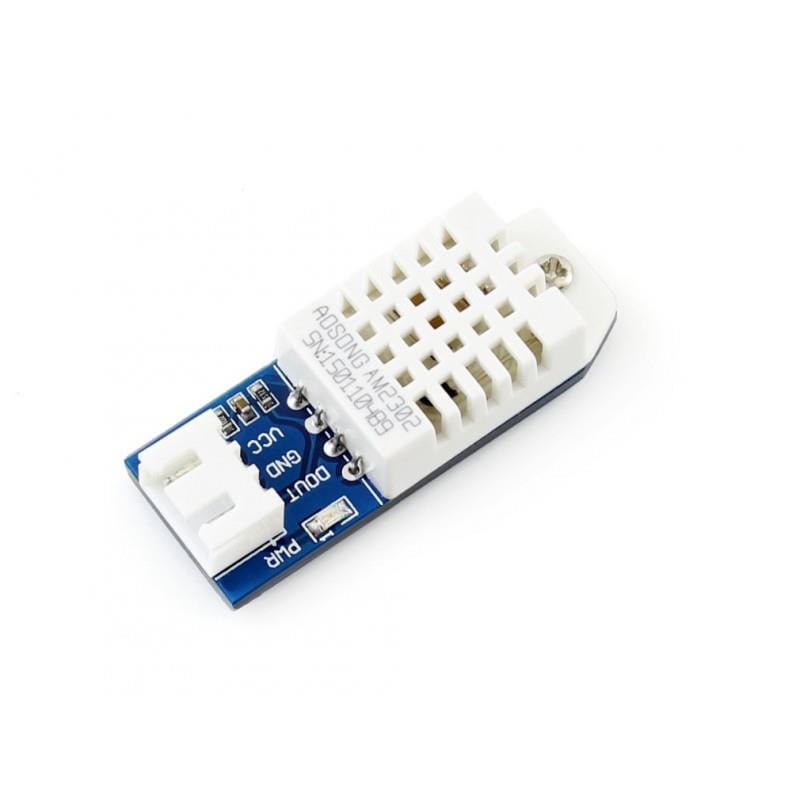
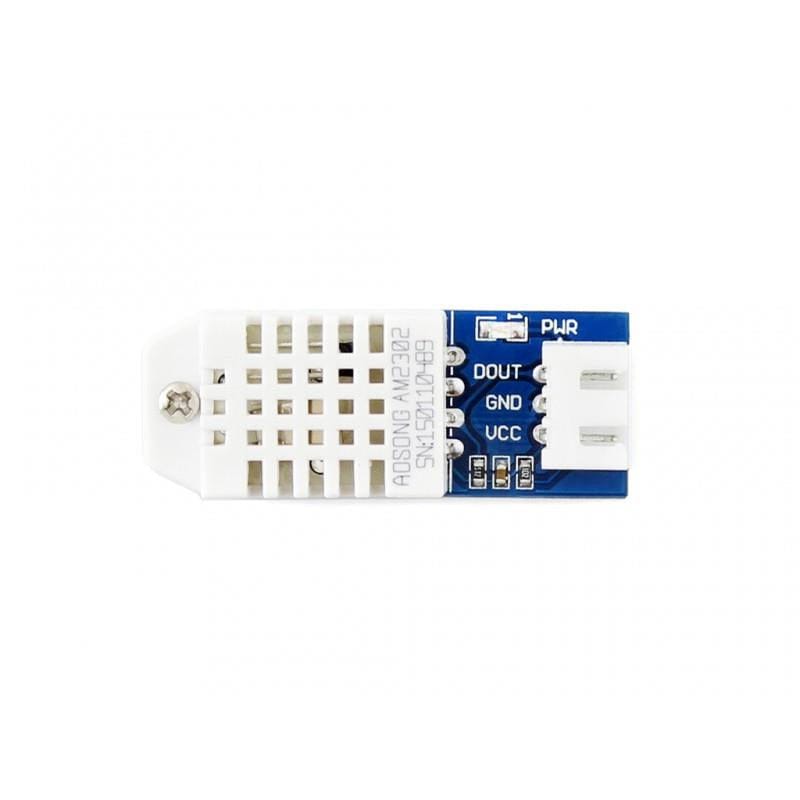
The DHT22 is very similar but slightly more accurate and can be bought mounted or unmounted. The mounted versions have a handy power LED.
Mounted versions are easier to use as they include the essential addition resistor already included on the board.

DHT11/DHT22 Pinout
Mounted Sensors
The mounted boards have three connections:
- DOUT - Connected to any GPIO pin. We will use GP0
- GND - Connected to the GND rail
- VCC - Connected to the 3.3 volt rail

Unmounted Sensors
The unmounted sensors have four pins and need a 4.7K to 10K ohm resistor between two pins. The pinout is the same for the DHT11.
From the top:
- GND - Connected to GND rail
- NC - Not Connected
- DATA - Any digital pin, we will use GP0
- VCC - Connected to the 3.3 volt rail
The resistor is used to connect VCC and DATA on the breadboard, like below:

DHT11/DHT22 MicroPython Software
Very helpfully, MicroPython have included code to read these sensors in the Raspberry Pi Pico UF2. We can see all the built in routines by running a quick command.
Connect your Pico to your computer, start Thonny and type in the Shell window at the >>> prompt help (‘modules’).
You should see output similar to below:
MicroPython v1.19.1 on 2022-06-18; Raspberry Pi Pico with RP2040

Type "help()" for more information.

>>> help('modules')
__main__          framebuf          uasyncio/funcs    ujson
_boot             gc                uasyncio/lock     umachine
_boot_fat         math              uasyncio/stream   uos
_onewire          micropython       ubinascii         urandom
_rp2              neopixel          ucollections      ure
_thread           onewire           ucryptolib        uselect
_uasyncio         rp2               uctypes           ustruct
builtins          uarray            uerrno            usys
cmath             uasyncio/__init__ uhashlib          utime
dht               uasyncio/core     uheapq            uzlib
ds18x20           uasyncio/event    uio
Plus any modules on the filesystem
>>>
These sensors use the dht library from the first column.
Here is the code for the DHT22:
# Test DHT22 Temperature and Humidity Sensor
# dht library is built into MicroPython

# Needs 4.7K to 10K resistor between 3.3V and signal pin
# Pins VCC, Sig, NC, GND - View from front
from machine import Pin
from time import sleep
import dht

sensor = dht.DHT22(Pin(0))

while True:
    try:
        sleep(1)
        # The DHT22 returns at most one measurement every 1s
        sensor.measure()
        # Retrieves measurements from the sensor
        print(f"Temperature : {sensor.temperature():.1f}")
        print(f"Humidity    : {sensor.humidity():.1f}\n")
        # Transmits the temperature to the terminal
    except OSError as e:
        print('Failed reception')
        # If the pico does not receive the measurements from the sensor
Here is the code for the DHT11 – just a change in device name!
# Test DHT11 Temperature and Humidity Sensor
# dht library is built into MicroPython
from machine import Pin
from time import sleep
import dht

sensor = dht.DHT11(Pin(0))

while True:
    try:
        sleep(1)
        # The DHT11 returns at most one measurement every 1s
        sensor.measure()
        # Retrieves measurements from the sensor
        print(f"Temperature : {sensor.temperature():.1f}")
        print(f"Humidity    : {sensor.humidity():.1f}\n")
        # Transmits the temperature to the terminal
    except OSError as e:
        print('Failed reception')
        # If the pico does not receive the measurements from the sensor
Whichever you choose, they both provide similar output like this, nice and simple readings:
>>> %Run -c $EDITOR_CONTENT
Temperature : 20.6
Humidity    : 59.3

Temperature : 20.7
Humidity    : 58.2

Temperature : 20.7
Humidity    : 58.2

Temperature : 20.7
Humidity    : 58.2

Temperature : 20.7
Humidity    : 58.2
This is all nice n' easy stuff with just a small amount of code required to start monitoring parts of your local environment.
Notice the one second delay in the loop. These sensors need at least a second between readings - plenty fast enough as in most scenarios neither the temperature or humidity will change very rapidly. You can also check the temperature you are getting against a reliable alternative to see if you need to apply an offset.
Just to note, these sensors are not designed to be used outdoors or in very humid conditions.
Additional resources
The Waveshare Wiki pages provide datasheets for the sensors which can be useful:
About the Author
This article was written by Tony Goodhew. Tony is a retired teacher of computing who starting writing code back in 1968 when it was called programming - he started with FORTRAN IV on an IBM 1130! An active Raspberry Pi community member, his main interests now are coding in MicroPython, travelling and photography.

1 comment
Mark
Do you have an idea of how long the wires can be from the sensor? I would like several humidity sensors in my cellar, would need 5m cables to each.
Do you have an idea of how long the wires can be from the sensor? I would like several humidity sensors in my cellar, would need 5m cables to each.