
How to boot your Raspberry Pi from a USB mass storage device
In this tutorial, we will show you how you can boot your Raspberry Pi using a USB port instead of the micro-SD card slot!
Please note: This method of booting is experimental and is not guaranteed to work with all USB mass storage devices.
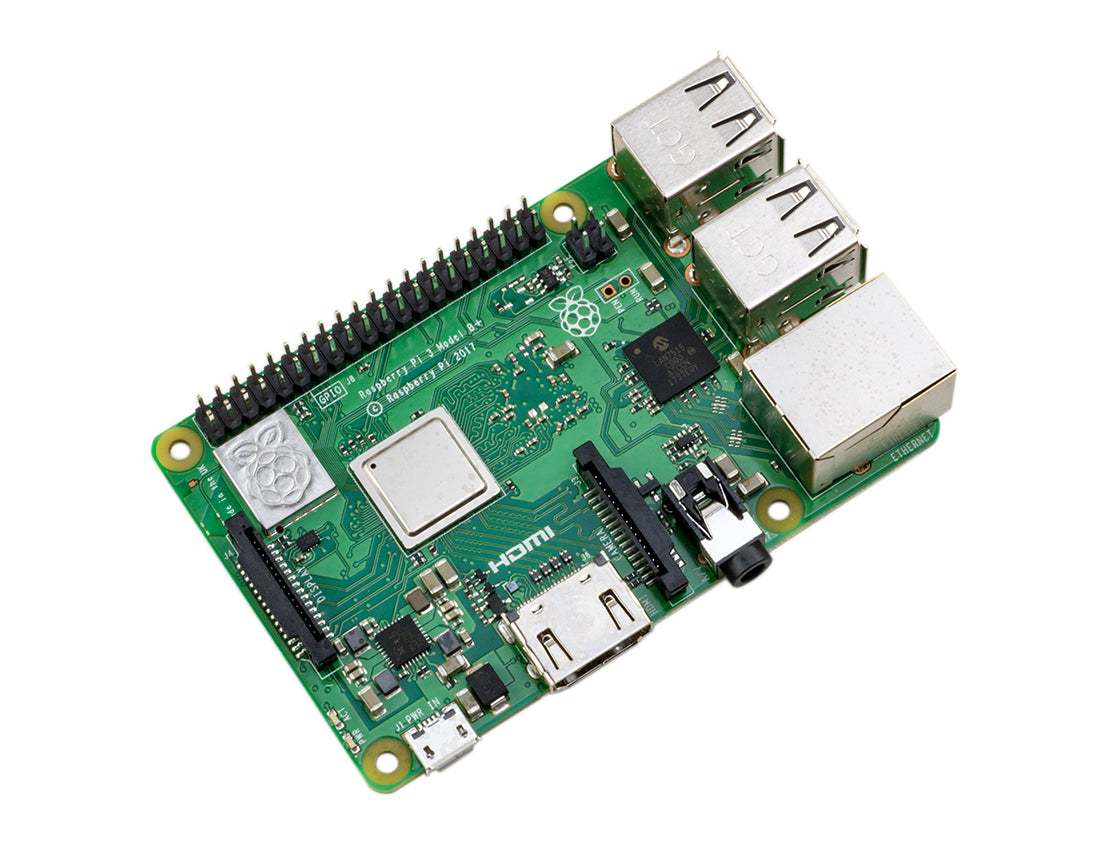
If you are using a Raspberry Pi 3 – Model B+ or Raspberry Pi 3 – Model A+ then you can skip to the second section of this tutorial “Preparing the USB mass storage deviceâ€
If you are using a Raspberry Pi 2 (v1.2) or Raspberry Pi 3 – Model B, then you will need to follow the instructions in this first section “Enabling USB boot modeâ€
Enabling USB Boot Mode
So to enable USB boot mode on the older Pi’s (RPi2, RPi3) you need to program the OTP (one-time-programmable) bit. To do this, you need to add a single line of text to the /boot/config.txt file and reboot the Pi.
When the Pi boots for the first time with this additional line of text in the config file, it’ll set the OTP bit responsible for enabling USB booting. Please note, any changes made to the OTP is permanent and cannot be undone!
First we need to make sure we have a fresh, clean installation of the latest version of Rasbian. We have a separate guide on setting up a SD card here – https://s.modmypi.com/noobs
Once you have installed Rasbian, and have logged in. You will need to open up a terminal window and edit the /boot/config.txt file
sudo nano /boot/config.txt


At the end of this file, add the following line:
program_usb_boot_mode=1


Exit the editor and save the changes. Ctrl+X to exit, Y then enter to save.
Now you have added this line of text, you can simply reboot the Raspberry Pi. When then Pi reboots, the OTP bit will have been sent. We can check this by typing the following command in a terminal:
vcgencmd otp_dump | grep 17:
You should see the following output:
17:3020000a


You might want to now remove the line of text from the config.txt in case you use this SD card in a different Pi and don’t want to enable USB boot mode. Simply edit the /boot/config.txt as before and delete the line of text. Make sure there are no empty lines at the end of the config.txt file.
That’s it! Your Raspberry Pi is now ready to boot from a USB mass storage device.
Preparing the USB mass storage device
Preparing the USB mass storage device is the same process as setting up a SD card. Follow our guide on setting up the SD card here – https://s.modmypi.com/noobs
Booting from a USB mass storage device
Plug your prepared USB mass storage device into any of the USB ports on the Raspberry Pi. When you apply power to the Pi, there will be a slight delay before the Pi actually starts to boot. It can take up to 10 seconds for the boot process to start. Once the delay is over, you should see the rainbow screen and the Pi should boot as it usually would from a SD card.
As we are booting directly from the USB mass storage device, we do not need to have a micro-SD card plugged in!


