Controlling Motors with Relays
Motors are awesome. They are the fundamental components to any robot, be it as a servo motor, stepper motor or just your bog standard DC motor. 9 times out of 10, you’ll be using DC motors for the movement of your robot as they are super easy to control. Apply power to motor… motor rotates. Simple.
The cool thing about DC motors is that it doesn’t matter which way round you wire the + and – of your battery up to it. Simply swapping the polarity just means the motor spins in the opposite direction. This allows us to create robots that can move forwards and backwards using the same motors.
There are plenty of motor controllers out there that allow you to do this, like the PicoBorg Reverse. These are great as they give you so much control over your motors and are very compact. However, you can achieve the forwards/backwards control ability with just a few relays, 2 per motor to be precise!
Wiring your motors up to the relays, as shown in the diagram below, allows us to control the direction of the motor by simply turning either of the relays on.

Motor Relay Logic
|
Relay 1 (left) |
Relay 2 (right) |
Motor Status |
|---|---|---|
|
OFF |
OFF |
STOP |
|
ON |
OFF |
CW |
|
OFF |
ON |
CCW |
|
ON |
ON |
STOP |
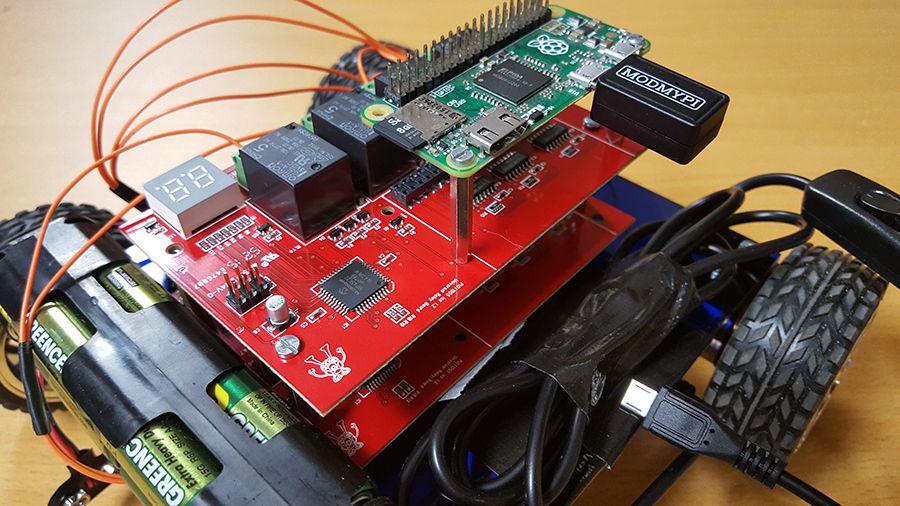
Seeing as we recently launched our PiOT Relay board we thought it would be a fun idea to build a little 4 wheeled driven robot! Each of our relay boards has 4 relays on it, so by stacking 2 boards we get a total of 8 relays, allowing us to drive all 4 motors.
We started off by mocking up a little base plate to attach the motors to, along with the PiOT stack.
Using a Pi Zero as our controller, this was mounted on top of the PiOT stack.

To connect the PiOT Relay Boards and the Pi Zero together, we modified a 40 Pin ribbon cable. Simply adding another socket to the ribbon, but facing the opposite direction to the two end sockets.

This allows us to weave the cable in and out of the relay boards.

We then needed some way of powering the Pi as well as the motors. Ideally we wanted to use a single power source for both but a quick and easy solution was to simply strap a power bank to the underside of the robot to power the Pi over USB.

Then strap a 8x AA battery pack to the front to power the motors.

That’s pretty much everything wired up so it was on to actually getting the thing to move.
Initially, we had the Pi hooked up to our KVM switch so we could configure the WiFi before plugging a WiFi dongle in. (https://www.modmypi.com/blog/raspberry-pi-zero-micro-usb-wifi-dongle-set-up-guide) Once the WiFi was configured we could unplug all wires and have a self-contained unit with no wire restrictions, that we could access via SSH .


We then wrote a really basic script to control our robot, which can be found on our GitHub - https://github.com/modmypi/Relay-Motor-Controller
The script just prompts the user for an input, one of the following letters: f,b,l,r,s (forward, backwards, left, right, stop)
Then it was just a case of loading up the script over ssh on a mobile phone and away we go!!


