
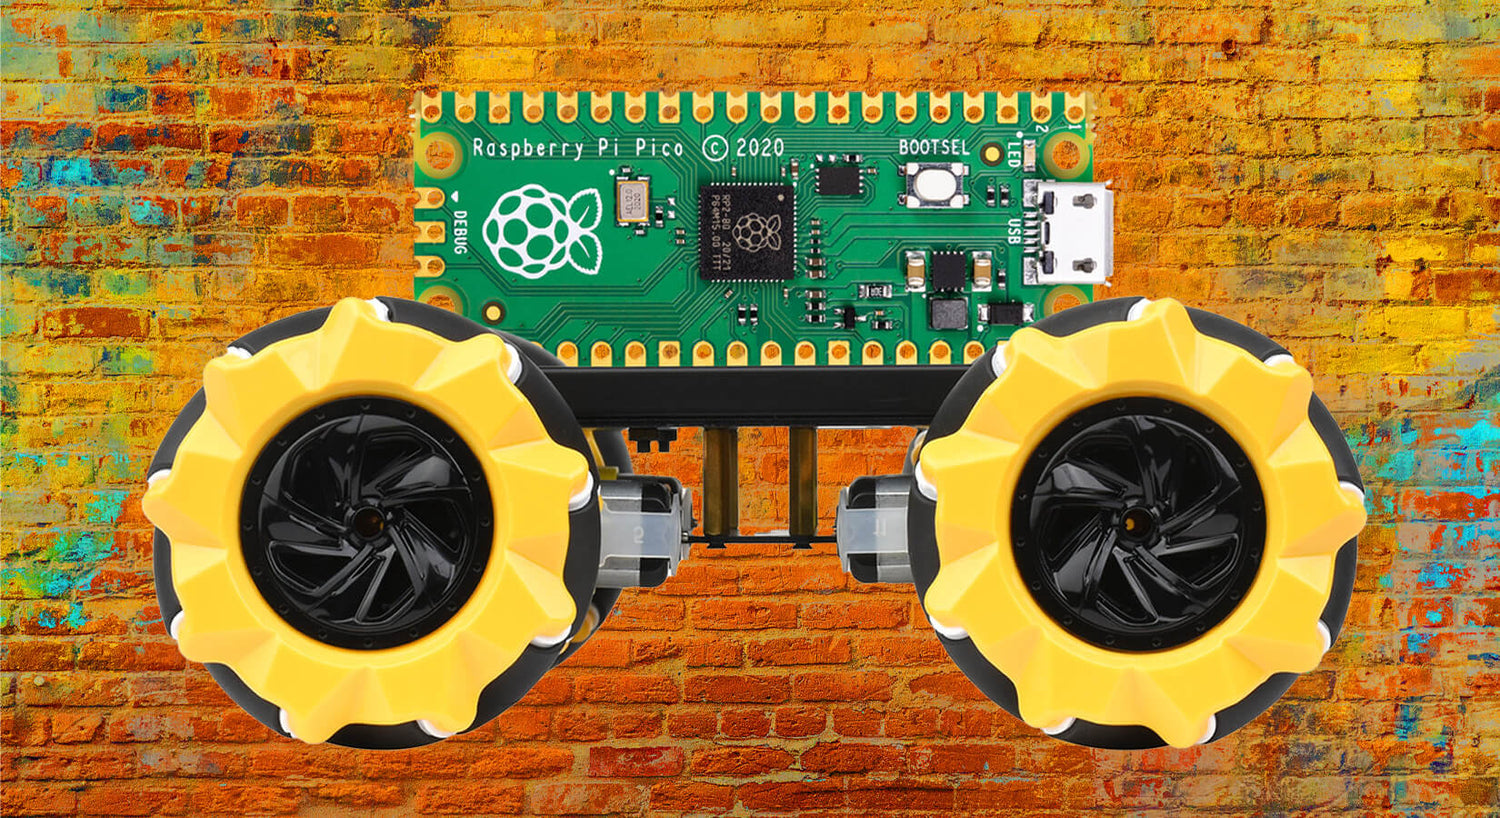
Build a Raspberry Pi Pico Robot with Mecanum Wheels
In this tutorial, we'll show you how to build and code a Raspberry Pi Pico robot using mecanum wheels!
Normal wheels allow the robot to move forwards, backwards, spin and turn. These ‘magic’ mecanum wheels also allow the robot to move sideways and on diagonals, allowing advanced movement and control.
We'll explain how to get them working and supply the code in MicroPython to control the robot with a Raspberry Pi Pico via a Kitronik Pico Robotics Board using rechargeable Ni-MH AA batteries.
The best bit - we have a great new range of affordable Mecanum Robot Chassis Kits in the store to make this project with.
Let's go make a Pico robot!

What you'll need
This is an intermediate skill level project, so we're assuming that this isn't your first rodeo with the Raspberry Pi Pico or robotics in general.
We assume that you already know your way around a Raspberry Pi Pico and have installed Thonny on your computer, and set up your Pico with the current UF2.
Some wire stripping and/or soldering skills may also be needed.
You will need:
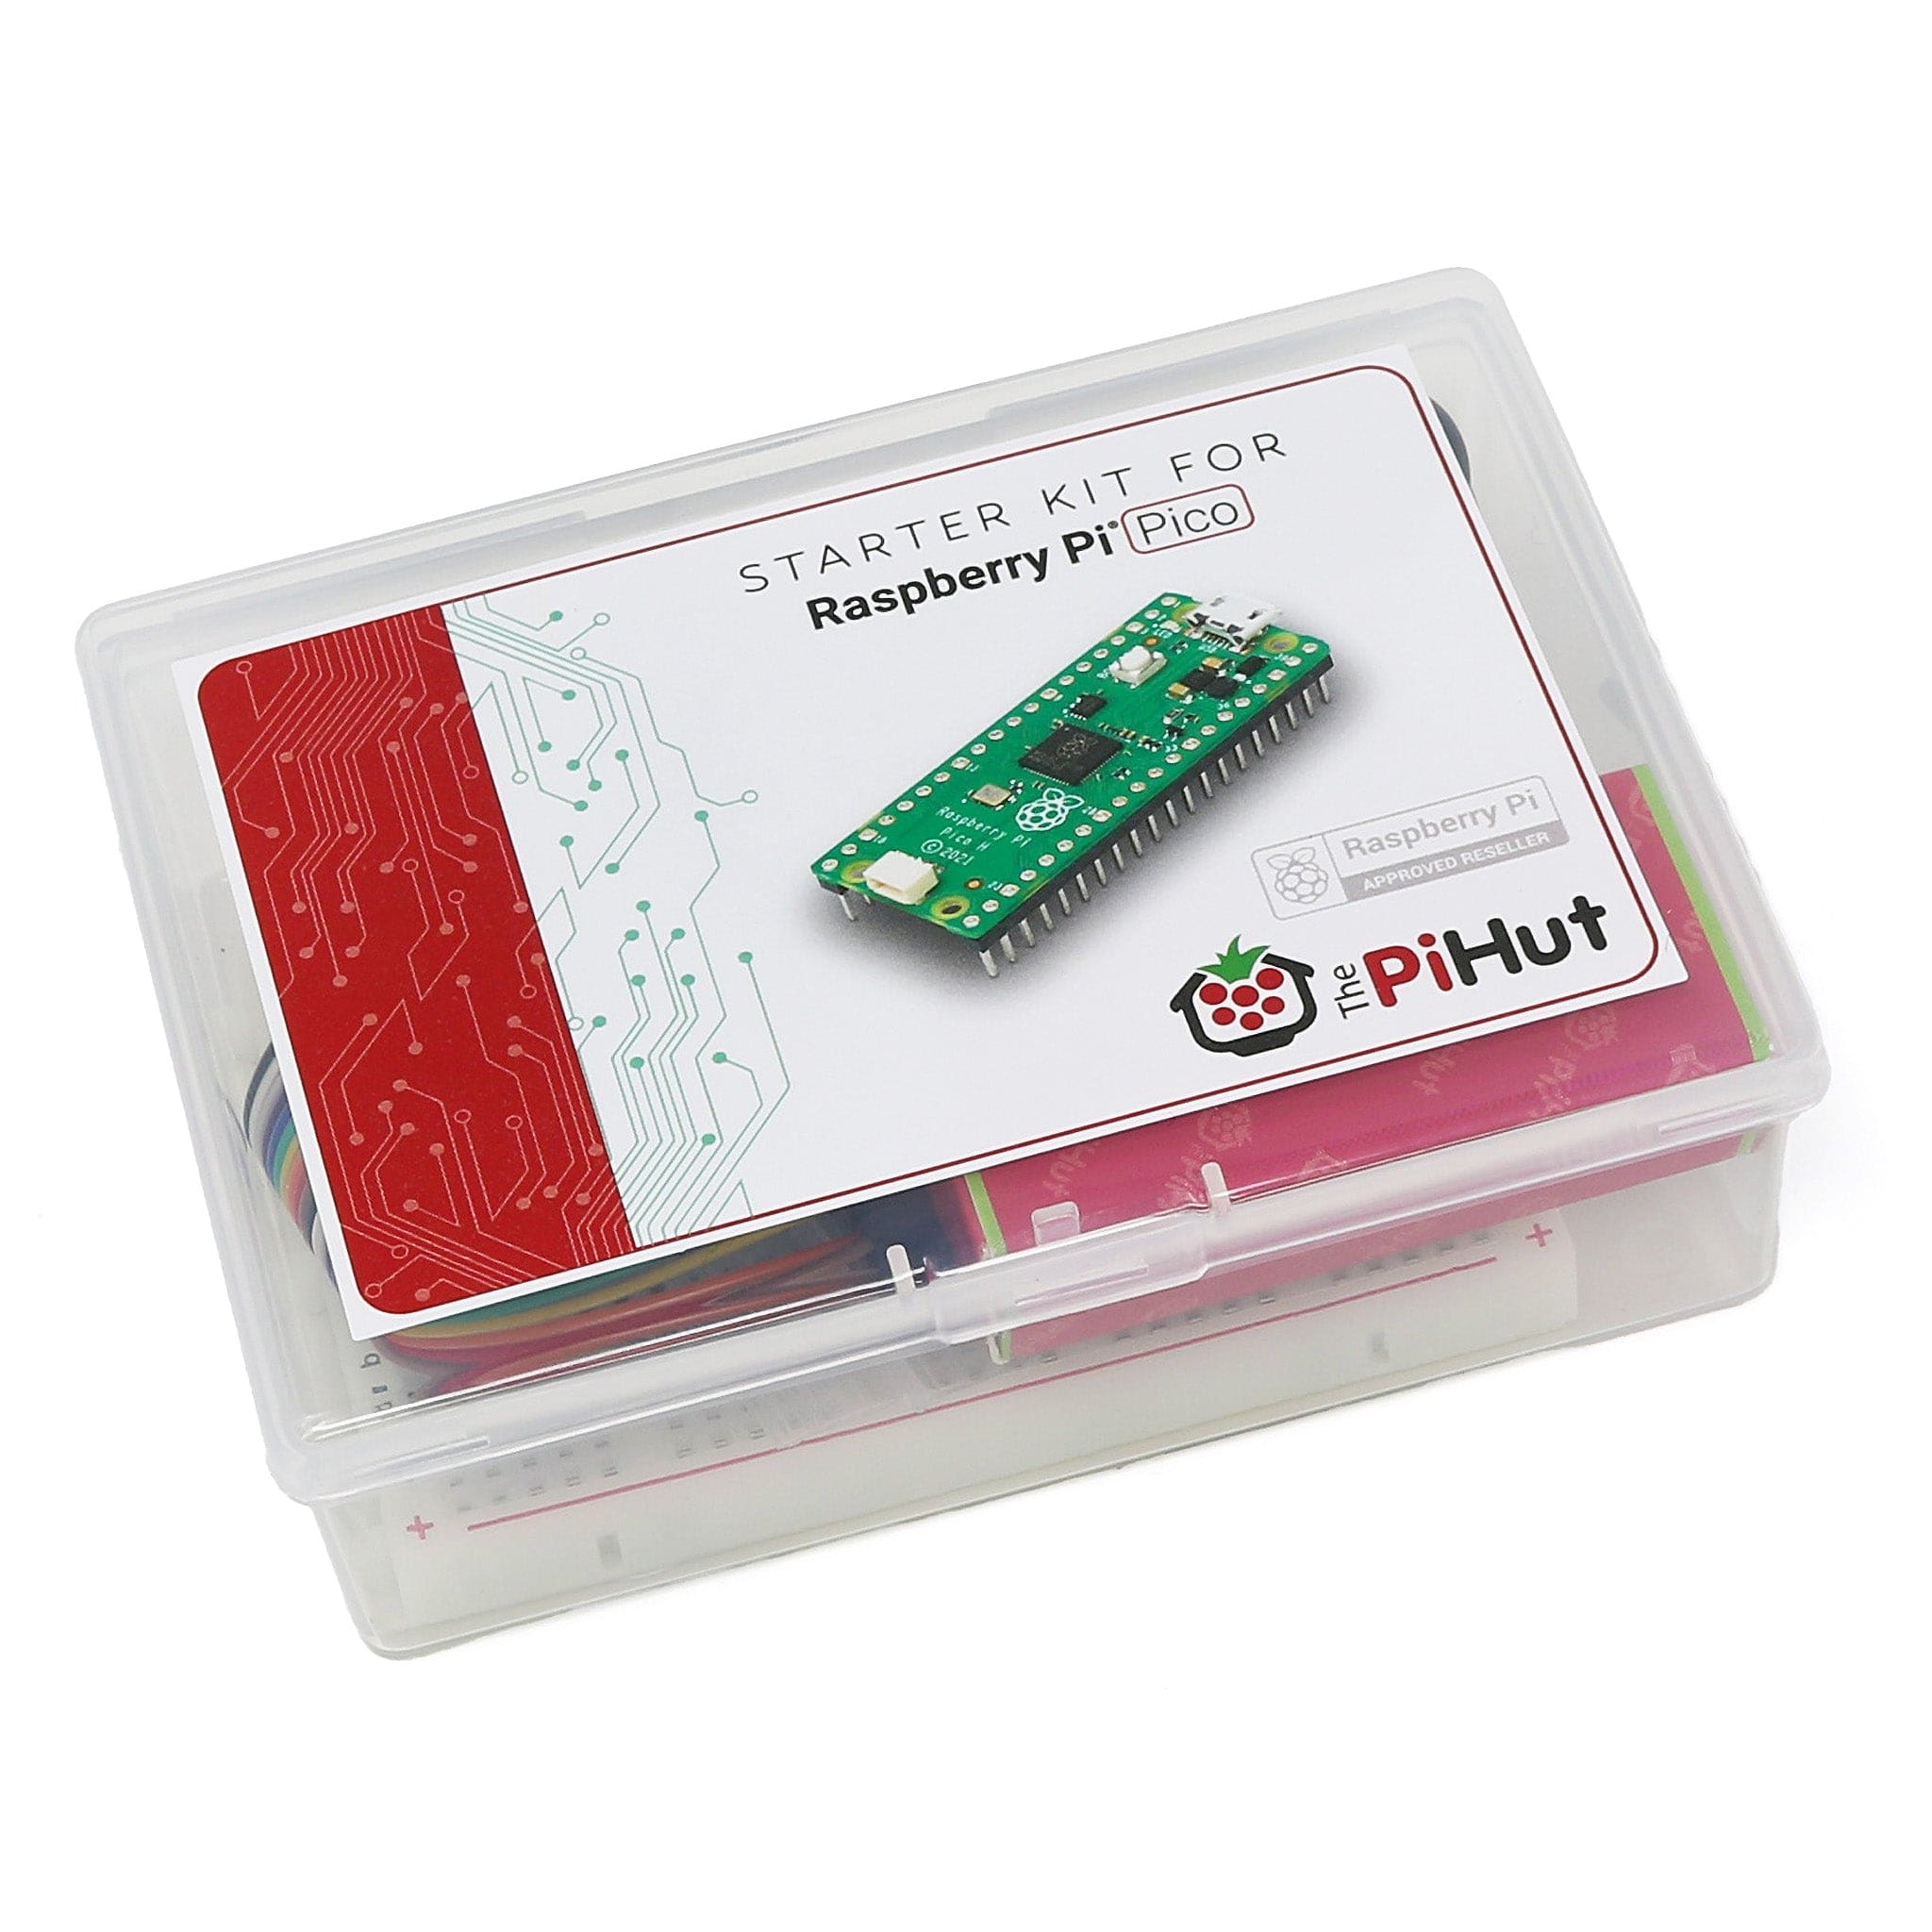
- Raspberry Pi Pico with header pins
- Micro-USB cable (for power and programming the Pico)
- A Waveshare MS robot chassis kit with mecanum wheels (or the fancy MP version we're using in this tutorial)
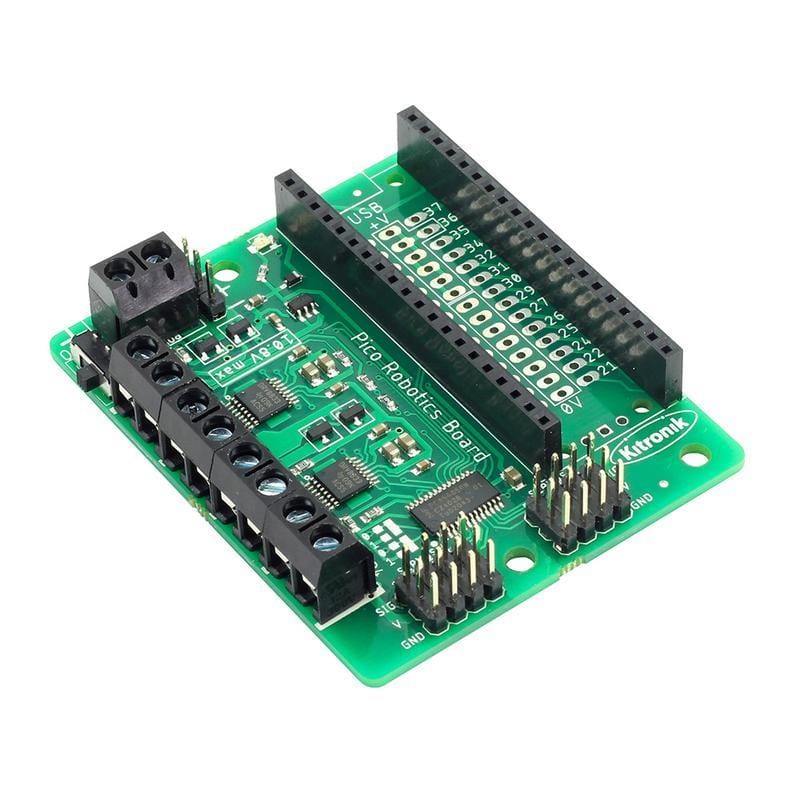
- Kitronik Robotics Board for Raspberry Pi Pico
- A 4xAA cell battery box with switch
- 4x AA Ni-MH 1.2V batteries (don't forget to grab a charger if you don't already have one)
- Block for wood, a few books or narrow cardboard box to support the chassis with the wheels off the desk for testing
- Blu Tack or similar reusable adhesive

Build the Chassis
Assembly instructions
We're not going to re-invent the wheel here - Waveshare already provide excellent instructions on putting your chassis together, including assembling the motors and mecanum wheels.
You can find the instructions here for the premium MP version we're using, or here for the MS version.
We left off the rails as we currently have nothing to fit to them and a flat top surface is more useful for this project. We also pulled the motor wires up through the centre hole.
Before you fit the wheels look at them carefully and pair them up correctly. Two are marked ‘R’ and two are marked ‘L’.
Look at the picture below and put the wheels on in a similar fashion. One of each pair are fitted on opposite sides, diagonally. Make sure you put them on as shown i.e. all the rollers point to the centre when viewed from above:

You can also follow Waveshare's video instructions below for each version:
Power
Charge your Ni-MH batteries and put them into the battery box, ensuring the switch is in the OFF position.
Place a blob of Blu Tack or similar on each corner on the underside of the box and press it firmly onto the top layer of the chassis between the top pair of wheels at the front of the robot, with the switch pointing to the front left wheel.
Connect the wires from the battery box to the + and – terminals on the robotics board (red wire to the positive terminal). Double-check the switch is still in the OFF position.
Now fix the robotics board onto the top of the battery box with four more blobs of Blu Tack. This provides a good grip, reduces the chance of a short circuit but is easy to remove for access to the batteries. You could also do things differently and use some simple fixings to secure the board to the chassis holes somewhere else on the top plate.
Here's a map of the board's connections from Kitronik's datasheet to help you:

Connecting the motors
The board can control four DC motors, numbered 1, 2, 3 and 4. Each motor is connected by its two wires to the screw connectors on the board. Motor 1 is the top left terminal block in the picture above (nearest to the power terminal block). Motor 2 is next down, then motor 3 and finally motor 4 bottom left.
The motor wires have tiny PH2.0 male connectors fitted, which is probably to match the Waveshare ESP32 Robotics Driver Board, however most robot makers will snip these off and strip the ends for their chosen motor controller (usually tinned in solder) as most motor driver boards use terminal blocks.
We chose to make temporary connections using some spare JST sockets and prototyping wire, just to maintain those connectors whilst we prototyped with this project. It's not pretty but it means no snipping in case we want to use those connectors later on:

However you decide to do it, it's essential to connect each of the motors the correct way round. Notice that the colours of our wires working left to right for the four motors is B-R-R-B-R-B-B-R.
We recommend connecting the motors one at a time and test the direction it turns with our motor test program below, but we'll need to fit our Pico to the robotics board and add the code library first.
Grab the device driver library
Before we can run our test program (or even our main robot program) we need to add the code library for the robotics board to our Pico.
First, plug your Pico into the robotics board (use the 'USB' PCB markings to get it the right way round) and connect it to your computer with a micro-USB cable.
Next, open a browser on your computer and navigate to the GitHub page for the robotics board by clicking here.
Then, copy the code and paste it into a new code window in Thonny. Save it on your Pico in the lib folder with the name PicoRobotics.py (you may want to save a copy locally on your PC as well).
MicroPython motor test program
We recommend connecting the motors one at a time and test the direction it turns with the following program. All four motors need to turn forwards with this program as you change the value of m.
You can change the value of m for each motor. If the connection is correct the top of the wheel should move towards the front of the robot.
You will need lift the robot onto a block so that its wheels are ‘jacked-up’ off your desk while you do this. If a motor turns in the wrong direction just swap over the wires in the screw terminals. You will need both switches on the battery box and the motor board set to ON.
# Single MotorTest.py

import PicoRobotics
import utime

board = PicoRobotics.KitronikPicoRobotics()
directions = ["f","r"]

m = 1
dir ="f"

board.motorOn(m, dir, 50) # Motor ON at 50% power
utime.sleep(1) # Run for 1 second
board.motorOn(m, "f", 0) # STOP the motor
How the test program works
Let's take a quick look at the main instruction here:
board.motorOn(m, dir, speed)
This is the basic instruction to control a motor, which contains the following:
- m is an integer, 1 to 4 specifying the motor to be controlled
- dir is the direction which uses a string character - “f” is forward and “r” is reverse
- speed is an integer from 0, stopped, to 100, maximum speed
The program runs the specified motor forwards at 50% power for one second. Just enough time to see what is going on.
Mecanum wheel MicroPython program
The following program demonstrates the basic operation of the robot, which you can use as a basis for your own robot project. The code is well commented with useful procedure names so should be easy to follow.
Because the mecanum wheels can drive the platform sideways as well as on diagonals, we have used the points of the compass to denote direction, with forward as N (north). This means backwards will be S (south), E is sideways to the right (east) and W is sideways to the left (west).
We have also included NE, NW, SE, SW plus spinning right and left.
Copy the following program and paste it into Thonny. With the robot on the jack run the program from Thonny in the normal way (both switches need to be on) to make sure it works as expected. Notice that the wheels stop between each sequence:
# Waveshare Robot Chassis Kit MP/MS Routines
# Mecanum wheels
# Tony Goodhew for thepihut.com - 18 July 2023

import PicoRobotics
import utime

board = PicoRobotics.KitronikPicoRobotics()
directions = ["f","r"]

def stop():
    for m in range(4):
        board.motorOn(m+1, "f", 0)

def N(speed):
    for m in range(4):
        board.motorOn(m+1, "f", speed)

def S(speed):
    for m in range(4):
        board.motorOn(m+1, "r", speed)

def spinL(speed):
    board.motorOn(1, "r", speed)
    board.motorOn(2, "r", speed)
    board.motorOn(3, "f", speed)
    board.motorOn(4, "f", speed)

def spinR(speed):
    board.motorOn(1, "f", speed)
    board.motorOn(2, "f", speed)
    board.motorOn(3, "r", speed)
    board.motorOn(4, "r", speed)

def W(speed):
    board.motorOn(1, "r", speed)
    board.motorOn(2, "f", speed)
    board.motorOn(3, "f", speed)
    board.motorOn(4, "r", speed)

def E(speed):
    board.motorOn(1, "f", speed)
    board.motorOn(2, "r", speed)
    board.motorOn(3, "r", speed)
    board.motorOn(4, "f", speed)

def NW(speed):
    board.motorOn(1, "f", 0)
    board.motorOn(2, "f", speed)
    board.motorOn(3, "f", speed)
    board.motorOn(4, "f", 0)

def SE(speed):
    board.motorOn(1, "r", 0)
    board.motorOn(2, "r", speed)
    board.motorOn(3, "r", speed)
    board.motorOn(4, "r", 0)

def NE(speed):
    board.motorOn(1, "f", speed)
    board.motorOn(2, "f", 0)
    board.motorOn(3, "f", 0)
    board.motorOn(4, "f", speed)

def SW(speed):
    board.motorOn(1, "r", speed)
    board.motorOn(2, "r", 0)
    board.motorOn(3, "r", 0)
    board.motorOn(4, "r", speed)

d = 1.2 # time delay in seconds

utime.sleep(1)
N(50) # Forwards
utime.sleep(d)
stop()
S(50) # Backwards
utime.sleep(d)
stop()

W(50) # Sideways Left
utime.sleep(d)
stop()
E(50) # Sideways Right
utime.sleep(d)
stop()

NE(50) # Forwards and Right
utime.sleep(d)
stop()
SW(50) # Backwards and Left
utime.sleep(d)
stop()

NW(50) # Forwards and Left
utime.sleep(d)
stop()
SE(50) # Backwards and Right
utime.sleep(d)
stop()

spinL(50)
utime.sleep(d)
stop()
spinR(50)
utime.sleep(d)
stop()
Once that has worked correctly on the jack, you can save the program to the Pico, calling it main.py, so that it runs automatically when powered up.
Take it for a spin!
Now it's time to move your robot to the floor and get it moving!
Disconnect the Pico from the USB cable. Leave the battery box ON but turn OFF the switch on the motor board. Place the robot on the floor, you will need about 2m square of space.
Move the board switch to ON and watch the robot perform. We have tried it on carpet, kitchen floor tiles and an asphalt driveway - it seems to handle all of them pretty well. Here's a quick video of ours in action:
Things to try
Now it's over to you to get creative and make it yours. So how about some things to try...
- Alter the speeds and the delay times
- Make the robot trace out squares, rectangles and diamonds
- Add procedures to make the robot pivot left and right by stopping the wheels on one side and driving the opposite wheels forwards or backwards
- Make it move in a circle by driving opposite sides at different speed. Make a small circle and a larger circle (you my need to experiment with this)
- See if you can make it spiral outwards
About the Author
This article was written by Tony Goodhew. Tony is a retired teacher of computing who starting writing code back in 1968 when it was called programming - he started with FORTRAN IV on an IBM 1130! An active Raspberry Pi community member, his main interests now are coding in MicroPython, travelling and photography.
3 comments
Stuart
I assembled this easily and am happy with this product so far (I have just assembled and tested it). I bought the version with the mecanum wheels but not the soft suspension. I used jumper wires to connect the motor wire white end fittings to the black screw connectors on the board. You need to source a 4 x AA battery box yourself. Instructions and test code worked well. The suggested next steps are good. Once I have run through these I plan to add buttons to run preset routines, use sensors such as motion or distance sensors. Then I will explore adding servos. I bought the “board” to make things as easy to get into as possible (present for my son) but using a breadboard and a DRV8833 motor driver should also be easy to use for prototyping purposes.
I assembled this easily and am happy with this product so far (I have just assembled and tested it). I bought the version with the mecanum wheels but not the soft suspension. I used jumper wires to connect the motor wire white end fittings to the black screw connectors on the board. You need to source a 4 x AA battery box yourself. Instructions and test code worked well. The suggested next steps are good. Once I have run through these I plan to add buttons to run preset routines, use sensors such as motion or distance sensors. Then I will explore adding servos. I bought the “board” to make things as easy to get into as possible (present for my son) but using a breadboard and a DRV8833 motor driver should also be easy to use for prototyping purposes.
Anthony Davies
it would be useful to show the motor number on the wheels. i.e.are 1 and 2 side by side or one behind the other?
it would be useful to show the motor number on the wheels. i.e.are 1 and 2 side by side or one behind the other?
Kevin McAleer
Great tutorial! I got on of these chassis and am very impressed with the quality and size!
Great tutorial! I got on of these chassis and am very impressed with the quality and size!