MicroPython Skill Builders - #3 LEDs and Procedures
This is the third instalment of our MicroPython Skill Builders series by Tony Goodhew, aiming to improve your coding skills with MicroPython whilst introducing new components and coding techniques - using a Raspberry Pi Pico!
In this episode, Tony will demonstrate the use of procedures using our fancy 10 Segment Bar Graph Display.
Need to catch up? Check out the first and second episodes which cover the use of loops and lists in MicroPython.
What you will need
We assume that you have installed Thonny on your computer and set up your Raspberry Pi Pico with the most recent MicroPython firmware (UF2). If not, check out our Raspberry Pi Pico Getting Started Guide where this is covered in detail.
We're are also assuming that you have read/completed the first two tutorials in the series (see links above if not).
You will need:
- Raspberry Pi Pico with header pins
- A full-size breadboard
- Micro-USB cable (for power and programming the Pico)
- A pack of male-male and male-female Jumper Wires (a mixed pack is available here)
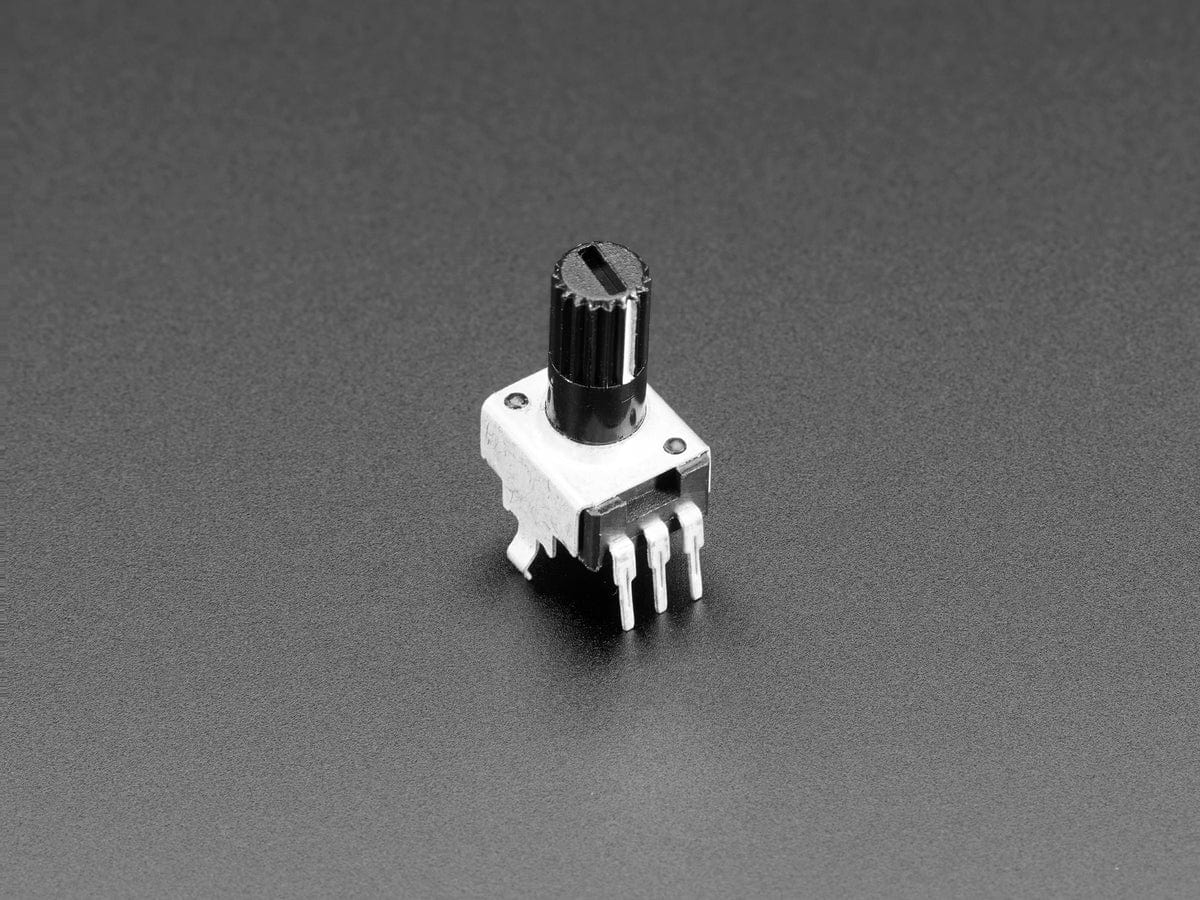
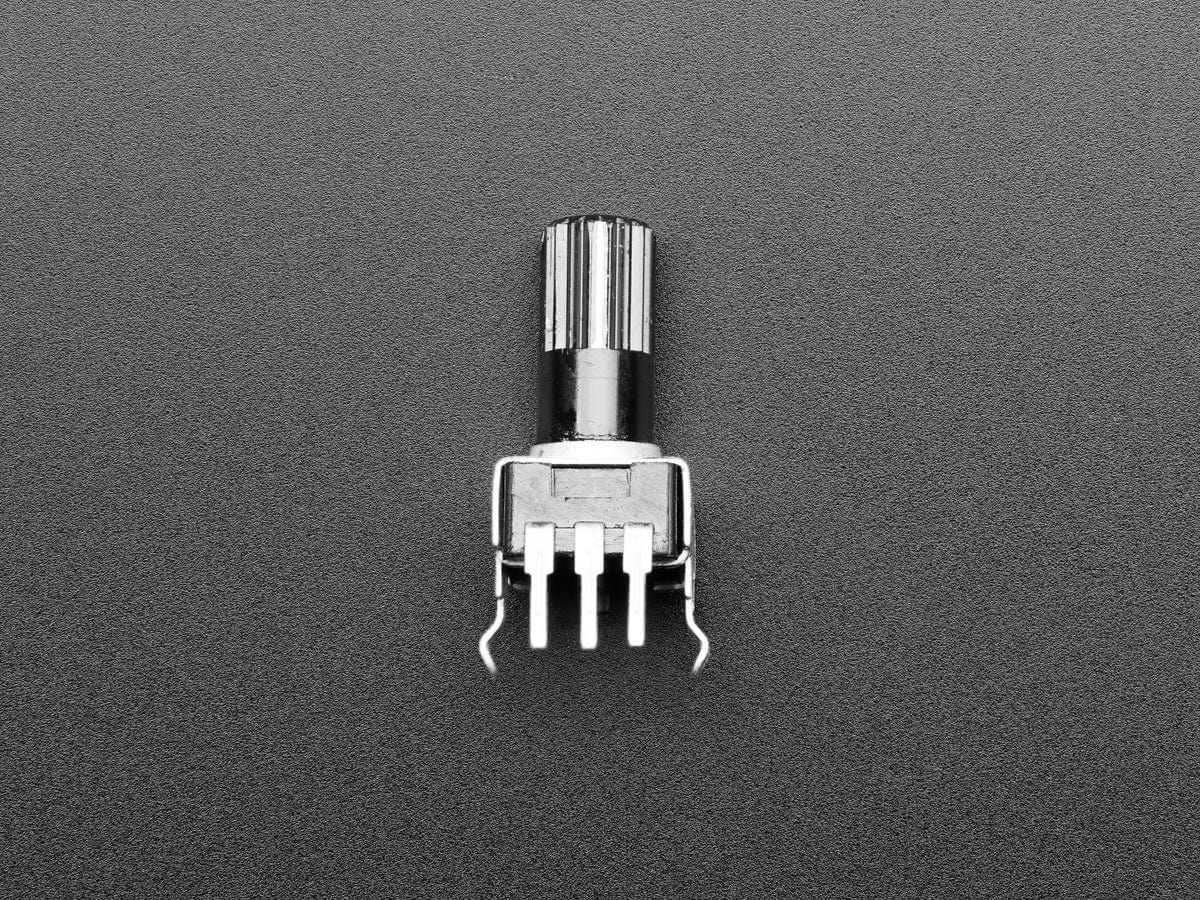
- A 10k Potentiometer
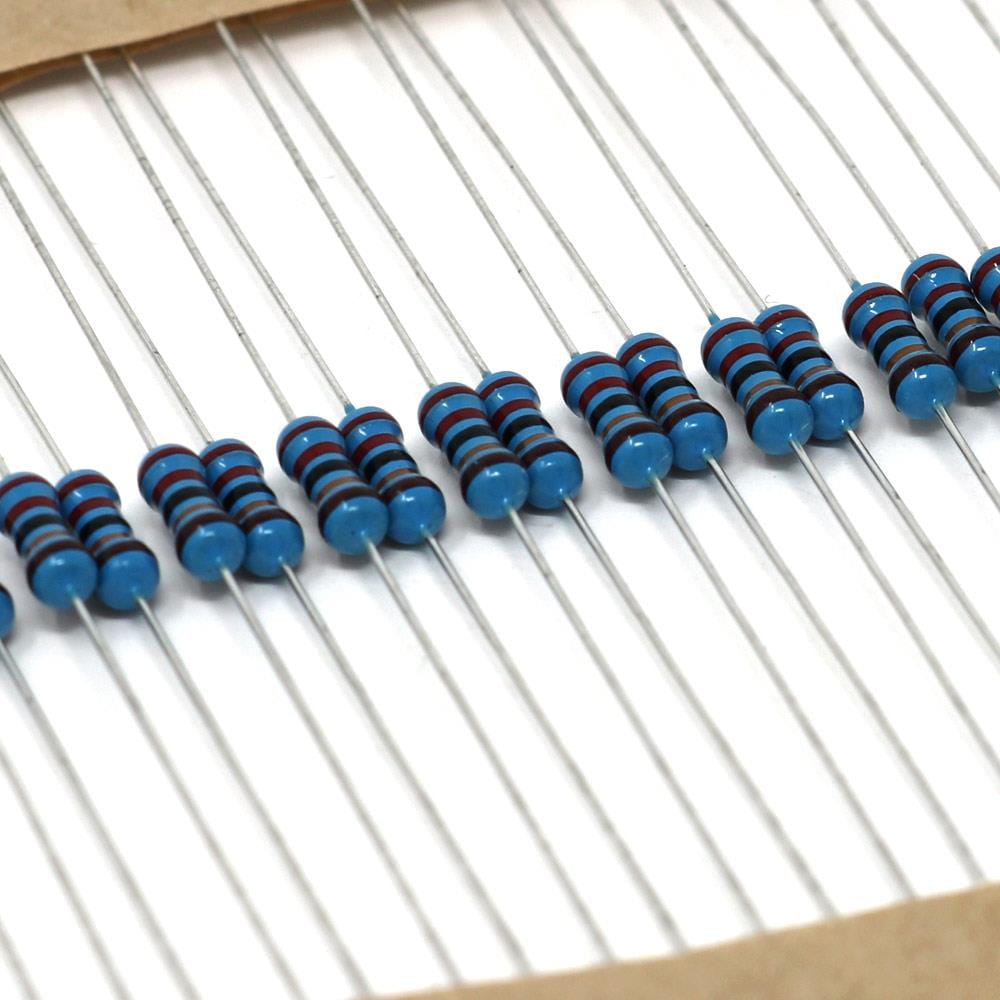
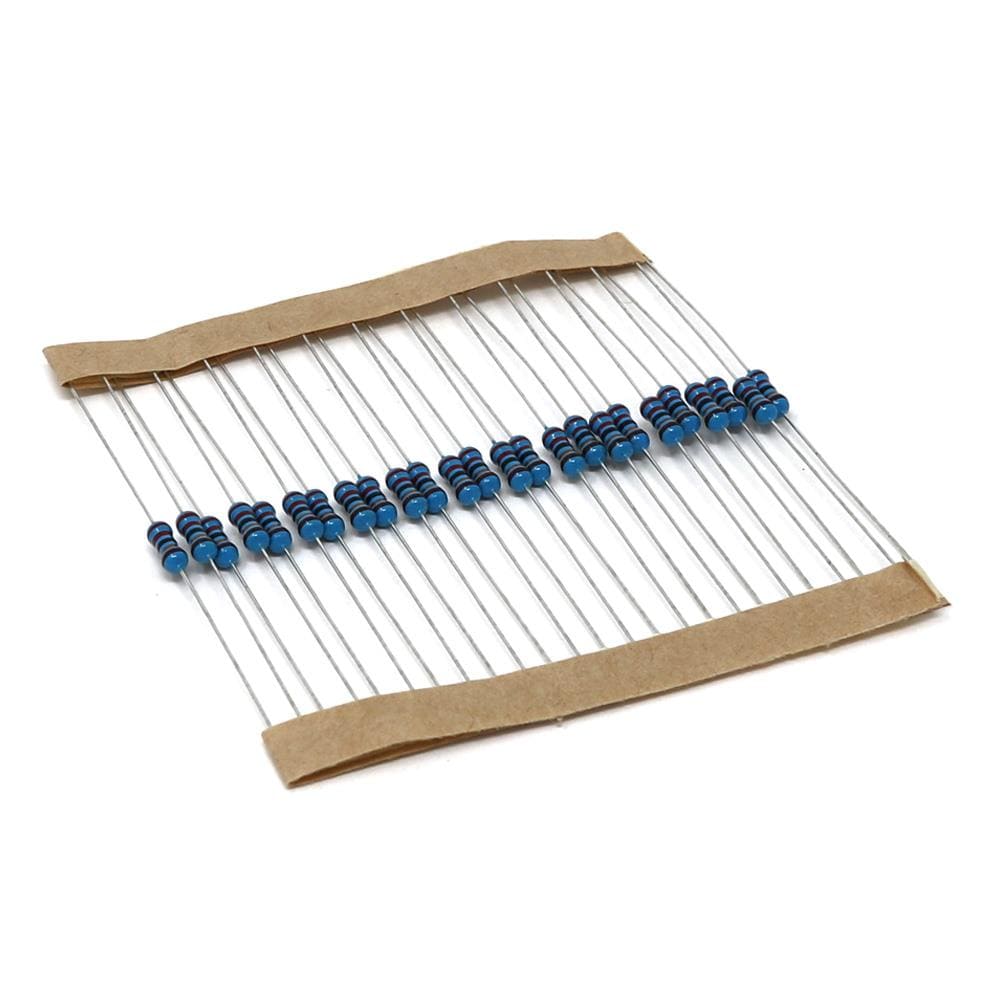
- 10x Current limiting resistors (330 Ohms)
- Tactile buttons (a mixed pack is available here)
- 10x LEDs OR a 10-segment Light Bar Graph
Our starting point
We will be continuing with the bar graph circuit from our previous tutorial. Go back to tutorial #2 for instructions on how to build the circuit if you need to.

Procedure demonstration
Let's jump straight in with a code example that will show you a handful of procedures in action.
With your circuit ready to go, copy the code below over to Thonny, run it, then scroll down for a breakdown of how it works:
# Demonstrates PROCEDURES
# 10 Segment LED Bar Graph or 10 LEDs
# Author: Tony Goodhew 2 May 2023

# LEDs with 330 Ohm resistors on pins GP2 to GP11
# Button switch on GP15 - Pull Down
# 10K Ohm potentiometer on ADC0 = GP26

# Import libraries
from machine import Pin, ADC
import time
import random

# Set up button on GP 15 with Pull Down
button = Pin(15,Pin.IN, Pin.PULL_DOWN)

# Set up the LEDs with a list
leds = [] # An empty list

for i in range(10):
    led = Pin(2 + i, Pin.OUT) # Set up 1 LED
    leds.append(led)          # Add the new led to the list
    leds[i].value(0)          # Turn it off

# ====== Start of definitions ======
def on(): # Turn ON all the LEDs
    for i in range(10):
        leds[i].value(1)

def off(): # Turn OFF all the LEDs
    for i in range(10):
        leds[i].value(0)

def odd(): # Turn on the ODD numbered LEDs
    for i in range(0,10,2):
        leds[i].value(1)

def even(): # Turn on the EVEN numbered LEDs
    for i in range(1,10,2):
        leds[i].value(1)

def on_n_L(n): # Turn on n LEDS from the left
    for i in range(n):
            leds[i].value(1)

def on_n_R(n): # Turn on n LEDS from the right
    for i in range(n):
            leds[9-i].value(1)

def flash(pp, delay): # pp pointer to LED and ON time
    leds[pp].value(1) # Turn LED on
    time.sleep(delay)
    leds[pp].value(0) # Turn LED off

def random_LEDs(n,delay): # Flash n random LEDs
    for c in range(n):
        p = random.randint(1,9)
        flash(p,delay)

# ========= End of definitions =========
# Flash all the LEDS
while button.value() == 0:
    on()
    time.sleep(0.3)
    off()
    time.sleep(0.3)

while button.value() == 1:continue

# Wobble the display of LEDs
while button.value() == 0:
    odd()
    time.sleep(0.2)
    off()
    even()
    time.sleep(0.2)
    off()

while button.value() == 1:continue

random_LEDs(30,0.2)

on_n_R(4) # 4 LEDS on at the RIGHT end of BAR
time.sleep(0.9)
off()
on_n_L(2) #  LEDS on at the LEFT end of BAR
time.sleep(0.9)
off()
The first section of the program sets up the list of LEDs and the button used to control loops, which we covered in the last two tutorials so we won't go back over how they work.
The next section defines a few simple procedures. But what are they?
What is a procedure in MicroPython?
A procedure is a set of instructions to carry out a single task.
It begins with the key word, def, and is followed by a procedure name, a pair of brackets and a colon. The indented lines after the def line are normal, indented code - the kind of thing we would write in a loop.
Take the first procedure in the demo code above for example. This one is very simple and just runs a loop switching on the LEDs, one at a time at maximum speed:
def on(): # Turn ON all the LEDs
    for i in range(10):
        leds[i].value(1)
This is a common, simple LED task which we can now program with the single instruction on() rather than writing the code every time.
In a similar manner we can define the even more useful procedure, off(), to turn all the LEDs off.
def off(): # Turn OFF all the LEDs
    for i in range(10):
        leds[i].value(0)
You'll find more variations of this in our code demo too. odd() switches on the odd numbered LEDs while even() just switches on the even numbered ones (we'll cover how those ones work another time when we go into the range function in more detail).
Variables within procedures
The following procedures from our demo include a variable in the bracketed part. This is called a parameter and used to provide variation within the procedure each time it is executed.
def on_n_L(n): # Turn on n LEDS from the left
    for i in range(n):
            leds[i].value(1)
This can turn on the required number of LEDs, starting at the left-hand end of the display. Let's take a look at an example of this:
on_n_L(3)This would switch on just the three left most LEDs on the bar graph.
Parameters vs arguments in MicroPython
When we call the procedure with an argument (or value) between the brackets, that quantity is used for the parameter when the procedure is executed:
- A parameter is the variable listed inside the brackets in the function definition
- An argument is the value that is sent to the function when it is called
A good example of this is the print() statement. When you use a print() statement you are using a procedure. The example below has print as the procedure name and "Answer is" and x as the arguments:
print("Answer is", x)The last two definitions have parameters and will need arguments when called to be executed:
- def flash(pp, delay):
- def random_LEDs(n,delay):
Using our definitions
In our code example, below our definitions we have the MAIN part of the program which calls the pre-defined procedures to do useful tasks (remember, definitions don't do anything unless we call them in our code):
- Flash all the LEDs until the button is pressed
- Wobble the LEDs until the button is pressed
- Randomly light up LEDs across the display
- Light up a row of LEDs from either end
Another MicroPython definition example
Let's add some more definitions and tweak the code to make our program do new things with the LEDs!
Add these procedures to the bottom of the definitions section:
def zero_L(delay):    # 1.1.......
    leds[0].value(1)
    leds[2].value(1)
    time.sleep(delay)

def zero_R(delay):    # .......1.1
    leds[7].value(1)
    leds[9].value(1)
    time.sleep(delay)
These new definitions add two LED pattens to represent zero at either end of the bar.
To use these definitions we'll need to call them. Replace the main section of code at the bottom with the code below, then save the program as proc_counting1.py:
# ========= End of definitions =========
wait = 0.7
# count from 0 to 35 on the Bar Graph
for count in range(36):
    tens = count // 10
    units = count % 10
    print(tens, units) # Just for checking
    if tens == 0:
        zero_L(wait)
        off()
    else:
        on_n_L(tens)
        time.sleep(wait)
    off()
    if units == 0:
        zero_R(wait)
        off()
    else:
        on_n_R(units)
        time.sleep(wait+0.2)
    off()
    time.sleep(wait)
    # Press button to break out of loop
    if button.value() == 1:
        print("Halted by button")
        break
Run the program! It counts from zero to 35 in a rather strange way, with two lit LEDs and a space between them representing a zero; but it works. Notice how we extract the tens and units values from the value of count with // and %.
Why are procedures so useful?
- Reusability - If you have a tried and tested procedure to carry out a specific task, you can use it with confidence in other programs so that you do not have to keep “re-inventing the wheel” and re-testing your code. Just copy and paste from an old program into a new one and call it in your new program.
- Structure and clarity - You can break down a very complicated task into a series of smaller tasks, procedures, which can be designed, written and tested separately. They are then collected together and called in turn by the main program.
- Hierarchy - You can build up a hierarchy of procedures with the higher-level procedures calling lower-level ones. We will demonstrate this in the next program.
MicroPython procedure hierarchy
Here we create a high-level procedure, def show_number(z): to display two-digit values on your 10 segment LED bar graph. To do this it calls lower-level procedures.
Let's go back to your example code in Thonny. Change the end of the program to look like this:
def zero_R(delay):
    leds[7].value(1)
    leds[9].value(1)
    time.sleep(delay)

def show_number(z): # Show 1 number: Range: 0 - 99 inclusive
    wait = 1
    tens = z // 10
    units = z % 10
    print(tens, units) # Just for checking
    if tens == 0:
        zero_L(wait)
        off()
    else:
        on_n_L(tens)
        time.sleep(wait)
    off()
    time.sleep(0.2)
    if units == 0:
        zero_R(wait)
        off()
    else:
        on_n_R(units)
        time.sleep(wait+0.2)
    off()
    time.sleep(wait)

# ========= End of definitions =========
# A list of test values
test_values = [33, 19, 0, 20, 13, 91, 6, 24, 66, 99]

for v in test_values:
    show_number(v)
    time.sleep(0.5)

    # Press button to break out of loop early
    if button.value() == 1:
        print("Halted by button")
        break

print("Done")
Things to notice
- We can use a list to provide test values. It is aways useful to include the end points, zero and 99 in this case, when testing a new piece of code
- for v in test_values: extracts the values from the list and sets up the loop without us knowing the length of the list
Things to try
Why not try using a temperature sensor along with procedures to display the temperature level via the LEDs?
- If you have a DS18B20-compatible temperature sensor, connect it to GP1 and test it. They are reasonably accurate, waterproof and very useful. Setup is explained here - Maker Advent Calendar Day #8: Tracking Temps
- Otherwise simulate a set of temperature readings (0 to 42 – we may get another hot summer!) with a list and test your code.
- Create a procedure to display the temperature with a number of flashes at either end of the LED bar. 14 degrees would be one flash at the left and 4 flashes at the right. 7 degrees would be just 7 flashes at the right and ten a single flash at the left. Hint: def flash_temp(t): would be the first line of the procedure definition.
- How about numbers above 99?
- How could you indicate a negative temperature? Add your solution to your code.
In the next tutorial we will look at the use of a different type of subroutine, a function, and address a minor problem when reading values near to zero with up to three 10K Ohm potentiometers.
About the Author
This article was written by Tony Goodhew. Tony is a retired teacher of computing who starting writing code back in 1968 when it was called programming - he started with FORTRAN IV on an IBM 1130! An active Raspberry Pi community member, his main interests now are coding in MicroPython, travelling and photography.