MicroPython Skill Builders - #1 Smarter Loops
In this new MicroPython Skill Builders series by Tony Goodhew, we aim to help improve your coding skills in MicroPython whilst introducing new components and coding techniques - all using a Raspberry Pi Pico and some common, affordable components.
We start in this first episode by looking at loop control.
What you will need
We assume that you have installed Thonny on your computer and set up your Raspberry Pi Pico with the most recent MicroPython firmware (UF2). If not, check out our Raspberry Pi Pico Getting Started Guide where this is covered in detail.
You may also find it useful to look back at the tutorials in the Advent Calendar series on LEDs, buttons and potentiometers.
You will need:
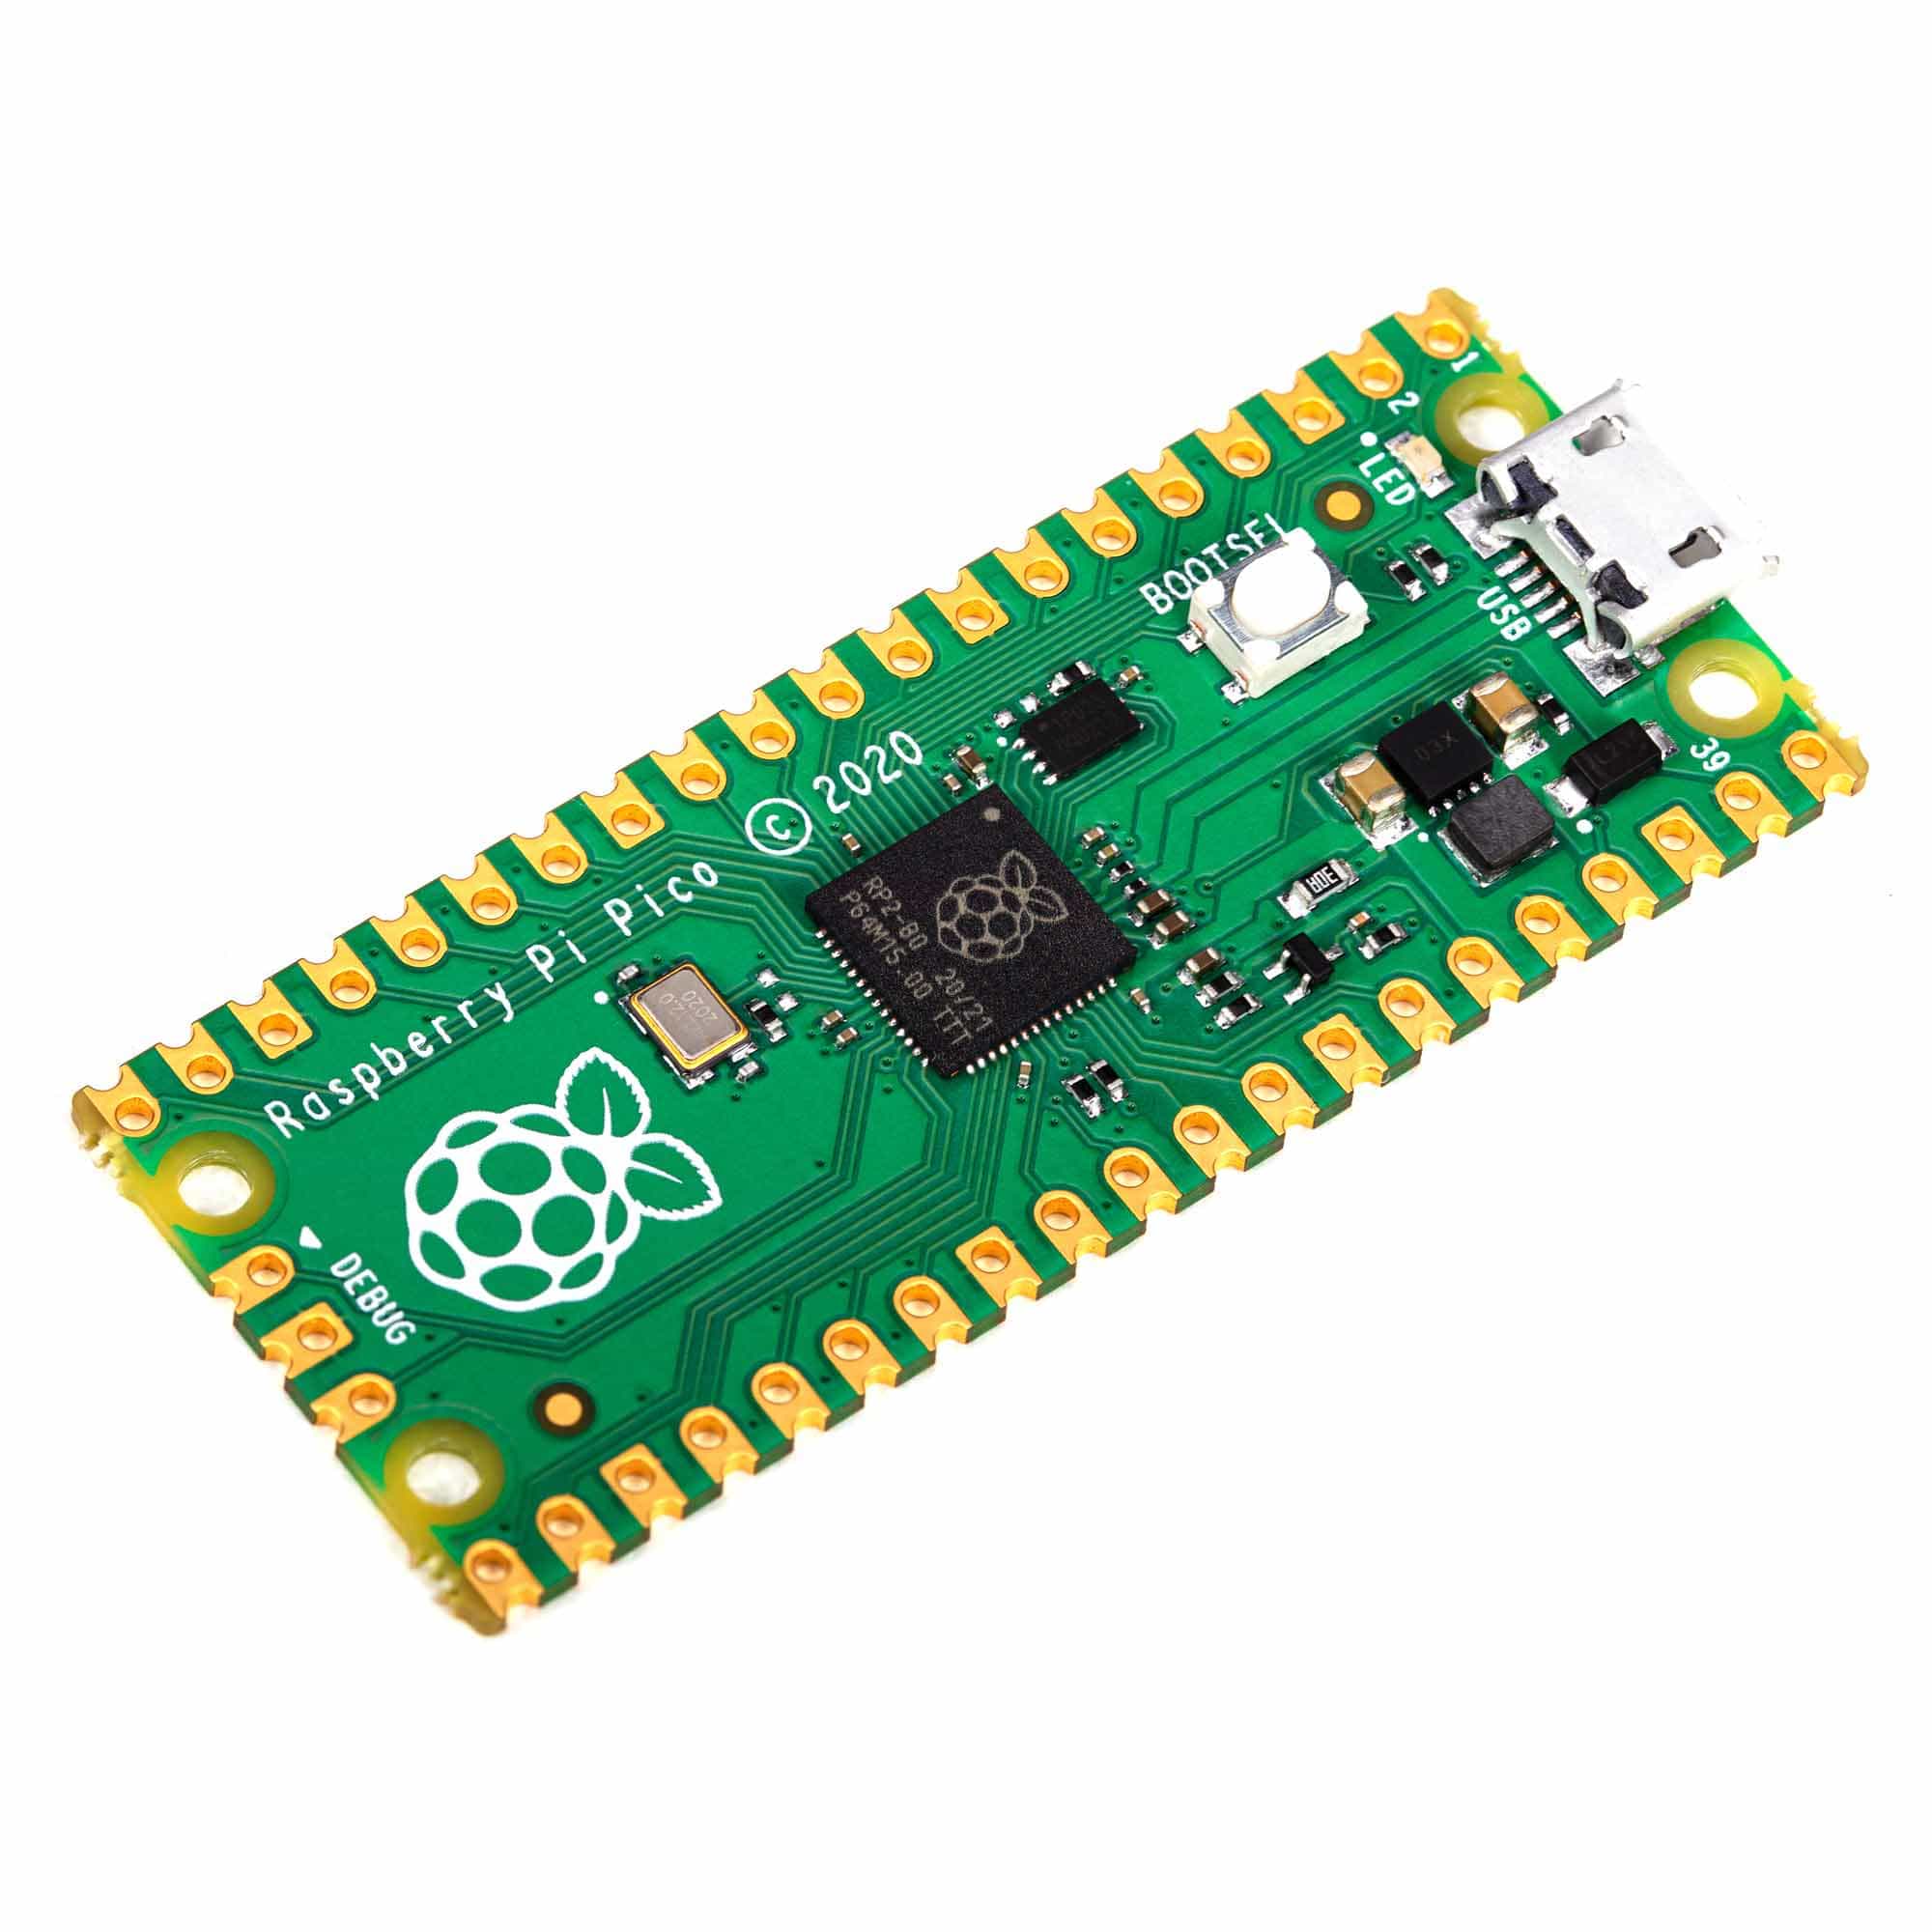
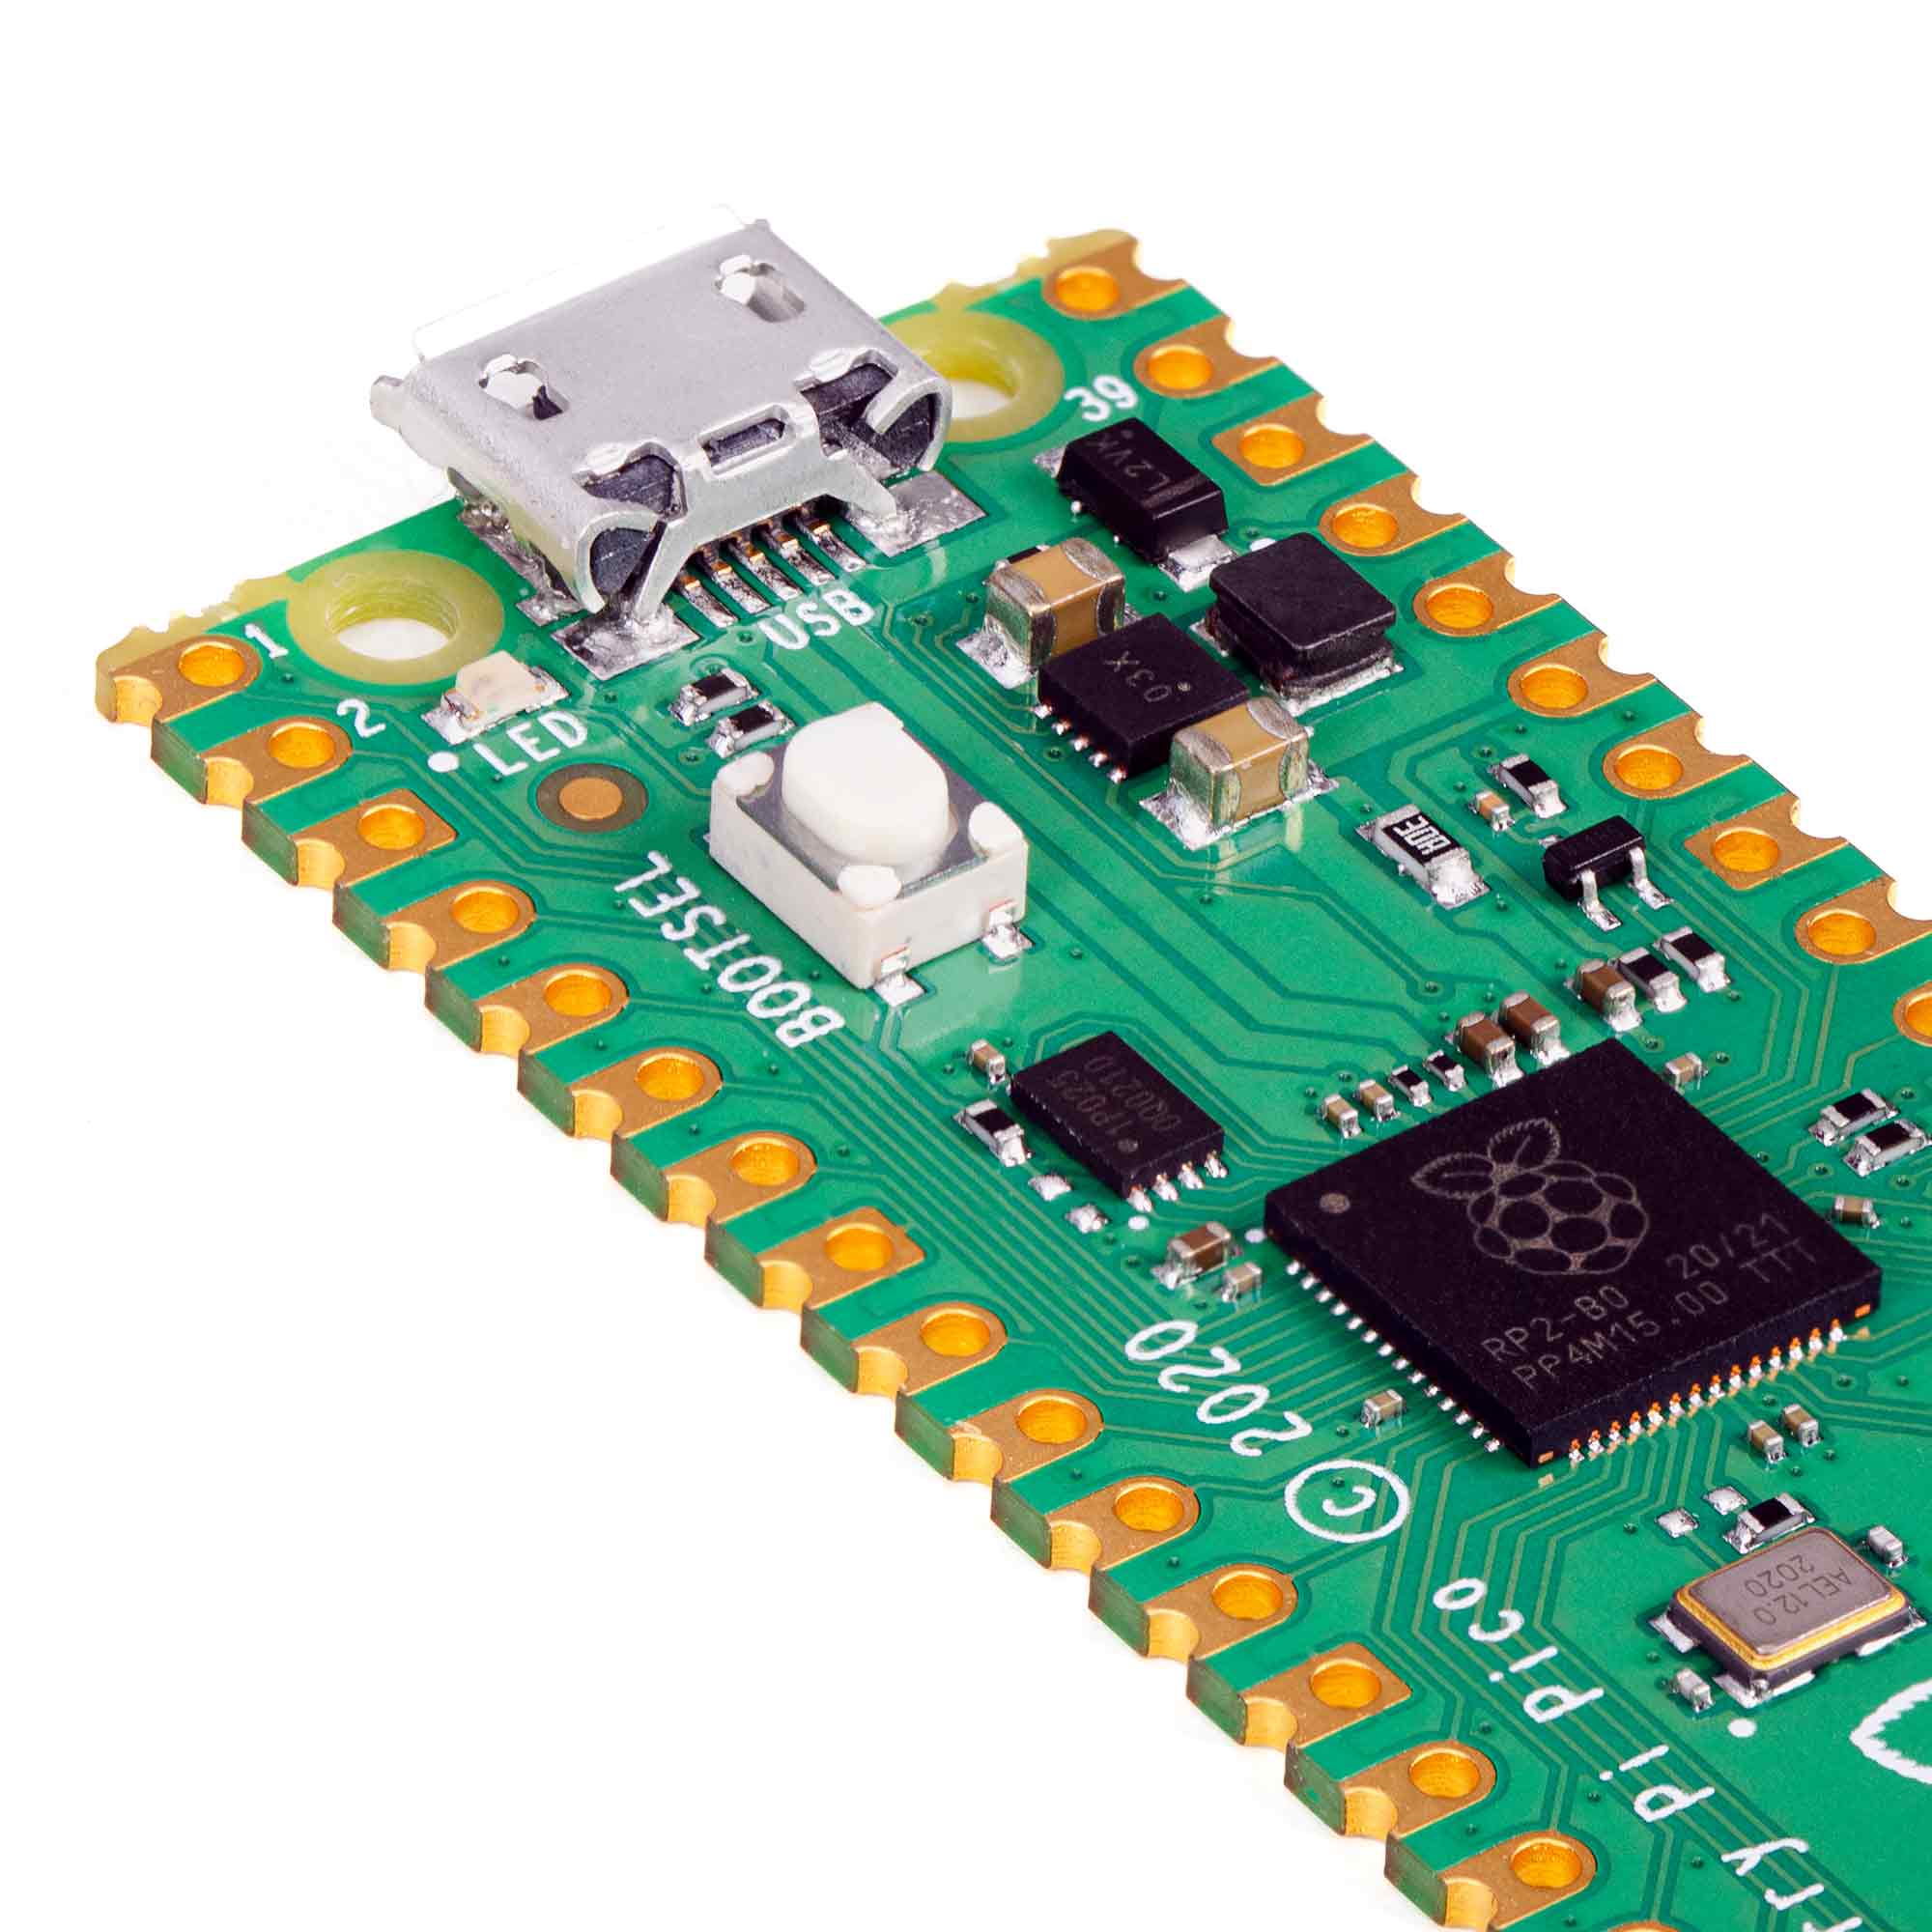
- Raspberry Pi Pico with header pins
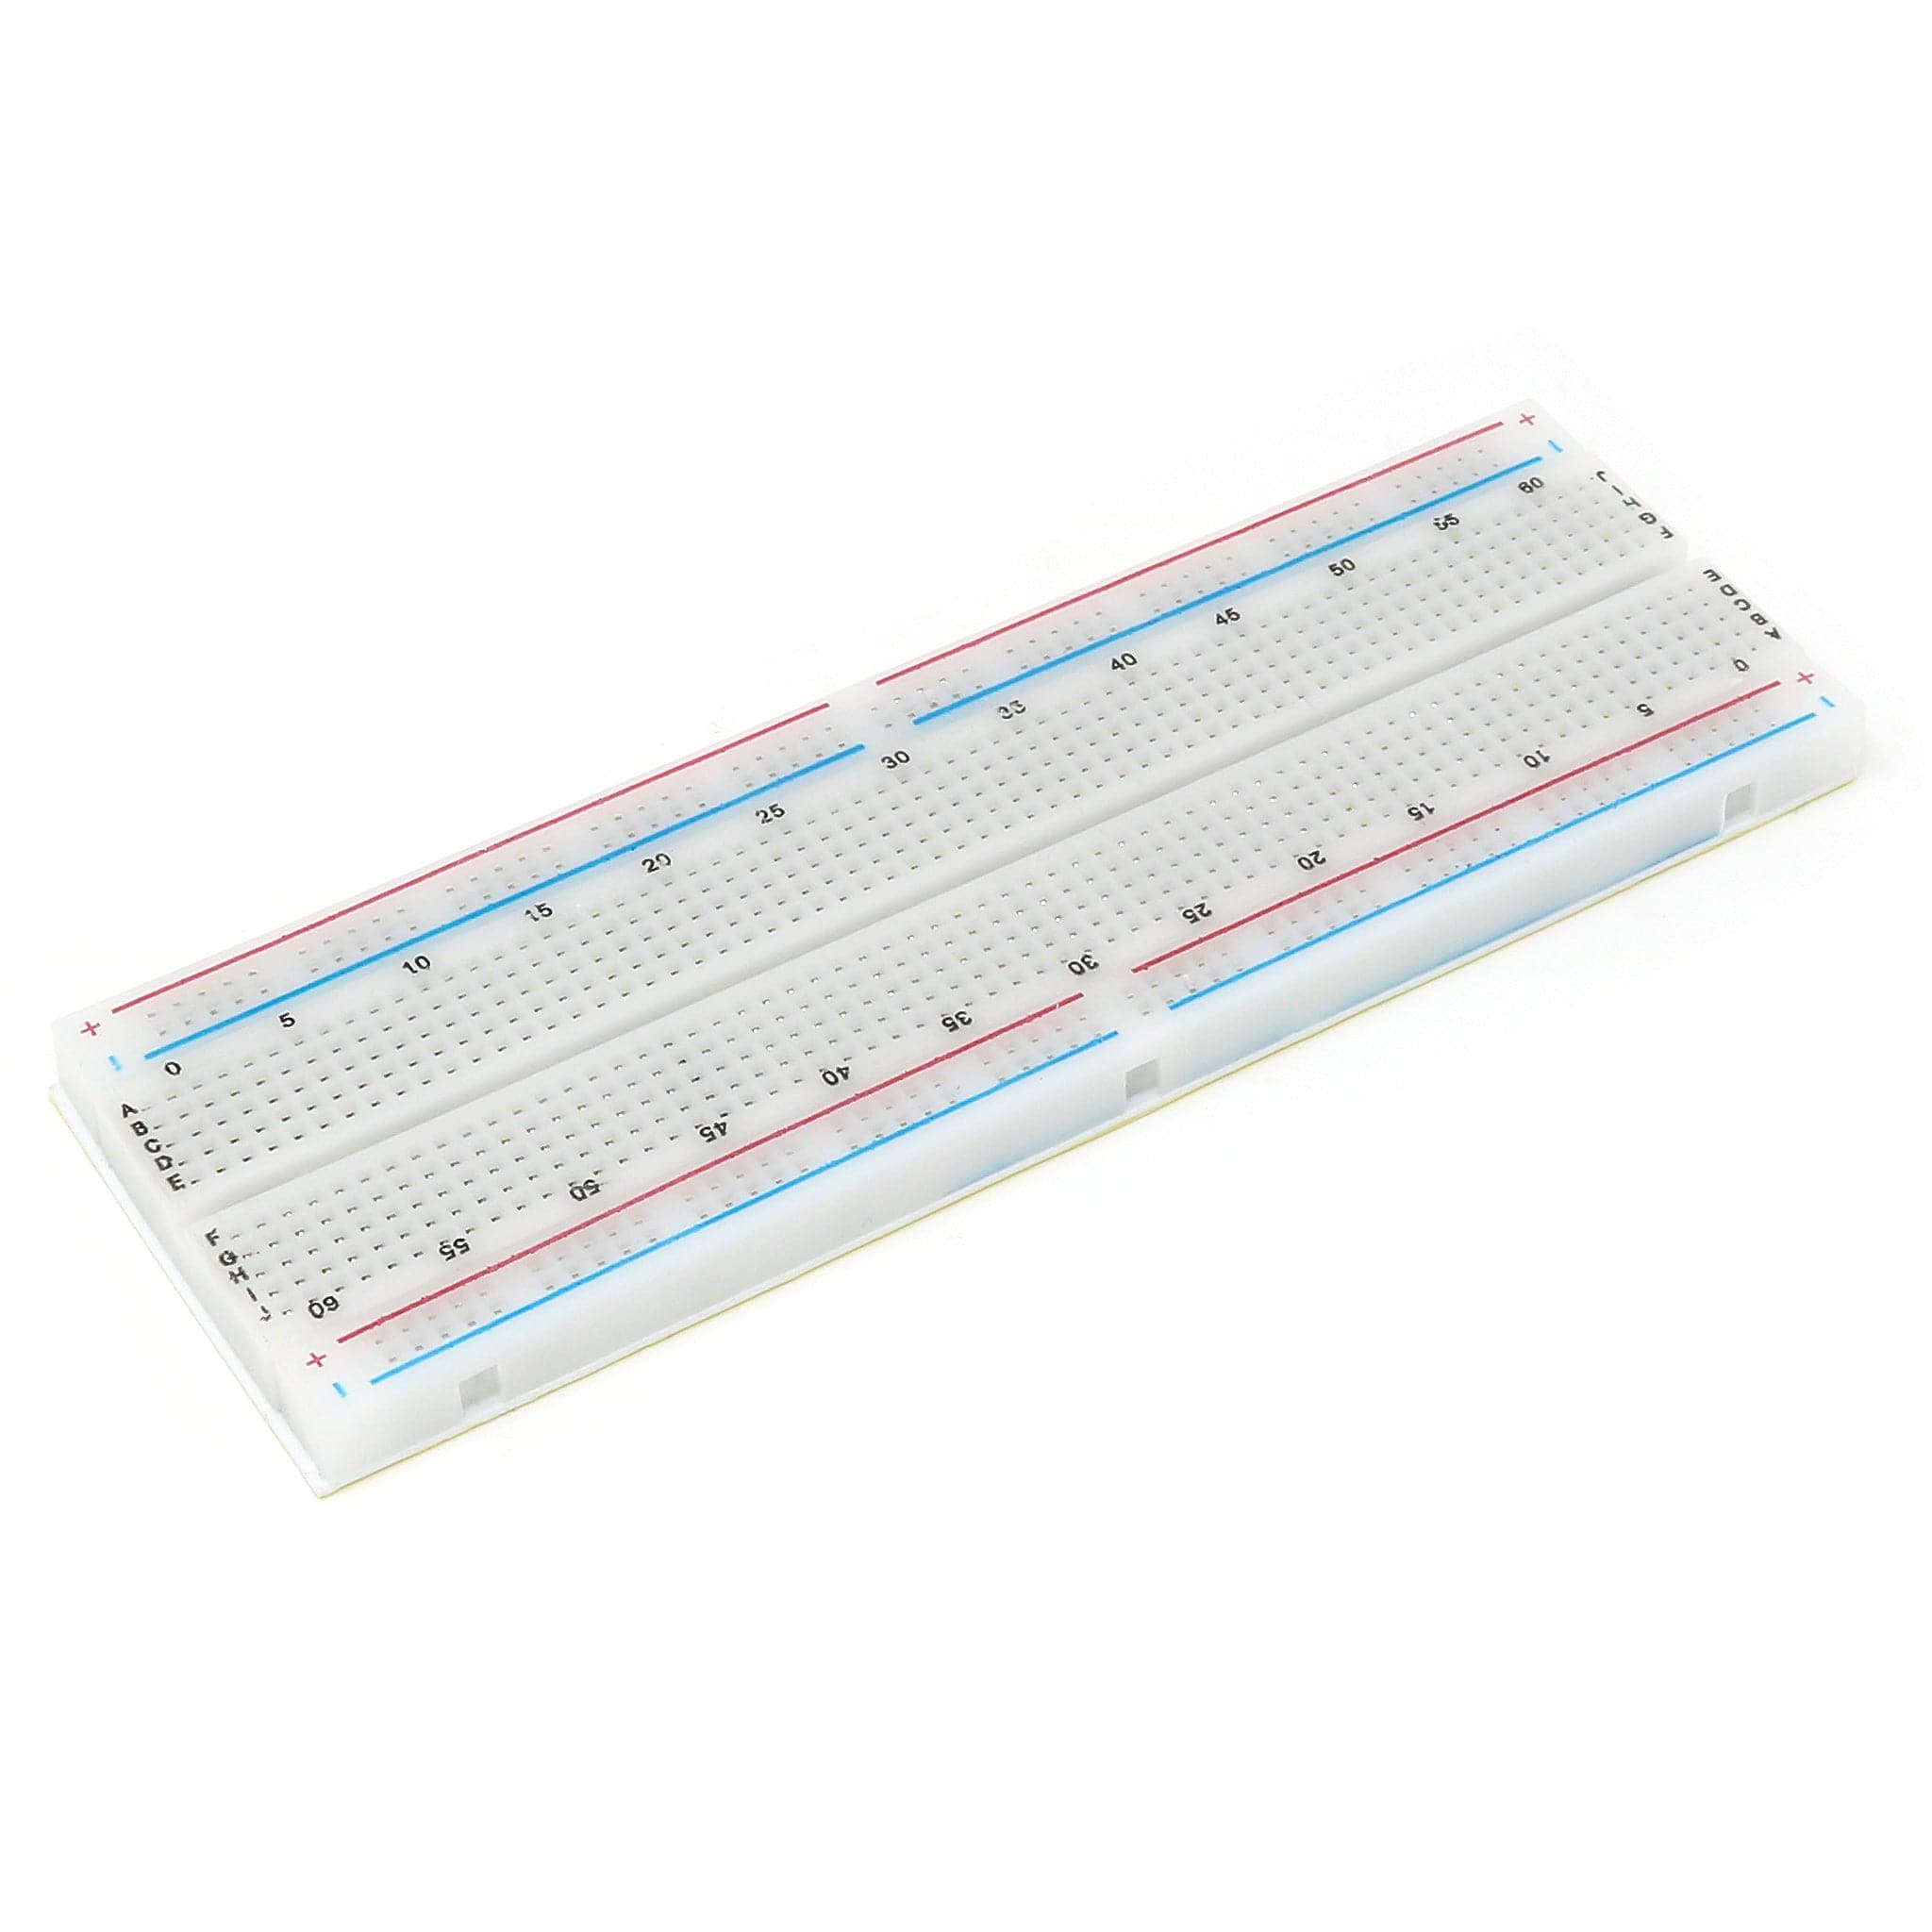
- A full-size breadboard
- Micro-USB cable (for power and programming the Pico)
- A pack of male-male Jumper Wires (a mixed pack is available here)
- Tactile buttons (a mixed pack is available here)
- 5mm LEDs (a mixed pack is available here)
- Current limiting resistors (330 Ohms)
- 10K Ohm potentiometer (we may use a few of these in future episodes)
A Simple While Loop
Copy the following code over to Thonny, save it on your computer as Infinite.py and run it:
import time
while True:
    print("The Pi Hut")
    time.sleep(0.2)
This is an example of an infinite loop; it keeps printing lines until you click on the STOP icon in Thonny, as the two indented lines are repeated forever.
A Button Controlled While Loop
It would be useful in many projects to be able to stop the loop by pressing a button. We'll do this on the breadboard beside the Pico.
Set up the circuit shown in the picture below:

Here the orange wires are 3.3V and black wires are ground (GND). They connect to the power rails at the top and bottom edges of the breadboard (some larger breadboards need links in the centre of the power rails).
The button pins are connected to 3.3V and GP15 with the brown wire.
The cathode (-) leg of the LED, the shorter one, goes to GND while the anode (+) leg, the longer one, is connected to GP16 via a 330 Ohm resistor with the blue wire.
The centre pin of the potentiometer, the wiper, is connected to ADC0 on GP26 with a green wire, while the outer pins go to the 3.3V and GND rails.
Tip: we will be using this basic circuit for several examples in this series of tutorials so do not dismantle it too soon. As we progress, we will add other components.
The Code
Copy and paste the following program into Thonny, save it with the name Loop1.py and run it.
The loop will start automatically which turns on the LED and starts to print the count in Thonny. When you press the button, the LED goes out, the counting halts and two messages are printed:
# Button-controlled loop example
# Button on GP 15 and LED on GP16

# Import the libraries
from machine import Pin
import time

# Set up button on GP15 as INPUT with PULL_DOWN
button = Pin(15, Pin.IN, Pin.PULL_DOWN)

# Set up LED on GP16 on Pi Pico
led = Pin(16, Pin.OUT)

# A button-controlled loop
# Loops until the button is pressed

count = 0
led.value(1) # Turn on LED as looping starts

while (button.value() == 0): # Start looping - Button's normal state is 0
    print(count)
    count = count + 1   # Increment counter
    time.sleep(0.2) # Wait a 1/5 second

led.value(0) # Turn off LED – Looping finished

print("\nButton pressed = HALT")
print("\nCount: " +  str(count))
Here's what Thonny should show when you press the button:
>>> %Run -c $EDITOR_CONTENT
0
1
2
3
4
5
6
7
8
9
10
11

Button pressed = HALT

Count: 12
>>>
Things to notice
- The last two lines printed have a blank line above them
- The final value of count is one more than the final number printed in the loop
Let’s look at the code more closely
# Button-controlled loop example
A reminder of what the program does
# Button on GP 15 and LED on GP16
Record which components are connected to which GP pins. This is very useful if you come back to a program at a later date and want to rebuild the circuit.
# Import the libraries
from machine import Pin
import time
Import the libraries needed for the program to run. Pin is needed for the button and the LED and time to allow us to slow things down.
# Set up button on GP15 as INPUT with PULL_DOWN
button = Pin(15, Pin.IN, Pin.PULL_DOWN)
The button is connected to GP15 as an INPUT with an internal PULL_DOWN to 0 volts. Un-pushed it is held to a value of 0 at the pin. When pushed, the button connects the pin to 3.3 volts, on the rail, and has a value of 1.
# Set up LED on GP16 on Pi Pico
led = Pin(16, Pin.OUT)
The LED is connected to GP16 as an OUTPUT. As the pin changes from 0 to 1, the LED is switch on.
count = 0
led.value(1) # Turn on LED
Here we initialise a counter to 0 and turn on the LED
while button.value() == 0
Here is the start of the loop. It starts with a test condition, button.value() == 0.
This will return a Boolean value: True or False. If this is True, we start looping. If it is False, we jump over all the loop instructions and continue with instructions below the loop – indented instructions (we can also represent False and True with numeric values. False is zero and True is 1).
while button.value() == 0: # Start looping - Button's normal state is 0
print(count)
count = count + 1
time.sleep(0.2) # Wait a 1/5 second
Is the value of the button zero? If it is zero, making the test result True, we start the while loop. The normal state of the button is zero, as it was setup with PULL_DOWN. If it is not being pushed the looping begins. Each time we go round the loop the same test is carried out before executing the loop code again (notice we use a double equals character here for comparison. A single equals character is for assignment).
In the loop, the indented code following the colon, we print the current value of the count variable. We then increment the count variable (add 1 to it) and wait for 1/5th of a second.
When the button is pressed, for at least the time of a single loop, the value changes to 1, as it is connected to 3.3 volts. The test at the top of the loop fails, as it is no longer a zero, and we drop out of the bottom of the loop.
led.value(0) # Turn off LED
Below the loop we turn off the LED, because we are no longer looping, and print out the value of count. The \n (forward slash n) command forces a new line at the start of the print.
print("\nButton pressed = HALT")
print("\nCount: " +  str(count))
Here we inform the user that a button has been pressed, and show the final count.
During the looping we counted from zero: 0, 1, 2 … if you count the number of lines printed it agrees with the count value on the last line. “Computers count from zero and humans from 1...”.
This method of controlling the length of a loop is very useful if we want to have the option of interrupting a looping program and move onto the next part of a program, below the loop. The user controls how long the program remains in the current loop.
We can use a different technique to break out of a long, counted loop by pressing a button (see the appendix at the end of this tutorial for more information on counted loops and basic Python coding).
Using Breaks in Loops
In the example below, we are counting round a loop 15 times (0 to 14) and printing as we go.
We check the value of the button in the loop. If it is pressed, we use the break instruction to jump out of the loop and then continue with the instructions following the loop. If the button is not pressed the counted loop eventually terminates as the count reaches the limit.
Copy the below code over to Thonny and give it a try:
# Button controlled counted loop example
# Button on GP 15 and LED on GP16

# Import the libraries
from machine import Pin
import time

# Set up button on GP15 as INPUT with PULL_DOWN
button = Pin(15, Pin.IN, Pin.PULL_DOWN)

# Set up LED on GP16 on Pi Pico
led = Pin(16, Pin.OUT)

led.value(1) # Turn on LED
# Counted Loop
for count in range(15): # Start looping
    print(count)
    time.sleep(0.2) # Wait a 1/5 second
    if button.value() == 1:
        break

led.value(0) # Turn off LED

print("\nCount: " +  str(count))
More ways to use Breaks
A further technique allows us to jump out of a loop if any one of several things happen.
Copy over the new program below, save it, run it, then read on to find out how it works:
# Loop control - Multiple events
# Button on GP 15, LED on GP16 and potentiometer on ADC0
# Import the libraries
from machine import Pin, ADC
import time
import random # Random number generator

# === Set up section ===
# Set up button on GP15 as INPUT with PULL_DOWN
button = Pin(15, Pin.IN, Pin.PULL_DOWN)

# Set up LED on GP16 on Pi Pico
led = Pin(16, Pin.OUT)

# Set up the potentiometer on ADC pin 26, ADC0
potentiometer = ADC(Pin(26))

# === Main ===
count = 0
r = 0
running = True
led.value(1) # Turn on LED

while running: # Start looping – an infinite loop in effect
    print(count)
    count = count + 1
    time.sleep(0.2) # Wait a second

    # Check the button - Do we want to stop looping?
    if button.value() == 1: # If button is pressed
        print("\nButton pressed = HALT")
        r = 1
        running = False

    # Check for a second condition – value too big
    count_squared = count * count
    if count_squared > 120:
        print("\n Value too big")
        r = 2
        running = False

    # Check for a third condition - random event
    event = random.randint(0,20)# Generate random number
    if event > 18:
        print("\Random event " + str(event))
        running = False
        r = 3

    # Check for a fourth condition - pot value too low
    # Read the potentiometer value
    pot = potentiometer.read_u16()
    if pot < 750:
        print("\nADC reading too low")
        running = False
        r = 4

led.value(0) # Turn off LED
print("\nReason: " + str(r))
print("\nCount: " +  str(count))

# Flash the built-in LED to indicate the stop method
# Set up LED on GP25 on Pi Pico
led_green = Pin(25, Pin.OUT)
for i in range(r):
    led_green.value(1)
    time.sleep(0.5)
    led_green.value(0)
    time.sleep(0.5)
We set the value of a variable running to True and start, effectively, an infinite loop. If we change the value of running to False inside the loop it will stop looping.
Here we have set up four different ways of halting the loop:
- Pressing the button
- A calculated value getting too big – out of range
- A random event – here simulated; but could be picked up from a sensor – too hot?
- The reading from the potentiometer getting too low – out of range
At the end of the program, we flash the green built-in LED on the Pico to indicate the way the loop was stopped.
event = random.randint(0,20)
This generates a random integer value between 0 and 20 inclusive - a great aid for simulation.
pot = potentiometer.read_u16()
if pot < 750:
This code gets a value from the Analog to Digital Converter (ADC0), an integer in the expected range of 0 to 65535. We check for a low reading. The potentiometer is connected to ADC0 and controls the value input.
Time limited loops
The instruction, now = time.time() saves the current time in seconds.
We can use this to run loops for a specified time as shown in the example below. The loop time is about 1 second so you may have to hold the button down for at least a second to force an early stop.
Notice that the second loop only starts if the button is not being pushed. If the button is still being pushed between the loops the user is asked to release it.
# Loop control - Time Controlled Loop
# Button on GP 15, LED on GP16 and potentiometer on ADC0
# Import the libraries
from machine import Pin, ADC
import time

# === Set up section ===
# Set up button on GP15 as INPUT with PULL_DOWN
button = Pin(15, Pin.IN, Pin.PULL_DOWN)

# Set up LED on GP16 on Pi Pico
led = Pin(16, Pin.OUT)

# === Main ===
now = time.time() # Current time from seconds counter
stop = now + 5    # 5 seconds later

print("First loop - seconds counter\n")
led.value(1) # Turn on LED

while time.time() < stop: # Looping until stop time
    print(str(time.time()))
    time.sleep(1) # Wait a second

    # Check the button - Do we want to stop looping?
    if button.value() == 1: # If button is pressed
        print("\nButton pressed = HALT")
        break

led.value(0) # Turn off LED
print("\nFirst loop finished")

if button.value() == 1:
    print("\n=== Release button ===")

# Wait for button to be released
while button.value() == 1: continue

# Start second loop
print("\nSecond loop - Flashing LED")
for i in range(10):
    led.value(1) # Turn on LED
    time.sleep(0.15)
    led.value(0) # Turn off LED
    time.sleep(0.15)
print("\nEnd of Program - Bye")
Smarter Loops Completed!
We hope you have found this useful - it's the first of a series of tutorials aimed at improving your abilities with MicroPython, which you can use with a Raspberry Pi Pico and lots of other development boards.
You no longer have to mouse click the red STOP button at the top of Thonny - you can now shut down your program neatly in a number of ways and end with a suitable message.
We will be using the same circuit at the start of the next tutorial so you may want to keep it set up and ready.
Appendix - Basic Python Statements and Operators
Some handy information which will help you during this series of tutorials:
Basic Arithmetic in MicroPython
| Oper. | Action | Example | Result | Notes |
| + | Addition | 3 + 5 | 8 | |
| - | Subtraction | 8 - 3 | 5 | |
| * | Multiplication | 8 * 3 | 24 | |
| / | Division | 9 / 4 | 2.25 | |
| % | Modulus | 9 % 4 | 1 | Remainder after division |
| // | Floor division | 5 // 4 | 2 | |
| ** | Exponentiation | 3 ** 2 | 9 | Raise to a power |
Do you remember BODMAS from maths lessons? (Brackets, Of, Divide, Multiply, Add, Subtract) This is the order in which Python carries out arithmetic - working left to right at the same level.
Here is an example:
10 + (18 – 4)/(3 + 4) The subtraction forced to be first by the left most brackets
10 + 14 /(3 + 4) Second bracket
10 + 14 /7 Division before addition
10 + 2 Finally, the addition
12
You can get Micropython to execute a single instruction like this in the Shell window at the bottom of the screen by typing at the >>> prompt and pressing the Enter key:

Integers and Floats
Whole numbers, without decimal points, are called integers while numbers with decimal points are called floating point numbers or floats.
Count Loops
for c in range(10):    # Set up for loop
    print(c)           # Print current value
print("Done")
This is the short version of a very useful instruction
for x in range(start, stop, step):
Where start is the first value, stop is the condition value and step is the interval between values.
for x in range(5):  # gives values of 0,1,2,3 and 4 – NOT 5
    print(x)

for x in range(2,9): #  gives values of 2,3,4,5,6,7 and 8 – NOT 9

for x in range(10,31,5):  # gives 10,15,20,25,30 --  steps up in fives

for x in range(5,-7,-2):  #  gives 5,3,1,-1,-3,-5 -- steps down in twos
We need to think very carefully about the stop value used and it is well worth checking the outcome.
Python Conditions
Python supports the usual logical conditions from mathematics:
- Equals: a == b
- Not Equals: a != b
- Less than: a < b
- Less than or equal to: a <= b
- Greater than: a > b
- Greater than or equal to: a >= b
IF Statements
A quick example of an if statement in action:
a = 456
b = 378
if b > a:
  print("b is greater than a")
elif a == b:
  print("a and b are equal")
else:
  print("a is greater than b")
Ready for more? The next tutorial in this series is available here!
About the Author
This article was written by Tony Goodhew. Tony is a retired teacher of computing who starting writing code back in 1968 when it was called programming - he started with FORTRAN IV on an IBM 1130! An active Raspberry Pi community member, his main interests now are coding in MicroPython, travelling and photography.
We used Fritzing to create the breadboard wiring diagram images for this page.


4 comments
Neil Hoskins
The very first part works for me only if I connect the two +ve rails top to bottom. Otherwise there’s no connection between Vsys and the top +ve rail.
The very first part works for me only if I connect the two +ve rails top to bottom. Otherwise there’s no connection between Vsys and the top +ve rail.
The Pi Hut
@Heifer We cover this briefly on this page about a third of the way down: https://thepihut.com/blogs/raspberry-pi-tutorials/maker-advent-calendar-day-4-amazing-analogue
“The read_u16 part does this, taking the varying voltage applied to the pin from the potentiometer and scaling this to range of usable output values between 0 and 65535.
(For those who want to get technical – the Pico’s ADC pins are 12-bit, however MicroPython scales this to a 16-bit range which is 0-65535)."
Heifer
In the Multiple events ‘program’ Line 52 – “pot_value = pot.read_u16()”
What is the effect of _u16()?
Also you state the ADC “expected range of 0 to 65535” which, if my limited knowledge is correct tells me the Pico is capable of 16 bit resolution.
BUT
I read elsewhere the Pico is 12 bit.
S
In the Multiple events ‘program’ Line 52 – “pot_value = pot.read_u16()”
What is the effect of _u16()?
Also you state the ADC “expected range of 0 to 65535” which, if my limited knowledge is correct tells me the Pico is capable of 16 bit resolution.
BUT
I read elsewhere the Pico is 12 bit.
S
ubi de feo
I teach my students to use Timer objects to do buttons readings, since they are non-blocking for the application cycle while loop :)
I teach my students to use Timer objects to do buttons readings, since they are non-blocking for the application cycle while loop :)