Lakka Retro Gaming with the Raspberry Pi
Lakka is a lightweight retro gaming emulator which runs on the Raspberry Pi, effortlessly turning your $35 microcomputer into the gaming consoles of days gone by.
It’s also one of the quickest and easiest retro gaming emulators to install on the Raspberry Pi as it’s included in NOOBS – the easy operating system installation manager from the Raspberry Pi Foundation (which is preloaded on to our Raspberry Pi Retro Gaming Kit micro SD cards).
Lakka Features
- Huge list of included console emulators
- Wireless joypad support
- Game saves (at any moment)
- Game rewind
- Netplay (multiplayer games)
- Graphical enhancements (shaders)
- ...and much more!
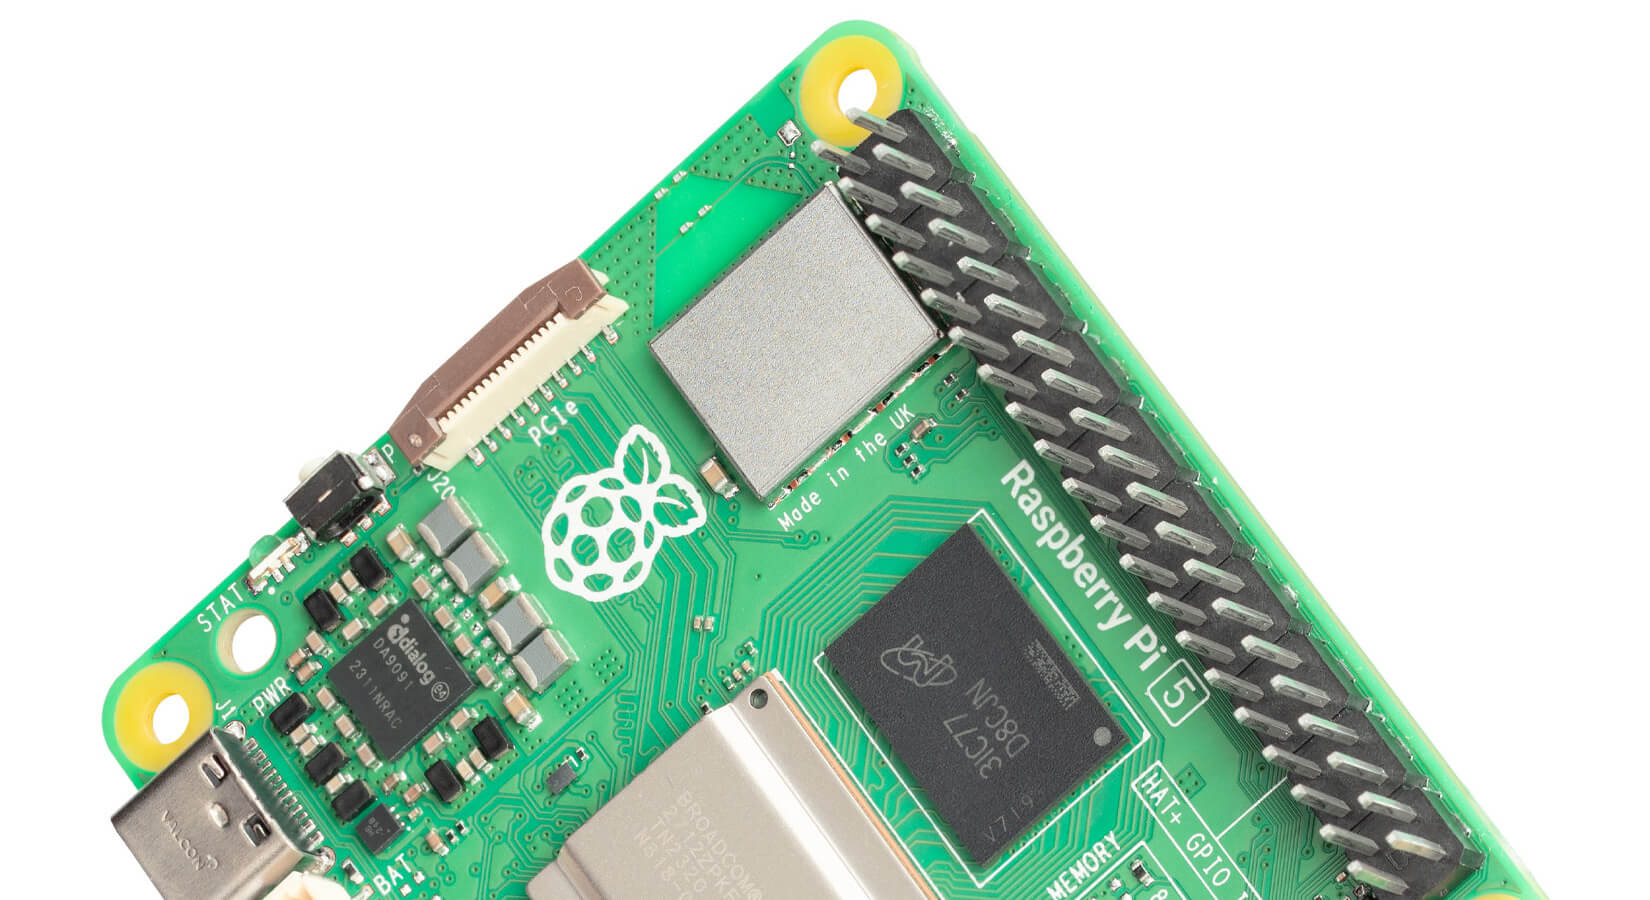
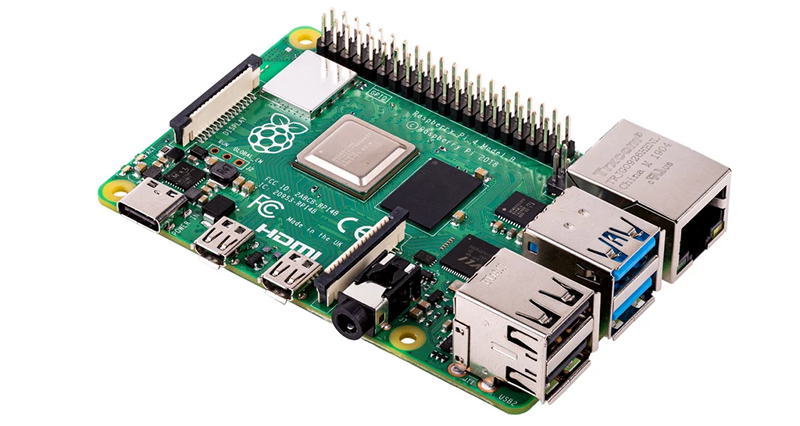
Lakka also runs on other models of Raspberry Pi, however the Raspberry Pi 4 offers the best performance and will play a greater number of demanding games.
Building a Raspberry Pi Lakka Retrogaming System
This guide will show you every step to set up a Lakka retro gaming system on a Raspberry Pi.
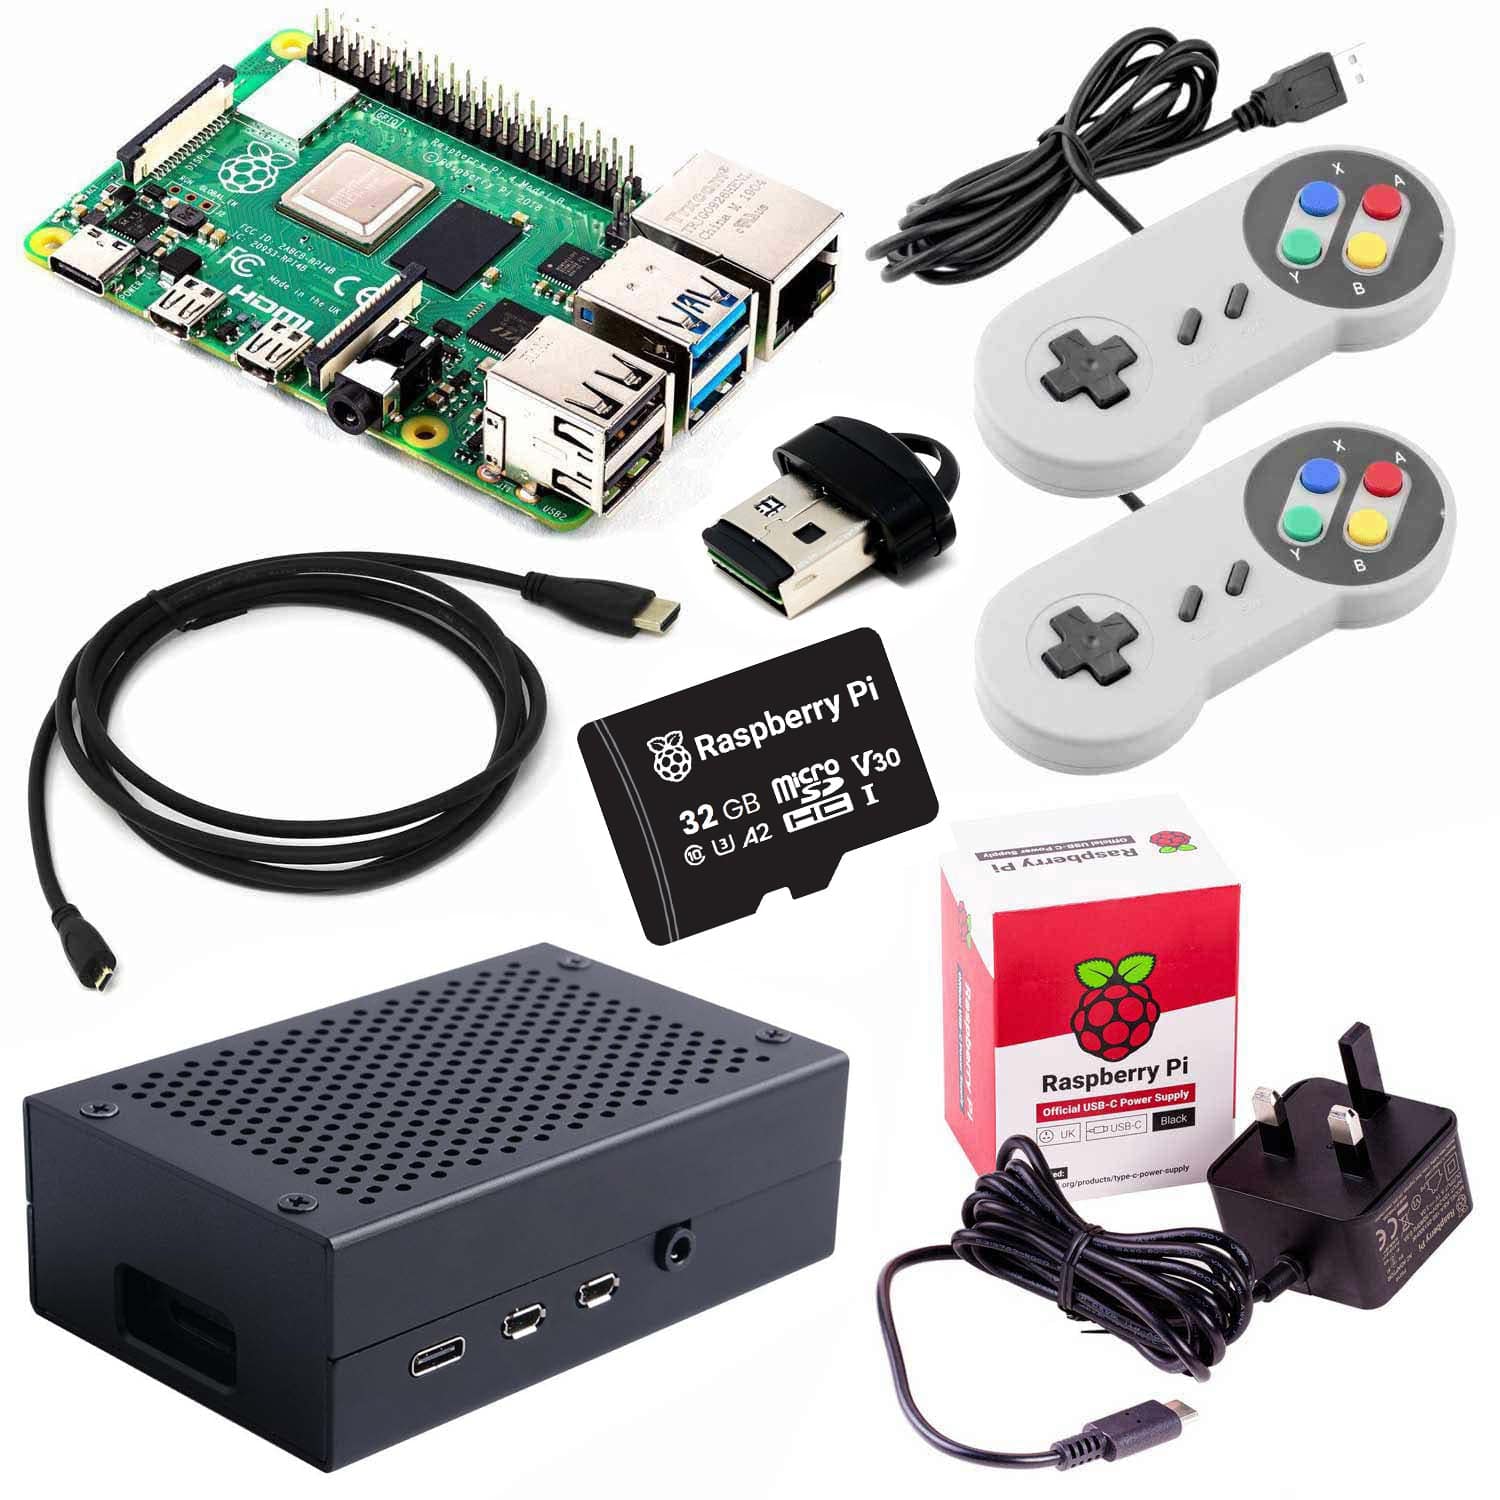
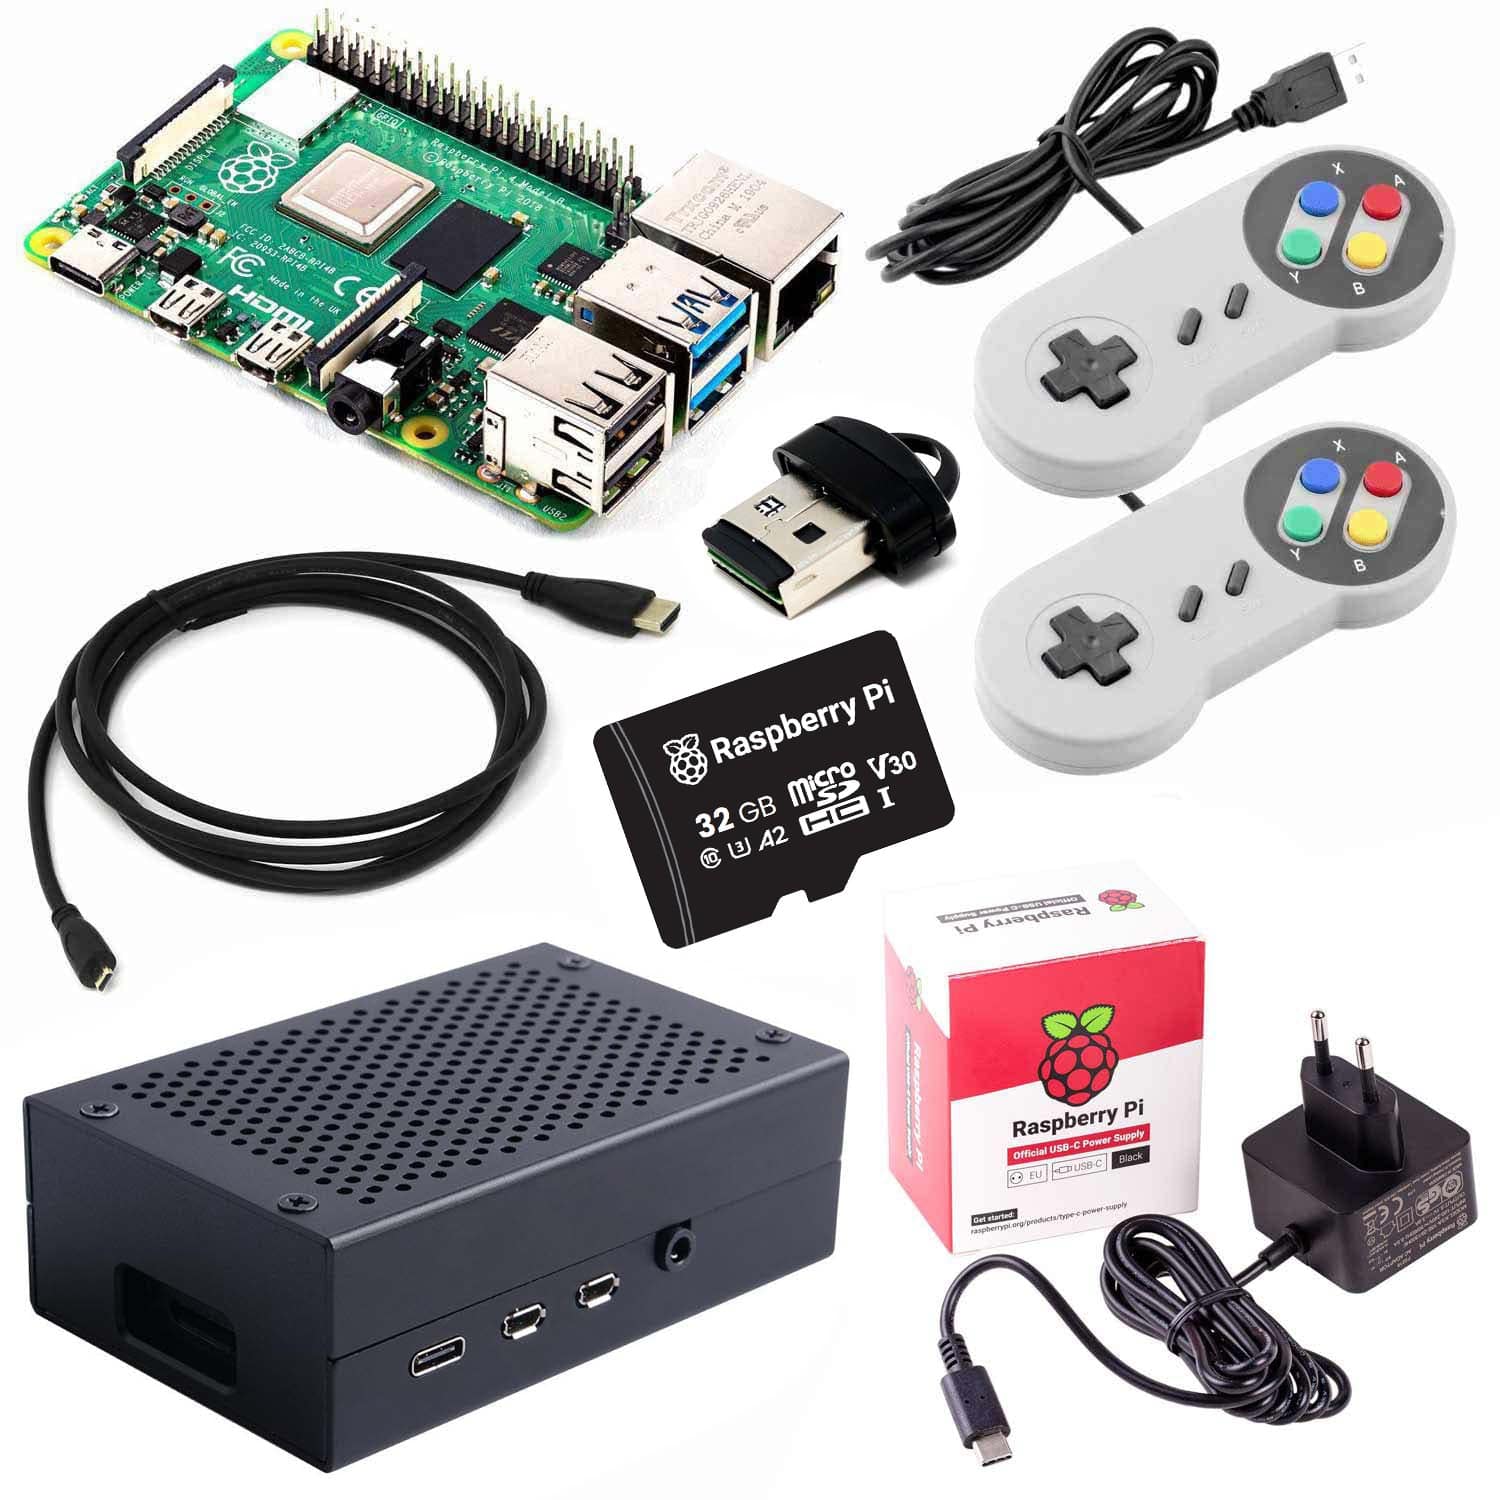
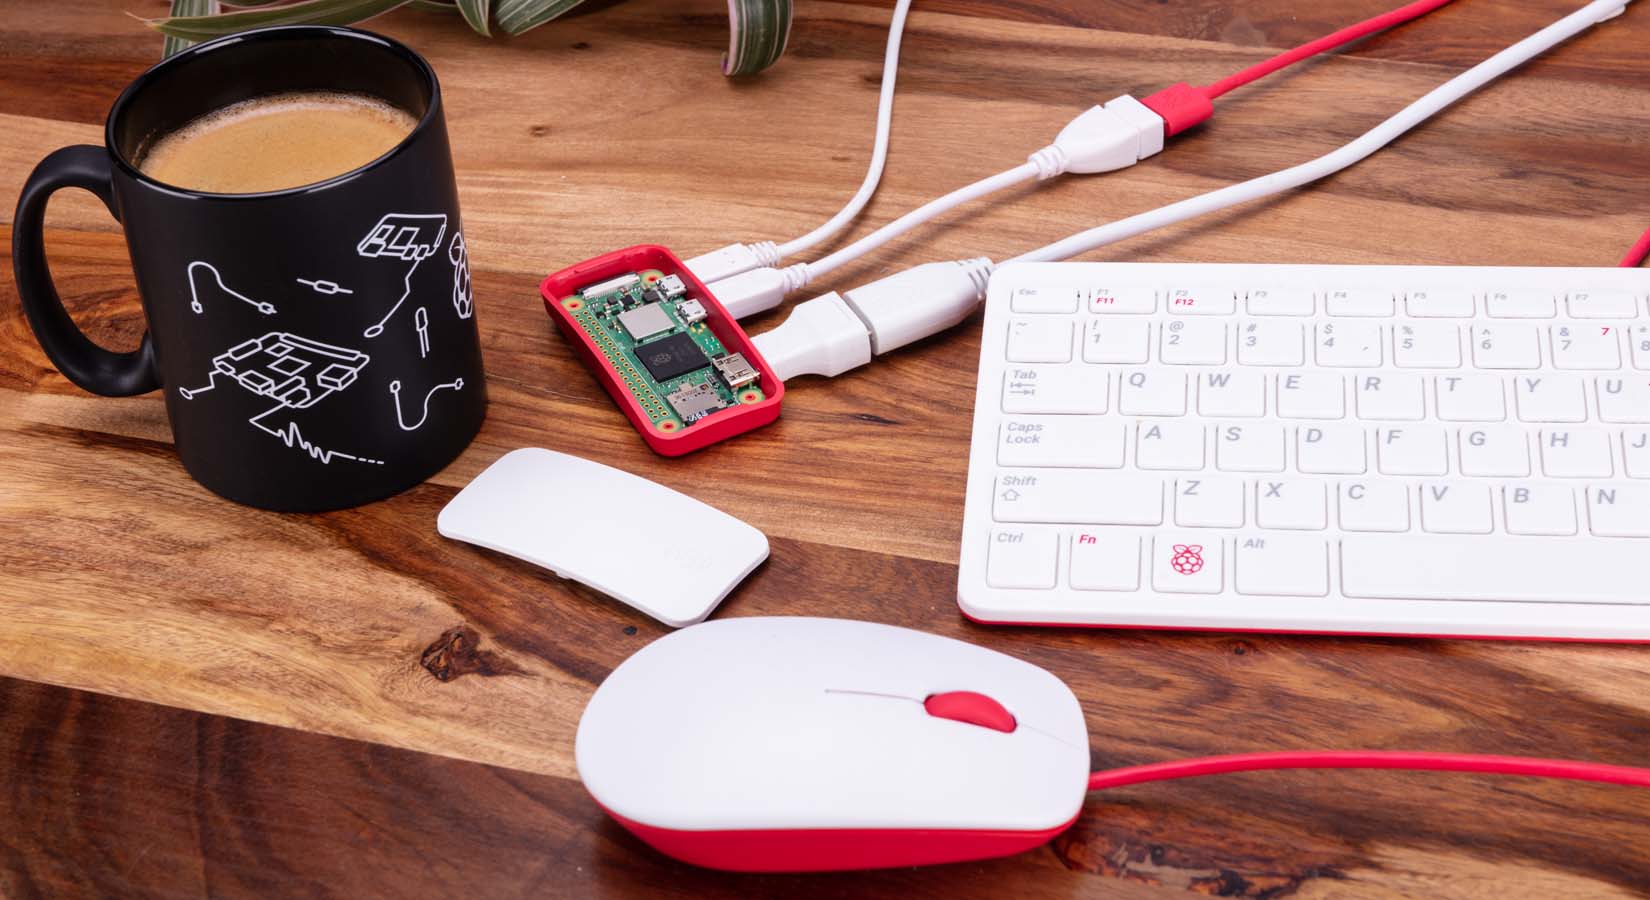
You will need:
- Raspberry Pi (We recommend the Raspberry Pi 4 Model B)
- Official Raspberry Pi Power Supply
- Micro SD Card
- Micro SD Card reader
- Micro HDMI cable
- Keyboard
- Game controller
Guess What! Most of these items are available in our great Raspberry Pi Retro Gaming Kit!
Optional items:
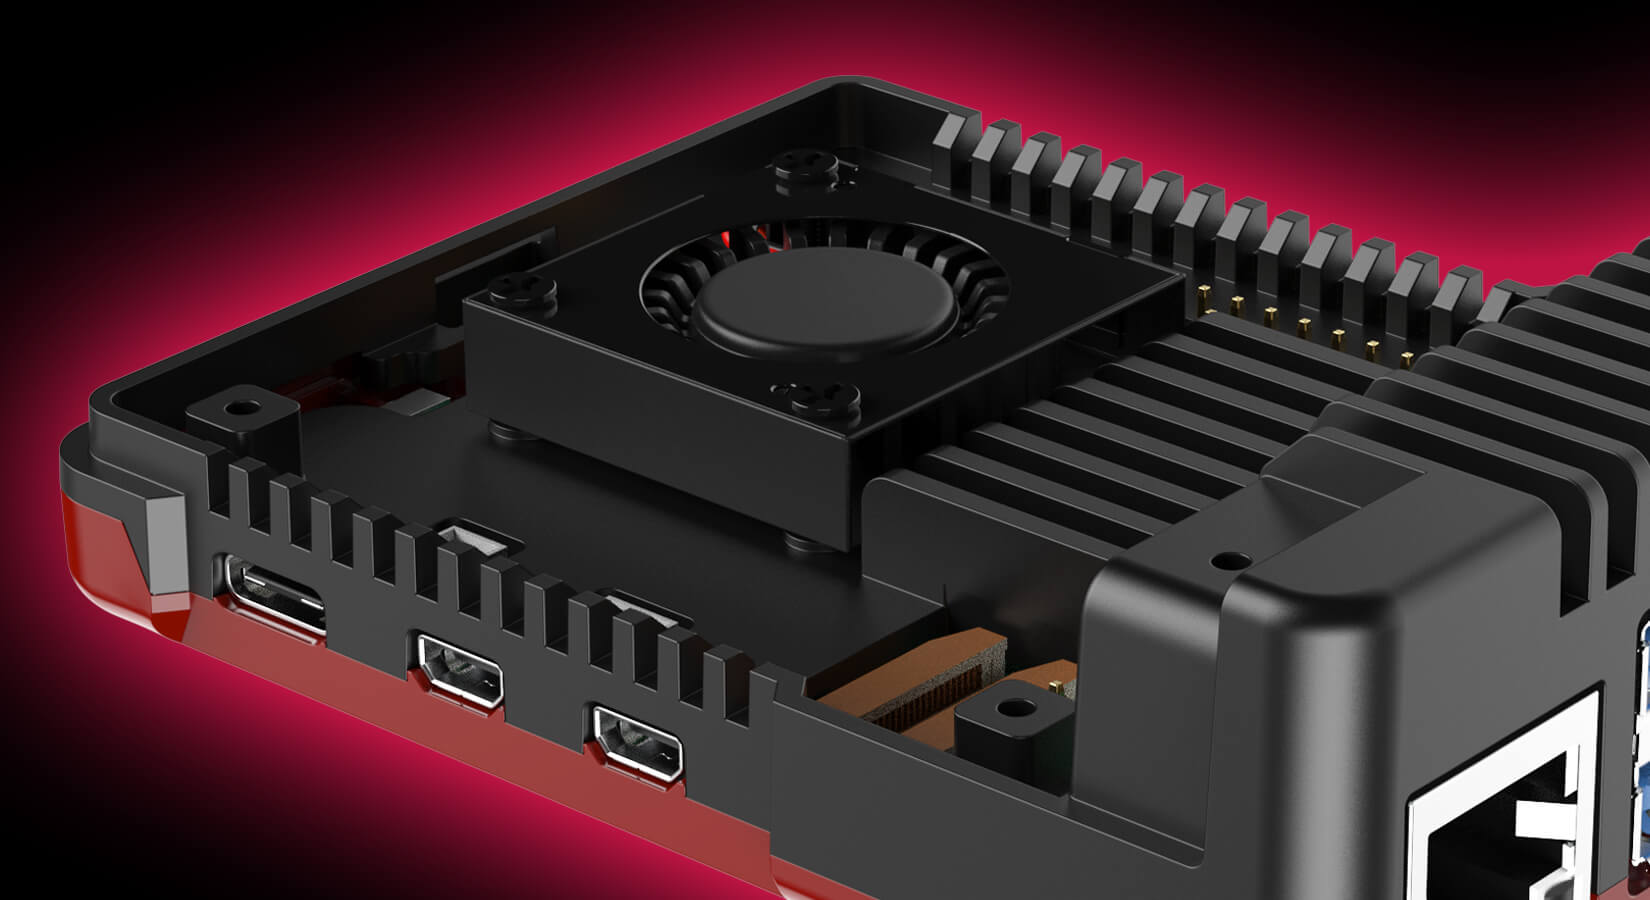
- A cooling solution. Some popular options available from The Pi Hut include:
How to Install Lakka on a Raspberry Pi
If you have bought one of our superb Raspberry Pi Retro gaming Kits, go to method 1.
If you have a blank SD card and need to manually write the Lakka image, jump to method 2.
Method 1 - Install with NOOBs
Our Raspberry Pi Retro Gaming Kits come with a micro SD card which has the 'NOOBS' easy operating system installer preloaded on to it. It's the easiest and quickest way to get Lakka up and running on your Raspberry Pi!
Insert the SD card into your Raspberry Pi, connect your screen and keyboard, then plug the power in. After booting you'll see the following screen: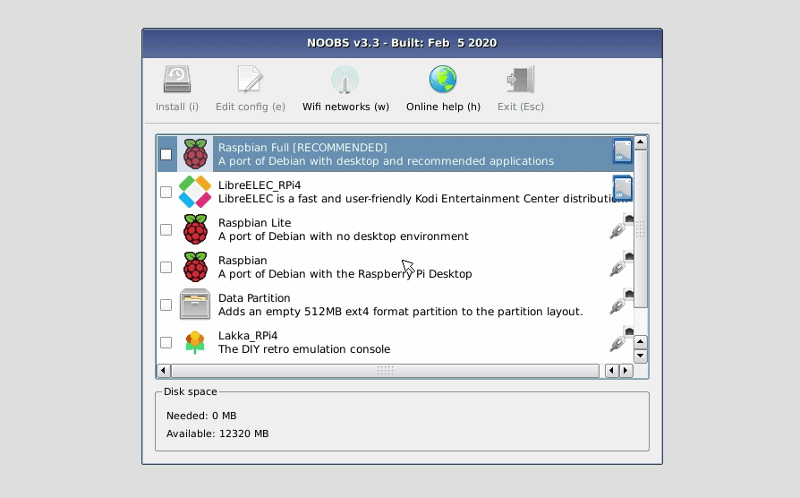 Initially just two operating systems will be listed, however once connected to WiFi (press 'w' and connect to your network) or an Ethernet internet connection, a full list of operating systems will show - including Lakka.
Use the arrow key to highlight Lakka, then press Enter to select it: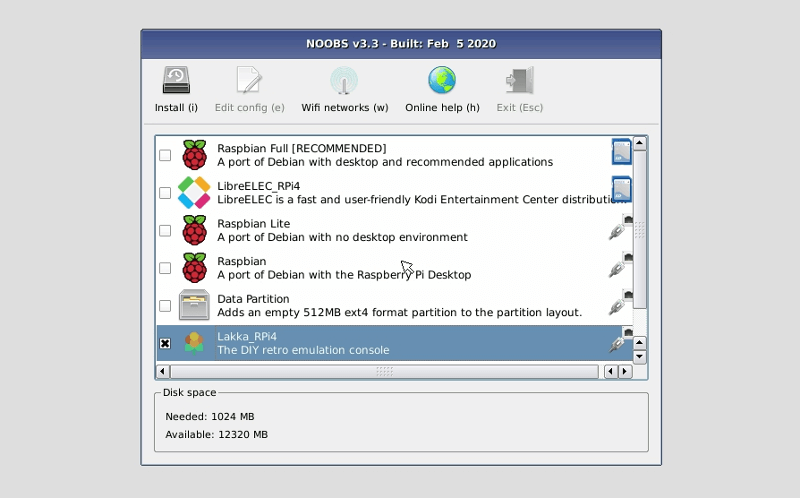 Now press 'i' to install Lakka. A warning will show - select 'Yes' to continue:
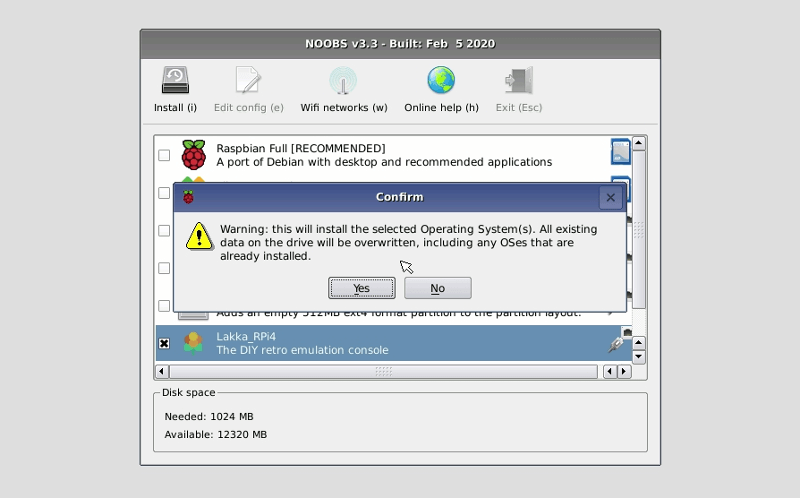 Lakka will now install. It can hang for a minute or two once it hits 100% - just let it run:
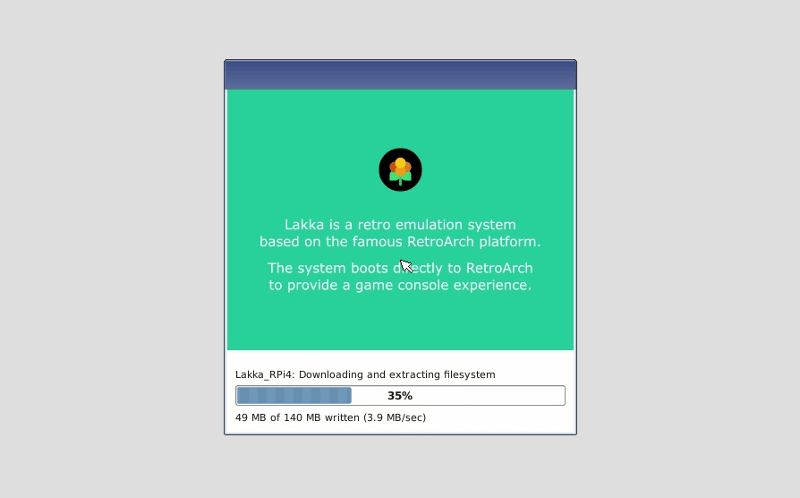 Eventually you'll see the following confirmation. Press Enter to continue, which will reboot your Raspberry Pi and boot into Lakka. Done!
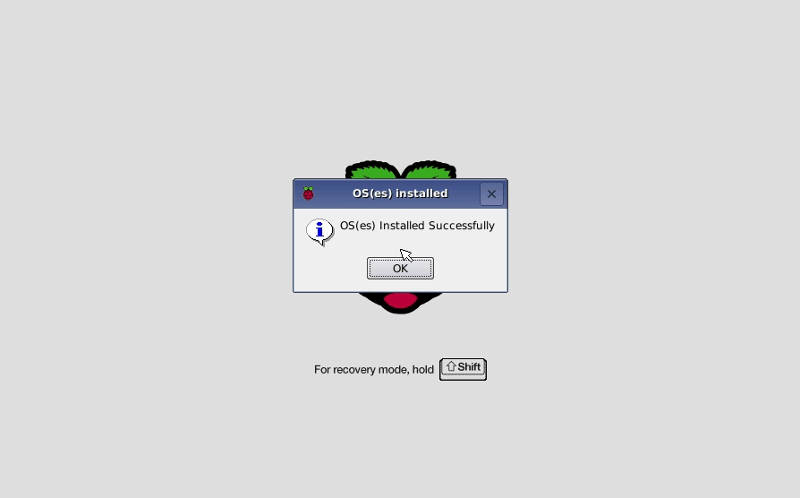
Method 2 - Install Manually
If you have a blank or spare SD card you would like to use for your Lakka operating system, this section is for you.
Software requirements
This guide is based on using a Windows 10 PC to set up the SD card. We’re using the following free software:
- SD Formatter – for wiping your SD card ready for the Lakka image
- 7-Zip – for extracting the compressed Lakka image
- Win32DiskImager – for writing the Lakka image to your SD card
- FileZilla Client – for easily moving game ROMs to your Lakka machine over your network
Download the Image
Go to the Lakka website and download the latest Raspberry Pi 4 image:
https://www.lakka.tv/get/windows/rpi4/
Extract the Image
The downloaded file is a .gz file and needs extracting before we can write it to the SD card.
Right-click the downloaded file and select ‘7-Zip > Extract Here’: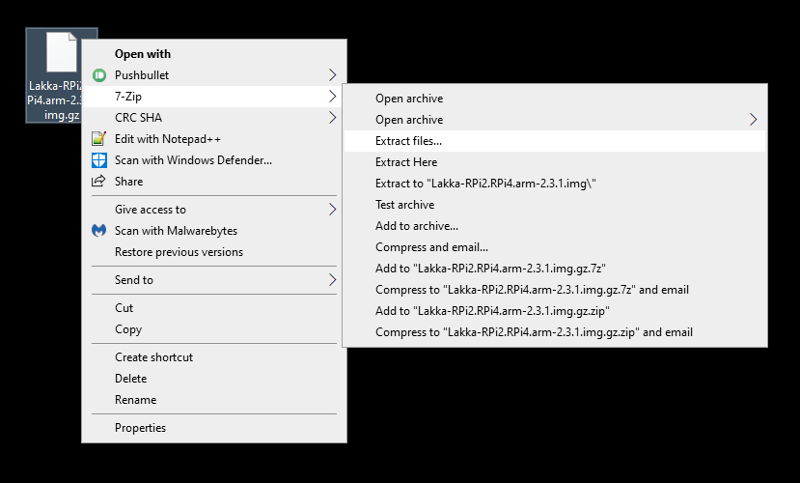
Wipe your SD card
Whether your SD card is brand new or one you’ve used before, it’s good practice to wipe it clean before installing a new image.
Open SD Formatter and select your SD card drive. Careful – make sure you select the correct SD drive number!
Leave the settings as they are (quick format) and select ‘Format’. It should take no longer than a minute.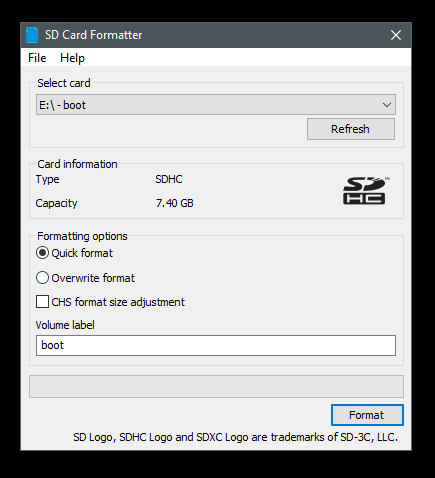
Write the Lakka Image
Open Win32DiskImager and select the blue folder icon. Select the Lakka image you previously extracted with 7-Zip.
Make sure the device is set to the drive number of your SD card. Leave all other settings unchanged. When you’re ready, select ‘Write’.
This could take anything up to 5 minutes. Once it’s finished, safely remove the SD card from your PC.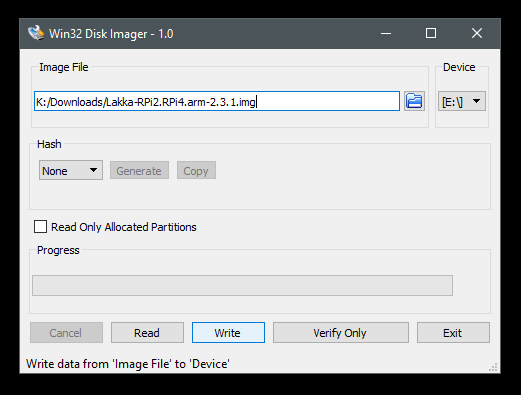
Prepare the Raspberry Pi
Put the SD card into your Raspberry Pi, then attach your keyboard and screen.
Next, plug the power supply in and turn the Raspberry Pi on.
First Boot
The Lakka image will perform some one-time setup actions the first time it boots. It may restart during this process: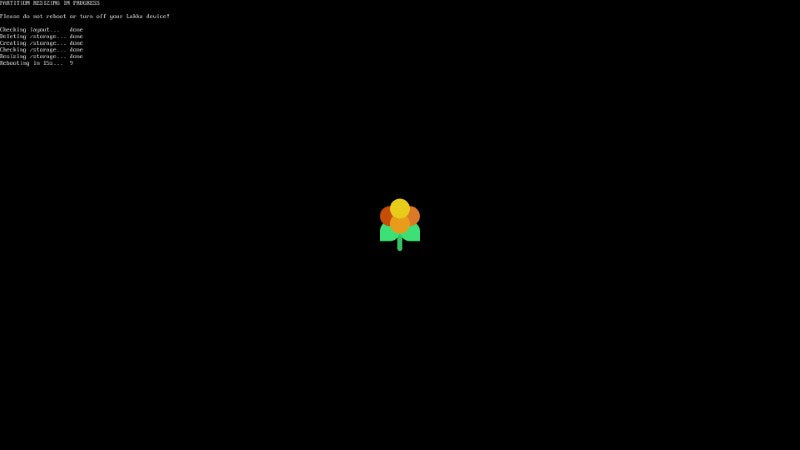 Let the setup complete until you see the following screen (or something very similar):
Lakka Setup
Setting up Wi-Fi
If you don't have a wired internet connection available near your Raspberry Pi, setting up WiFi will allow you to download Lakka updates as well as transfer ROMs from your PC to your Raspberry Pi.
In the Settings menu, Select the Wi-Fi option: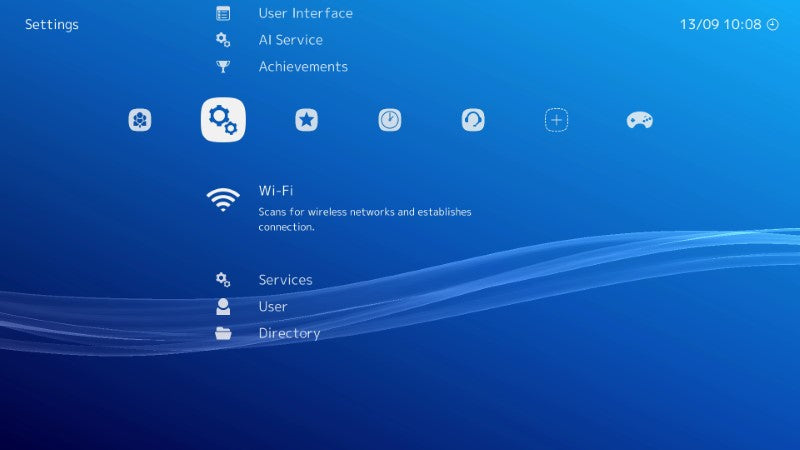 Lakka works with your Raspberry Pi’s internal Wi-Fi straight out of the box, and will scan for networks as soon as you select this option.
Find your network SSID, hit enter, enter your password and hit enter again.
Wait a few moments and the word ‘Online’ should appear next to your network.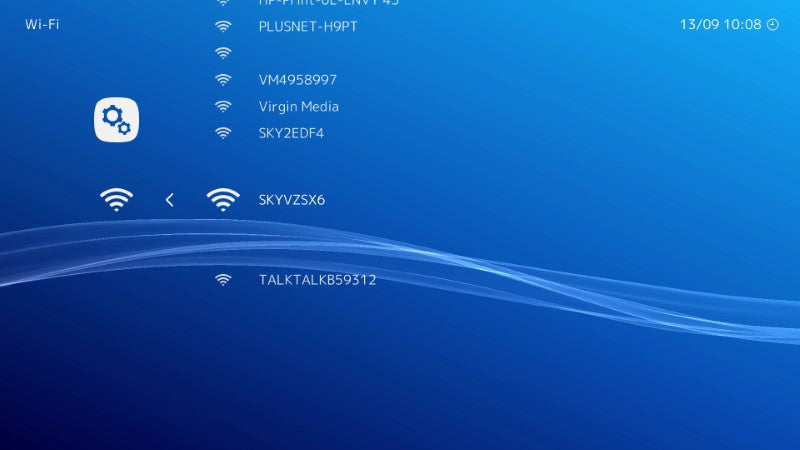
Adding Game ROMs
Lakka already includes a huge range of emulators, so all you need to do is add game ROMs.
ROMs are game files – each game has its own ROM file. Lakka prefers these to be zipped files.
Finding ROMs
We can’t tell you where to find ROM files due to the huge number of copyright laws surrounding them. However, you may be able to find information on Google...
Moving ROMs to Lakka
Once you have ROM files you’ll need to move them from your PC to your Raspberry Pi. We will do this over our network which we find is the easiest and quickest method.
Enable SSH
Before we proceed you’ll need to enable SSH in Lakka.
In the Settings menu, navigate to ‘Services’ and then turn on SSH by moving the slider.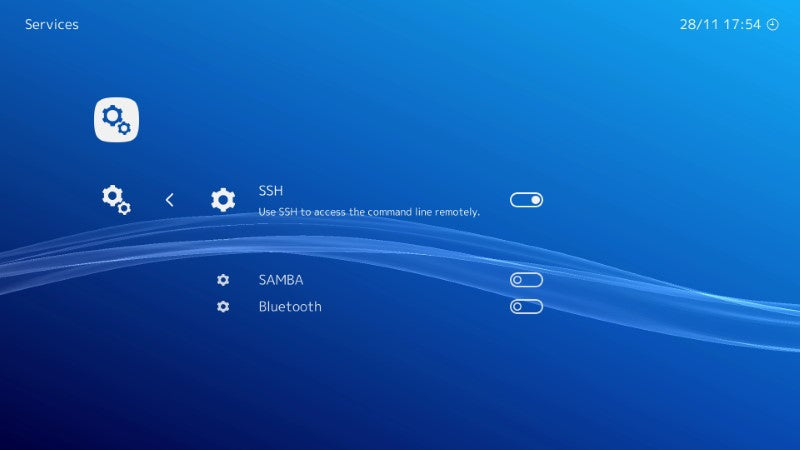
Identify Lakka IP Address
You’ll need to know the IP address of your Raspberry Pi. You can find this in the main menu under 'Information > Network Information':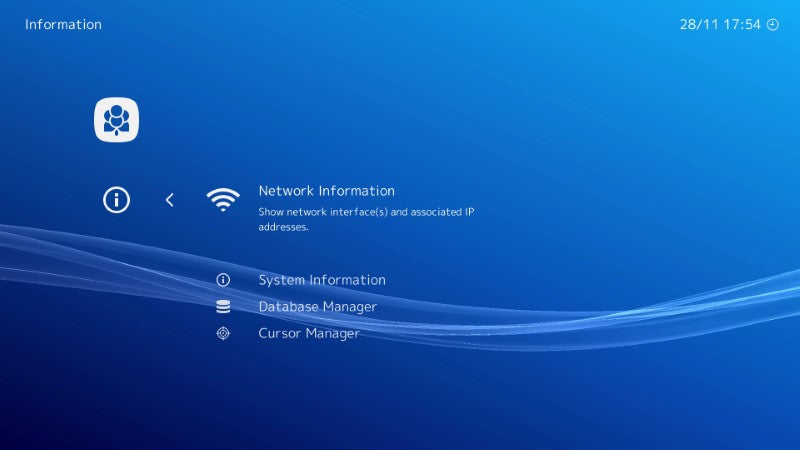 Make a note of the IP address (I.e. 192.168.x.x):
Log into Lakka with FileZilla
Open FileZilla.
On the left is your PC’s folder structure. Along the top of the screen you will see a number of fields:
- In the ‘Host’ field, enter your Raspberry Pi IP address
- The ‘Username’ will be ‘root’
- The ‘Password’ is also ‘root’
- The ‘Port’ is 22
Select ‘Quickconnect’. You may have to say ‘OK’ to a ‘unknown host key’ warning which is normal.
Transfer ROMs
FileZilla will now show your PC directories on the left and Raspberry Pi directories on the right.
As you can see from the image below, we have our zipped ROMs saved in a directory on our PC’s C:/ drive, and have created a ‘MegaDrive’ directory within the ‘roms’ directory on the Raspberry Pi: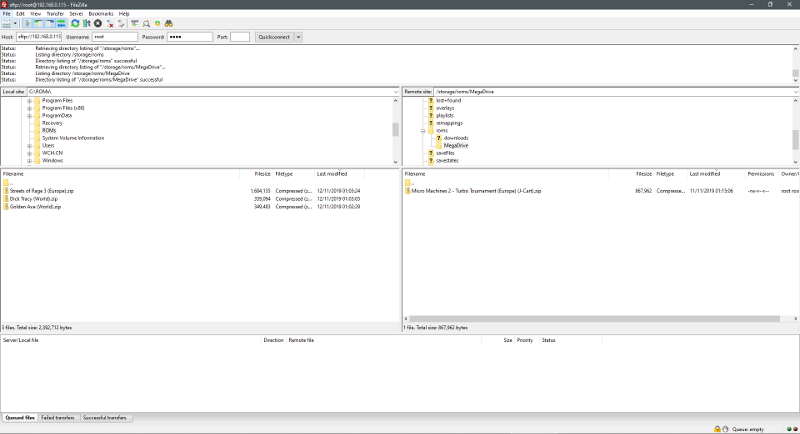 (all ROMs must be in the roms folder, but you can add subfolders to organise them how you like. We recommend adding a subfolder for each console emulator).
To move the ROMs simply drag them over to the Raspberry Pi directory. Within a few seconds the ROMs will have moved over. It’s as easy as that!
Scan Directory
Now the ROMs are in place, we need to tell Lakka to scan the directory for new content.
Navigate to the ‘Import Content’ menu item, then select ‘Scan Directory’. Select the correct directory for your new ROMs, then select ‘Scan this directory’:
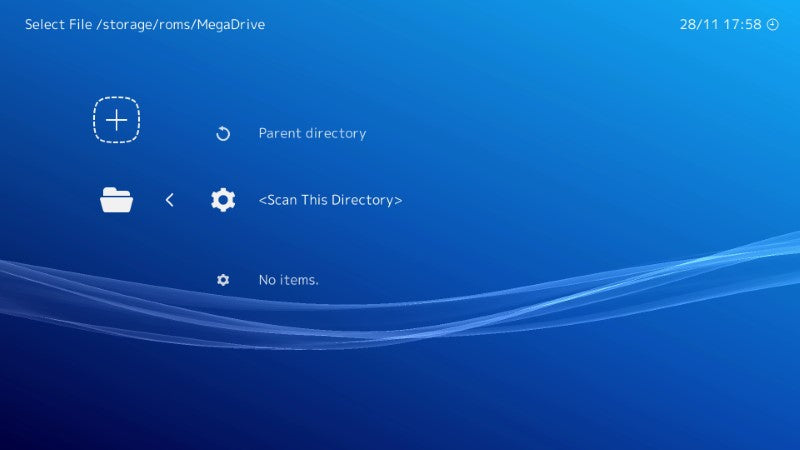 Lakka then scans any found ROMs against a database. This identifies which console it works with, then adds the game under the console icon in your main menu.
(Note: Lakka only shows console icons on the main menu if you have ROMs scanned for that console)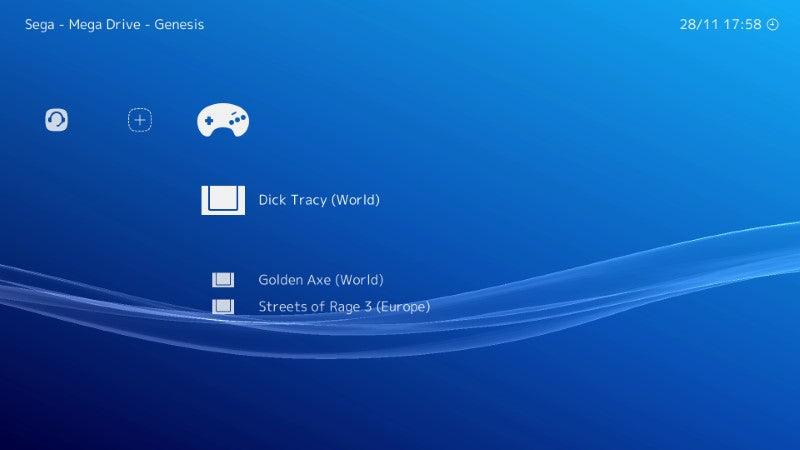 You’re almost ready to play!
Controller Setup
You can use your keyboard with games, but game controllers are much more practical (and fun!).
Our Raspberry Pi Retro Gaming Kit comes with two controllers, however we also have a range of great retro gaming controllers in the store!
Automatic detection
Plug your controller into one of the Raspberry Pi USB ports (you don’t need to turn off your Raspberry Pi for this).
You’ll see a message pop-up in the corner of the screen showing which controller it thinks has been connected: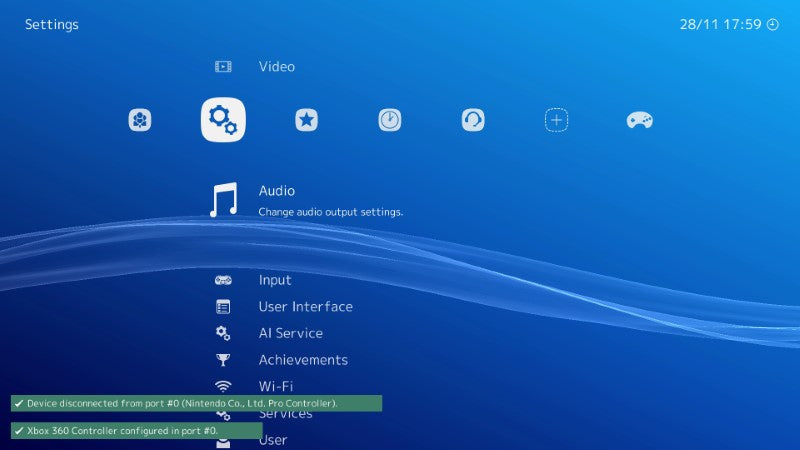 Lakka has a clever feature which tries to identify which controller you’re using, but this isn’t always perfect so you may need to perform some setup.
If your controller has been accurately detected – great! If not, read on.
Manually mapping a controller
Navigate to Settings > Input: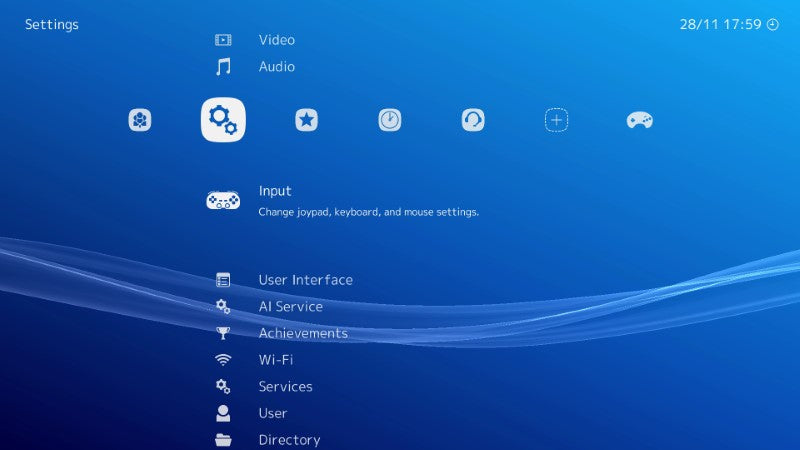 Scroll to the bottom and select ‘User 1 Binds’. You’ll see some information on the controller which has been detected:
 Select the ‘User 1 Bind all’ option. This starts a process which gives you 5 seconds to hit each button that it requests on screen:
 Follow the prompts, ignoring any buttons your controller doesn’t have. Your controller will now be mapped:
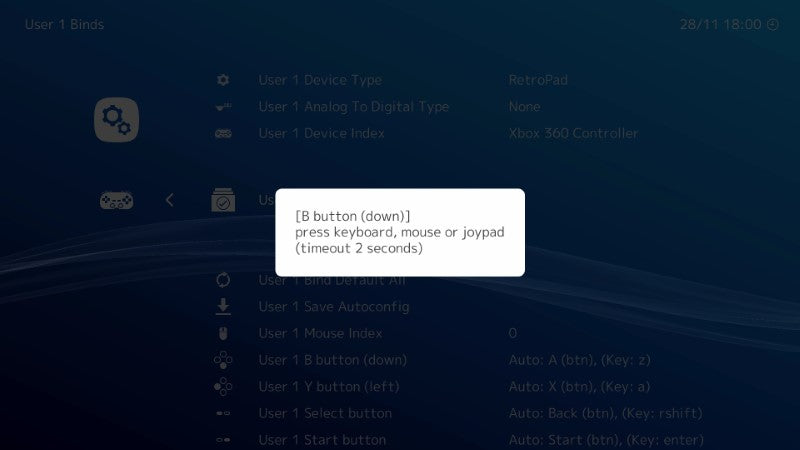 Don’t forget that some consoles/games will require controllers with more buttons than others. Trying to use something like a SNES style controller with a PS1 game may not be possible.
Further Reading & Features
Lakka can be as simple or advanced as you want it to be. This guide will get you started but there are lots of customisations and features to play with once you get settled.
We recommend having a good read of the Lakka documentation. The documentation is clear and detailed, and here is just a handful of features to look in to once you’re ready:
- Updating Lakka
- Further input devices (including Bluetooth and dual-shock controllers)
- Audio device settings
- Changing the menu style
- Wallpapers
- Changing game thumbnails
- Game rewinding
- Multiplayer Netplay
- Steam-style Achievements