Panel Mounting Enclosure for Raspberry Pi Touch Display 2 7"
Price:
Sale price
£8.70
Stock:
Quantity:
 Skip to content
Login / Signup
Cart
Your cart is empty
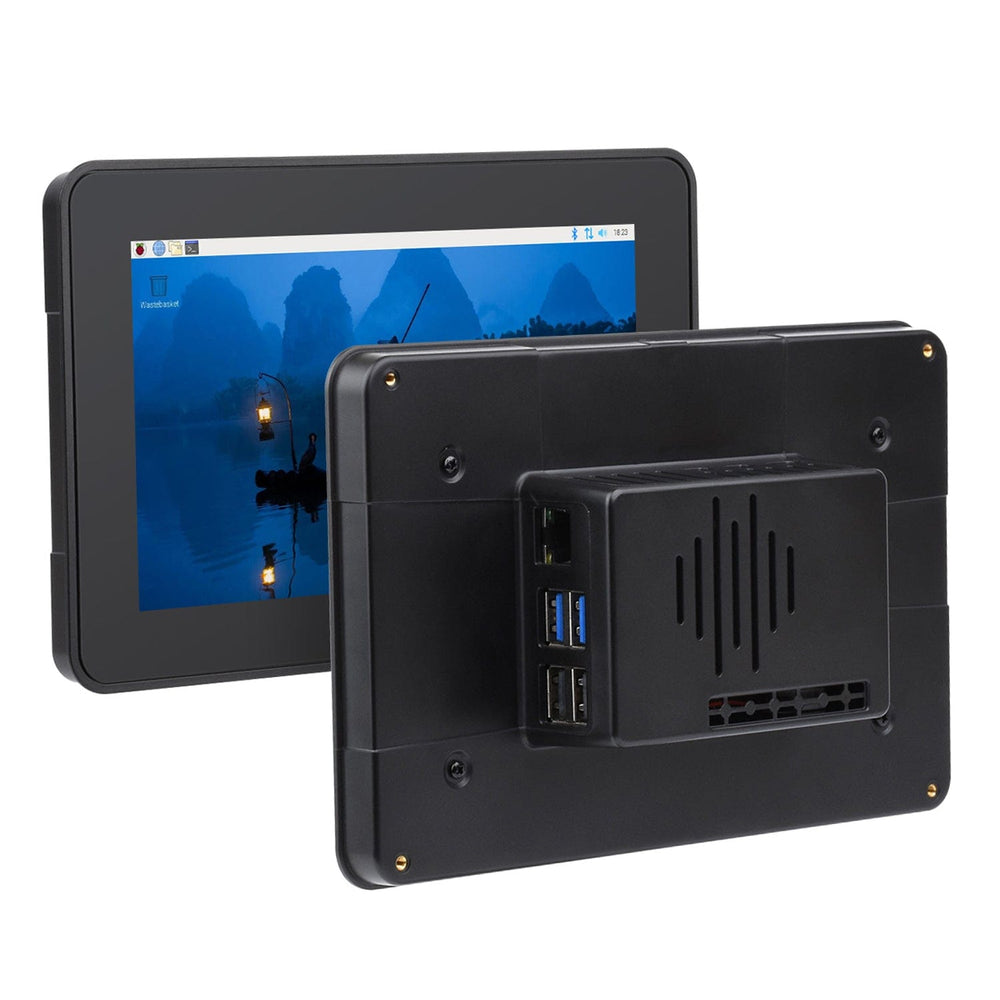


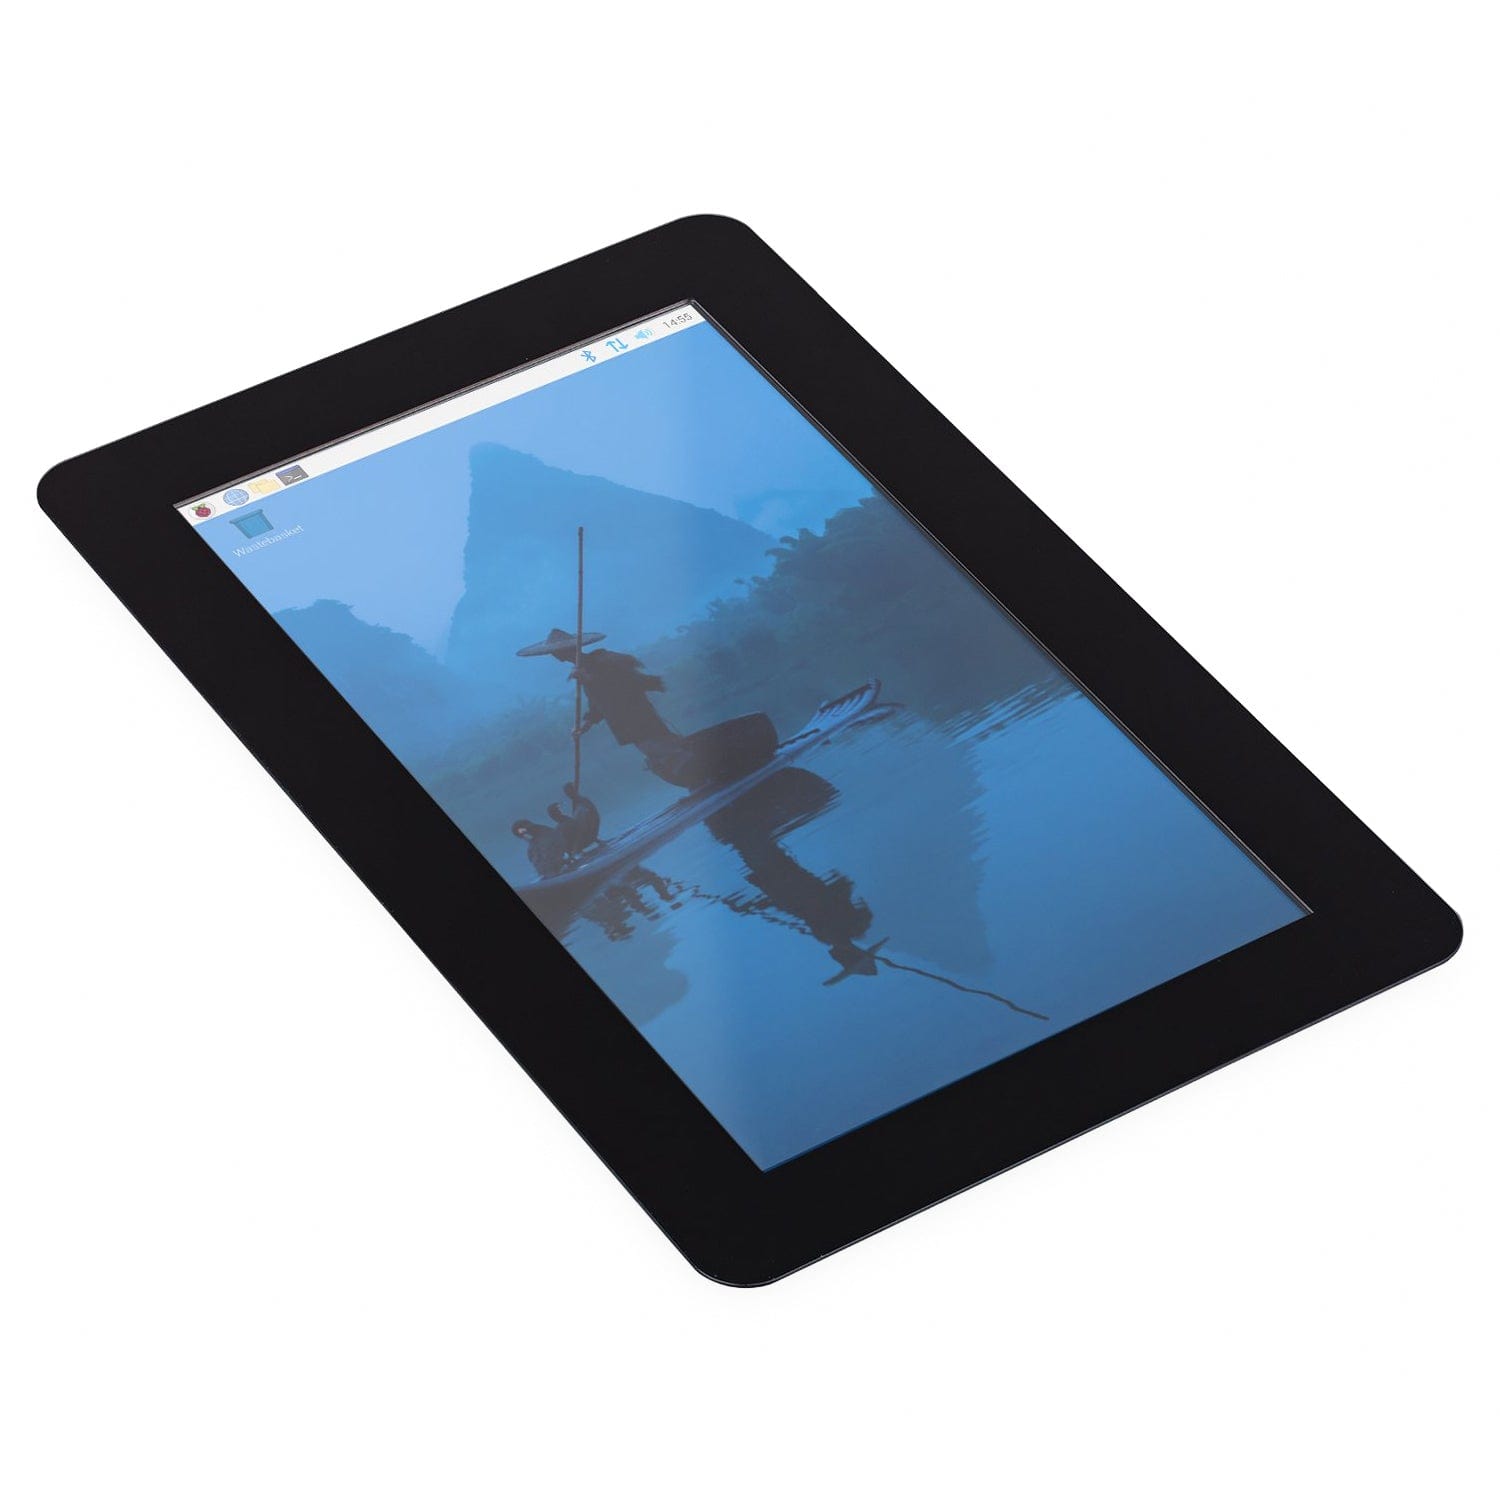
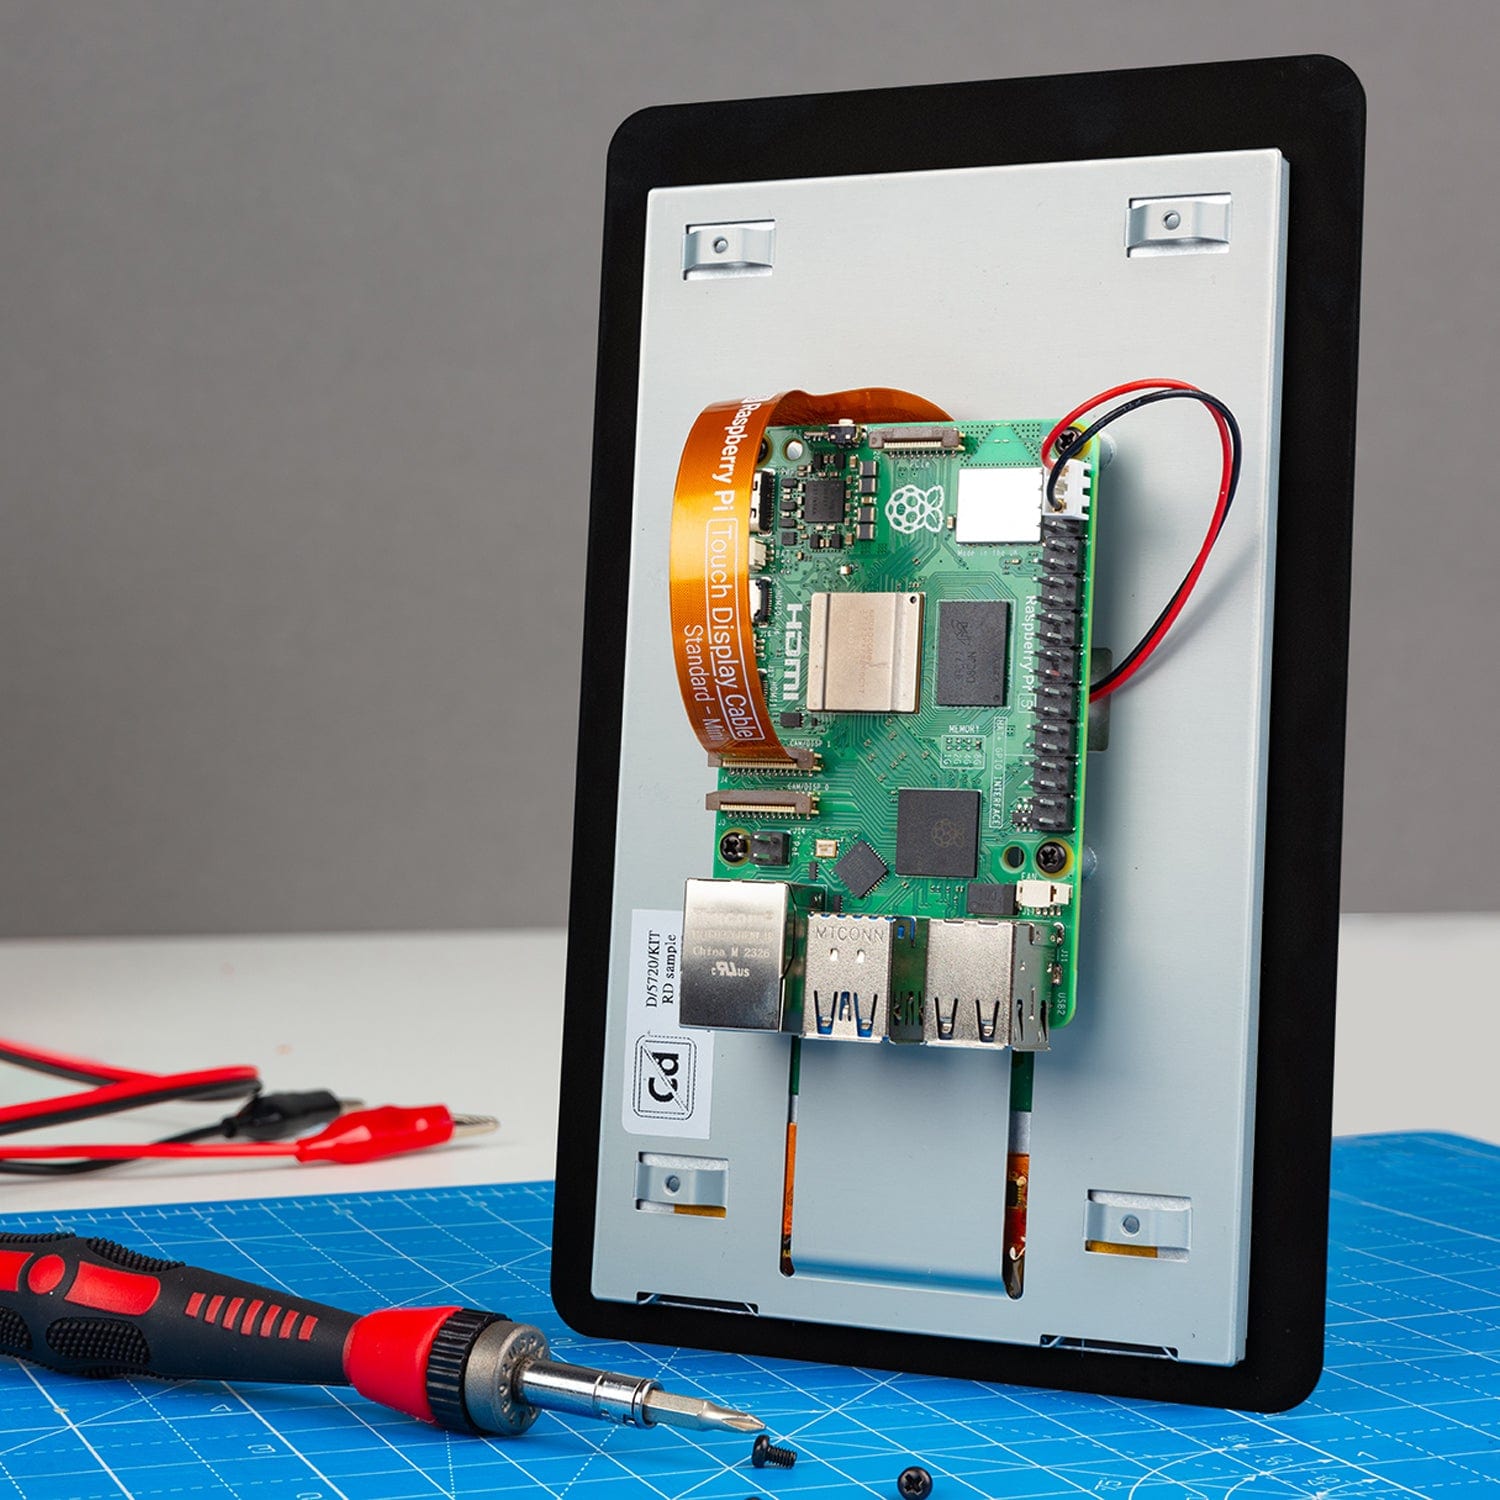

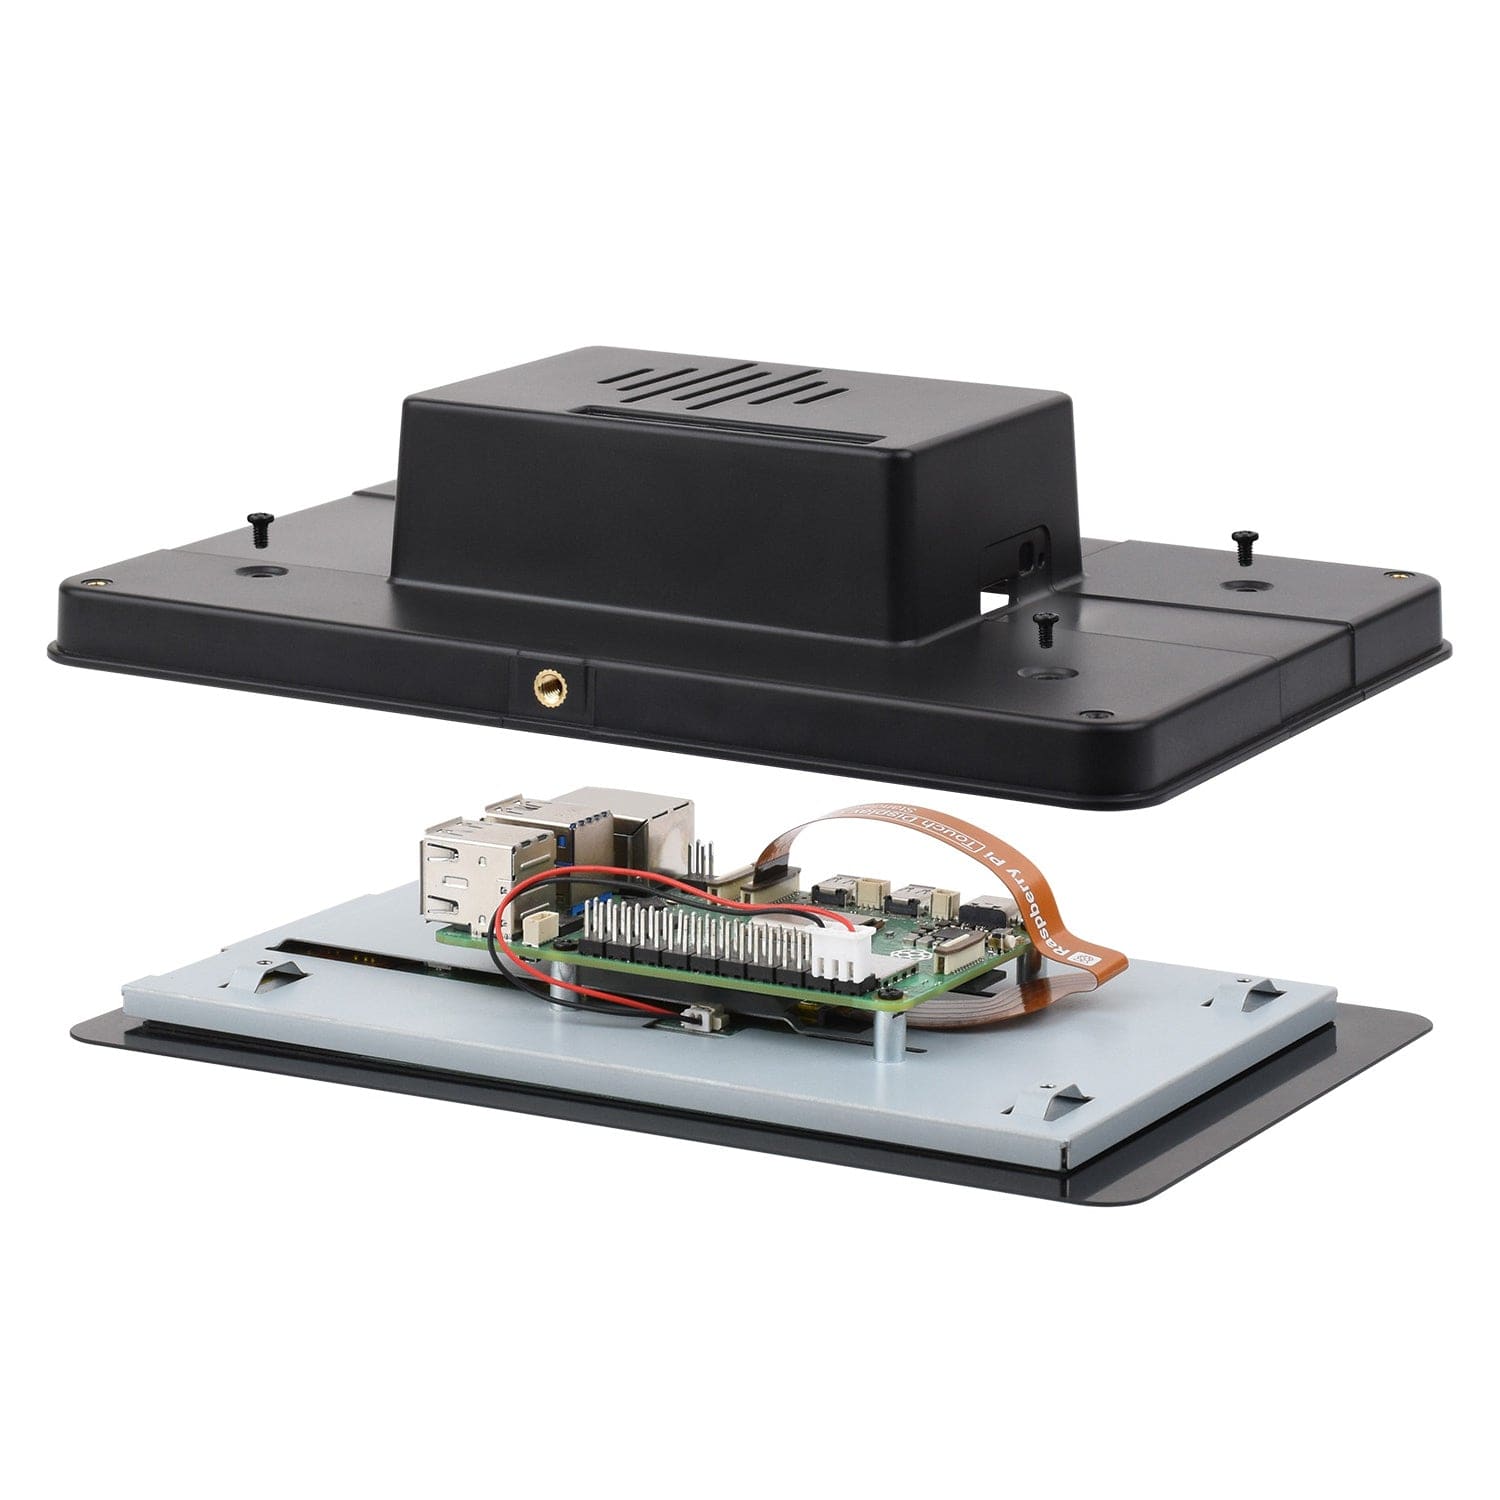
So you've got a shiny new Touch Display 2 (7" version) fitted to a Raspberry Pi 5, and you want to mount it on a wall or within a panel. Not easy - especially considering the delicate nature of the display - but this product might help.
Not compatible with the smaller 5" Touch Display 2.
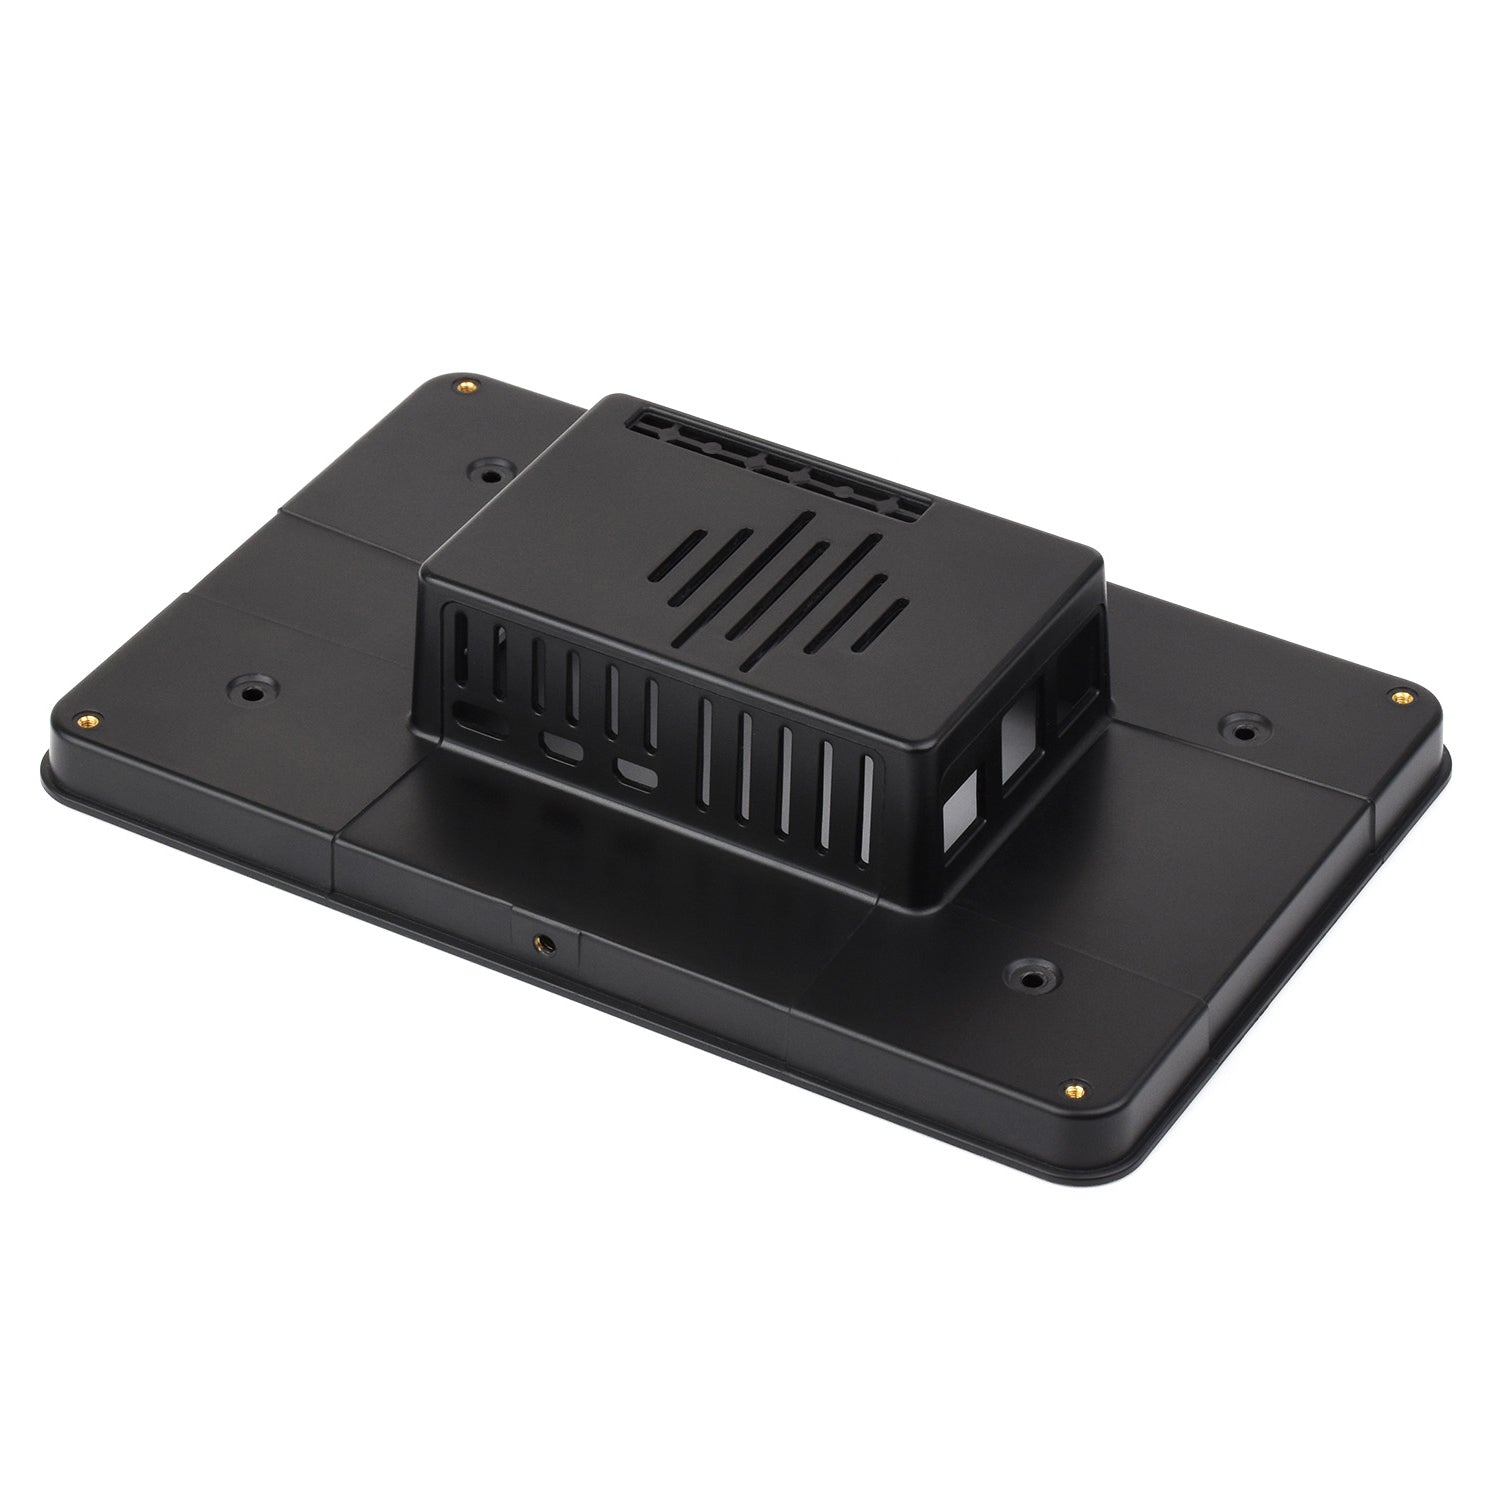
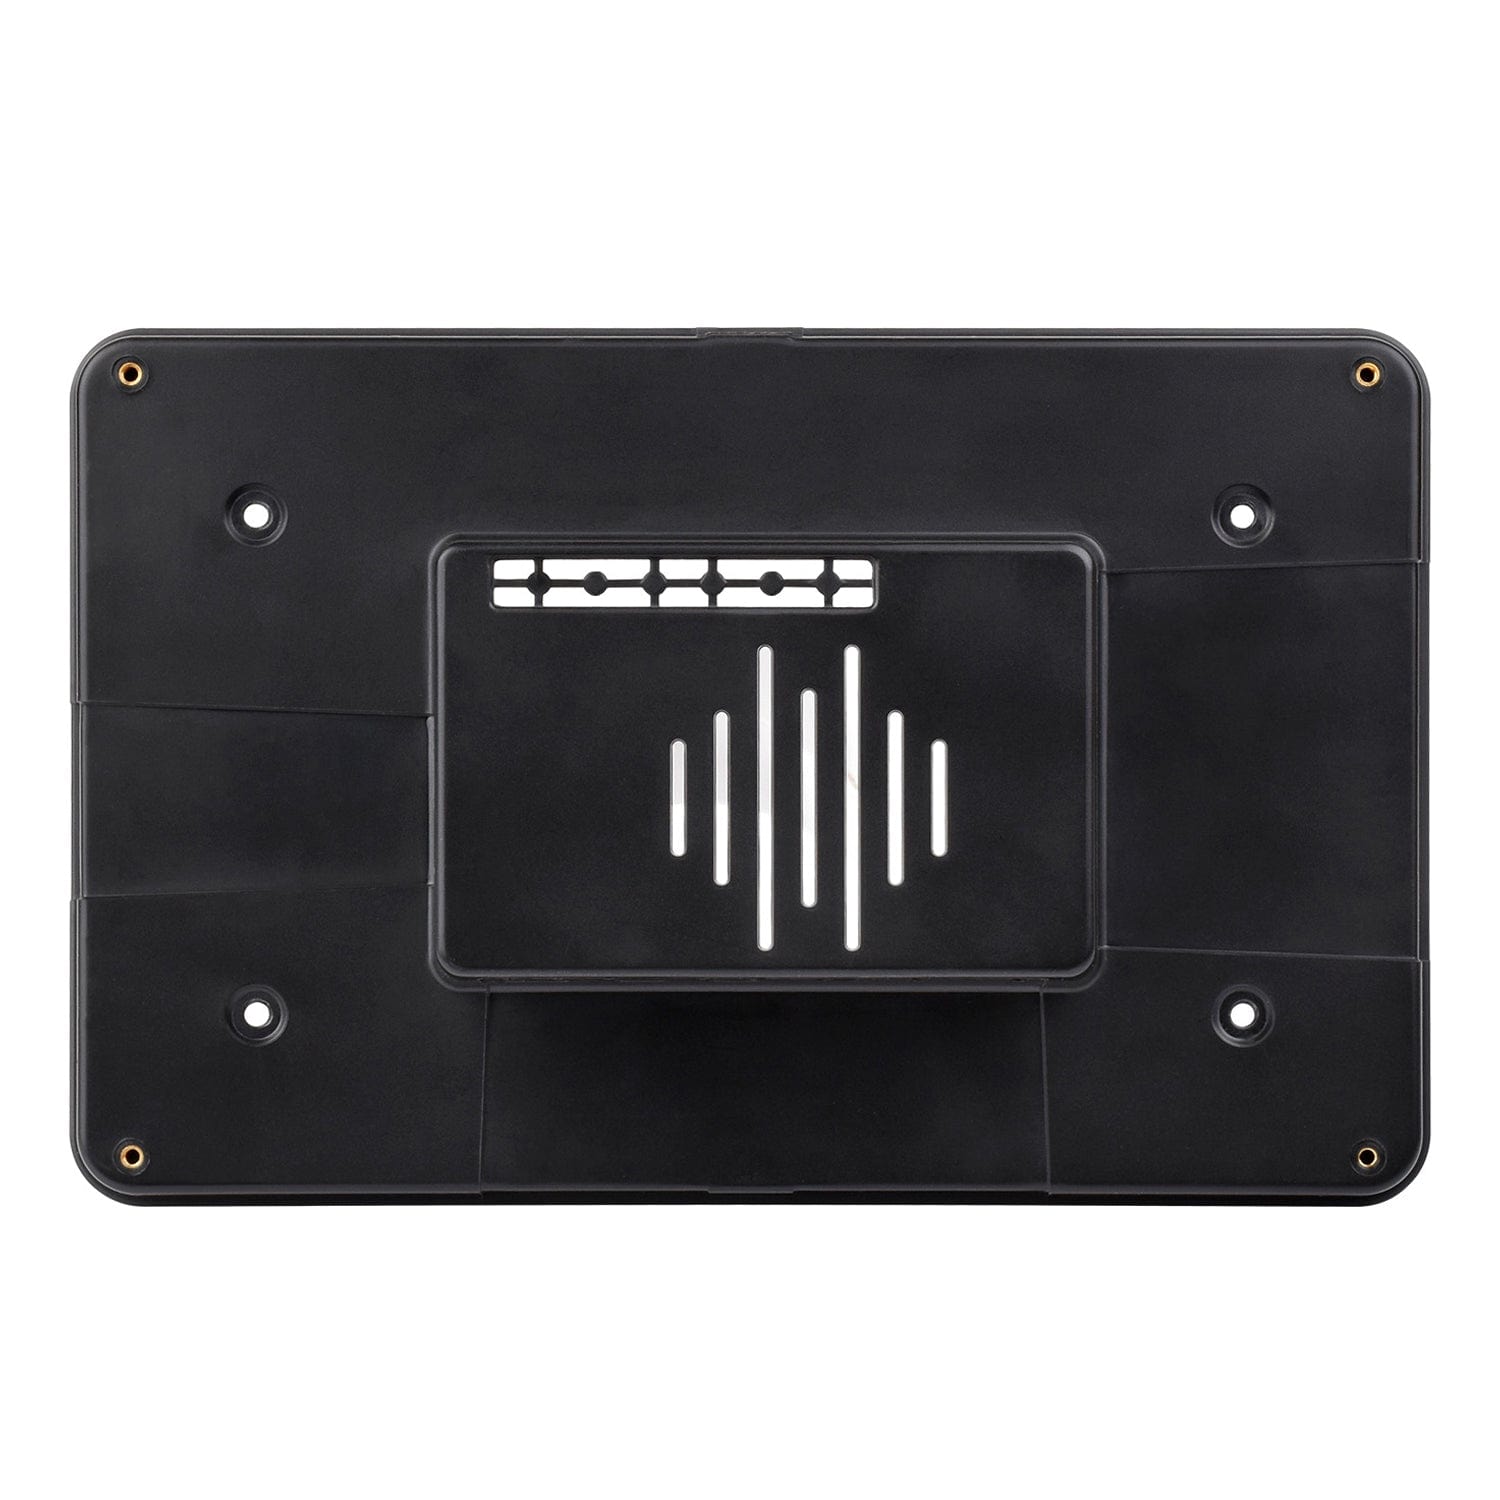
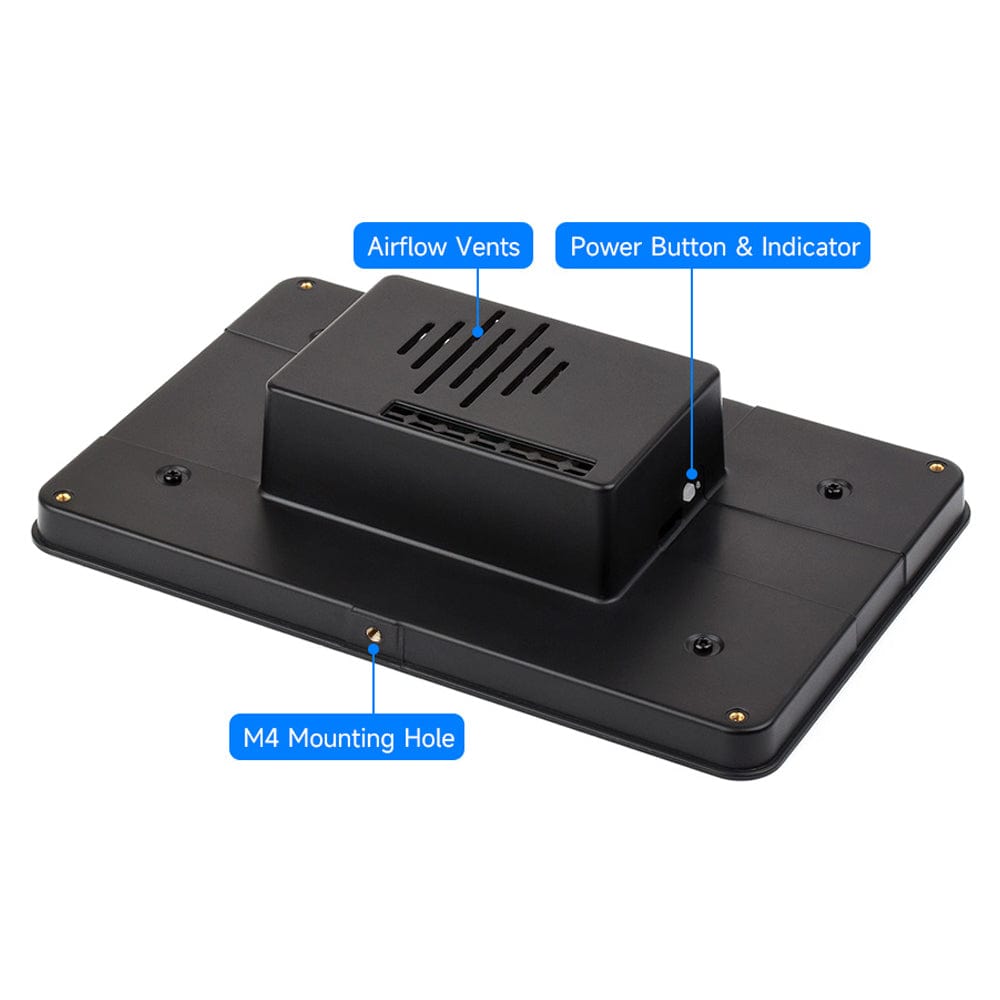
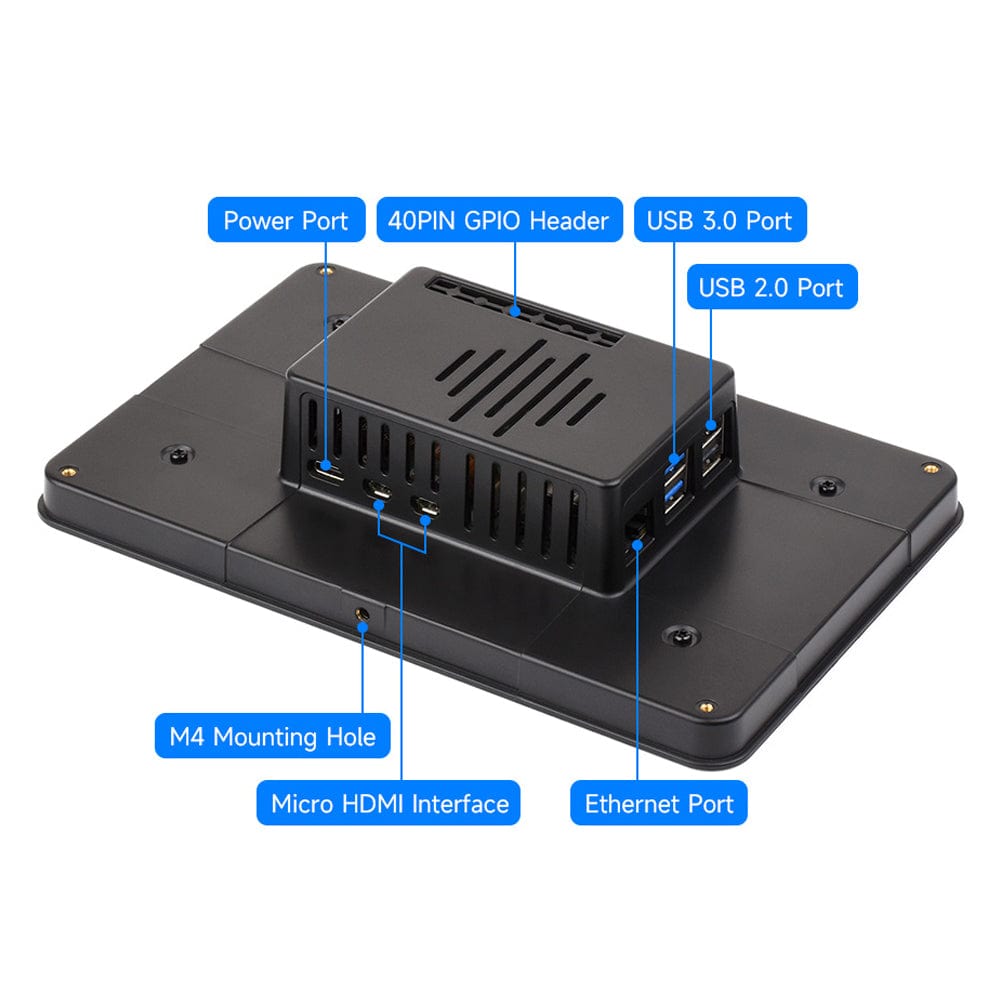
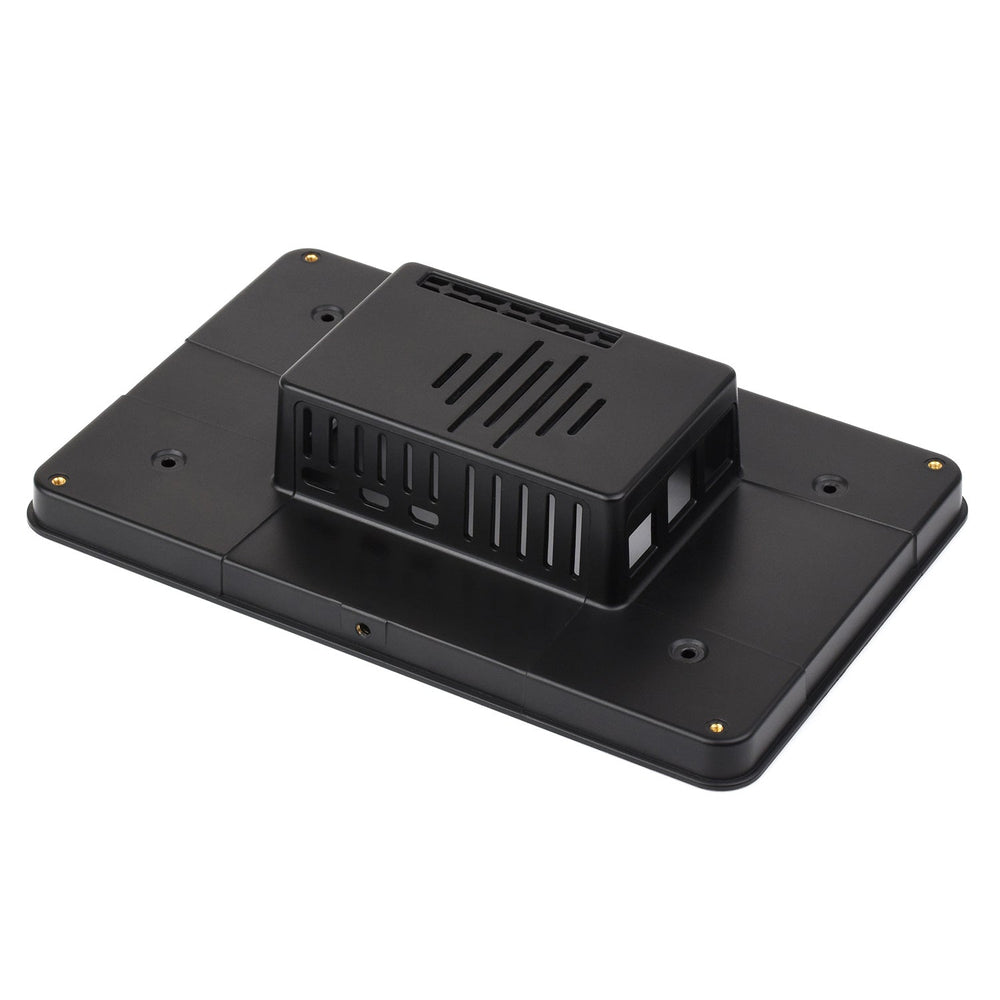
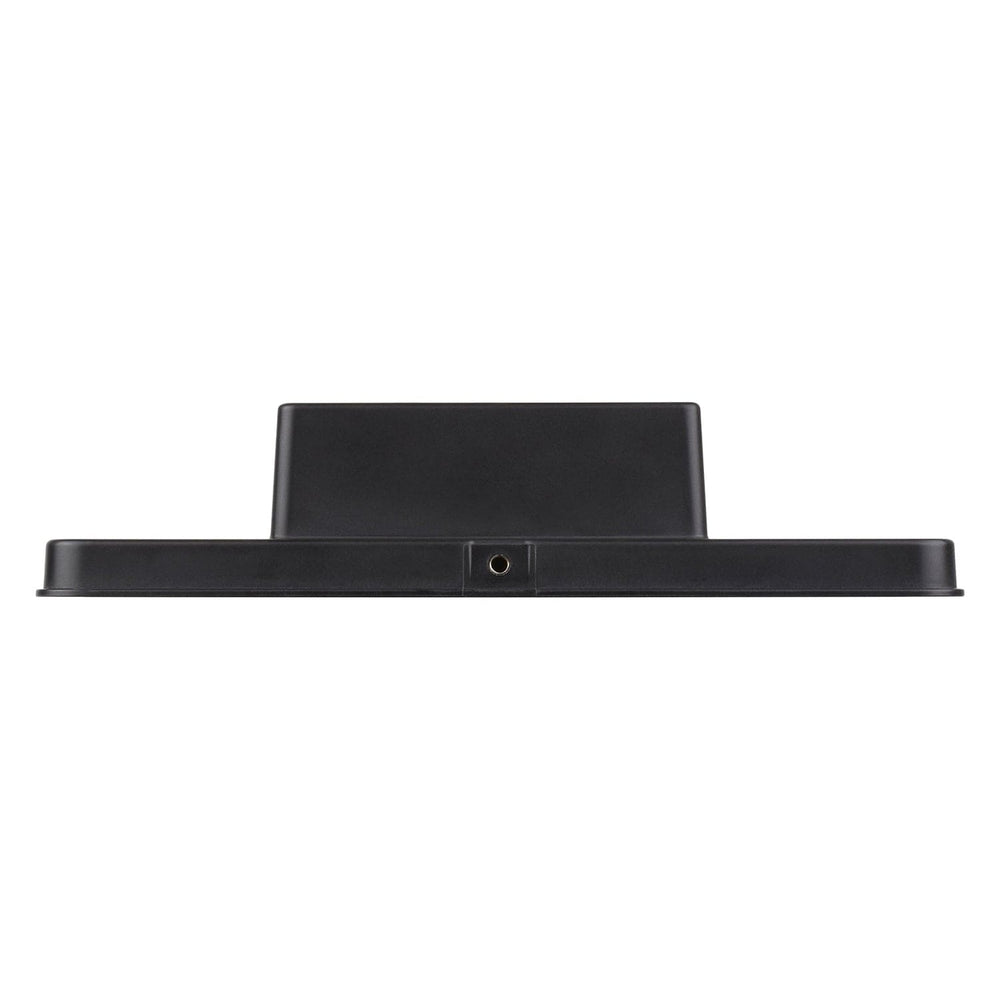
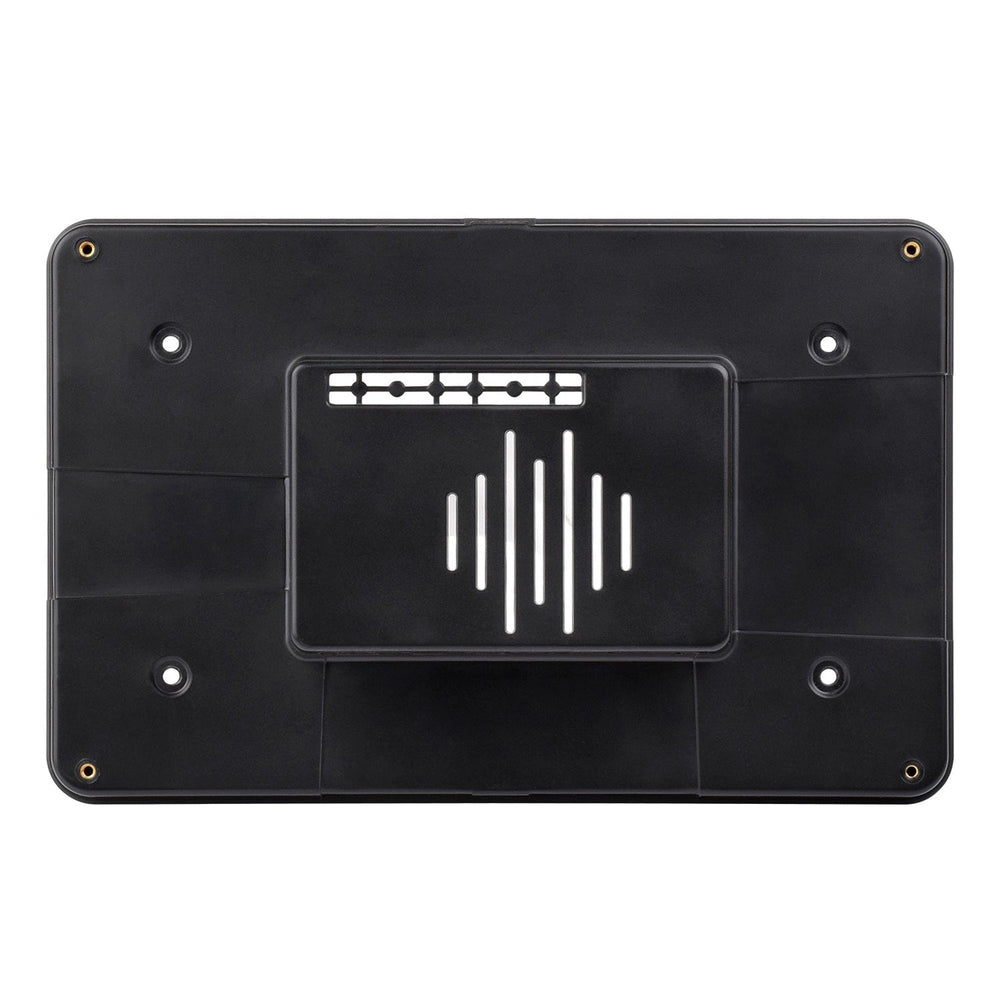
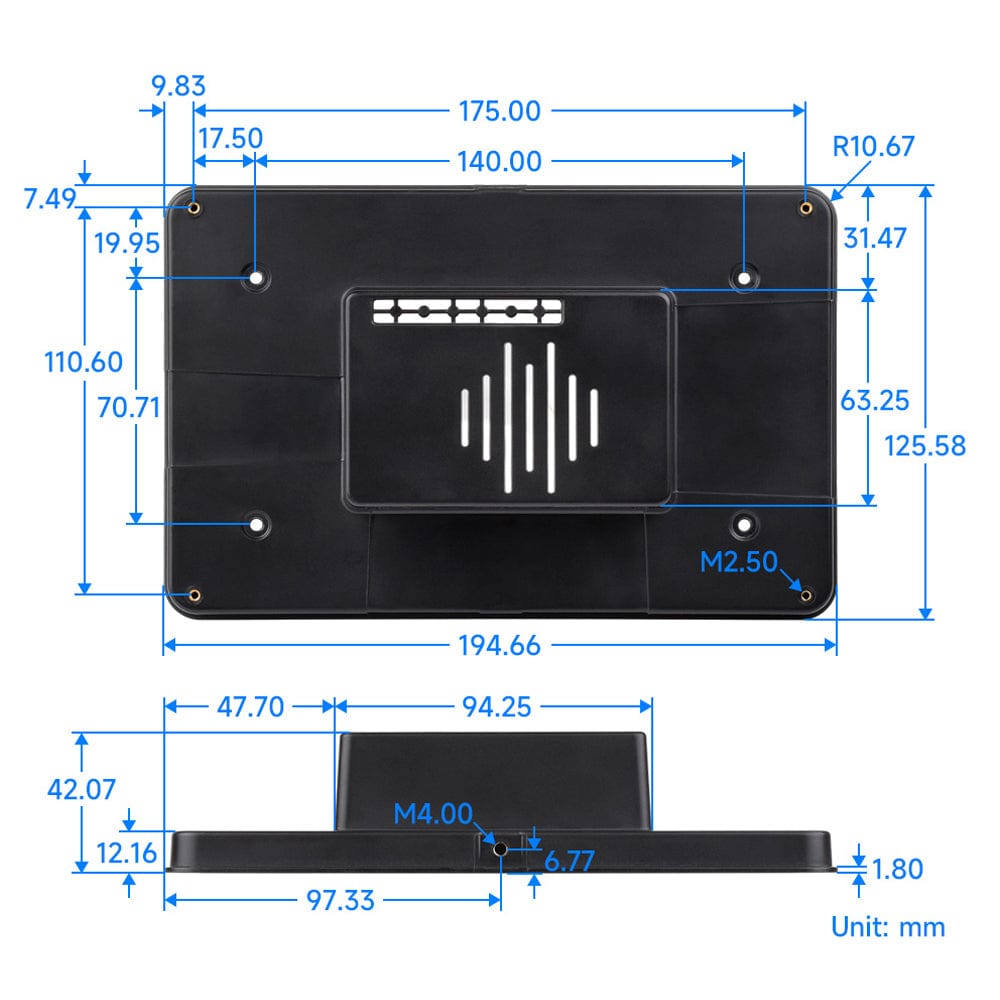
This enclosure is unique in that it isn't designed to work very well as a 'traditional' case - it doesn't stand up on its own, and the top/bottom mounting holes are oddly M4 size (not 1/4" for a tripod). What it is good at is giving you an easy way to panel or wall mount, thanks to the lip around the outside, and the rear M2.5 threaded inserts.
Assemble your Raspberry Pi 5 and Touch Display 2 inside the case, then either:
We see this as a 'helper' for those wanting to wall or flush mount their Touch Display 2, holding everything together with some options for mounting. We can't wait to see what you do with it!
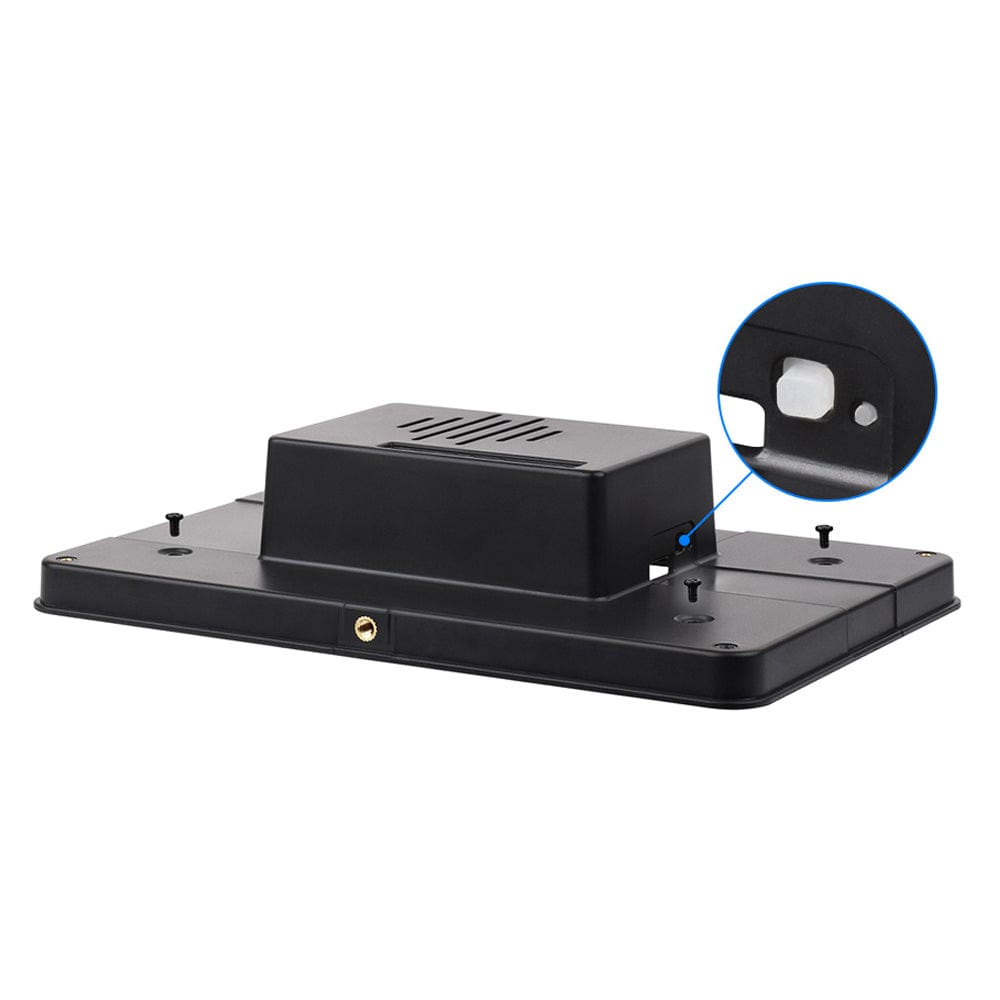
Whoops, we nearly brushed over the other handy features - MicroSD and Power button access, decent ventilation, punch-out for GPIO access, USB and Ethernet access and fixings included.
Raspberry Pi and Touch Display 2 not included.

Raspberry Pi and Touch Display 2 not included.
Your payment information is processed securely. We do not store credit card details nor have access to your credit card information.