ControlBlock - Game Controllers, Power Switch and I/O for the Raspberry Pi
Price:
Sale price
£35
Stock:
Quantity:
Login / Signup
Cart
Your cart is empty
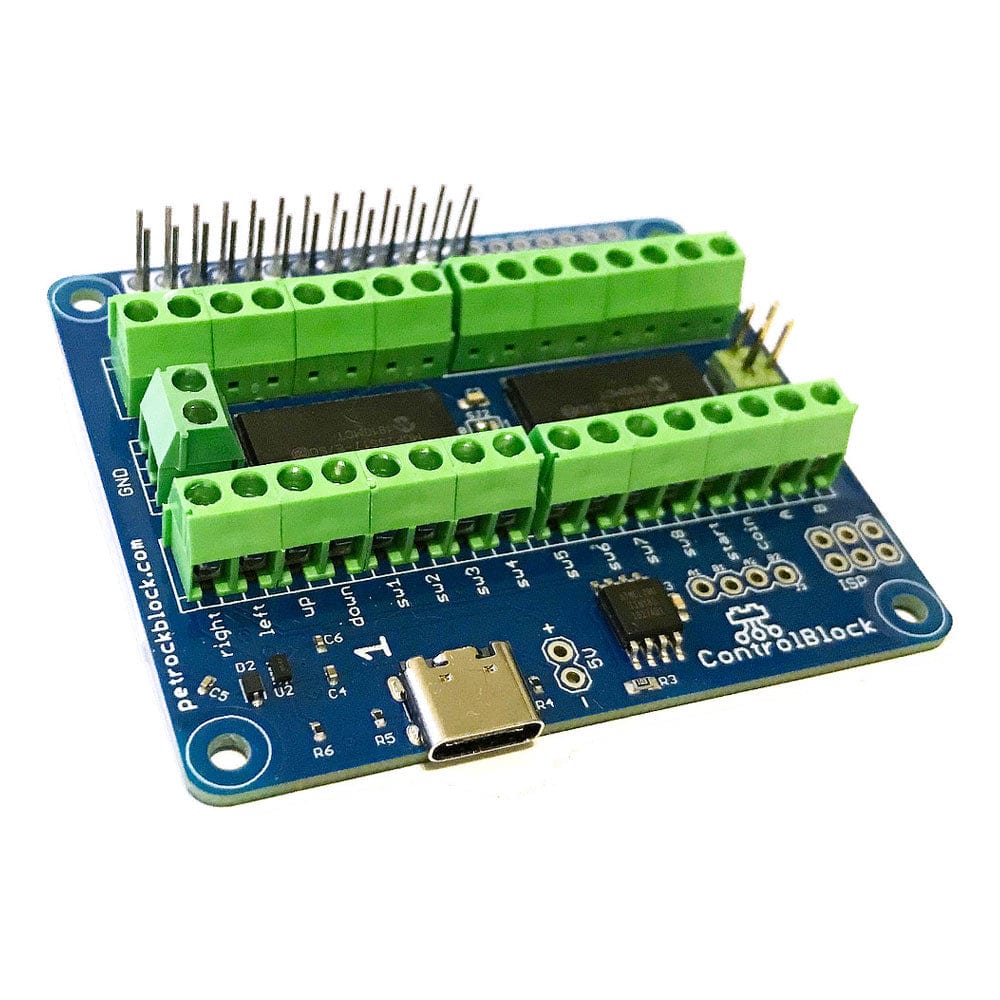


The ControlBlock has been updated! Similar to the PowerBlock it now comes with USB-C for the Raspberry Pi 4 and 5 and a high-current (7A!) power switch circuitry for your most energy demanding projects.
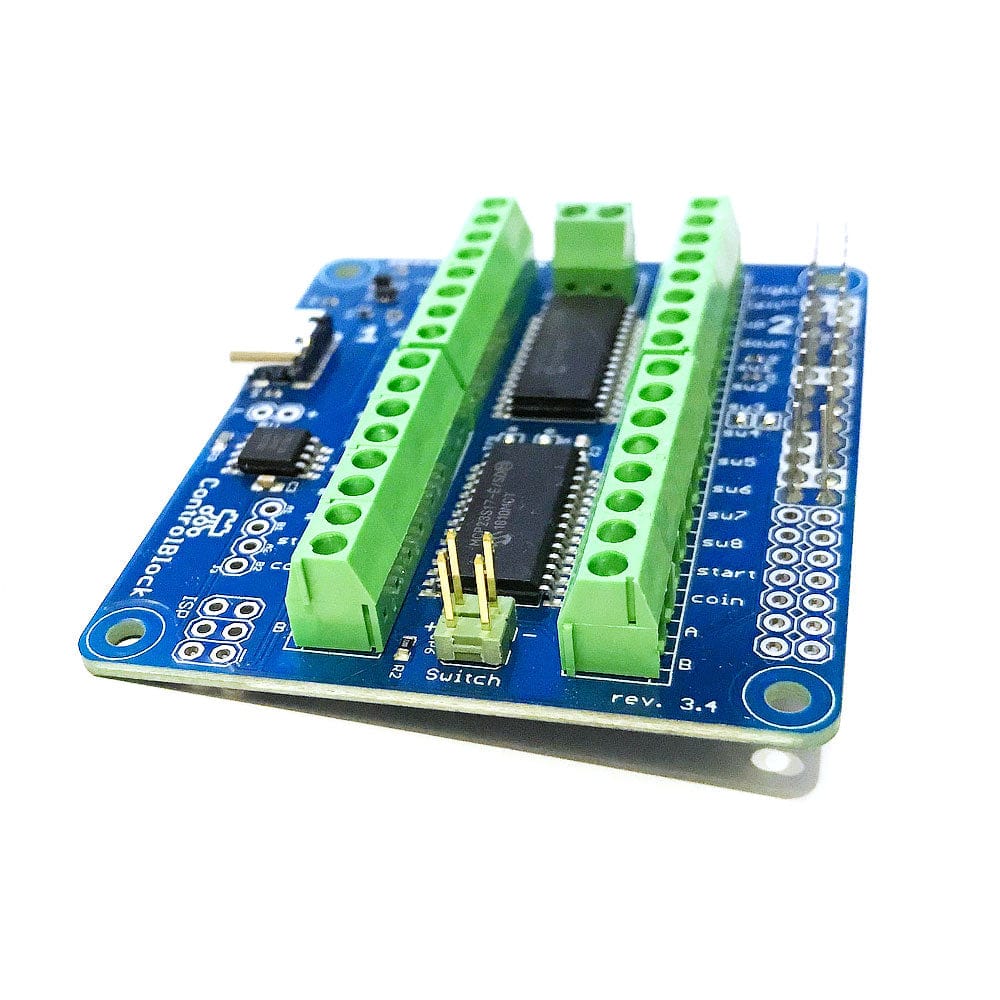
The ControlBlock is an add-on board for the Raspberry Pi. The two key features of the ControlBlock are:
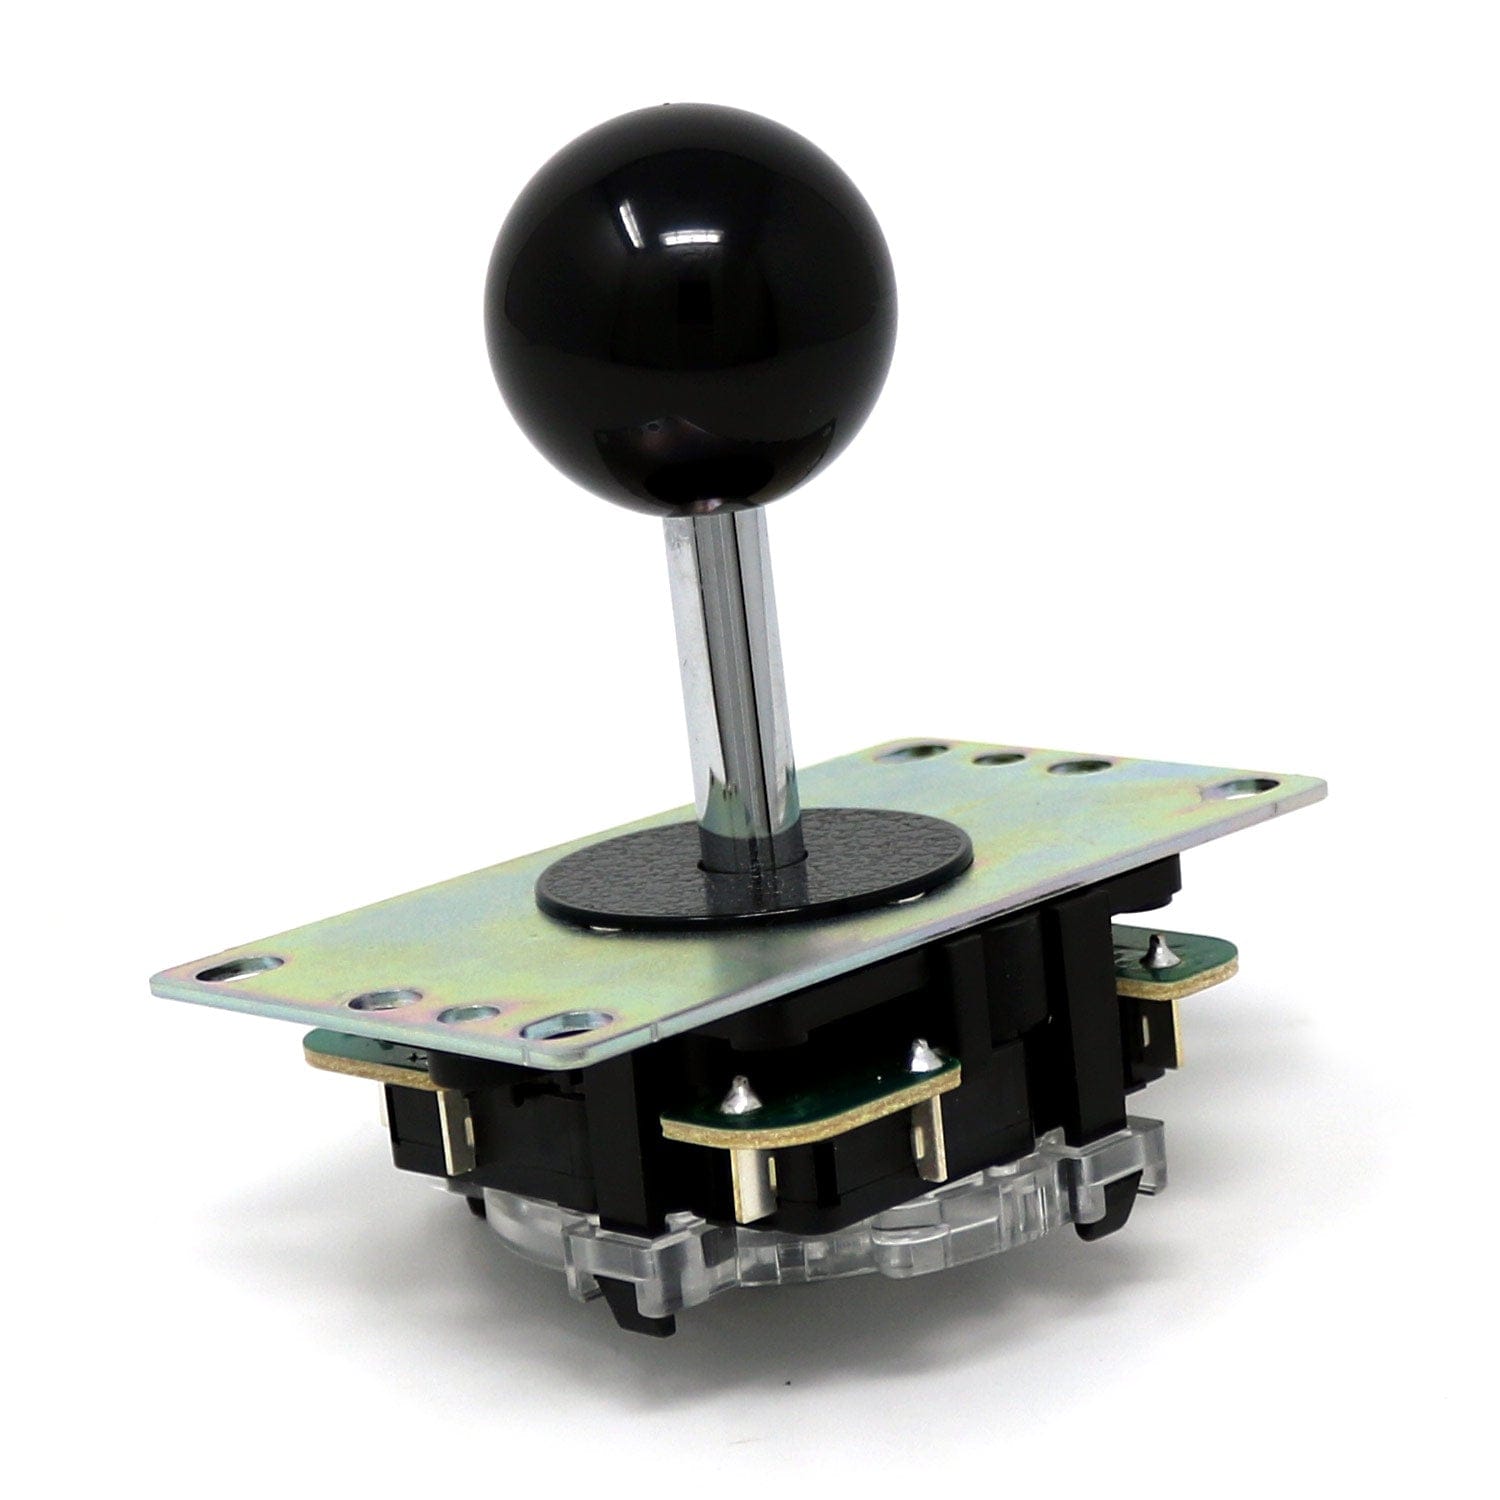
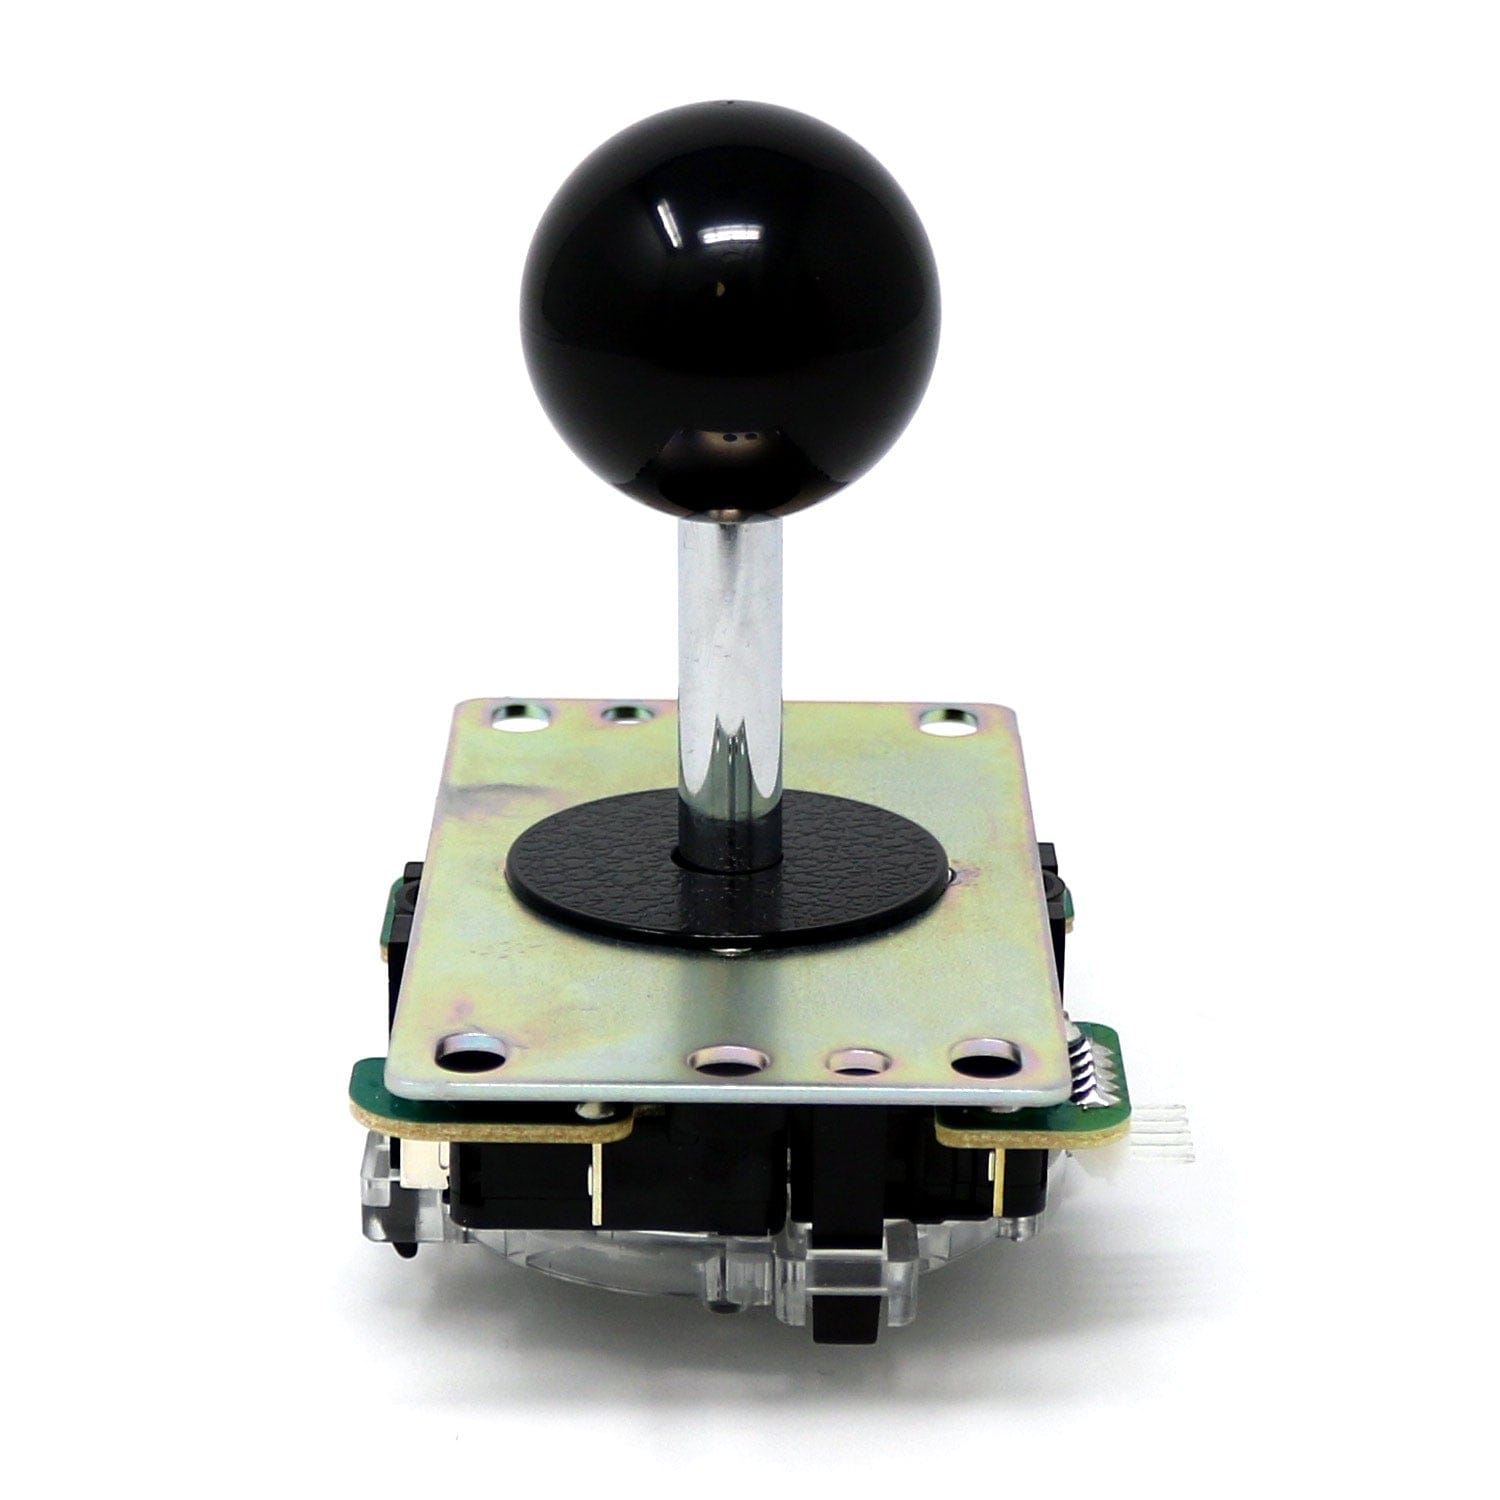
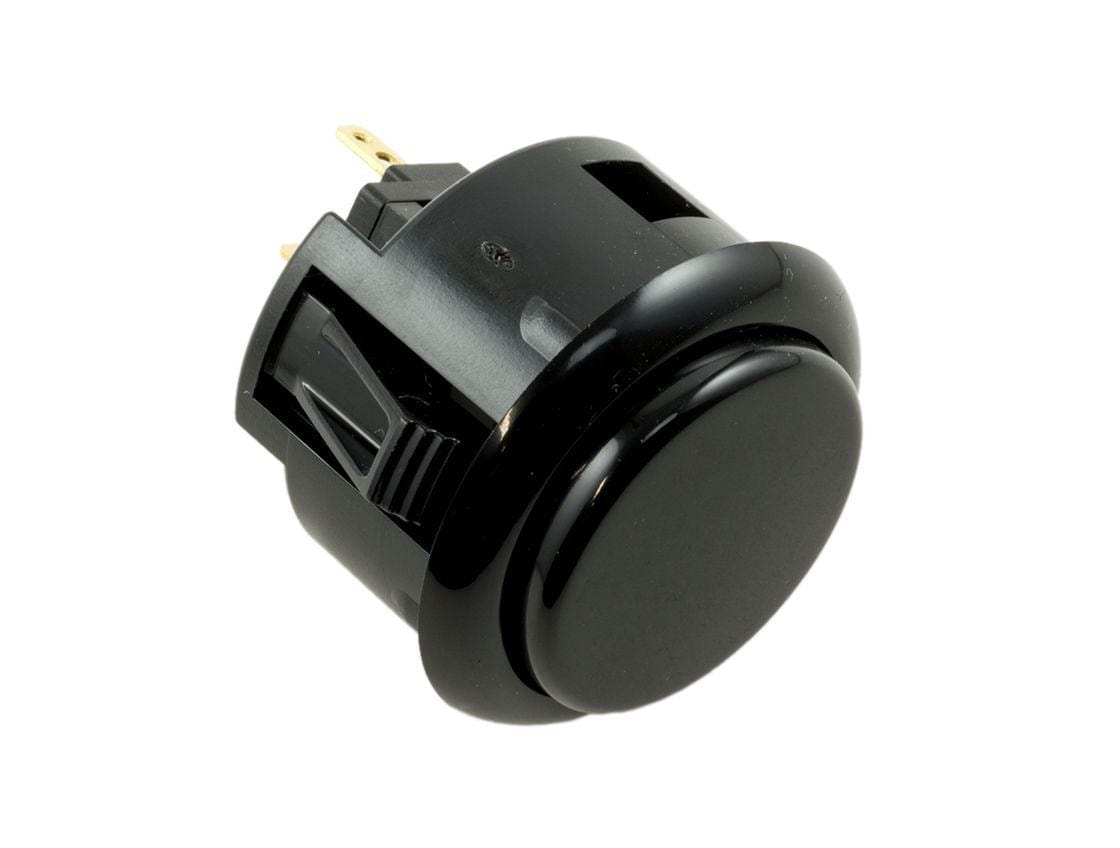
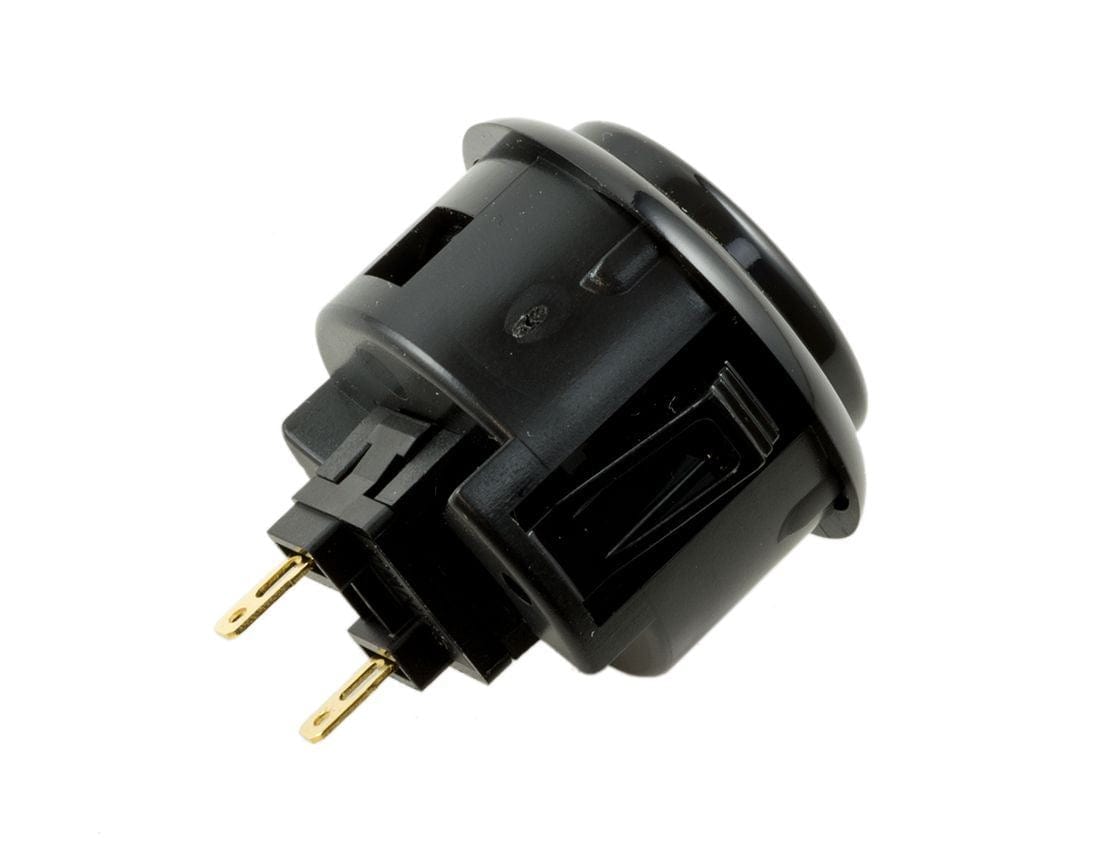
The ControlBlock makes it very easy to connect arcade controllers or console controllers, for example, for (S)NES, Atari, Genesis/Megadrive, or Sega Master System consoles. Up to two players are supported by a single ControlBlock. Stacked upon each other, up to four players are supported.
The open-source driver for the ControlBlock is easy to install and can be configured to your liking.
The power switch functionality allows you to turn on and off the power to the Raspberry Pi with a toggle switch without the risk of data loss. You can also connect a status LED for indicating the power status of the Raspberry Pi.
Compatible with all 40-pin models of Raspberry Pi (however a USB-C power supply is required). Now compatible with Raspberry Pi 5 - please see this blog entry for info.
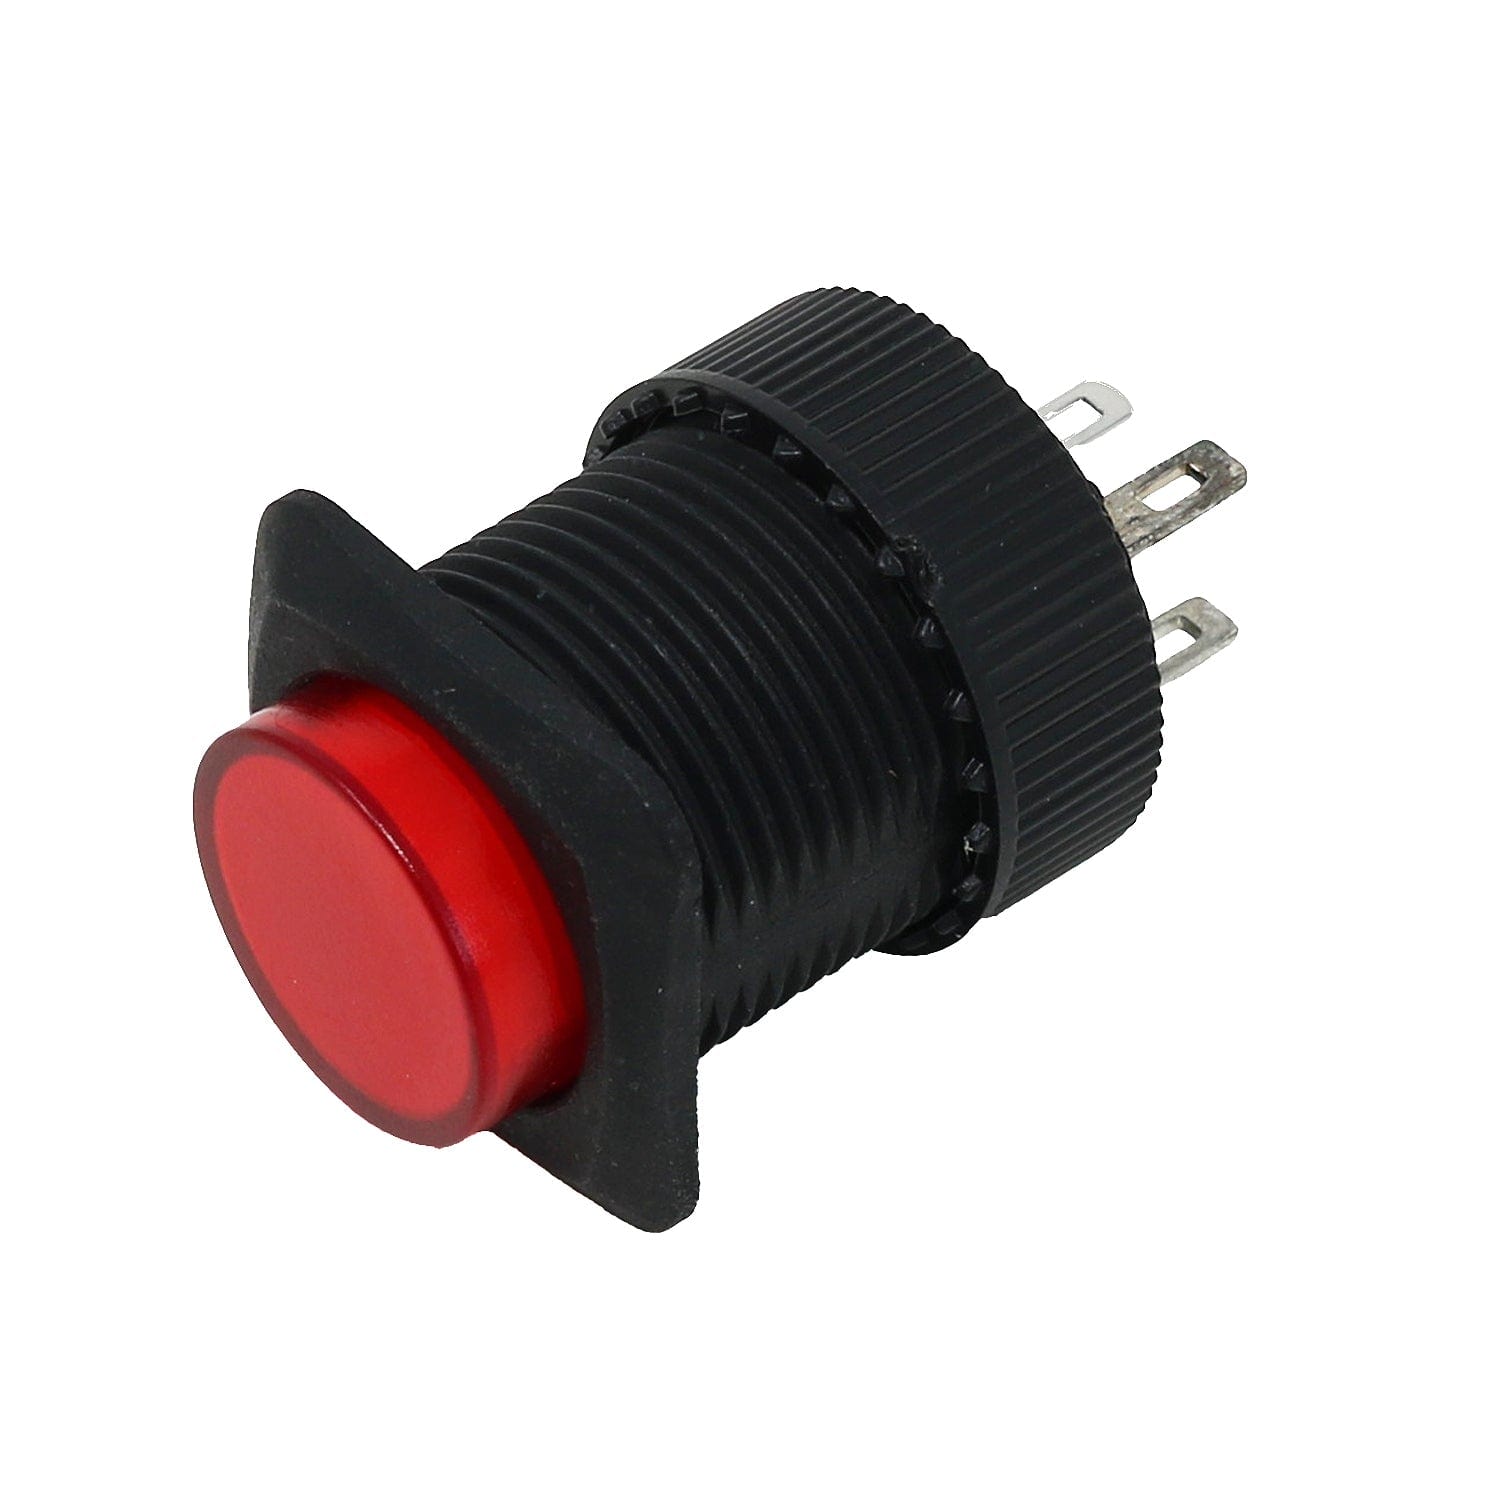
To turn the Raspberry Pi on and off with the ControlBlock you need to attach a toggle or a momentary button to the two “switch” pins on the ControlBlock. The ControlBlock then uses the status of the attached button to power on or off the Raspberry Pi.
If you want to use the power switch function of the ControlBlock you need to connect your (micro USB) connector only to the ControlBlock – and not to the Raspberry Pi directly.
Alternatively to the micro USB connector you could also use the USB-B pin outs for soldering a USB-B connector to the ControlBlock. Also, you could use the 5V and GND input pins for power supply.
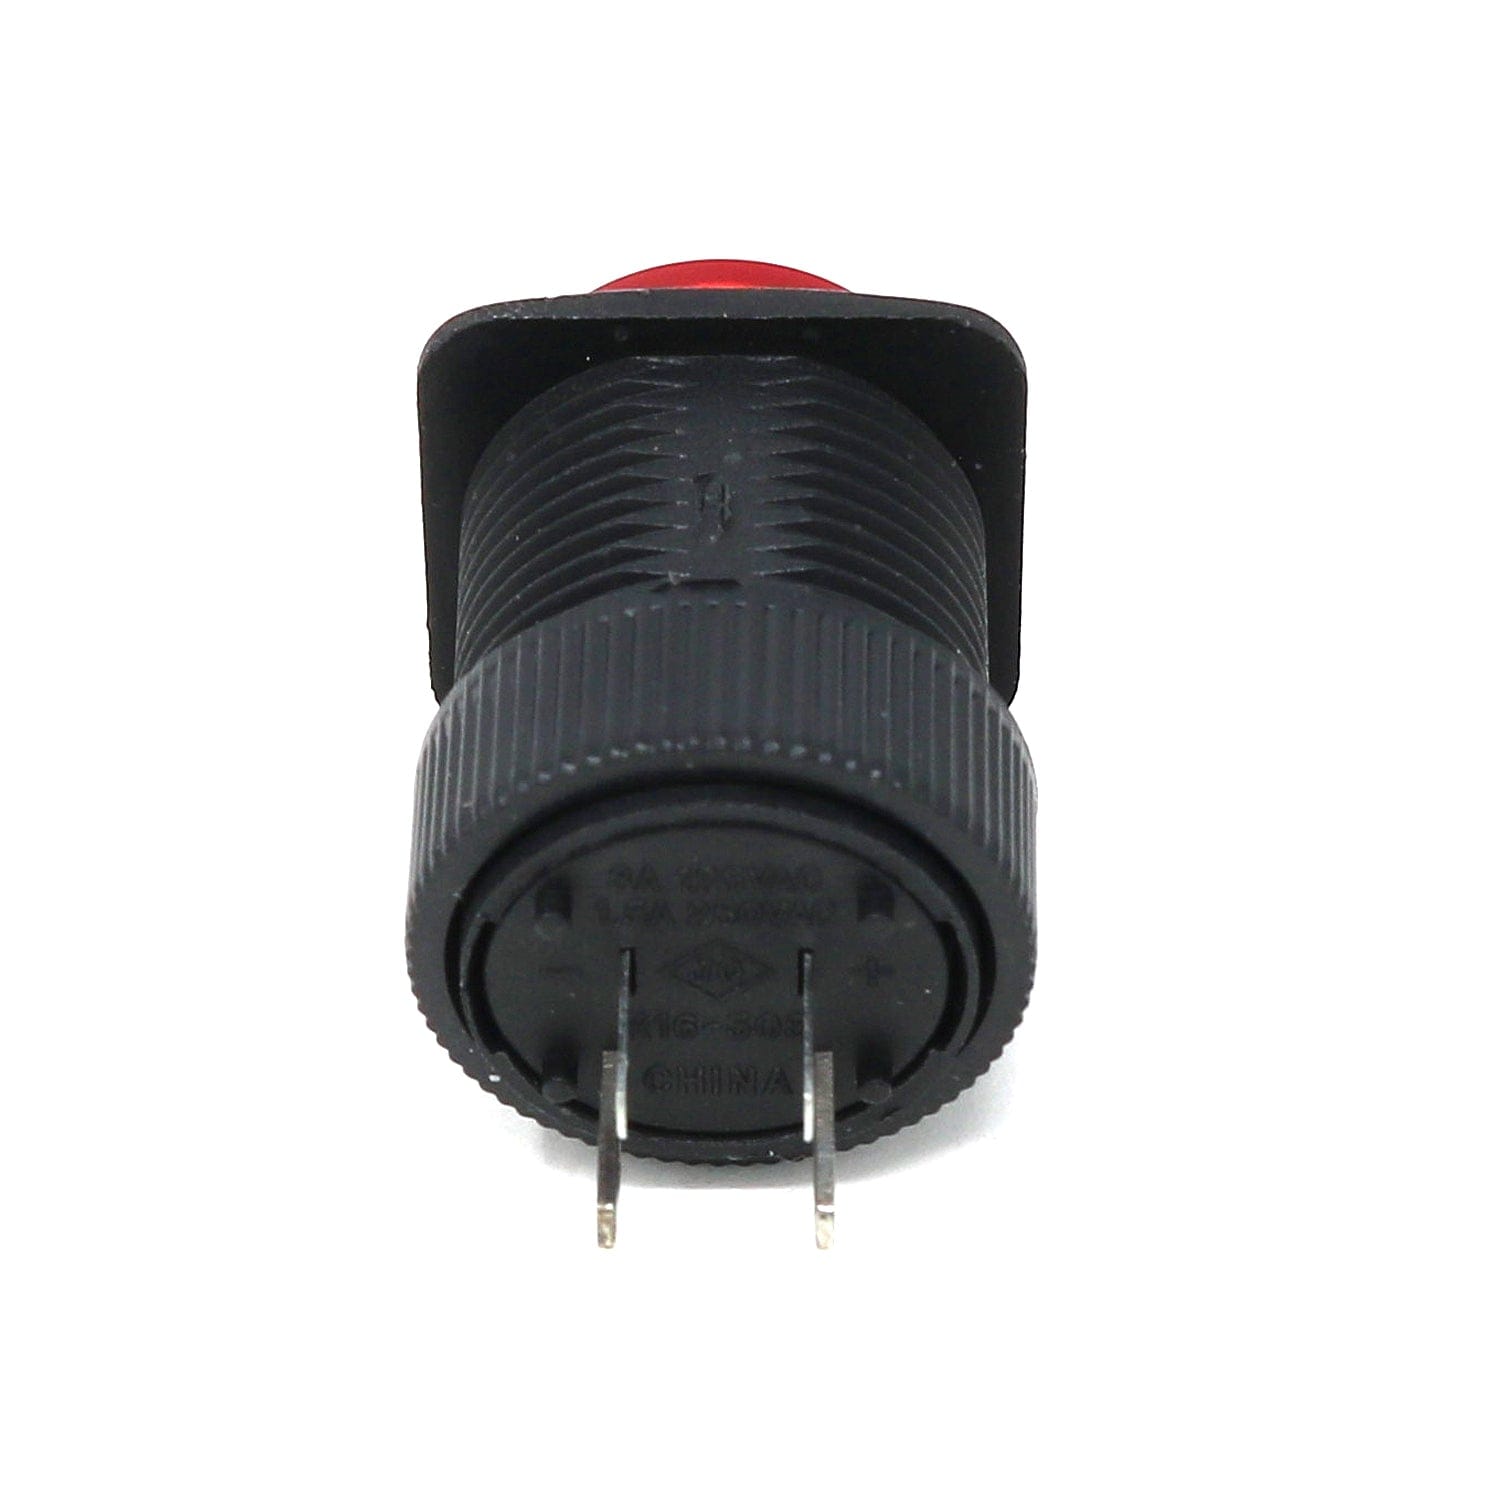
The ControlBlock has pinouts for an optional status LED that indicates the power state of the Raspberry Pi. You can directly attach an LED to the pins that are marked with “LED”.
You need to pay attention to the polarity of the LED: The LED pins are marked with “+” and “-” for that.
The LED will blink in four different patterns that depend on the power state of the Raspberry Pi:
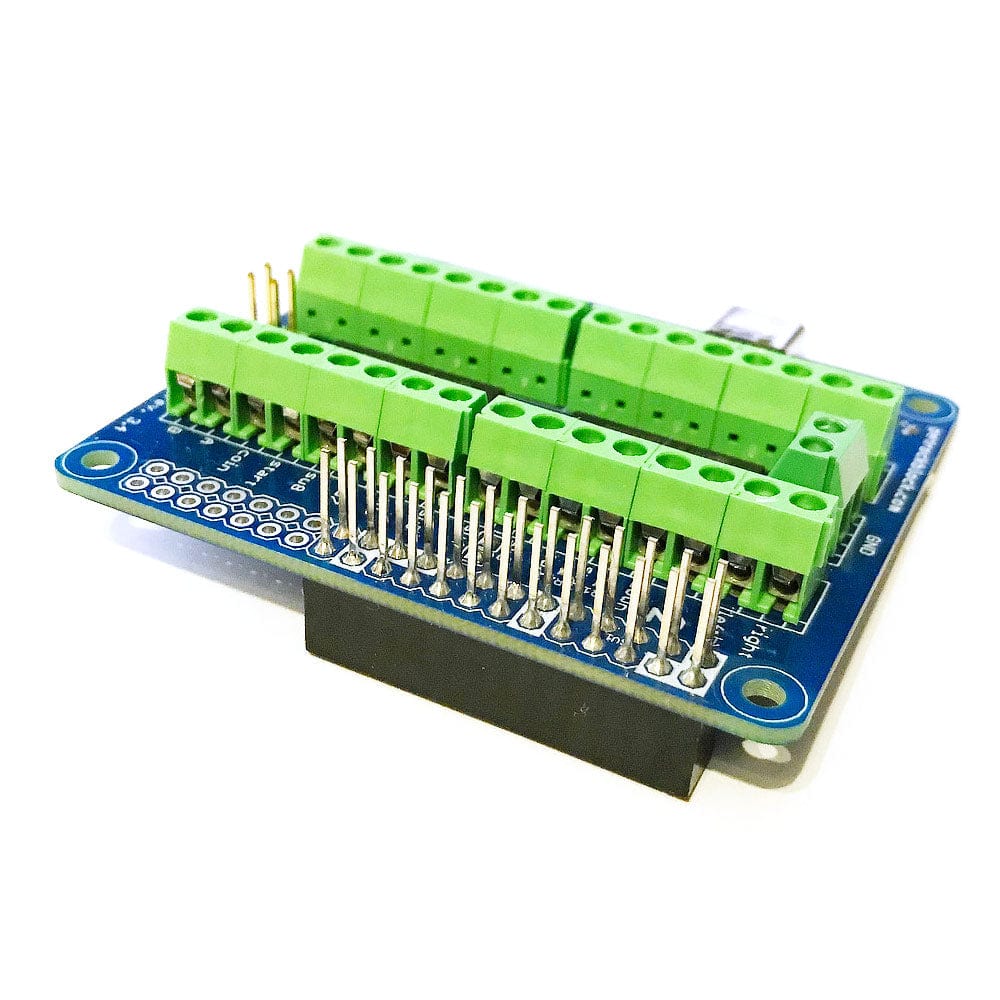
The cables of the arcade buttons, joysticks, as well as of the (S)NES or all other gamepads are connected to the ControlBlock via the screw terminal blocks. You need a slotted screwdriver with a maximum width of 2.5 mm for that.
Detailed instructions for the individual controller types are given here.
Regarding the software, you need to install the ControlBlock driver to enable the power switch and game controllers functions.
You can find detailed instructions for the driver installation here.
Your payment information is processed securely. We do not store credit card details nor have access to your credit card information.