Adafruit PiCowBell HSTX DVI Output for Pico
Price:
Sale price
£6.30
Stock:
Quantity:
Login / Signup
Cart
Your cart is empty


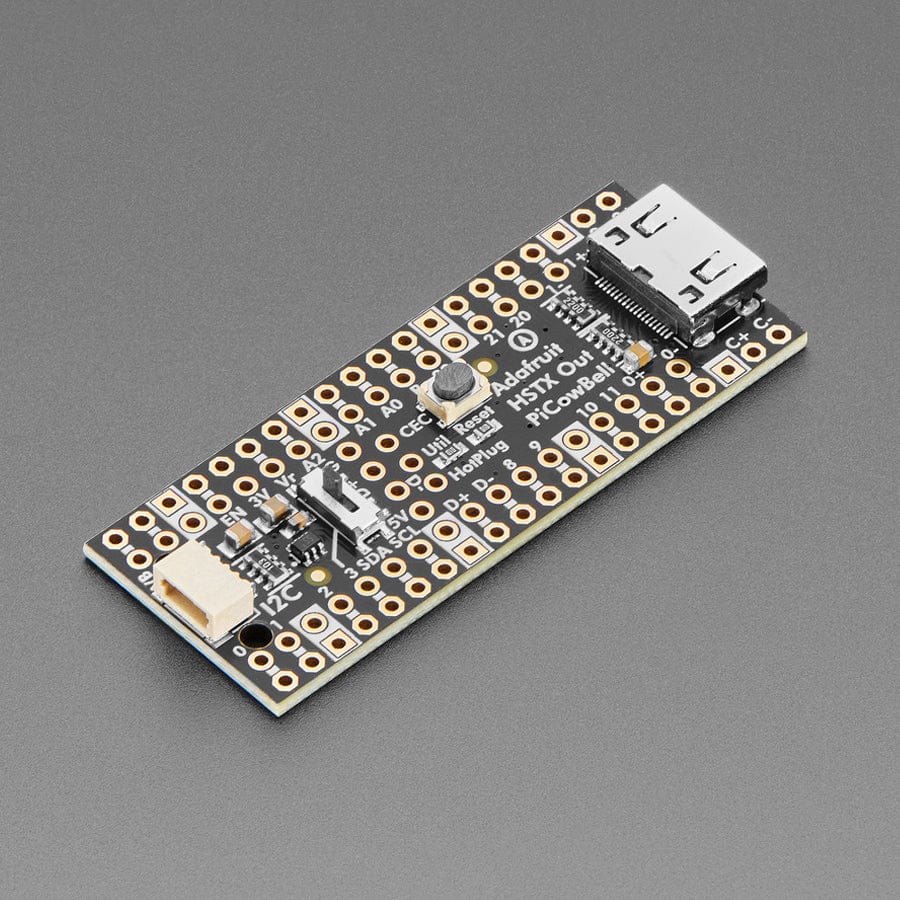
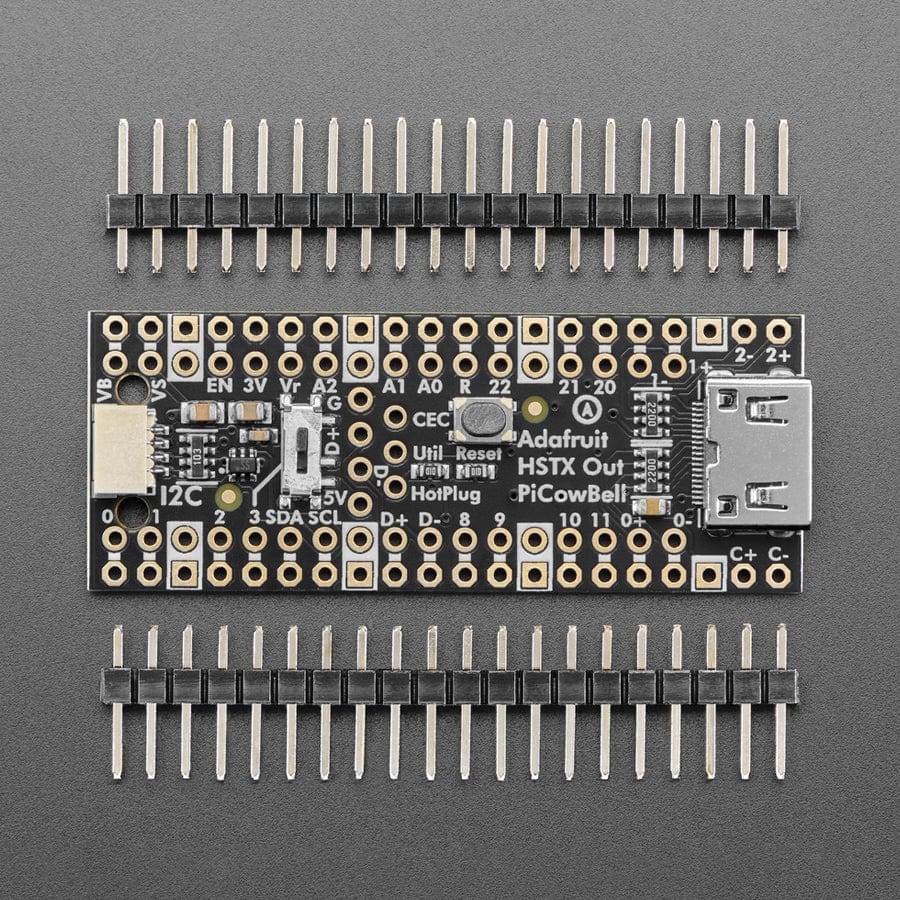
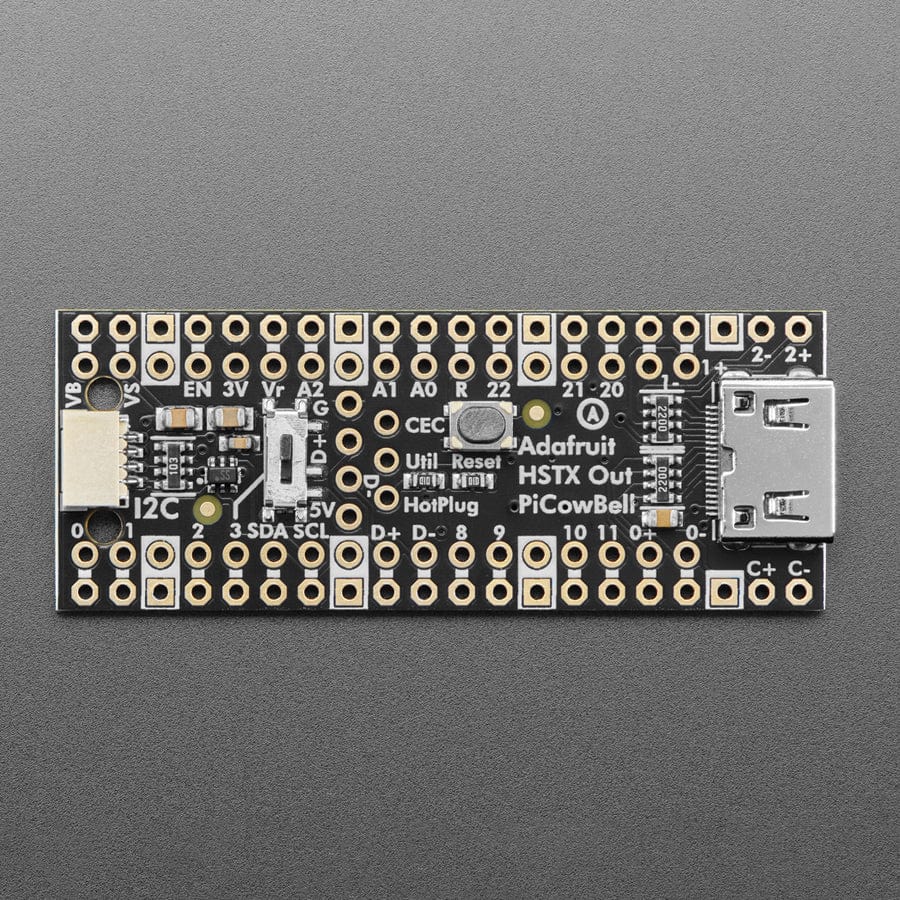
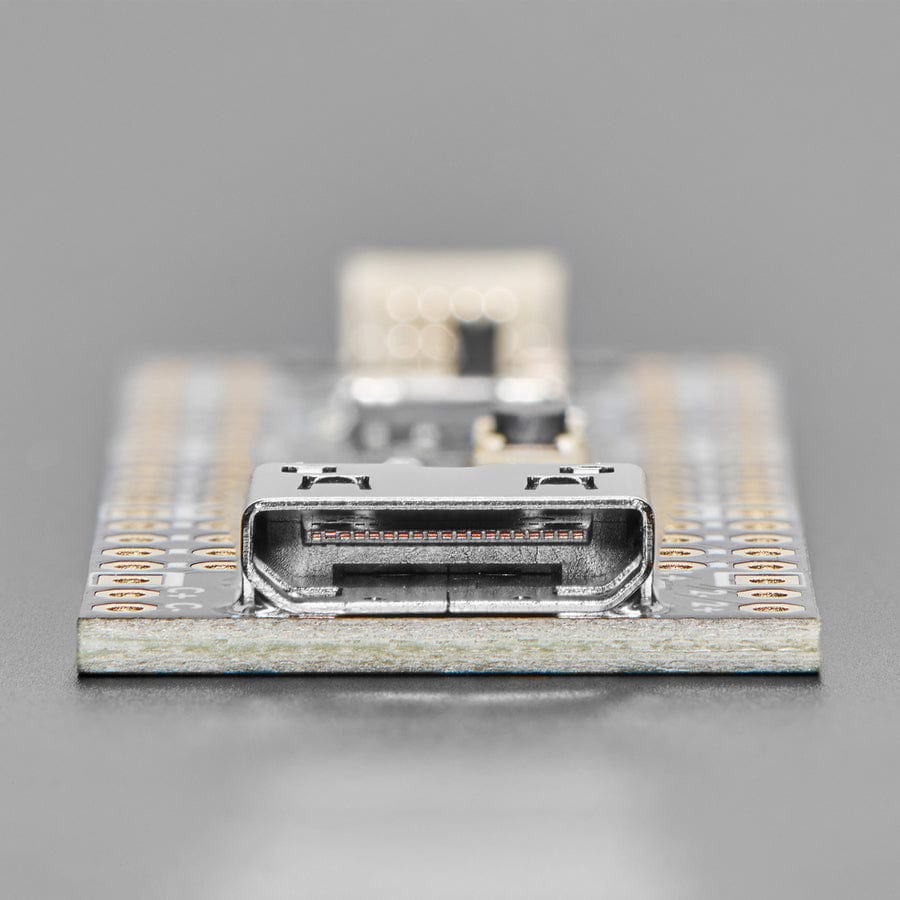
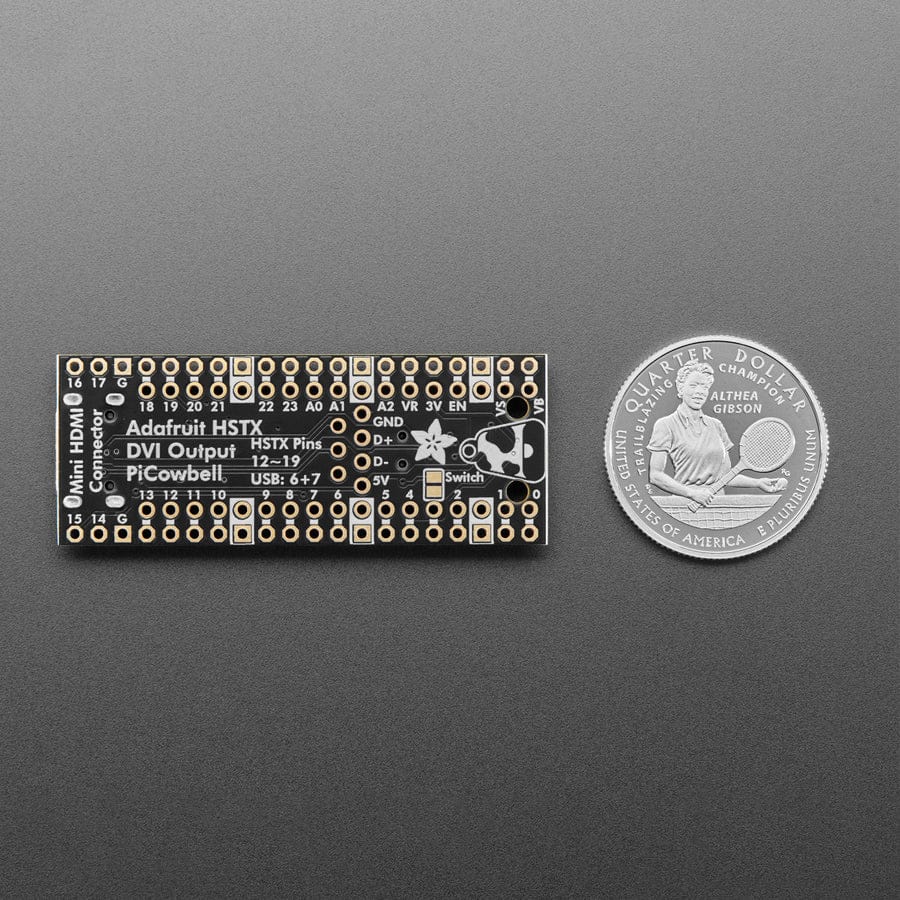
The Adafruit PiCowbell HSTX DVI Output for Pico adds digital video output via a mini HDMI connector, supporting RP2040 and RP2350 boards. It features Qwiic/STEMMA QT I2C, reset and slide switches, USB host pads, and gold-plated breakout pins.
Ding dong! Hear that? It's the PiCowbell ringing, letting you know that the new Adafruit PiCowbell HSTX DVI Output for Pico is in stock and ready to display images and graphics from a microcontroller directly to an HDMI monitor or television! Note that it doesn't do audio, just graphics.
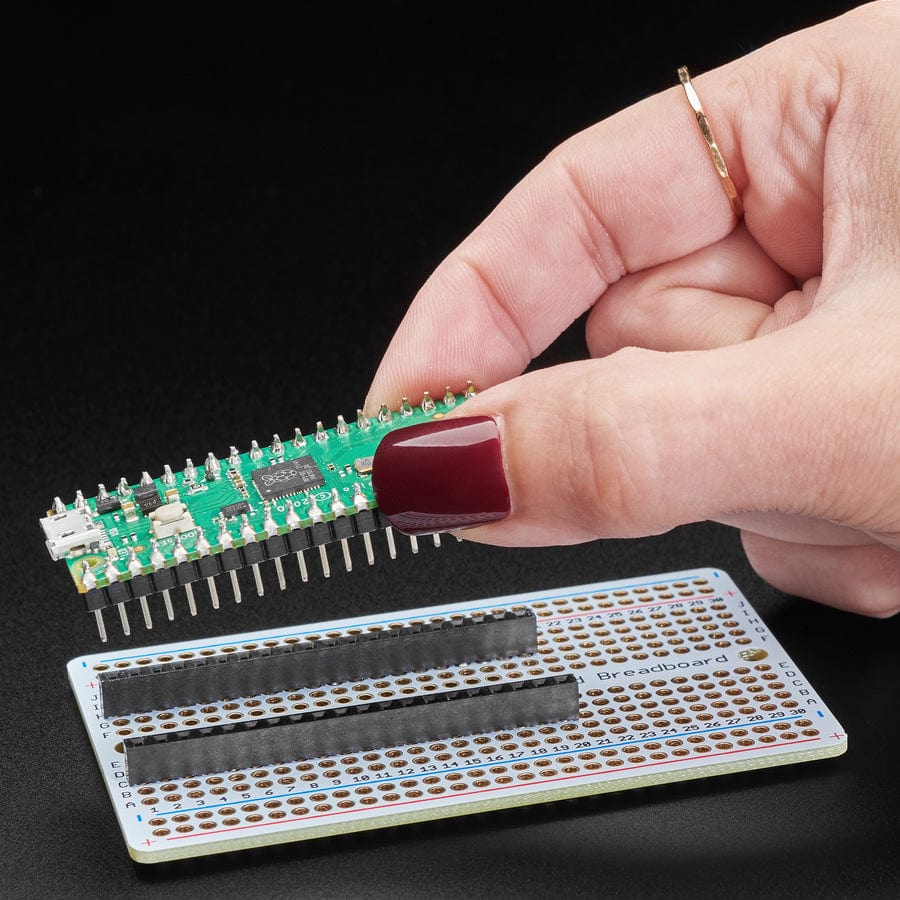
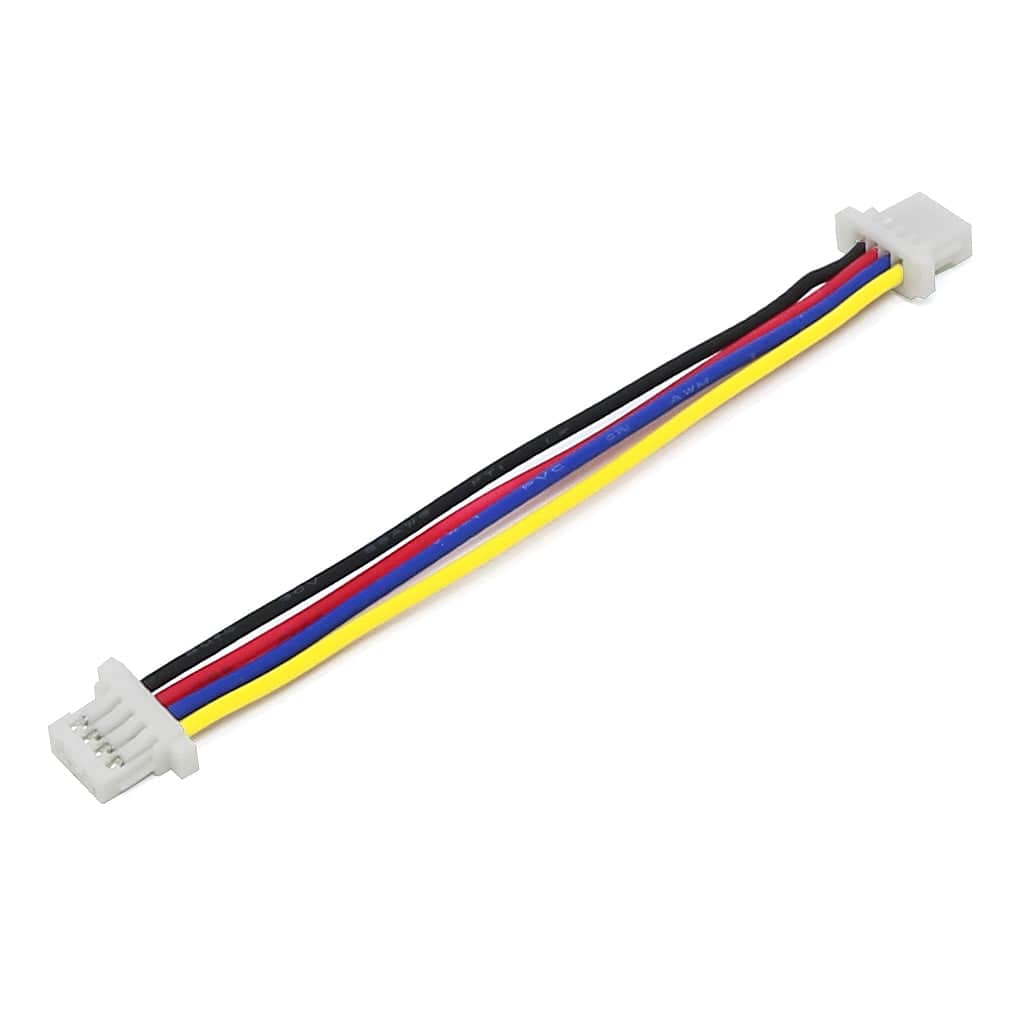
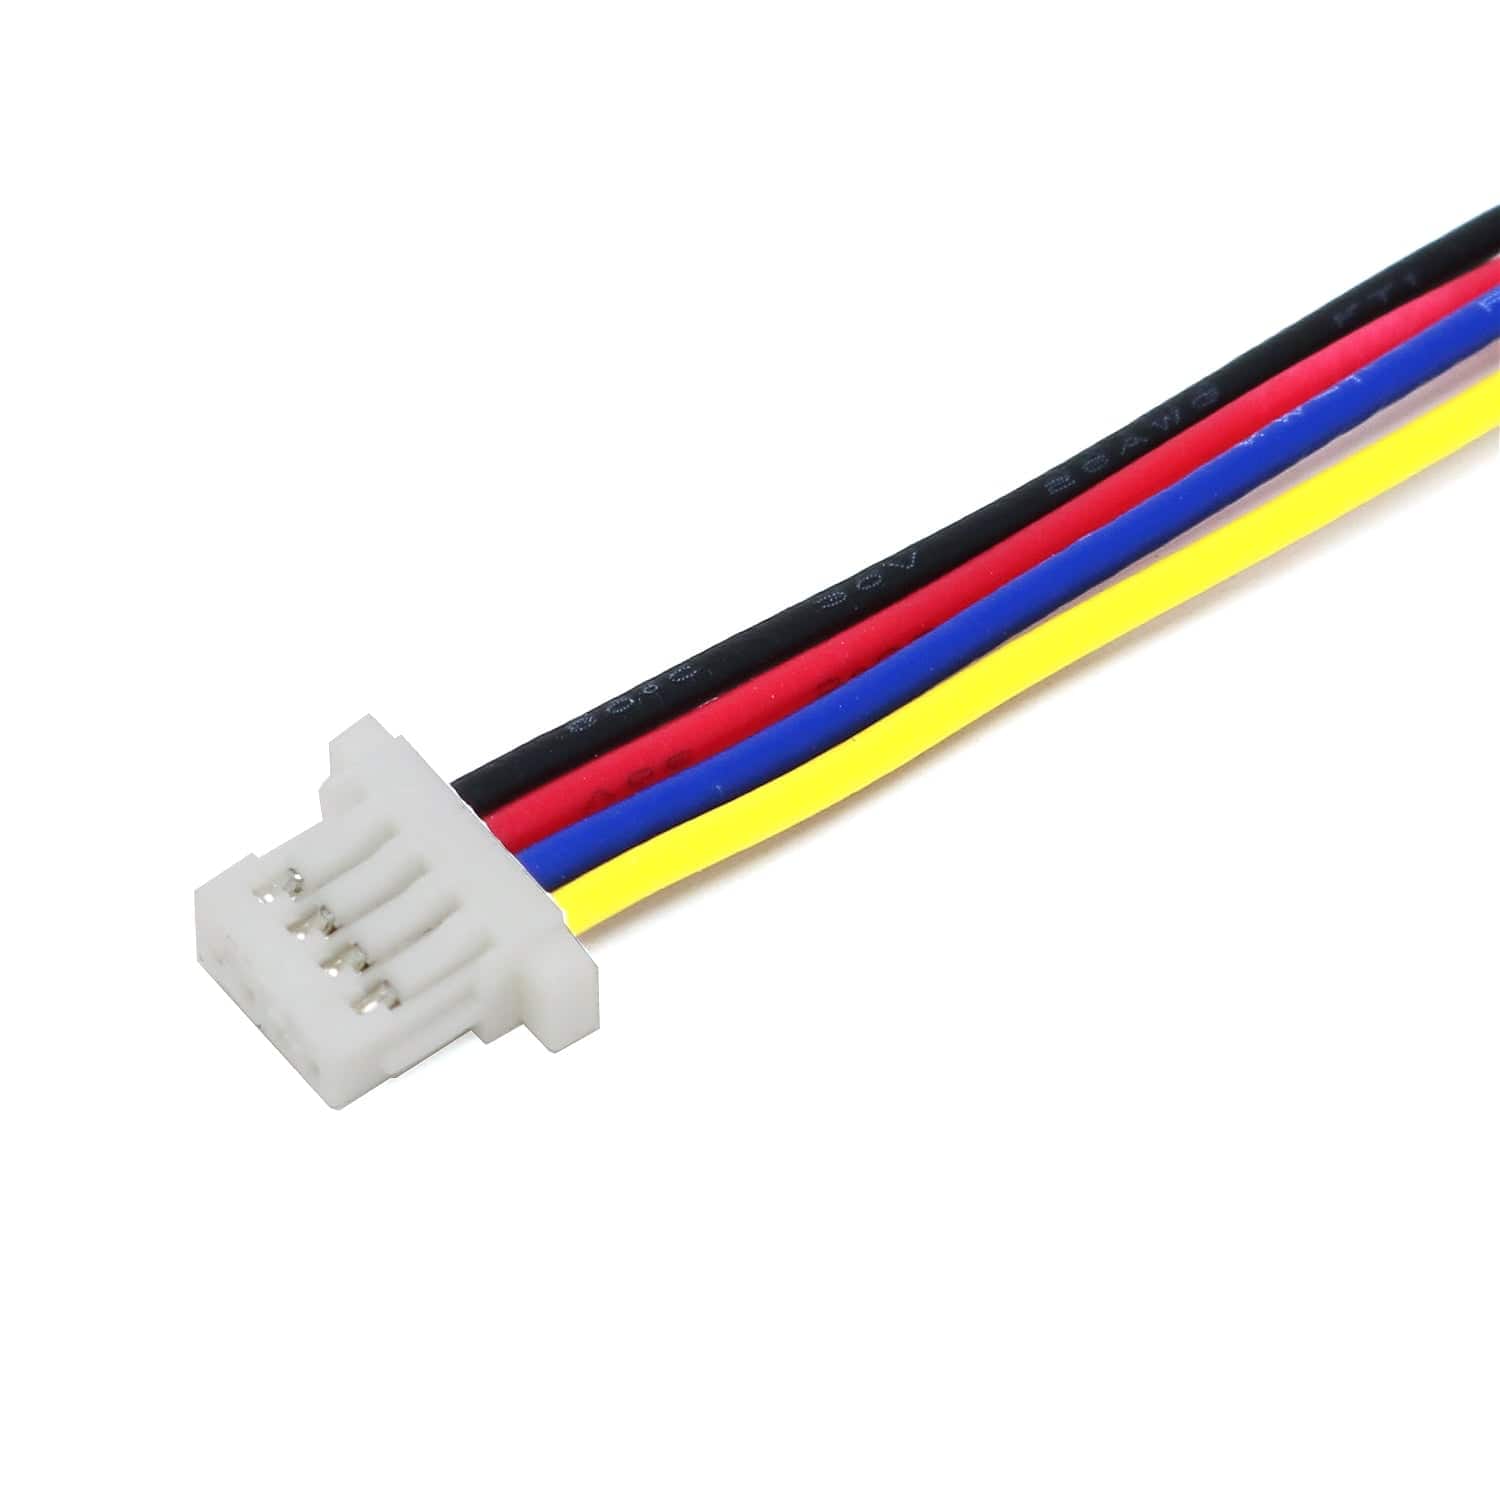
The PiCowbell is the same size and shape as a Pico and is intended to fit underneath to make your next video output project super easy. Mini HDMI connector for use with standard HDMI cables? Yes! STEMMA QT / Qwiic connector for fast I2C? Indeed. Reset button & extra switch for restarting code or changing configuration? Bien sur.
Compared to the original DVI PiCowbell, this board has a very similar setup:
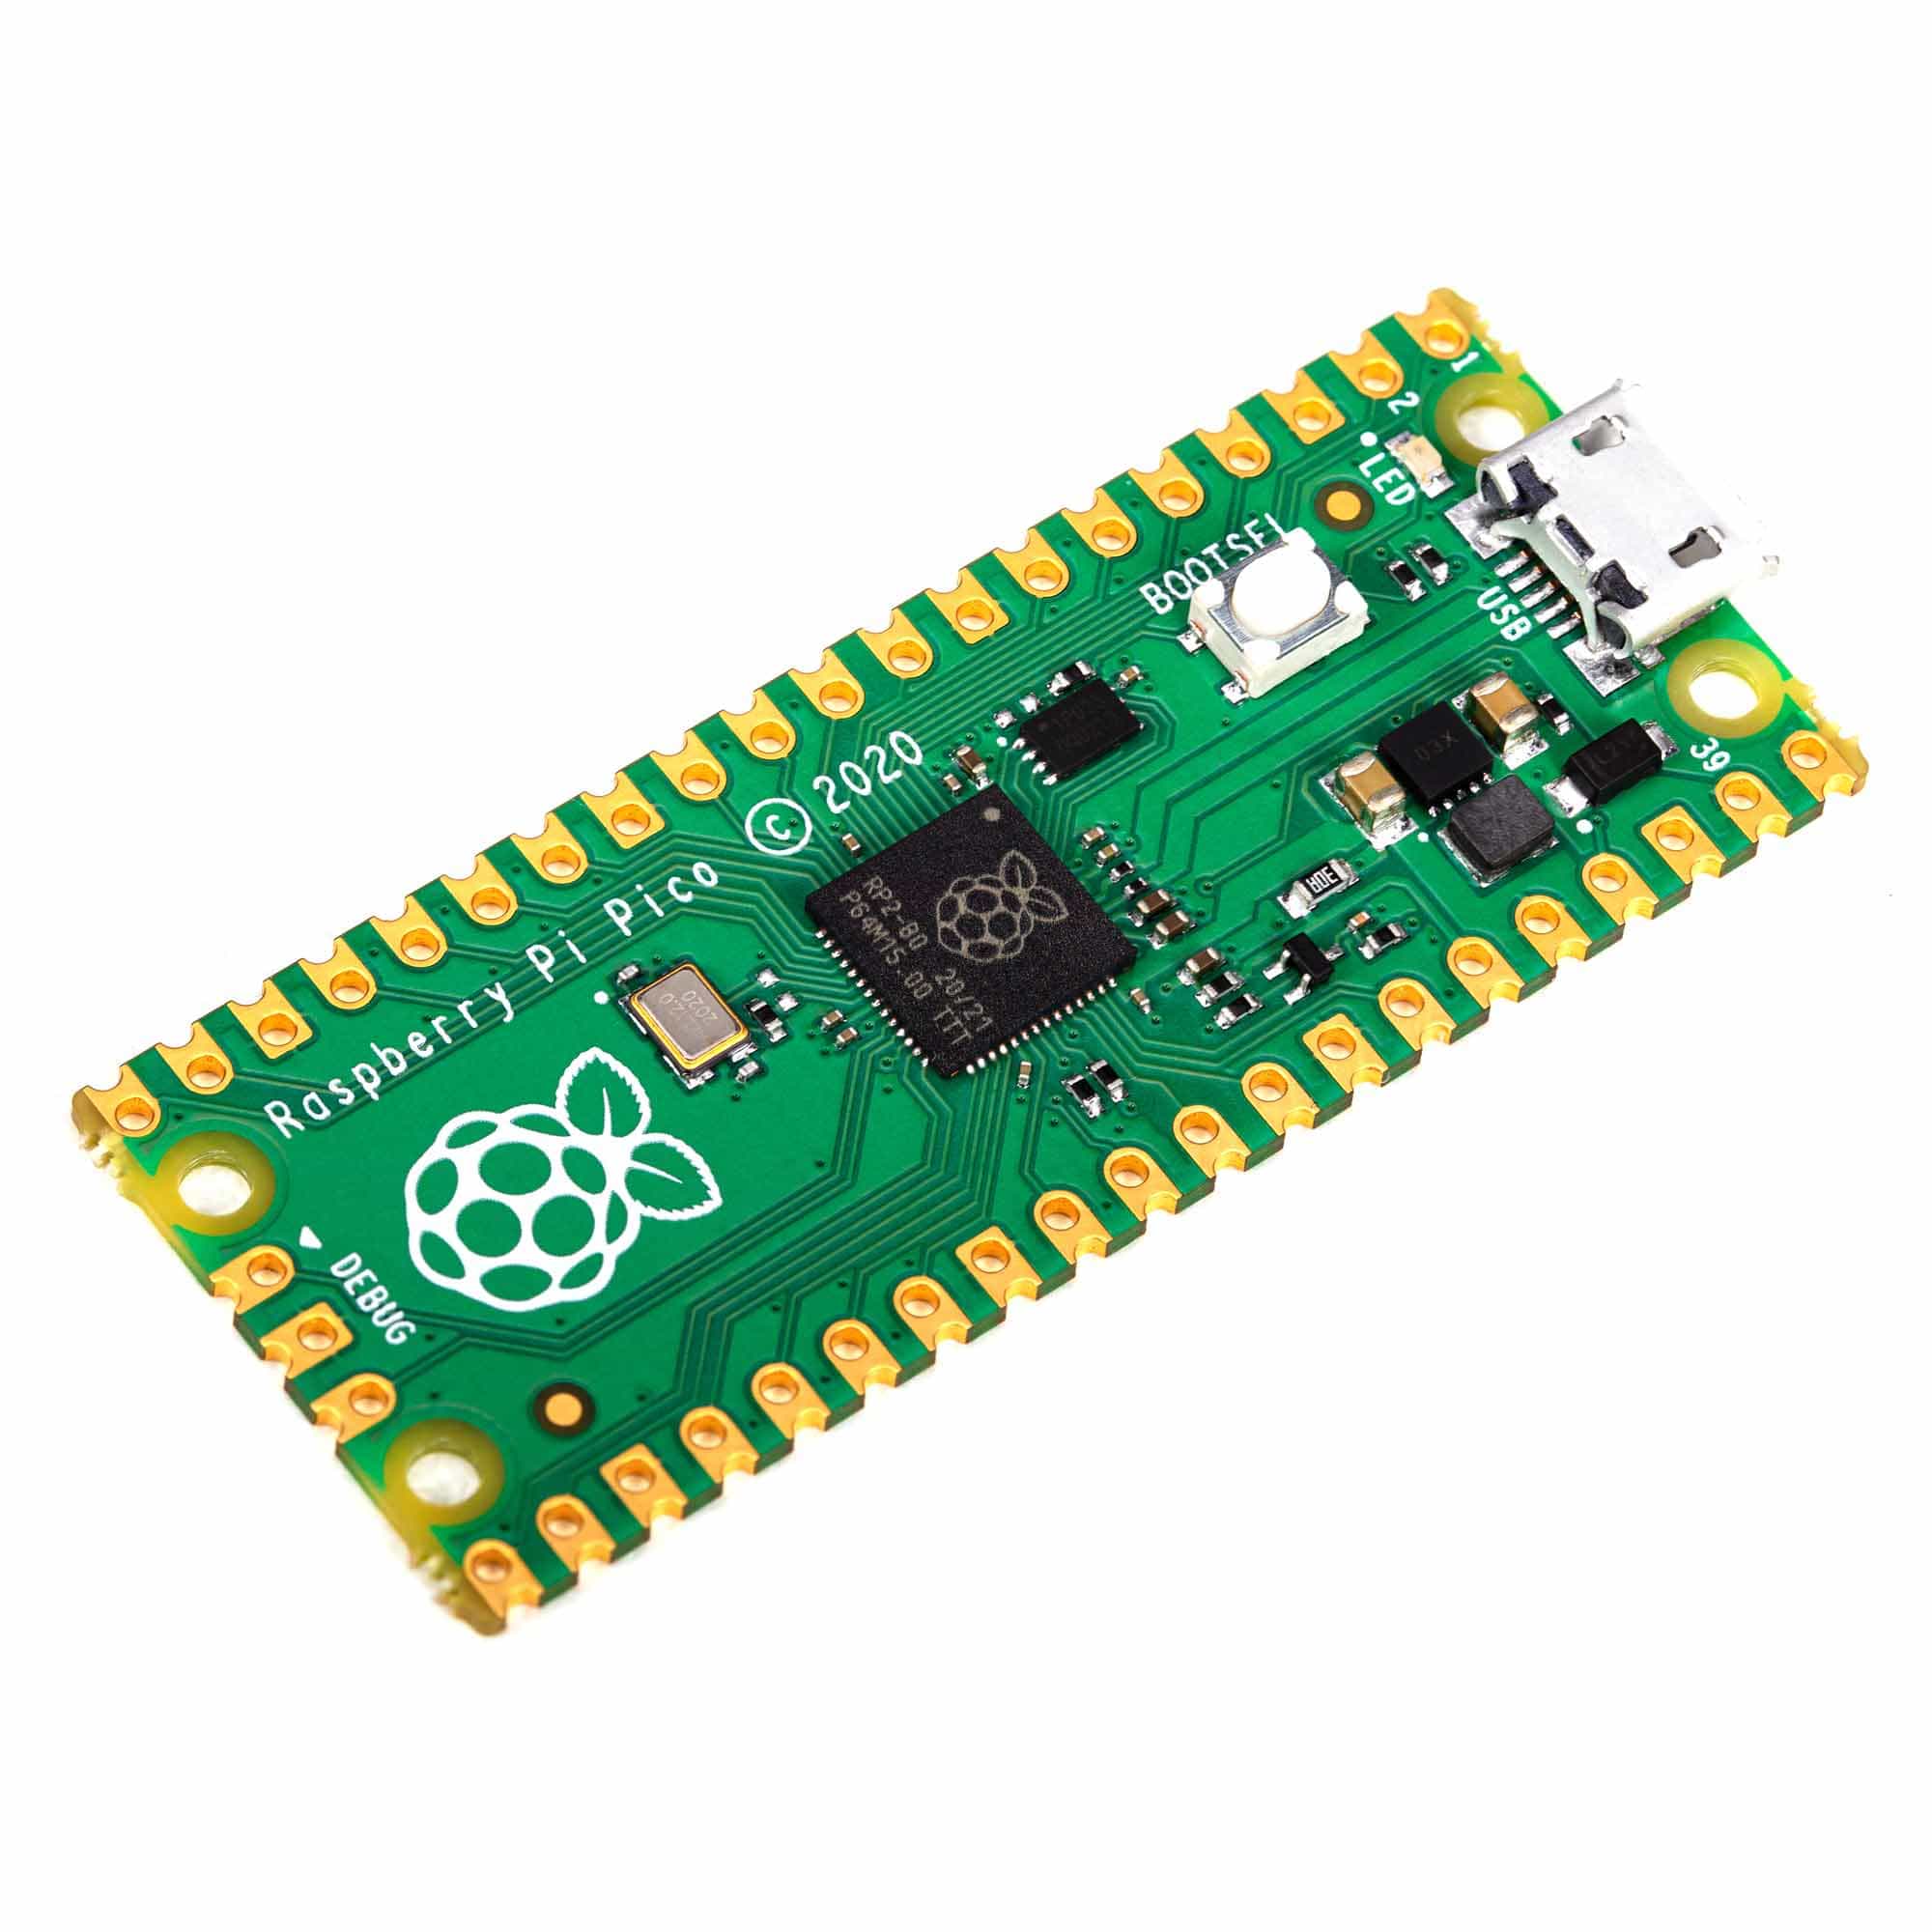
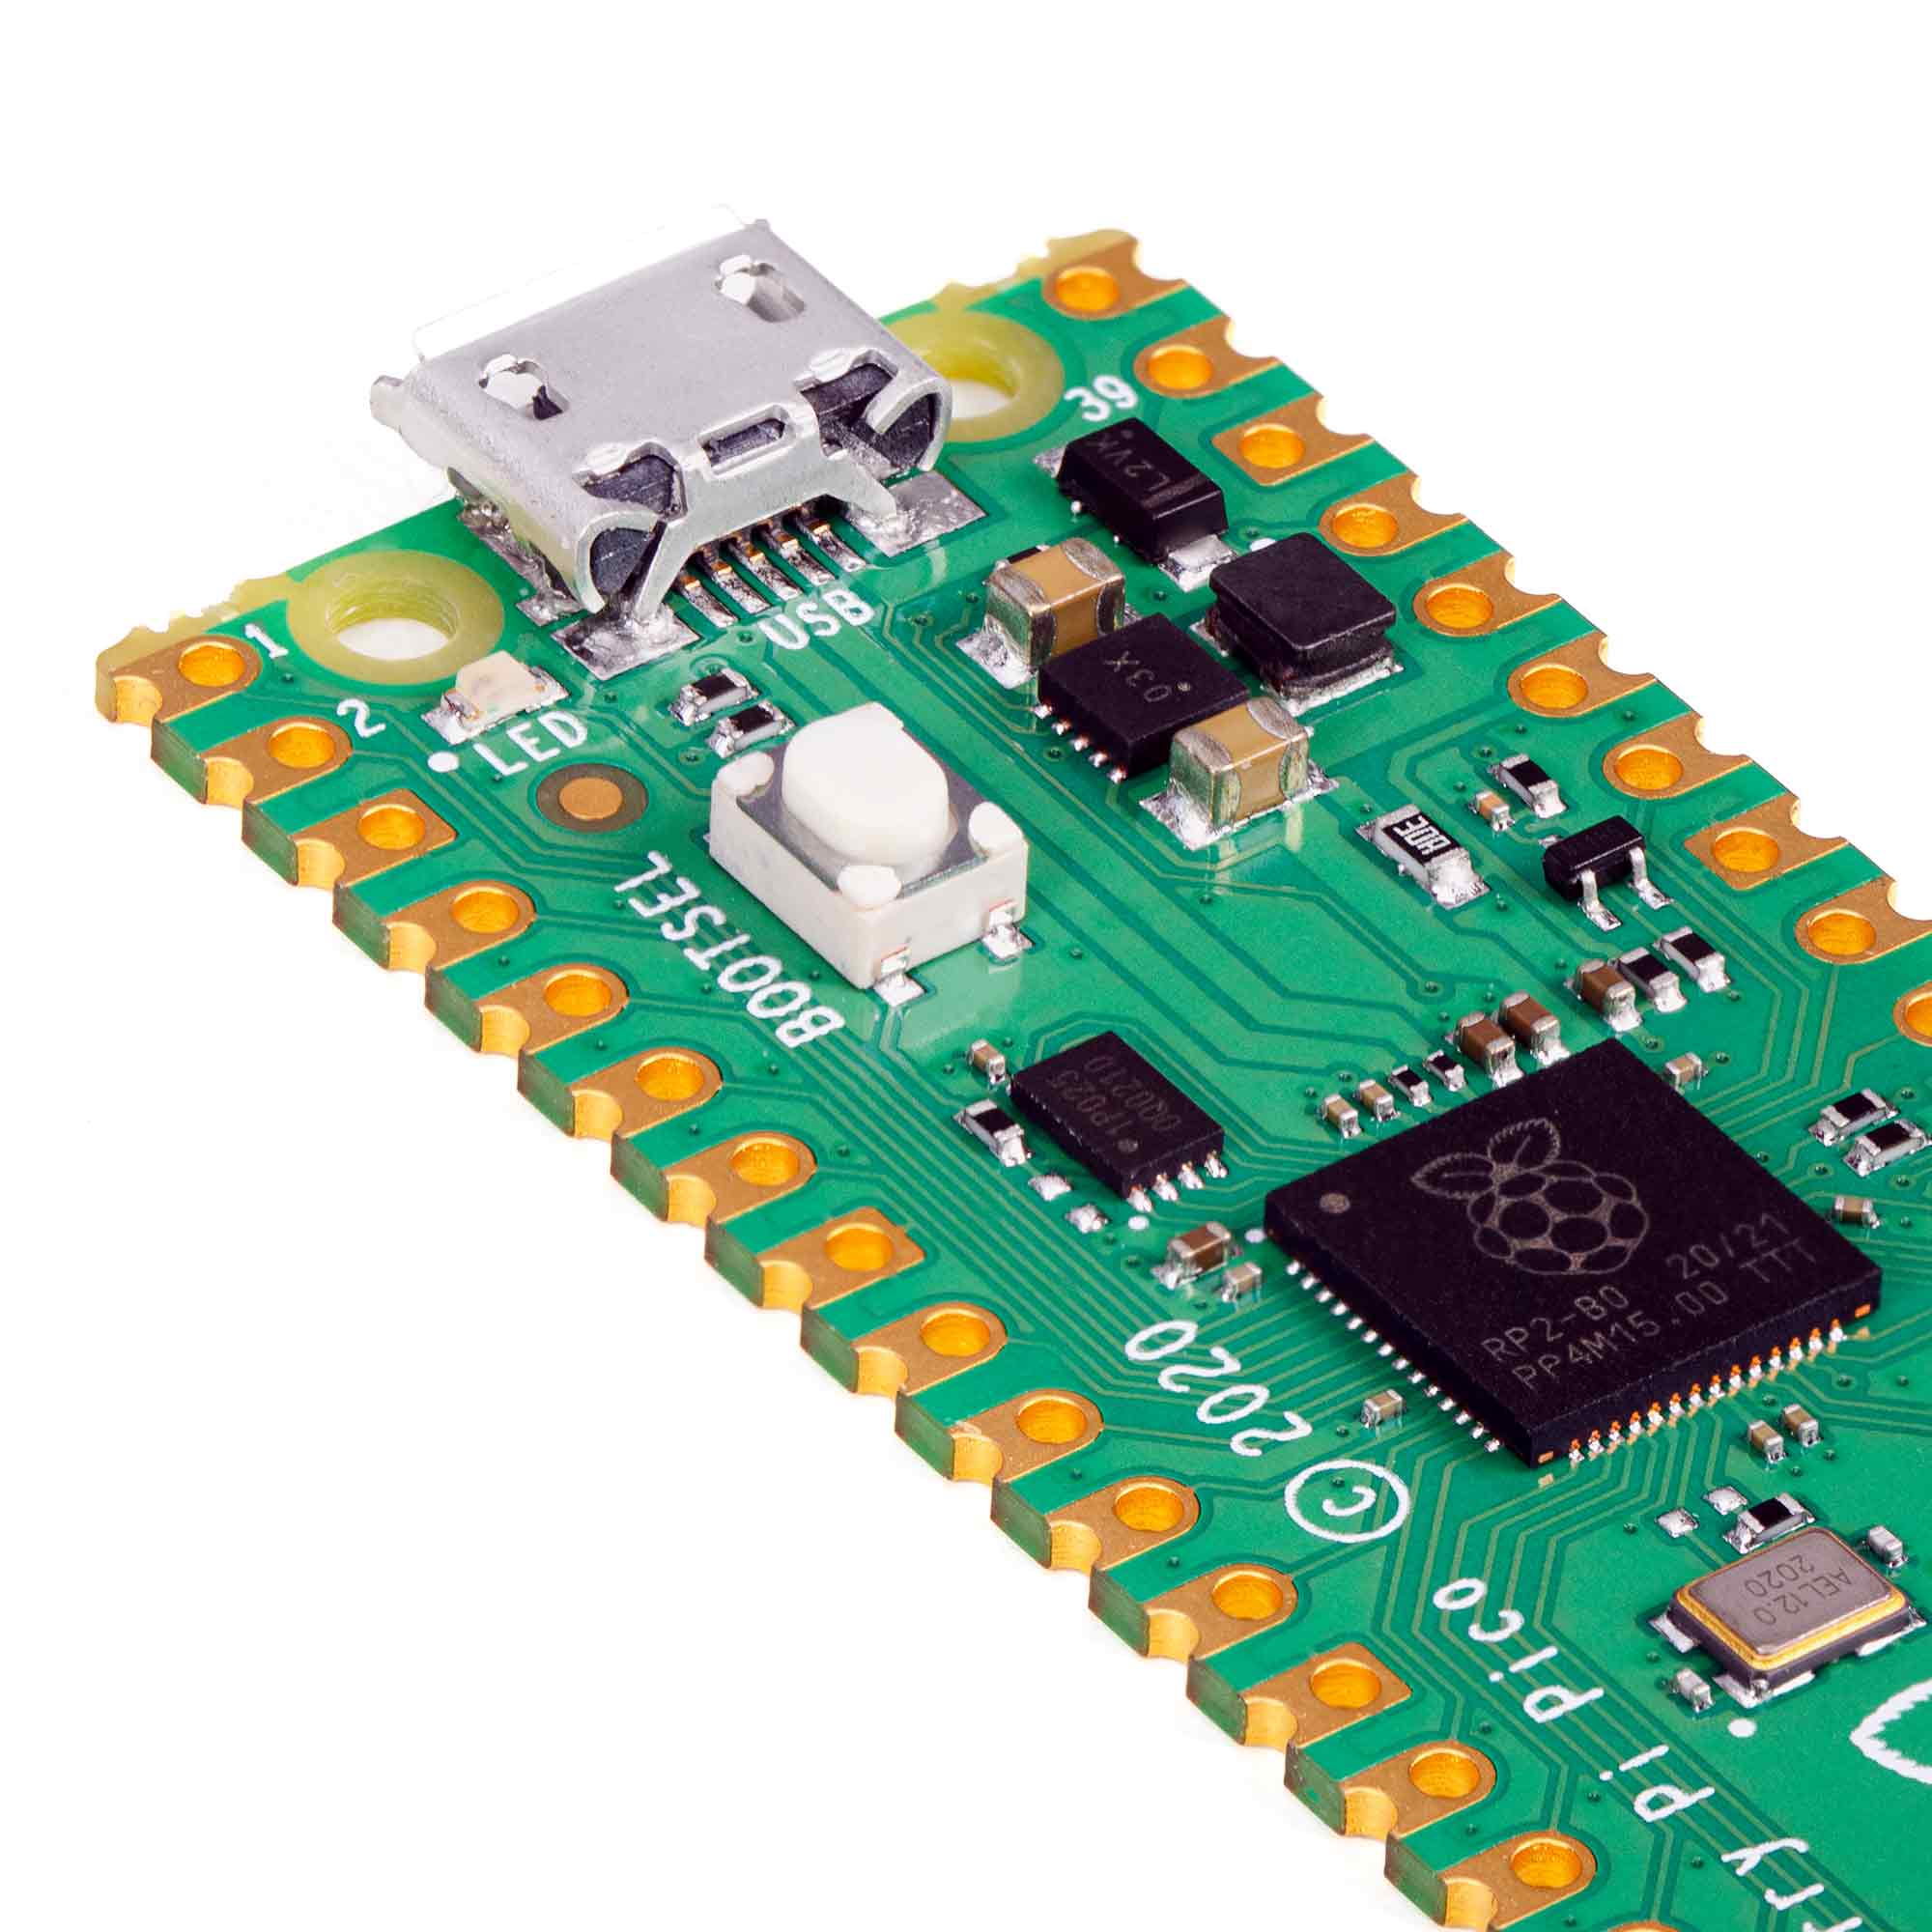
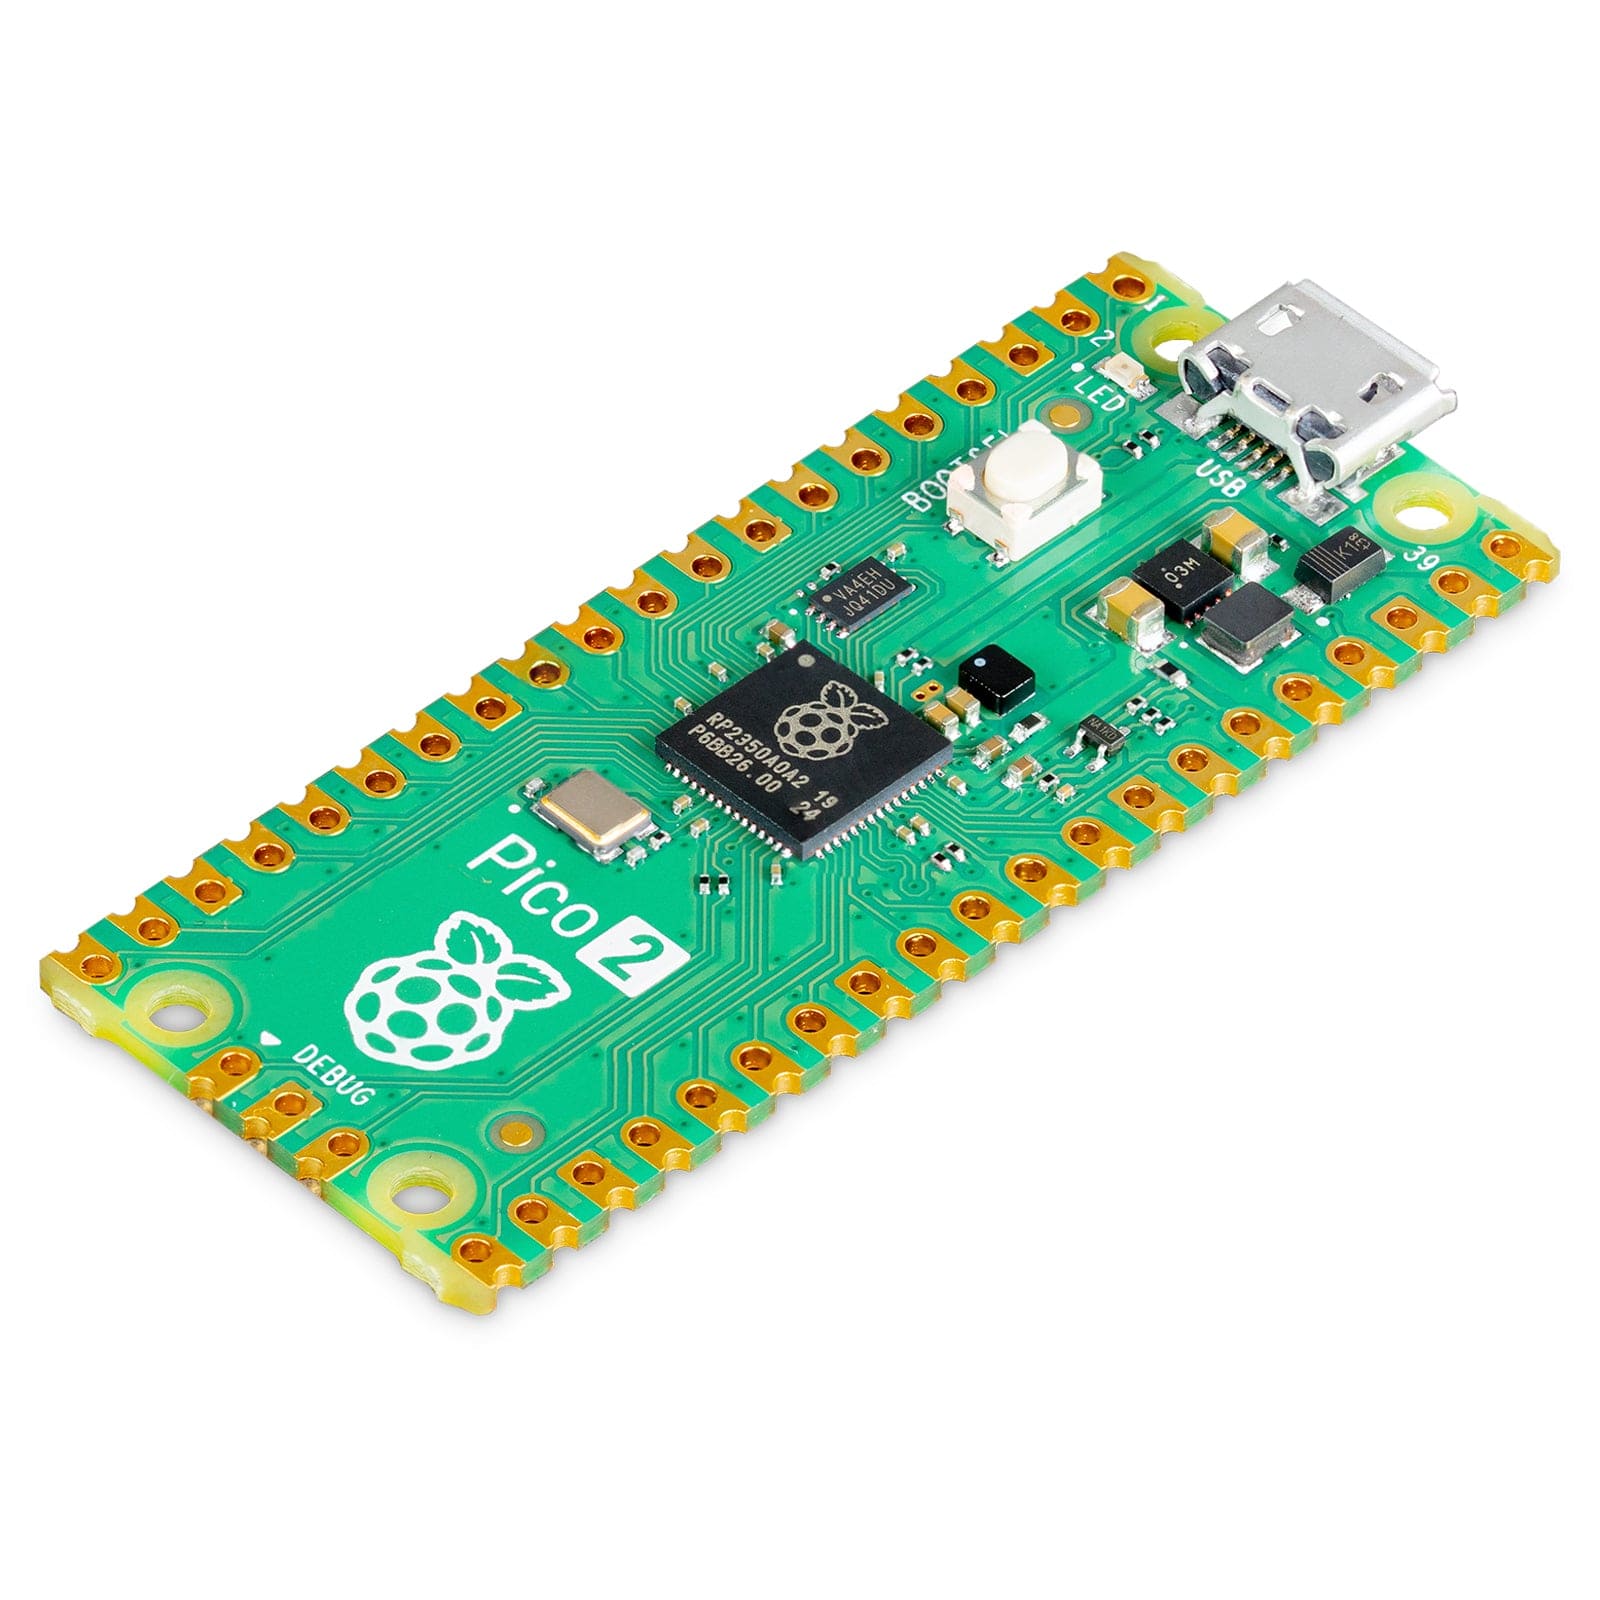
You can use this board with either a Pico 1 (RP2040, using PIO-DVI) or Pico 2 (RP2350, using PIO-DVI or HSTX-DVI). However, we recommend using the Pico 2 or Pico 2W with this board since you can use the improved HSTX peripheral, which means you can save a PIO and processor time when generating video.
In Arduino, we use our fork of PicoDVI (RP2040 or RP235) or Adafruit_DVI_HSTX (RP2350 only) to create an internal framebuffer of 320x240 or 400x240 16-bit pixels that is then continuously blitted out as pixel-doubled 640x480 or 800x480 digital video. Whatever you 'draw' to the internal memory framebuffer appears instantly on the digital display in crisp color. Since the library is a subclass of AdafruitGFX, it'll be familiar to folks who have used our TFT or OLED displays before.
There's also DVI output support in CircuitPython - but note that it uses a lot of memory, so in particular if you want to use Pico with WiFi support, you should go with a Pico 2 since it has more SRAM.
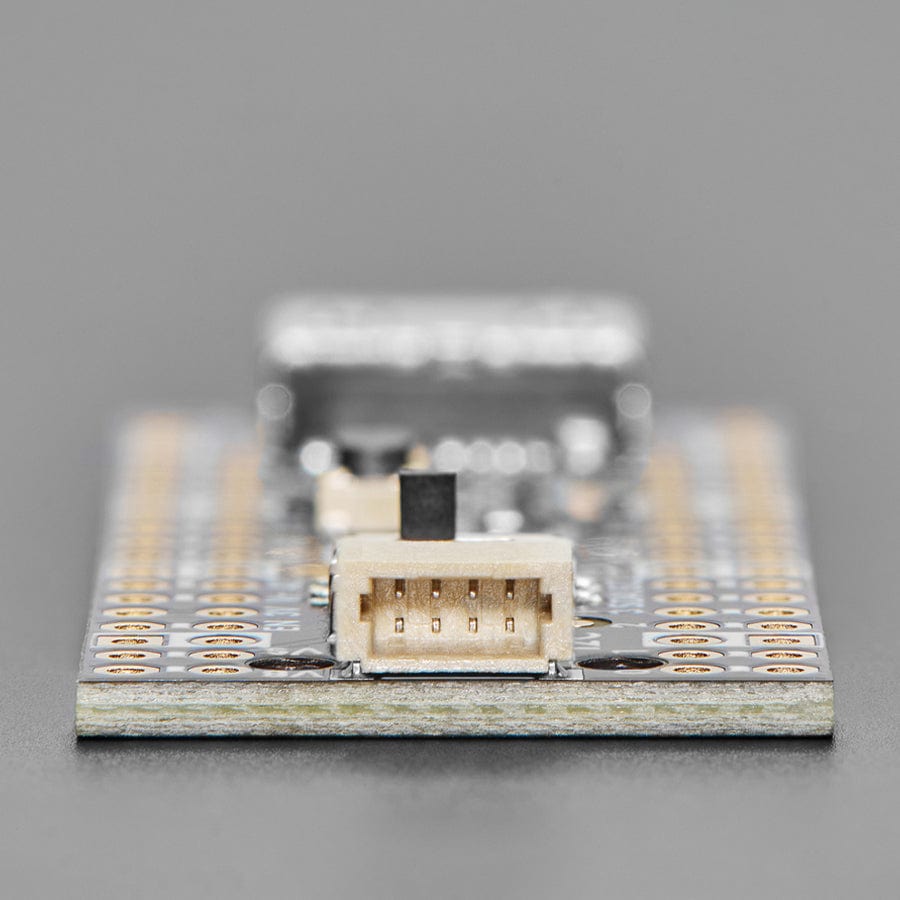
We also connected the HDMI-connectors I2C pins to the SDA/SCL of the Pico (through a safe level shifter) so you can read the EDID EEPROM of displays, and have broken out the CEC and Utility pads. The Hot Plug Detect pin is also available. Read this pin to know when a display has been connected!
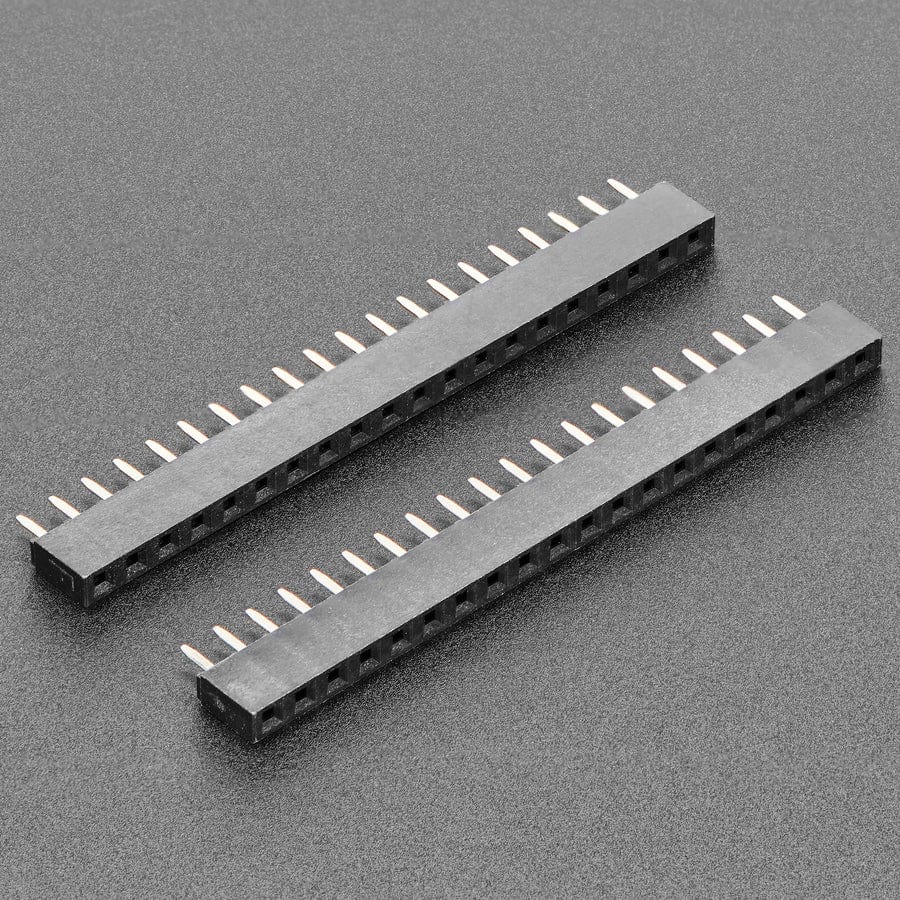
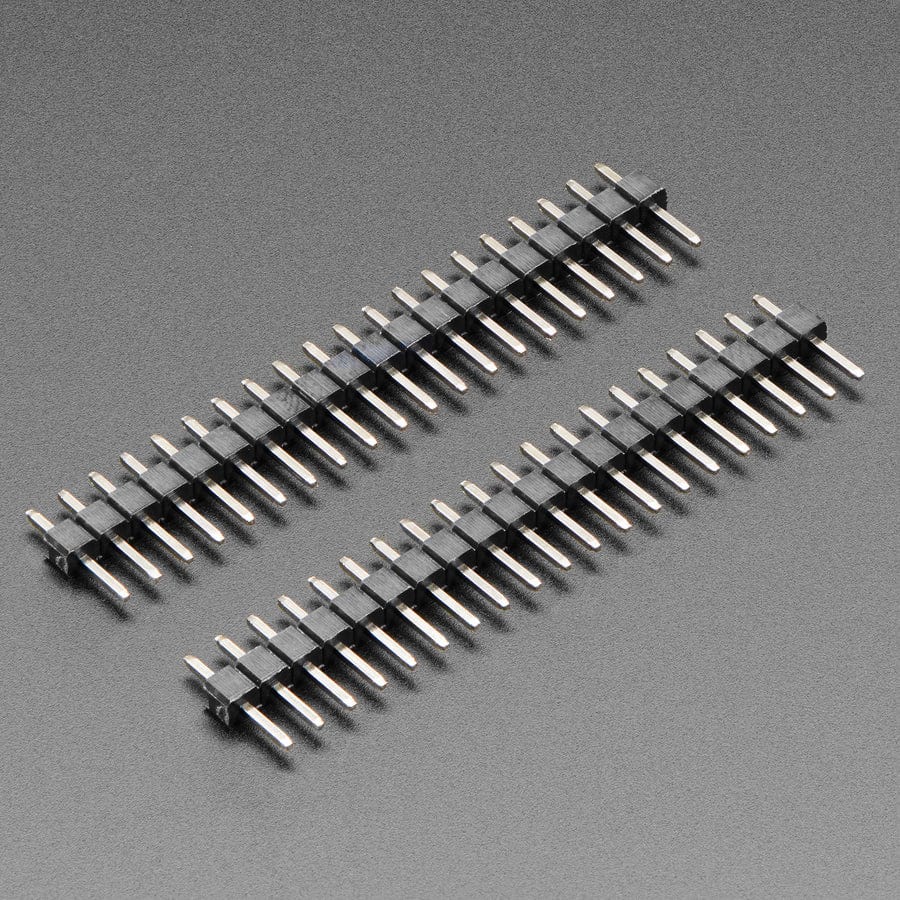
Each order comes with an assembled PCB and header. You will need to solder in the header yourself, but it's a quick task.
Please Note! There are numerous possible configurations, and we stock various headers depending on how you want to solder and attach. Especially if you want the Pico on top so that the BOOTSEL button and LED are accessible.
Your payment information is processed securely. We do not store credit card details nor have access to your credit card information.