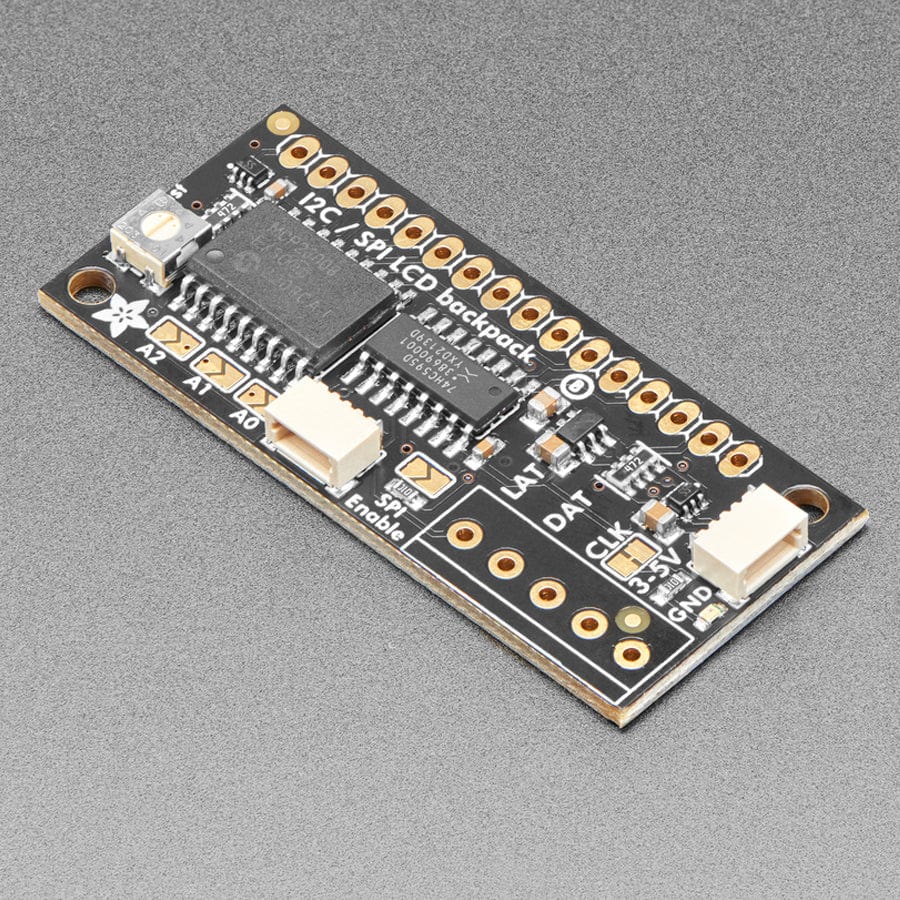
i2c / SPI character LCD backpack - STEMMA QT / Qwiic
Price:
Sale price
£9.60
Stock:
Quantity:
 Skip to content
Cart
Your cart is empty


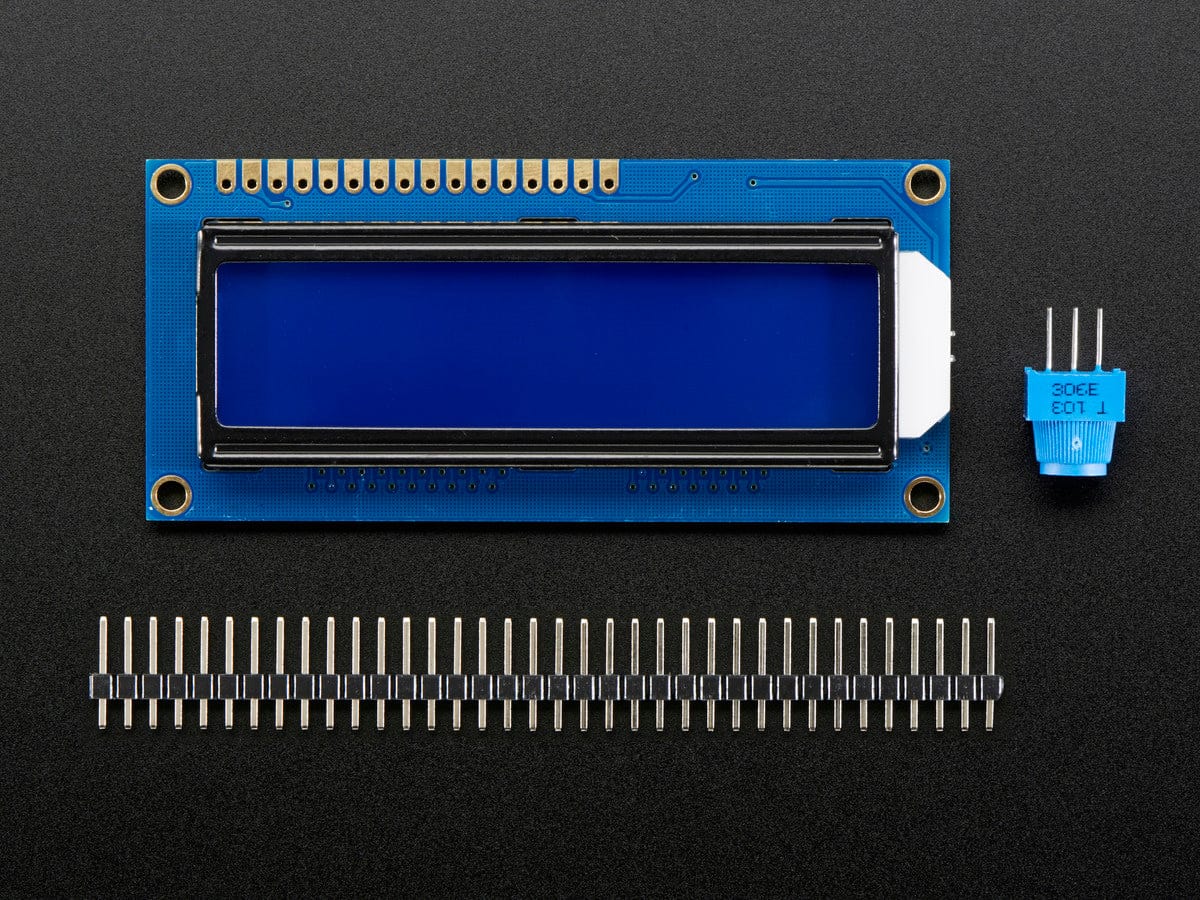
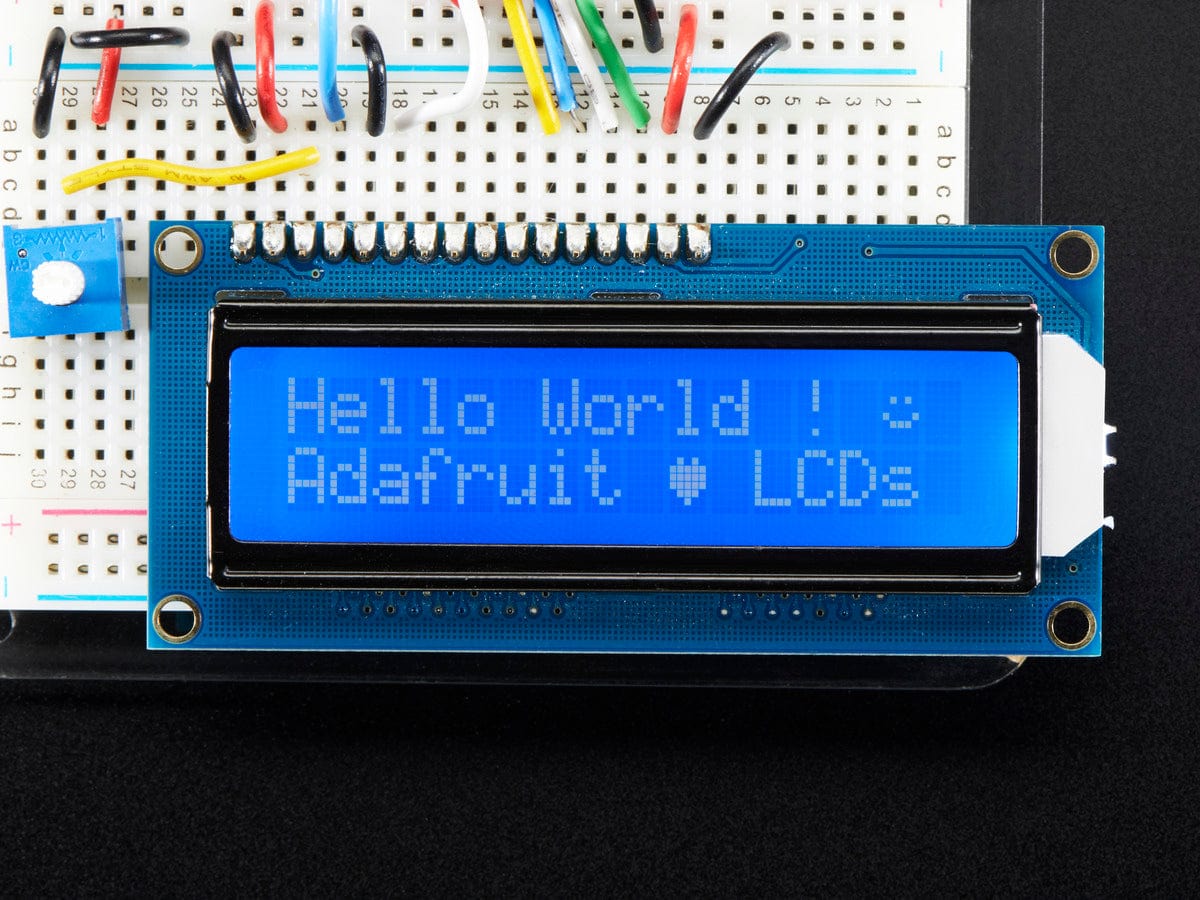
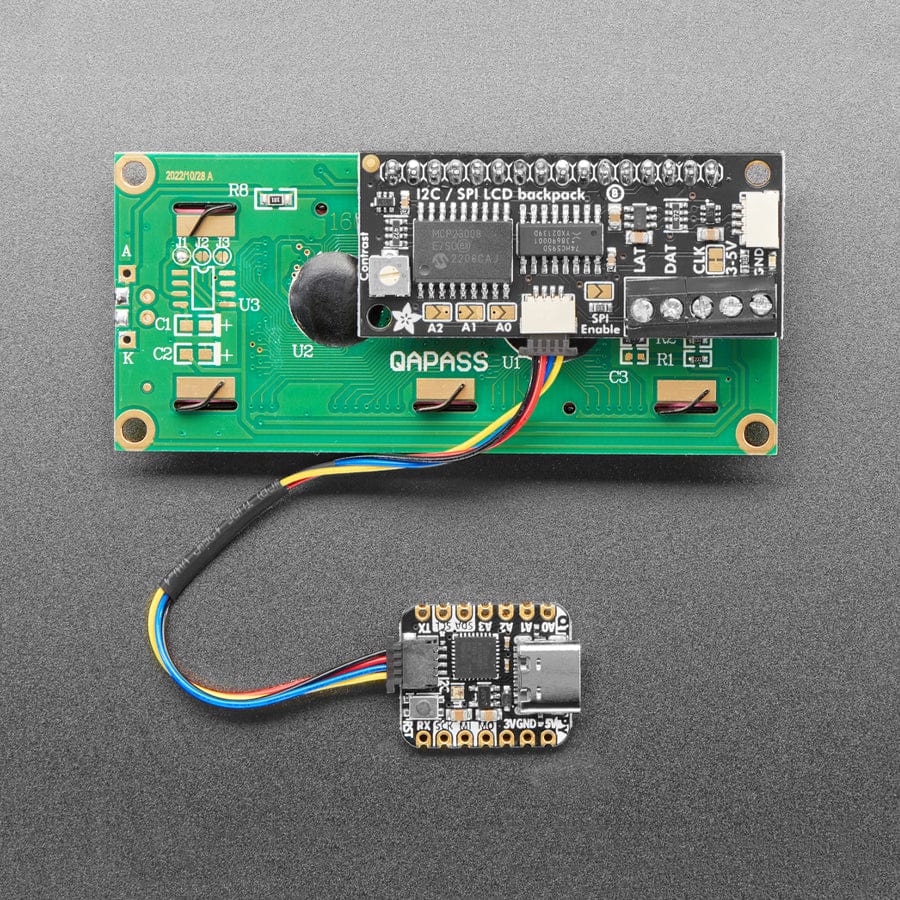
Character LCDs are a fun and easy way to have your microcontroller project talk back to you. They are also common, and easy to get, available in tons of colors and sizes. We've written tutorials on using character LCDs with an Arduino (or similar microcontroller) but find that the number of pins necessary to control the LCD can be restrictive, especially with ambitious projects. We wanted to make a 'backpack' (add-on circuit) that would reduce the number of pins without a lot of expense.
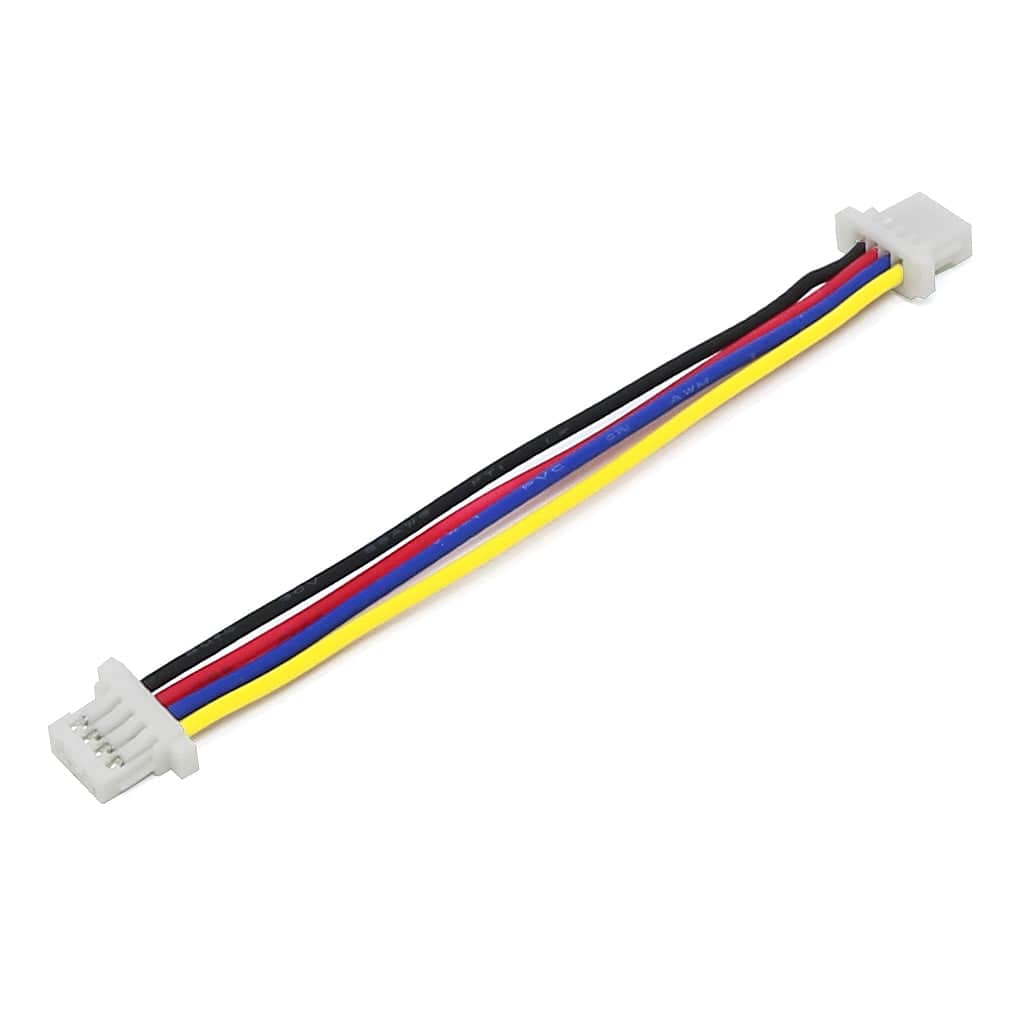
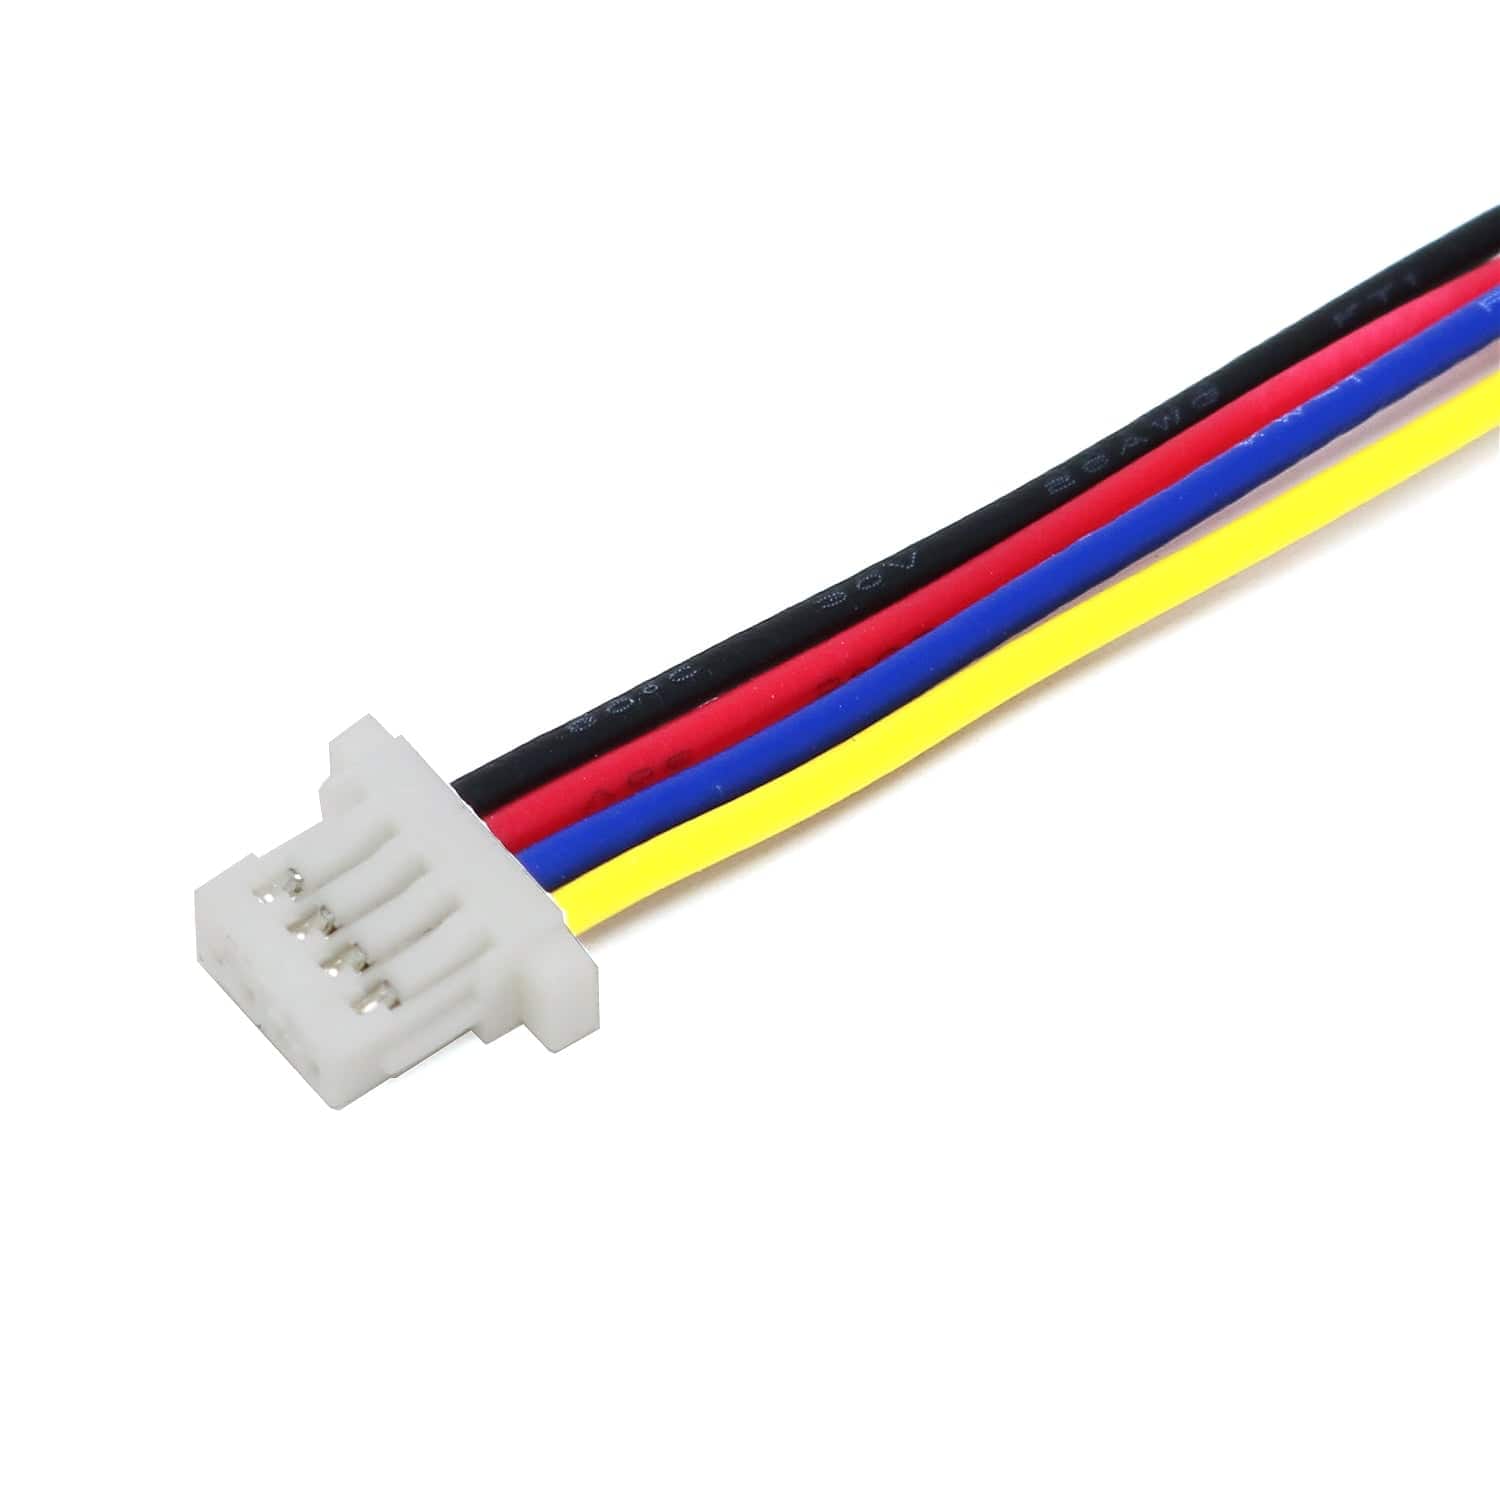
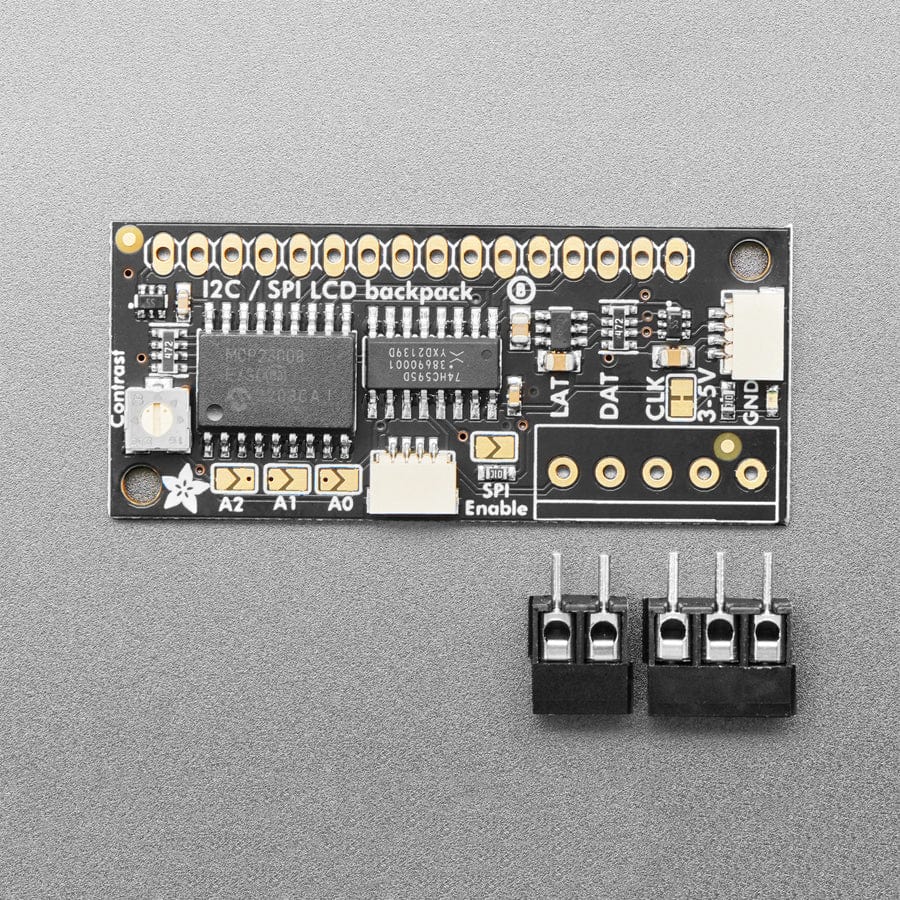
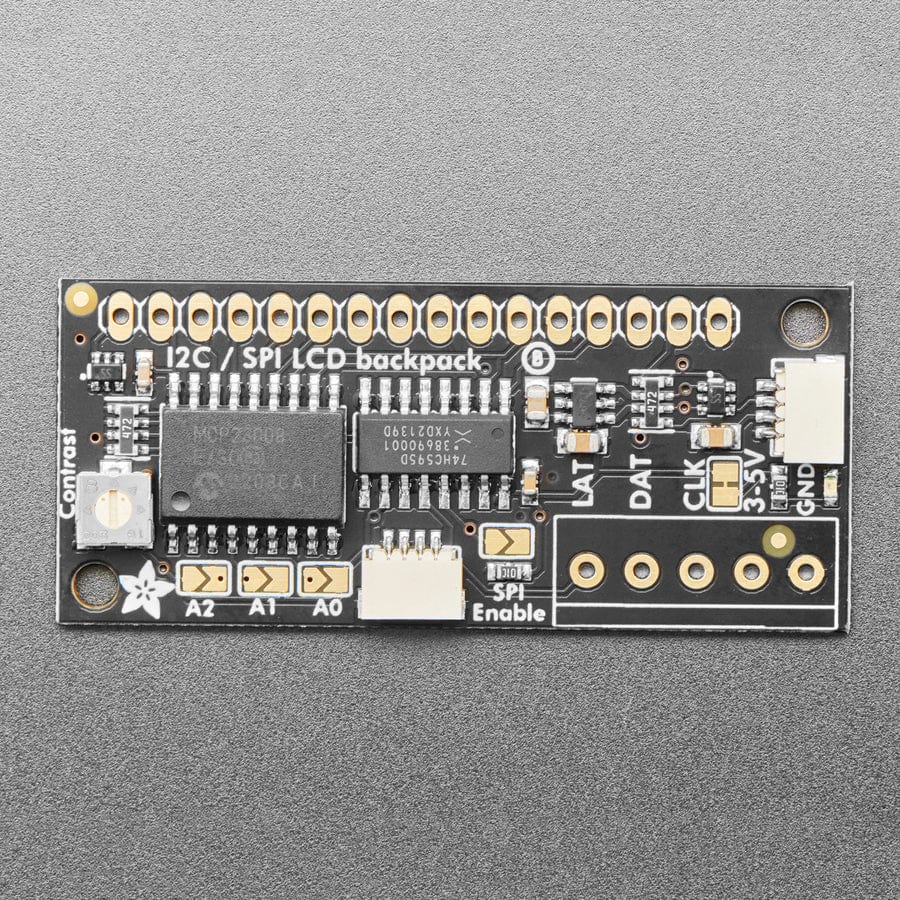
By using simple I2C and SPI input/output expanders we have reduced the number of pins, while still making it easy to interface with the LCD. Only 2 pins are needed for I2C, 3 for SPI. For Arduino and CircuitPython/Python users, we provide an easy-to-use library that is backwards compatible with projects using the '6 pin' wiring. This backpack comes with a 2-pin and 3-pin terminal block as shown (you can snap it together to make a 5-pin terminal and then solder it to the backpack for easy wiring).
This backpack will work with any 'standard' character LCD, from 8x1 to 20x4 sizes! As long as they have a 16-pin single-line connection header at the top. We carry a few LCDs that work great. We suggest using our blue & white 20x4 or 16x2 LCDs. Note that it does not work with 16x2 OLED displays.
You can try to connect our RGB 16x2 or 20x4 LCDs, but this backpack will not control the RGB backlight so you'll have to use the backpack only for the 14 digital IO pins (pins #1-14) and connect the backlight pins (#15-#18) directly to your microcontroller with 4 extra wires for color/PWM control as if they were just an RGB LED.
Advanced users can repurpose the backpack for general purpose I/O expansion: the MCP23008 has 8 i/o pins (7 are connected) with optional pull-ups, the SPI 74HC595 has 7 connected outputs.
For a detailed tutorial on usage, including an Arduino library, wiring diagrams, and files, please visit the product page
As of April 5th, 2023 - This backpack now comes with a big re-spin that makes lots of improvements:
EagleCAD PCB GitHub files and Fritzing object available in the product tutorial
Your payment information is processed securely. We do not store credit card details nor have access to your credit card information.

New content loaded
Login / Signup