Zero2Go Omini Rev2: Wide Input Range Power Supply
Price:
Sale price
£20.70
Stock:
Quantity:
Login / Signup
Cart
Your cart is empty
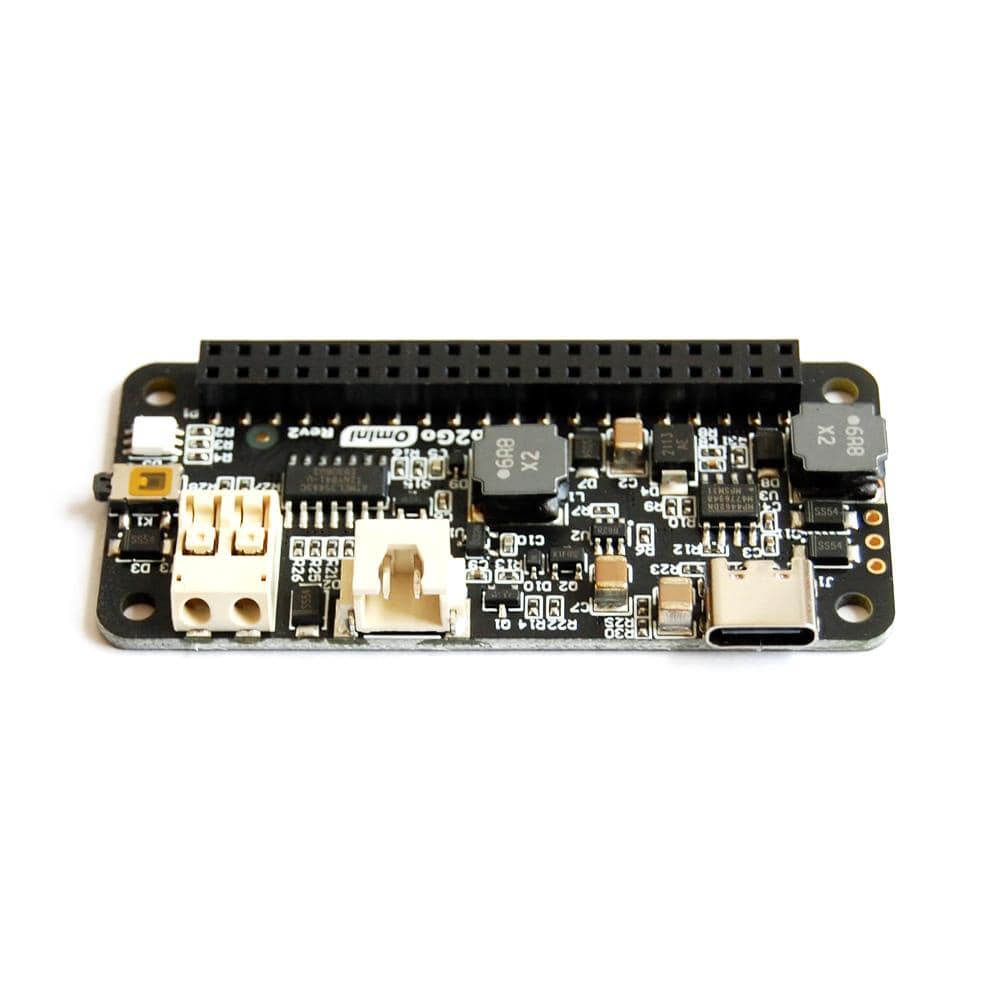
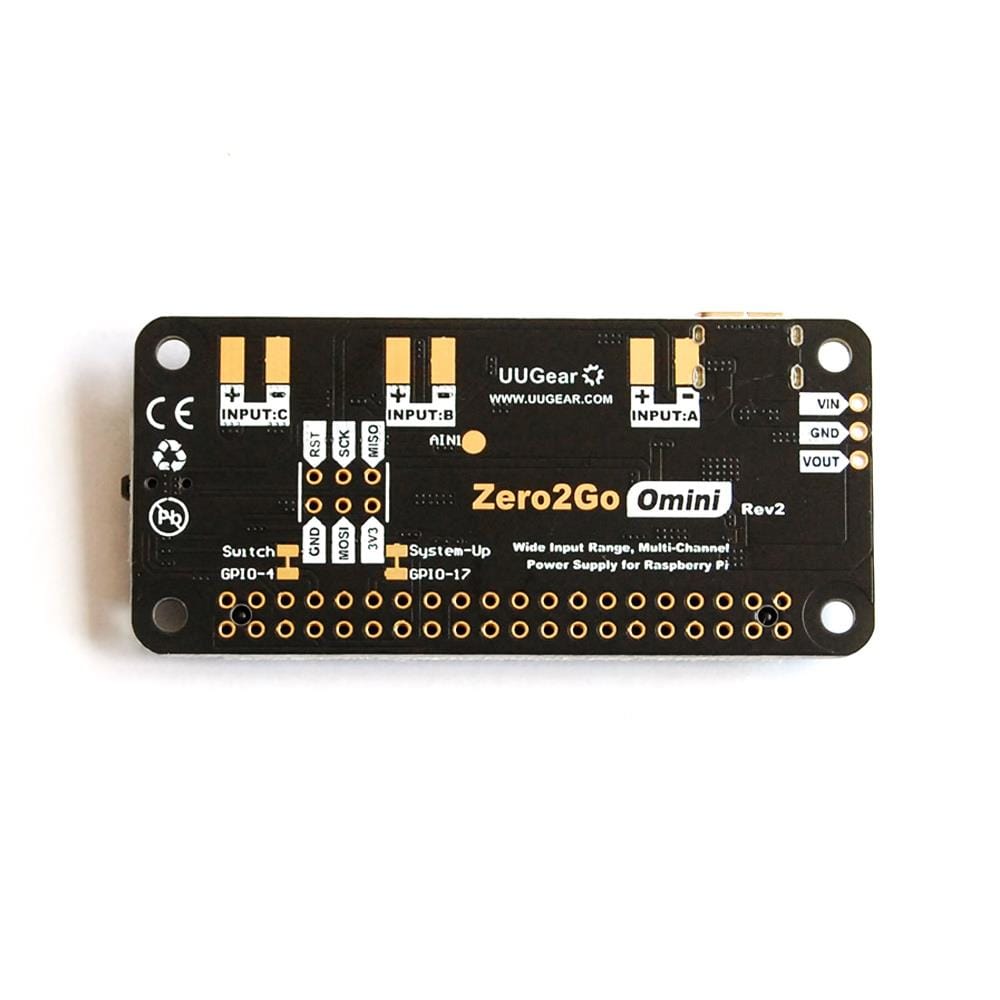


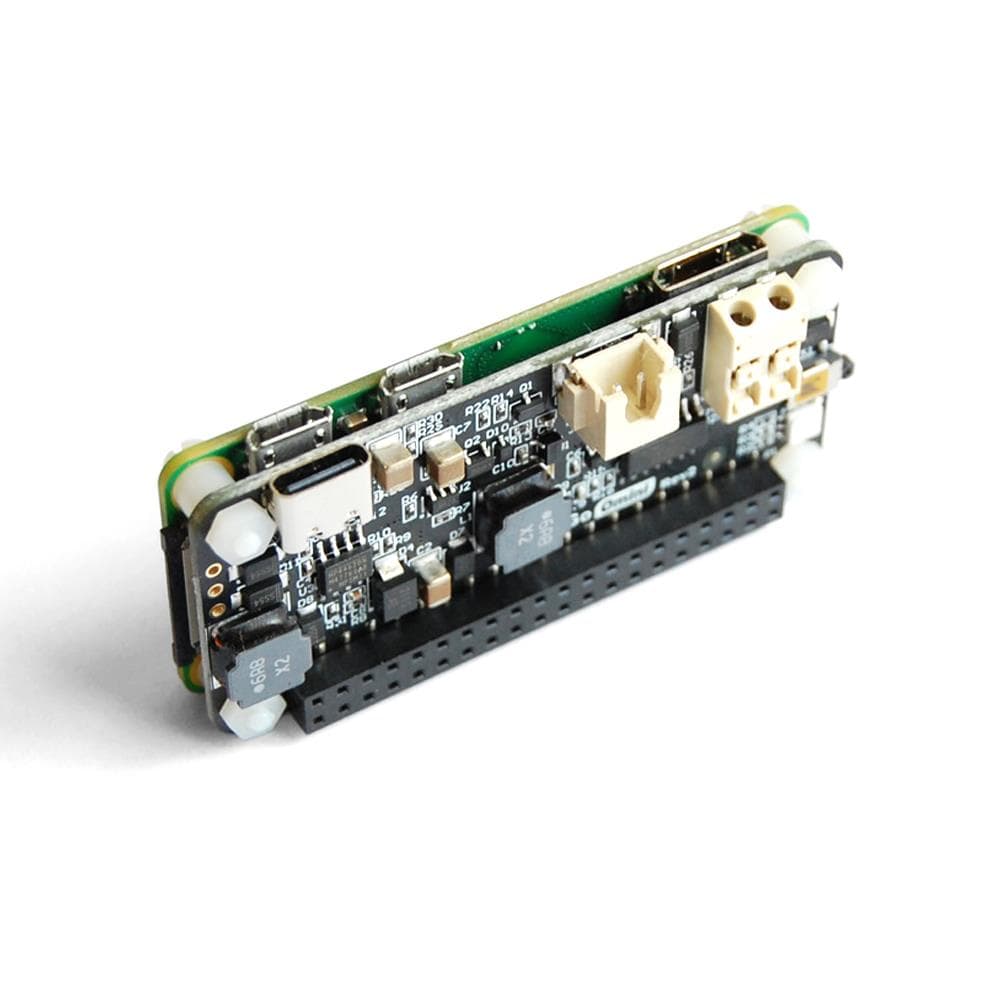
This is the Rev2 version of the popular UUGear Zero2Go Omini. The Rev2 version uses a USB-C connector for the channel A input and introduces a new VIN-GND-VOUT header on the left edge of the board, which allows you to add additional channels and manage power for devices besides the Raspberry Pi.
Zero2Go is a Raspberry Pi Zero sized (or 'pHAT' shape) extension board that can work as a wide input range power supply for Raspberry Pi. The board offers a wide input range (3.5V-28V), so it is convenient to power your Raspberry Pi with a power bank, Li-Po battery, solar panel, car battery or other power adapters and sources. You can also configure it as a UPS (please read the user manual for more details)
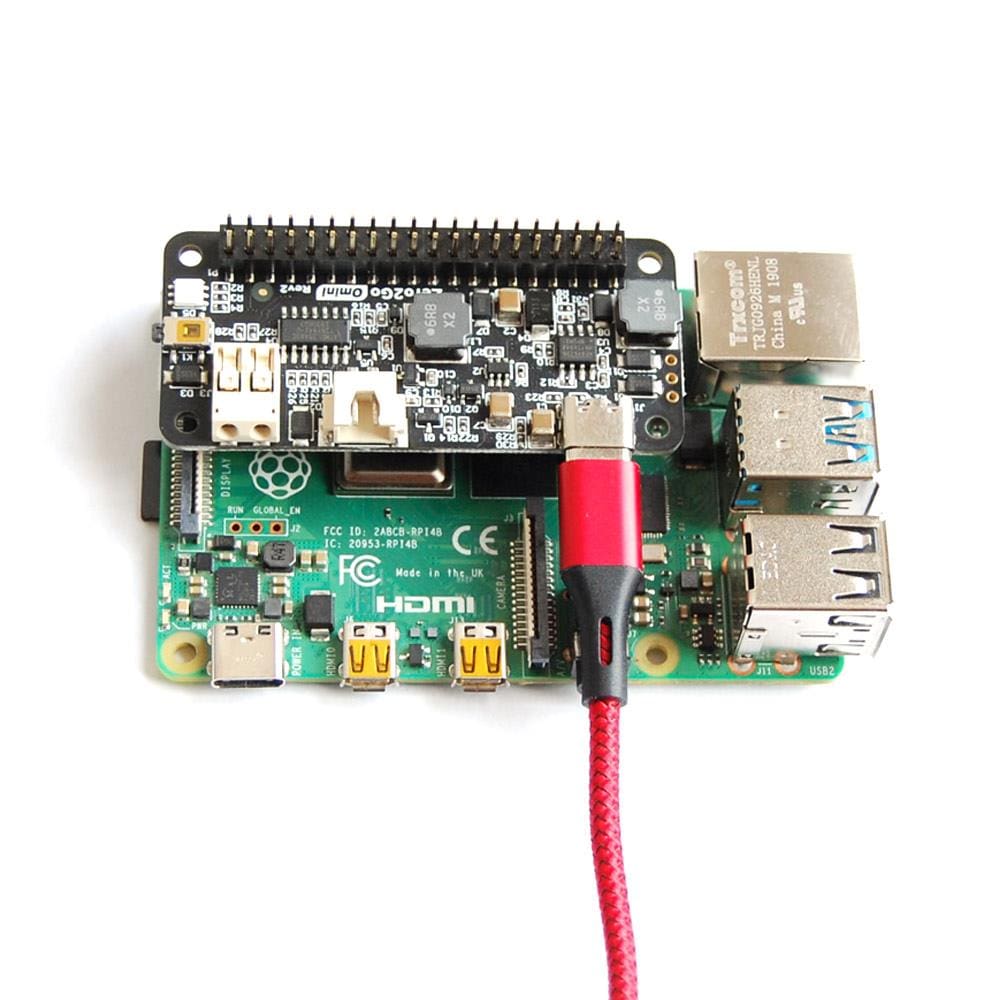
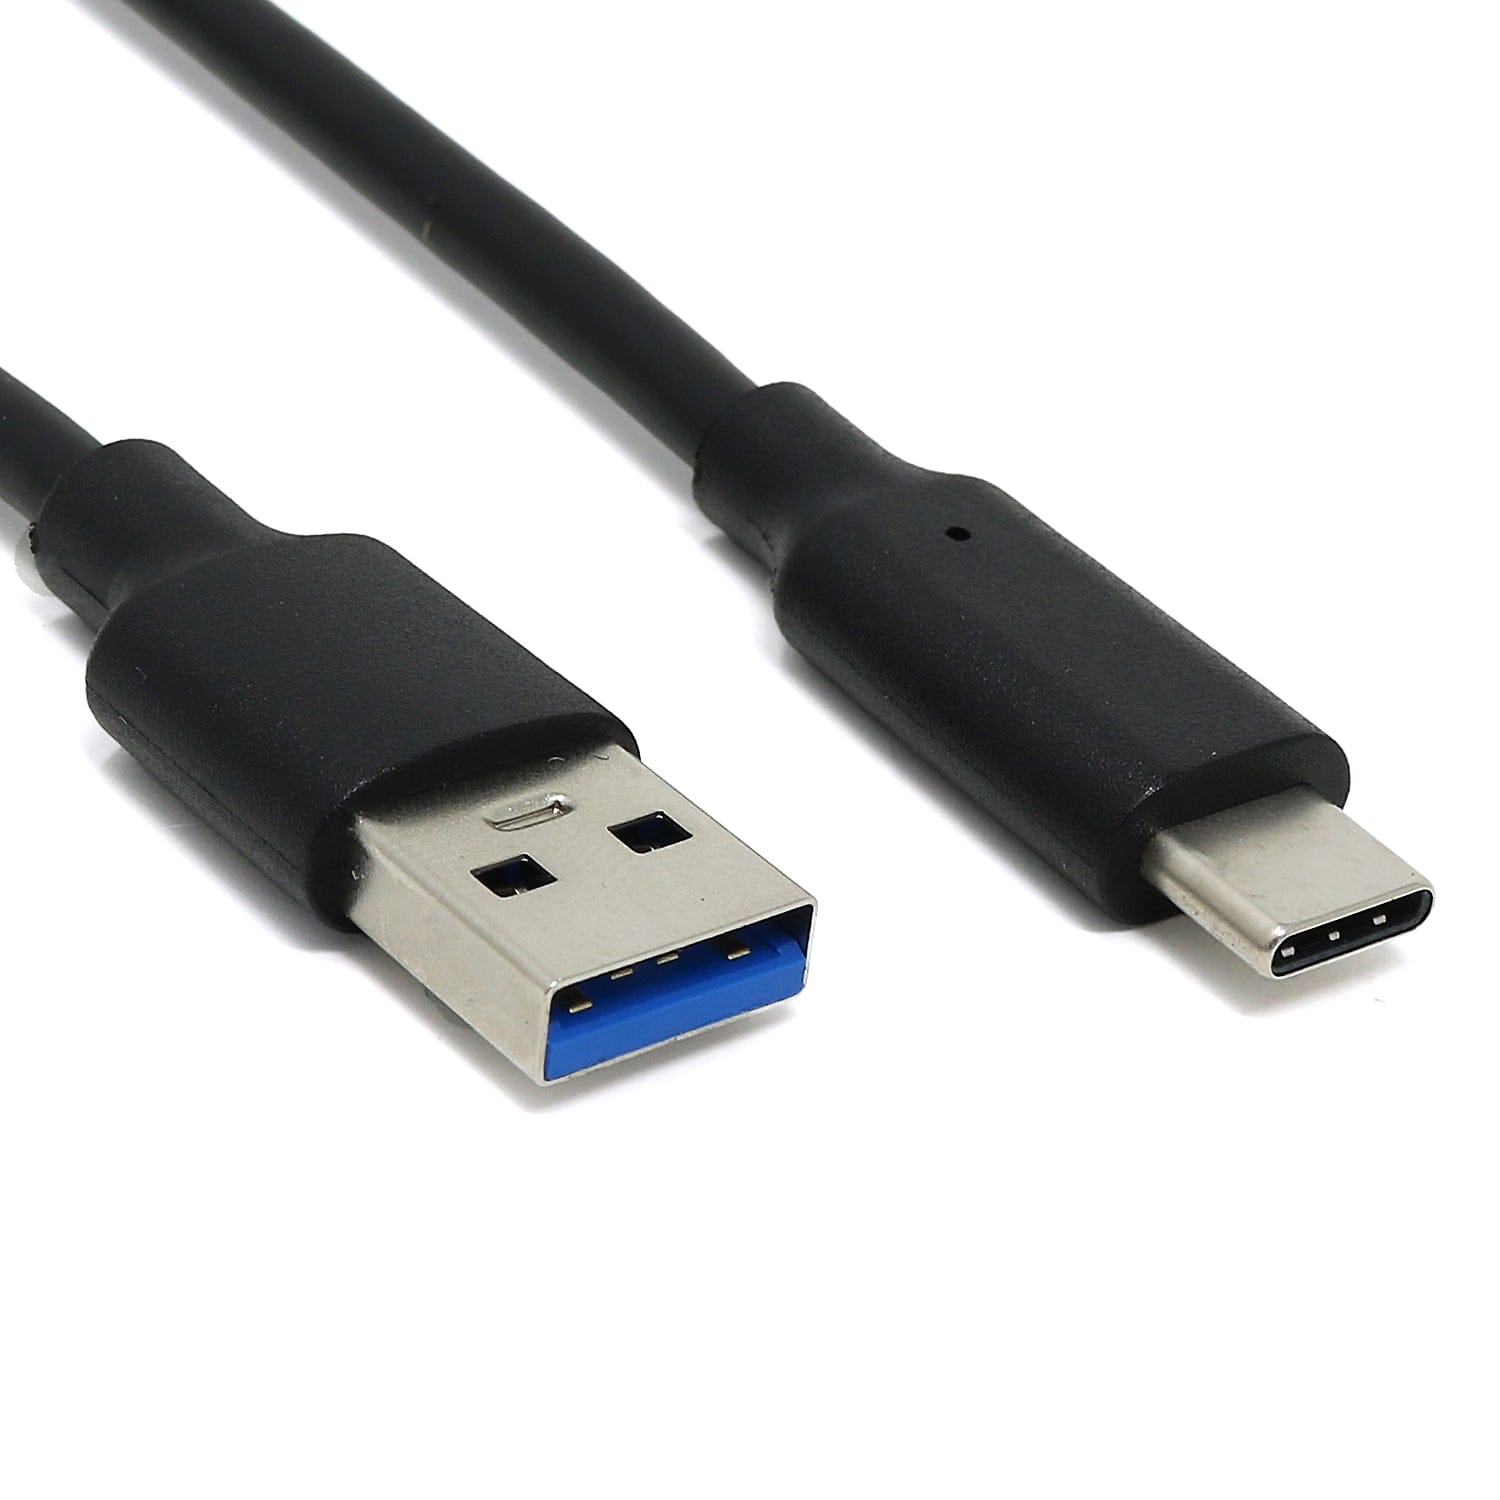
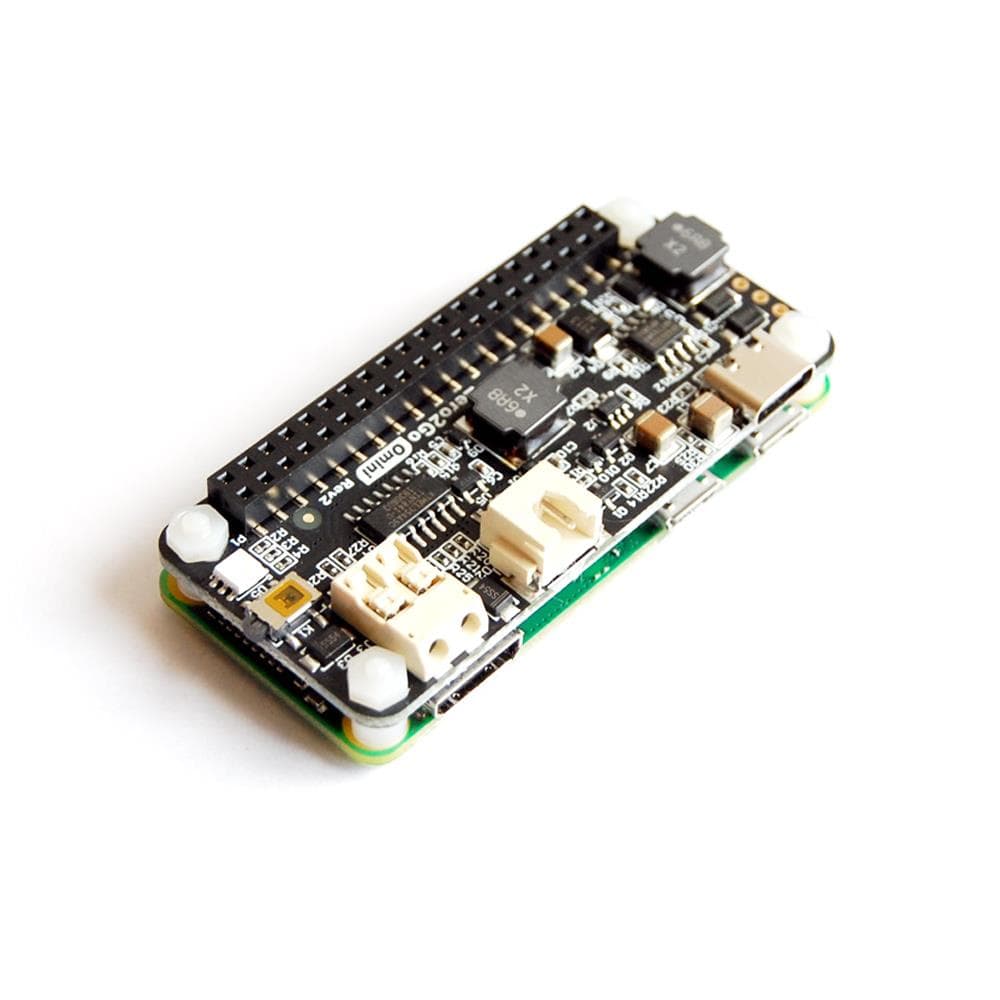
Zero2Go Omini Rev2 supports all Raspberry Pi models that have the 40-pin GPIO header, including A+, B+, 2B, 3B, 3B+, 3A+, Zero, Zero W and 4B (however you will need a USB-C power supply for this version).
Note: The Zero2Go Omini doesn’t charge the connected battery. Rev1 version with micro-USB connection available here. Raspberry Pi is not included.
Please see the simplified diagram below. It demonstrates the main functionalities of Zero2Go Omini and can help you to understand how it works.
When Vin is lower than 5.5V, the step-up engine will be used; When Vin is 5.5V or higher, the step-down engine will be used instead. The Zero2Go can switch between step-up and step-down modes automatically.

To install Zero2Go’s software, please run this command in your home directory:
wget https://www.uugear.com/repo/Zero2GoOmini/installZero2Go.sh
If your Raspberry Pi has an internet connection, it will immediately download the script from our website, and you will then see the “installZero2Go.sh” script in your home directory. Then you just need to run this script with sudo:
sudo sh installZero2Go.sh
You will need to use sudo to run this script. This script will copy a file to “/etc/init.d/zero2go_daemon”, and register it to run after the boot.
If you have 1-Wire interface enabled and didn’t specify the GPIO pin for 1-Wire, it will use GPIO-4 and that conflict with Zero2Go Omini. Zero2Go Omini uses GPIO-4 to receive shutdown command, if GPIO-4 is also assigned to 1-Wire, Zero2Go’s software will receive shutdown command unexpectedly. If your Raspberry Pi always automatically shutdown itself after installing Zero2Go’s software, that is most probably due to the conflict with 1-Wire interface.
When this happens, you most probably can not log in to your Raspberry Pi because it always shuts itself down before you get the chance to log in. To solve this problem, you will need to take out the micro-SD card on your Raspberry Pi and access its file system via a card reader. You need to edit the config.txt file in the “boot” volume to change the GPIO pin used by 1-Wire interface, or you can disable 1-Wire interface if you don’t need it for now. You need to find something like “dtoverlay=w1-gpio” in the file.
If you want 1-Wire to use GPIO-18, just change “dtoverlay=w1-gpio” to:
dtoverlay=w1-gpio,gpiopin=18
If you want to disable 1-Wire interface, just comment it out:
#dtoverlay=w1-gpio
Save the file and eject your micro SD card, and put it back to your Raspberry Pi. Now your Raspberry Pi should be able to boot normally.
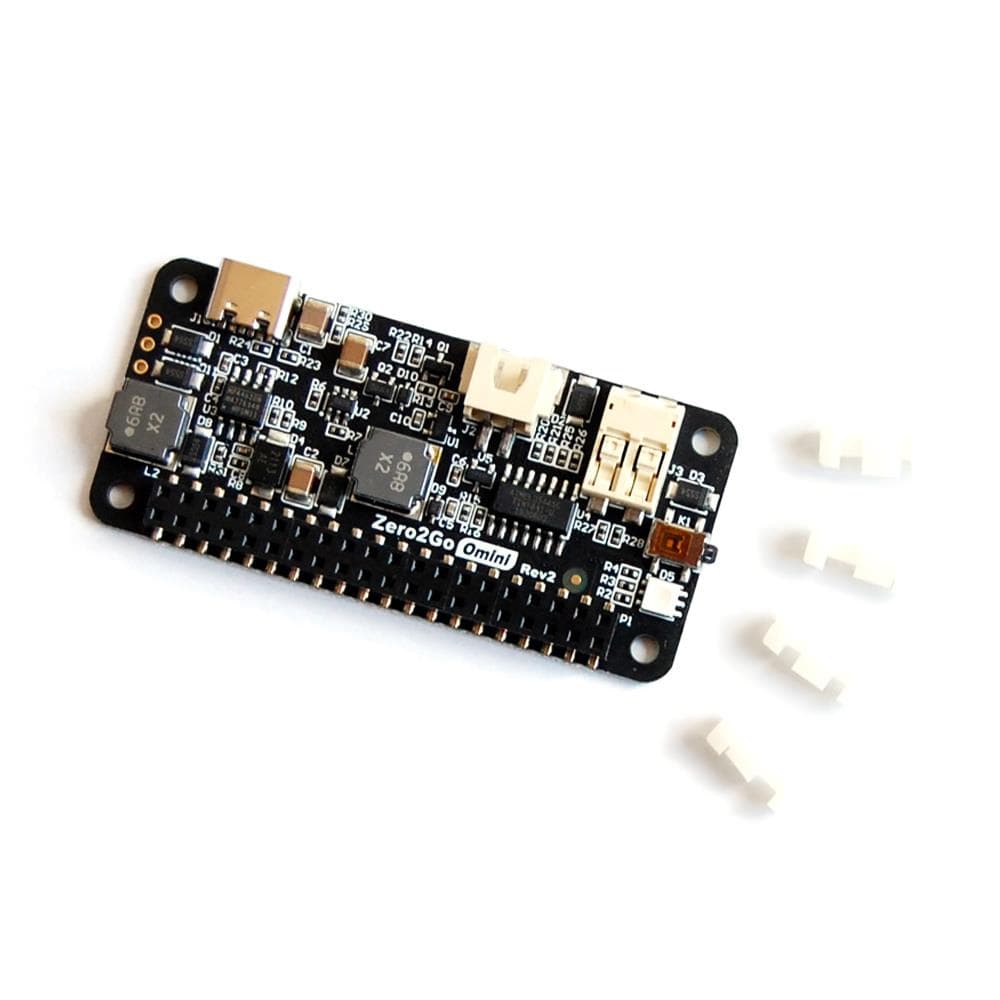
Raspberry Pi and 40-pin header are not included in the package.
| Dimension: | 65mm x 30mm x 7.7mm |
| Weight | 13g (net weight) |
| Mainly Used Chips | MCU: ATtiny841 (datasheet) DC-DC Bulk: MP4462 (datasheet) DC-DC Boost: SDB628 (datasheet) |
| LED Indicator | Three-color LED (red, green and blue) |
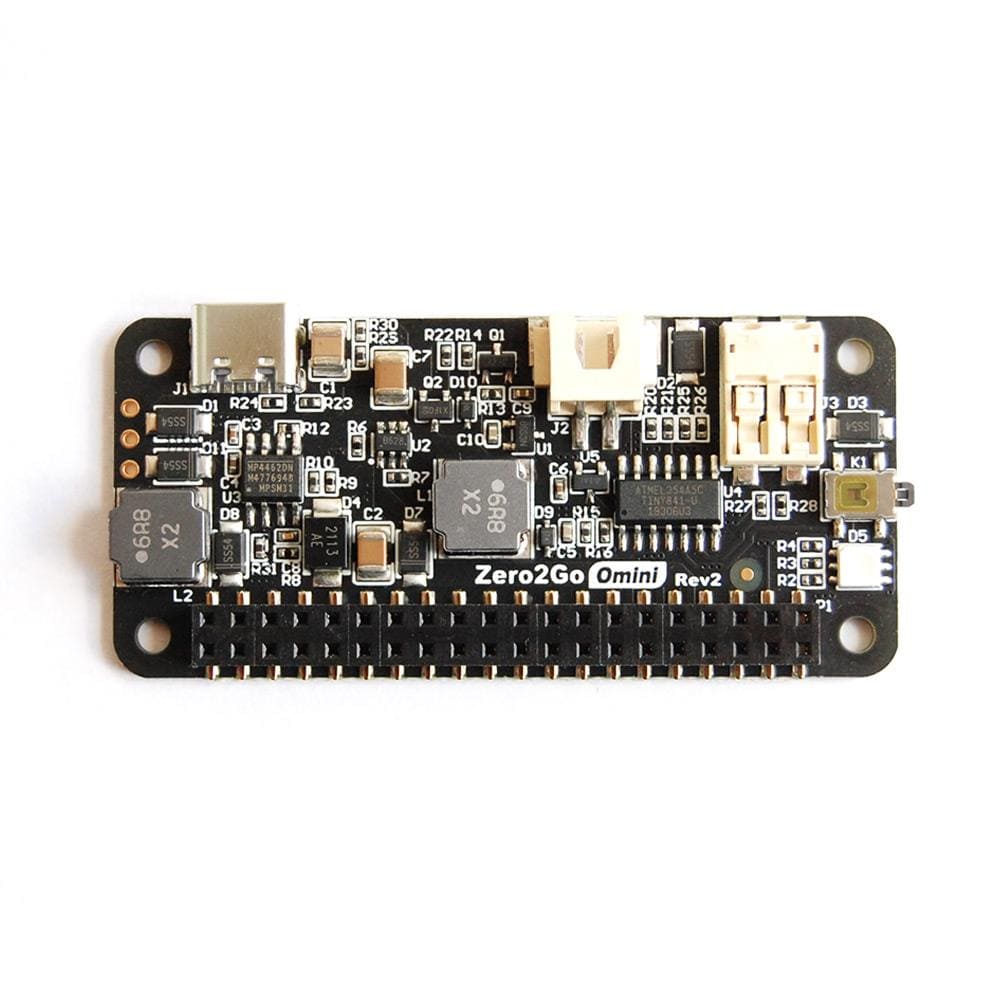
| Interface | USB Type-C female connector for input channel A. XH2.54-2P connector for input channel B. Universal wire connector for input channel C. 20×2 header (h=2mm) for connecting Raspberry Pi. |
| Input | Three separated channels (A, B, and C) All accept DC 3.5V~28V (5.5~7.0V is not recommended as the DC-DC bulk converter needs more dropout to work well) |
| Output | Output 5V (±5%), maximum 2A |
| Efficiency | Up to 87% @ Step-Up mode Up to 82% @ Step-Down mode |
| Standby Current | ~0.13mA @ Vin=3.5V ~0.36mA @ Vin=12V ~0.87mA @ Vin=28V |
| Operating Temperature | -30℃~80℃ (-22°F~176°F) |
| Storage Temperature | -40℃~85℃ (-40°F~185°F) |
| Humidity | 0~80%RH, no condensing |
Your payment information is processed securely. We do not store credit card details nor have access to your credit card information.