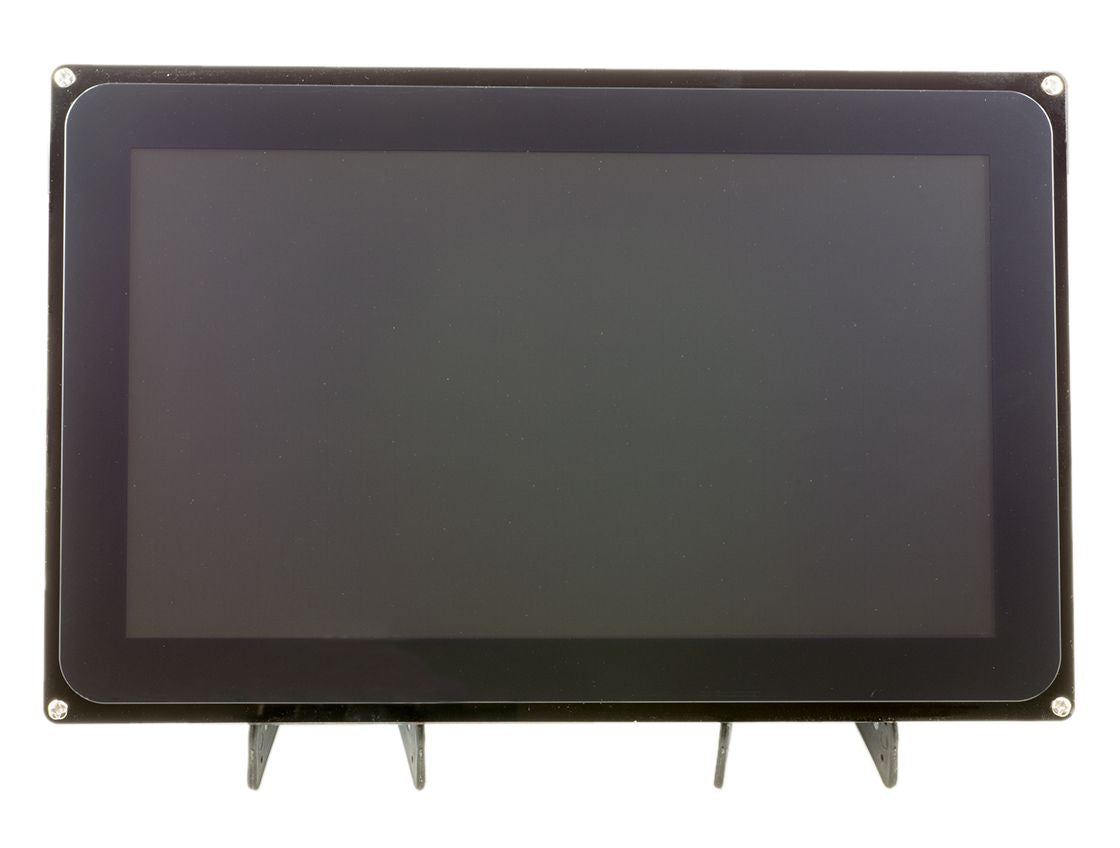
Waveshare 10.1" Screen Assembly Guide
Waveshare 10.1" Screen Assembly Guide
In the waveshare kit you'll received the following items:
- Screen (pre-assembled in acrylic)
- Acrylic mounting sheet
- Screen controller board
- Ribbon cable
- HDMI cable
- USB to micro USB cable
- Screen Stand
- Mounting bolts
- Power supply (12V 2A)
The original waveshare screen comes with an EU power supply (left). If you purchase from us, we swap this out with a universal power supply (UK/EU/US/AUS) to make it compatible with the multiple regions.


Take your acrylic plate:
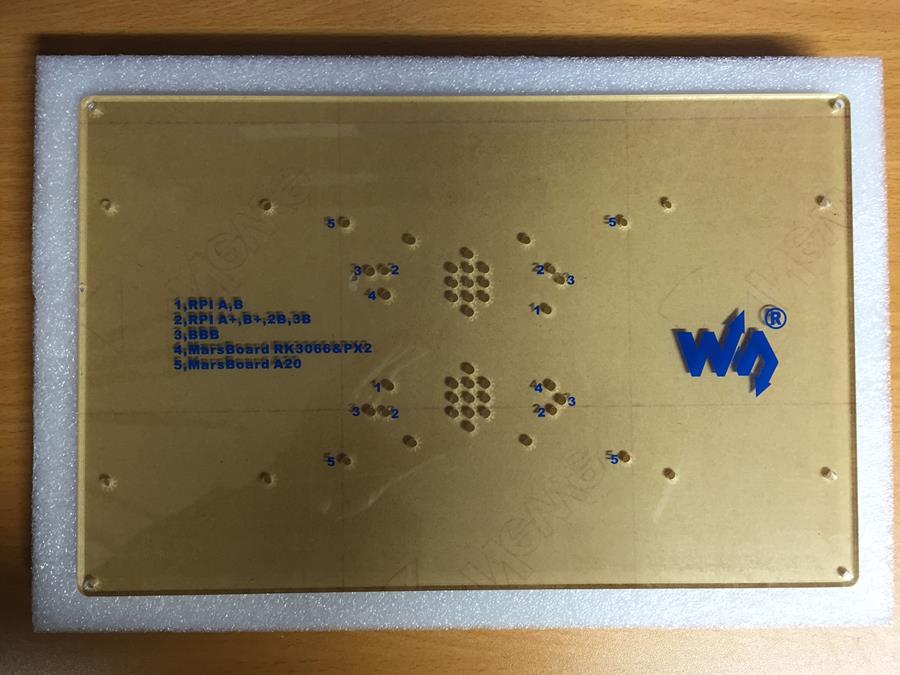
Take the following mounting bolt pack and the screen driver board
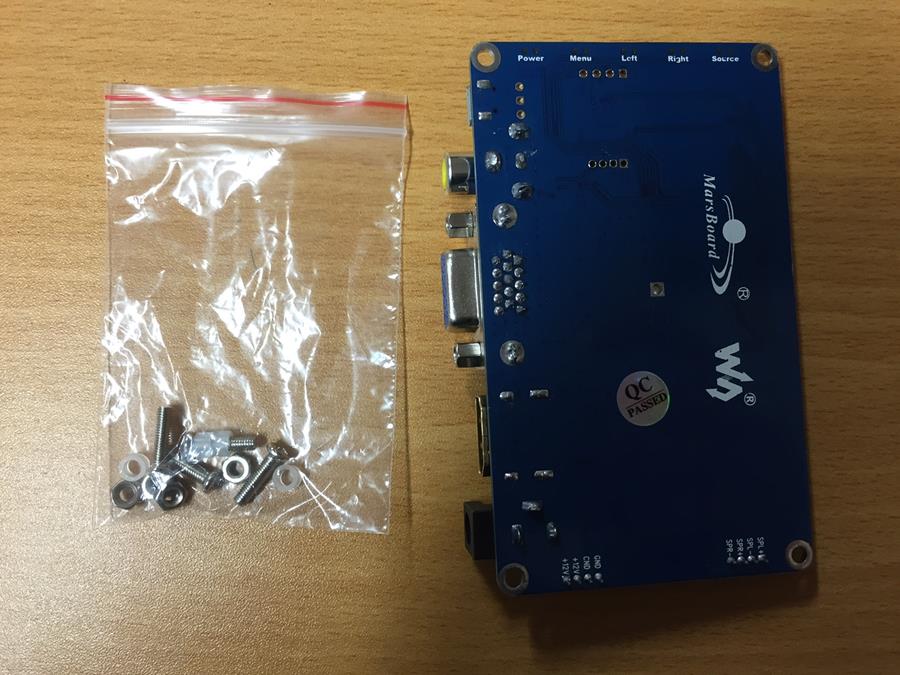
Mount the screen driver board to the acrylic plate on the left hand underside:
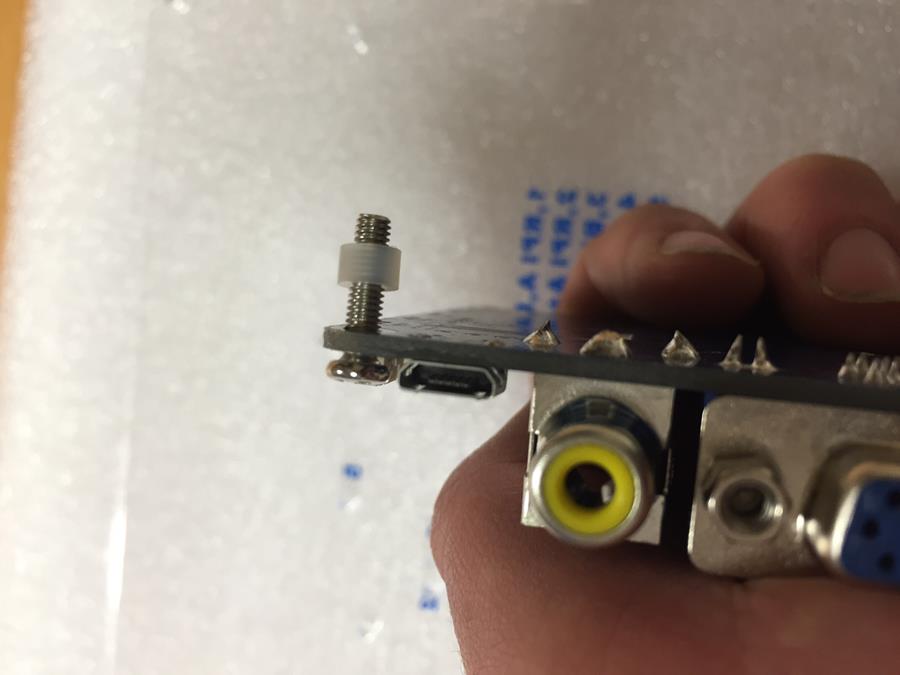


Take the screen and carefully place it face down:

Remove the temporary brass spacers and discard:

You can then start to peel off the protective backing:

Unscred he LCD driver board in order to remove the backing from underneath:
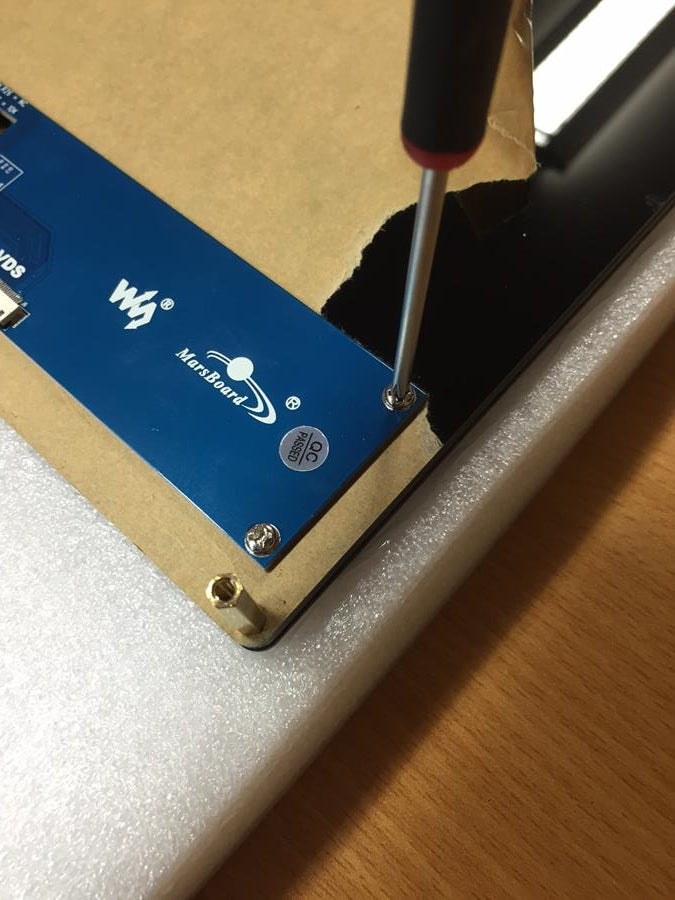
Peel off the backing:

Voila!
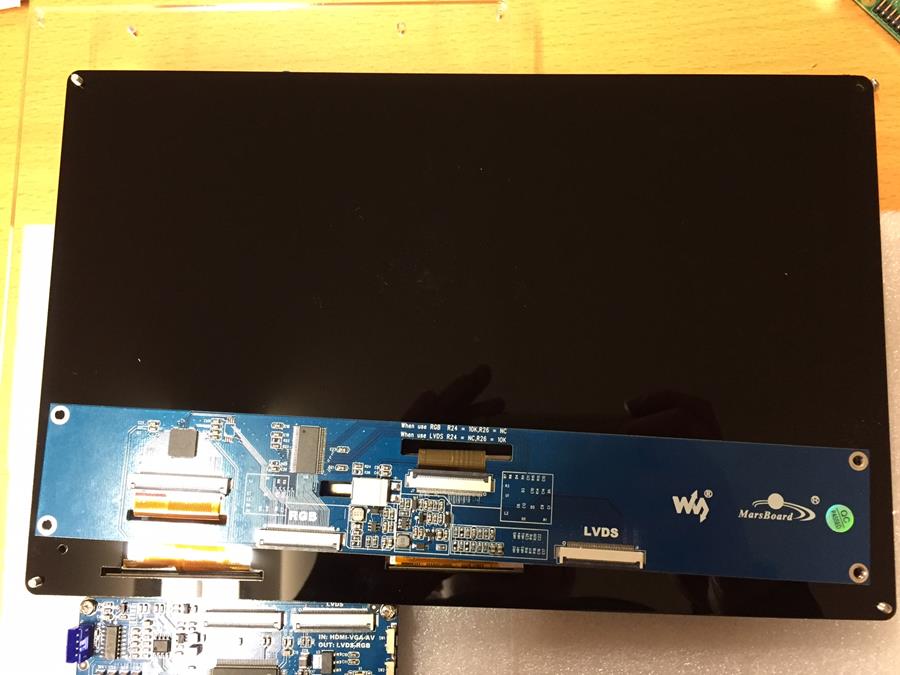
Take the kit with the longer brass stand-off's

Remount the LCD board and put the brass stand-offs in place of the brass spacers (removed previously and discarded)

Plug in the ribbon cable into the RGB port on the LCD board.
PLEASE NOTE. The black part of the ribbon connector flips "up" not out. You need to pull the tab up, insert the cable, then reclamp it down.

Plug the other end into the driver board
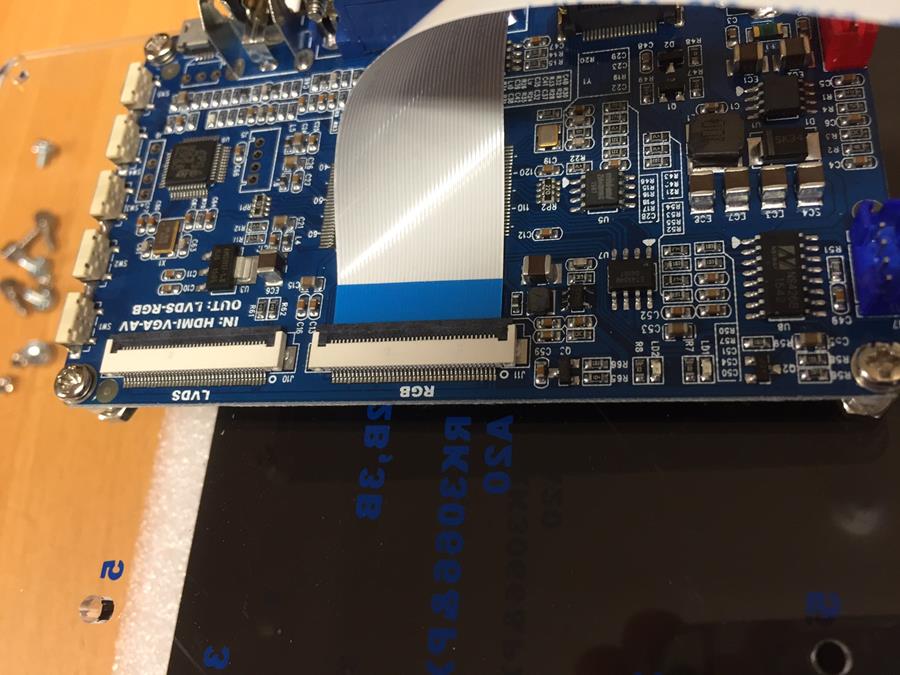
Make sure the ribbon cable situates nicely. DO NOT SCREW THE ACRLYIC BACK PLATE ON YET

Take the following mounting media:
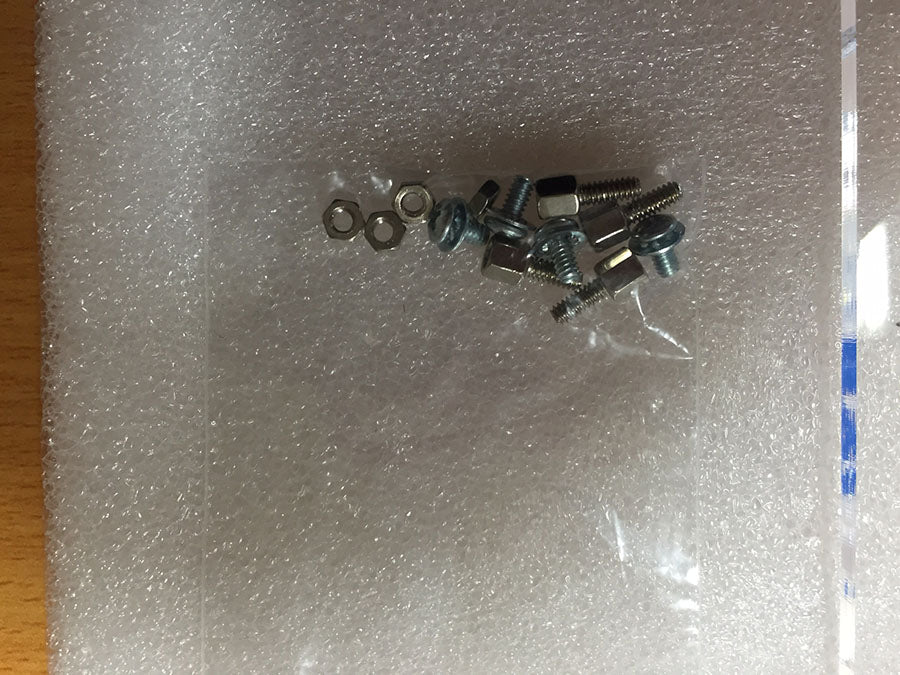
Screw the bolt through the Pi PCB, and mount the stand-offs underneath.
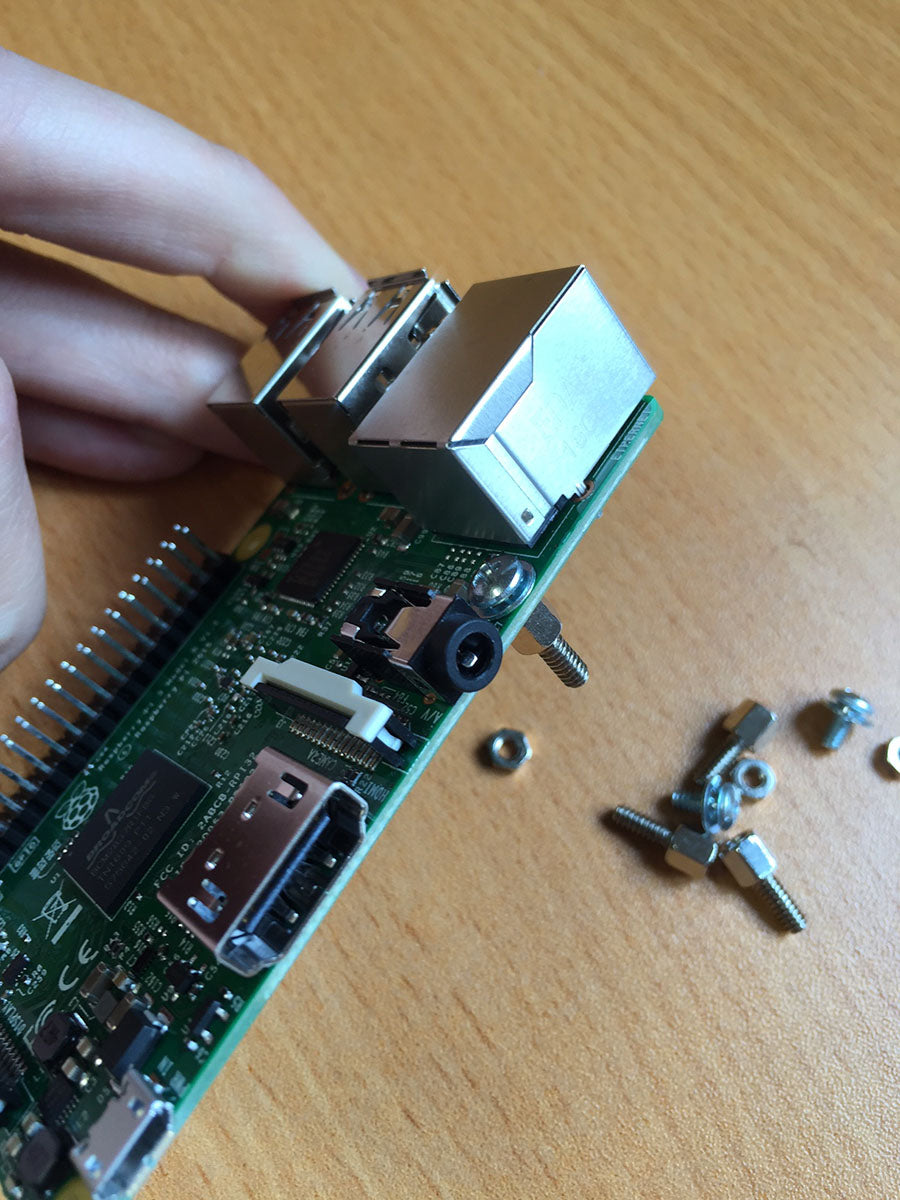
Mount the Raspberry Pi to the labelled points on the acrylic plate. Please note, the Pi sits on top of the plate, where the driver board sits underneath.
Once mounted, bolt the acrylic plate to the back of the screen.

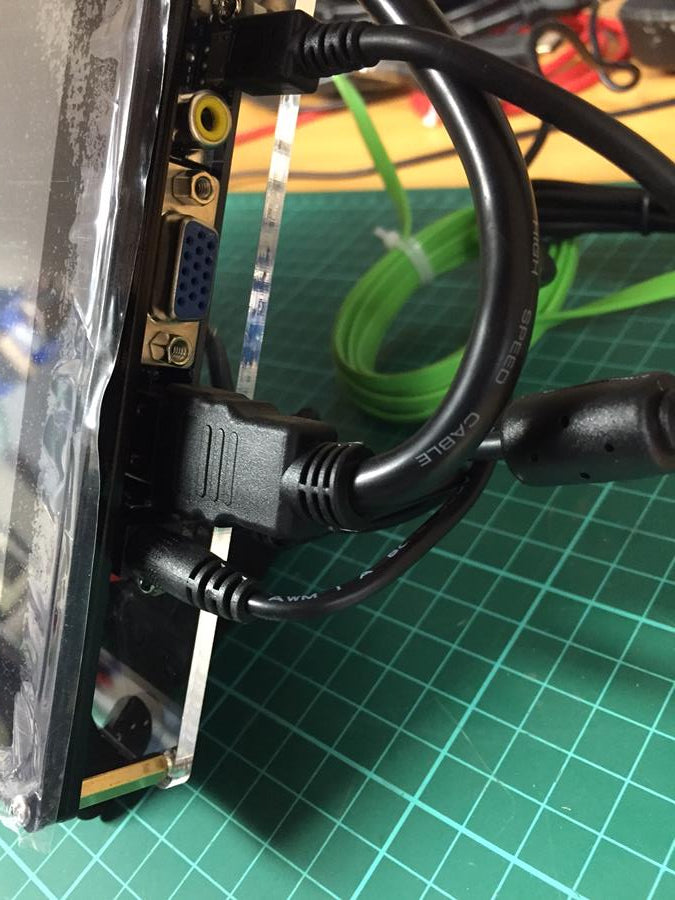
Plug in the included HDMI cable, being careful to ensure that there is no pressure on the HDMI ports

Plug the micro USB port on the driver board into the Pi's USB port
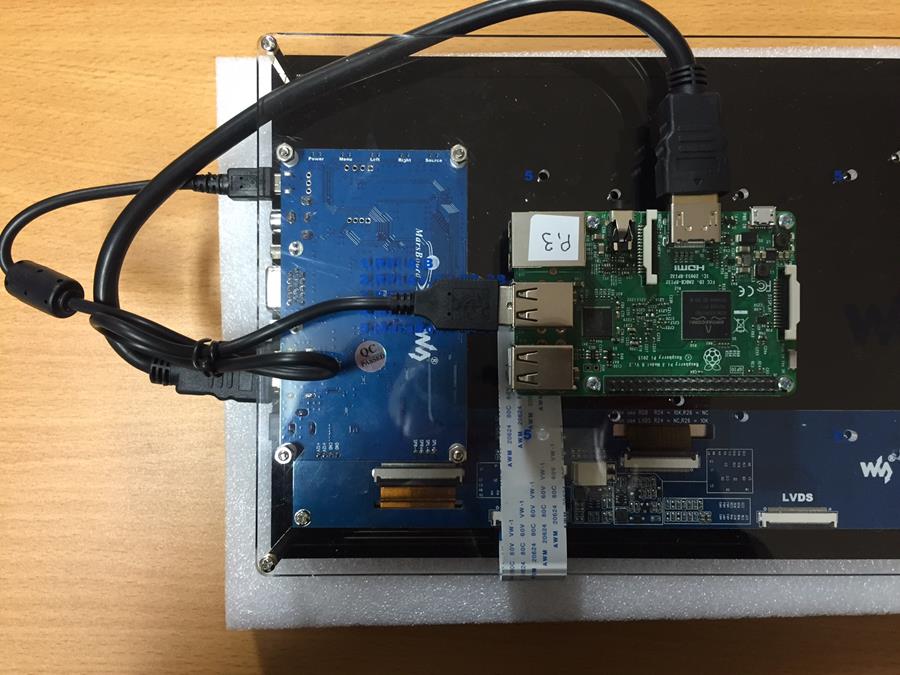
Place the screen on the screen mounts
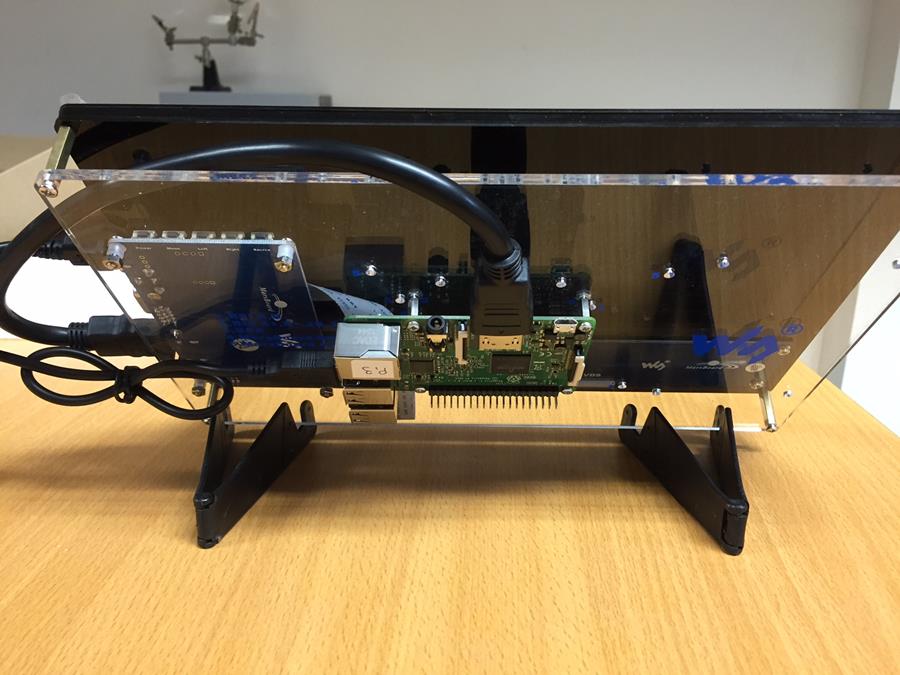
Plug your Pi's power in (do not power yet)
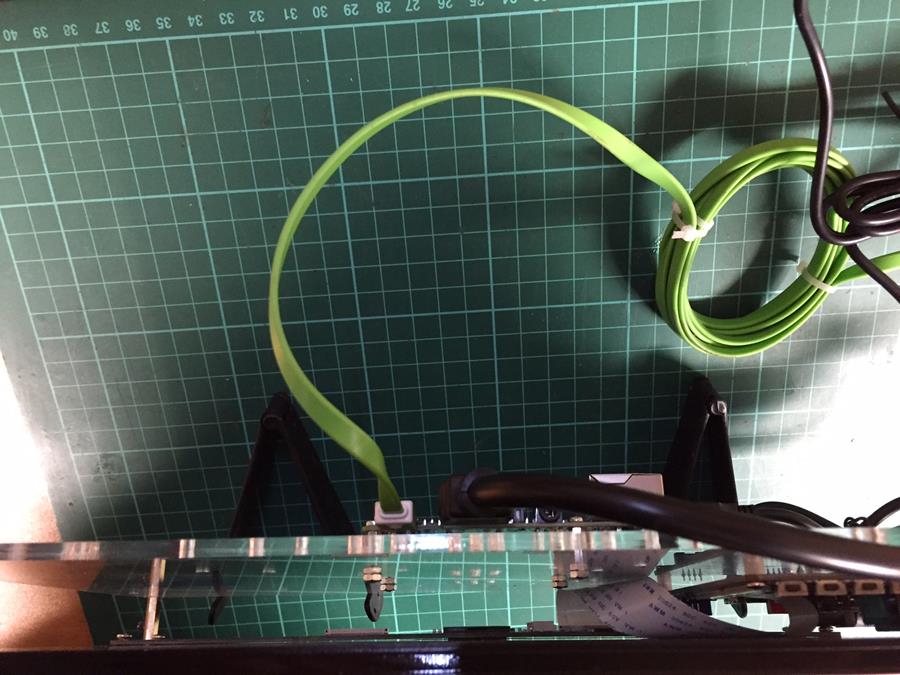
Plug the screens power in and apply power


Press the "source" button to bring up the source select menu.

Press left or right until HDMI is selected, and press menu to select.

Turn on your Raspberry Pi!
The first time you boot, the display will default to an incorrect resolution. To correct this, we need to edit some settings for the display.

Enter the boot config file:
sudo nano /boot/config.txt
Then add the following at the end of the file:
max_usb_current=1
hdmi_group=2
hdmi_mode=1
hdmi_mode=87
hdmi_cvt 1024 600 60 6 0 0 0

Then simply save and reboot.
When the Pi reboots, the screen will be at the correct resolution!

As long as you have the USB cable plugged in between the driver board and the Pi, the USB touch functionality will work by default.
Further resources are available on the Waveshare WiKi


