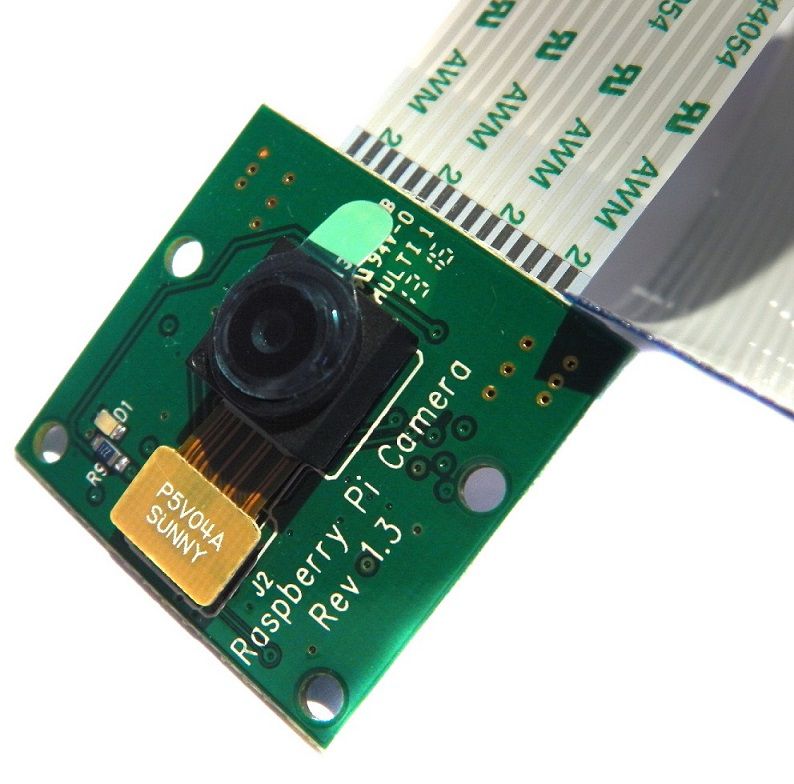
Raspberry Pi Camera Tutorial
Please note that this article is for pre-Bullseye operating systems which use the Raspicam stack (raspistill/raspivid) and not libcamera.
Please visit this page for libcamera setup and usage.
Setting up the camera
To enable the camera, at the command prompt enter:
sudo raspi-config
Then navigate to Enable Camera, Select Enable, Finish and finally Reboot.
Taking a picture
Taking a picture with a Raspberry Pi camera is fairly straightforward. You can do it with a single line:
raspistill -o picture.jpg
if the picture is mirrored and upside down then you can use:
raspistill -hf -vf -o picture.jpg
-hf is a horizontal flip of the image
-vf is a vertical flip of the imag
If you want to take a picture in let’s say 5 seconds use:
raspistill -hf -vf -t 5000 -o picture.jpg
-t is the timeout before the picture is taken (time is set in ms) To specify the resolution:
raspistill -hf -vf -w 1920 -h 1080 -o picture.jpg
-w sets the width of the photo (range: 64-1920)
-h sets the height of the photo (range: 64-1080)
To see the full list of raspistill option type in:
raspistill --help
If you want to see your photo copy it to your computer with the command:
scp pi@IP.ADDRESS.OF.YOUR.PI:/PATH/TO/THE/FILE /PATH/WHERE/TO/SAVE/IT
Capturing video
Capturing a video is pretty much the same as taking a picture. This time you just use:
raspivid -o video.h264
Which will record a 3 second video. To change the length of the video you can again use the option -t and set the time in milliseconds. You can also use all the other options as we used for taking a picture and to see all the options type: raspivid --help
Streaming
The first thing I wanted to do with my RPi camera was streaming. Doesn’t matter if you want to do it just for fun or to find out who keeps eating your lunch, streaming is fun.
There are several ways you can do it, I found using VLC player a good start.
First you need to install VLC player on your Raspberry Pi and on a device where you want to view it (your laptop, phone or tablet). To install it on Raspberry open a terminal and type in:
sudo apt-get install vlc
And then all you need to do is start the streaming:
raspivid -o - -vf -hf -t 0 -w 600 -h 400 -fps 12 | cvlc -vvv stream:///dev/stdin --sout '#rtp{sdp=rtsp://:8080/}' :demux=h264
camera settings:
-o sets the output to be written to stdout
-vf is a vertical flip of the image (delete if you don’t need it)
-hf is a horizontal flip of the image (delete if you don’t need it)
-t sets the timeout of the streaming, 0 disables it
-n stops the video preview (delete if you want to see the video on the HDMI output)
-w sets the width of the video (range: 64-1920)
-h sets the height of the video (range: 64-1080)
-fps sets frames per second
vlc player settings:
-vvv specifies where to get the stream from
--sout specifies the output destination
Now to watch the stream, open vlc player on your device, go to Media - open network stream and type in:
rtsp://IP.ADDRESS.OF.YOUR.PI:8080/
where IP.ADDRESS.OF.YOUR.PI must be replaced with the ip address of your raspberry
You will probably end up with some lag. I usually get about 2-3 seconds. To decrease this you can lower your resolution but you will be probably still left with some lag anyway.
Remember, if you wish to see all function of your RPi cam just type in raspivid --help and play around with them.


