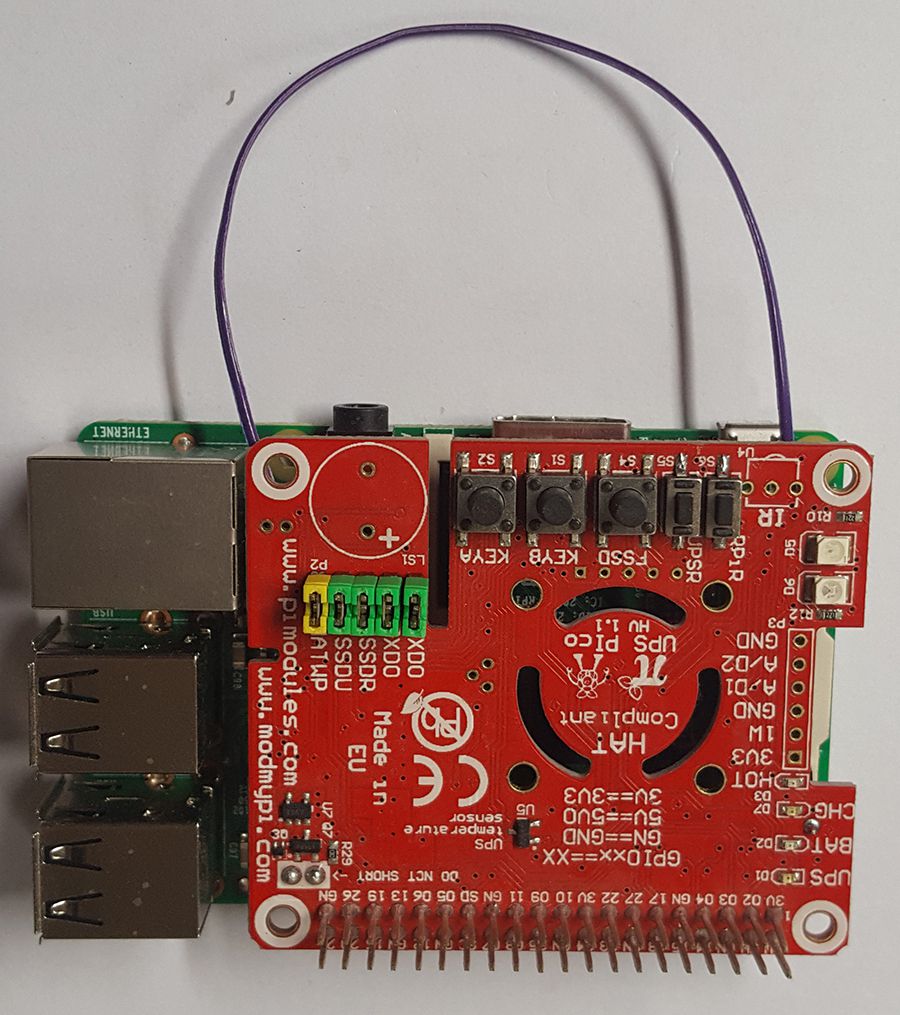
PiCO UPS Reset Wire
PLEASE NOTE. THESE INSTRUCTIONS ARE FOR THE UPS PICO HV2.0 NOT THE NEWER RASPBERRY PI 3 VERSION UPS PICO HV3.0 - THE LATEST INSTRUCTIONS, FIRMWARE AND SCRIPTS ARE ALL AVAILABLE ON THE UPS PICO WIKI HERE. NEWER UPS PICO'S MAY BECOME DAMAGED WHEN USING OLDER INSTRUCTIONS, AND BELOW ARE HELD AS LEGACY FOR OLDER BOARDS ONLY.
If you have one of our PiCO UPS HATs and are thinking about upgrading your Raspberry Pi to the RPi 3 then you may be a little worried that the reset "RUN" pin on the Pi has moved, limiting the functionality of the older versions of the PiCO.
For those of you that are unsure of how the PiCO uses this pin on the Pi:
When the PiCO detects the loss of power, it can tell your Pi to shutdown after a set period of time, to prevent SD card corruption. With the gold reset pin installed, connecting the PiCO to the RUN pin on the Pi, the PiCO is able to turn the Pi back on once it detects power has been restored!
Here is how you can solder some 90 degree header pins onto the Pi and PiCO, and connect them up using a female to female jumper wire!
You will need:
- Raspberry Pi 3 Model B
- PiCO UPS
- 2x 90 Degree Header Pins
- 1x Female to Female Jumper Wire


Start by soldering one of the header pins to the RUN pin on the Pi.


Then we need to do the same on the PiCO


Then simply attach your jumper wire to the soldered pins


Plug the PiCO onto your Pi, and job done!
For a more permanent solution you could just solder the wire directly to the PiCO and Pi, but by using the header pins you can easily disconnect them when needed.


