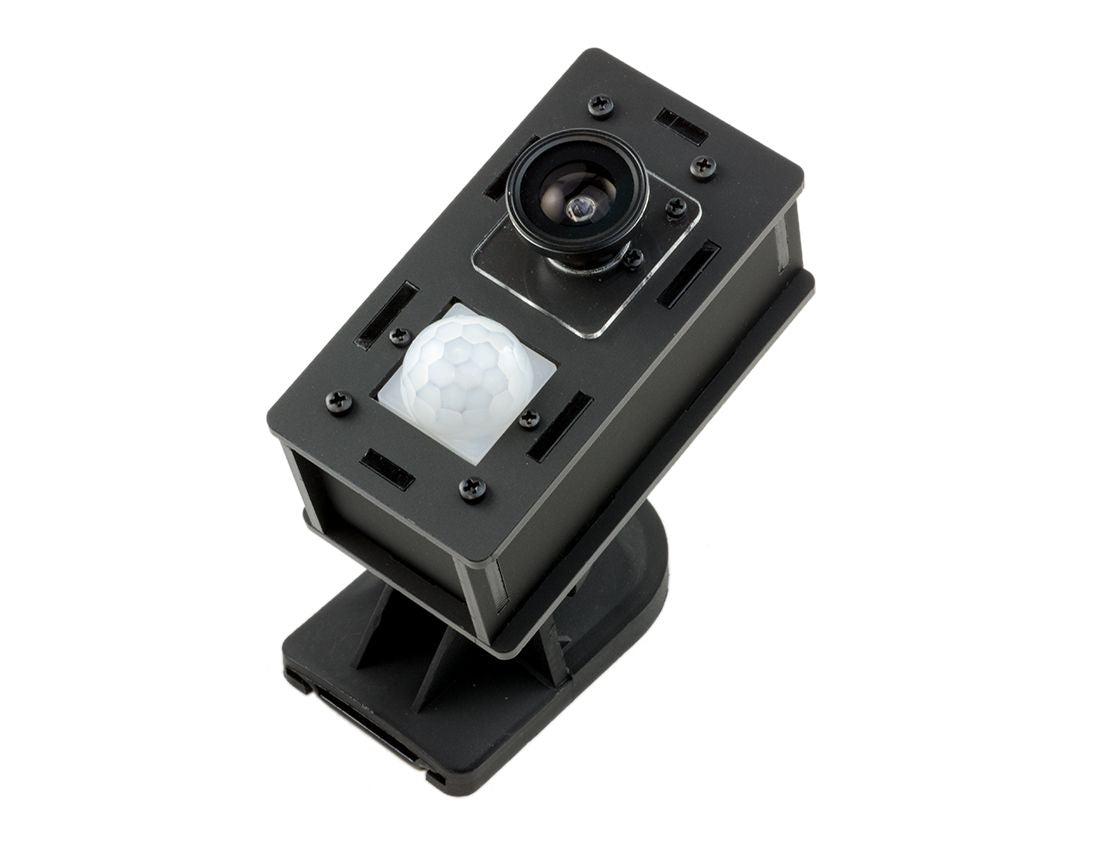
Pi Zero PIR Camera Box Assembly Instructions
The laser-cut parts of the case are protected by an adhesive film which needs to be removed before assembly.
Bill of Materials
- Raspberry Pi Zero
- Raspberry Pi Camera
- PIR Motion Sensor
- 3x F/F Jumper Wires
- 7x black matte acrylic plates
- 1x thin clear acrylic plates
- 4x M2.5 8mm M/F Stand Off
- 2x M2.5 25mm F/F Stand Off
- 2x M2.5 34mm F/F Stand Off
- 10x M2.5 5mm Black Screws
- 6x M2 10mm Black Screws
- 12x M2 Nylon Washers
- 6x M2 Nut
- 2x M2.5 Nut
Optional for wall mounting:
- Wall mount
- 2x M5 screws
- 2x M5 nuts
Optional:
- Magnetic lens
NOTE: Acrylic is a hard and stiff plastic which is sensitive to stress concentrations and shares a certain level of fragility with glass. Acrylic can scratch easily and should be cleaned with a mild solution of dish detergent and warm water. Never use cleaners unsuitable for acrylic. Never use a dry, abrasive cloth.
Here are the parts from the case kit:

Follow these images checking parts and orientation of the acrylic pieces. You will see a before and after image for each step. Make sure you have all the parts ready, shown in the before picture.

Starting with the back plate, fasten the 8mm M/F stand offs in place using the black 5mm screws.

Now attach the wall mounting bracket. Start by puttin the M5 screws through the two holes in the back plate (so the head of the screw is the same side as the 8mm stand offs. Then on the reverse side place the little acrylic spacer plate over the screws.

Finally add the wall bracket and secure using the M5 nuts.


Making sure the parts are orientated correctly, position the Pi Zero over the 8mm stand offs and secure the top two mounting points with the 25mm stand offs, and the bottom two with the M2.5 nuts.


To attach the motion sensor, insert the 10mm screws through the front of the plate, turn the plate over and add 2 M2 washers to each screw.

Finally add the motion sensor and secure in place using the M2 nuts.


To attach the camera module, start by aligning the thin clear acrlyic plate on to the front plate and insert the 4 10mm M2 screws. Turn it over and again add 2 washers to each screw.


Then add the camera module and secure using the M2 nuts.


Add the lower mounting stand offs to the bottom plate.


Attach the three jumper wires to the Pi's GPIO pins (colours may vary).Attach a wire to Pin 2, another to Pin6 and the last one to Pin 26.


Attach the camera cable to your Pi.


Next thing to do is attach the side acrylic plates. Make sure you have each of the 4 camera box walls in the correct orientation. The arrows indicate the knotches that will be inserted into the bottom plate.


Time to attach our camera cable and jumper wires. With the 3 pins of the PIR module facing you, attach the jumper wires in this order:
JUMPER WIRE - PIR MODULE
Pin 2 - LEFT
Pin 6 - RIGHT
Pin 26 - MIDDLE


OPTIONAL - Camera Lens
In the little lens box, you will find a magnetic metal ring. Peel off the blue protective film, peel off the self-adhesive backing and stick the metal ring to the front of the case around the camera lens. Be sure to press it on nice an firm so you get a good fit.

Now simply place the lens onto the magnetic ring!

For information on how to setup your PIR sensor, follow our simple tutorial here.


3 comments
The Pi Hut
@Calvez Benjamin – Unfortunately, this case is now discontinued. We still offer the non-PIR version, search for product number TPH-043.
@Calvez Benjamin – Unfortunately, this case is now discontinued. We still offer the non-PIR version, search for product number TPH-043.
Peter Hartmann
Hello,
does the raspberry camera V3 fit into this case as well or is it only for older versions?
And do you know, when the case will be available for sale again?
Thank you and best regards, Peter
Hello,
does the raspberry camera V3 fit into this case as well or is it only for older versions?
And do you know, when the case will be available for sale again?
Thank you and best regards, Peter
Calvez Benjamin
Hi
I m looking for the following case with both camera and PIR slots :
https://thepihut.com/blogs/raspberry-pi-tutorials/pi-zero-pir-camera-box-assembly-instructions
Unfortunately i found it on the tutorial page but not in the sale list.
Is is still available ?
Thank you
Best Regards
Benjamin
Hi
I m looking for the following case with both camera and PIR slots :
https://thepihut.com/blogs/raspberry-pi-tutorials/pi-zero-pir-camera-box-assembly-instructions
Unfortunately i found it on the tutorial page but not in the sale list.
Is is still available ?
Thank you
Best Regards
Benjamin