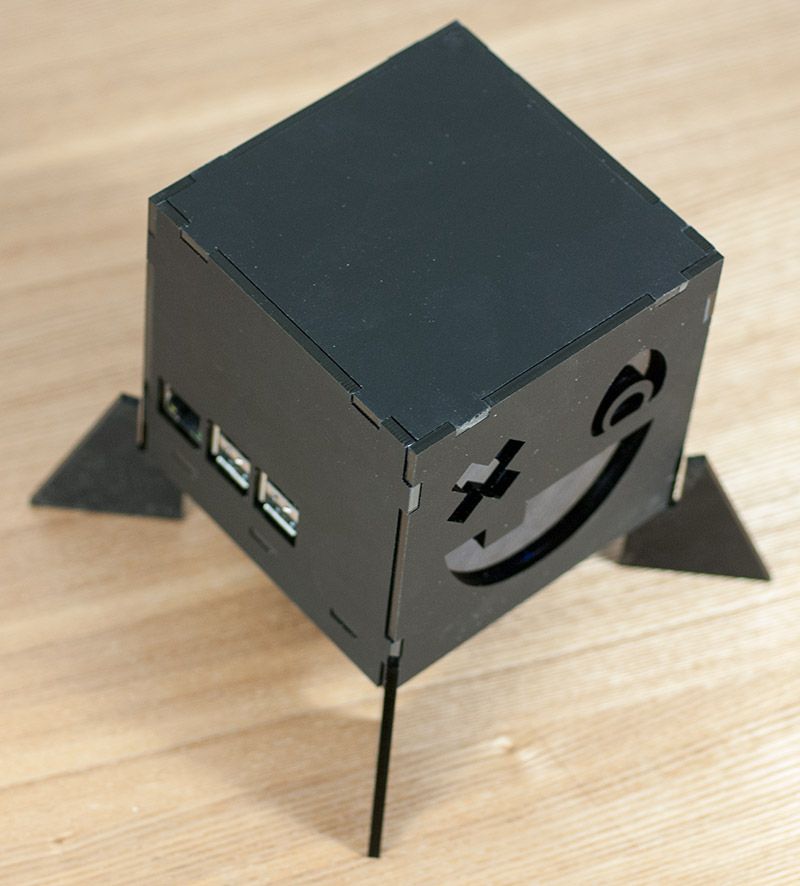
Nwazet Pi Head Case Assembly Instructions
The laser-cut parts of the case are protected by an adhesive film which needs to be removed before assembly.
Bill of Materials:
- Raspberry Pi B+/2
- 1x Pi Monster Lighting Board
- 11x Acrylic plates
- 5x 1/4" black screws
- 4x 1/4" F/F hex standoffs
- 6x Double sided stick tape strips
- 1x Wire
Note: Acrylic is a hard and stiff plastic which is sensitive to stress concentrations and shares a certain level of fragility with glass. Acrylic can scratch easily and should be cleaned with a mild solution of dish detergent and warm water. Never use cleaners unsuitable for acrylic. Never use a dry, abrasive cloth.
Note: The pieces of the case are designed for a snug fit and should not be difficult to assemble. However, if something feels like it doesn't fit, do not force it or you will risk breaking a part. Just stop, double-check the alignment of parts and try again. Feel free to ask us for help if needed. Assembling a 'Pi Head Case' takes about 15 minutes.


You will need to cut the wire into 4 equal length peices

Thread each piece of wire through the holes and bend around to secure

We will assume you are going to be fitting the Pi Monster Lighting Board, so you will need to get 3x 1" M/F standoffs from the pack. If you don't want to fit the Lighting Board, then grab 3x 1/4" black screws from the pack.


If you haven't already, you will need to assemble the Pi Monster Lighting Board first, assembly guide can be found here.


Remember to connect the Lighting Board to your Pi using the provided jumper wires before proceeding to the next step.


The kit comes with 3x different coloured acrylic plates. You will need to pick your favourite colour as only one colour can be used!


This step is optional. The case walls are designed to be a push fit, but if you would like a more secure fit, then we prodivde stick strips which can be used to hold the walls together.


