
ModMyPi Helix Case - Assembly Guide
The ModMyPi Helix Case is strudy once assembled but care should be taken during assembly.
The case features "push-fit" pins in order to enable contruction without the use of screws. Due to the nature of MDF (and its layered properties), we advise all customers to ensure that the pin is fully engaged with the hole prior to applying pressure. If this is not completed with care, it runs the risk of stripping layers off, or buckling the pin, rendering it useless.
For the reason above, although it can be done with care, we recommend against dismantling the case once it's been put together.
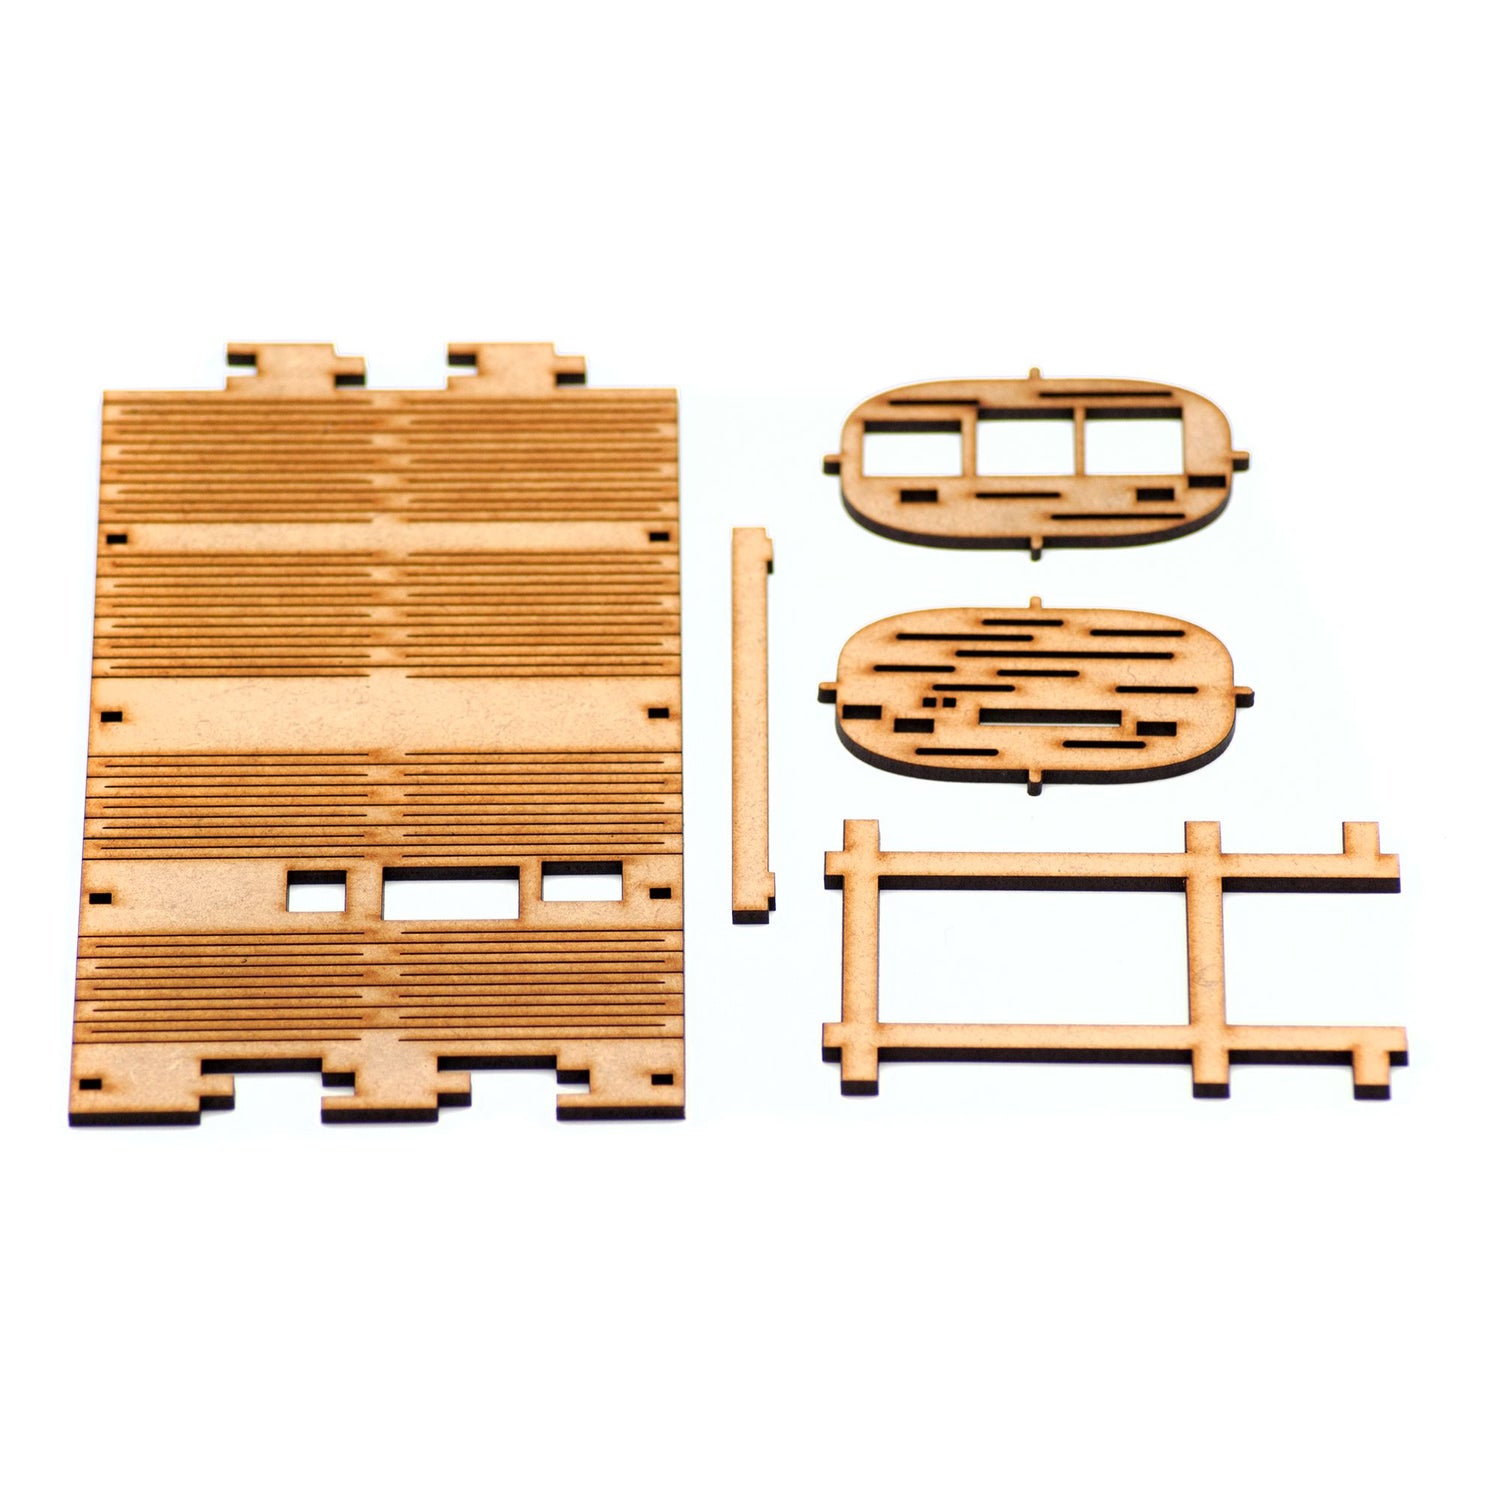
The Helix Case is assembled using 5 parts shown below. . . .

1. With the lighter side of the main chassis facing up and the HDMI/power port cut outs facing towards you, take the USB cut out side piece and slot into the second from top of the four small cut outs on the right hand side of the main chassis.

2. Now take the bottom frame piece and slot the two extruding notches into the USB side piece. Make sure the open end of the bottom frame is facing to the left, away from the USB cut out piece.

3. With the frame in place, get the side support piece and slot this into the USB side piece. Make sure the lighter side of the piece is facing up, with the side notches facing out, away from the case.

4. Now you can take the other side piece with the SD card slot cut out, and fix this into the second from the top of the four cut outs on the left hand side of the main chassis. Make sure that the bottom frame and side support slot into their designated cut outs as well.

5. Place the Raspberry Pi into the case, making sure that is seated correctly next to the side support and not on top of it. This guards against laterally movement when inputting cables.

6. Bend the sides of the chassis up and fix into the two small cuts out.


7. Take the side closest to you and fold it down over the top of the chassis and fix into place by pressing the two little notches into the cut outs.

8. Finally, fold the remaining side up and over, and clip into the place.

That's it! Your Helix case is now assembled - go show it off :D


