MicroPython Skill Builders - #5 Simple Sensors
We're back with another instalment in our MicroPython Skill Builders series by Tony Goodhew, aiming to improve your coding skills with MicroPython whilst introducing new components and coding techniques - using a Raspberry Pi Pico!
Here we demonstrate the use of some inexpensive and easy to use sensors for your MicroPython projects, first with a range of Waveshare sensors, then the classic TMP36 temperature sensor!
Need to catch up? Check out our tutorials section for the previous episodes.
What you will need
We assume that you have installed Thonny on your computer and set up your Raspberry Pi Pico with the most recent MicroPython firmware (UF2). If not, check out our Raspberry Pi Pico Getting Started Guide where this is covered in detail.
We're are also assuming that you have read/completed the previous tutorials in the series (see the link above if not).
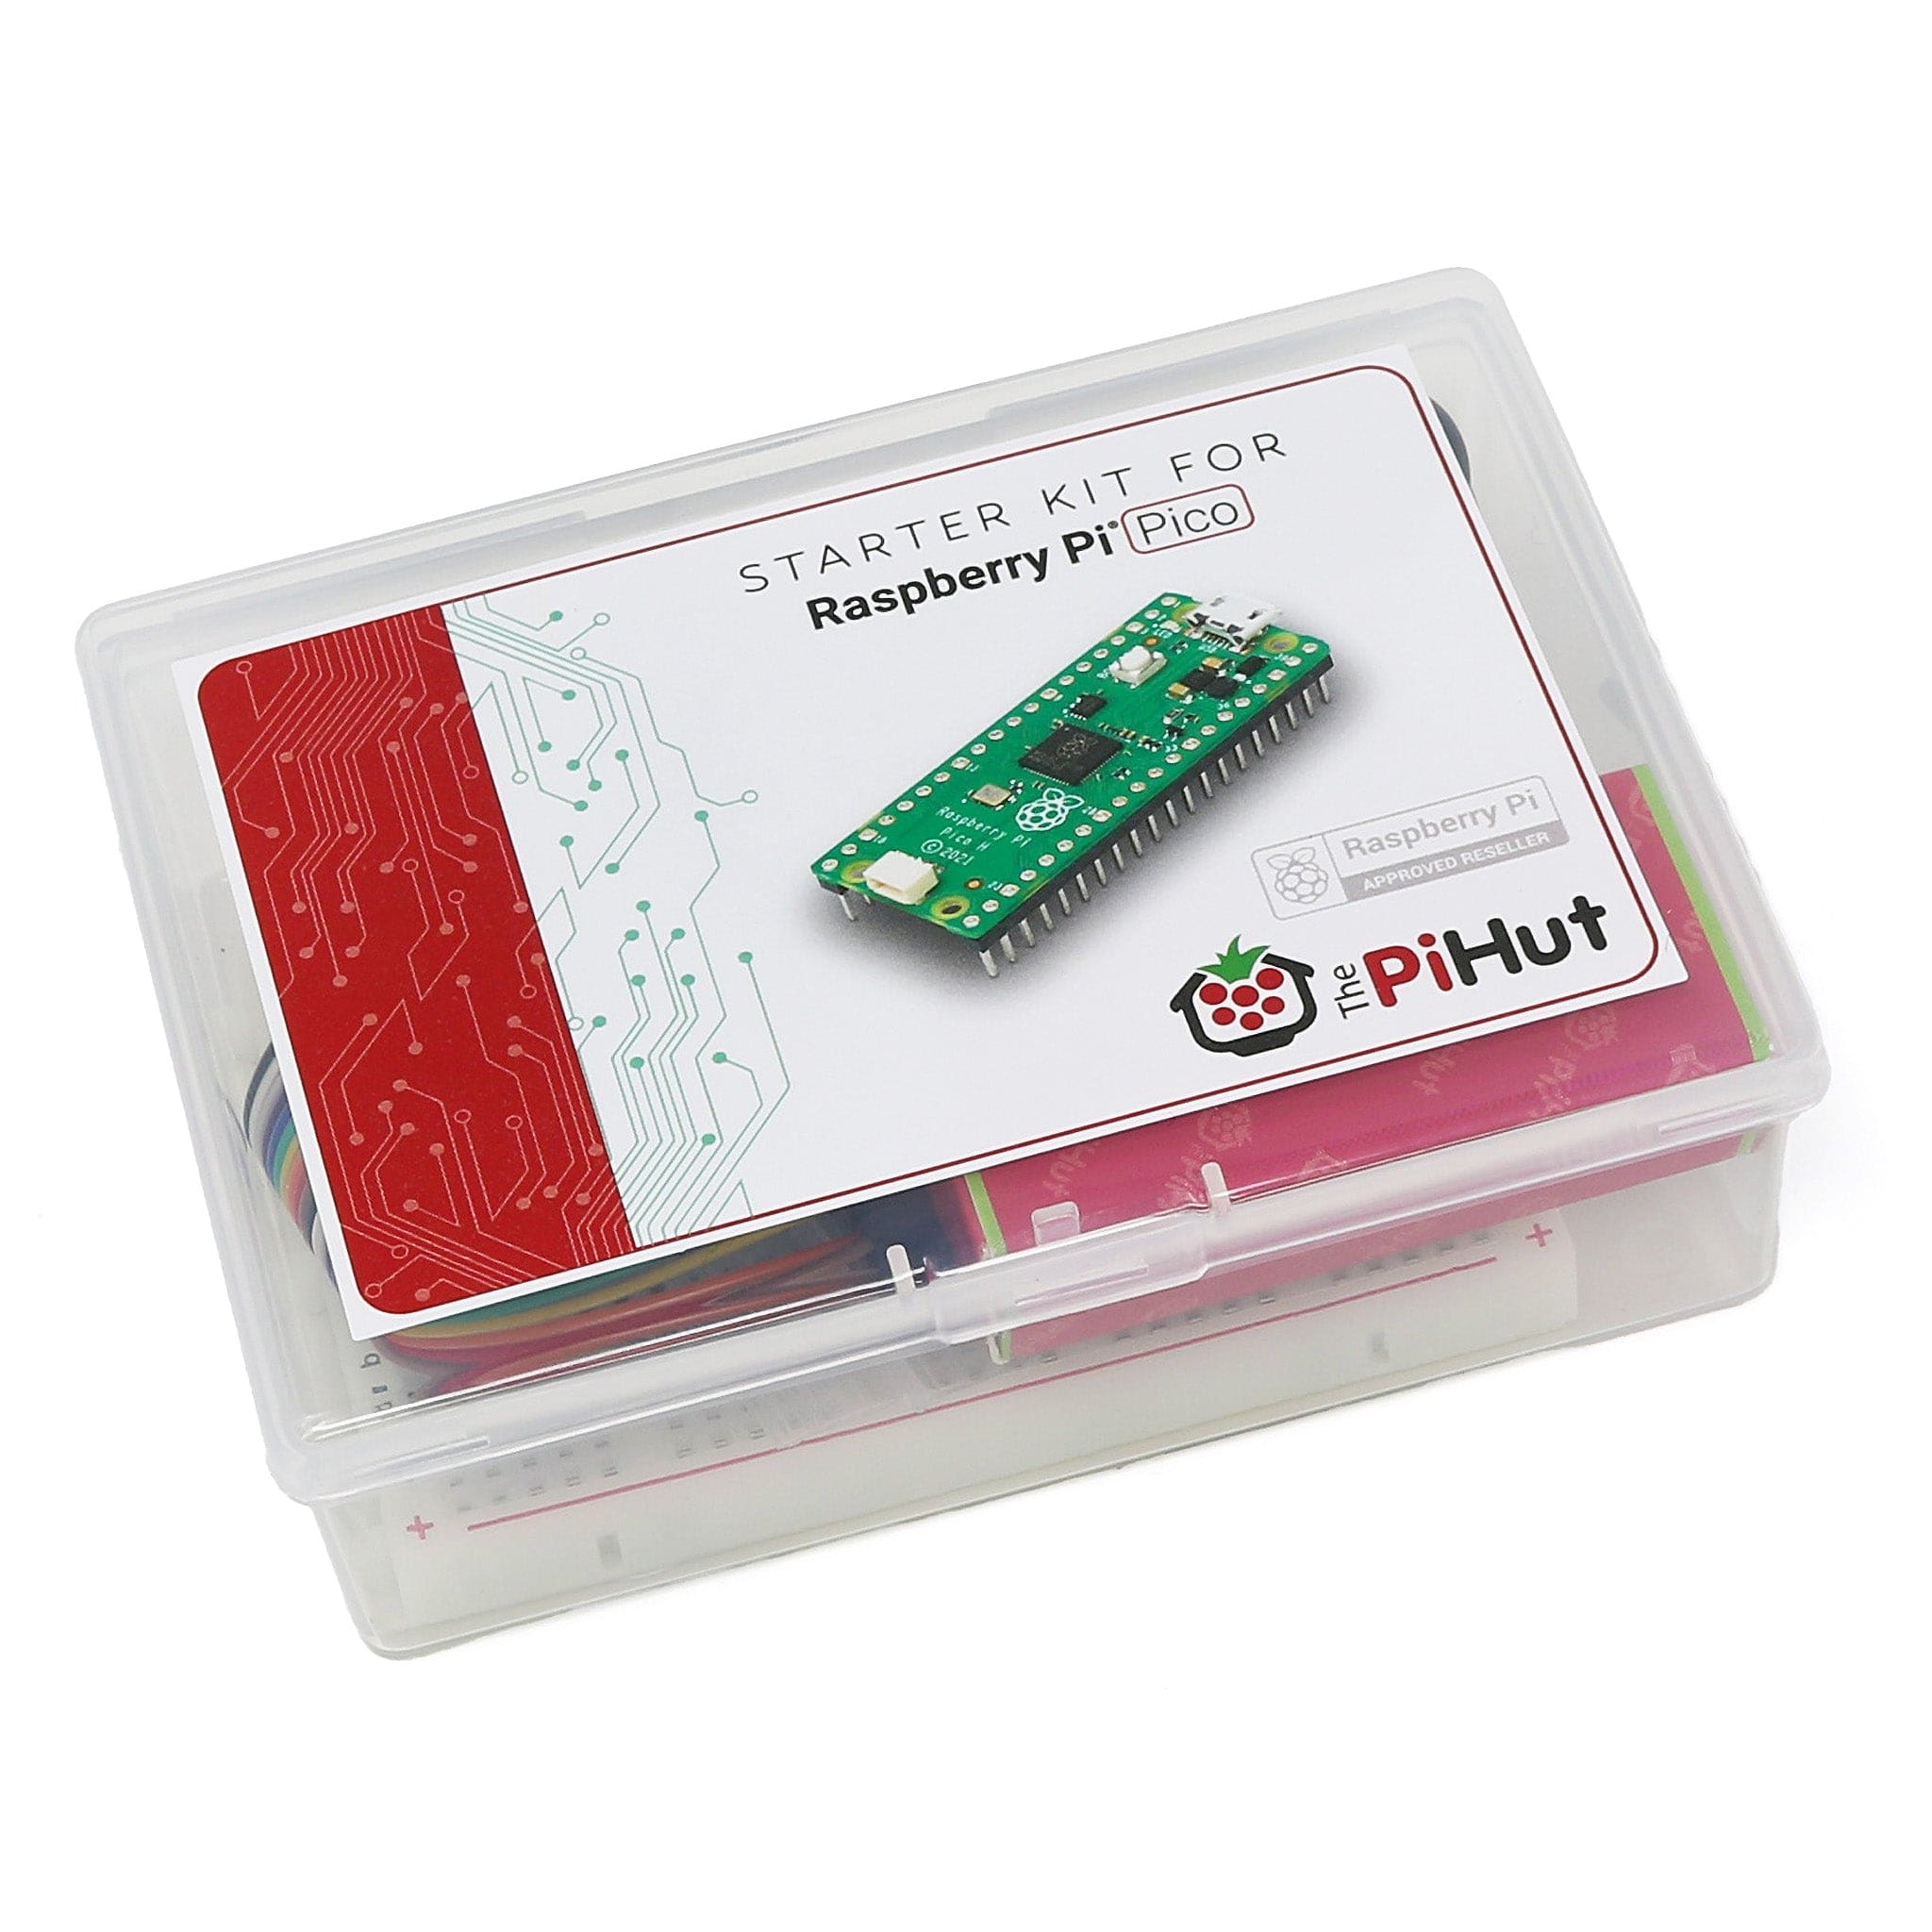
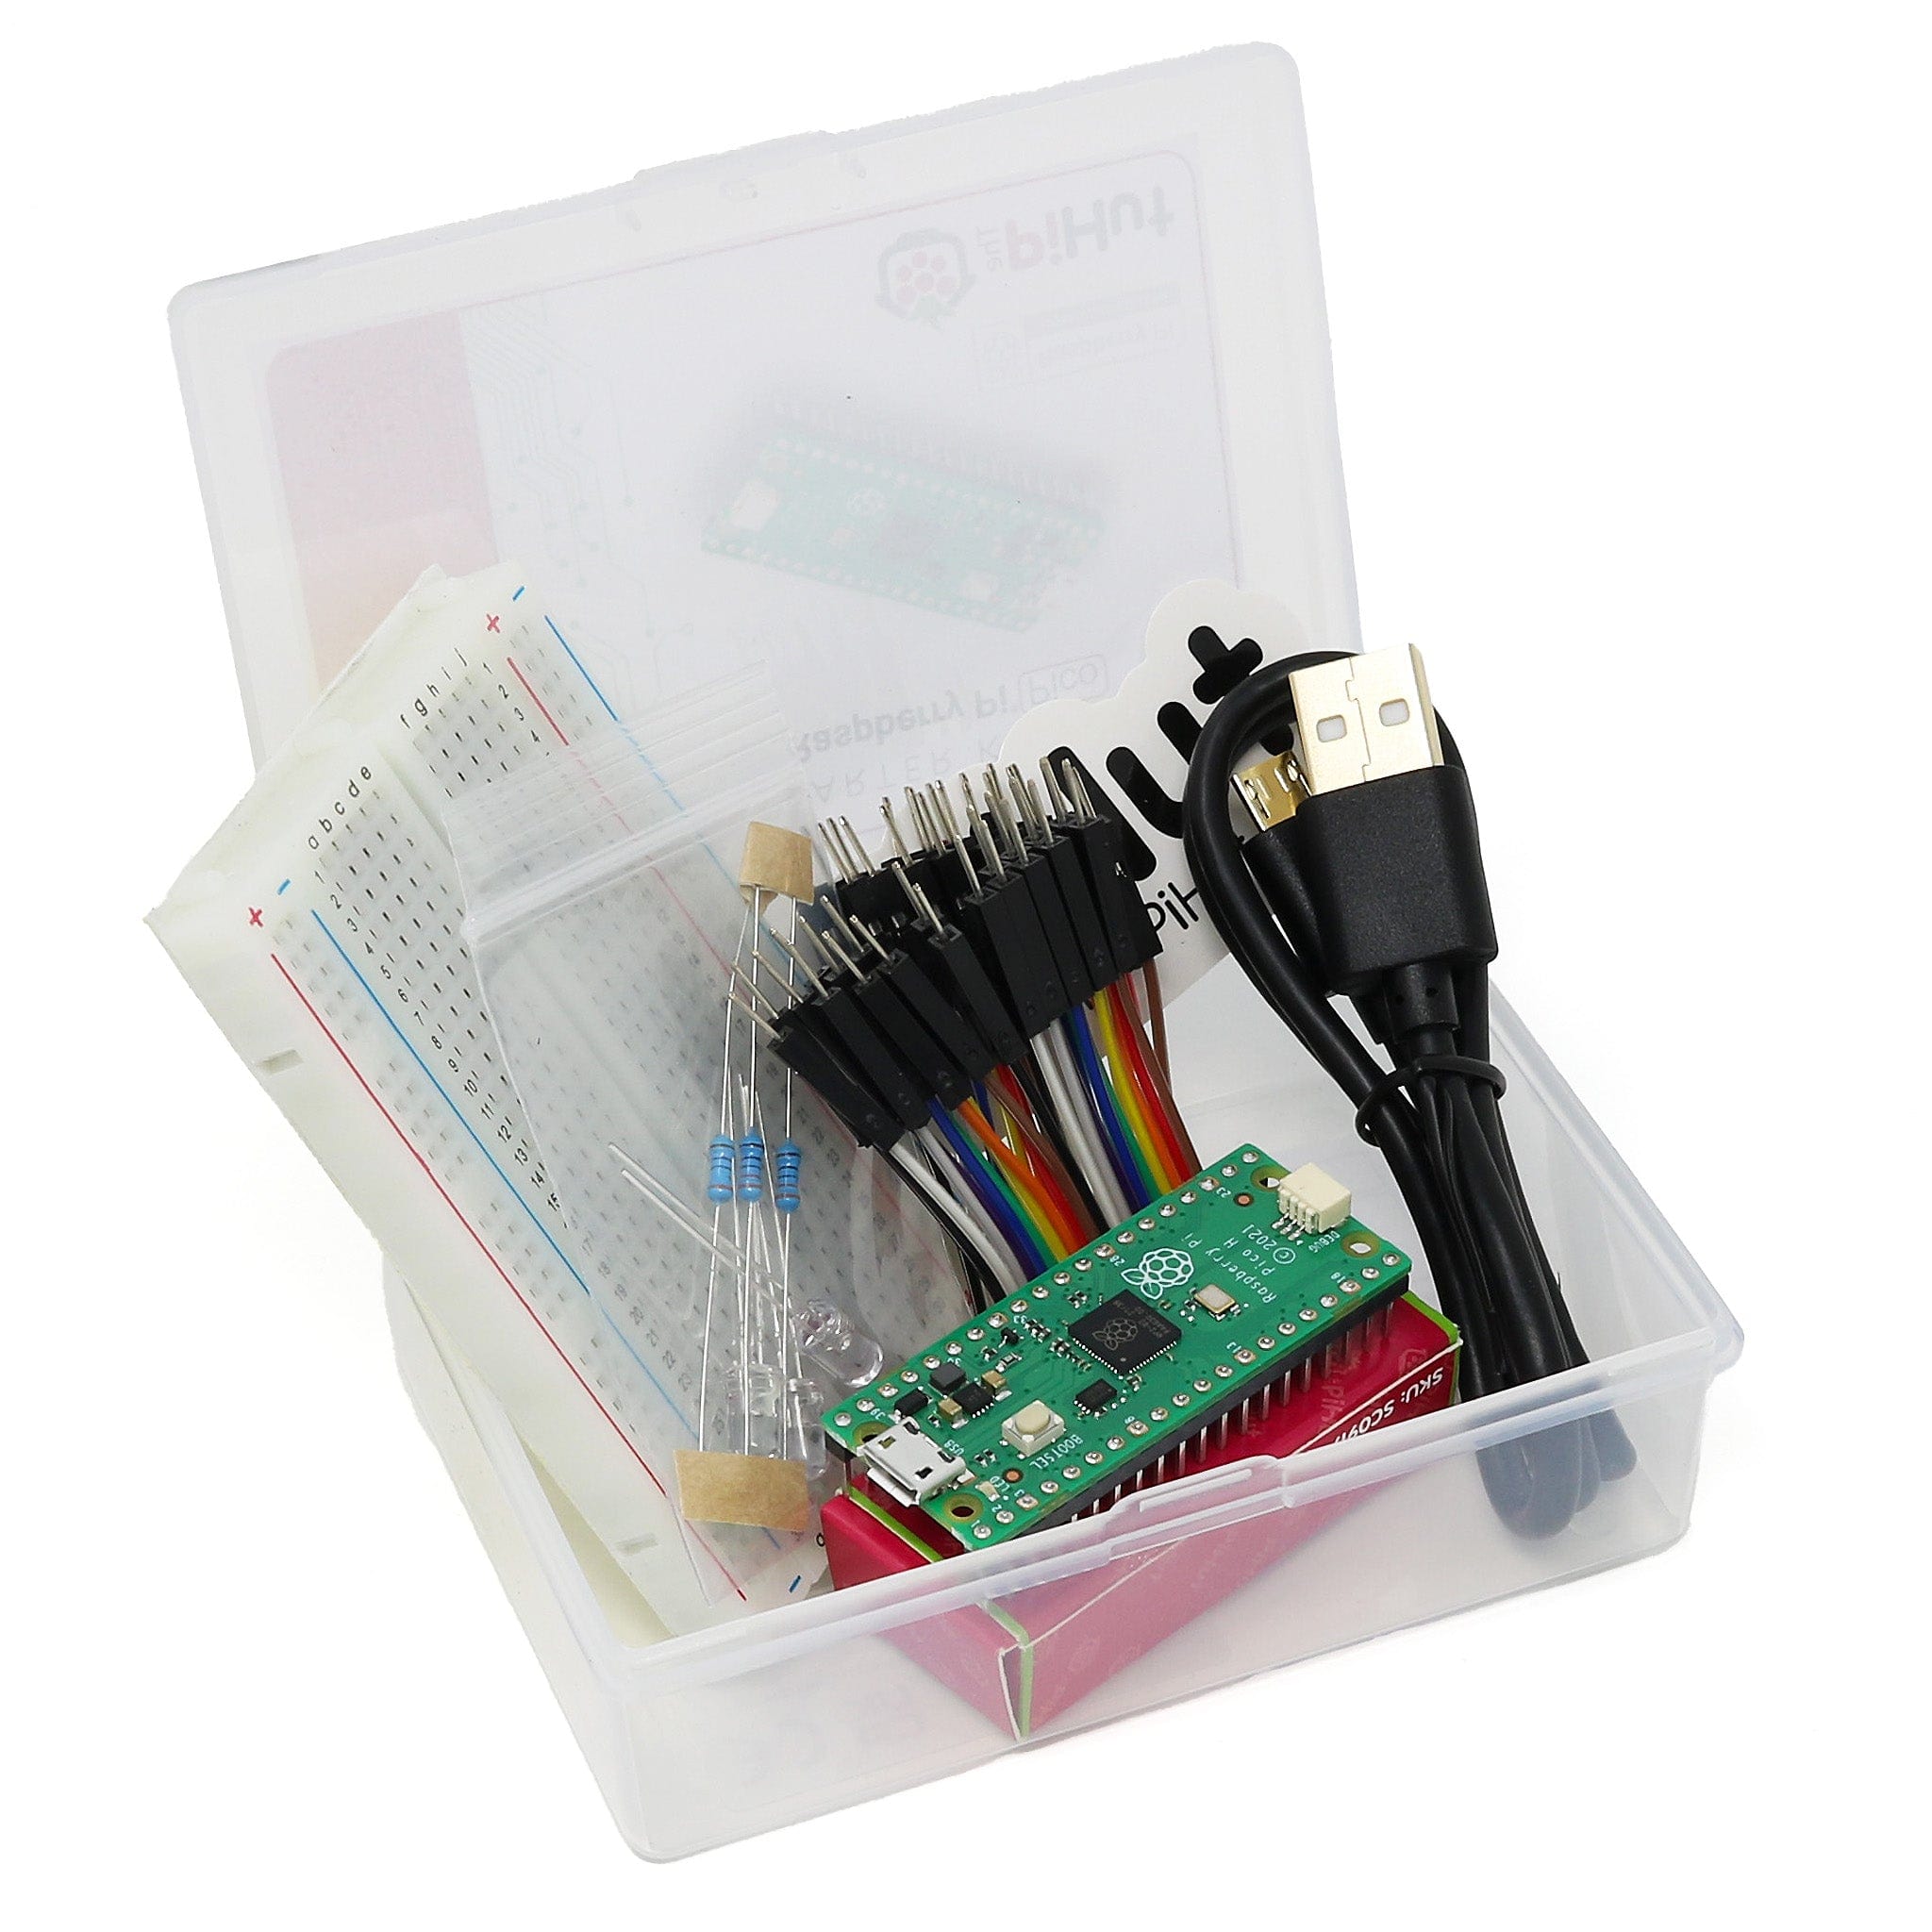
You will need:
- Raspberry Pi Pico with header pins
- A full-size breadboard
- Micro-USB cable (for power and programming the Pico)
- A pack of male-female Jumper Wires (a mixed pack is available here)
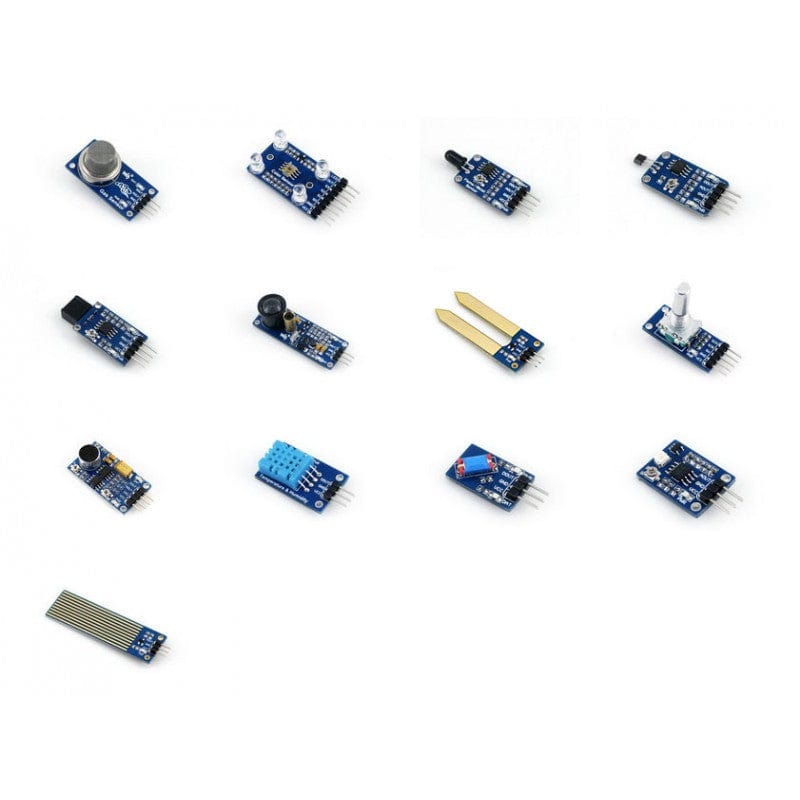
- Sensors - this article covers all of the following, so pick as many as you want to try. Many are also included in our sensors pack:
- Soil moisture sensor
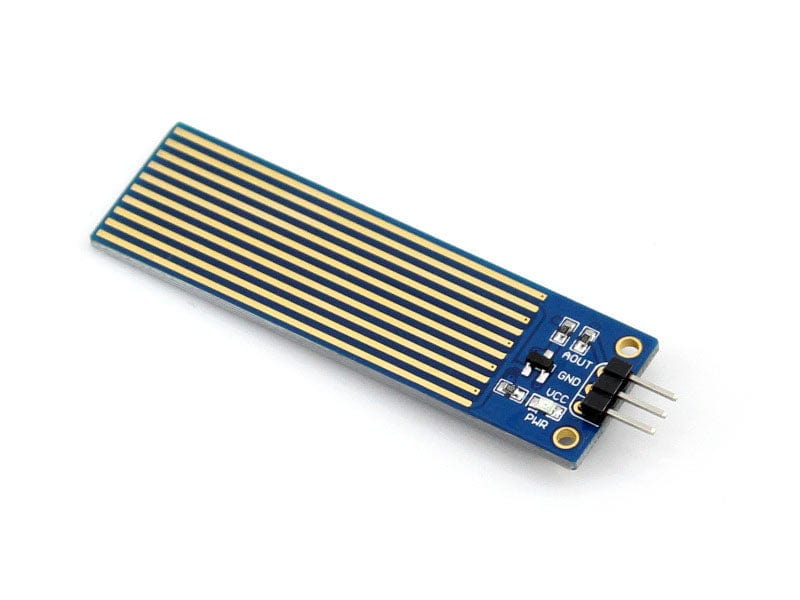
- Liquid level sensor
- Tilt sensor
- Sound sensor
- Infrared reflective sensor
- Flame sensor
- Ultra Violet (UV) sensor
- Hall sensor
- Gas sensor
- Laser sensor
- Optional:

Using Waveshare Sensors with the Raspberry Pi Pico
Analogue vs Digital Sensors
The list of sensors above includes a mix of analogue and digital sensors. But what's the difference?
- Analogue sensors provide a reading across a large range
- Digital sensors tend to be HIGH or LOW (on or off)
Let's look at which sensors in our list are analogue or digital:
Digital only sensors:
- Laser
- Tilt
Analog only sensors:
- Moisture sensor
- Liquid level sensor
- Ultra Violet (UV)
Digital and Analog sensors:
- Flame
- Hall
- Sound
- Gas
- Infrared reflective
Waveshare Sensor Connections for Pico
Connecting these sensors to the Raspberry Pi Pico is very easy. Simply use your jumper wires to connect the pins as follows:
- VCC: 3.3V pin
- GND: Any of the GND pins
- DOUT: Any GPIO pin – we are using GP22
- AOUT: Any ADC pin – we are using ADC0 on GP26
Waveshare Sensor Software for Pico
One simple program covers all of these sensors.
Connect one of the sensors as per the pin mapping above, copy the code below over to Thonny, then run the program.
Each of the sensor boards has a power LED to indicate that it's receiving power. A second LED, marked DAT, reflects the digital output. This light comes on when the digital output goes low i.e. 0 volts.
The program runs for 20 seconds, enough time to display a few readings. The print instruction is pretty slow to execute, so you may get fewer lines printed than you expected.
Read on for some tips on using the different sensors.
# Works with the following Waveshare Sensors
# https://www.waveshare.com/wiki/Sensors_Pack
# Tilt, Laser - Digital only
# Liquid level, Moisture, UV - Analog only
# The rest are have both digital and analog output
# Hall Sensor (magnetic), Sound Sensor V2
# UV (Ultra Violet),Flame, Gas, Infared Reflective
# Infrared Reflective - line following

from machine import ADC, Pin
import utime
adc = ADC(0)                   # Set up ADC for analog input
d_in = machine.Pin(22, Pin.IN) # Set up a digital pin for input
led = Pin(25, Pin.OUT)         # Set up Pico' LED for output

def invert(zz):                # Inverts  1/0 TO 0/1
    return int(not zz)

def sensor():                  # Function to return Digital and Analog values from sensor
    analog = adc.read_u16()
    digital = d_in.value()
    return digital, analog

seconds = 20                    # Loop to run for 20 seconds
stop_time = utime.time() + seconds

while utime.time() < stop_time:
    d,a = sensor()            # Get values from sensor
#    d = invert(d)
    led.value(d)              # Set LED
    print(d,a)                # Display the current values
    utime.sleep(0.2)          # Short delay
Tips
- The Hall sensor needs a small magnet to move very close to the sensor for anything to happen
- The liquid level sensor needs to be dipped in a glass of water and moved up and down
- The moisture sensor needs to be inserted in dry soil and will react as the soil is watered.
- With the UV sensor, the UV level indoors is very low so this needs to be exposed to bright sunlight to react
- The MQ-5 gas sensor has high sensitivity to butane, propane and methane
- The Laser sensor indicates reflectance at a distance, while the Infrared sensor does the same but close up – less than 4cm
Some of the sensors have tiny potentiometers which allow you to adjust their sensitivity with a small cross head screwdriver. This changes the point at which the digital signal changes (careful, they can be very delicate!)
None of these simple sensors are calibrated but they are useful to see if UV radiation is rising or falling, if your plants need water, or there is a gas leak (but please only use these low-cost sensors as a fun project, get a proper gas sensor for your home!). The digital output is like an ON/OFF switch while the analogue signal provides a more graduated response.
Syncing the sensor and Pico LEDs
If you compare the DAT LED on the sensor board with the LED on the Pico while running the program, you will notice that they are out of synchronisation, one is ON when the other is OFF.
We prefer them to be in synchronisation so that the sensor reading goes high = True = 1 which also switches on the Pico’s LED at the right time.
The program allows for this with an invert() function. You can bring it into play by uncommenting the fourth line from the end. Running the program again should have the LEDs synchronised.
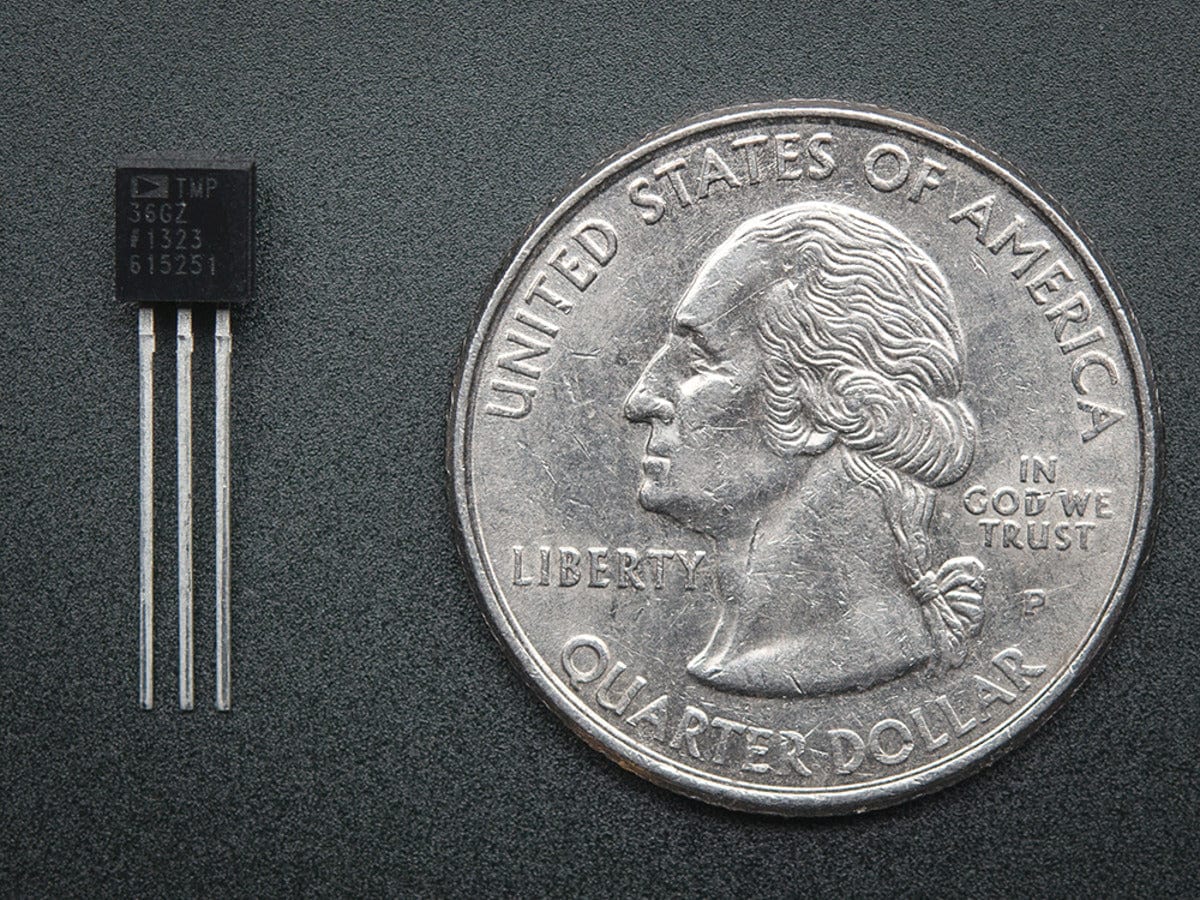
Using a TMP36 temperature sensor with the Raspberry Pi Pico

The TMP36 is an inexpensive, compact and easy to use temperature sensor - ideal for maker projects.
It outputs a voltage in proportion to its temperature. We use an ADC pin on the Pico to measure the voltage and calculate the temperature, as follows:
Temp °C = 100 * (reading in V) – 50
Connecting a TMP36 sensor to the Raspberry Pi Pico
The connection to your Pico is simple. When looking at the flat face of the sensor, with the legs pointing down, we connect as follows:
- Left leg - 3.3V
- Centre leg - signal - ADC0 on GP26
- Right leg – GND
Alternatively, using the diagram taken from the component documentation:

Coding the TMP36 with the Raspberry Pi Pico
Below you'll find a quick program to get you started with using the TMP36 with your Raspberry Pi Pico. The program is fully commented to explain what is going on.
You often have to adjust the value you get from a temperature sensor with an offset. This device is quoted from the data sheet to be accurate to + or – 3°C. Other, more expensive temperature sensors, can be more accurate. It also depends on the accuracy of the ADC in measuring a voltage.
Notice the difference in the position of the °C in the last two lines. A comma in a print() always leaves a space. In the last line we have turned the number into a string and concatenated (joined) another string onto it with the ‘+’. Now we do not have a space when we print:
# TMP36 - thepihut.com -
# While looking at flat side of sensor, legs pointing down
#   Left leg - 3.3 Volts
#   Centre leg - signal - ADC0 on GP26
#   Right leg - GND

from machine import ADC, Pin
import utime
adc = ADC(0)                    # Set up ADC0 pin

analog = adc.read_u16()         # Read the ADC
volts = analog/ 65535 * 3.3     # Calculate the voltage
temp = 100 *volts - 50          # Calculate temperature in °C
temp2 = round(temp)             # Round to nearest whole number
print("RAW:",analog)
print("Volts:",volts)
print("Temperature:", temp, "°C")
print("\nRounded temperature: ",temp2, "°C")

offset = 2.9                   # Apply offset (Individual to system)
temp3 =round(temp + offset)    # - you may need more - and round
print("\nAdjusted temperature:", str(temp3) + "°C")
When you run the program, the output should look something like this:
>>> %Run -c $EDITOR_CONTENT
RAW: 12563
Volts: 0.632607
Temperature: 13.2607 °C
Things to try
- Print out the temperature every 10 minutes. Watch it rise in the morning and cool in the evening.
- Turn on/off red, yellow, green and blue LEDs to indicate temperature
- If you also have a DS18B20-compatible temperature sensor, you could compare the readings from the two sensors by writing a program to read both sensors every couple of minutes (see our advent entry for more on the DS18B20)
What's next?
In the next tutorial we will look at some dual sensors - temperature and humidity – DHT11 and DHT22, which are also very easy to interface with a Raspberry Pi Pico.
The first is included in the Waveshare sensors pack together with a Rotation sensor (a rotary encoder) to be included in a later tutorial.
About the Author
This article was written by Tony Goodhew. Tony is a retired teacher of computing who starting writing code back in 1968 when it was called programming - he started with FORTRAN IV on an IBM 1130! An active Raspberry Pi community member, his main interests now are coding in MicroPython, travelling and photography.