

MicroPython Skill Builders - #4 Functions with Potentiometers
Welcome to the fourth instalment of our MicroPython Skill Builders series by Tony Goodhew, aiming to improve your coding skills with MicroPython whilst introducing new components and coding techniques - using a Raspberry Pi Pico!
In this episode, Tony will teach you what a function is in MicroPython, why you'd want to use one, and some examples using functions including how to clean up readings from a potentiometer.
Need to catch up? Check out our tutorials section for the previous episodes.
What you will need
We assume that you have installed Thonny on your computer and set up your Raspberry Pi Pico with the most recent MicroPython firmware (UF2). If not, check out our Raspberry Pi Pico Getting Started Guide where this is covered in detail.
We're are also assuming that you have read/completed the previous tutorials in the series (see the link above if not).
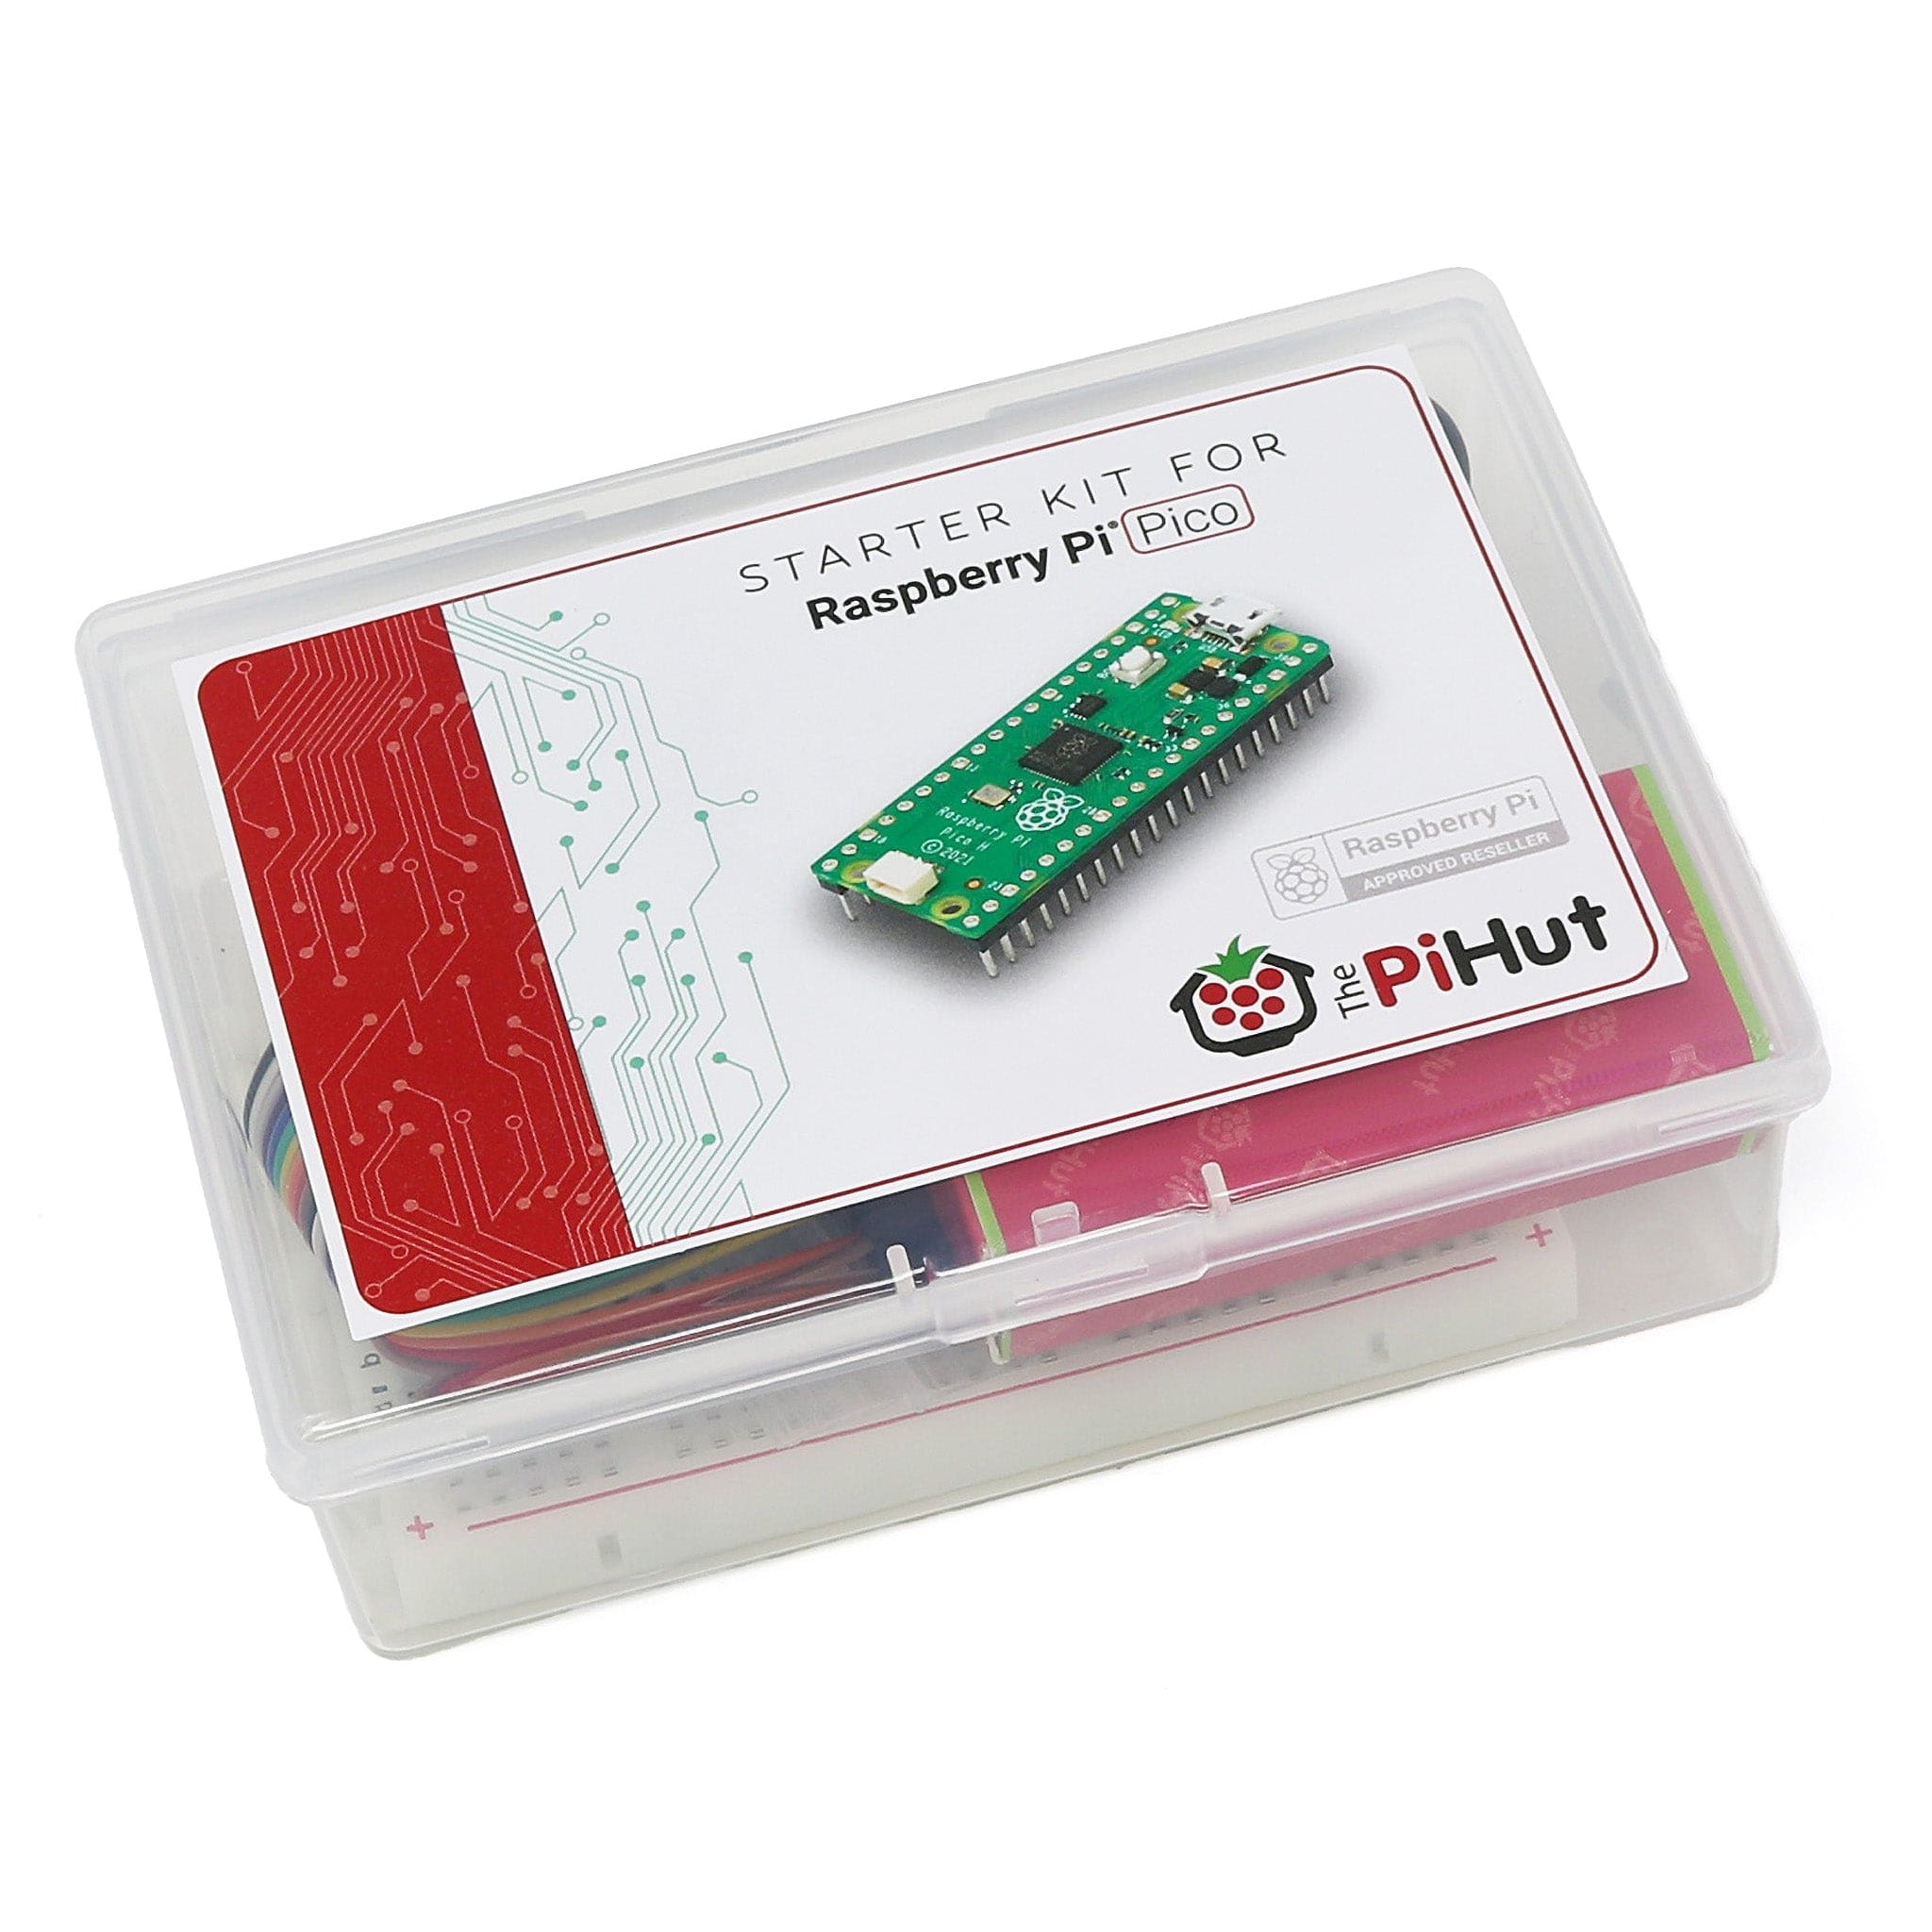
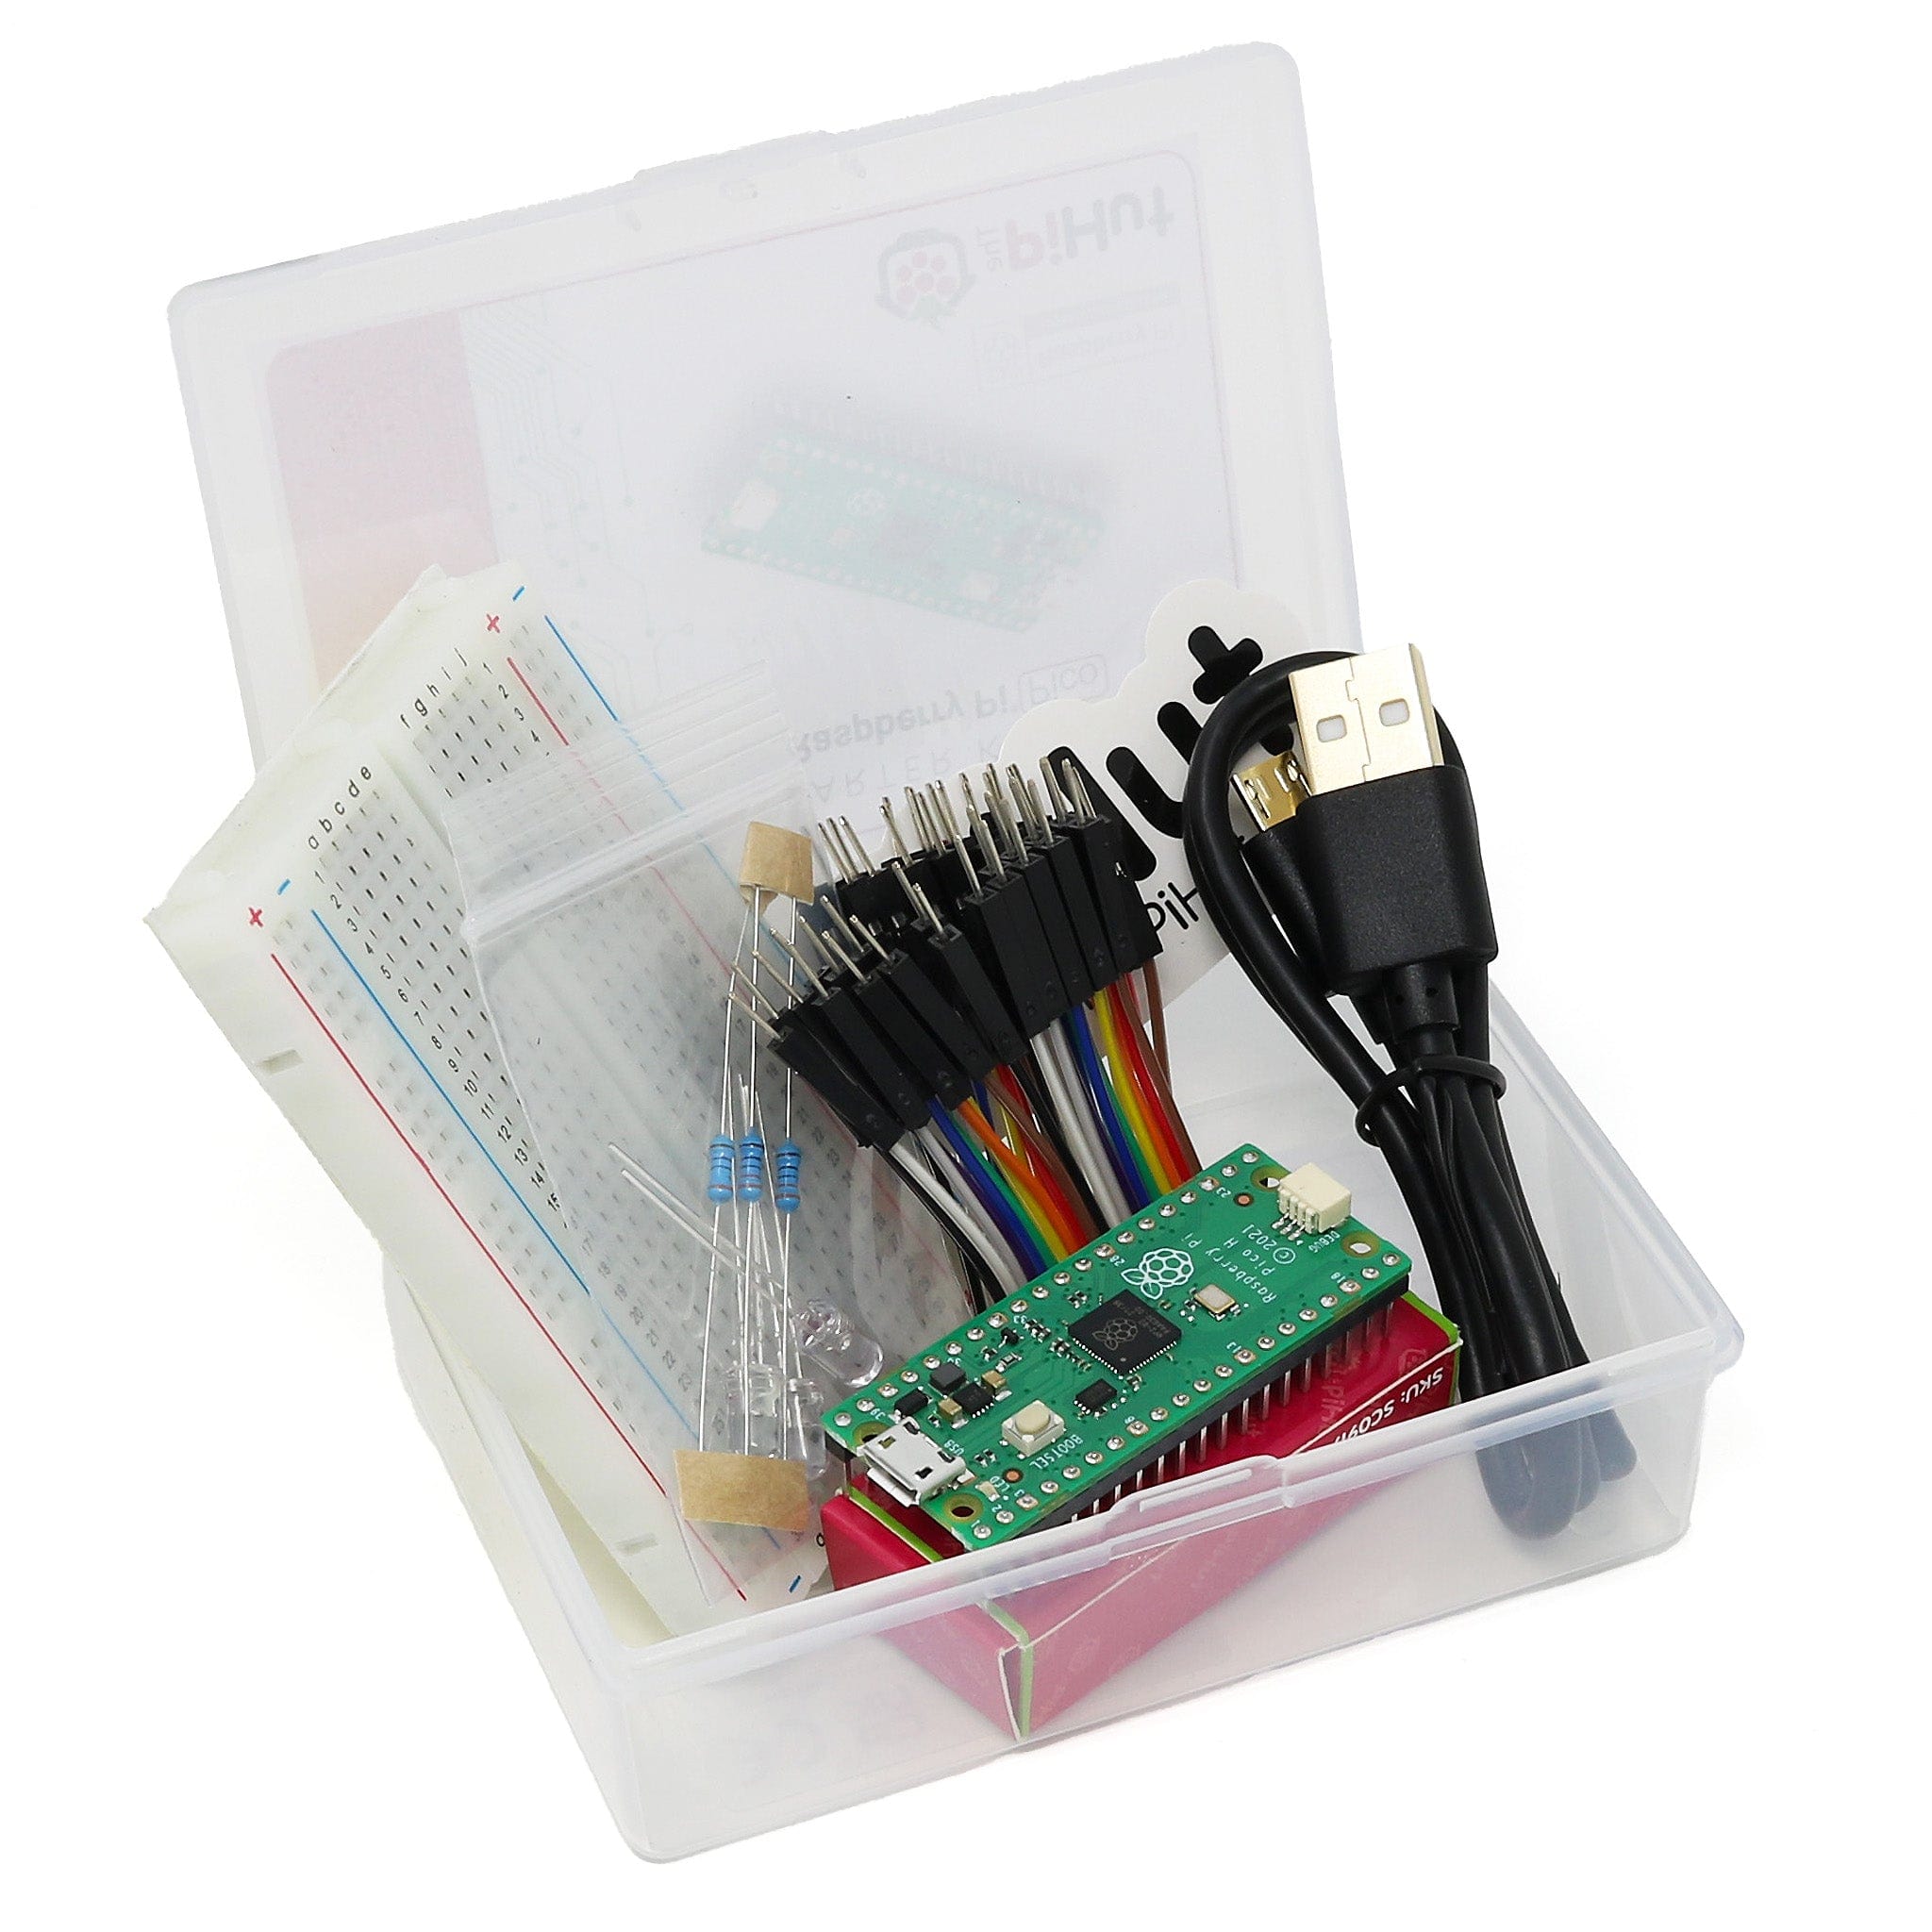
You will need:
- Raspberry Pi Pico with header pins
- A full-size breadboard
- Micro-USB cable (for power and programming the Pico)
- A pack of male-male and male-female Jumper Wires (a mixed pack is available here)
- Tactile buttons (a mixed pack is available here)
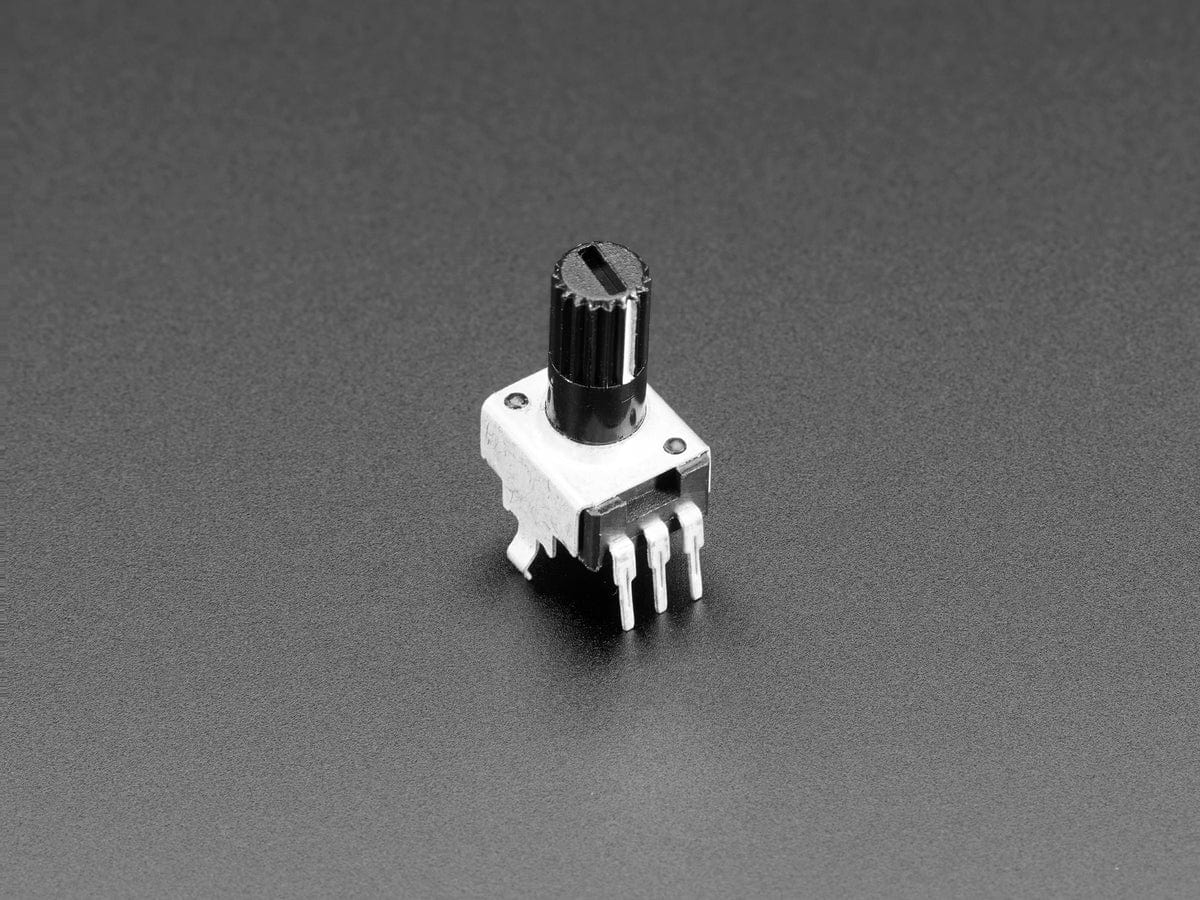
- 3x 10k Potentiometer
- 3x Current limiting resistors (330 Ohms)
- 3x LEDs or a 10-segment Light Bar Graph
Our starting point
We will be continuing with the bar graph circuit from our previous tutorial. Go back to tutorial #2 for instructions on how to build the circuit if you need to.

What are Functions?
A function is a procedure that returns a value or values. We covered procedures in the previous tutorial - they look similar but have different purposes:
- A procedure is a block of code that we use (call) to perform a task
- A function is a block of code that we use (call) to perform a task and provide/return values
Just like procedures, it begins with the key word, def, and is followed by a procedure name, a pair of brackets and a colon. The indented lines after the def line are normal, indented code - the kind of thing we would write in a loop.
Simple function example
A very simple example of a function could be changes to temperature from Celsius (°C) to Fahrenheit (°F).
In the calculation to do this we multiply °C by 9, divide by 5 and then add 32, which looks like this as a function:
def c_to_f(t):
    f = c * 9 / 5 + 32
    return f

test_temperatures = [0,100,20,39, -40]

for c in test_temperatures:
    f = c_to_f(c)              # Call the function
    print(c,"°C equals",f,"°F")
This short program will produce the following result:
0 °C equals 32.0 °F
100 °C equals 212.0 °F
20 °C equals 68.0 °F
39 °C equals 102.2 °F
-40 °C equals -40.0 °F
A more advanced function example
The following program uses a more complicated function to calculate multiple values from a random list of integers. Give it a try then read on for an explanation:
# Find Length, Max, Min and Mean from a list
import random
# ==== definitions =========
def get_stats(q):
    minn = 999
    maxx = -999
    total = 0
    l = len(q)
    for v in q:
        total = total + v
        if v < minn:
            minn = v
        if v > maxx:
            maxx = v
    mean = total / l
    return l, mean, maxx, minn
# ==== End of definitions ========

# Generate some values
data = []
size = random.randint(7,25) # Random number of items from 7 to 25
for i in range(size):
    r = random.randint(-25,100)
    data.append(r)

# Analyse the list
items, average, largest, smallest = get_stats(data)
# Print results
print("No of items: ",items)
print("Average: ",average)
print("Smallest: ",smallest)
print("Largest: ",largest)
print(data)
One run of the program produced this:
No of items: 14
Average: 42.21429
Smallest: -12
Largest: 97
[24, 89, -3, 32, 76, 20, 58, 14, 22, 84, -12, 97, 69, 21]
How it works
We use the built-in function len(listname) to find the length of the list.
To calculate the minimum value in a list we set the variable minn to a very high value, 999. We run through the list and each time we find a value lower than the current value in minn we replace it.
To calculate the maximum value in a list we set the variable maxx to a very low value, -999. We run through the list and each time we find a value higher than the current value in maxx we replace it.
To get the mean, or average, we total all the elements in the list and divide by the number of items in the list.
Using functions to improve analogue readings
We're going to use our potentiometer to show you how we can use functions to 'clean up' analogue readings.
We gave a good introduction to analogue inputs and outputs in our Maker Advent Calendar Day #4 post, so if you're not sure what analogue is or what it can do for us, have a read of that article first.
We'll use our potentiometer circuit with some initial code to produce some values, then we'll use a function to improve it.
Simple potentiometer readings (without functions)
We can continue with our basic circuit to run a simple potentiometer program (with some common analogue reading flaws that we can then improve on by using functions).
Run the following program and turn the potentiometer knob to change the brightness of the LED on pin GP2. Press the button to halt the program once you're done.
Some things you'll notice:
- The brightness varies as we turn the knob
- The LED dims but does not turn off completely at the bottom end as the reading never gets down to zero (300-500 are common lowest values)
- At the top end it goes out or flickers between off and very bright readings of 65535
- When we press the button, the tidy up code turns off PWM and the LED neatly
# Exploring Potentiometer control of LED brightness
# 10 Segment LED Bar Graph or 1 LED on GP2
# Author: Tony Goodhew 5 May 2023

# Button switch on GP15 - Pull Down
# 10K Ohm potentiometer on ADC0 = GP26

# Import libraries
from machine import Pin, ADC, PWM
import time

# Set up button on GP 15 with Pull Down
button = Pin(15,Pin.IN, Pin.PULL_DOWN)

# Set up the potentiometer on ADC pin 26, ADC0
potentiometer = ADC(Pin(26))

led = PWM(Pin(2))     # Set up 1 LED for PWM

reading = 0

while button.value() == 0: # Press button to stop looping

    reading = potentiometer.read_u16() # Read the potentiometer value
    print(reading)                     # Print the value

    # Set the LED PWM duty cycle to the potentiometer reading value
    # The duty cycle adjusts the time ON:time OFF ratio
    led.duty_u16(reading)
    time.sleep(0.2) # Short delay

# Tidy up
# Set led as output and turn off - NO PWM
led = Pin(2, Pin.OUT)
led.value(0)
Improving potentiometer readings with functions
Lets now try a better program, using functions to clean up our readings and fix the flaws listed above.
The following ranges should be useful as a start:
- Full 16-bit range: 0 to 65535 – adjust brightness of an LED – 0 will turn it off properly.
- Percentages: 0 to 100
- Values in a byte: 0 to 255
- A pointer or index for a row of LEDs: 0 to 8 or more
- Simulated temperatures: -45 to 110
The following program shows how this can be achieved by rescaling and adjusting with an offset. It works on all 3 of the ADC pins. Give the code a try then read on to find out how it works:
# Rescaled Potentiometer values
#   == Tony Goodhew for thepihut.com  == 8 May 2023 ==
# Button on GP 15
# 10K Ohm Pots on ADC0, ADC1 and ADC2 if needed GP26 -> GP28
# LED on GP2 with 330 Ohm resistor

# Import the libraries
from machine import ADC, Pin, PWM
import time

# Set up button on GP15 as INPUT with PULL_DOWN
button = Pin(15, Pin.IN, Pin.PULL_DOWN)

# Set up the ADCs with a list
adcs = [] # An empty list of ADC pins

for i in range(3):
    adc = ADC(26 + i)         # Pins GP26, GP27 & GP28
    adcs.append(adc)          # Add the new ADC pin to the list

led = PWM(Pin(2))     # Set up 1 LED for PWM output
led.freq(1000)

def pot_adj(adc, minn, maxx):     # Function to rescale a potentiometer reading
    pot_min = 800                 # Take lowest readings as 0
    pot_range = 65535 - pot_min
    req_range = maxx - minn

    # Read the raw potentiometer value from specified potentiometer
    pot = adcs[adc].read_u16()

    # Re-scale
    result = ((pot - pot_min) * req_range / pot_range) + minn
    result = int(result)          # Ensure it is an Integer – whole number

    # Adjust end points as necessary
    if result < minn:  # Bottom end – set to minn if too low
        result = minn
    if result > maxx:  # Top end – set to maxx if too big
        result = maxx
    return result      # Output the result to main program

# === Loop until the button is pressed ===
while button.value() == 0: # Halt loop with the button
    # Get value from pot (adc, minn, maxx)
    v = pot_adj(0, 0, 65534)
    print(v)
    led.duty_u16(v) # LED brightness (0 - 65534)
    time.sleep(0.2)

# Tidy up
# Set led as output and turn off - NO PWM
led = Pin(2, Pin.OUT)
led.value(0)
How it works
There are 3 parameters (adc, minn, maxx):
- adc is the ADC pin pointer 0 = GP26, 1 = GP27 and 2 = GP28
- minn is the minimum value required at the low end when turning the potentiometer
- maxx is the maximum required value at the high end
We call the function and pick up the answer with the single instruction:
v = pot_adj(0, 0, 65534) # Get value from pot (adc, minn, maxx)
This stores the answer in v.
Inside the function we use ratio and proportion to adjust the raw pot reading to the required size and then apply an offset to get the correct minimum value:
    # Re-scale
    result = ((pot - pot_min) * req_range / pot_range) + minn
    result = int(result)          # Ensure it is an Integer – whole number
Things to try
Here are some ideas for things to try yourself. Have a go, break the code, fix it and learn!
- Run the code and check that the LED is OFF and you are getting a true zero. Turn the potentiometer knob full up and check the LED is fully bright and without flicker.
- Comment out the line led.duty_u16(v) # LED brightness (0 - 65534) and try changing the value of the arguments to alter the required maximum and minimum values, such as (0, 0, 100), (0, 0, 10), (0 ,20, 75), (0, -40, 40) - we can now get a reliable zero and values going into the negative, if necessary.
- Move the potentiometer wire and test with the other ADC pins GP27 and GP28. Change the first argument as necessary.
- Use the potentiometer on ADC0 to adjust the ON/OFF time of a flashing LED (sleep values between 0 and 0.75 seconds).
- Use an additional pot to vary the brightness of the same LED, while it is flashing.
Final thoughts
We think the problem with 65535 turning off the LED is an overflow problem in MicroPython. Just use 65534 as the maximum in led.duty_u16(v) to get the brightest LED glow.
If we write a long program in which we need to get values from several ADC pins at different places and with different ranges, we just call the function and do not need to insert the section of code again. This saves space and makes the code much easier to read, especially if you use meaningful names for your functions.
Breaking up large project into a series of tested procedures and functions makes coding much easier and less prone to errors. You can reuse them in new projects as your skills develop – just copy and paste between programs. We will be using this function in future tutorials.
About the Author
This article was written by Tony Goodhew. Tony is a retired teacher of computing who starting writing code back in 1968 when it was called programming - he started with FORTRAN IV on an IBM 1130! An active Raspberry Pi community member, his main interests now are coding in MicroPython, travelling and photography.

1 comment
Neil Hoskins
When we first control the led with the potentiometer, my led doesn’t light unless I put led.freq(1000) after we set up PWM.
When we first control the led with the potentiometer, my led doesn’t light unless I put led.freq(1000) after we set up PWM.