
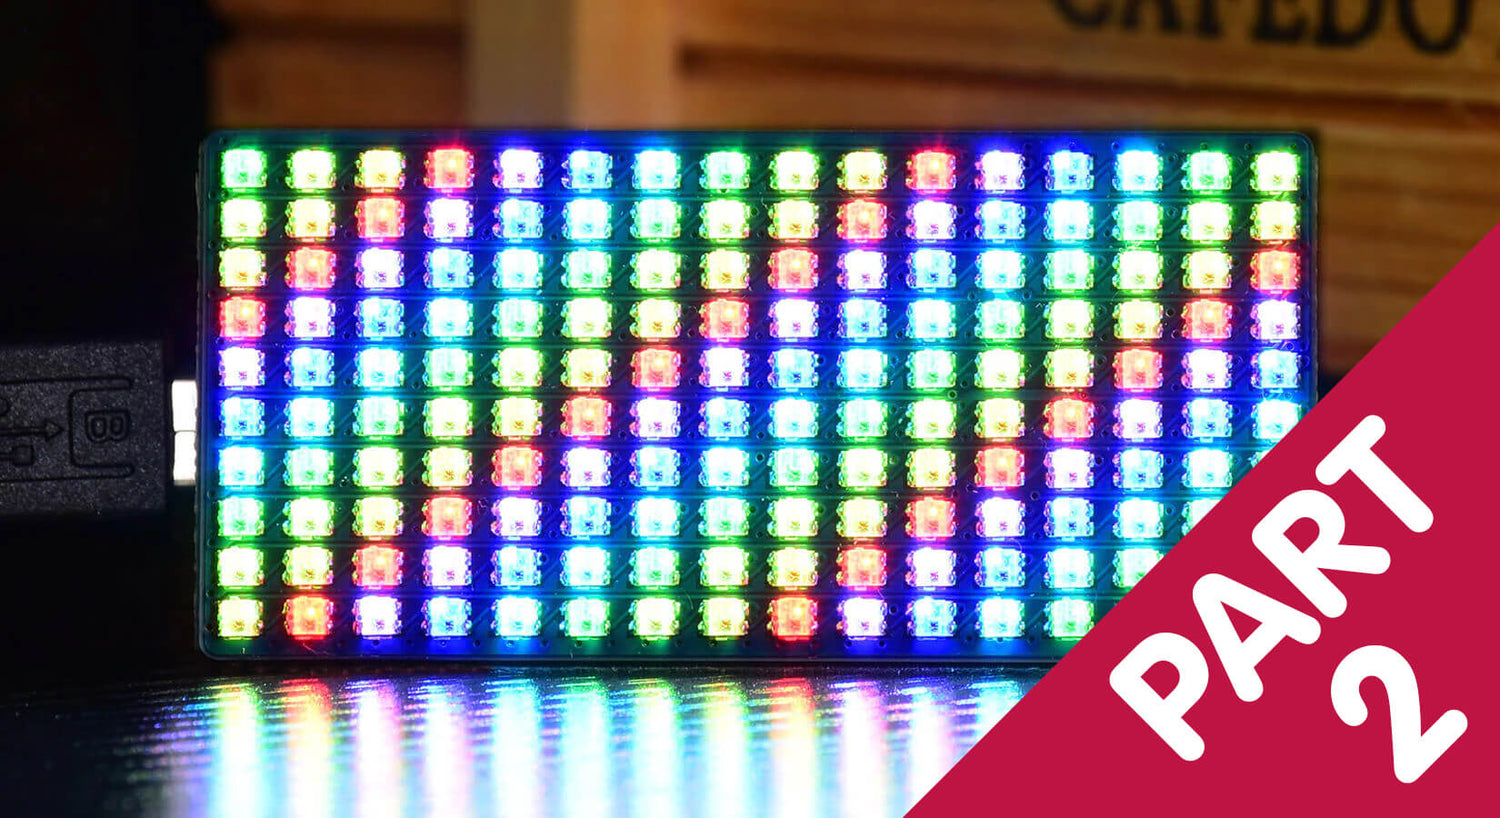
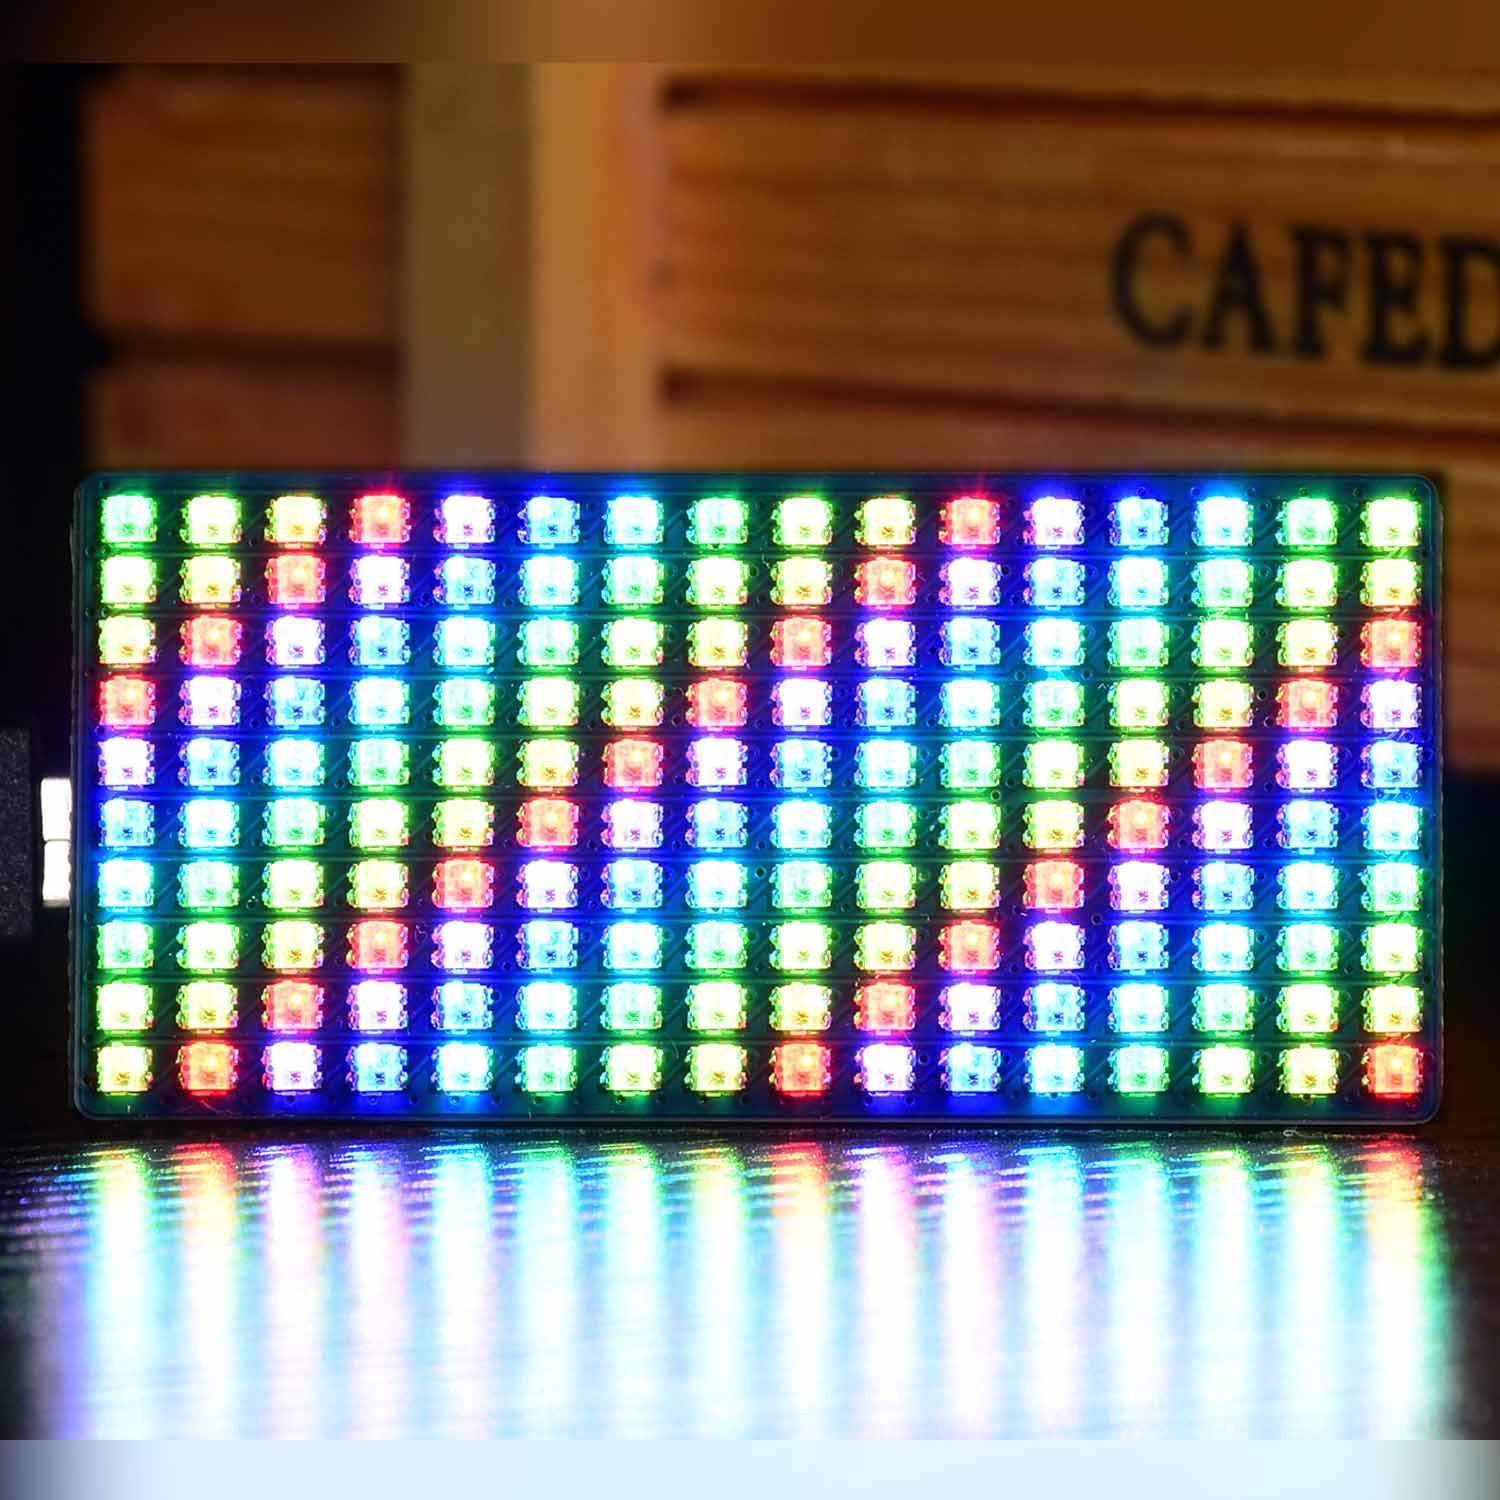
How to use the Waveshare RGB Full-colour LED Matrix Panel for Raspberry Pi Pico - Part 2
This is the second part of our two-part tutorial on how to use the Waveshare RGB Full-colour LED Matrix Panel for the Raspberry Pi Pico.
In the first part we showed you how to display basic colours, display values and show the time. In this part we'll show you how to:
- Scroll colourful text and numeric values across the screen using an extended character set
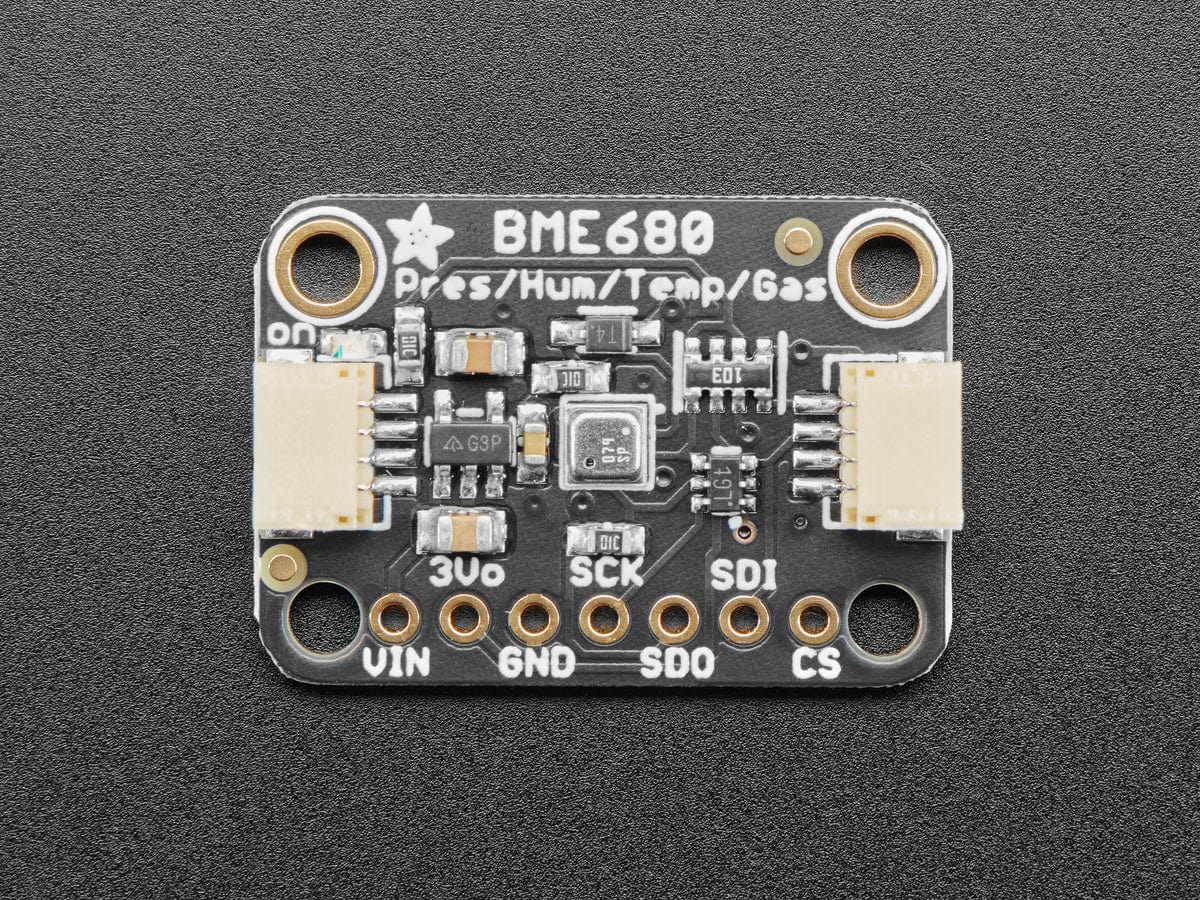
- Display sensor readings from a BME680 temperature sensor
What you'll need
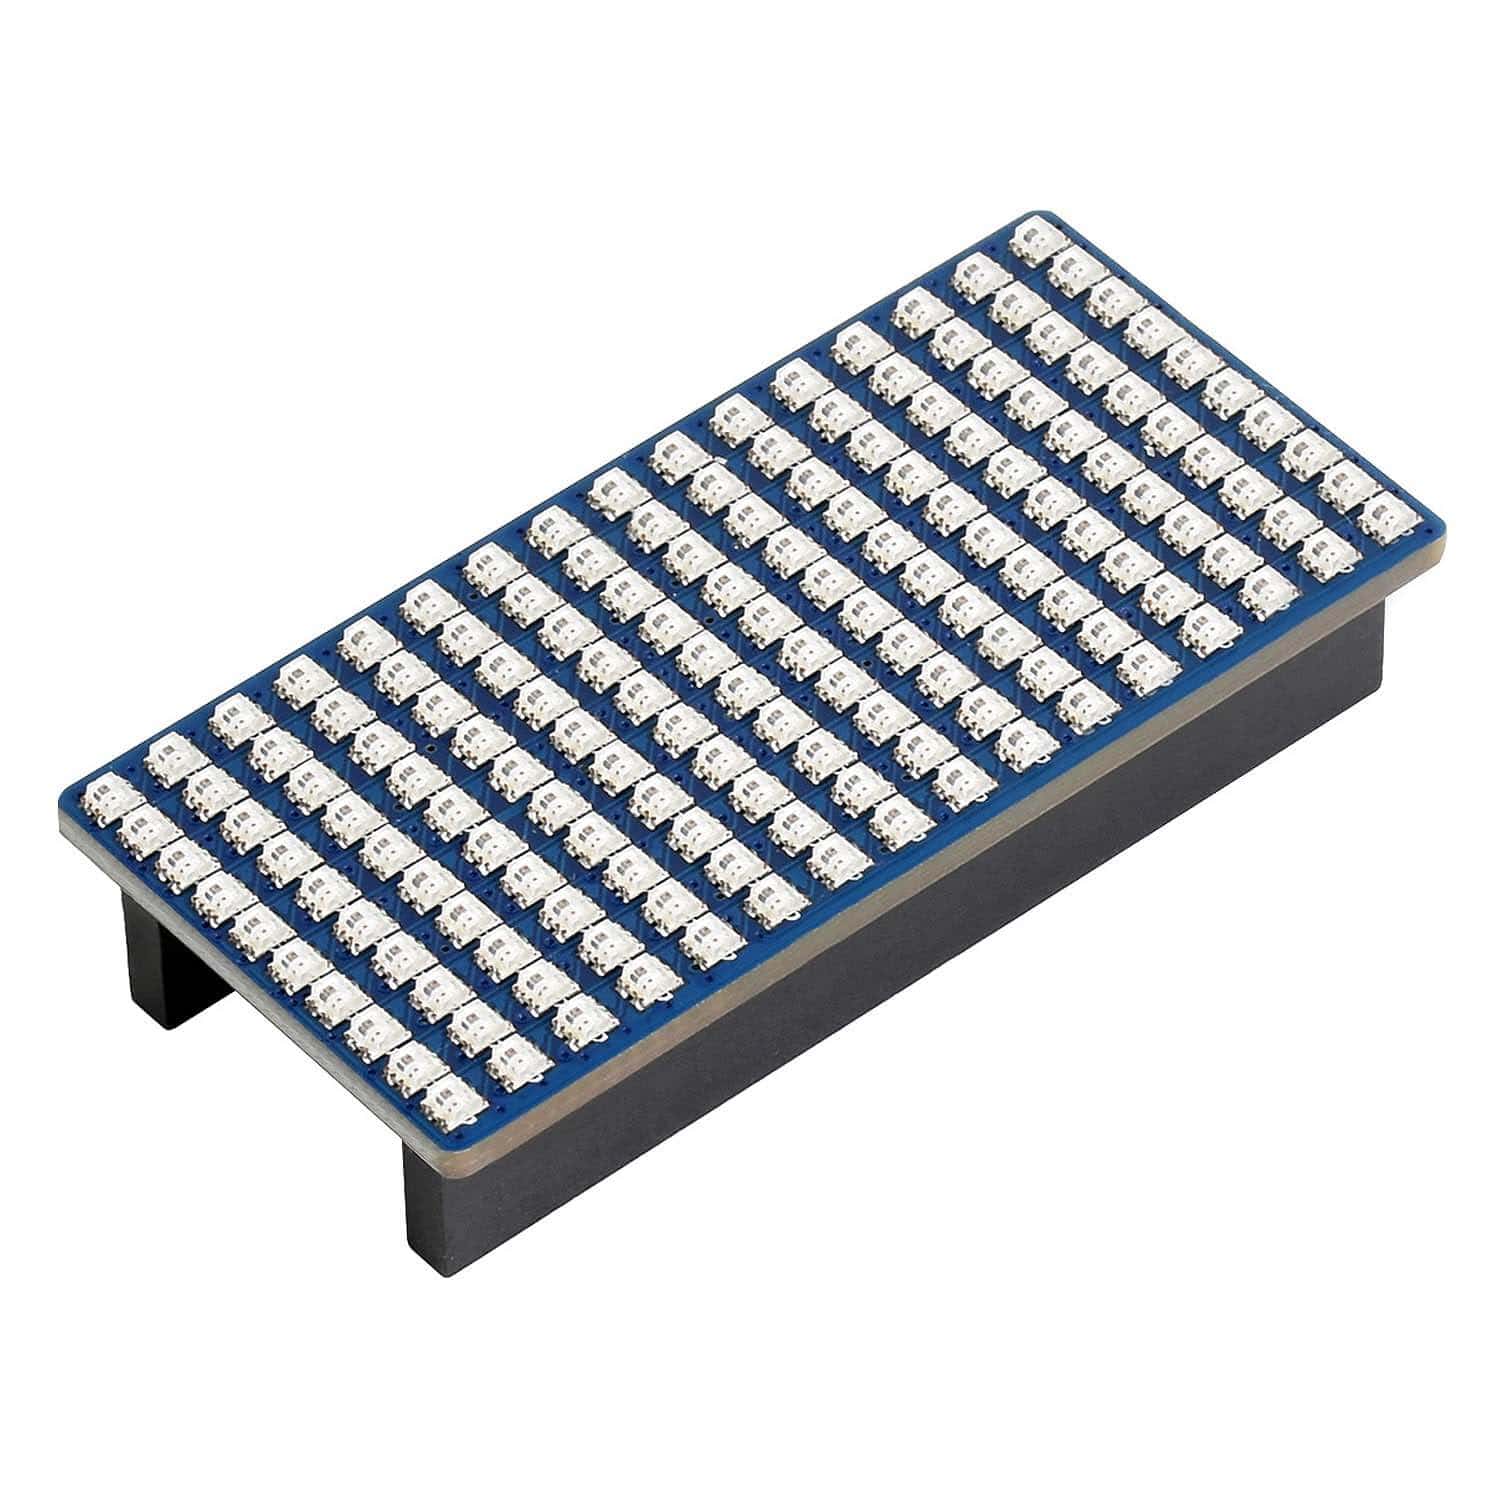
For part 2, you'll need everything from part 1 plus:
There are also some other optional parts mentioned within this article in case you want to try some of the suggested projects.
Scrolling a string of characters across the screen

This turned out the be much easier than we thought it would be, and only one procedure was required. We downloaded a standard ASCII 5x8 font from GitHub which worked perfectly. Unfortunately, the 255 characters it contains take up quite a bit of room so the program is more than 450 lines long.
See https://www.asciitable.com/ for more information. ASCII stands for American Standard Code for Information Interchange.
You can download the demonstration program here.
Each character in the font is made up from 5 bytes which are displayed vertically, left to right, with the least significant bit at the top, making scrolling simple. The font is held as a long list of bytes called FONT.
The procedure is broken down into two parts:
- Take the string of characters and process it into a list of bytes. Add spaces at the start and end so that the message comes in from the right and scrolls completely off the screen at the left. Insert a single blank pixel between each character.
- Run through the list displaying the bytes vertically on the screen, moving them slowly from right to left. This needs nested loops.
def scroll(msg,r,g,b): # Scroll a string across the screen
    # Convert message to list of bytes to be displayed vertically
    lines = []
    msg1 = " " + msg + "      " # Add spaces at front and back
    cc=(r,g,b)              # Neopixel colour
    for ch in(msg1):        # Get a character
        asc = ord(ch)       # Get its ACSII value
        code =asc * 5       # Calculate start position in font list
        for ii in range(5): # Get the 5 vertical lines for each character
            line = FONT[code + ii]
            lines.append(line)  # Add line to the list
        lines.append(0x00)  # Insert 1 pixel space between characters

    # Scroll from the list of lines
    pos = 0  # List pointer to start
    line_length = len(lines)           # Length of the bytes list
    while pos < (line_length-16):      # Loop until last character shifted off the left side
        for i in range(16):            # Loop across the screen
            line = lines[i+pos]        # Get current vertical byte column
            for yy in range(8):        # Pixels in the column in turn
                if (line >> yy) & 0x1: # Is it a 1 ?
                    xy_set(i,yy+1,cc)  # Coloured pixel if 1
                else:
                    xy_set(i,yy+1,(0,0,0)) # Black pixel if 0
        pixels_show()                      # Update display
        time.sleep(0.1)                # Delay to slow things down
        pos = pos + 1                  # Increment list pointer
The last new function writes a stationary single character to the display.def character(asc,xx,r,g,b):
# Display single ascii character at position xx, coloured (r,b,g)
cc = (r,g,b)
code = asc *5
for ii in range(5):
line = FONT[code + ii]
for yy in range(8):
if (line >> yy) & 0x1:
xy_set(ii+xx,yy+1,cc)
else:
xy_set(ii+xx,yy+1,(0,0,0))
pixels_show()
The main program demonstrates a text string scrolling with several messages showing different sections of the extended character set. Greek letters and mathematical symbols are included.
This is followed by a section where the user is invited to enter ASCII values, via the keyboard, in the range 0 to 255 to view the character. Entering -999 will halt this section. Click the cursor in the Shell window of Thonny at the end of the input request to start typing in values. The input value is error trapped to exclude out-of-range and non-integer values. Valid ACSII values display the character symbol and the ASCII value in Hexadecimal, as there is insufficient room for the value in Denary.
Finally, there follows a rather slow display of the all the characters available – some more useful than others!
Things to try
- Add a 10K ohm potentiometer and a button switch as input devices (see pages 53 and 96 in the Get Started with MicroPython on Raspberry Pi Pico book). You'll need to use a breadboard and the underside connections of the display to connect things up (the book covers this too - page 96 for the potentiometer and page 53 for the button)
- Adjust the input range from the potentiometer to be zero to 255
- Show the number on the display and make it change as you turn the knob on the potentiometer
- While the button is pressed show the text character with the ASCII value from the potentiometer on the screen in a different colour instead of the number. Return to the number when the button is released
- Stop looping and halt the program if the button is pressed on 255 (a third <space> character – others at 0 and 32.)
Display sensor readings from a BME680 Sensor

Connections
This is easily carried out using a Pico Decker and jumper wires:
- SDI/SDA pin to GP0
- SCL pin to GP1
- 2-6V pin to 3.3V
- GND to GND
Download the BME680 library from here. You'll need to rename the file 'bme680.py'. Save it in the lib folder on the Pico (In Thonny, click on View -> Files, if this window is not visible):
The demonstration program can be downloaded here.
The program
The following section is included with the rest of the imports at the start of the script, before the procedure definitions:from bme680 import * i2c=I2C(0,sda=Pin(0), scl=Pin(1), freq=400000) #initializing the I2C method bme = BME680_I2C(i2c=i2c)The main part of the program is quite simple as all the heavy lifting is done by the library, fonts and procedures previously defined:
# =========== Main ==========
while True:
    clear()
    t = str(round(bme.temperature, 2)) + ' '+chr(248)+'C'
    h = str(round(bme.humidity, 2)) + ' %'
    p = str(round(bme.pressure, 2)) + ' hPa'
    g = str(round(bme.gas/1000, 2)) + ' K' + chr(234)

    scroll("Temperature:"+t,100,0,0)
    scroll("Humidity: "+h,0,0,100)
    scroll("Pressure: "+p,0,100,0)
    scroll("GAS: "+g,140,0,145)
Here's a video of it in action:
The ‘chr()’ values are for the degree symbol and Omega character for ohms.
Things to try
Exchange the BME680 sensor for the Waveshare Environment Sensor Module for Pico and scroll the various sensor data from the onboard sensors:- BME280 sensor with temperature, humidity and pressure
- TSL25911FN digital ambient light sensor, for measuring IR and visible light
- LTR390-UV-1 sensor for measuring UV rays
- Try an SGP40 sensor (for detecting ambient air quality/VOC)
All the necessary device drivers are included in the device wiki found here.
About the Author
This article was written by Tony Goodhew. Tony is a retired teacher of computing who starting writing code back in 1968 when it was called programming - he started with FORTRAN IV on an IBM 1130! An active Raspberry Pi community member, his main interests now are coding in MicroPython, travelling and photography.

1 comment
Benoit
Royal. Thanks a lot for saving my time!
Royal. Thanks a lot for saving my time!