How to control your Raspberry Pi robot with a TV remote
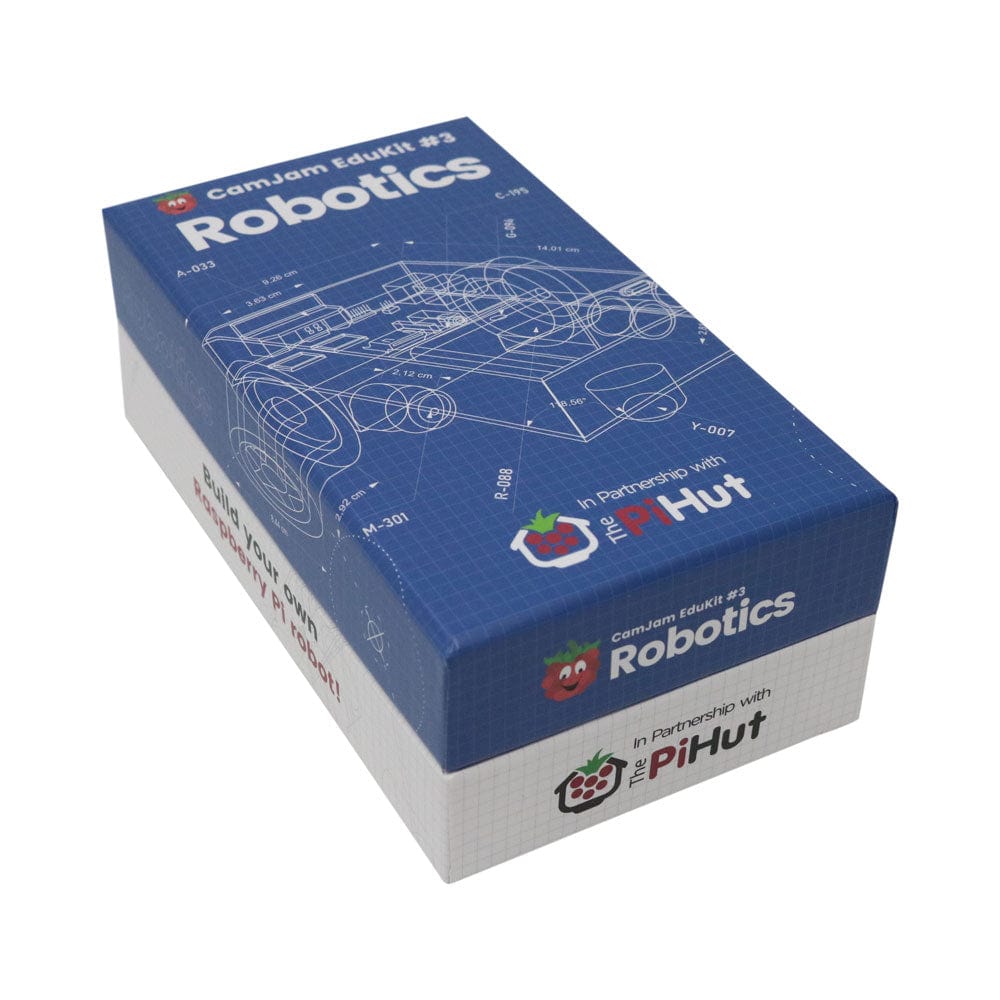
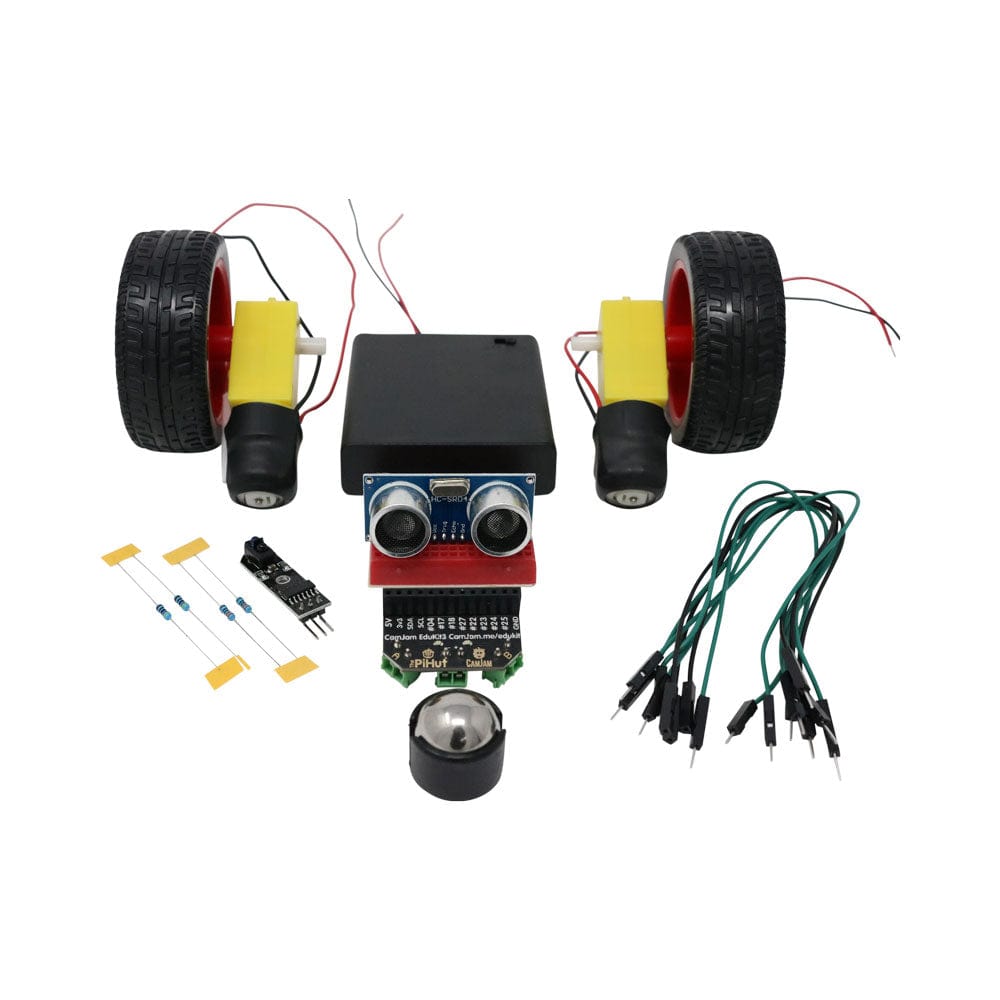
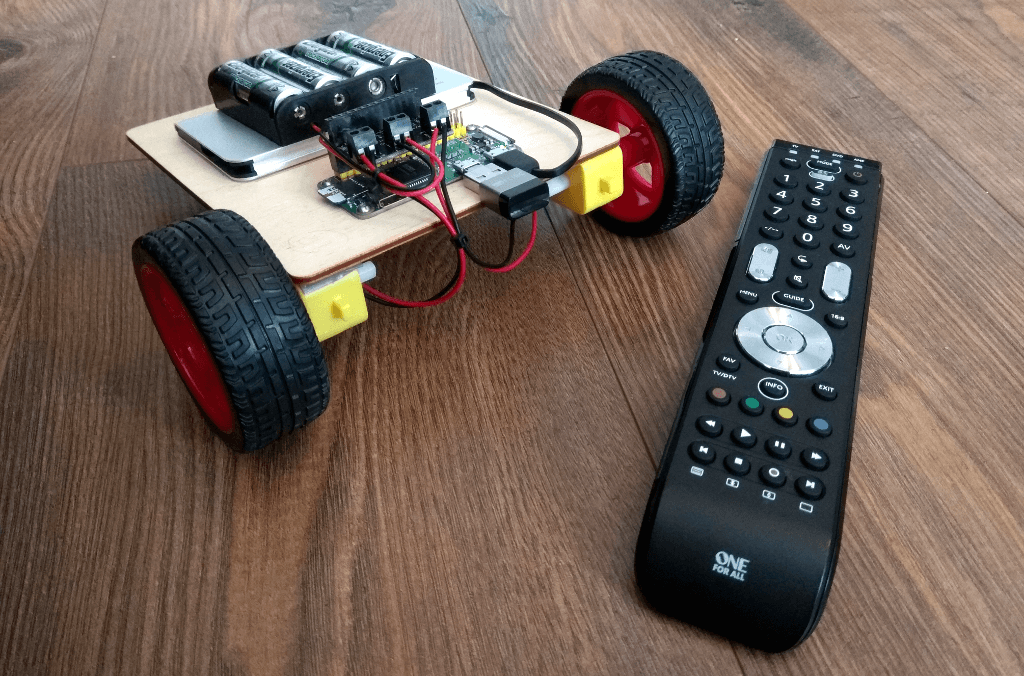
If you’ve bought one of our affordable EduKit Robotics kits, you’ll no doubt come to a point where you want to advance further by customising and creating your very own unique robot.
Something a lot of our customers do is introduce a way of controlling the robot remotely, allowing you to take manual control of the robot’s actions.
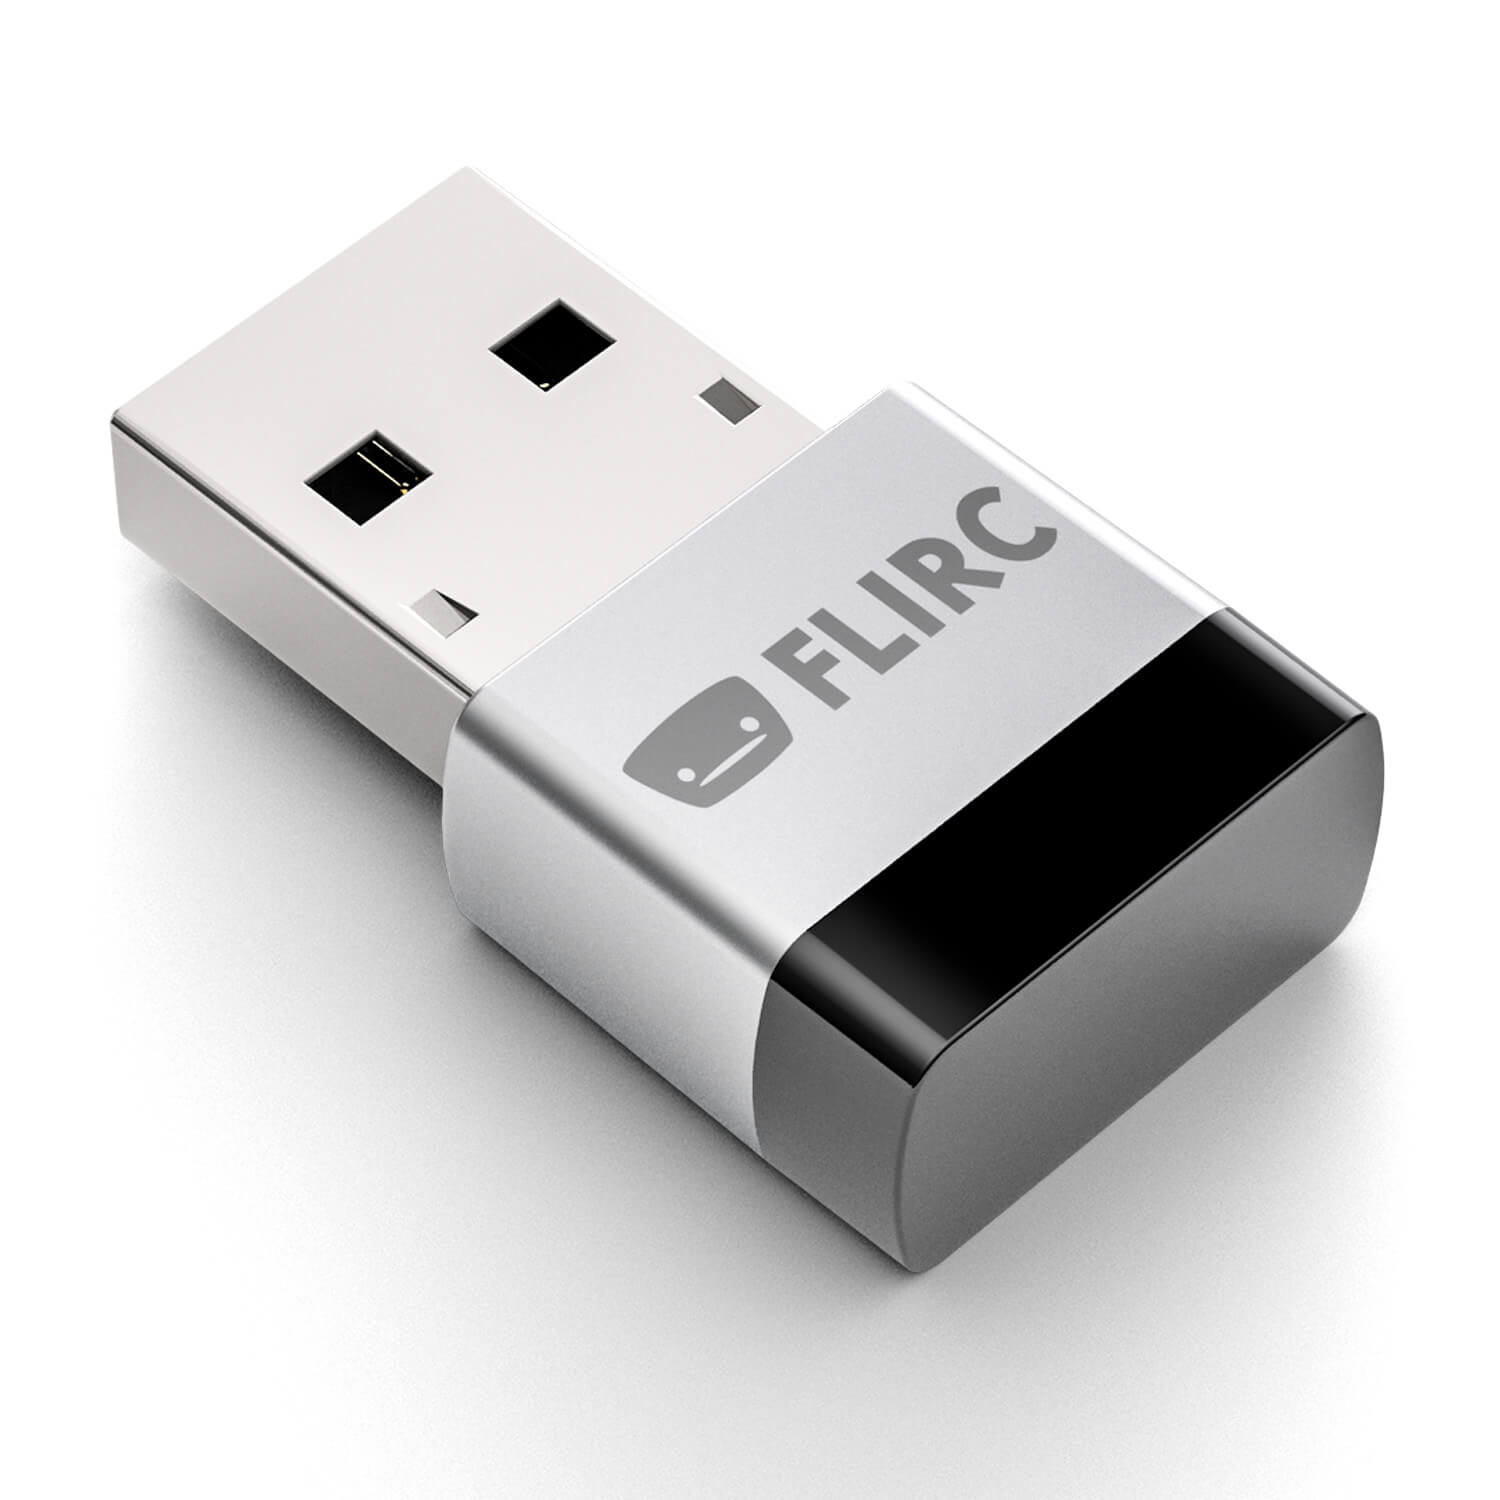
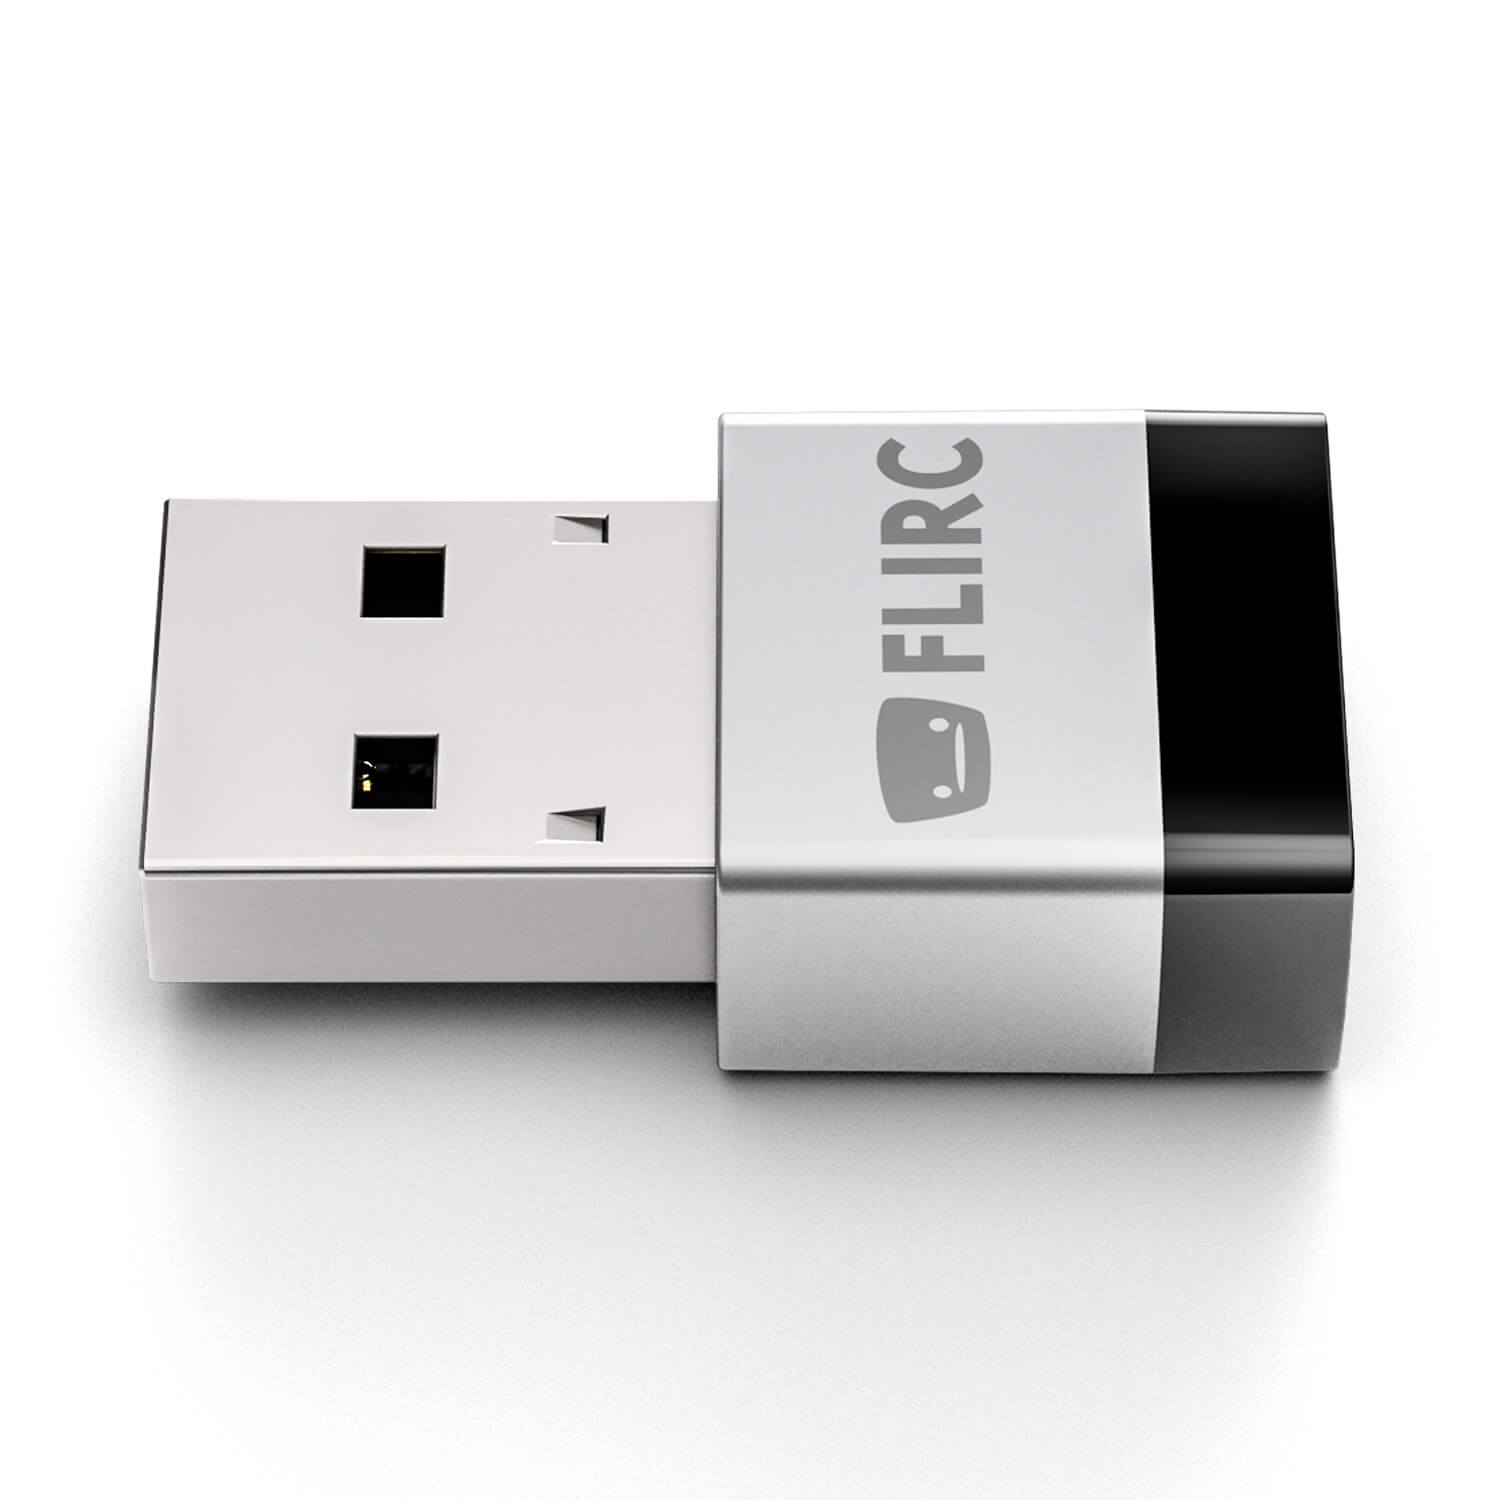
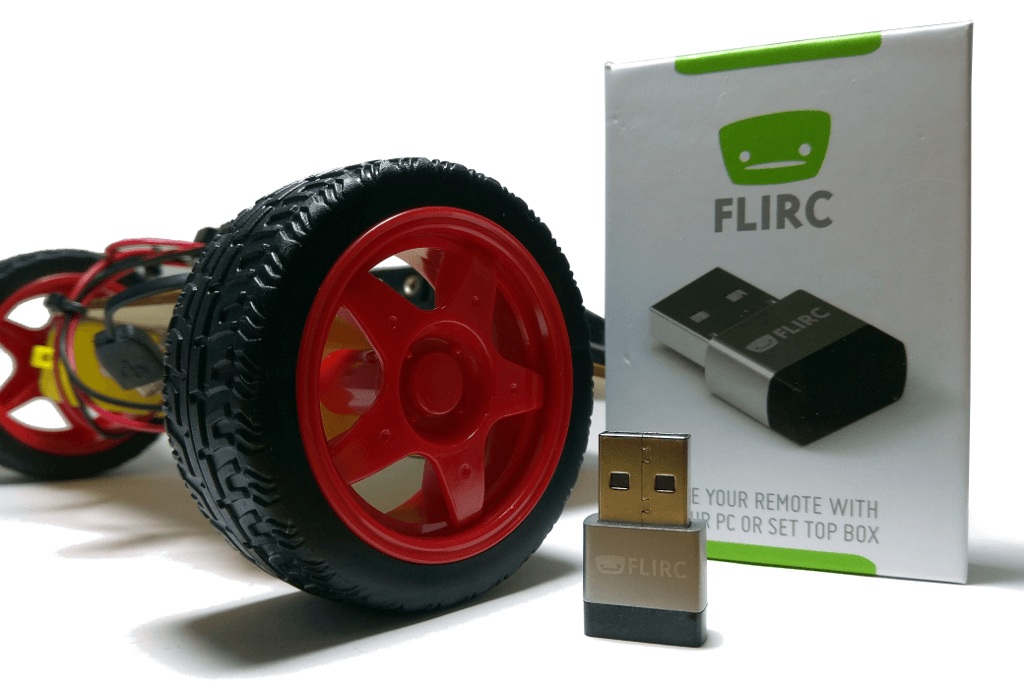
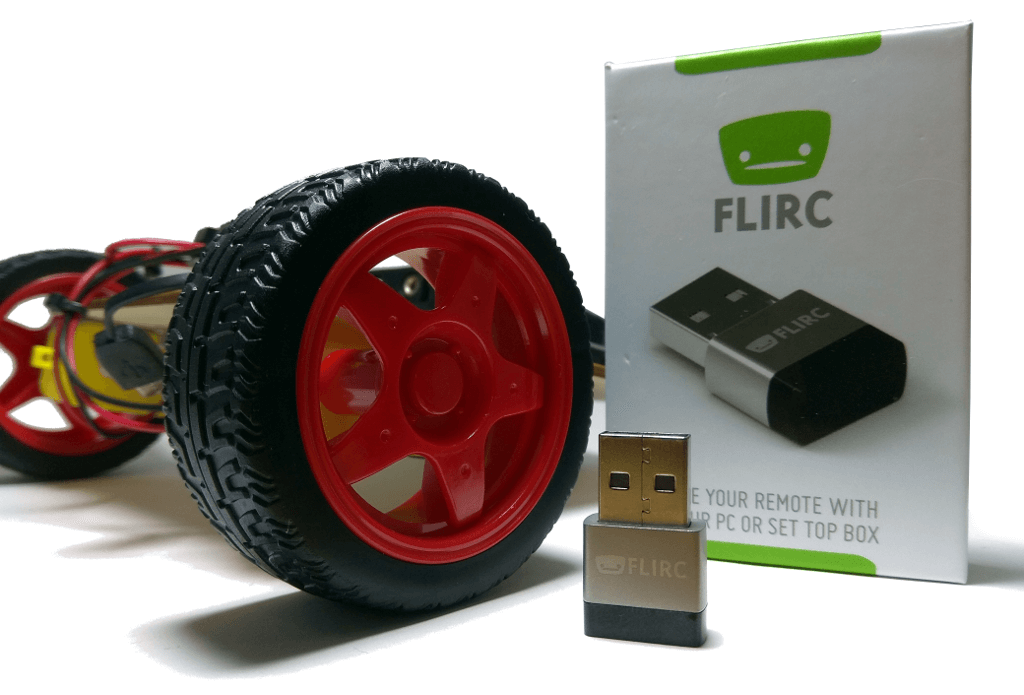
There are many ways to do this, some more complicated than others. For a simple, flexible and expandable option we recommend adding a FLIRC USB to your robot.
FLIRC?
If you haven’t heard about FLIRC yet, or want to know more about how it works, check out our earlier blog here.
It’ll tell you everything you need to know, including how to set up the USB receiver (which is really easy!).
FLIRC Robot Control
The reason we like using a FLIRC USB on our EduKit Robot is because it allows you to use almost any infra-red remote as a controller. You’ve probably got a few around the house – TV, media box, DVD, HiFi and other remotes usually use Infra-red technology.
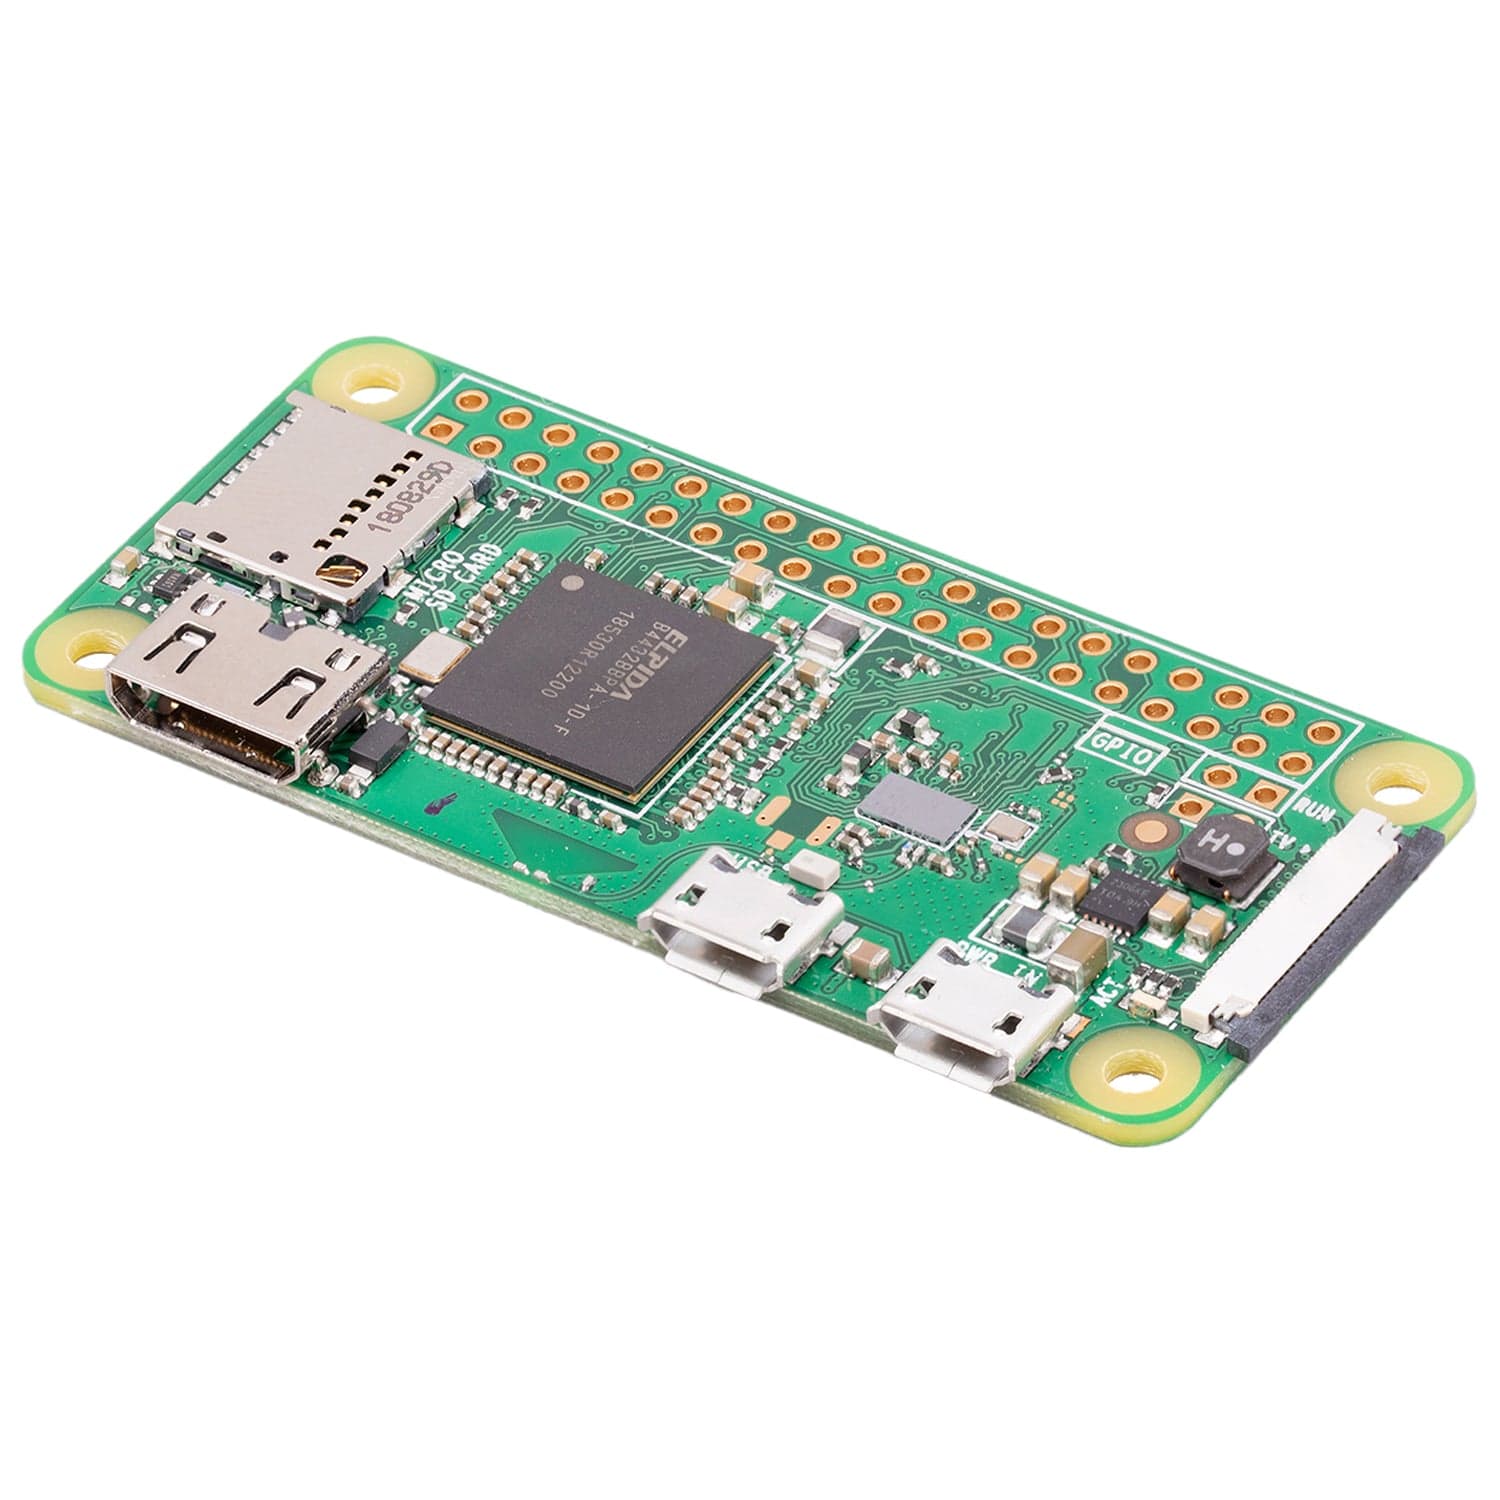
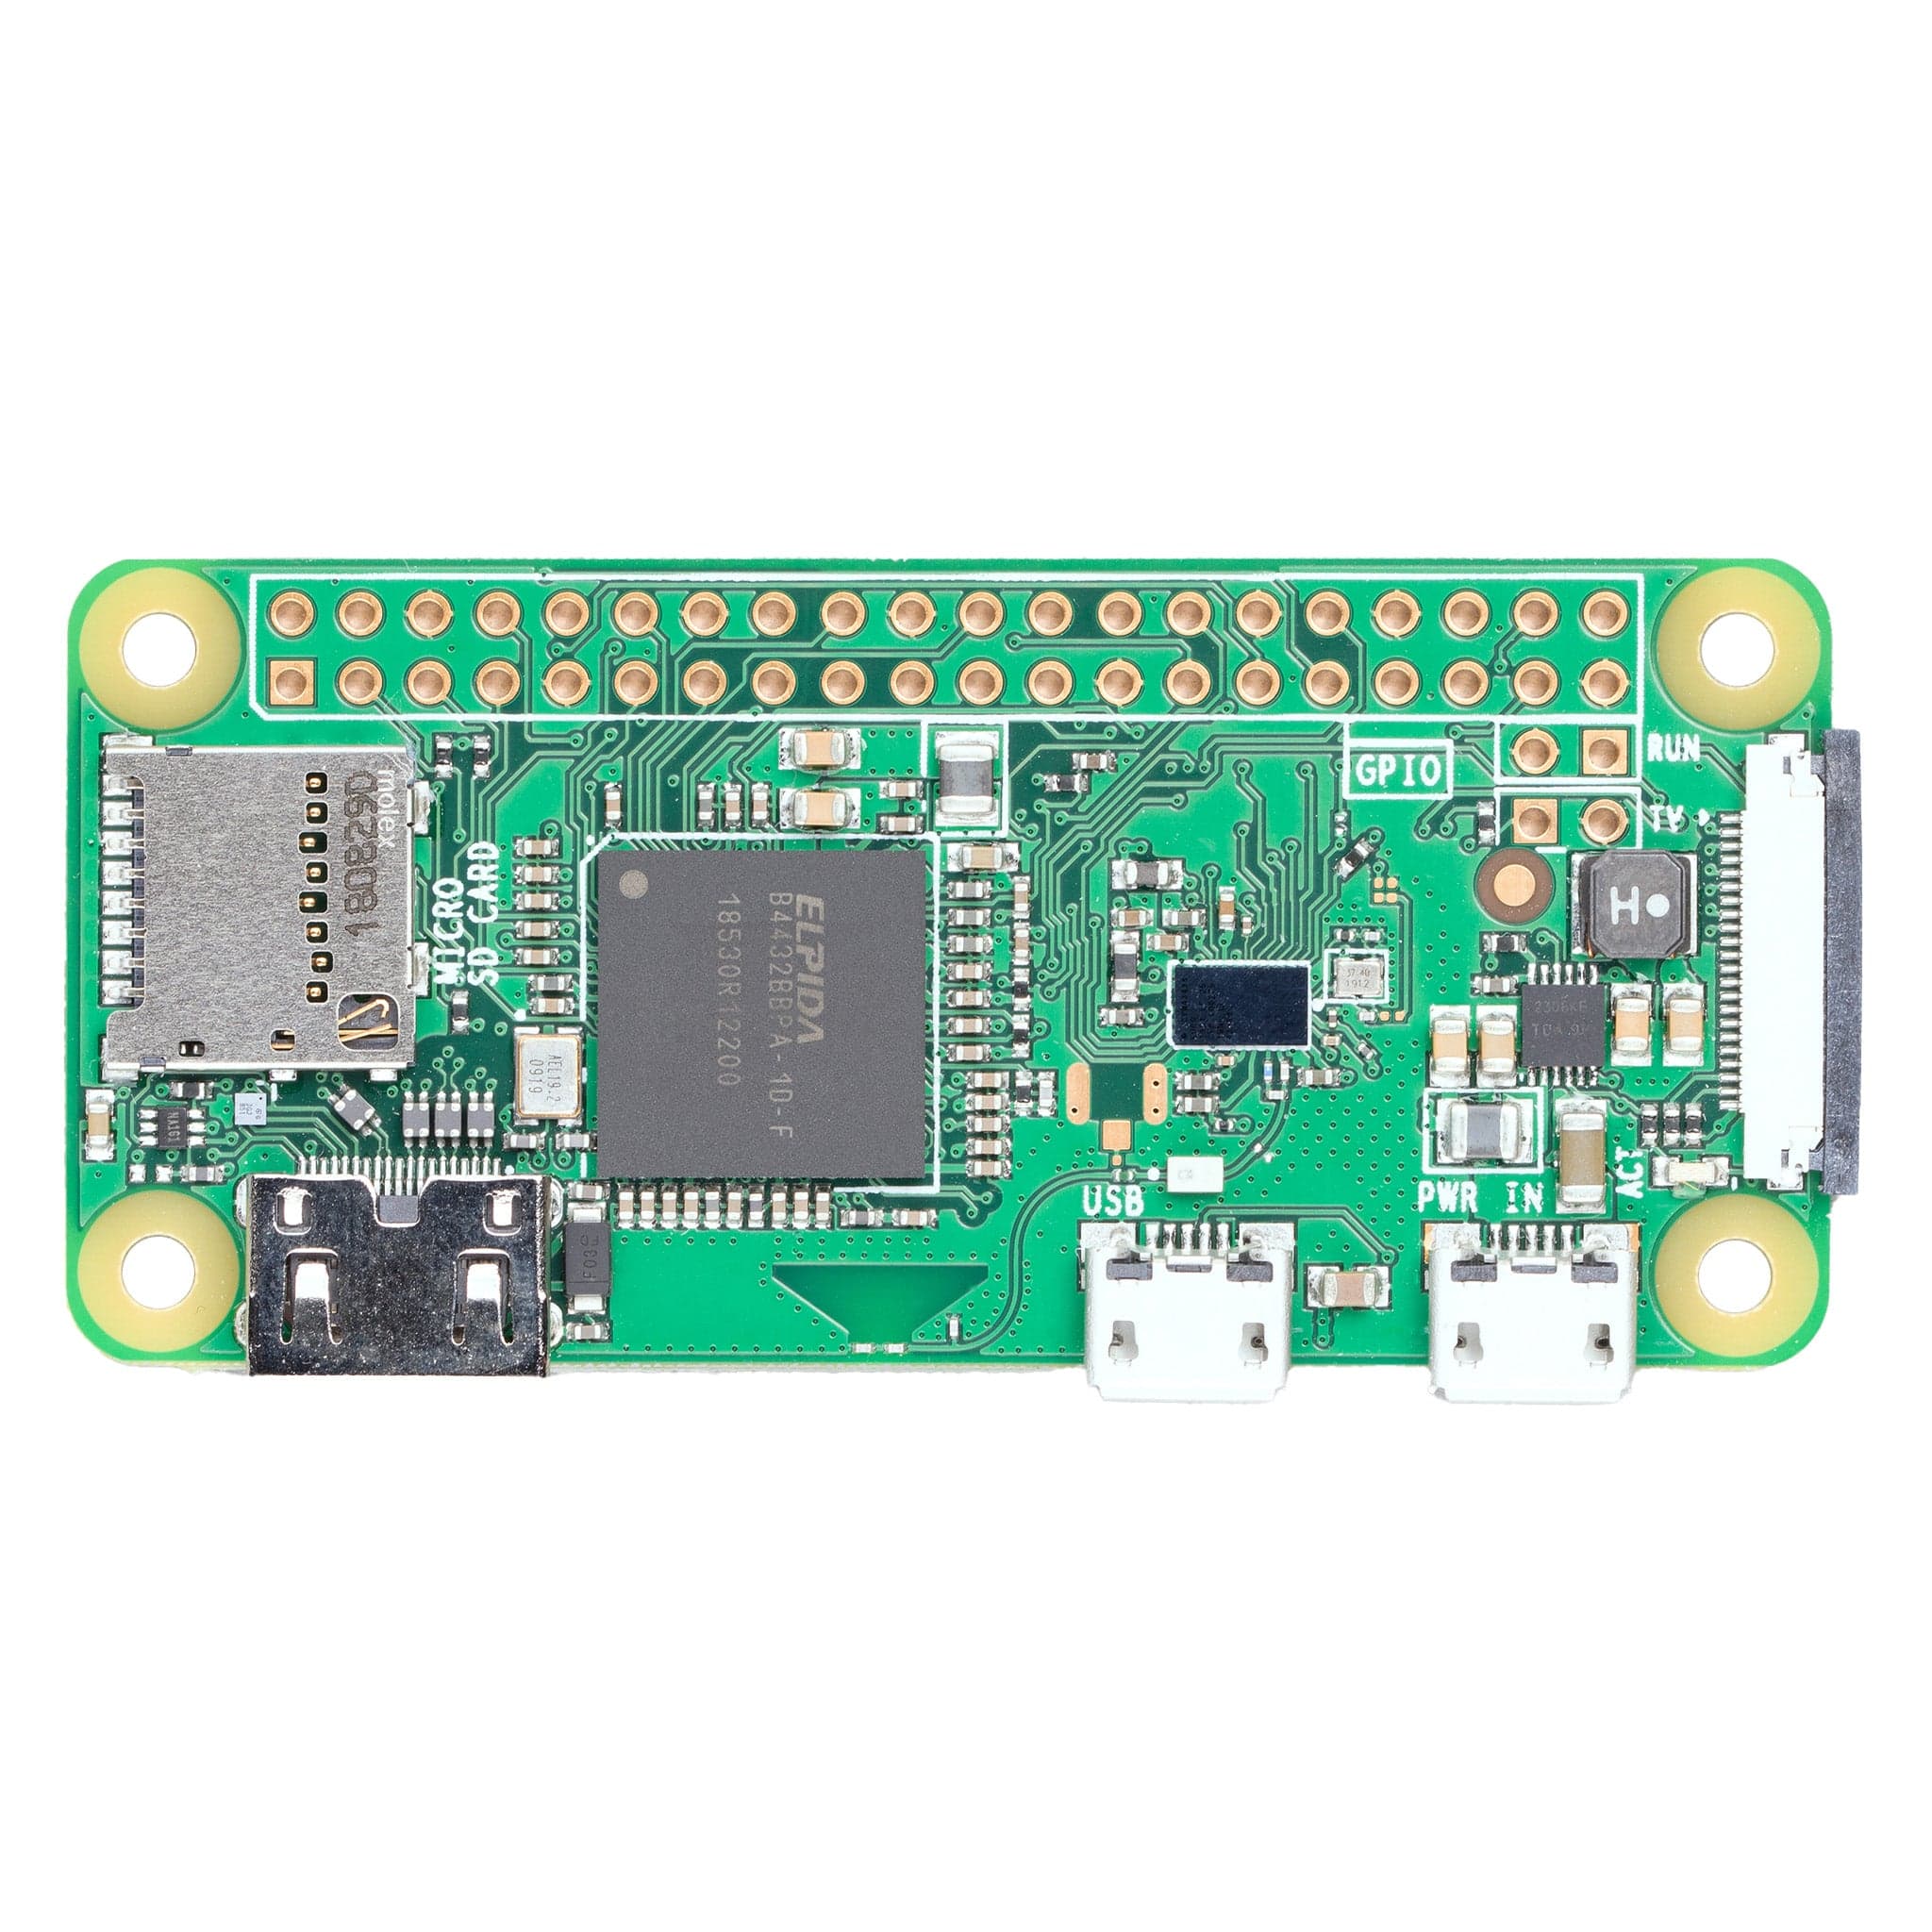
We simply tell the FLIRC to talk to your Raspberry Pi (we're using a Raspberry Pi ZeroW) just like a keyboard, and Python knows no different! This makes the programming very simple as it requires no libraries or any additional code.
The steps to achieve this are straight forward:
- Create the script to allow your EduKit robot to accept keyboard strokes as commands
- Set the FLIRC up using the FLIRC software on your PC/Mac/Linux machine
- Plug the FLIRC in to your Raspberry Pi
- Go!
Let’s show you how.
Assumptions
For this tutorial, we’re assuming that you’ve already got the basic EduKit robot built and have tested it with the code in the EduKit worksheets.
This means you should already be familiar with the following:
- Terminal
- Directories
- Creating and running python scripts
- The basic EduKit motor controller code

Library Setup
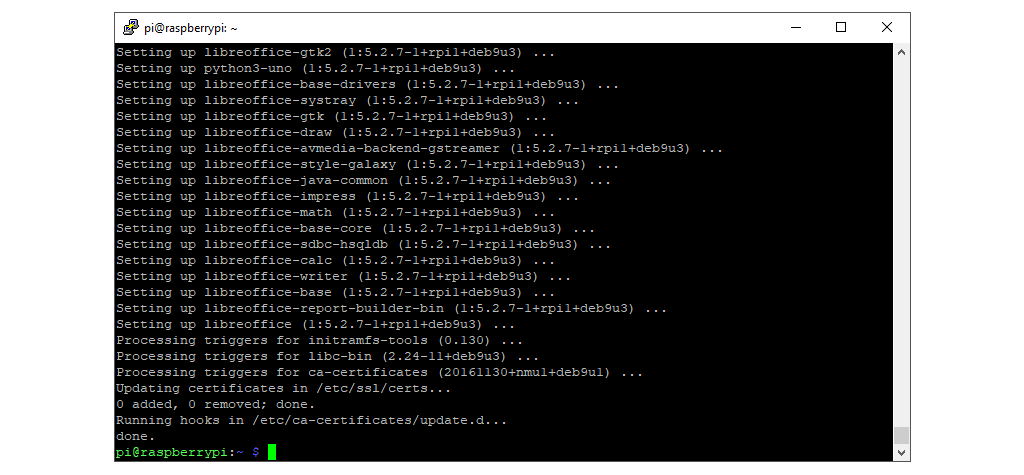
Let’s update your Raspberry Pi before we start – it’s just good practice.
Open a terminal session, enter the following command, hit enter then follow any prompts on screen:
sudo apt-get update
Let that run. Once finished, follow it with this command, again followed by enter:
sudo apt-get upgrade
Then to install the inputs library, type the following command and hit enter again:
sudo pip3 install inputs
The Inputs library
The code used to control your robot with FLIRC is a cocktail of the Edukit worksheet code and a nice little python library called inputs.
The inputs python library allows you to detect input from a wide range of devices – including the humble keyboard. This is great for using in conjunction with the FLIRC USB, as the FLIRC allows us to use any existing IR remote to send commands as a keyboard – mapping any remote button we like to any keyboard button.
Your remote then talks to FLIRC via Infra-red, FLIRC talks to the Raspberry Pi as if it was a keyboard, and Python (and the inputs library) knows no better!
The input library looks at the key being pressed and the state of that key i.e. it will register me pressing key ‘W’ as a state 1, but also registers key ‘W’ as a state 0 when I let go of the key. More on that in the code section below.
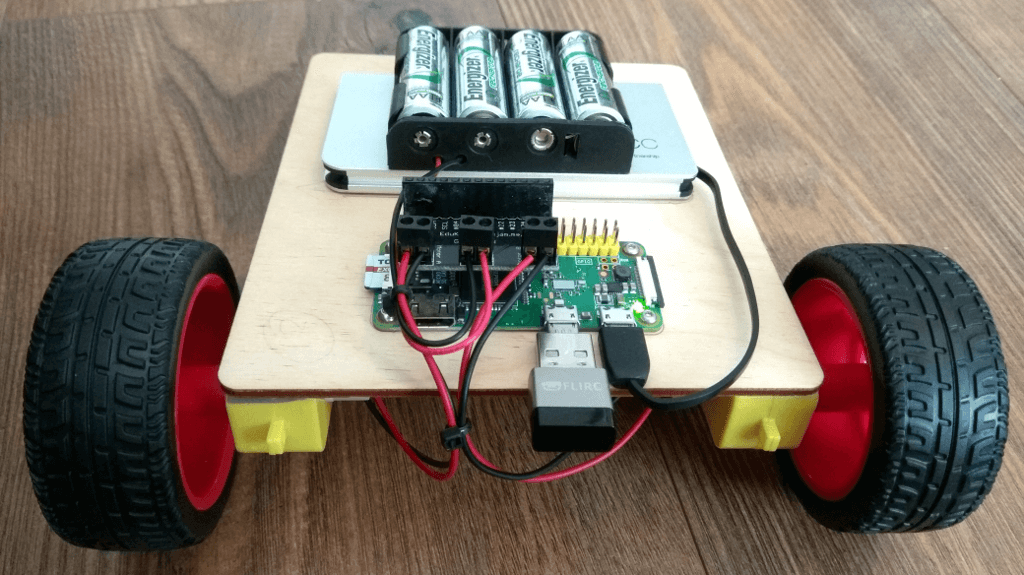
Code
Here is the Python script to control your robot using the W (up), S (down), A (left) and D (right) keys on a keyboard. I’ve also set key E to shut the program down (which stops any running motors and cleans up the GPIO too).
You can type the code in manually (as explained in the EduKit Robot worksheet 1), or download our FLIRC EduKit Robot script here.
Create your python script in the same directory as the EduKit examples so that everything’s in the same place (use cd EduKitRobotics to enter that directory). Also, so that we’re all following along together, name your script EduKitFLIRC.py.
We’ll show you how to map the FLIRC USB to your TV remote buttons in a moment, but for now here’s a few pointers on how the code works:
#!/usr/bin/python

# Imports
import RPi.GPIO as GPIO
from inputs import get_key

# Set GPIO mode to BCM
GPIO.setmode(GPIO.BCM)

# Motor A GPIO direction (output)
GPIO.setup(7, GPIO.OUT)
GPIO.setup(8, GPIO.OUT)

# Motor B GPIO direction (output)
GPIO.setup(9, GPIO.OUT)
GPIO.setup(10, GPIO.OUT)

def main(): # Our main program

 lastkey = "" # Create a variable

 while True: # Start a loop

 # Start a for statement that will check for key presses
 events = get_key()
 for event in events:

 # If statements for each key press
 # Key press is state 1
 # Key release is state 0

 if event.code == "KEY_W" and event.state == 1: # If 'W' is 'pressed'
 print ("Forwards")
 GPIO.output(7, 1)
 GPIO.output(8, 0)
 GPIO.output(9, 1)
 GPIO.output(10, 0)
 lastkey = "KEY_W" # Change the lastkey variable to the key just pressed

 if event.code == "KEY_S" and event.state == 1: # If 'S' is 'pressed'
 print ("Backwards")
 GPIO.output(7, 0)
 GPIO.output(8, 1)
 GPIO.output(9, 0)
 GPIO.output(10, 1)
 lastkey = "KEY_S" # Change the lastkey variable to the key just pressed

 if event.code == "KEY_A" and event.state == 1: # If 'A' is 'pressed'
 print ("Left")
 GPIO.output(7, 1)
 GPIO.output(8, 0)
 GPIO.output(9, 0)
 GPIO.output(10, 1)
 lastkey = "KEY_A" # Change the lastkey variable to the key just pressed

 if event.code == "KEY_D" and event.state == 1: # If 'D' is 'pressed'
 print ("Right")
 GPIO.output(7, 0)
 GPIO.output(8, 1)
 GPIO.output(9, 1)
 GPIO.output(10, 0)
 lastkey = "KEY_D" # Change the lastkey variable to the key just pressed

 if event.code == "KEY_E" and event.state == 1: # If 'E' is 'pressed'
 print ("quit")
 quit() # Exit the script (runs the 'Finally' block at the bottom of this script)

 # An elif statement to detect if the last key press (lastkey variable) was released (state 0)
 # If the last key was released, this block triggers and stops the motors

 elif event.code == lastkey and event.state == 0:
 print("Stop")
 GPIO.output(7, 0)
 GPIO.output(8, 0)
 GPIO.output(9, 0)
 GPIO.output(10, 0)

"""
if Python is running this file as the main program, it sets the special __name__ variable
to have a value "__main__". As this will be true in this case, it means this try/except
block will always run at the start (which is what we want)
"""

if __name__ == '__main__':

 try: # If no errors, run this block
 main() #Run the main () function

 except KeyboardInterrupt: #If the keyboard interrupts the program
 pass

 finally: # Turn off all motors and clean the GPIO before exit
 print ("Stopping motors")
 GPIO.output(7, 0)
 GPIO.output(8, 0)
 GPIO.output(9, 0)
 GPIO.output(10, 0)
 GPIO.cleanup()
 print ("Bye for now")
Line 5:
Import part of the inputs library, which just brings it into our script so that we can use it.
from inputs import get_key
Line 20:
We define a new variable ‘lastkey’ which will store the last key pressed (more on that below).
lastkey = "" # Create a variable
Line 22:
Starts a while loop. This keeps the script running until we manually exit the program.
while True: # Start a loop
Lines 25-26:
These lines constantly check for a key press to trigger an ‘event’.
events = get_key()
 for event in events:
Lines 32-76:
We have a number of if statements here, one for each key we’ve mapped. If a defined key is pressed (event.state == 1), the code under that if statement runs, and then it continues to check for key presses again straight after.
- Each if statement ends by updating ‘lastkey’ with the key that was pressed.
- We do this to avoid having to define a separate block for each key that tells Python what to do when a key is released (event.state == 0), as it would be the same action/code for each key i.e. when we release a key, we stop the robot.
- This is covered in lines 71-76 where we’re telling Python “If the last key to be pressed has a state of 0 (depressed), stop the robot“. This saves us a lot of lines of code that would essentially be doing the same thing.
if event.code == "KEY_W" and event.state == 1: # If 'W' is 'pressed'
 print ("Forwards")
 GPIO.output(7, 1)
 GPIO.output(8, 0)
 GPIO.output(9, 1)
 GPIO.output(10, 0)
 lastkey = "KEY_W" # Change the lastkey variable to the key just pressed

 if event.code == "KEY_S" and event.state == 1: # If 'S' is 'pressed'
 print ("Backwards")
 GPIO.output(7, 0)
 GPIO.output(8, 1)
 GPIO.output(9, 0)
 GPIO.output(10, 1)
 lastkey = "KEY_S" # Change the lastkey variable to the key just pressed

 if event.code == "KEY_A" and event.state == 1: # If 'A' is 'pressed'
 print ("Left")
 GPIO.output(7, 1)
 GPIO.output(8, 0)
 GPIO.output(9, 0)
 GPIO.output(10, 1)
 lastkey = "KEY_A" # Change the lastkey variable to the key just pressed

 if event.code == "KEY_D" and event.state == 1: # If 'D' is 'pressed'
 print ("Right")
 GPIO.output(7, 0)
 GPIO.output(8, 1)
 GPIO.output(9, 1)
 GPIO.output(10, 0)
 lastkey = "KEY_D" # Change the lastkey variable to the key just pressed

 if event.code == "KEY_E" and event.state == 1: # If 'E' is 'pressed'
 print ("quit")
 quit() # Exit the script (runs the 'Finally' block at the bottom of this script)

 # An elif statement to detect if the last key press (lastkey variable) was released (state 0)
 # If the last key was released, this block triggers and stops the motors

 elif event.code == lastkey and event.state == 0:
 print("Stop")
 GPIO.output(7, 0)
 GPIO.output(8, 0)
 GPIO.output(9, 0)
 GPIO.output(10, 0)
Lines 84-99:
This is our ‘try/except’ block. This allows you to state what you want to happen if there’s an error. The ‘try’ section (our main program) runs if there’s no error, the except section runs if there is – and we’ve defined an ‘error’ as a keyboard interrupt (pressing ctrl+c).
This is simply to enable us to exit the program gracefully (stopping motors and cleaning the GPIO) if we’re programming through a terminal or similar.
if __name__ == '__main__':

 try: # If no errors, run this block
 main() #Run the main () function

 except KeyboardInterrupt: #If the keyboard interrupts the program
 pass

 finally: # Turn off all motors and clean the GPIO before exit
 print ("Stopping motors")
 GPIO.output(7, 0)
 GPIO.output(8, 0)
 GPIO.output(9, 0)
 GPIO.output(10, 0)
 GPIO.cleanup()
 print ("Bye for now")
Setting up FLIRC as a keyboard
With your robot code ready to accept keyboard inputs, we need to set up our FLIRC USB as a keyboard, and then map our remote buttons to the keyboard commands.
Pop your FLIRC USB into your computer and open the FLIRC application, then select Controllers > Full Keyboard.
In the FLIRC application, select the ‘W’ keyboard key (for forward):
Then take your chosen IR remote and press whatever button you feel is suitable for making your robot move forward (key W). Once the FLIRC registers your remote key press, you should see a confirmation message like the example below:
Repeat this for all of the commands in the script (W, S, A, D and E) then exit the application.
Move the FLIRC USB from your PC to your EduKit Raspberry Pi robot (you will need a USB converter shim if using the Raspberry Pi Zero) , and boot it up.
Running the program
Make sure you’re in the EduKit directory by entering the following command:
cd EduKitRobotics
To run the code, type the following command then select enter:
sudo python3 EduKitFLIRC.py
Your remote control should now be controlling your robot with the buttons you chose!


