
Control your Raspberry Pi media centre with FLIRC
One of the first things you’ll need when you set up a Raspberry Pi media centre is a remote control. Using a keyboard and mouse just isn’t ideal in most scenarios, but the Raspberry Pi doesn’t come with a remote like a traditional TV box – so what can you use?
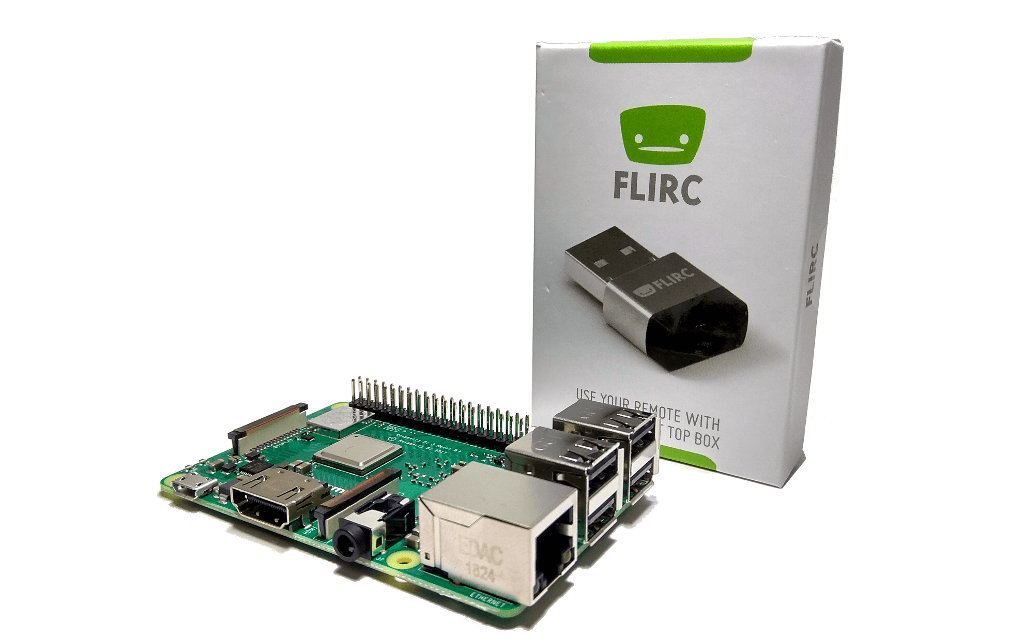
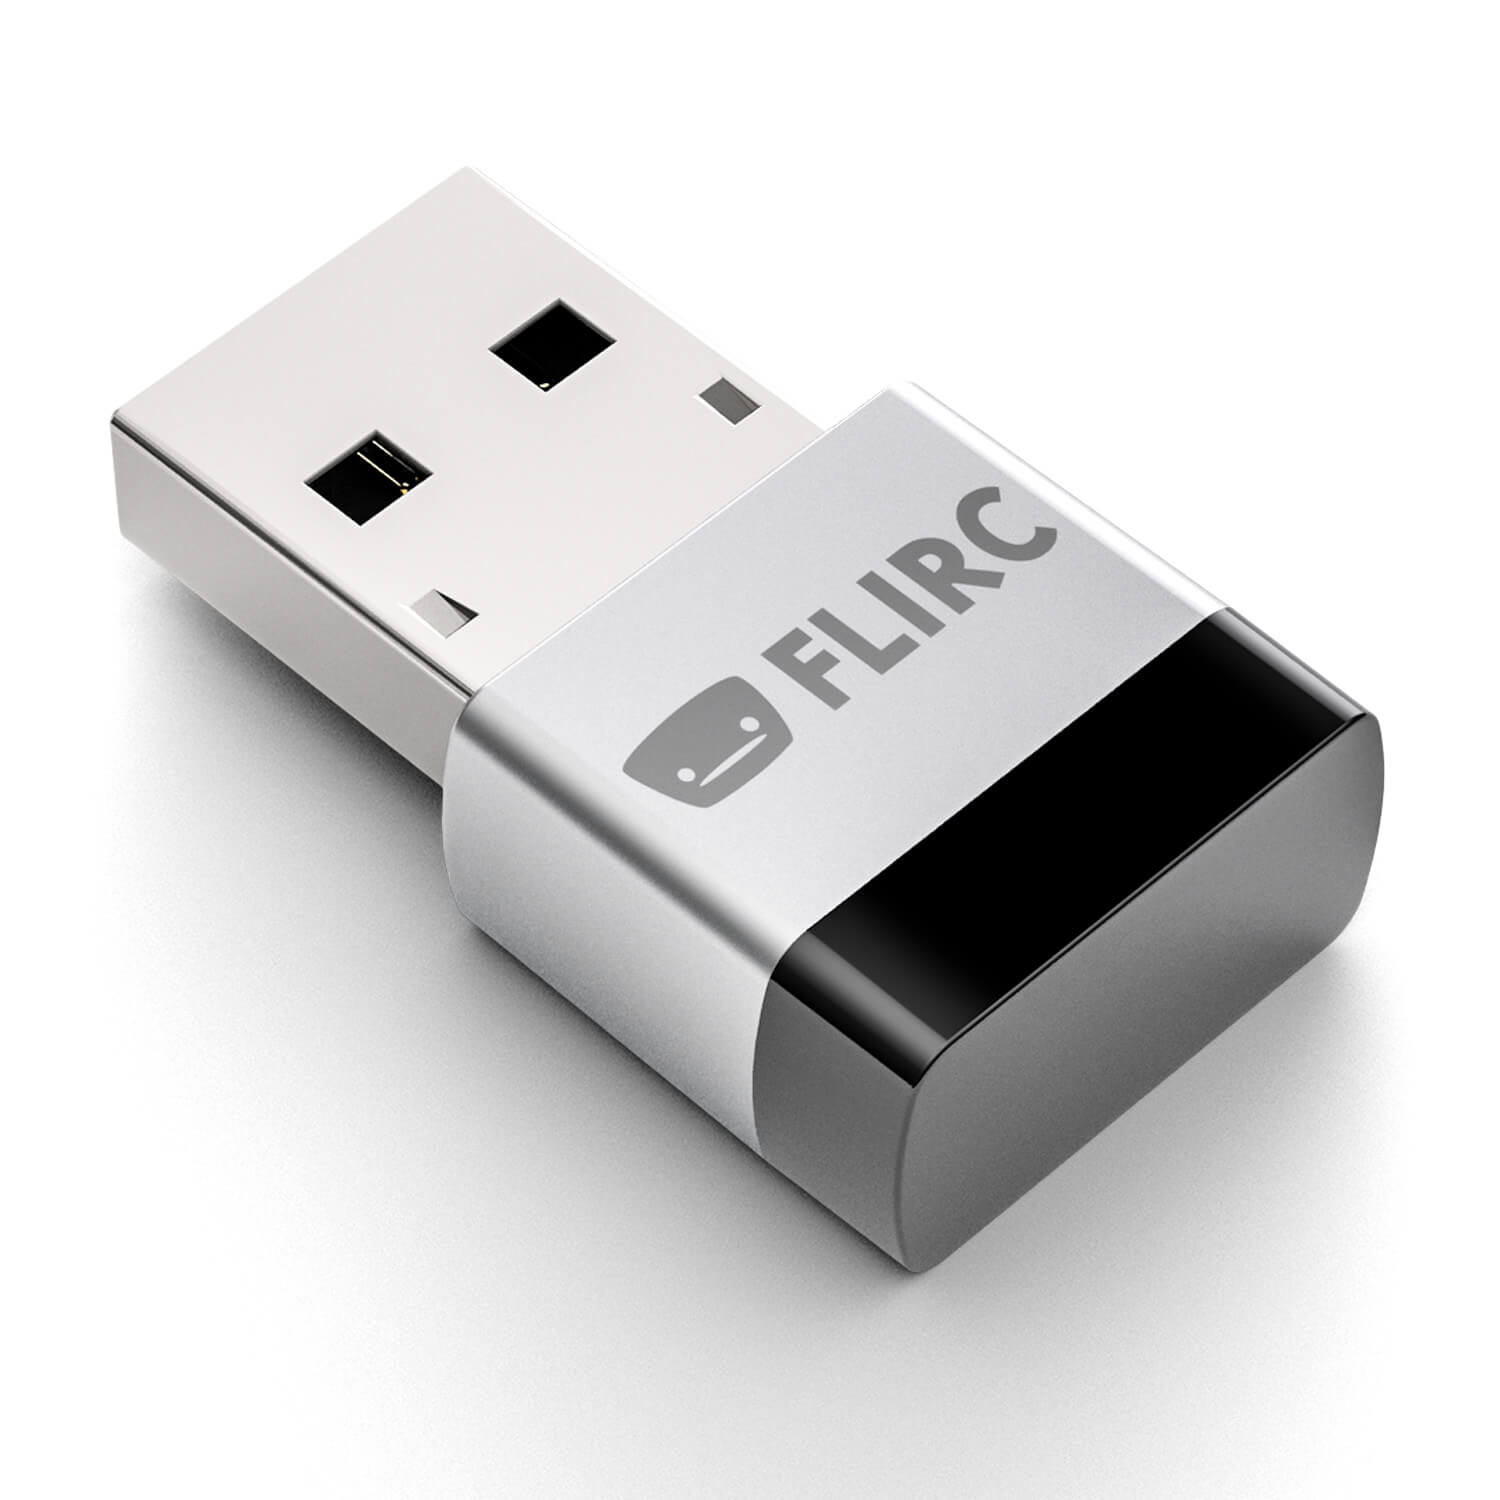
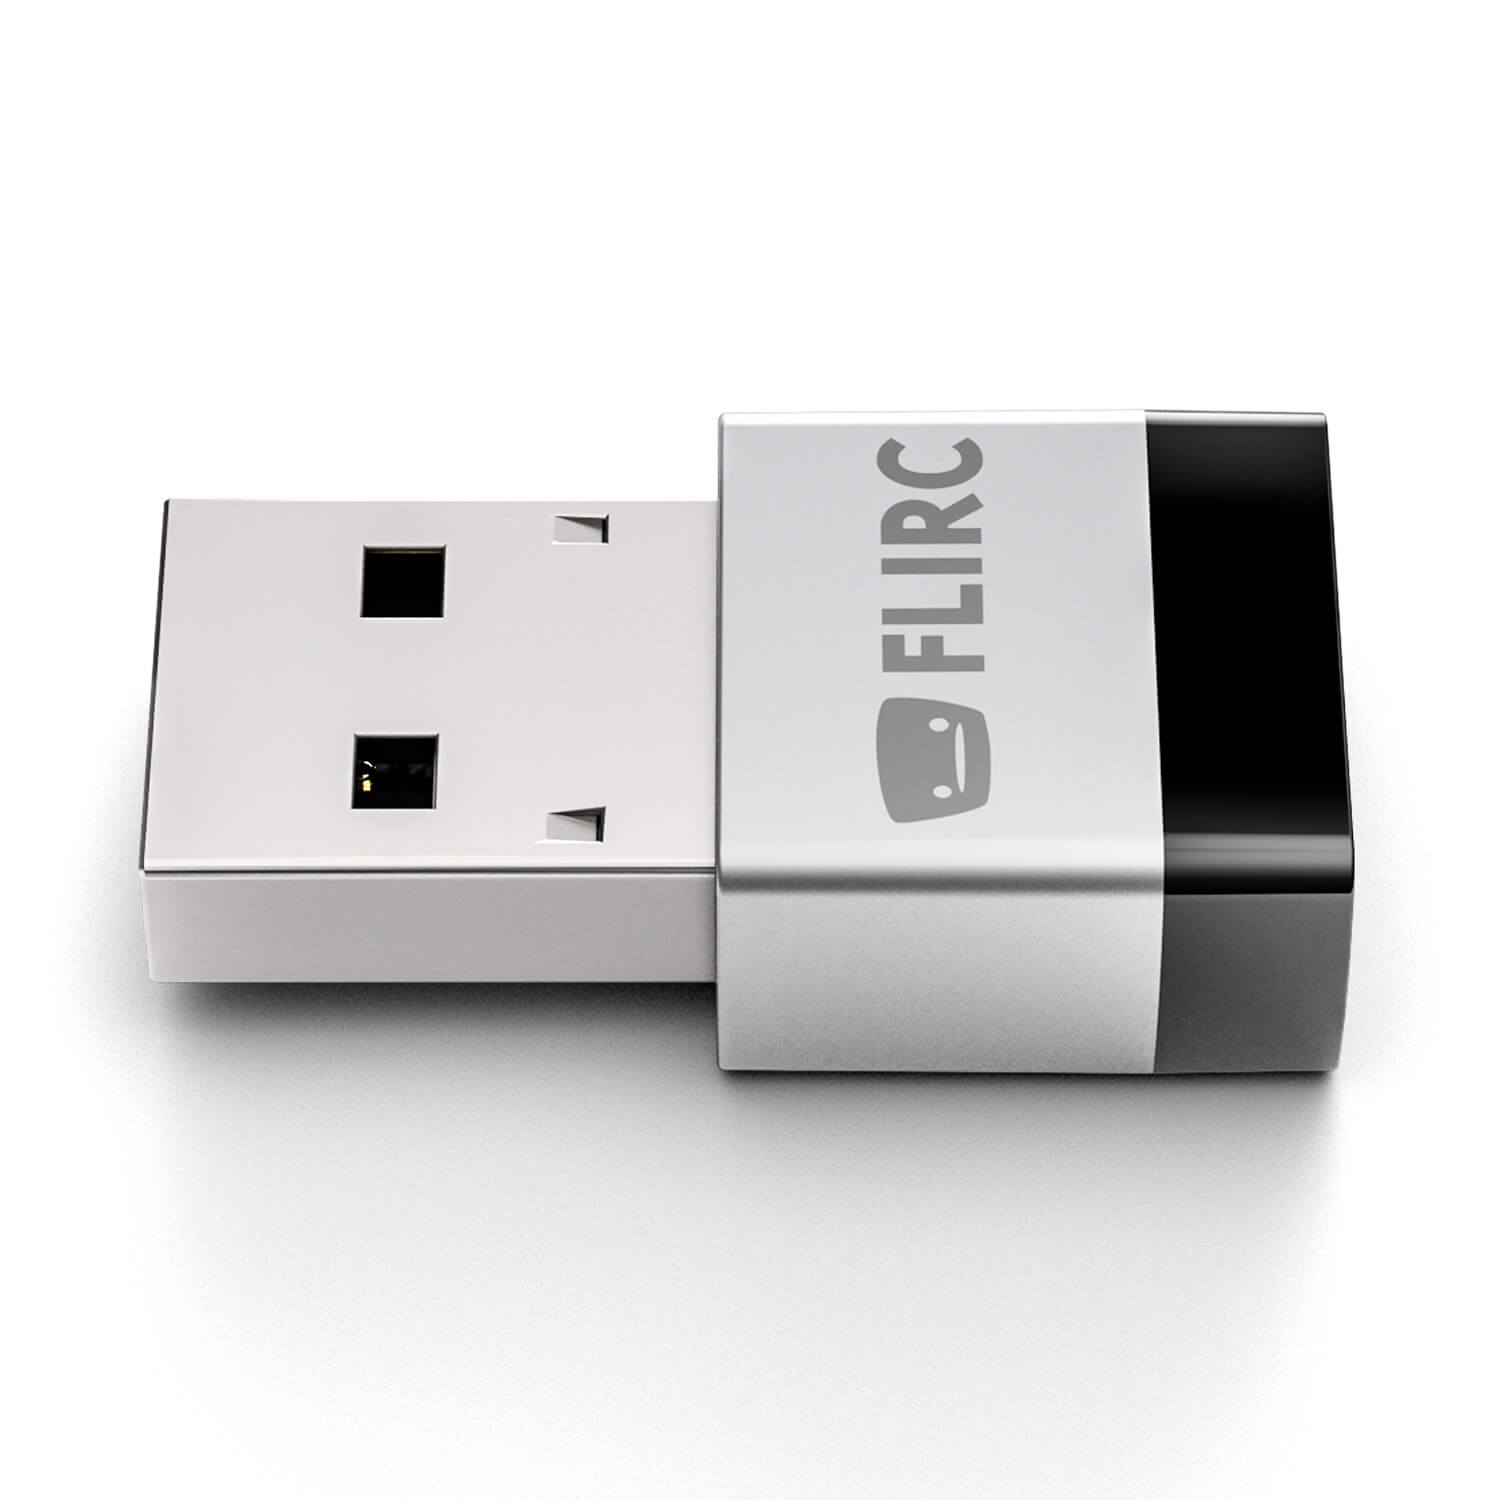
Whilst there are many options available for controlling your Raspberry Pi media centre, our favourite is the FLIRC USB.
It’s a really clever solution that lets you use your existing remotes to control your Raspberry Pi media centre, all from this tiny USB device.

What is FLIRC?
FLIRC is a clever little USB receiver that allows you to use almost any traditional IR (infra-red) remote control with your Raspberry Pi media centre.
Rather than buying a separate remote control, FLIRC keeps your sofa clutter to a minimum by allowing you to easily program it to accept signals from your existing remotes.
It can talk to almost any infra-red remote up to 20 feet away – from old TV remotes, to universal remotes, home-made IR blasters, air conditioning controls and everything in between!

How Does It Work?
The clever hardware inside the FLIRC, mixed with the excellent key mapping software (for Windows, Mac & Linux), allows you to ‘record’ the signal from each button press on your existing remote, and map that to the device you want to use it with (such as KODI).

There’s no programming or hunting around for specific device codes, you simply connect the FLIRC USB to your PC/Mac, open the software and start mapping buttons via the friendly and easy to use interface.
Let us show you exactly how that’s done.
Setting Up a Remote
We already mentioned that you can use almost any Infra red remote with FLIRC.
The remote we’re using in this example will be the ‘OneForAll Essence’. It’s one of the cheaper OneForAll remotes available, but as it supports 4 devices it’s a perfect companion for the FLIRC as it allows us to switch between our TV, Satellite, Amplifier and – in a few minutes time – our Raspberry Pi Media Centre!

Download the software
FLIRC have their own software for setting up your remotes. It’s very clean and easy to use without any technical distractions.
First, download the software from FLIRC’s website for your Windows, Mac or Linux machine – https://flirc.tv/downloads.
Next, install the software by following the steps. It’s a very straight-forward and generic installer, and includes none of the nasty ‘additional software’ options that you see far too often.

Remote Learning
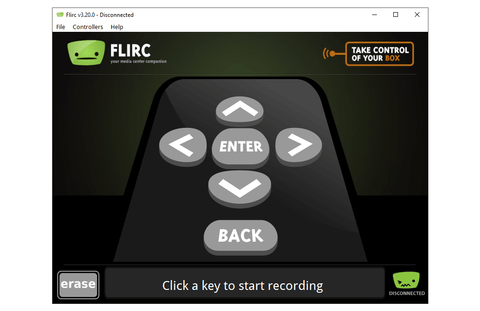
Once you’ve installed the software, open the application and you’ll be greeted with the screen below.
The application will tell you that it’s disconnected (by the sad face bottom right corner) as it cannot detect a FLIRC USB connected to your computer (as you haven’t plugged it in yet!):
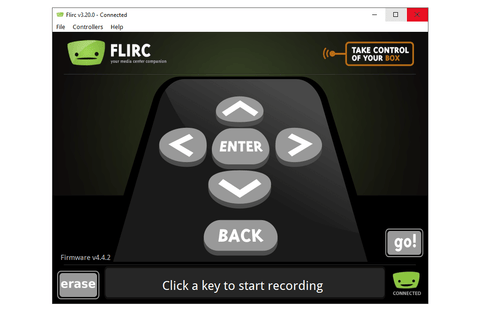
Pop the FLIRC in a USB port and the status should change to ‘Connected’ – no drivers or any other complications are required:
In this example we’re using the FLIRC with LibreELEC which is a KODI media centre.
To make sure you map all of the necessary commands to navigate KODI smoothly, select Controllers > KODI, which will load the standard KODI button set on your screen:

With your remote by your side, click on one of the buttons on screen to activate it for learning. In this example we’ve selected the ‘UP’ button:

All you have to do now is point your remote at the FLIRC USB and press the button you would like that KODI command to be assigned to.
For example, I pressed the ‘UP’ button on screen, and then clicked the ‘UP button on my OneForAll remote.
The application will show ‘Recorded Successfully’ as soon as it detects your remote button press:

Depending on which remote you’re using, there may not be a natural fit like the example above. But that’s the beauty of FLIRC – you can use any button to control any function, on as many remotes as you like!
Once you’ve finished mapping buttons you simply need to exit the application.
Note: If you want to save your mapped button configuration (perhaps to load on to other FLIRC USB devices for around the home) just select File > Save Configuration.
Using FLIRC with KODI
We use LibreELEC as the KODI media centre software for our Raspberry Pis as it’s lightweight, updated regularly and just simply works very well.
With LibreELEC you don’t need to take any further steps to use your FLIRC USB and mapped remote – simply plug the FLIRC in to your Raspberry Pi’s USB port and boot your Raspberry Pi – your FLIRC-learnt remote will work straight away without the need to adjust any settings.
If you need to make changes to the remote key mappings, just repeat the steps above (using the delete option to remove key assignments if required), or select File > Clear configuration to format the FLIRC and start over.
Other Devices
The FLIRC works with a long list of other devices as well, from PCs and Laptops to Amazon Fire TV and Android tablets – it really is the Swiss army knife of TV remote solutions!
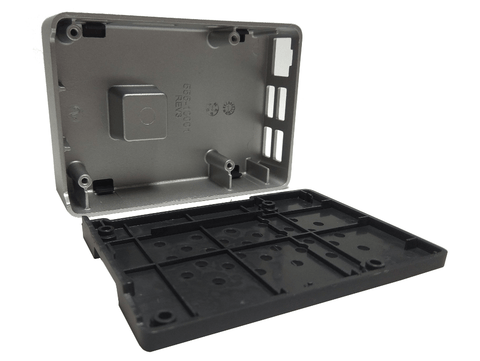
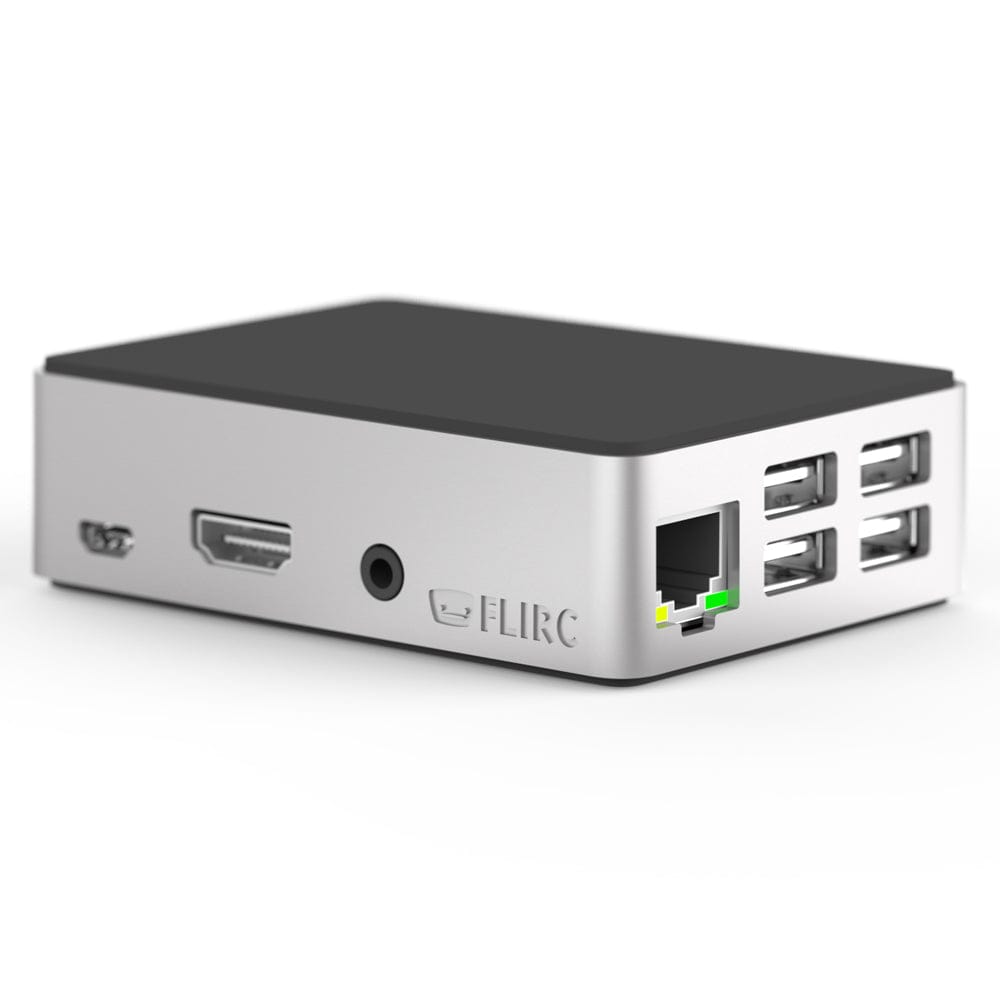
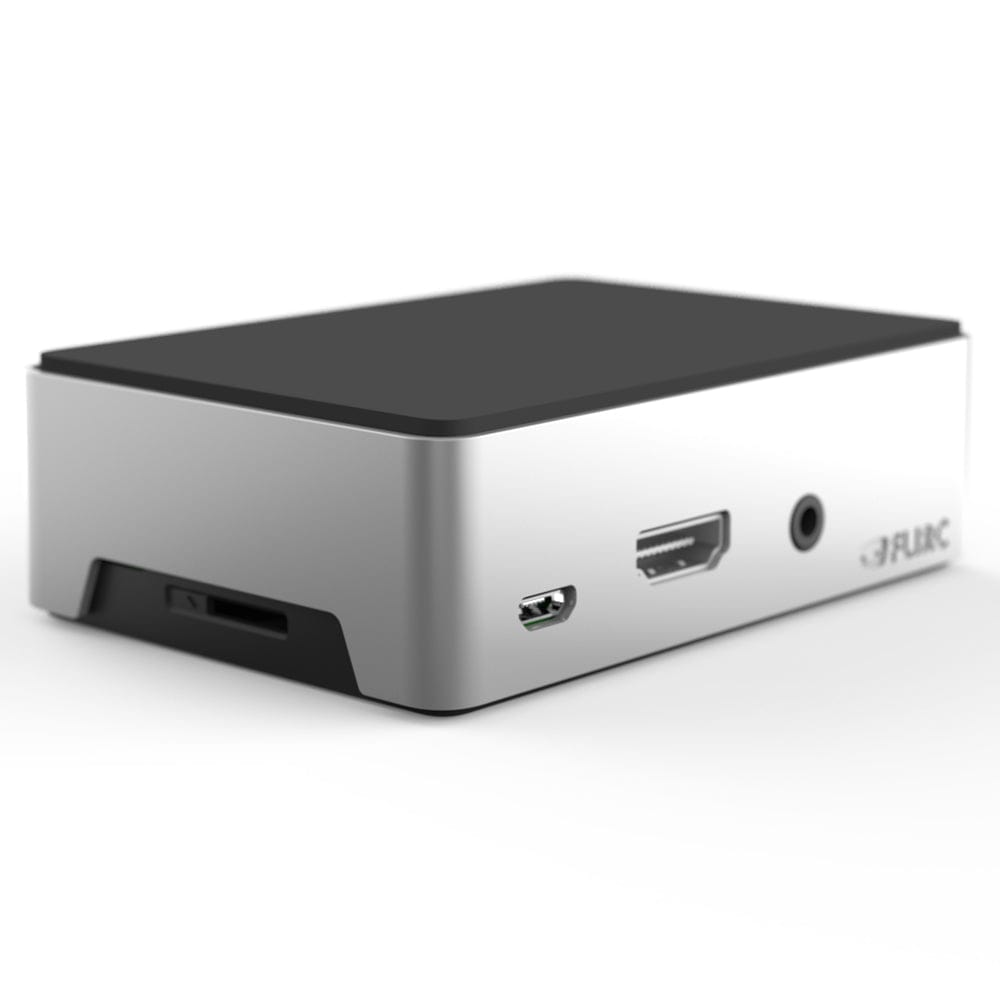
FLIRC Aluminium Raspberry Pi Case
Did you know that FLIRC also make a matching aluminium media centre case for the Raspberry Pi 2/3/3B+?
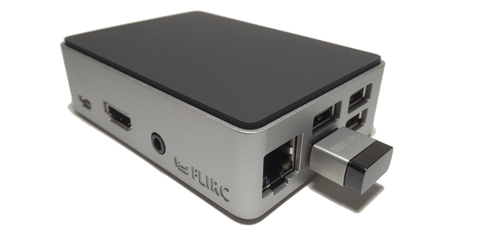
The exterior is absolutely on point for a sophisticated and understated media shelf, however this sharp styling plays a functional role as well.

The FLIRC case is made of an aluminium core sitting between two matt black plastic covers. Inside, this aluminium core functions as a high-performing heatsink – dissipating your hard-working Raspberry Pi’s heat throughout the body of the case.
The case also features rubber feet to enable heat to transfer through the lower ventilation holes, as well as ensuring your Raspberry Pi stays put without any rattles from your sound system.
I Want one!
We can help! We’re the official distributor for FLIRC in the UK & EU – and we ship internationally as well.
We sell the latest 2nd generation FLIRC USB right here at The Pi Hut, as well as the gorgeous matching FLIRC case.
1 comment
Marcin
Hello is there any chance to use it FLIRC on pi4 with android? Where I can find the software to pair device?
Hello is there any chance to use it FLIRC on pi4 with android? Where I can find the software to pair device?