

How do I power my Arduino?
At The Pi Hut we offer a range of different micro-development boards, which all require slightly different power sources.
Some are very stringent in their required input; for example, the latest Raspberry Pi 4 recommends 5V @ 3A as a minimum for stability, but some are more flexible, such as the Arduino Uno which can accept a range of voltage inputs (6 – 20V), and regulates this to the desired level internally on board. Not only that, the boards themselves have different power input ports, and some can be powered at multiple points on the board! We’ve got a simple breakdown of what each unit requires - check the below tutorials on how to best power each device:
How do I power my Raspberry Pi?
How do I power my Beaglebone Black?
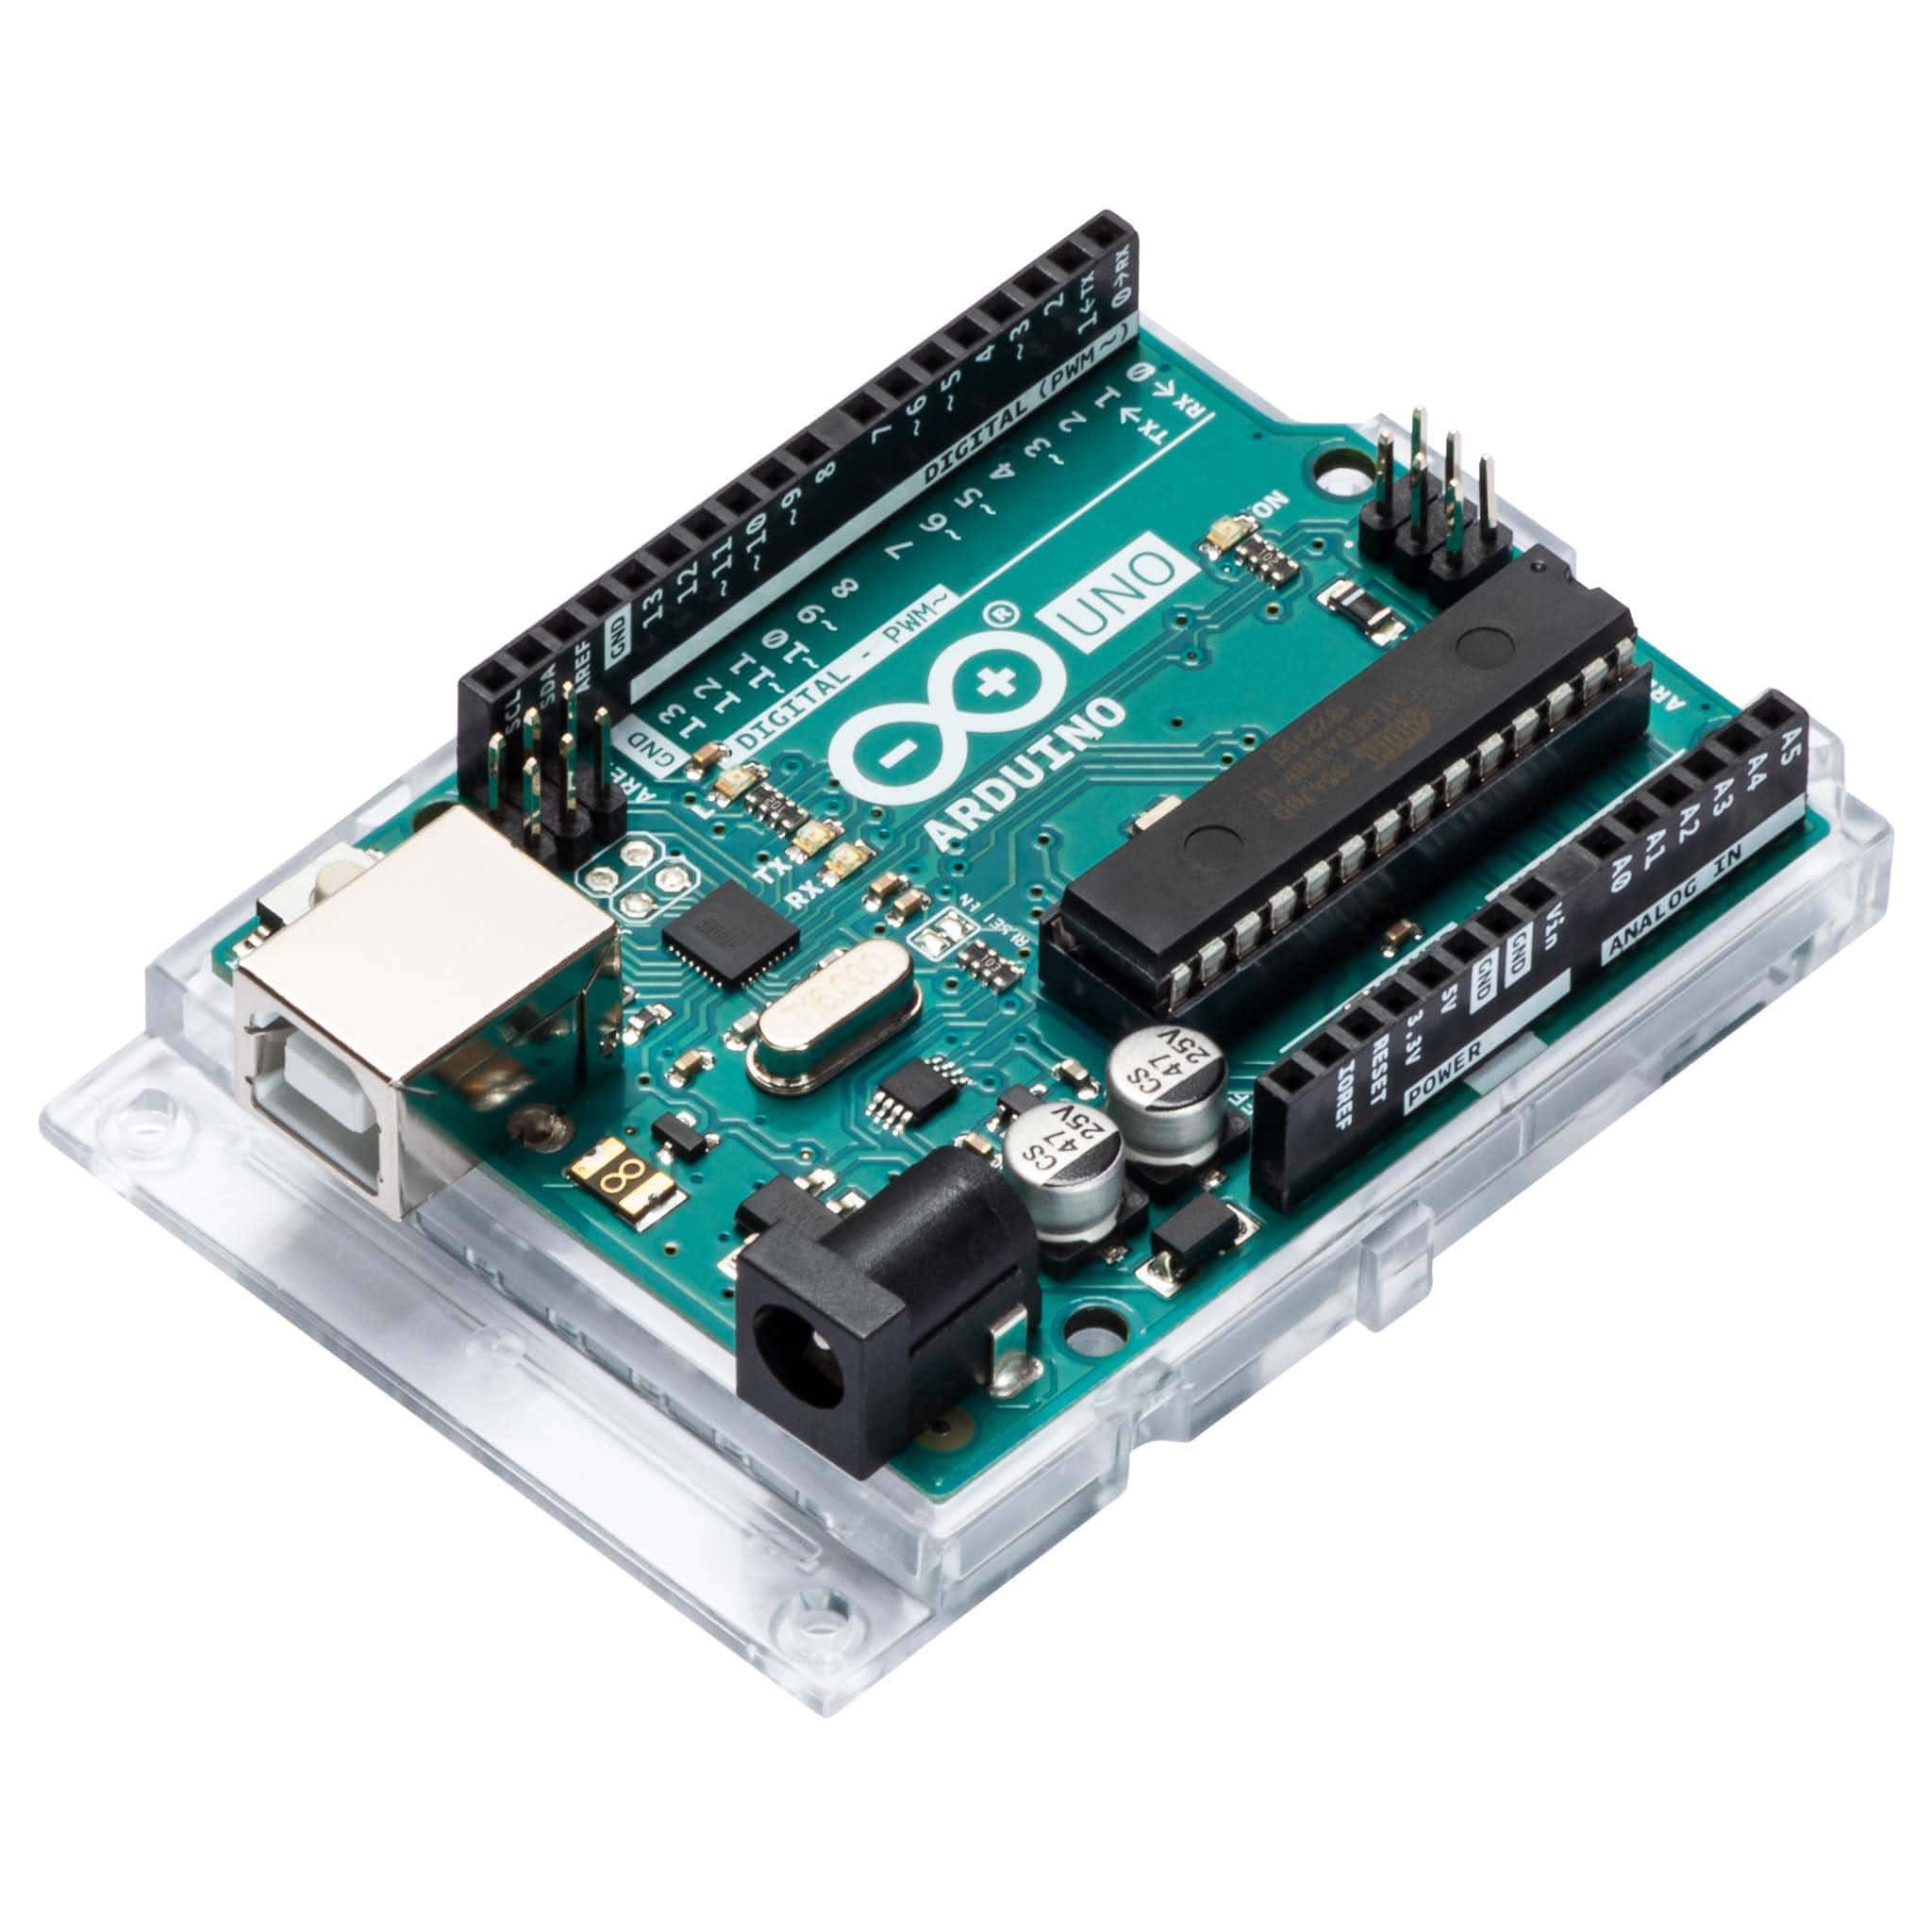
How do I power my Arduino?
The Arduino Uno is a more complicated beast than the Raspberry Pi! Unlike the Pi, which states exact power requirements, the Arduino is much more flexible, and can be powered via a number of ports. In a lot of ways, this is incredibly useful, but it can lead to some confusion.
At The Pi Hut we offer a couple of different options to power your Arduino. The recommended unit is our 9V 2A Arduino Power Supply. This charger offers a nice stable supply voltage, and ensures that the Arduino's voltage regulators aren't pushed too hard. This unit should extend the life of your Arduino, and allow you to complete the majority of low-end hacking.
We also offer a 12V 2A Arduino Power Supply. This unit is for high power applications, or if you’re looking to drive a 12V circuit via the Vin pins. This is the top end of the recommended voltage range, so users are advised that this should only be used if actually required.
Mode 1 – DC Barrel Plug 5.5mm/2.1mm (Recommended 9V – 12V @ 2A)
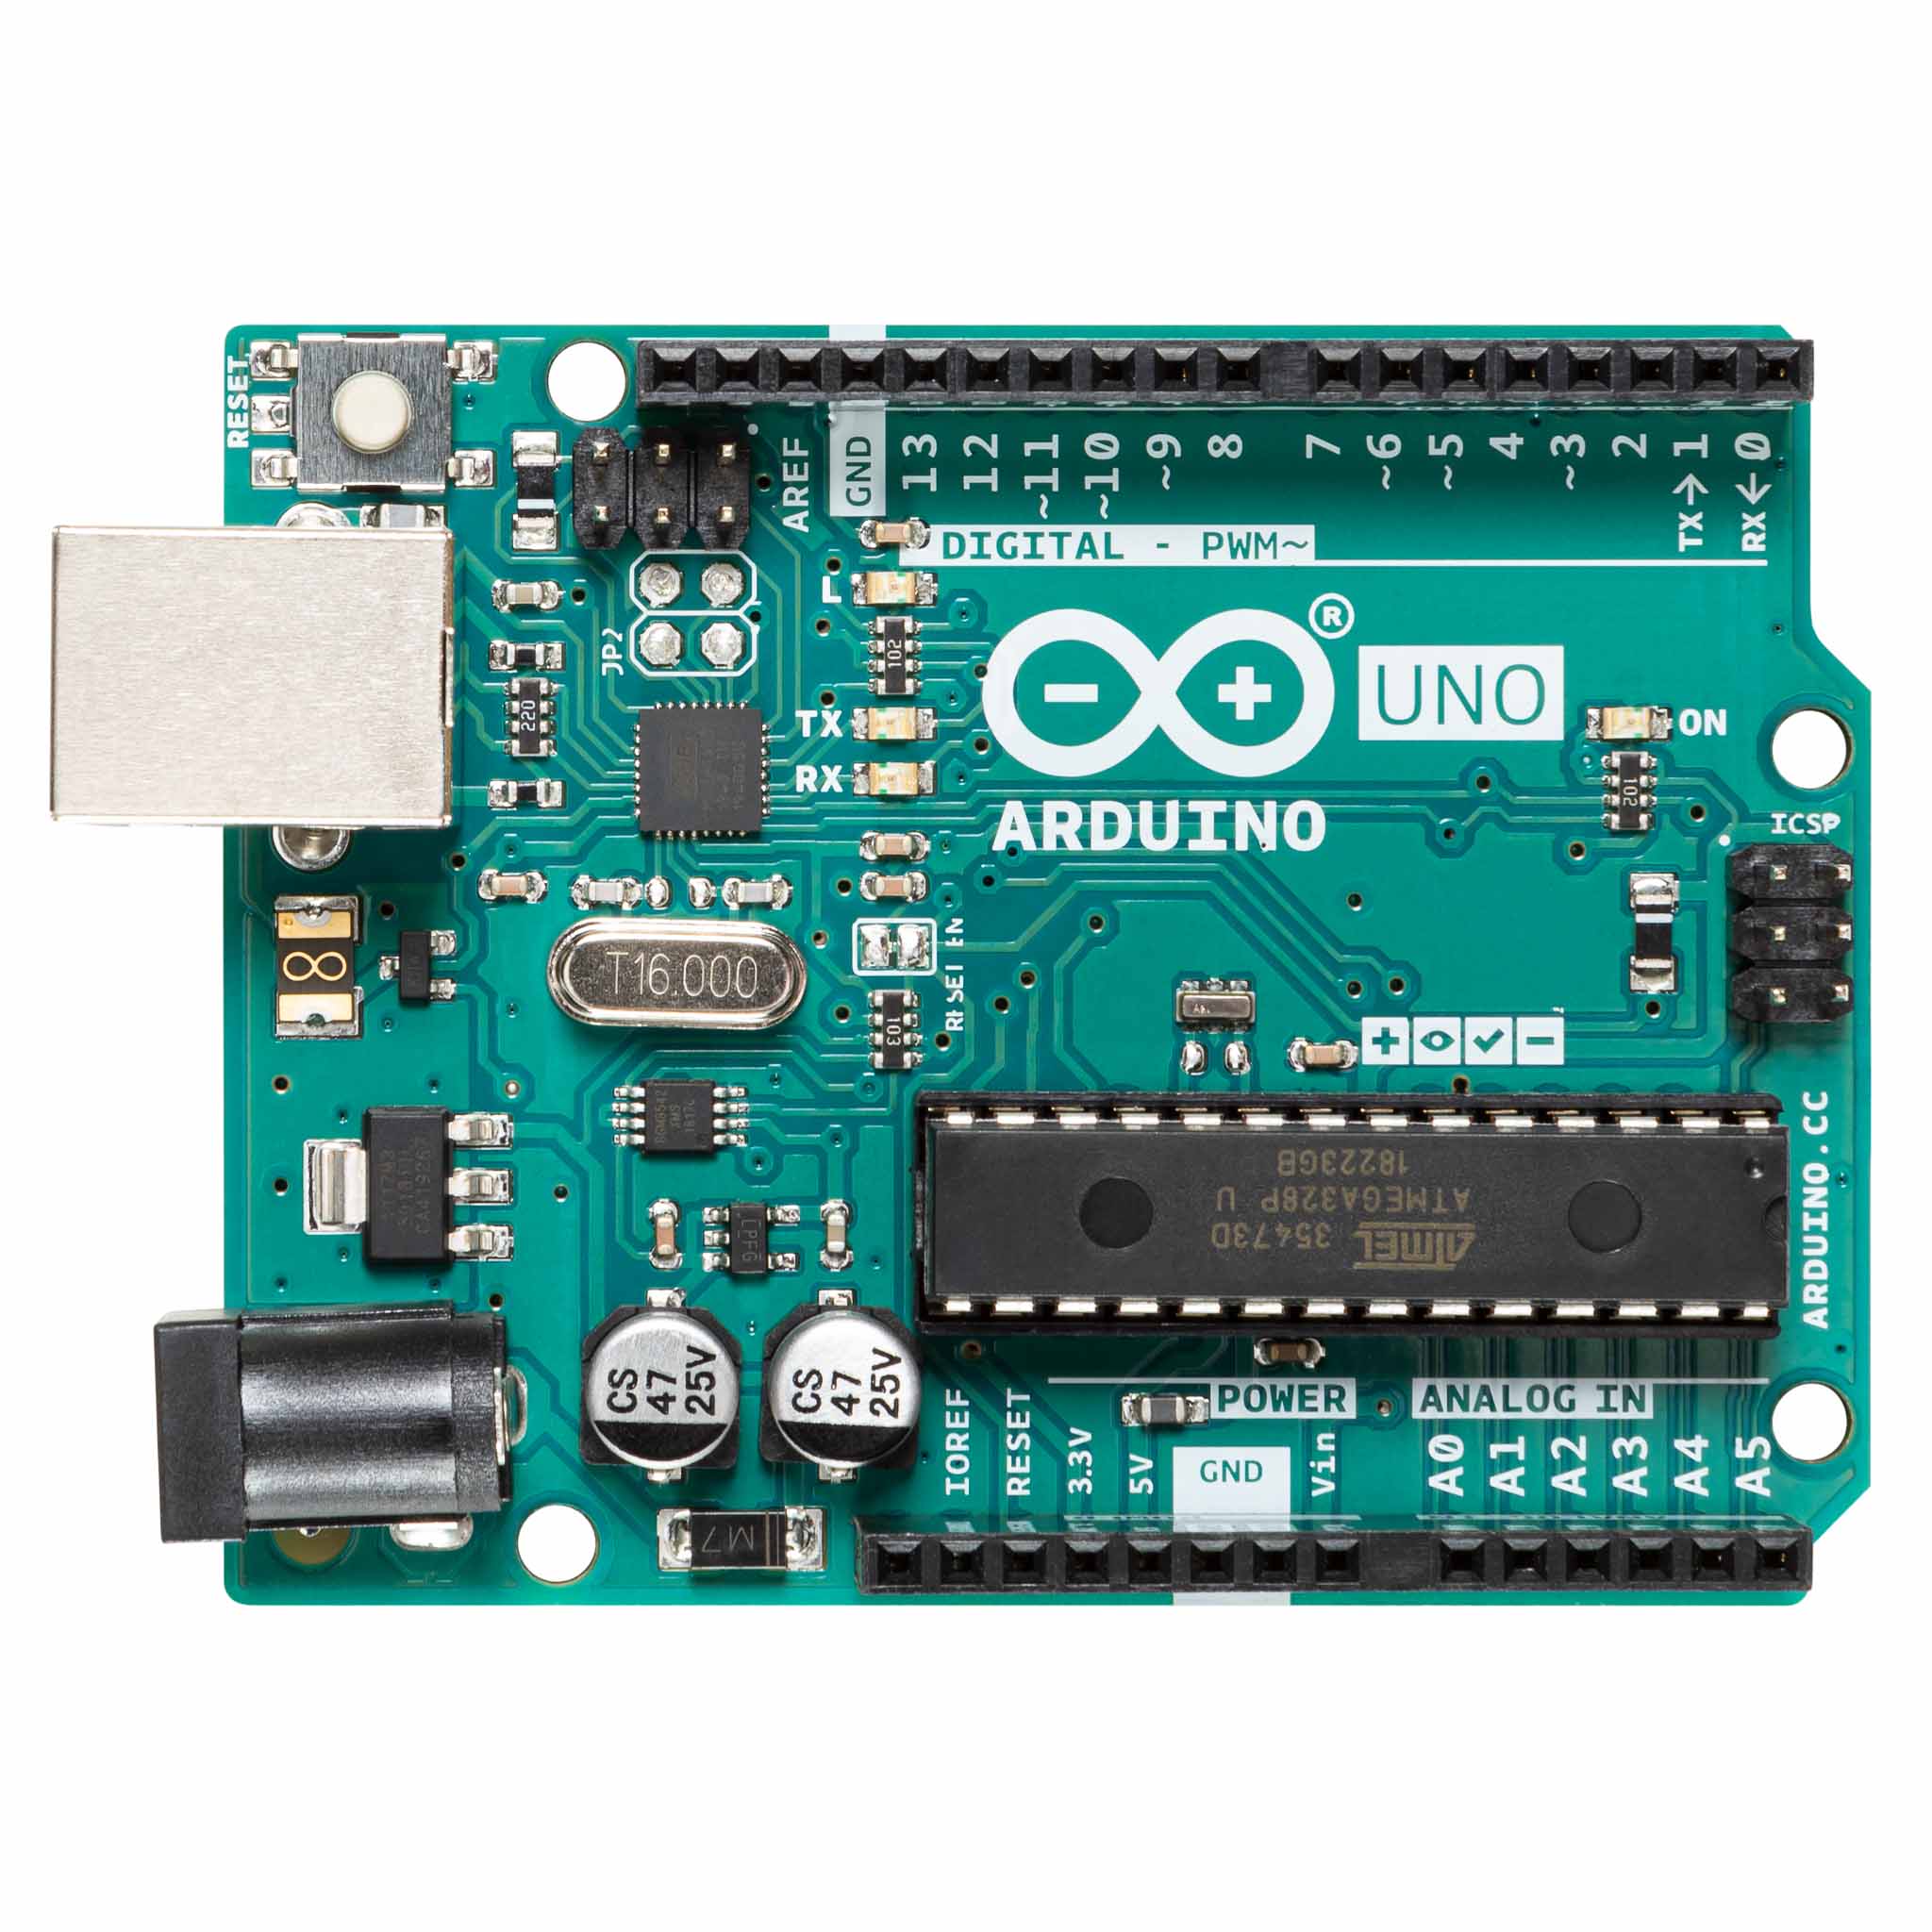
For a more concise explanation of the various requirements see below, but the simplest answer is the following. The Arduino features a DC (Direct Current) barrel jack input port for power. The barrel jack has the following requirements:
- The Adaptor must be DC (Direct Current) not AC (Alternating Current)
- The barrel plug must be centre positive (The middle pin of the plug has to be positive)
- The barrel plug must have an inside diameter (ID) of 2.1mm
- The barrel plug must have an outside diameter (OD) of 5.5mm or less.
- The operating voltage is recommended to be between 9V and 12V
- The operating current is recommended to be 0.5A to 2A.
- Barrel connector length of 9.5mm or greater is sufficient.
This is a common size barrel, and you’ll see 5.5mm/2.1mm featured on a lot of our items.

Operating Voltage
The Arduino can operate on a supply through this port of 6 to 20V. However, the operative word here is “can”.
If the board is supplied with less than 7V, the unit’s performance could become unstable, and the 5V I/O pin may end up supplying less than 5V, which could cause additional circuitry to function incorrectly.
Vice versa, using an over-voltage power supply up to 20V will cause the regulators on the board to run at full-whack, dissipating the extra voltage as heat. This is both inefficient, and could cause over-heating of the Arduino. An analogy: You can run your car everywhere in first gear revving it to the extreme. It will get you where you’re going, but it will decrease the life of your gearbox and engine, get you there very slowly, and probably hurt your ears!
Therefore, the recommended voltage is 9V to 12V. This is a nice middle ground which enables the board regulators to easily dissipate any unrequired voltage, and additionally supply the correct voltage to the various I/O pins on the Arduino.
It should be noted. The Vin pin on the Power Pins I/O will copy the voltage input supplied through the power jack, and act as an output of that voltage. In this way, you effectively have a customisable output voltage pin on the Arduino which will replicate the input voltage of your power supply. For example, if you have a 9V relay, you could run this directly from your Arduino Vin pin as long as you have a 9V barrel power supply connected.
Operating Current
As opposed to voltage, which is “forced”, current is the draw a circuit can place on a power source e.g. the power supply will supply different amperage depending on the load placed on it by the connected device. Therefore, essentially the greater the current output of the adaptor, the better. The minimum requirement is 250mA which should just about run an Arduino with some measure of stability. However, if you want to power any external devices (Servo’s, LED’s, USB devices etc.) then 0.5A to 2A will enable a greater range of use. A charger with a higher current rating will ensure you enough juice to make each component of the circuit function correctly.
Some Useful Current Limits:
- The USB port has a polyfuse shut-off of 500mA. Any connected devices that draw more than this will likely cause instability.
- The absolute maximum current draw for a single digital or analogue I/O pin is 40mA (<35mA recommended max), with a total maximum current draw from all I/O pins of this type being 200mA combined.
- If you decide to power a circuit via the Power I/O pins, the 3.3V pin has a maximum current output of 150mA (recommended at 50mA).
- 5V pin has a maximum draw of 0.8A. It should be noted that the 3.3V and 5V circuits are combined, so 0.8A is also the combined maximum current draw of both these pins. It should also be noted that 0.8A is the theoretical maximum determined by the on board voltage regulators. The harder these voltage regulators are working, the less current you’ll be able to draw, so a more realistic maximum figure is 0.5A.
- The variable pin (Vin) bypasses the majority of the Adruino’s circuitry, so there is no real maximum except that set by the diode that separates Vin from the other circuitry on the board. The diode is rated a 1A, and the board traces are rated at 2A, therefore the theoretical maximum for Vin is 1A. We’ve seen reports of running devices higher than this, changing the diode, or even bypassing it completely, but it’s not recommended.
Some relays are capable of drawing huge currents when under high loads, so care should be taken when powering peripheral devices. Realistically, any individual peripheral device that requires more than 0.5A should always be powered via an additional external power supply.
Mode 2 – Through the USB Port (5V @ 500mA)
The Arduino can also be powered via the USB port on the front of the unit (known as back-powering in the Pi world!). USB powering should only be attempted using a stable 5V supply. It should also be noted that there is a current limit on the USB ports of 500mA, so any current draw greater than this might cause instability.
Supplying a voltage to the USB ports essentially dumps that voltage directly to the 5V rail on the Arduino (directly powering the 5V pin). Care should be taken when powering in this manner, as supplying voltage to the USB ports bypasses the 5V regulators, which can damage your board if an incorrect voltage is applied!
Additionally, the Arduino features a resettable polyfuse on the USB ports, with an overcurrent protection of 500mA. This somewhat limits the applications that can be utilised when powering via USB. If anything draws a significant amount of current (or multiple devices draw greater than 500mA combined), the on board polyfuses will likely trip, breaking the connection until the load is removed. This would likely result in the unit repeatedly resetting, or other strange behaviour!
If the Arduino detects that there is a barrel source and USB source supplying voltage at the same time, the Arduino automatically switches to the barrel source as long as it supplies a sufficient voltage (over 6.6V). Therefore, as long as a barrel supply is connected (and of sufficient voltage) the user does not need to worry about the applied USB voltage. There’s a very good explanation of this available here.
Mode 3 – Via the I/O
The Arduino features a number of power pins as shown below. These function as either inputs or outputs depending on how the Arduino is being powered!

The power pins are as follows:
- Vin. Vin can be utilised as a voltage input (instead of using the barrel adaptor or USB). The voltage should within the 9V – 12V, and it is regulated internally by the board to 5V. Vin can also be used as a voltage output, copying the voltage supplied via the barrel adaptor or USB.
- 5V. This pin outputs a regulated 5V from the regulator on the board. This pin can be supplied with power either from the barrel adaptor, the USB connector, or the Vin pin of the board. You can supply voltage via the 5V pin, however this bypasses the regulator, and can damage your board. Maximum current draw is 0.8A.
- 3V3. A 3.3V output supply generated by the on-board regulator. This pin can be supplied with power either from the barrel adaptor, the USB connector, or the Vin pin of the board. Maximum current draw is 150mA.
- GND. Ground pins.
You can utilise a range of supplies to power the Arduino via the I/O e.g. leads from a battery, external circuit, spliced power supply etc. As Vin is regulated, it’s safe to power using this method, although you lose the additional functionality gained from using Vin as an output if this is required.
Further Reading
2 comments
The Pi Hut
@John Fletcher – The UNO Q needs 5V 3A max, so the Raspberry Pi 27W Power Supply would be a good choice, or likely any reasonably-modern USB-C phone charges you may already own. Just check the output rating on the plug first.
It’s also 3A max, so if you’re not going to be pushing the board hard any time soon, you can probably get away with a much lower current PSU for now (again, re-using any spare USB-C phone chargers)
John Fletcher
I am interested in the Arduino Uno Q. I want to know what else I should buy to be able to run one as a standalone computer. I think I need a USB C Dongle and a power supply. Is the one for a Raspberry Pi 4 or 5 a good choice for the power supply.
Do you supply a suitable dongle? Thank you. John
I am interested in the Arduino Uno Q. I want to know what else I should buy to be able to run one as a standalone computer. I think I need a USB C Dongle and a power supply. Is the one for a Raspberry Pi 4 or 5 a good choice for the power supply.
Do you supply a suitable dongle? Thank you. John