
How do I power my Raspberry Pi?
We offer a range of different development boards, which all require slightly different power sources using different connectors. Some are very stringent in their required input; for example, the latest Raspberry Pi 4 is rated for 5V 3A, however some are more flexible - some Arduino boards can accept a range of voltage inputs (6-20V) and then regulates this to desired level internally on board.
Voltage and current aside, our selection of dev boards have a range of different input ports, everything from USB-A to Micro-USB to USB-C (which is quickly becoming the new standard).
This article will focus on the Raspberry Pi, however we’ve got a simple breakdown of what each board requires - check the links below on how to best power each device:
How do I power my Raspberry Pi?
The least complicated, but most stringent in terms of power requirements is the Raspberry Pi.
Every Raspberry Pi board (at the time of writing) uses either a USB-C port (Raspberry Pi 4) or Micro-USB (all other boards, including the Pico).
These USB connections are all 5V too which keeps things simple, but the current each board requires is where you need to pay attention (and vitally, make sure your power supply is up to the job).
Powering a Raspberry Pi 4
The latest Raspberry Pi 4 can be powered in a couple of ways - USB-C or via the GPIO pins. Let's take a look at each option:
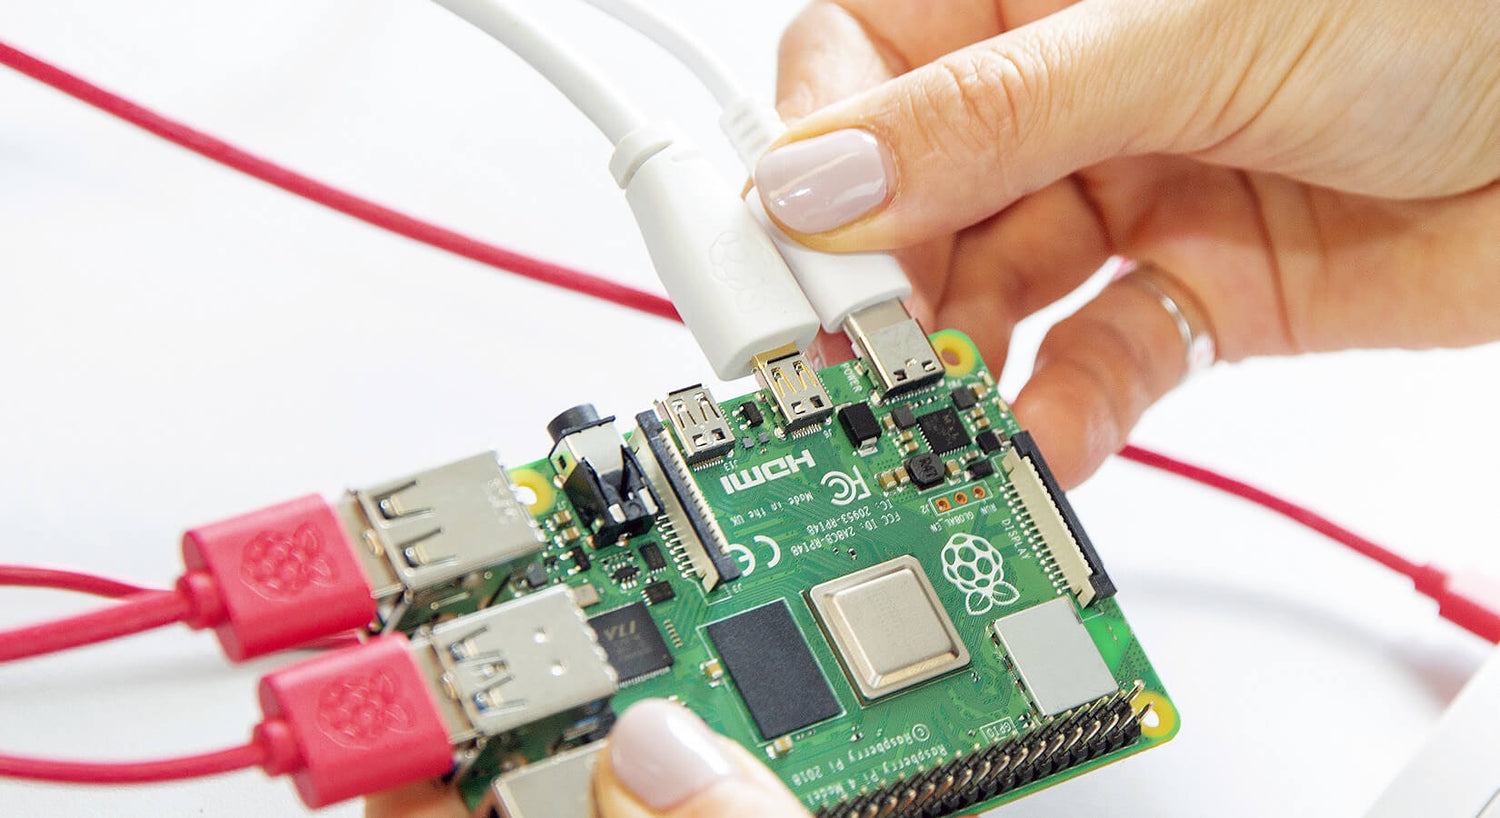
Powering the Raspberry Pi 4 via the USB-C Port (5V, 3A)
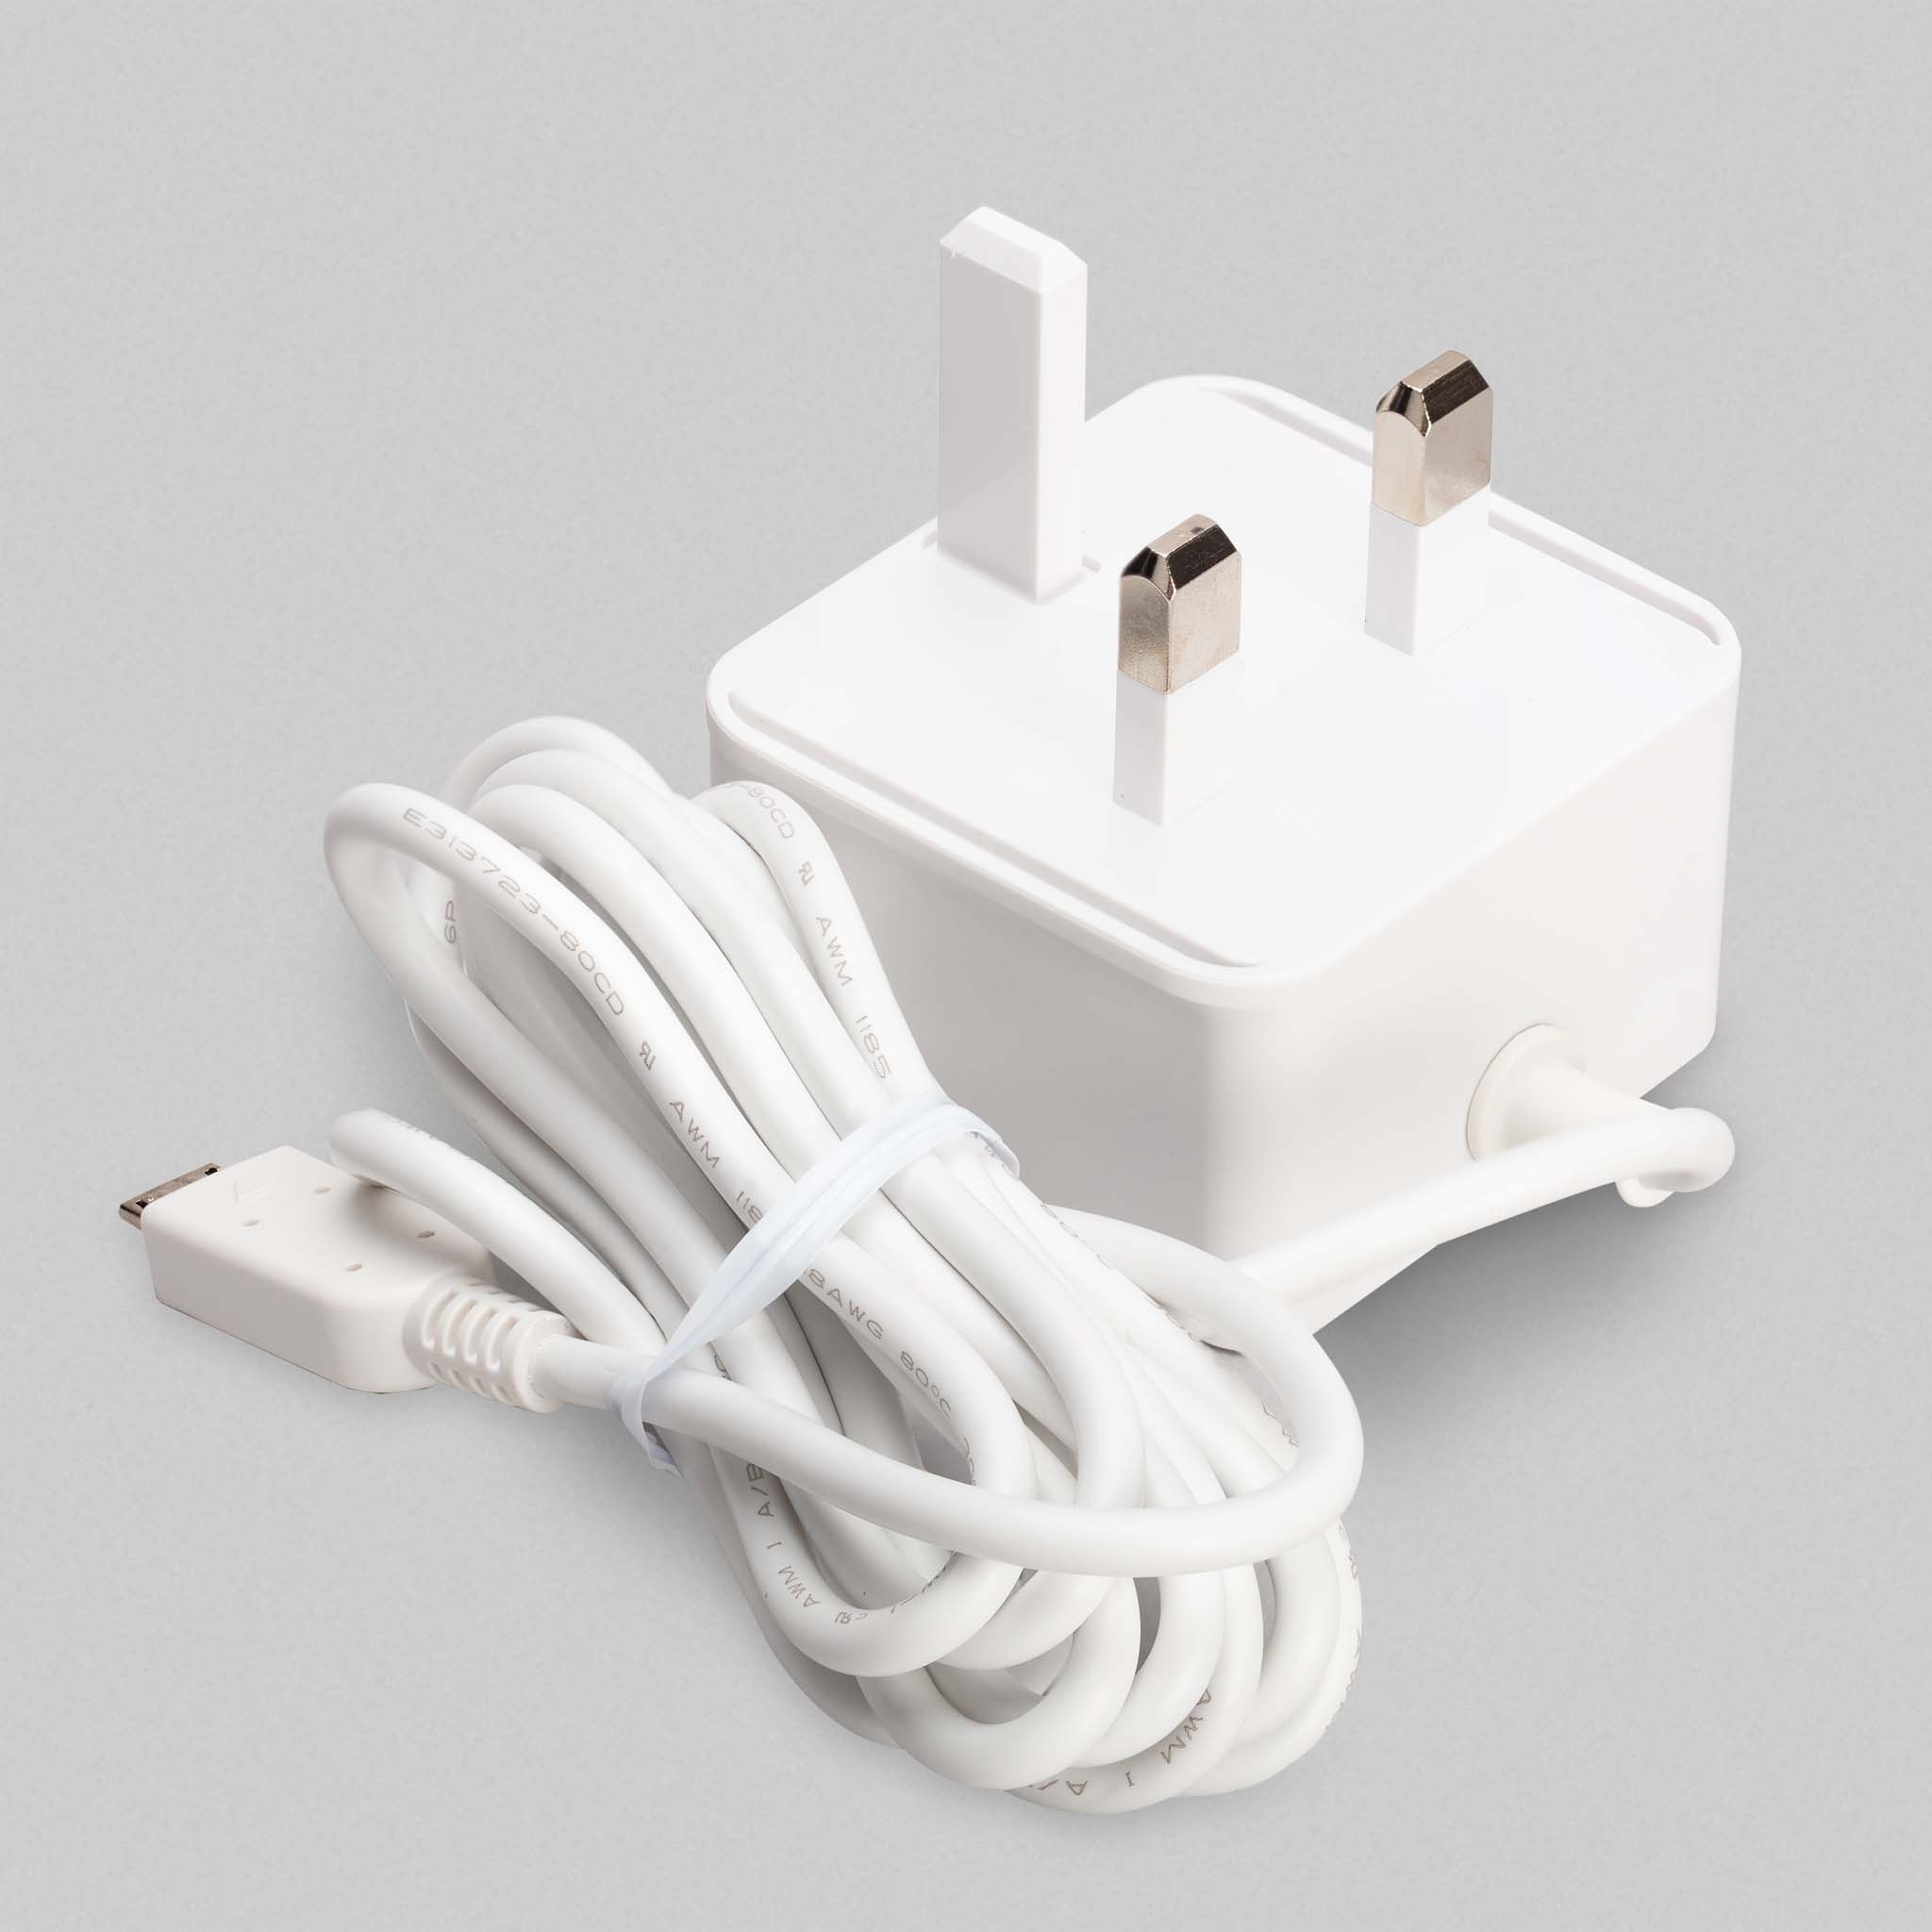
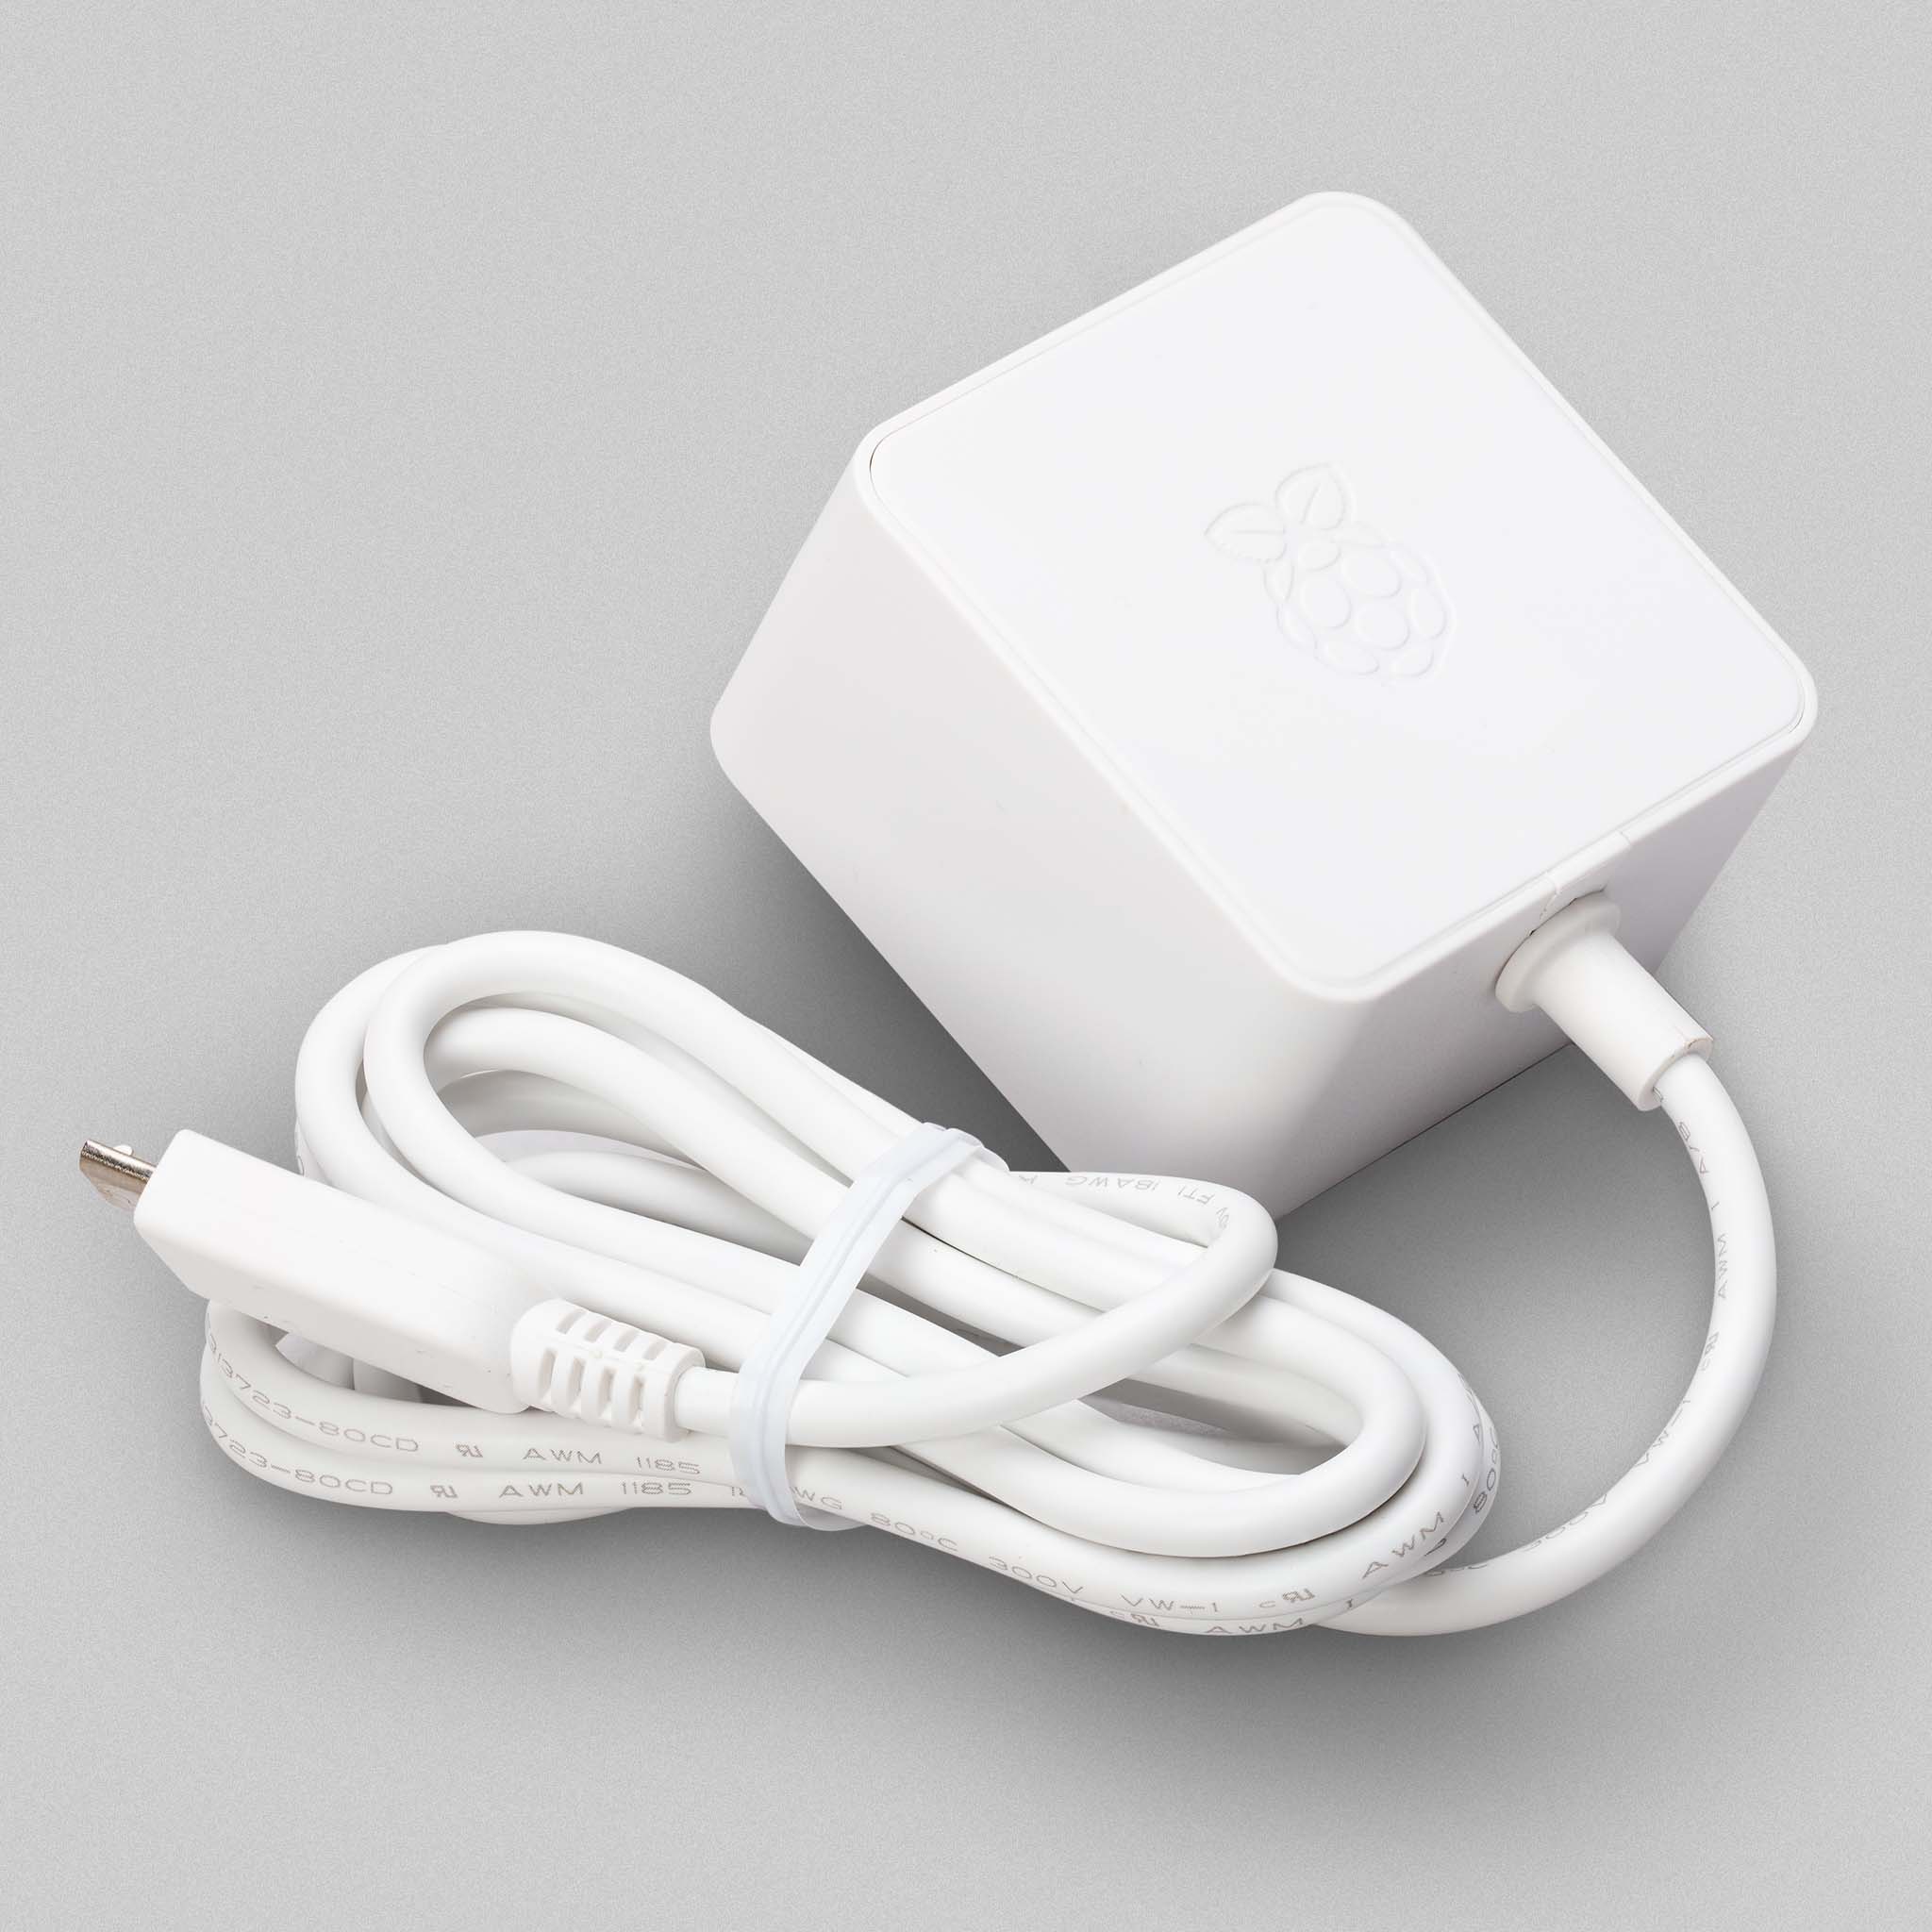
The first, recommended and easiest way to power the Raspberry Pi 4 is via the USB-C port on the side of the unit. The recommended input voltage is 5V, and the recommended input current is 3A.
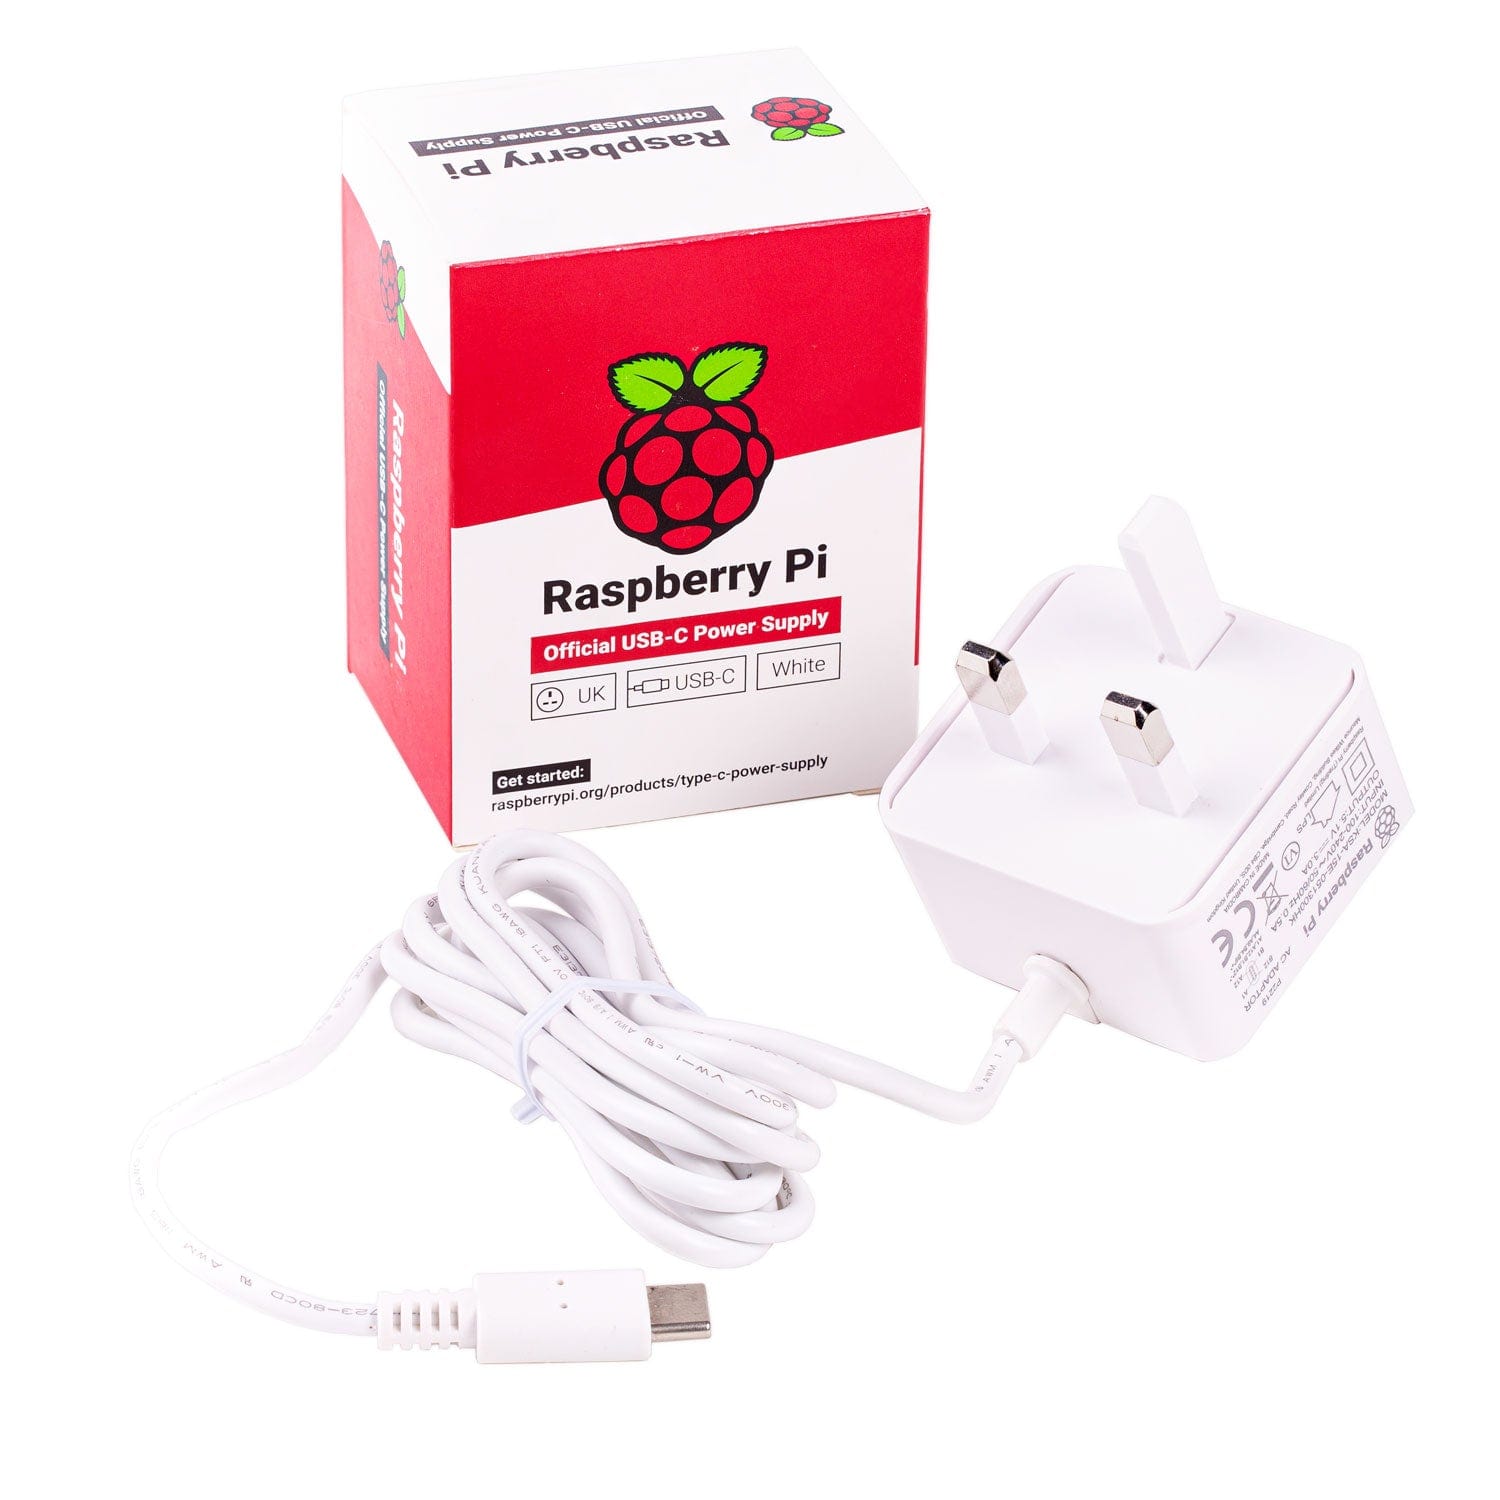
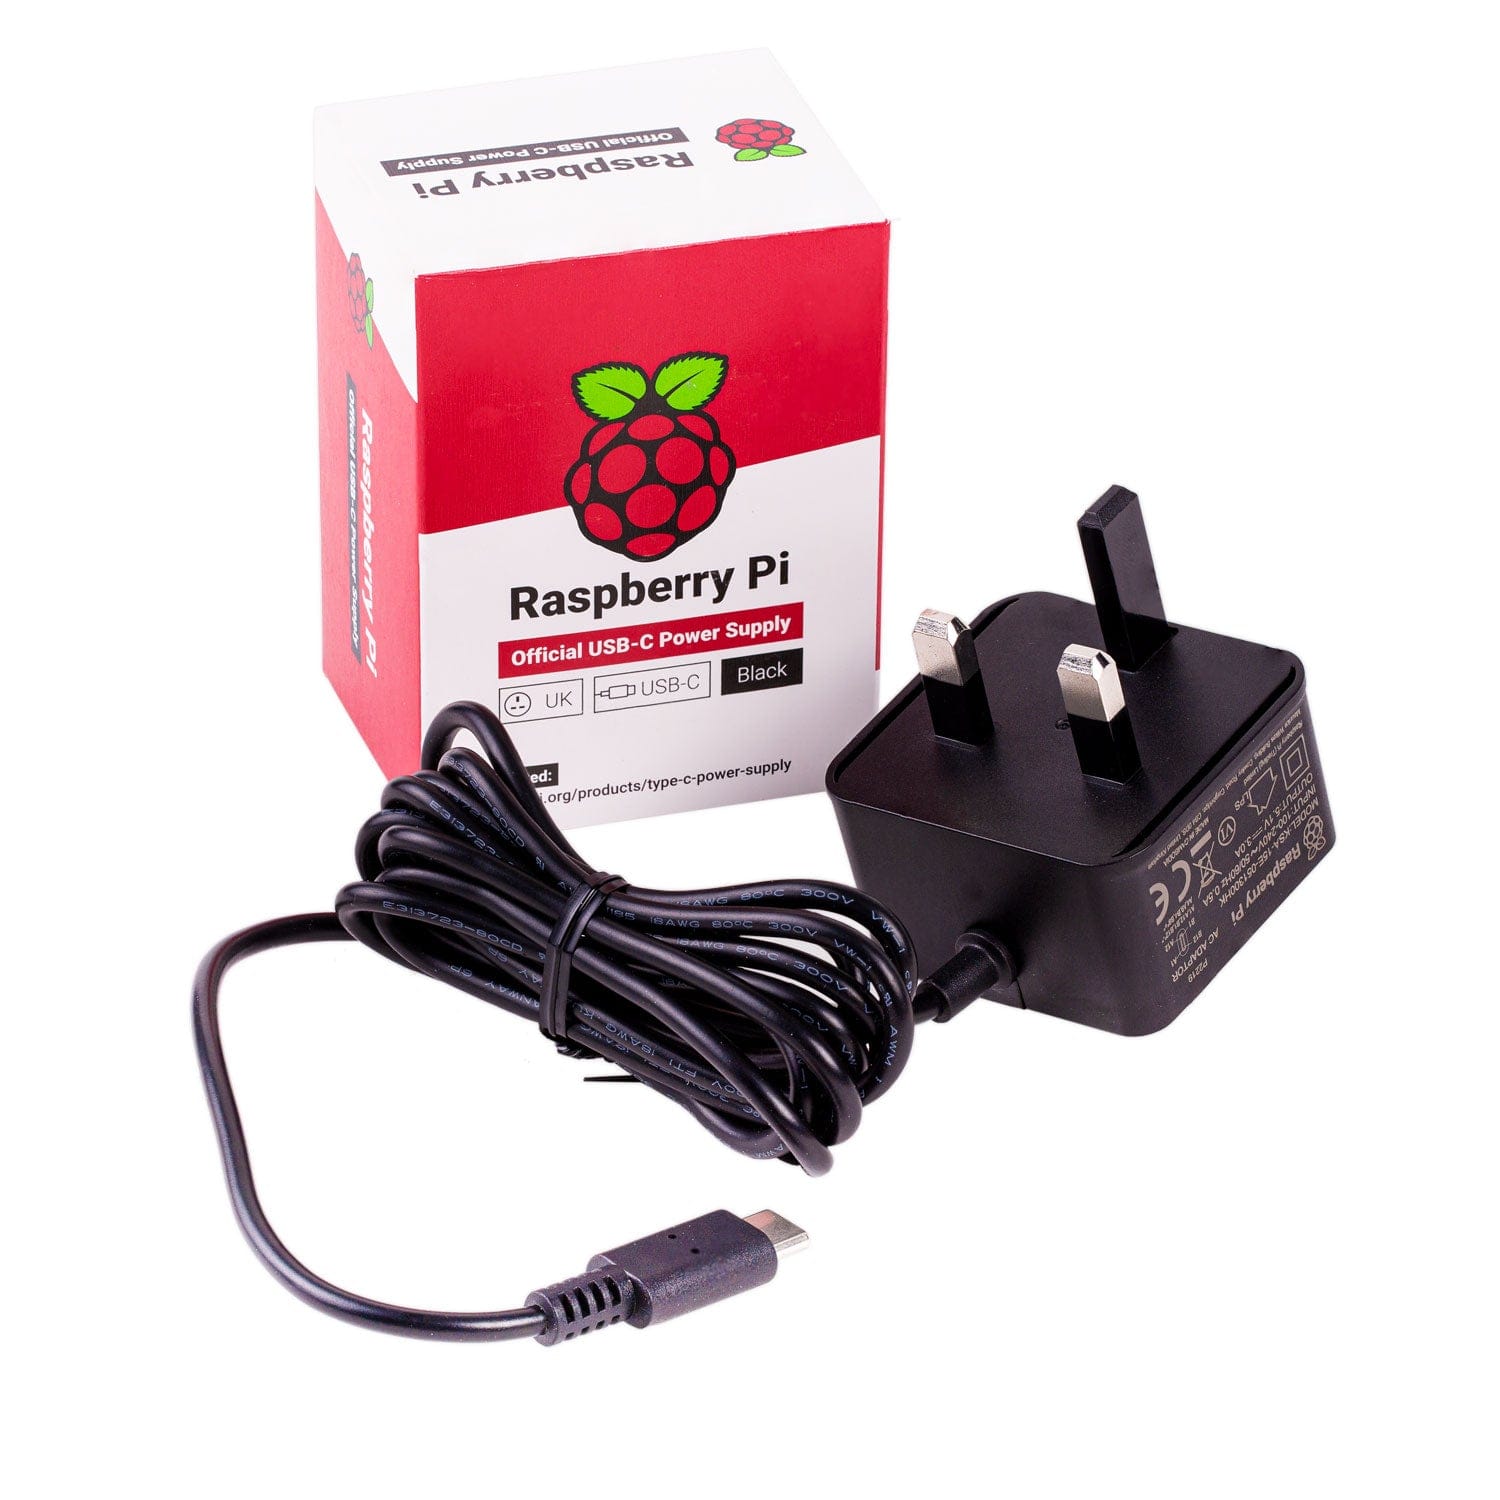
Depending on the project and other attached 5V USB/GPIO devices, you can sometimes get away with a lower current rating, but then you risk instability. This is why we always recommend the official Raspberry Pi USB-C power supply, which had been designed specifically for the Raspberry Pi 4.
You'll notice this power supply is 5.1V - this is to negate any voltage drop caused by excessive current draw.
We suggest you avoid USB-C mobile phone/tablet chargers as we receive endless support tickets with customers using these, where they're experiencing performance drops and a crashing OS. These 'chargers' don't always provide power as well as a dedicated 'power supply' will.

Powering the Raspberry Pi 4 via the the GPIO Pins
A more technical (and of course risky/dangerous) way to power the Raspberry Pi 4 is directly via the GPIO using a quality, regulated 5V supply (or a dedicated power HAT).
It should be noted that, unlike the USB-C port method, there is no regulation or fuse protection on the GPIO to protect from over-voltage or current spikes
If an incorrect voltage is applied, or a current spike occurs on the line you can permanently damage your Raspberry Pi. At best, you’ll “burn out” some or all of the GPIO pins, at worst you can fry your Pi!
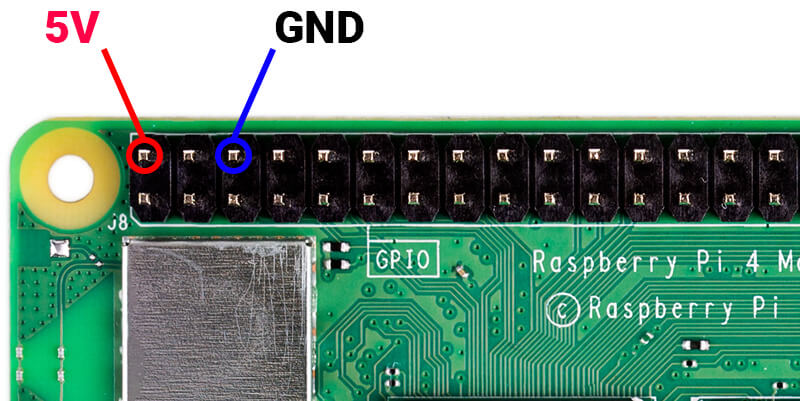
To power via GPIO, you only need to connect two pins:
1) Connect a 5V source to Pin #2 (5V)
2) Connect the ground of that source to Pin #6 (GND)
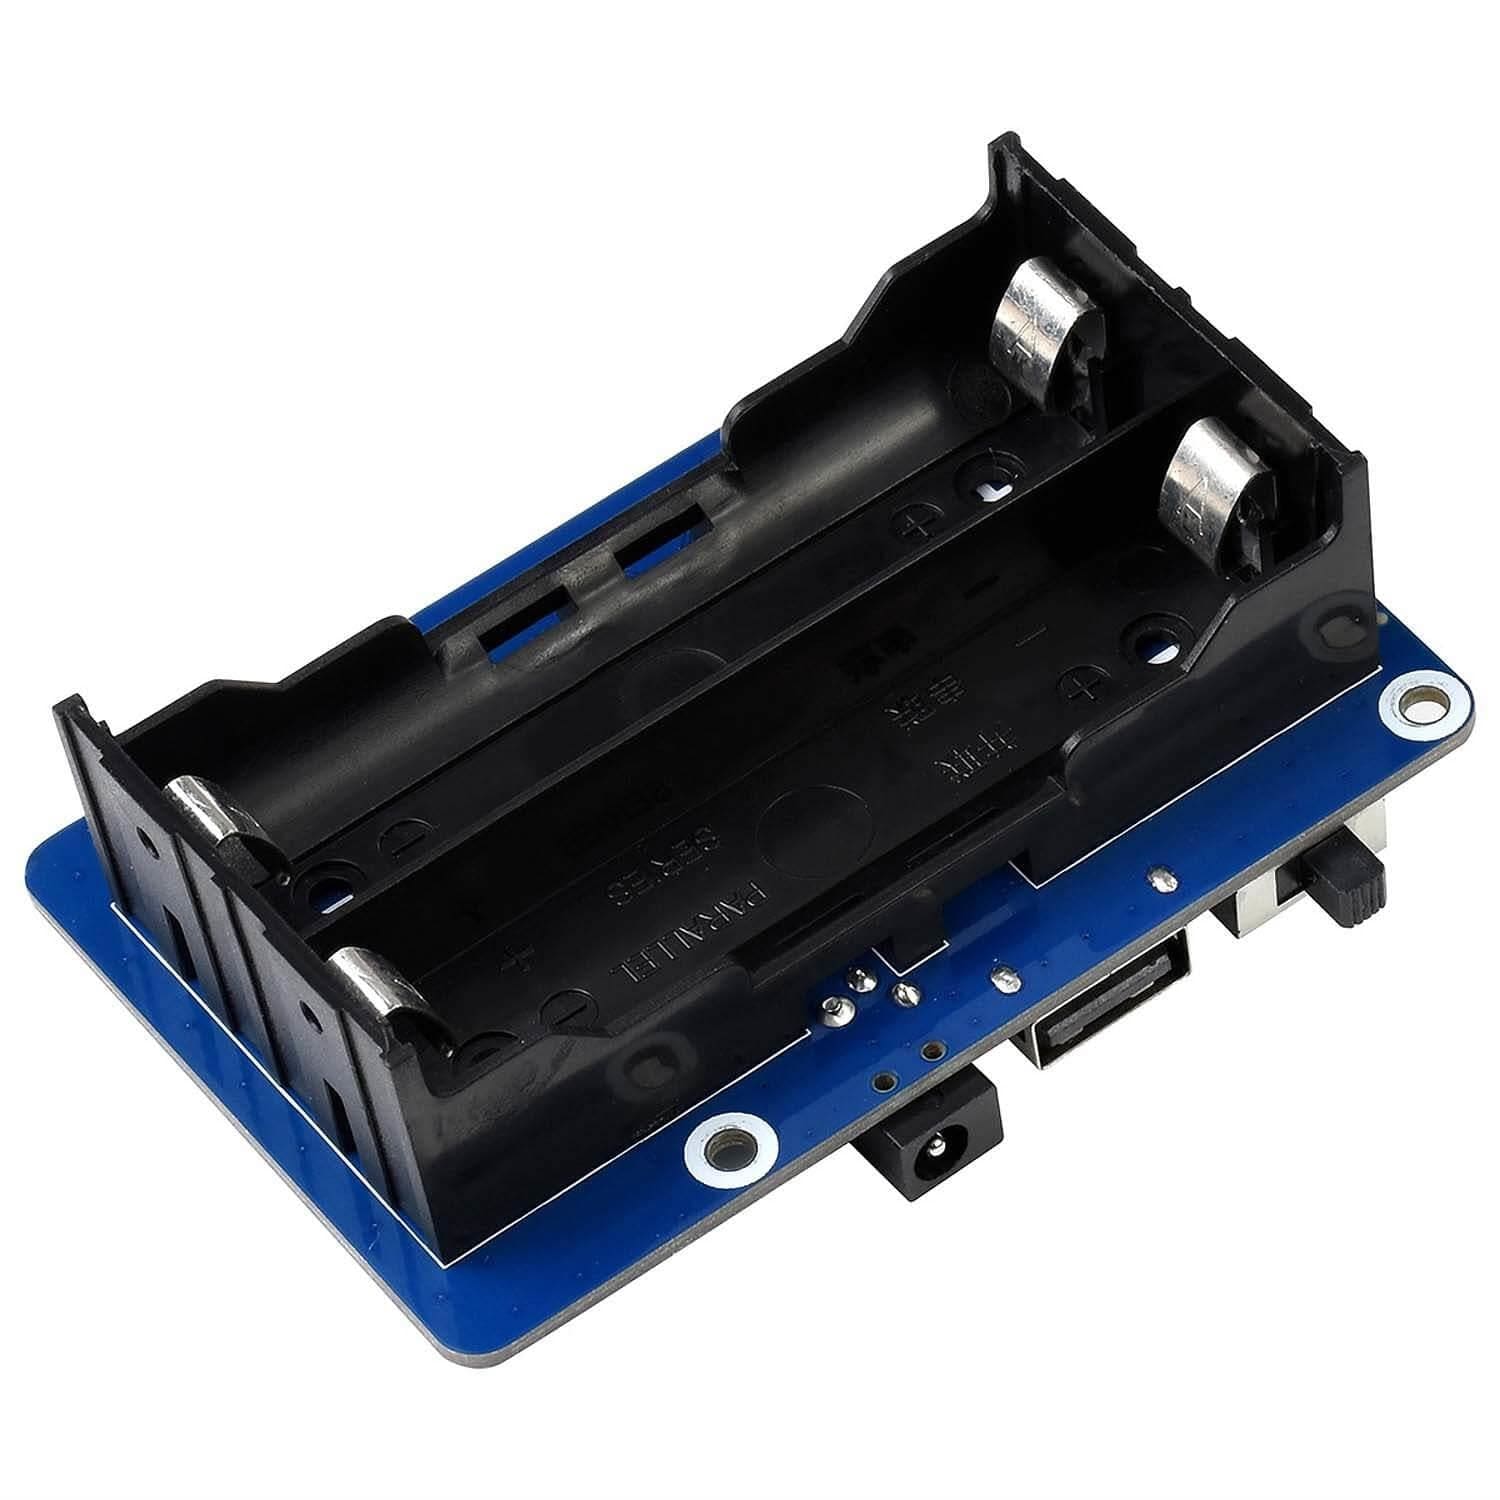
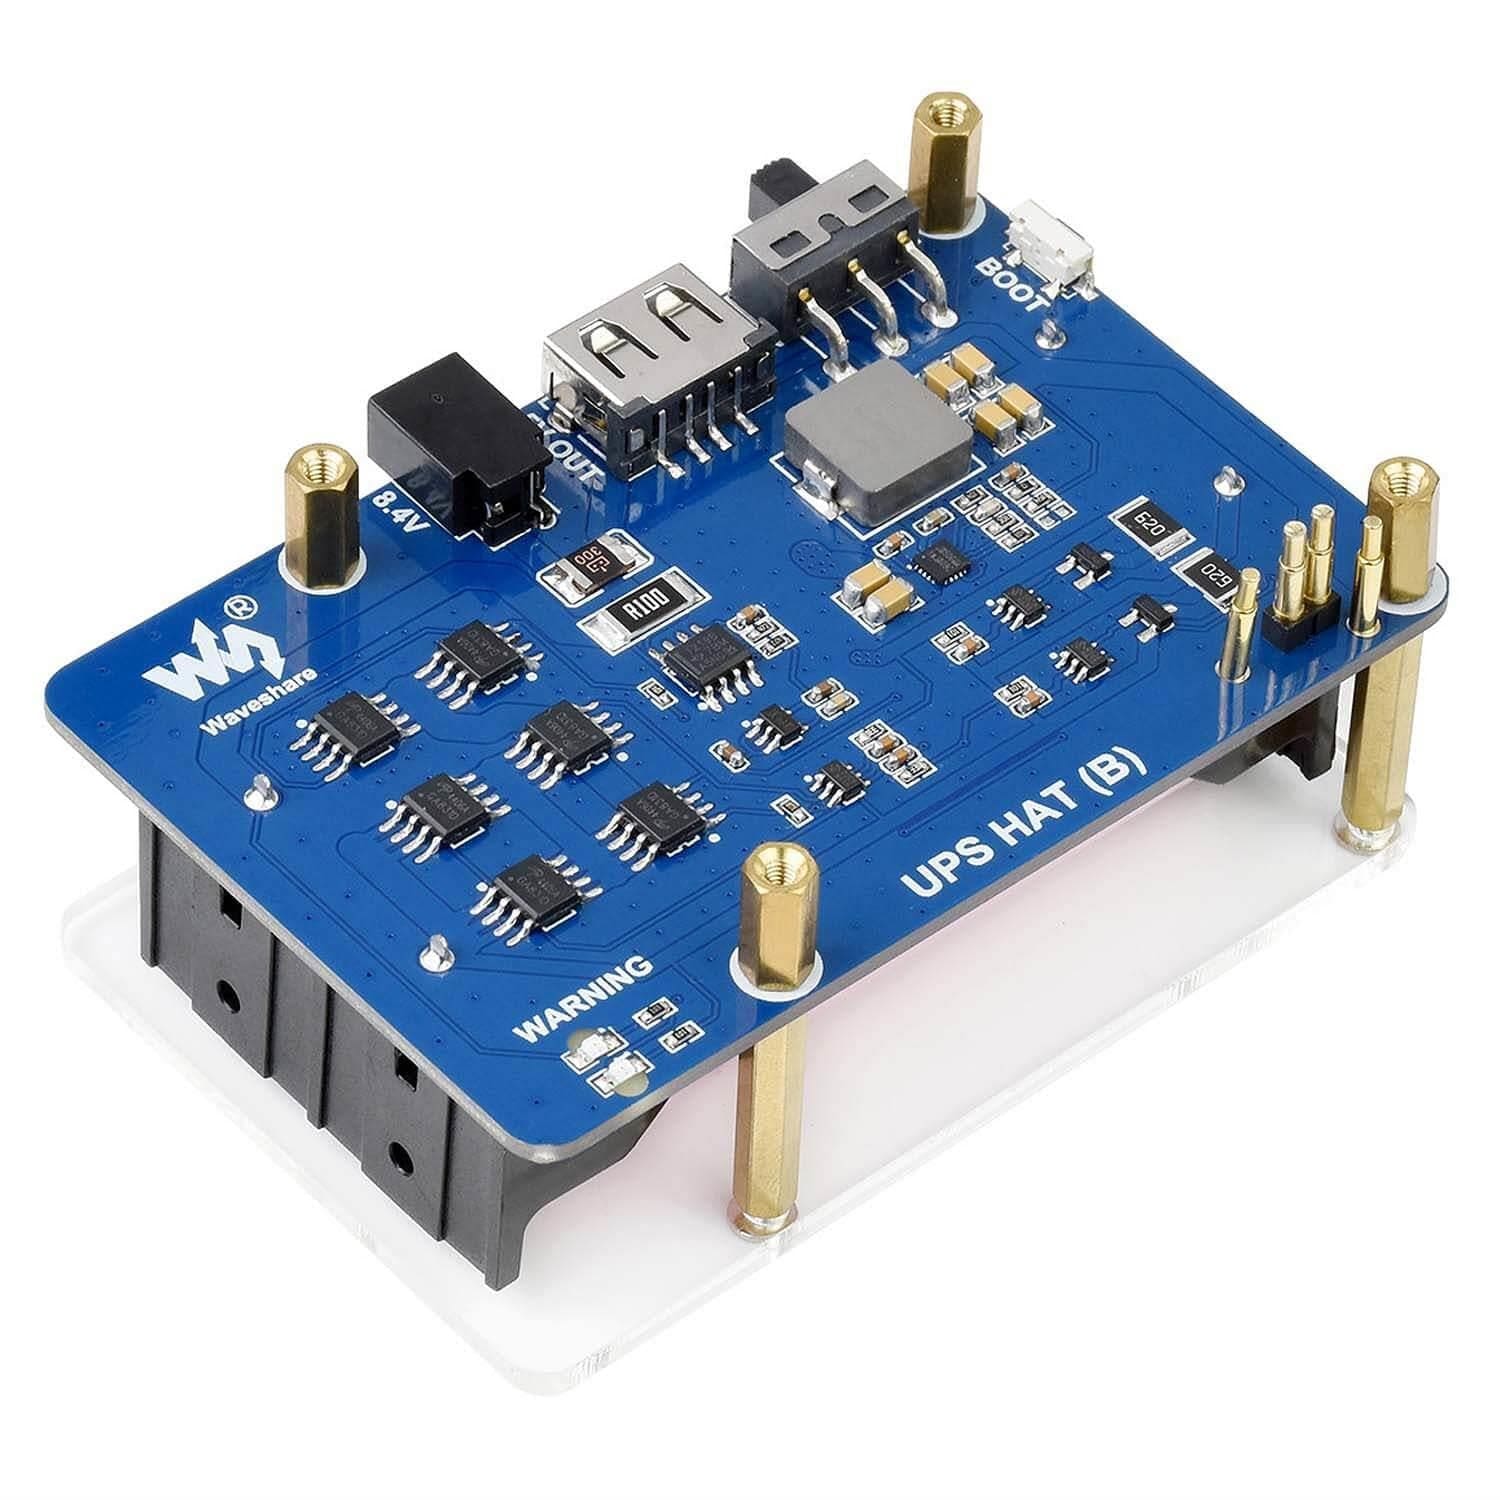
This method is useful for a range of applications, and a number of power HATs we offer use the GPIO pins to power the board (or provide a UPS function) with proper regulation onboard. We recommend that powering via the GPIO only be achieved via a protected source such as these.
Powering a Raspberry Pi Zero 2 / Raspberry Pi 3
The latest Raspberry Pi Zero 2 and Raspberry Pi 3 are very similar when it comes to power. They also have the same two powering options as the Pi 4 above, however the USB connector is Micro-USB and these boards generally require less current. Let's take a look at each option:
Powering the Raspberry Pi Zero 2 / Pi 3 via the Micro-USB Port (5V, 2.5A)
The recommended way to power the Raspberry Pi Zero 2/Pi 3 is via the Micro-USB port. The recommended input voltage is 5V, and the recommended input current is 2.5A.
Again, you can get away with a lower input current, and we see a lot more of this with the Zero as they're more frequently used for compact, mobile projects. The same warning applies though - go too low and you risk instability. This is why we recommend the official Raspberry Pi Micro-USB power supply, which had been designed specifically for these boards.
As before with the Pi 4, this power supply is 5.1V for the same reason as the Pi 4 PSU, to negate any voltage drop caused by excessive current draw.
We also suggest avoiding Micro-USB mobile phone/tablet chargers for the same reasons as above - these 'chargers' don't always provide power as well as a dedicated 'power supply' will.
Last point on the Raspberry Pi Zero - there are two Micro-USB ports! One is for connecting USB peripherals and devices (via a shim) and the other is for power:

Powering the Raspberry Pi Zero 2 / Pi 3 via the the GPIO Pins
Just like the Raspberry Pi 4, you can power your Zero or Pi 3 via the GPIO pins - the exact same ones!
This is a popular option for the Zero, as there are lots of dedicated power HATs that use these pins (and sometimes even the pads under the Zero) that make it easy to create mobile projects with compact, rechargeable LiPo batteries - such as this UPS/PS HAT.
Careful though - just like the Pi 4, there is no regulation or fuse protection on the GPIO to protect from over-voltage or current spikes
To power via GPIO, it's the same two pins as the Pi 4:
1) Connect a 5V source to Pin #2 (5V)
2) Connect the ground of that source to Pin #6 (GND)

6 comments
anonymous
Can I use a raspberry pi USB cable to power a 3b+
Can I use a raspberry pi USB cable to power a 3b+
Keith Burton
I need to power a Raspberry Pi 4 robot with some type of battery/ batteries.
When using Mobile phone power banks, I intermittently get under voltage messages on the console, so how would I connect 2 × 18650s to the Pi if the 40 pin header is being used by a Picon Zero
I need to power a Raspberry Pi 4 robot with some type of battery/ batteries.
When using Mobile phone power banks, I intermittently get under voltage messages on the console, so how would I connect 2 × 18650s to the Pi if the 40 pin header is being used by a Picon Zero
Corvus
What would happen if you accidentally powered the pi through gpio and usb at the same time?
What would happen if you accidentally powered the pi through gpio and usb at the same time?
Tony Pelino
How much current should be running through the GPIO pin I saw that they only can pull up to 16mA, is this the same for input current can I use a few amps since the Pi uses 5V and 2.5 Amps to power the device?
How much current should be running through the GPIO pin I saw that they only can pull up to 16mA, is this the same for input current can I use a few amps since the Pi uses 5V and 2.5 Amps to power the device?
The Pi Hut
@Alexander – Yes you can power any Zero from the GPIO pins, but you need to make sure it’s from a quality, regulated 5V power source. It’s certainly a riskier way to do things and not for beginners (too much voltage will kill your board), but for certain projects it’s very useful.
@Alexander – Yes you can power any Zero from the GPIO pins, but you need to make sure it’s from a quality, regulated 5V power source. It’s certainly a riskier way to do things and not for beginners (too much voltage will kill your board), but for certain projects it’s very useful.
Alexander blohme
can i power my pi zero 1.1 via gpio aswell?
can i power my pi zero 1.1 via gpio aswell?