
Getting Started with the Raspberry Pi TV HAT
In this tutorial we're going to set up the Raspberry Pi TV HAT to receive DVBT or DVBT-2 signals through a media centre setup using LibreELEC and Kodi.
You will need:
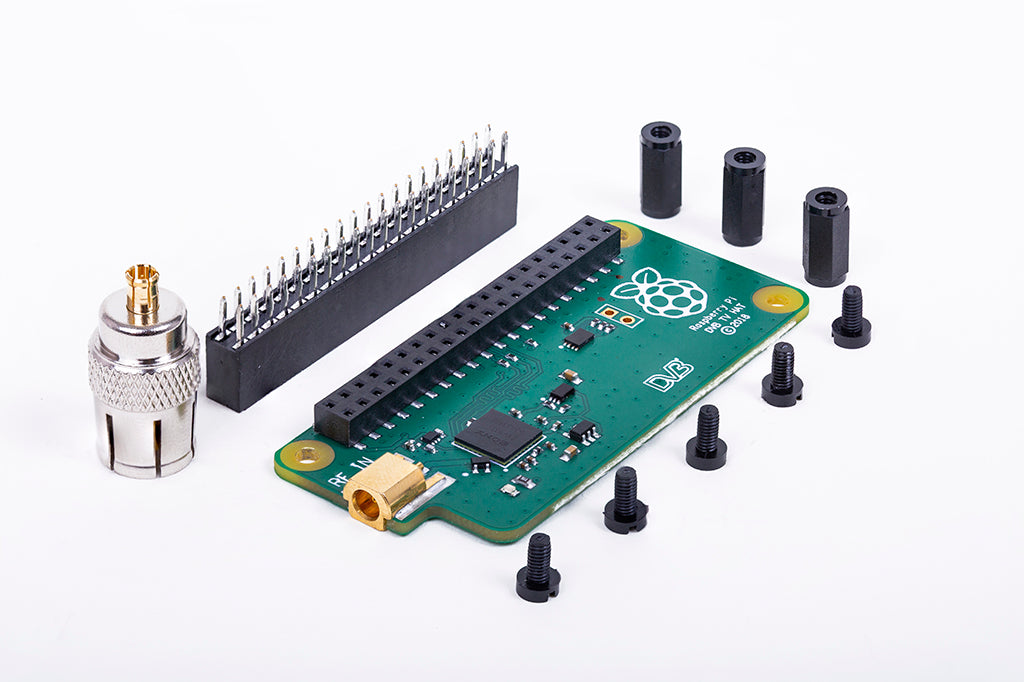
- A Raspberry Pi TV HAT (which comes with spacers, screws and an adapter)
- A Raspberry Pi 2B, 3B or 3B+ (we're using a 3B+)
- A pre-loaded SD card with LibreELEC
- An RF coaxial cable
- A micro USB power supply
- A HDMI cable
- A keyboard and mouse
- A TV monitor
- A wifi connection
- Another networked computer (either another Raspberry Pi, PC or Mac)
- A small flat head screwdriver.
Adding the TV HAT to your Raspberry Pi


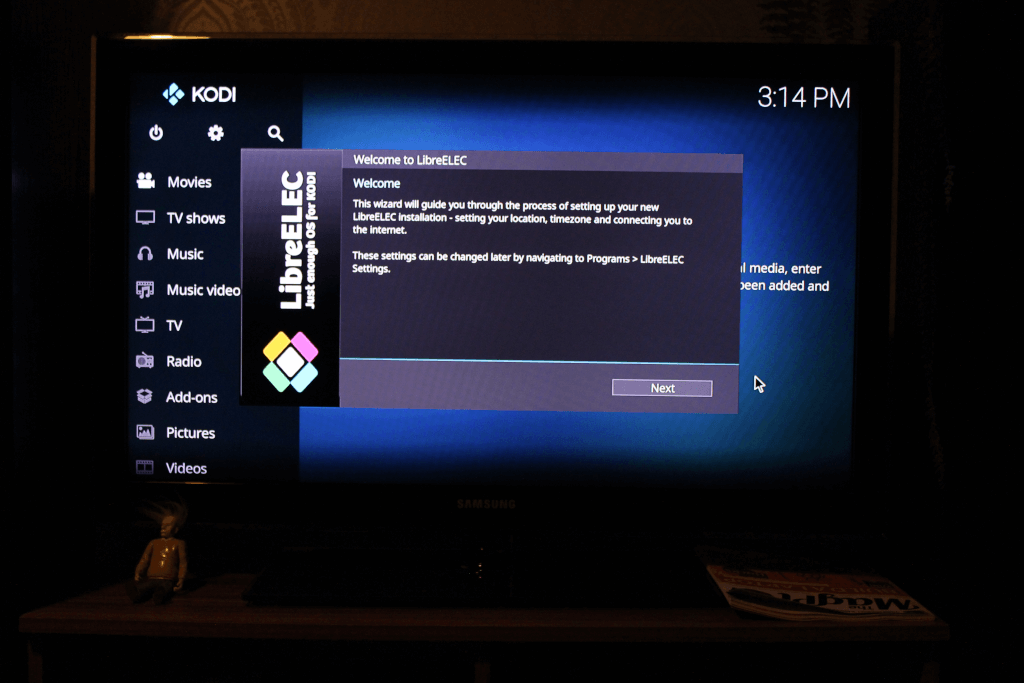
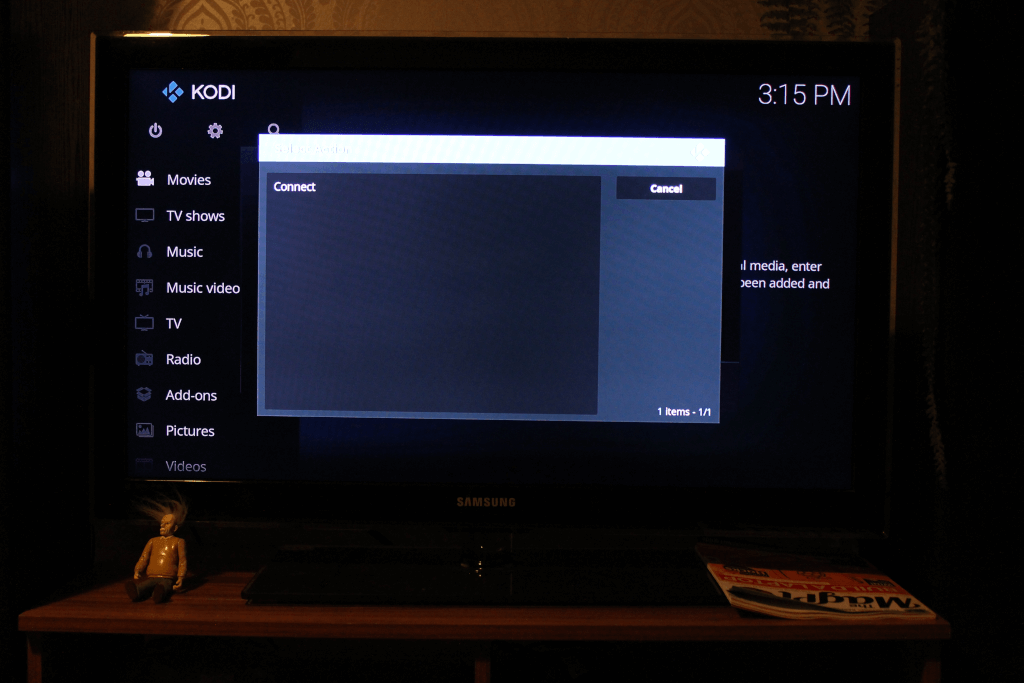
Setting Up LibreELEC


Installing TVHeadend Server and TVHeadend HTSP Client
We now need to install a server/client setup to receive and process the signals coming from the TV HAT. For this we will use the TVHeadend add ons.
In the main menu, scroll down to Add-ons:

Now click on "Install from repository."

Now click on "LibreELEC Add-ons"

Then click on "services":

Scroll down to "Tvheadend Server 4.2" and click on it.

Finally click on "install" and then click the most up-to-date version. For us this was version 8.2.113.


Once this has installed, use backspace to navigate back up to the Add-ons/LibreELEC Add-ons menu and navigate into "PVR Clients" and choose "Tvheadend HTSP Client".


Once again, click install on this add on and pick the most up-to-date version. For us this was version 3.4.27.1


Once these two add-ons are installed we can set up the TVHeadend Server.
Setting up the TVHeadend Server
Remember the IP address we noted down earlier? Now is the time to use it! Move onto your networked machine (in our case an Ubuntu machine, but it can be a Windows PC, a Mac or another Raspberry Pi).
Open up a web browser and navigate to: YourIPAddress:9981 where YourIPAddress is the IP address you noted down before. You should end up at this screen, so choose "English GB" as your language. Click "Save and Next".

Now it's time to choose an admin login and password. Remember what these are (don't use our awful example, be safe people). Click "Save and Next"

At this point, if your TV HAT is connected correctly, you should see "Sony CXD2880 #0 : DVB-T #0" appear in the list of available tuners. Use the drop down below the tuner to choose "DVB-T Network". Click "Save and Next"

Next we need to choose a "Pre-defined muxes". For this we need to find out where is the closest Digital TV transmitter, which you can find out using Digital UK's Coverage Checker. Type in your Postcode and house number and it will tell you which is the closest. For us, this was Sandy Heath. Once you've selected a transmitter, click "Save and Next".

The server will now immediately scan for available channels from this transmitter. It might take a little while, but you should see Muxes and Services increasing. We ended up with 9 Muxes and 150 Services. Click "Save and Next" once the scan has completed.

Now there should be a list of channels available and a "Service mapping" box. If you have children who potentially will be using this Kodi box, be careful not to check the "Map all services" button as there are some *ahem* grown up channels which you may not want to receive. We could recommend following the manual mapping advice and selecting channels which will be suitable for all viewers. These channels can also be un-mapped at a later date.
For now, we will select "Map all services". Click "Save and Next".

You're done in the backend! Once you hit the "Finish" button, you will be prompted to log in with your admin username and password.

Setting up the TVHeadend HTSP Client
The server is now setup and ready to receive a signal through your Raspberry Pi TV HAT.
We need to add a few more settings into the HTSP Client before things like the Electronic Programme Guide (EPG) will work.
Move back onto your LibreELEC Raspberry Pi with the TV HAT attached.
Go to the Main Menu and choose Add-ons then My Add-ons, PVR Clients and finally Tvheadend HTSP Client.


Click on "Configure".

Enter the IP address of this Raspberry Pi, the one we noted down earlier, along with the Username and Password we chose for admin rights when setting up the server. Click OK. At this point, you may need to restart your Raspberry Pi.

Watching TV
Now head to TV then Channels or Guide and sit back with a lovely cup of tea and enjoy watching Lord Sugar in the Apprentice (other shows are available, loads of them infact!).
Click on the show you'd like to watch and away you go!

We also have a tutorial for Getting Started with OSMC if you're setting up your media centre using OSMC.


1 comment
Chaiden
I just purchased one of these tv hats and I am trying to attach it to a coaxial cable but it doesnt seem to fit, the coaxial cable and the adapter seem to be exactly the same size and wont attach, do I need a specifica cable to attach them?
I just purchased one of these tv hats and I am trying to attach it to a coaxial cable but it doesnt seem to fit, the coaxial cable and the adapter seem to be exactly the same size and wont attach, do I need a specifica cable to attach them?