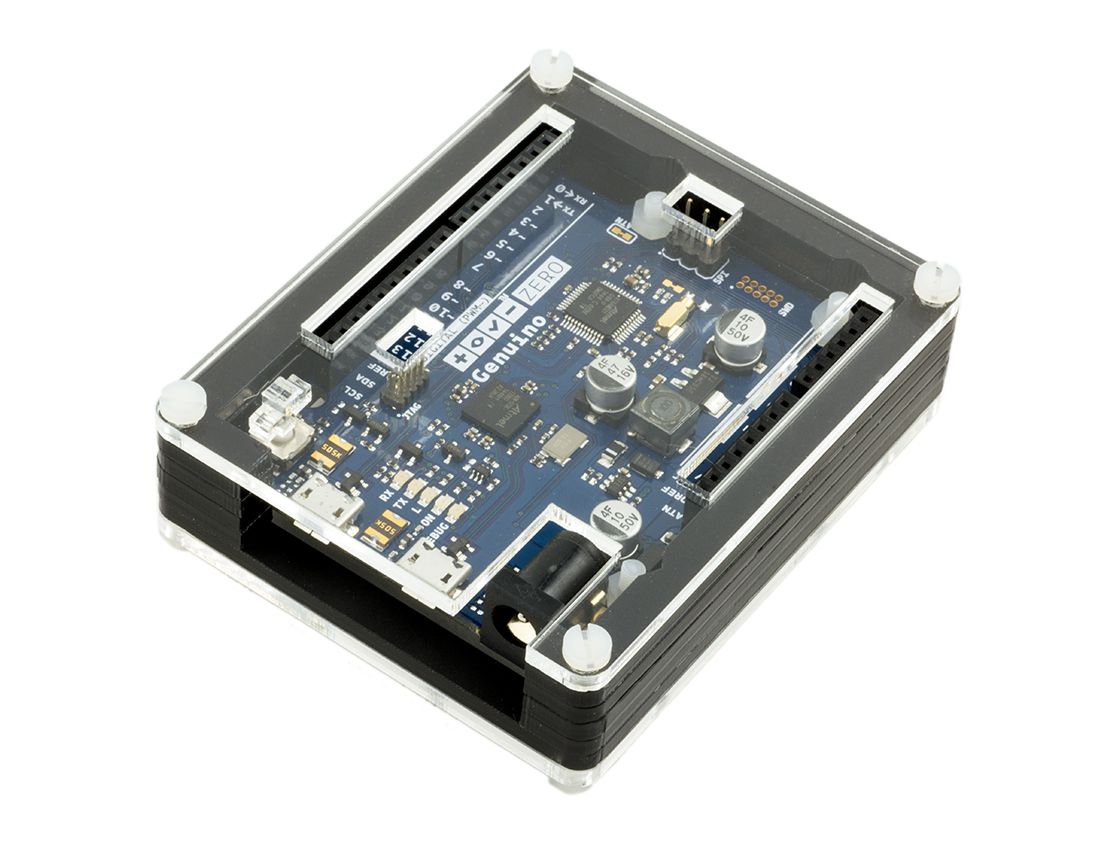
Genuino Zero Zebra Case Assembly Instructions
The laser-cut parts of the case are protected by an adhesive film which needs to be removed before assembly.
Bill of Materials
- Genuino Zero (not included)
- 8x Acrylic Plates
- 7x M3 x 25mm Nylon Bolt
- 7x M3 Nylon Nut
- 3x M3 x 5mm Nylon Spacer
NOTE: Acrylic is a hard and stiff plastic which is sensitive to stress concentrations and shares a certain level of fragility with glass. Acrylic can scratch easily and should be cleaned with a mild solution of dish detergent and warm water. Never use cleaners unsuitable for acrylic. Never use a dry, abrasive cloth.
Here are the parts from the case kit:

Follow these images checking parts and orientation of the acrylic pieces. You will see a before and after image for each step. Make sure you have all the parts ready, shown in the before picture.

You will need to trim 3 of the 25mm bolts down by about 10mm. You can either do that before this step or after. I find it easier to screw the parts together with the longer bolt and then trimming them down after. It does make it slightly hard to trim though. You can use a sharp knife or even just a pair of scissors.
So start by inserting the bolts from the underside of the clear piece of acrylic. Then on top of the acrylic, over the bolts, add the M3 5mm Spacers, the on top of the spacers place the Genuino Zero, then finally secure in place using the M3 Nuts.


Place the black piece of acrylic around the Zero. You'll need to slide it under the DC barrel jack first, before placing over the Zero.


Next, we need to place the four U shaped pieces of black acrylic around the Zero.


OPTIONAL - Adding the reset button Find the little piece of clear acrylic that has a T shaped piece cut inside of it. We just need to carefully press this T out of it's surrounding acrylic


OPTIONAL - Adding the reset button Carefully balance the T on the reset button of the Zero, making sure the shorter side of the T is sitting on the button, and the longer bit is facing upwards.


Place the remaining piece of clear acrylic on top. If you have added the reset button be very careful when placing this final piece on, make sure the long piece of T fits in the cutout of the top clear acrylic piece. (This can be a bit tricky and fiddly)


Finally, whilst holding all the pieces together, insert the remaining bolts through the top of the mounting holes and fasten on the rear with the remaining nuts. If you have installed the reset button, I recommend you start by inserting the bolt into the mounting hole closest to the reset button, and secure with the nut before moving onto the next mounting hole. This will help keep that button in place.


