
Christmas Tree Star Guide
Assemble and get started coding your Christmas Tree this year with the ModMyPi Christmas Tree Star!
Who doesn't want to SSH into their tree this Christmas? No-one that' s who.
So dig out your tree, dust off your ornaments and get ready to complete your Festive decor this Christmas!
You will need:
- A Christmas Tree Star which contains
- Star LED PCB
- Four screws
- Two posts
- A Raspberry Pi Zero W
- An SD card with Raspbian
- A micro USB power supply
- A keyboard and mouse
- A HDMI monitor
- A small Phillips head screwdriver
- A Christmas Tree
- A USB extension lead
- Something to attach your star to the tree. We've got some tinsel pipe cleaners but you can use normal pipe cleaners, string, cable ties or wool.
- A secondary computer or Raspberry Pi to use to SSH into the Star.
Assembling the Star
Unpack your star and pick out two of the four screws and posts. Screw them onto the bottom two pins of your Pi Zero.

Take your Star PCB and place it face down with the black header facing upwards.

Push your Raspberry Pi Zero onto the header, making sure the two posts line up with the two holes on the star.

Use the remaining two screws to secure your Raspberry Pi to the Star

Now thread your tinsel pipe cleaners (or whatever you're using to attach your star to your tree) through the four holes at the bottom of the star. The two holes below the inner ring of LEDs are a pair and the bottom two are a pair. Thread the pipe cleaner from the back to the front of the star through one hole and out to the back through the other hole. Do this for both pairs of holes.

The top pair has been finished, now we just need to thread the pipe cleaner through the left hole of the bottom pair.
Now our star is ready to get set up and put on our tree!
Setting Up Our Raspberry Pi
Before we move our star to the top of our tree, we need to make sure we can talk to our Star over the network so we don't have to climb our tree each time we want to change the light display.
Connect the Raspberry Pi up to a keyboard, mouse, HDMI monitor and finally power on the Pi.
We are starting from a new Raspbian Desktop install with Wifi Enabled, so next we need to enable SSH. Click on the menu button in the top left, and go to "Preferences" and then "Raspberry Pi Configuration".

Click on the "Interfaces" tab then click "Enabled" next to "SSH".

The Pi will ask to be restarted, so say OK. Wait for the restart to complete.
Once the Pi comes back up we need to test that SSH works as expected. If you're on a Windows machine, you'll need to use Putty to communicate into your Pi.
If you're on Linux or Raspbian, you can open a terminal window and type:
ssh pi@raspberrypistar
Where "pi" is the user account and "raspberrypistar" is the name of your Raspberry Pi. You will be prompted for your password, and then you will be connected to your Pi.

Now we can communicate with our Pi when it's on top of the tree.
Setting Up the Star Code
The code to use the ModMyPi star lives on GitHub. In the Putty or Terminal window you opened in the previous section, type:
git clone https://github.com/modmypi/Programmable-Christmas-Star

To clone the code from our repository. Inside this repository there is:
- star.py which is the GPIOZero compatible class code for the Star.
- Several example files with single light patterns in.
- starcommander.py which is a command line based controller for the Star. We're going to use this.
Becoming Star Commander!
Navigate into the folder Programmable-Christmas-Tree-Star using:
cd Programmable-Christmas-Star
And now run the Star Commander Python Script:
python3 starcommander.py
A little prompt will pop up asking for a number. At this point, if we type -h some help will appear:

Each number from 0-4 runs the light in a different mode. Choose your favourite out of the modes and test to see that the light works!
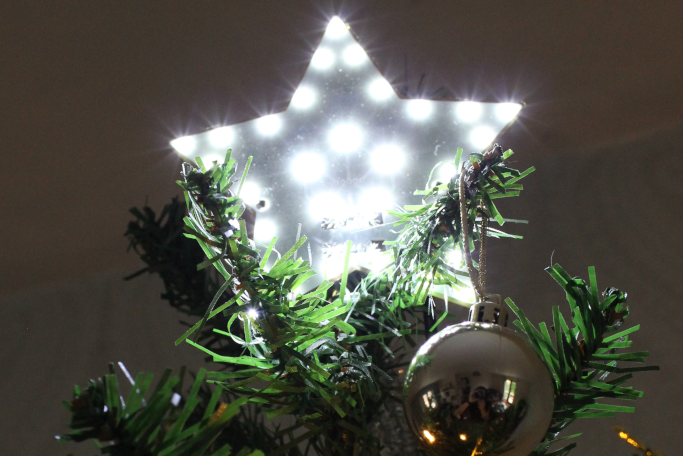
Putting our star on top of the tree
Connect your star to the USB extension cable and micro USB cable and carefully attach it to the top of your tree. Wind the cable carefully down the middle of the tree to hide it from view.

Once you've secured the star to the top of the tree, log back into the star over SSH and pick your favourite glowing sequence to behold.

Merry Christmas Everyone! Hope you have a lovely festive period :D


1 comment
Hugh Birchall
Can we get these remade with the RP2040 or ESP32 onboard!!!
Can we get these remade with the RP2040 or ESP32 onboard!!!