BT Proxy User Guide
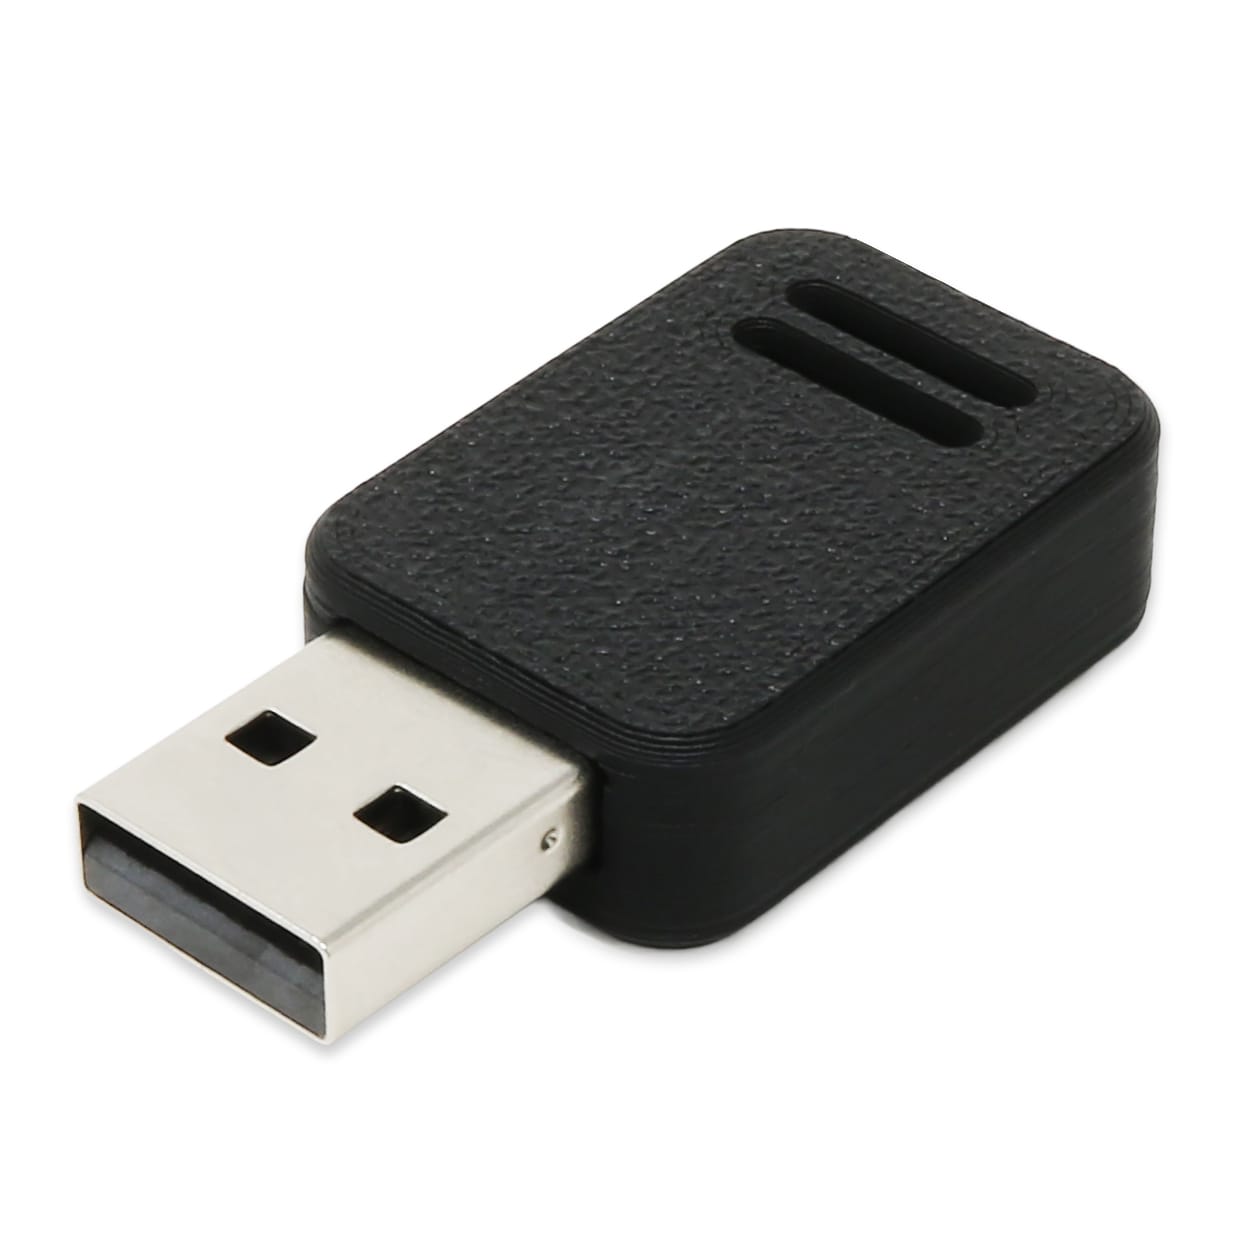
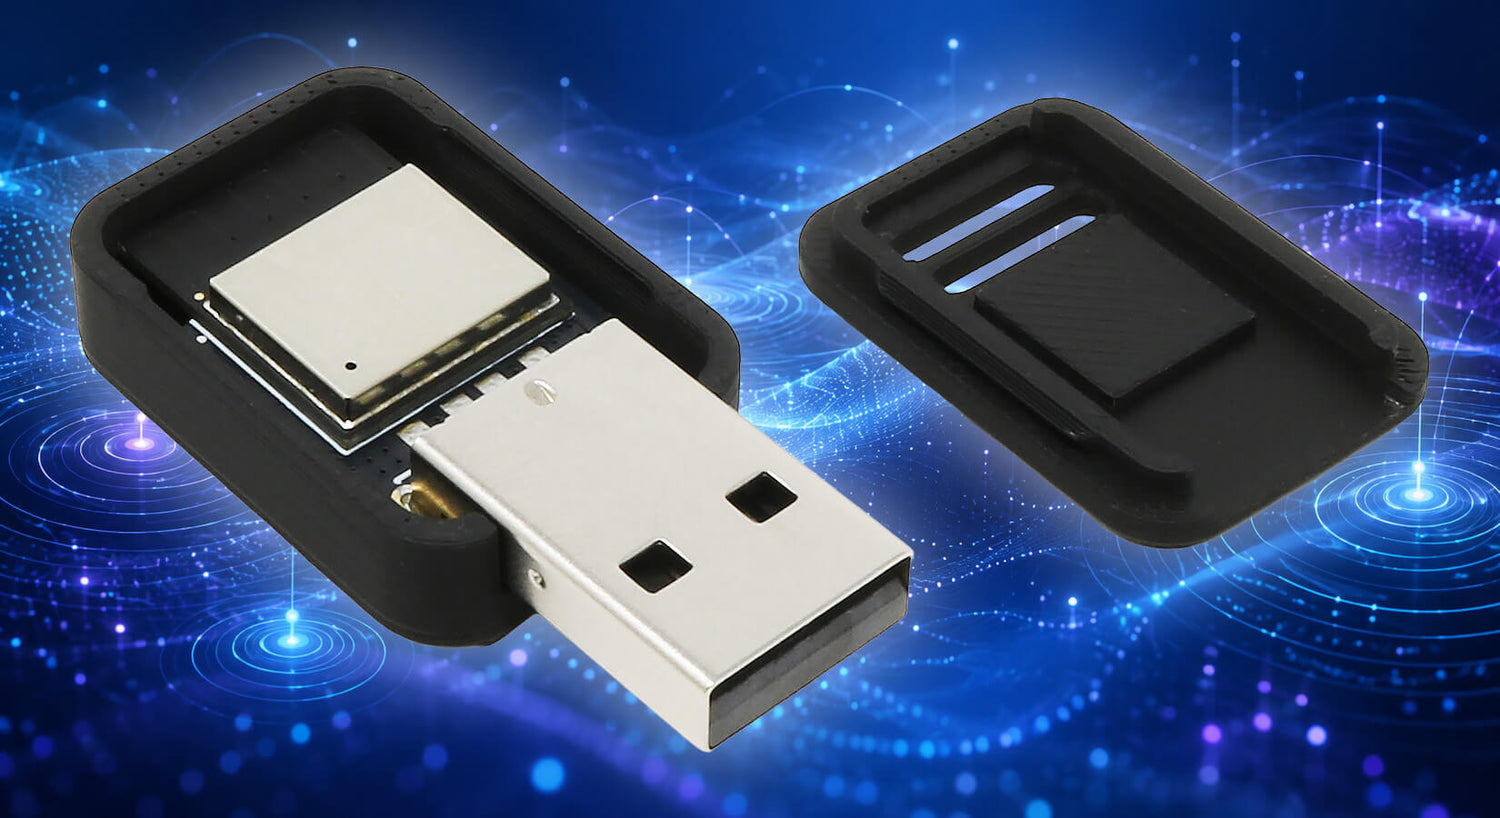
The BT Proxy is a tiny ESP32-C3 board designed to extend the Bluetooth coverage of your Home Assistant setup, communicating back to your host via Wi-Fi as a proxy.
It plugs straight into any USB-A port for power, with no soldering or additional hardware required. The same USB connection (on a PC) is used to set the device up.
This guide assumes you already have Home Assistant and the ESPHome Device Builder installed and set up (latest version - update first!) with at least some basic understanding on how both work. We won't cover the general Home Assistant or ESPHome setup process here.
Our method
There's "more than one way to skin a cat", and with Home Assistant, you can set up devices like this in a number of ways.
The method we're using here is:
- Logging into Home Assistant on a separate PC (not the host HA device)
- Plugging the BT Proxy into that PC
- Installing firmware using ESPHome Device Builder (specifically their new pre-set device option)
If you want to do things another way or write your own YAML - knock yourself out - but this guide uses what we believe is the simplest way (especially now that some of the HTTPS hurdles are easier to navigate with the latest version of ESPHome Device Builder).
A quick look at the hardware

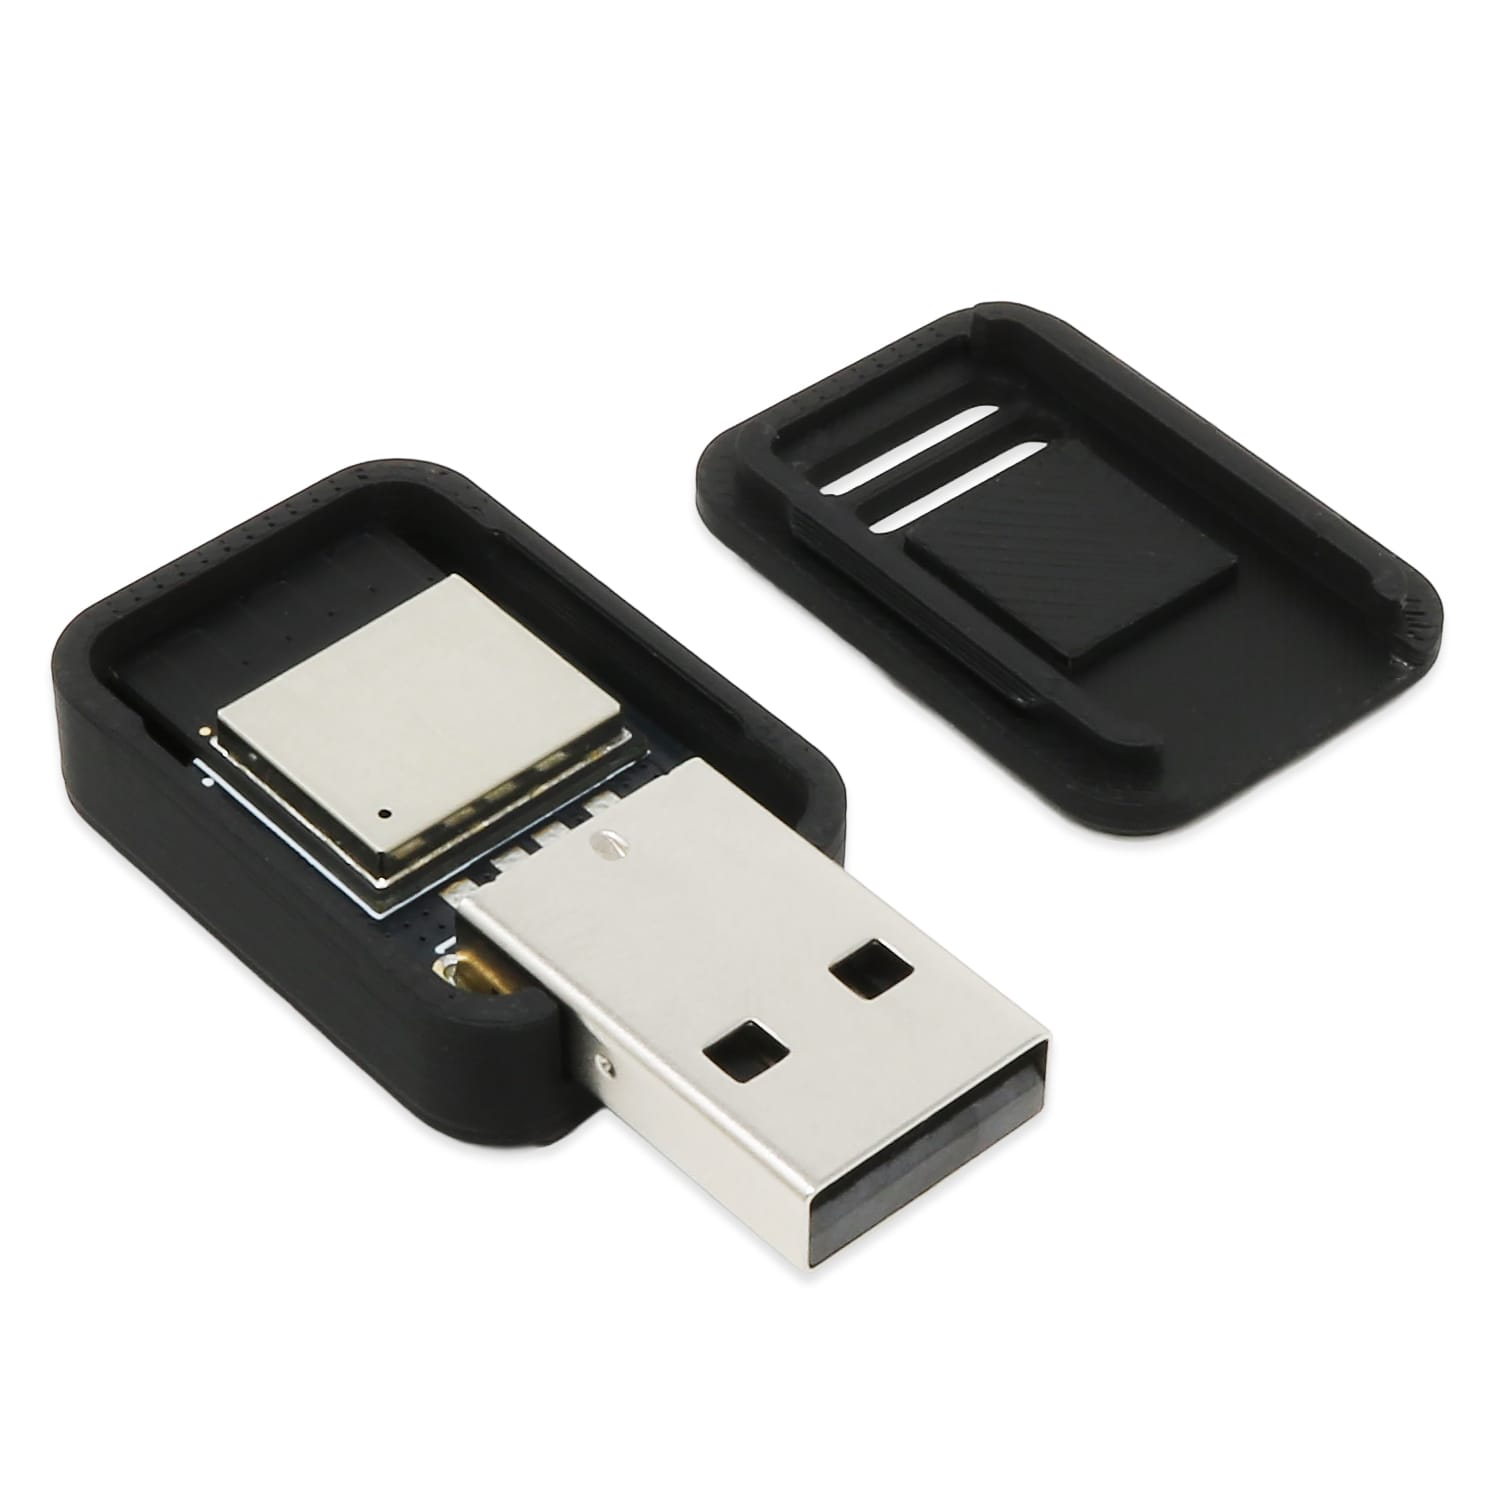
- USB-A connector – for power and as a data connection for programming
- BOOT button – connected to GPIO9. You'll normally only need this if you're having trouble getting the board into programming mode
- RESET button – resets the board (not a wipe - think 'rebooting' the board)
- Status LED – connected to GPIO6. We have an option to configure this for control in Home Assistant which we show later on in this guide
There's nothing to solder, and you don't need a separate USB-to-serial adapter. We ship the board with a 3D-printed case, and the STL file is available here if you want to print your own.
Create the BT Proxy with ESPHome Device Builder
Plug your BT Proxy into your PC's USB port, then log into Home Assistant in a browser.
Now open ESPHome Device Builder - either from your sidebar if you added it there, or via Settings > Apps > ESPHome Device Builder > Open Web UI.
You'll see an option to add a new device - select that:

The interface will ask what you want to do - select the default 'Create new project' option:

The next screen might look a little overwhelming, but all we need to do is select the microcontroller we're using, and the project we want to make.
For us, that's the 'ESP32-C3', and a 'Bluetooth Proxy', so just tick the same options as we have here:

Now it will ask you to name the device. We'll be using 'BTProxy01' in this example, then simply hitting the 'Finish Setup' button:

The next screen makes the whole thing seem more complicated than it really is. Just focus on that main message in the middle - a minimal default configuration has been applied and it's time to install it to the board.
Select the 'install now' button:

You'll be asked how you want to install the firmware. As we have the BT Proxy plugged into our laptop (not the HA host device), we're selecting 'Plug into this computer':

It'll now compile the firmware, showing a progress bar/spinner whilst it works. It doesn't really give much progress indication, but just leave it to do its thing.
You'll then see the screen below - well - most of you will. Most Home Assistant users don't run it over HTTPS, so this warning will show for the majority. Nothing to worry about - just select 'Open USB flasher':

When the flasher opens, it wants you to plug in your device and select it. As we already have it plugged in, just select 'Connect and install':

Now we're asked to select the device to flash too. To be safe, it's best to unplug any other dev/ESP boards you may have connected to your PC, in case you flash the wrong one!
You're looking for a device with 'USB JTAG/serial debug unit' in the name - that's your BT Proxy board. Select that one and hit 'Connect'.
Tip: If the BT Proxy isn't detected/listed:
- Press and hold BOOT
- While still holding BOOT, press and release RESET
- Release BOOT
- Select Connect again and choose the BT Proxy

One you select Connect, it'll show its progress (a lot clearer than last time). You'll see a wall of text in different formats, just let it run - it's not a fast process.
When you start seeing colourful text on a black background, wait for it to stop on a line like this: Writing 1 items: 0 cached, 1 written, 0 failed

This line means it's done and you can close down this window, but it's really not clear or user-friendly at all. We're hoping they improve this at some point.
That's it - the device should now show up as 'Discovered' in Settings > Devices.
Tip: if you see a warning on the device screen showing 'authentication expired', it usually just needs the API key reconfirming. Go back to the ESPHome Device Builder, select edit on the device and grab the key from there - then paste it in to the reconfirm message back on the device page.
Check the proxy is showing
Home Assistant provides an overview of the Bluetooth adapters and proxies available to it.
Go to Settings > Bluetooth. Under My network, select Adapters (should shows as '2 adapters')
Your BT Proxy should appear alongside any other local (host) Bluetooth adapters or ESPHome proxies you're already using.
That's really all there is to it. You don't need to manually tell individual Bluetooth devices to use the new proxy. Home Assistant combines the available Bluetooth scanners and makes their data available to the relevant integrations automatically.
Where should I put the proxy?
Once the installation is complete, you can unplug the BT Proxy from your computer and power it from a suitable 5V USB-A power source wherever you need better Bluetooth coverage.
Try to position it:
- Reasonably close to the Bluetooth devices you want Home Assistant to reach
- Somewhere with a good 2.4GHz Wi-Fi signal
- Away from routers, network switches and other 'noisy' equipment where possible
Show the Bluetooth map
Another cool feature in Home Assistant is the Bluetooth map.
Head to Settings > Bluetooth (it has its own menu entry now) and then select Show map. It gives a neat visual representation of all Bluetooth devices your host and proxy can see, and you can even drag parts around for...fun.
We redacted the MAC addresses because we're scared of nasty people on the internet.

LED control
The BT Proxy has an onboard LED which you can control if you add a couple of lines in the YAML code within your device configuration.
Go back to the ESPHome Device Builder, select edit on the BT Proxy, then add this to the bottom of the YAML code on the right-hand side:
light:
    - platform: status_led
      name: "Status LED"
      pin:
          #inverted: true
          number: GPIO6
Then perform the same save/install process as above. Once it's done, you'll see a new entry on the device page that looks like this (which you can use as an output like anything else in Home Assistant):

That's all folks
You're all set up, and your home automation system can now reach Bluetooth devices away from your host device, as far as your Wi-Fi travels - neat! Don't forget you can run multiple proxies for coverage in all areas.
If you have any questions, suggestions or just want to tell us how much you love the BT Proxy - please add a comment below.