

ProtoMate/PerfMate for Pico Assembly Guide
This guide will show you how to assemble your ProtoMate or PerfMate for Pico, our very own superb prototyping platform for Raspberry Pi Pico.
Of course, you're free to solder anything to the board's proto area, but this guide will cover a few basic tips on how to orient, fit, and solder.
There are currently two versions in the ProtoMate/PerfMate range for the Raspberry Pi Pico:
Parts Check
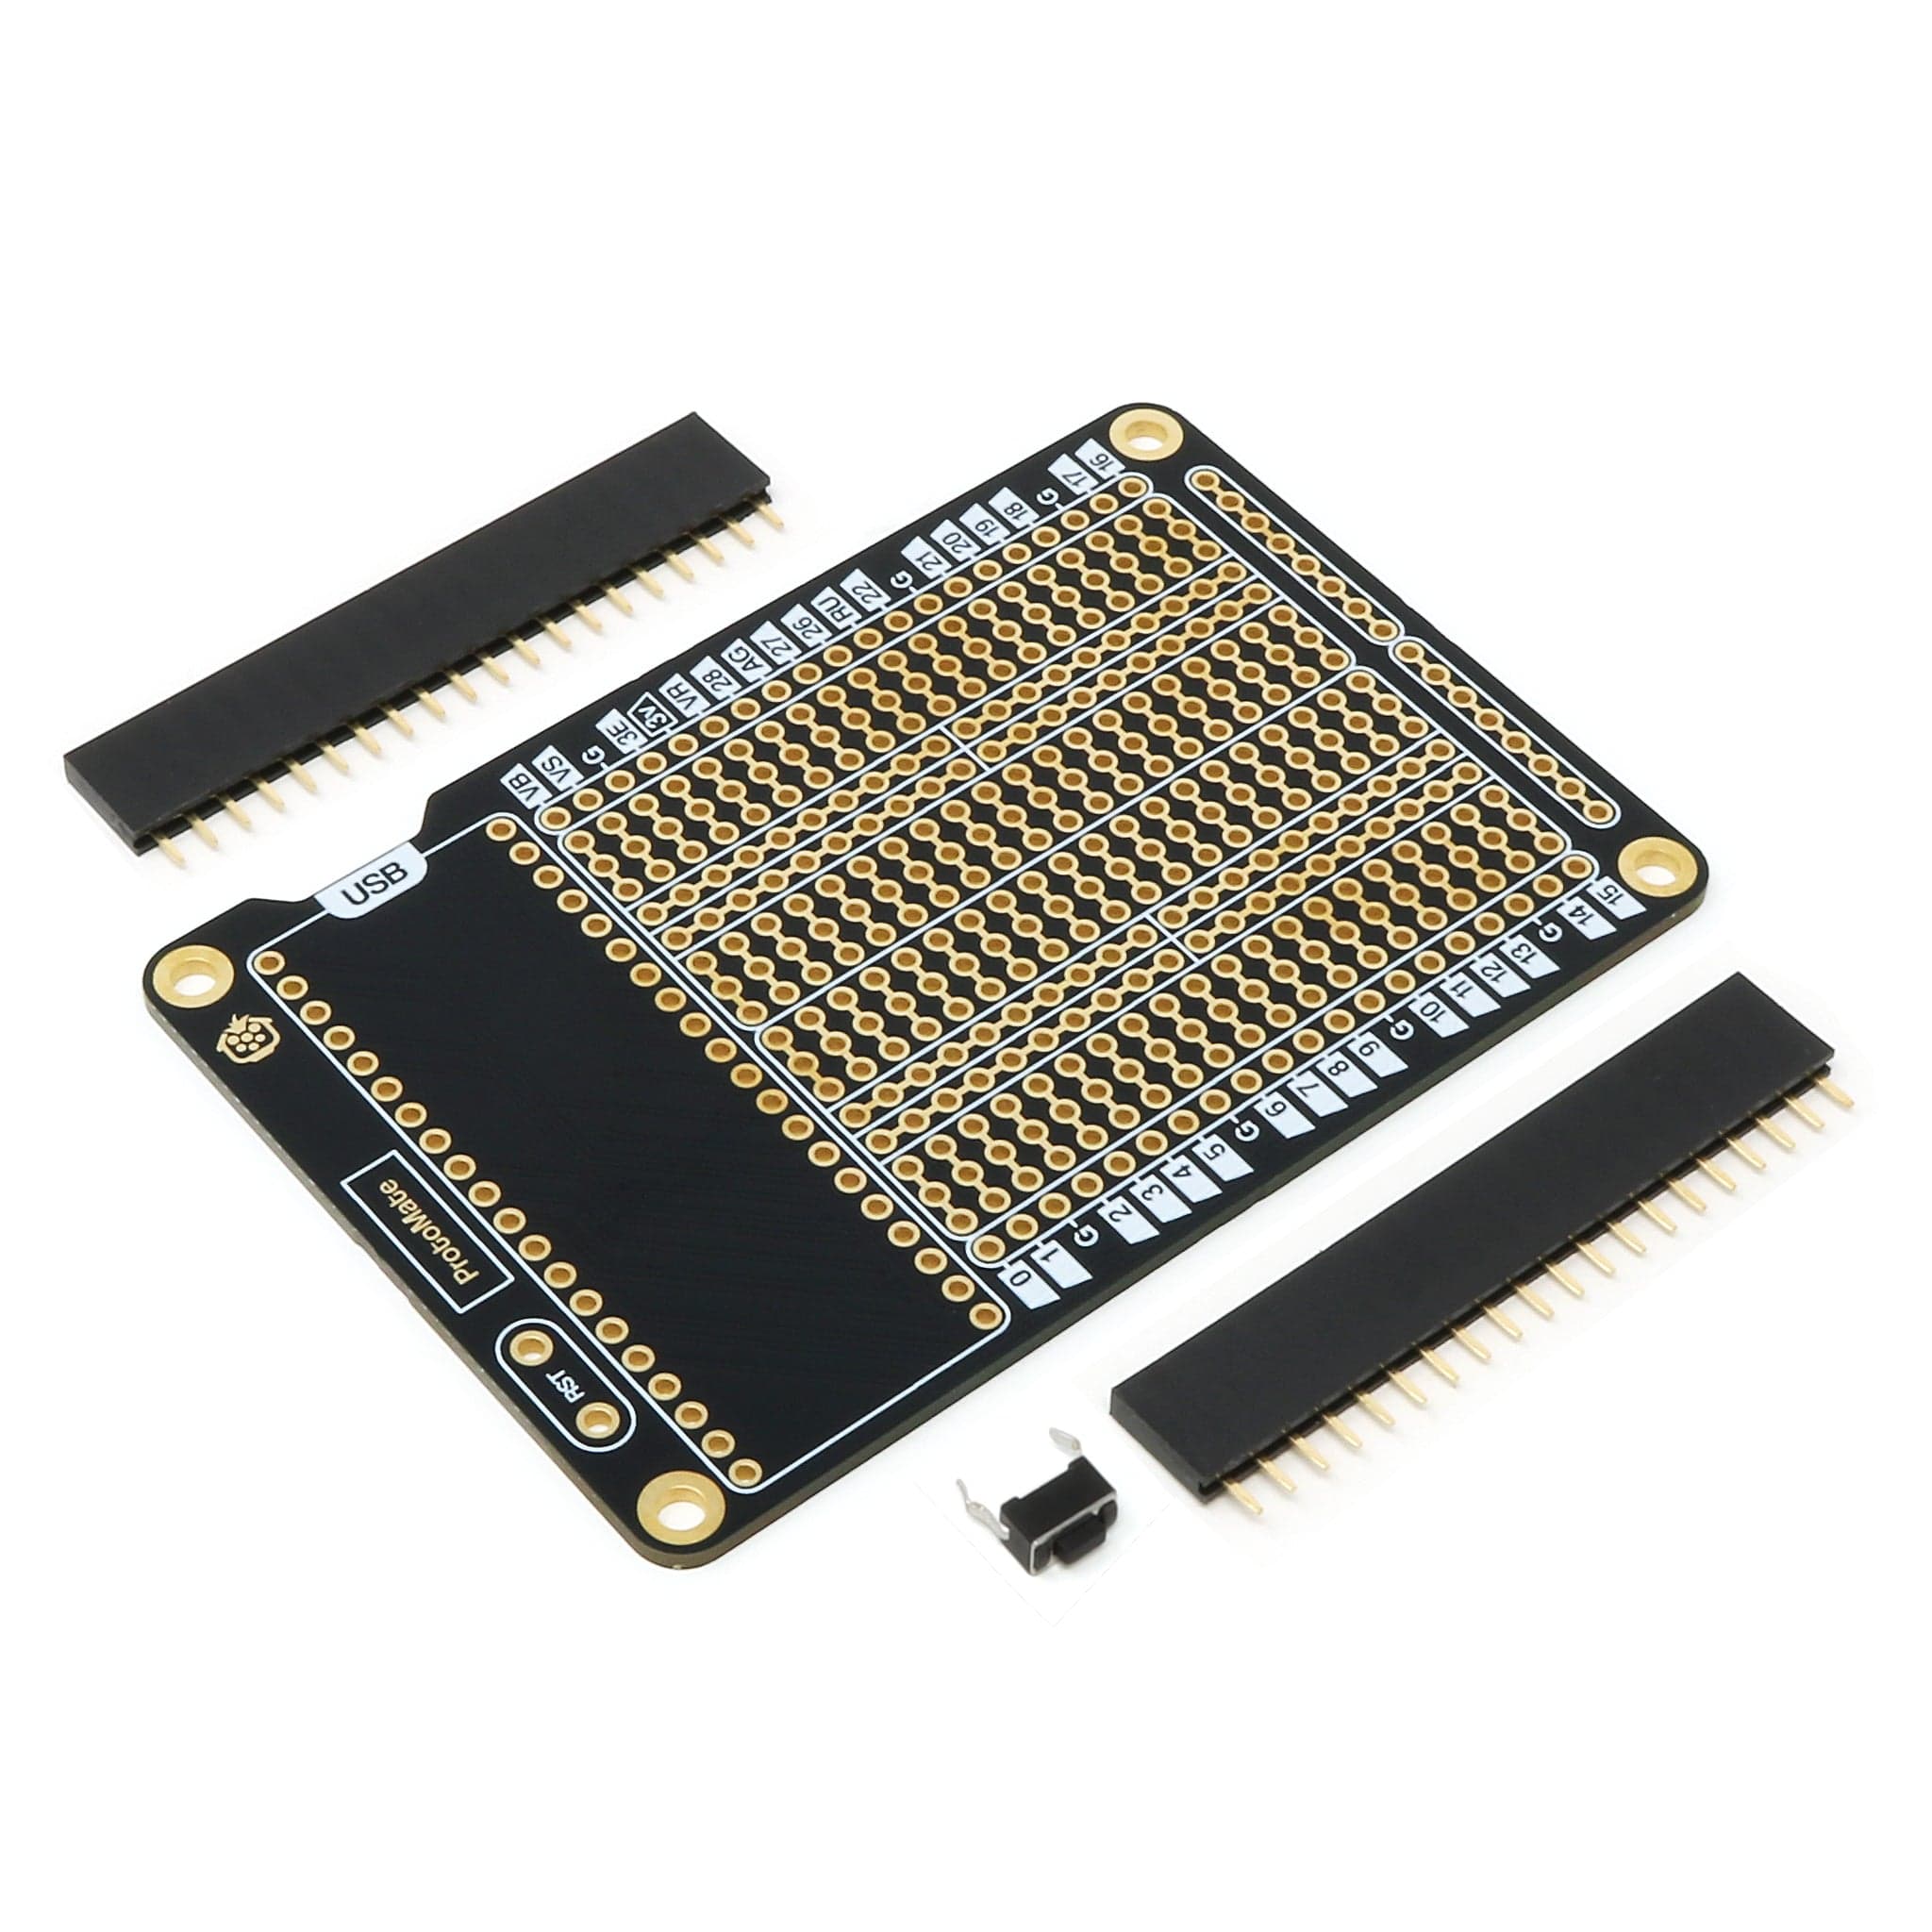
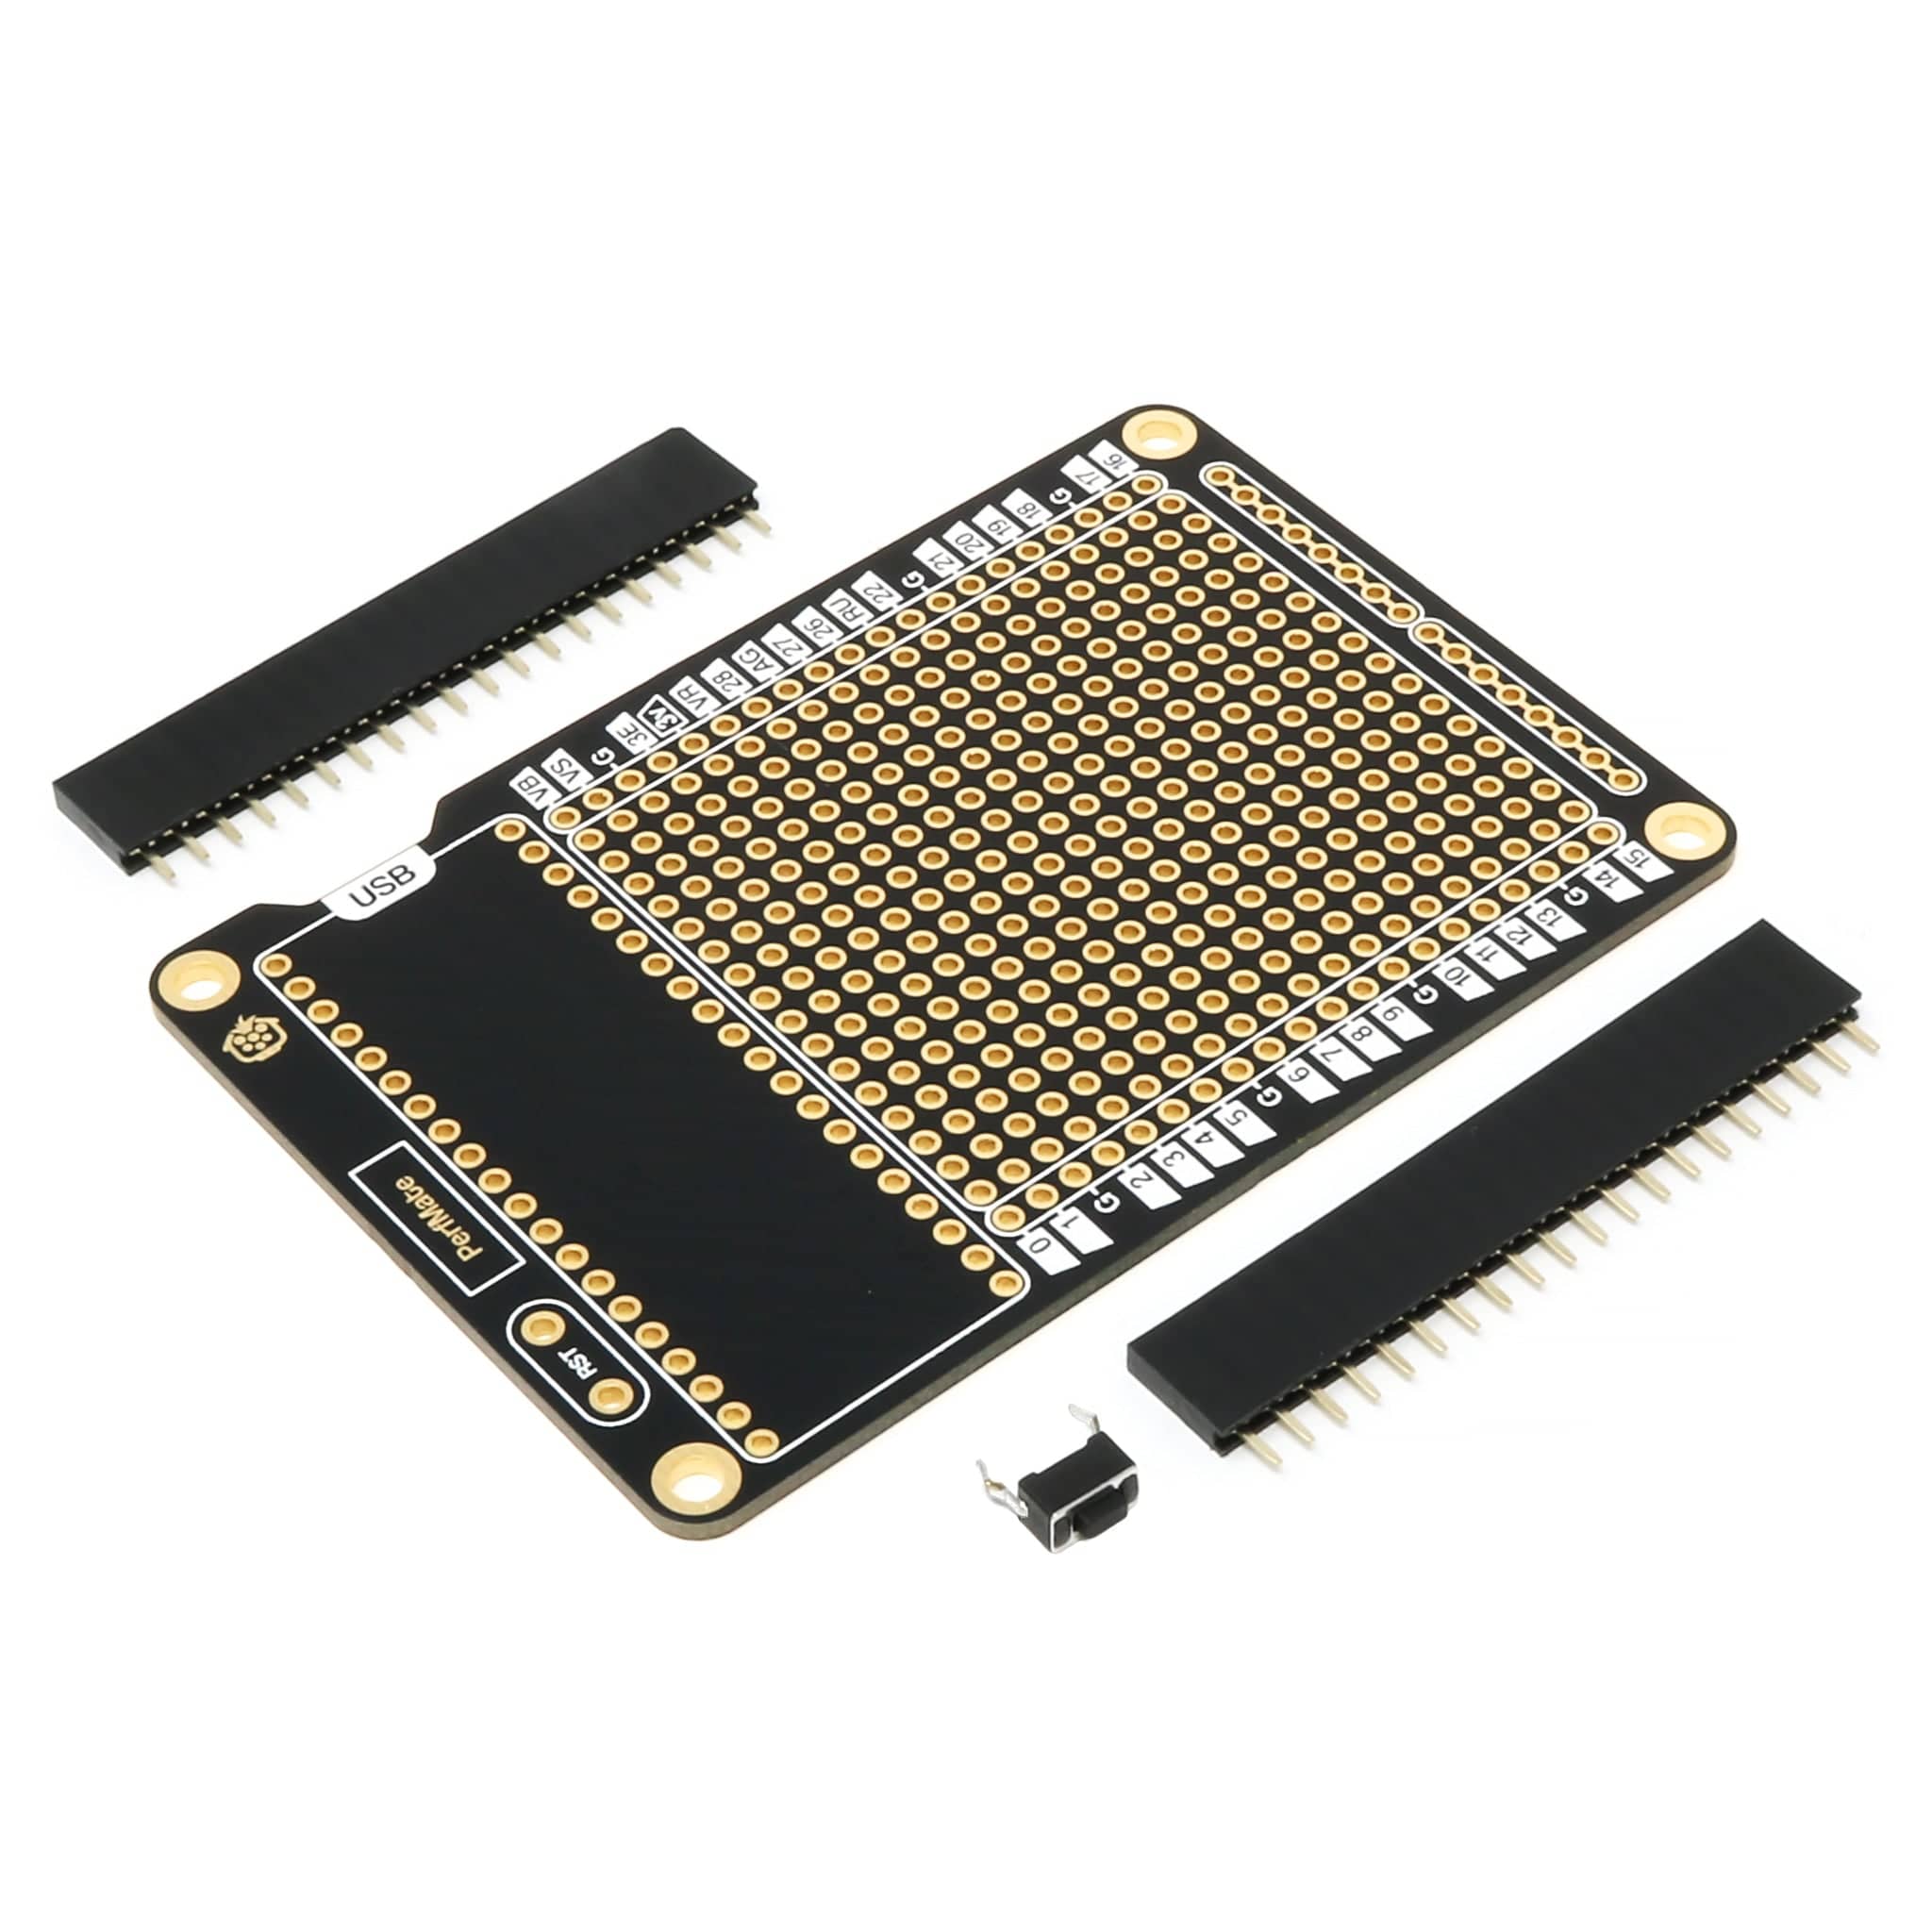
In the package, you will find the following two items:
- 1x ProtoMate/PerfMate Pico PCB
- 2x 20-pin female 2.54mm header strips
- 1x Tactile button
You may also need (not included):

Assembly Tips
Pico Mounting Options
You can fit your Pico to the PCB in a few ways, depending on how you plan to use it.
To create a simple socket to push a header'd Pico into, solder the included 20-pin female headers to the top side of the board. This is still a firm connection, but allows you to swap out your Pico as and when you need/want to.
Another option is to solder your header'd Pico directly to the board. This is best for those looking to keep things as compact and low-profile as possible, but doesn't allow switching out the dev board later on, and you get more of the pins sticking out of the bottom (easily snipped off).

Solder the Pico headers last
If you're going down the header socket route, it's best to solder the female headers last. Otherwise, we find they get in the way when trying to fit and solder your circuit's components and wires.

PCB orientation
Normally, you will fit your components and wires through the top of the board, then solder on the rear/underside (but it's your project, so do it however you like).
There are a few ways to identify the rear/underside of the board.
- The 'REAR SIDE' text
- The QR code
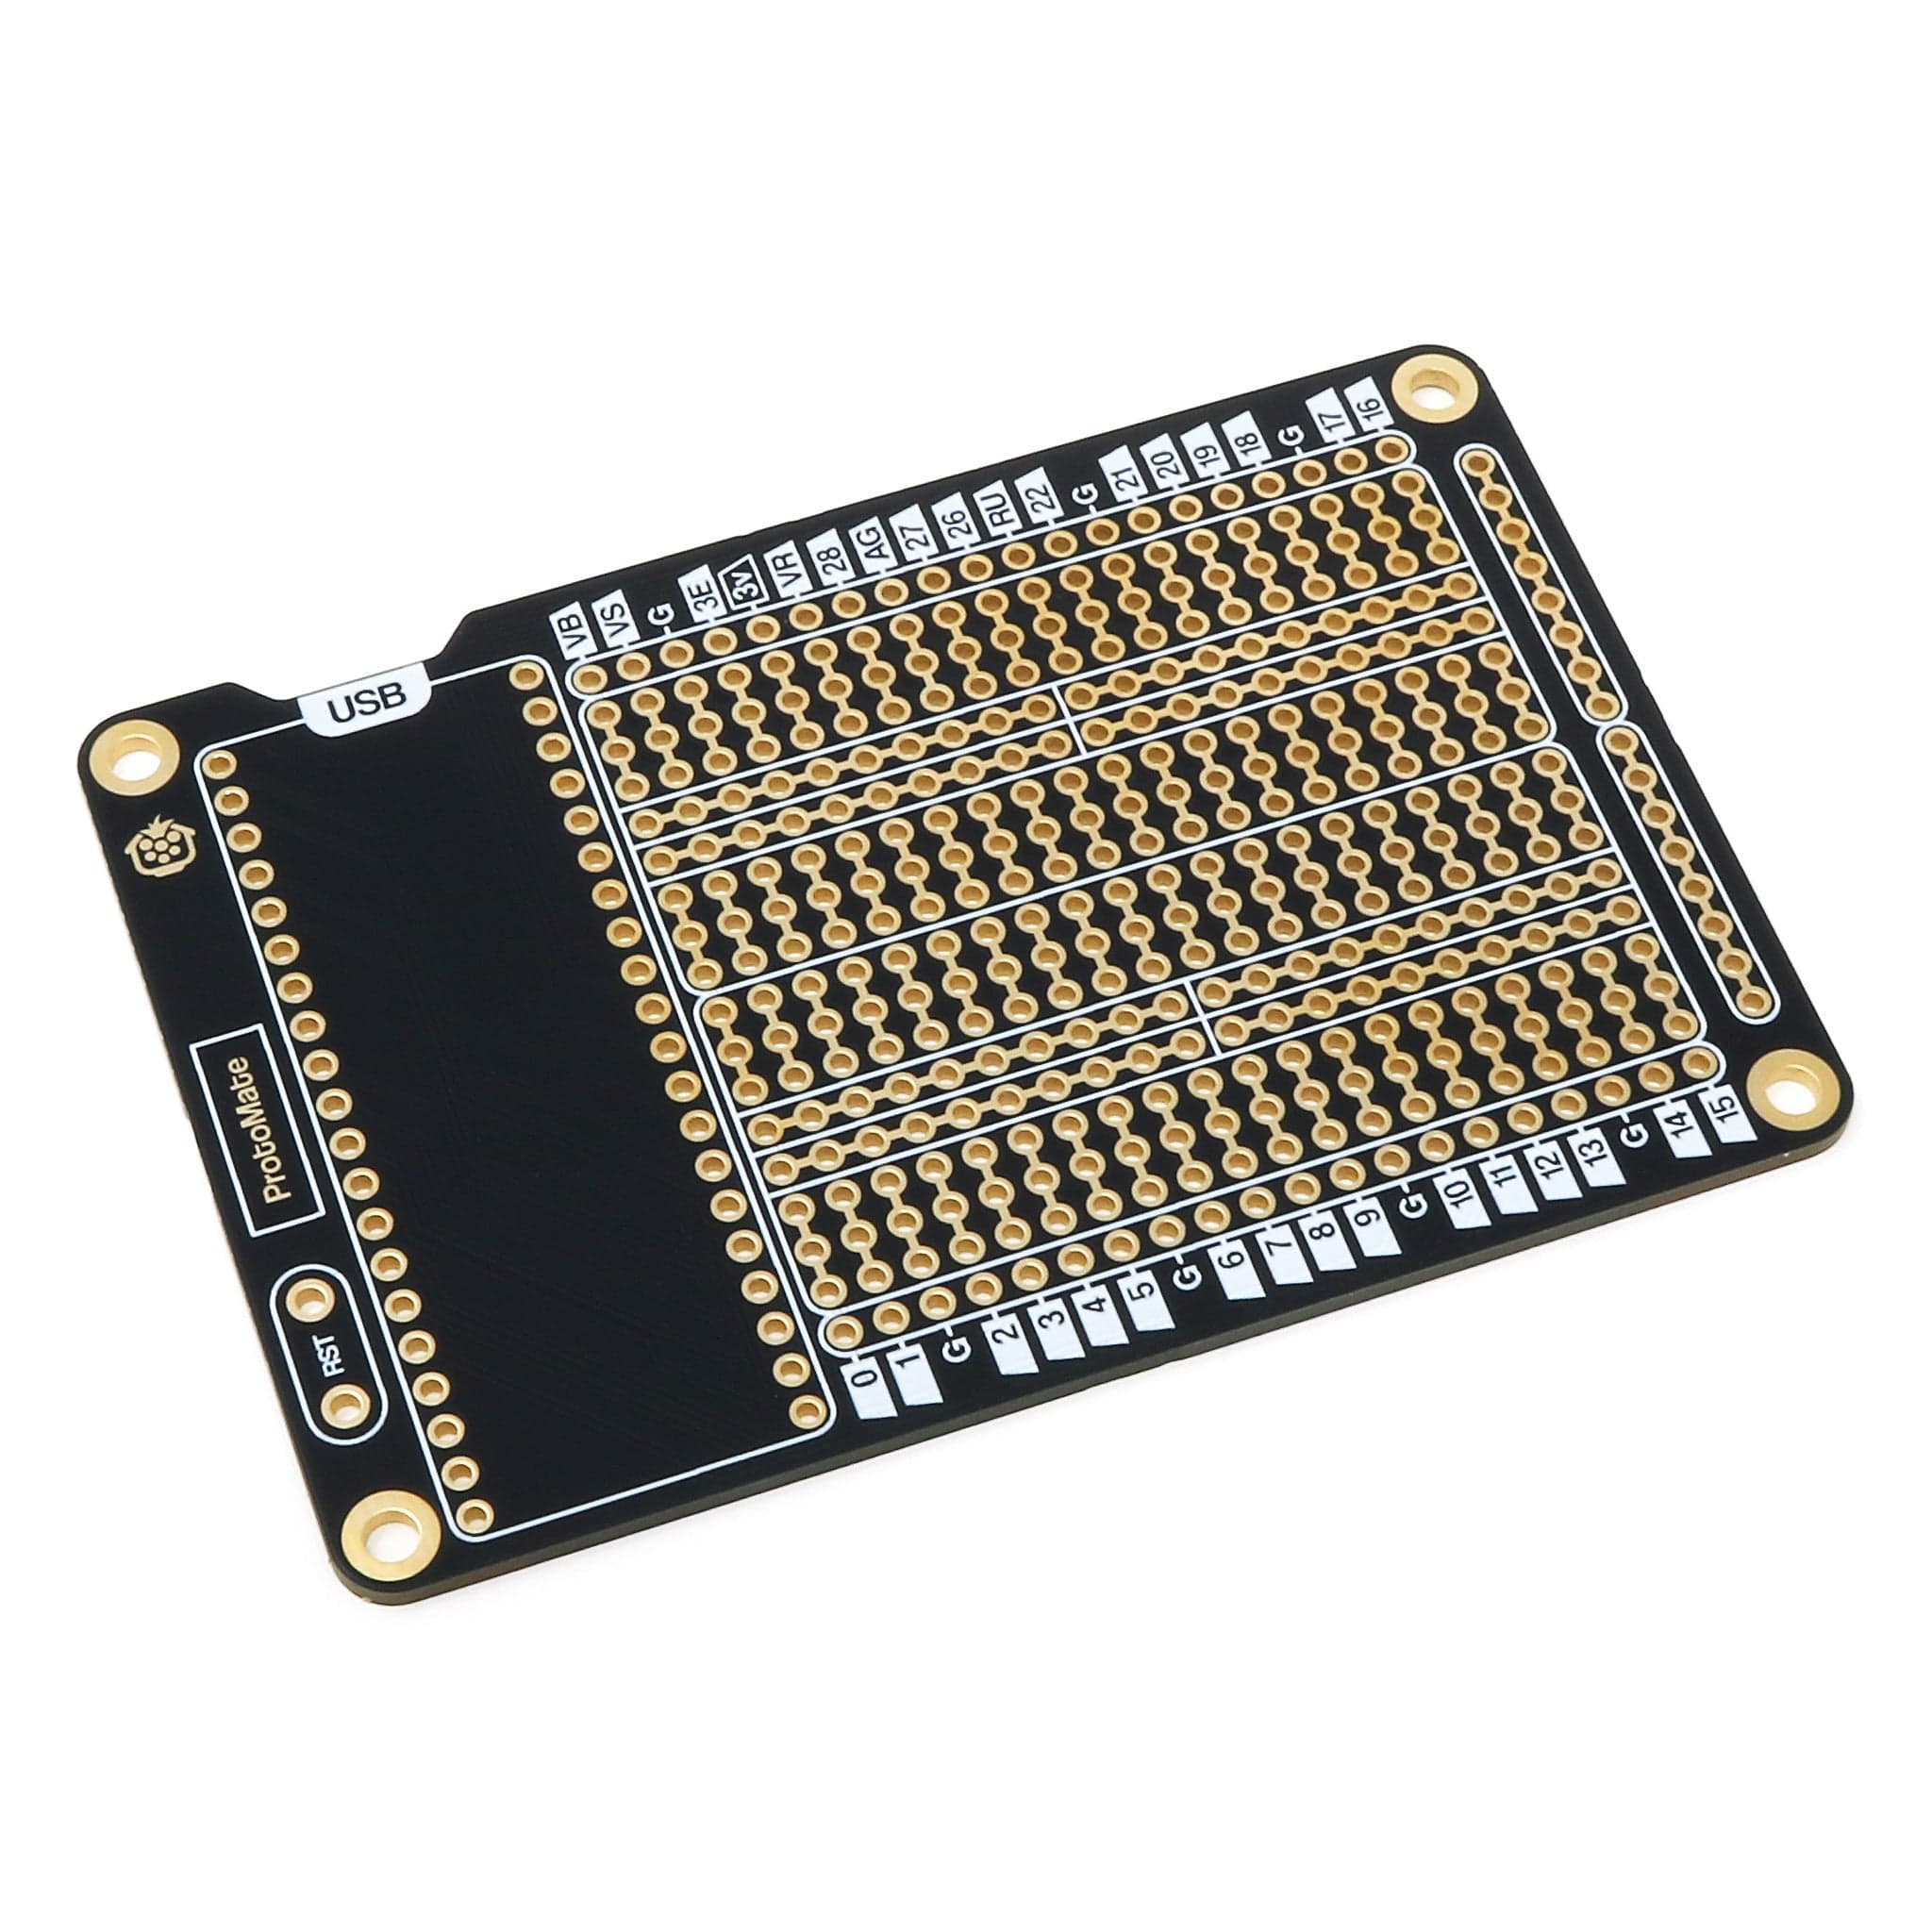
- On the ProtoMate version - the gold bridges between pads are not on the underside (this allows you to cut top traces if you want to disconnect pads)
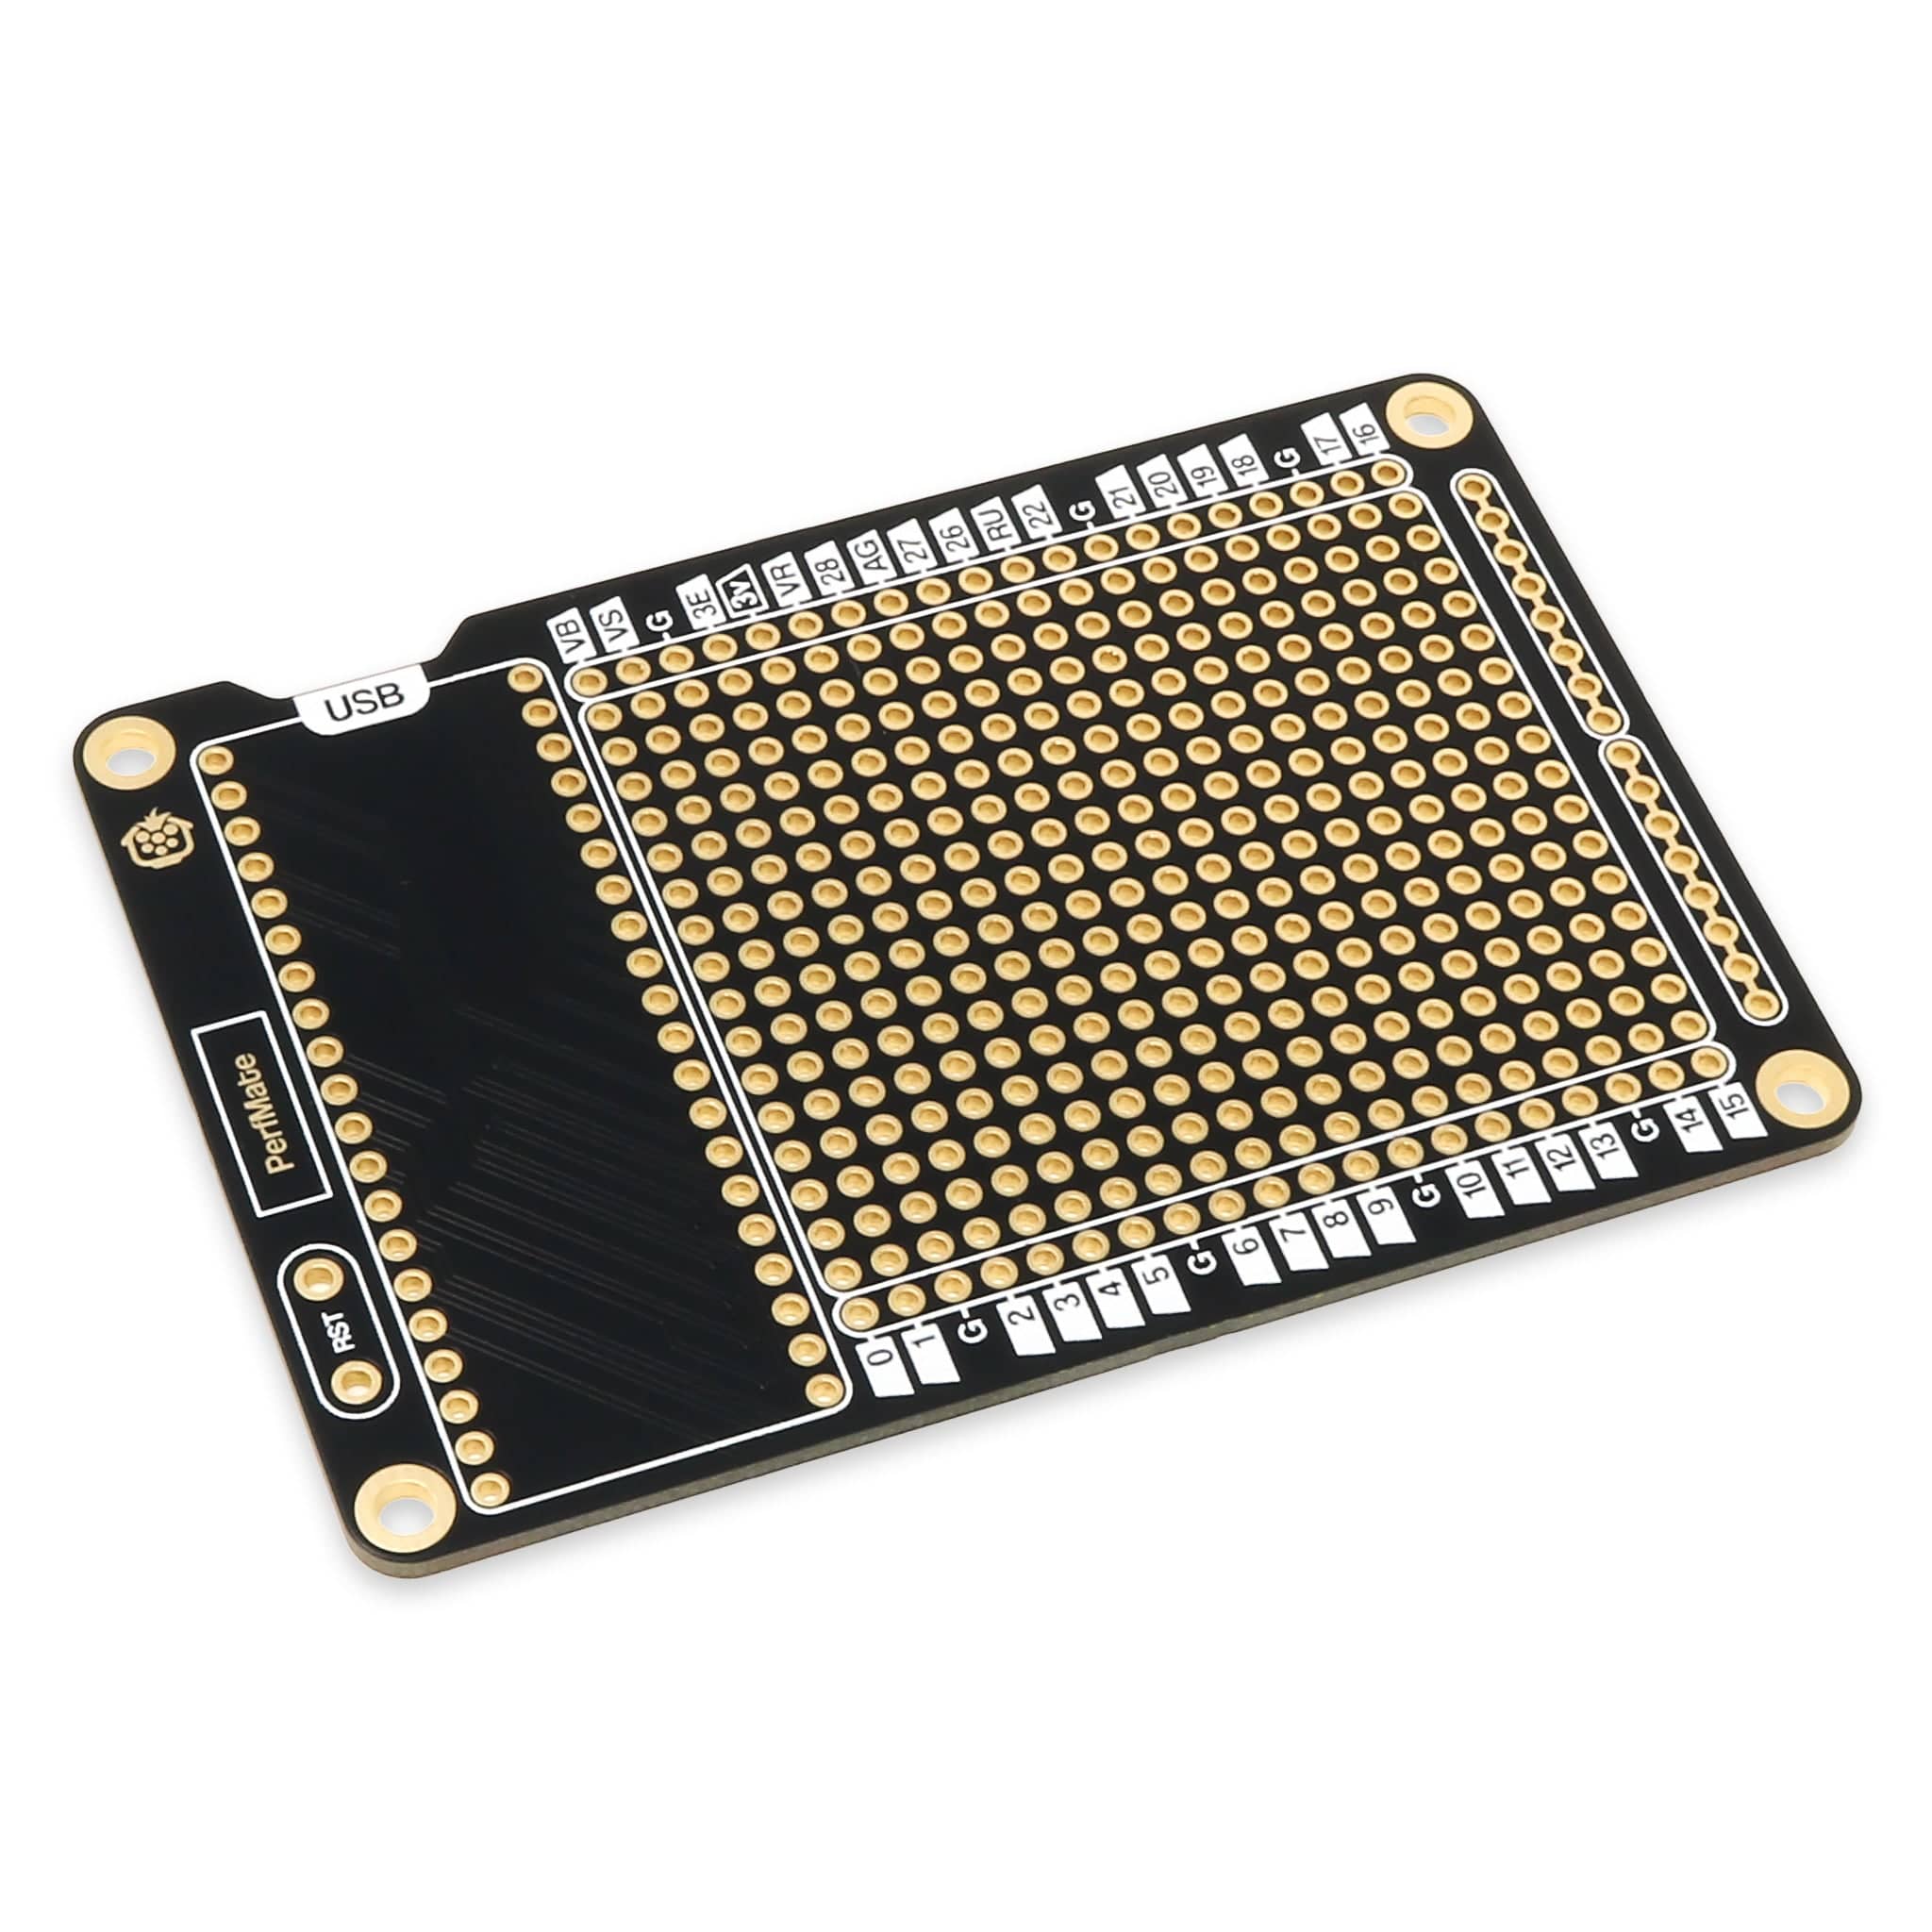
Also worth a mention - we added a 'USB' label and cut-out to make it super-clear which way your Pico needs to be fitted - and if you're still not sure, check the product images.

RESET button/pads
You'll find a small tactile button included in your pack - this is intended to be soldered to the 'RST' (reset) pads to the left of the Pico section (if you want to add a reset button, it's not compulsory).
This button connects to the RUN pin (pin 30), which Raspberry Pi recommends for reset button usage. You can use this with an external button, just solder wires to the pads (great for an external reset button when your project is enclosed).

Plan, plan, plan...then plan some more!
We can't stress this enough - plan where you want to fit components and wires before moving to the hot stuff! Use our black and white printable planning sheets to mark out where you want things to go:
The very last thing you want to do is get halfway through soldering components and wires, and then realise you've not left enough room for something (or just got your part placement wrong).
This is even more crucial with the breadboard-style ProtoMate boards, as the connected lanes need some careful forethought.

Mounting & Standoffs
If you want to mount your ProtoMate/PerfMate with standoffs, you'll need M2.5 fixings.
We offer M2.5 nylon standoffs in the store, along with M2.5 nylon screws. The Raspberry Pi uses M2.5 fixings, so any packs designed for them will work too.

Over to you!
The rest is up to you, as is the nature of these prototyping boards - a blank canvas for you to move your Pico breadboard project on to.
Enjoy!
4 comments
The Pi Hut
@Mr C Camacho – We’re working on it, going into production next week 🙂
@Mr C Camacho – We’re working on it, going into production next week 🙂
Mr C Camacho
+1 for perf version !
+1 for perf version !
The Pi Hut
@martin – Great suggestion, and it’s something that’s on our list to look at if the proto version proves successful (looking good so far).
@martin – Great suggestion, and it’s something that’s on our list to look at if the proto version proves successful (looking good so far).
martin
Hi
A ‘perf’ version of this board would be much better
Hi
A ‘perf’ version of this board would be much better