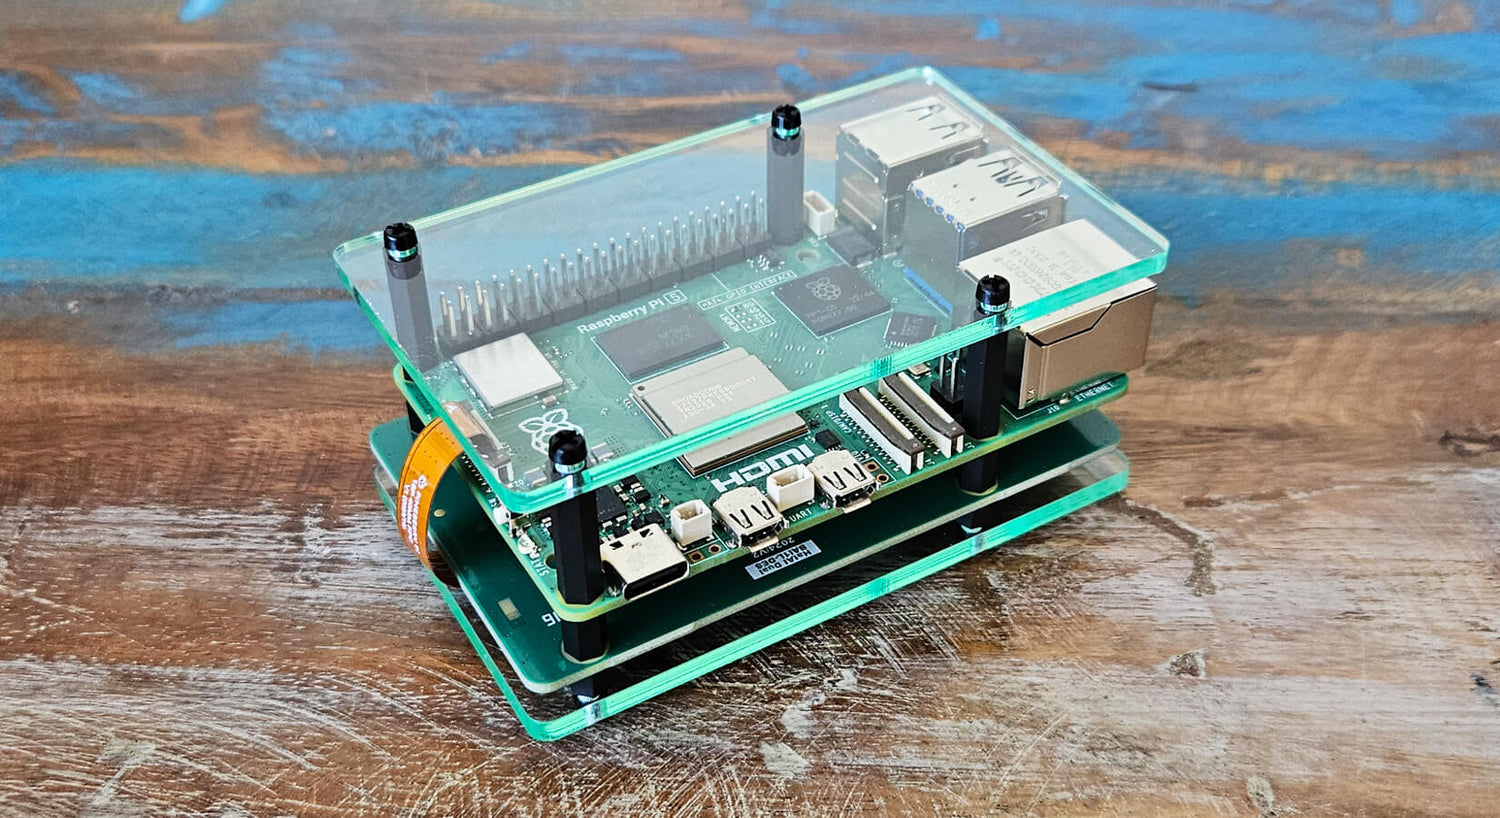
Assembly Guide for the Layer Case for Pineboards HATs
This guide will show you how to assemble the Layer Case for Pineboards HATs. Assembly is straight-forward and the only tool you'll need is a small cross-head screwdriver.
Note: The fixings and standoffs used in this product are made from nylon. Do not over-tighten them. Finger-tight is all you need, and avoids damaging the threads.
Parts check
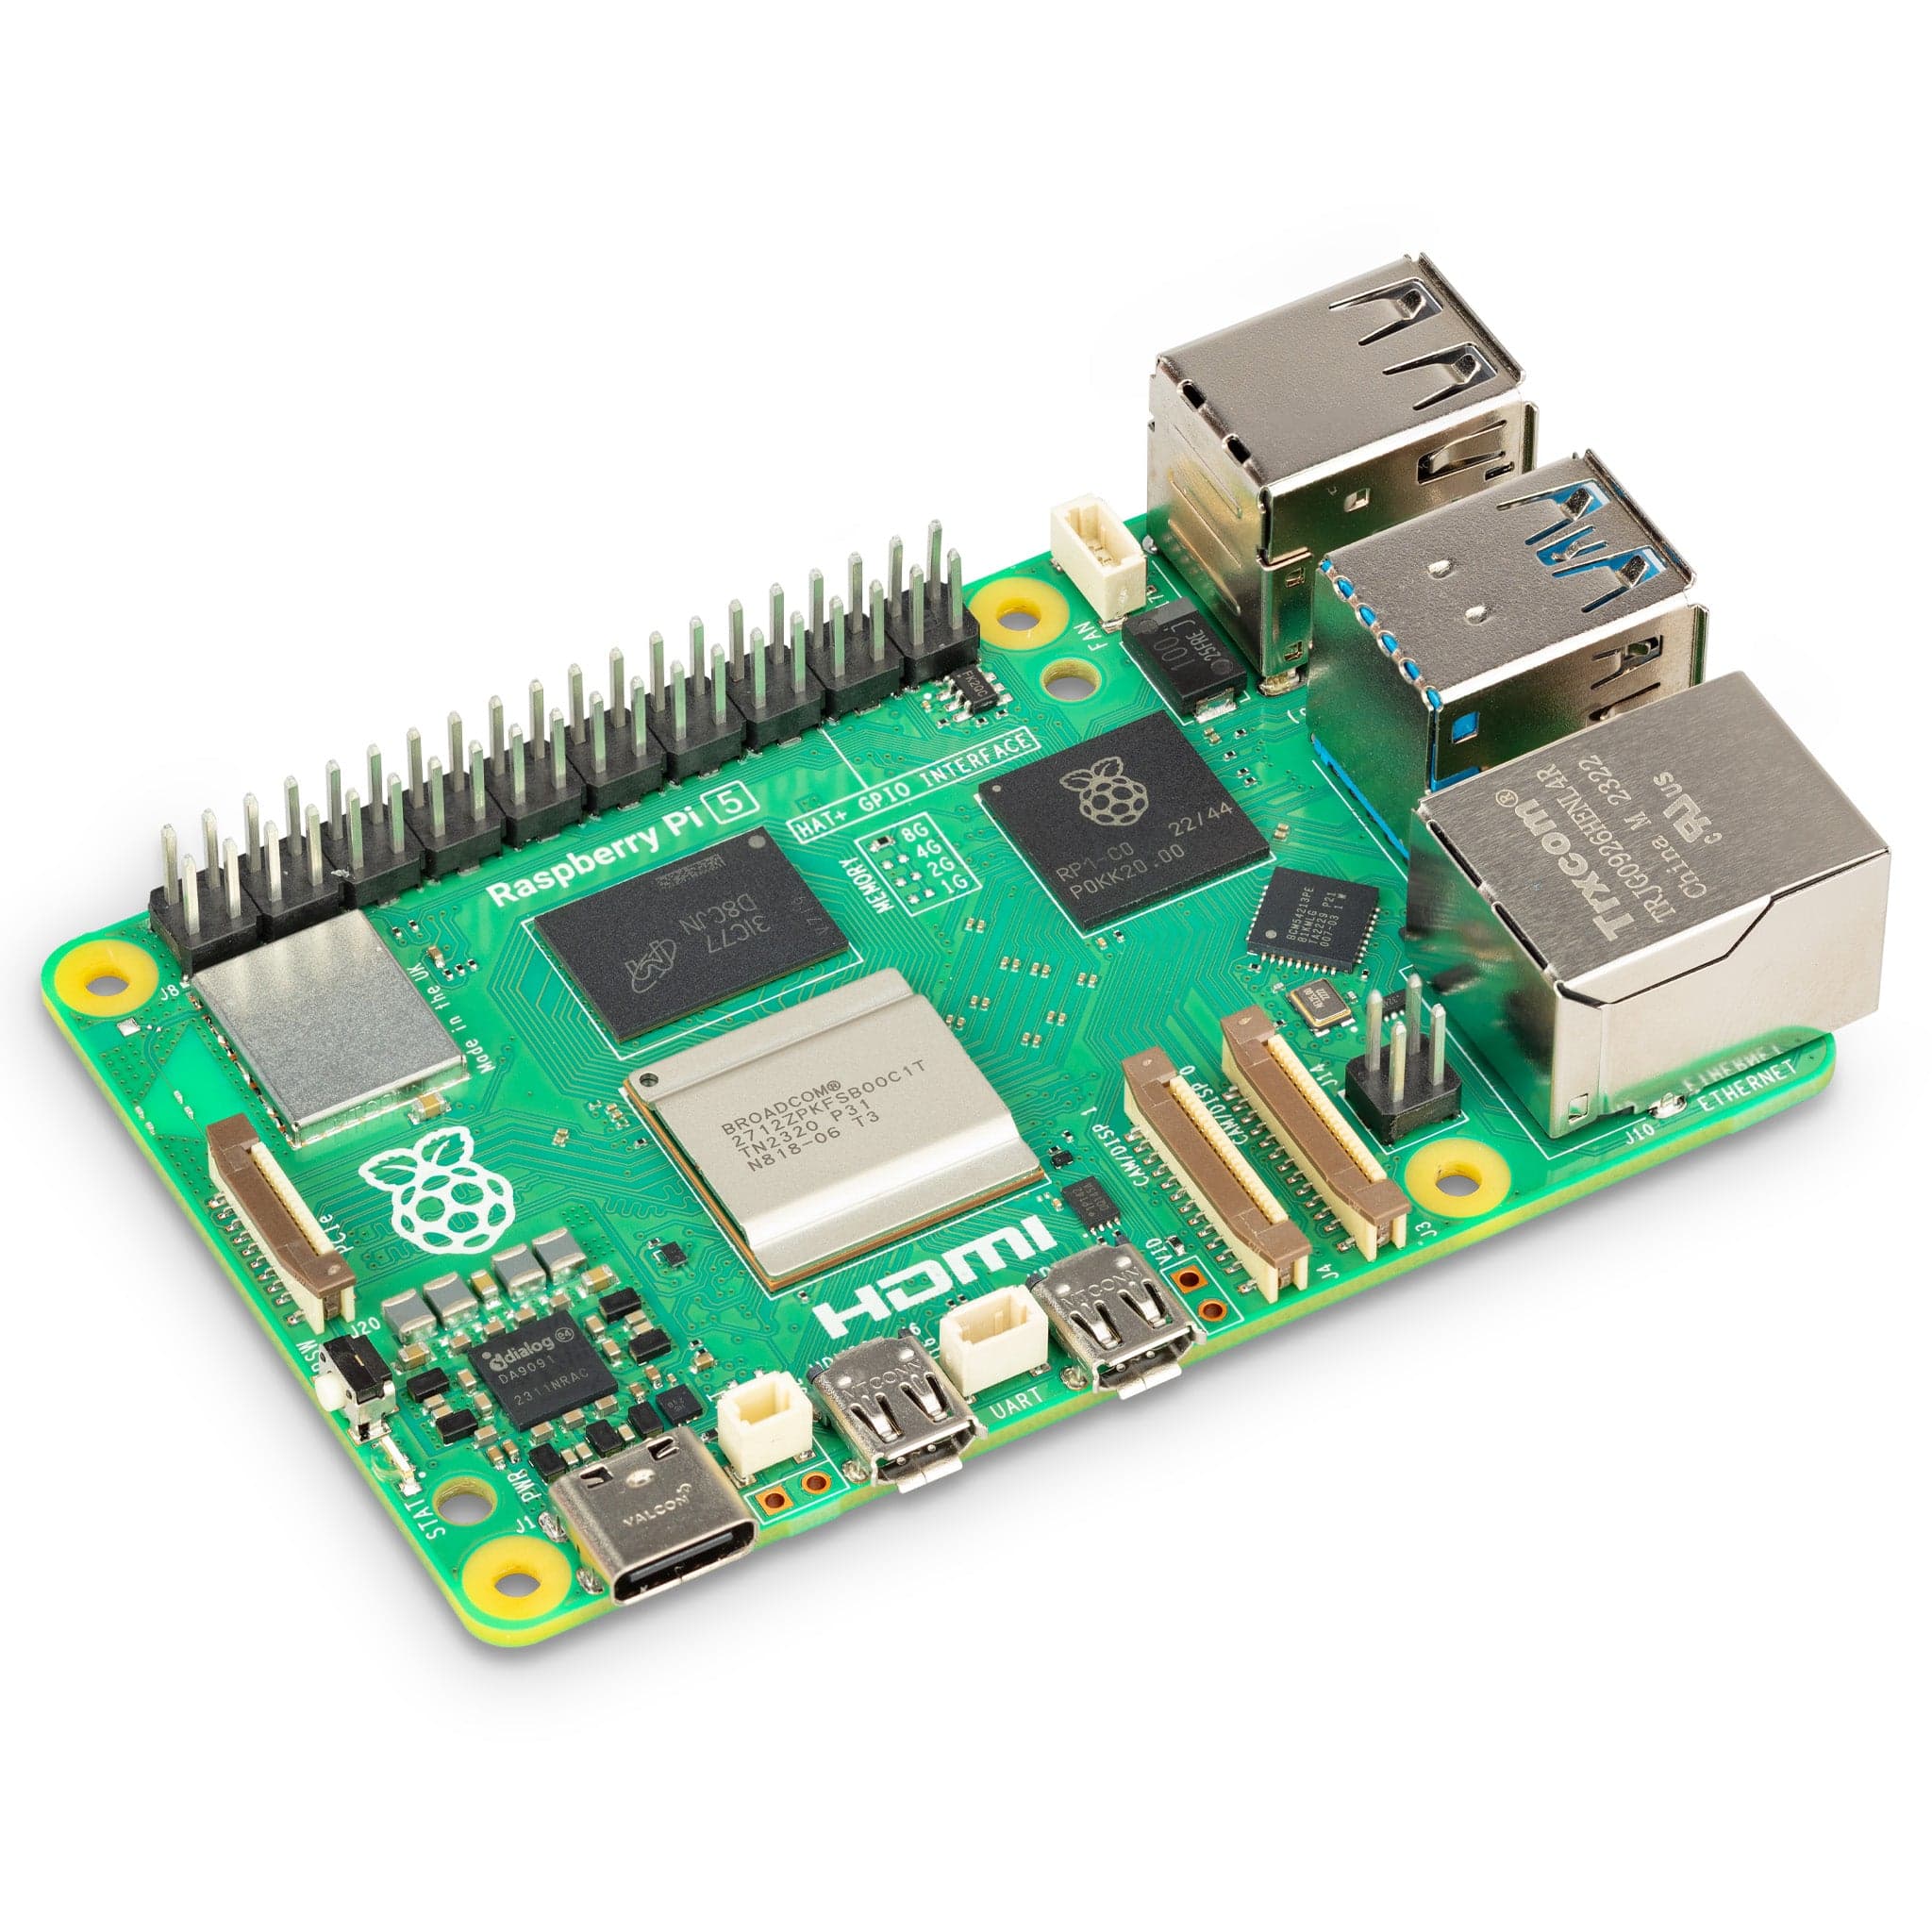
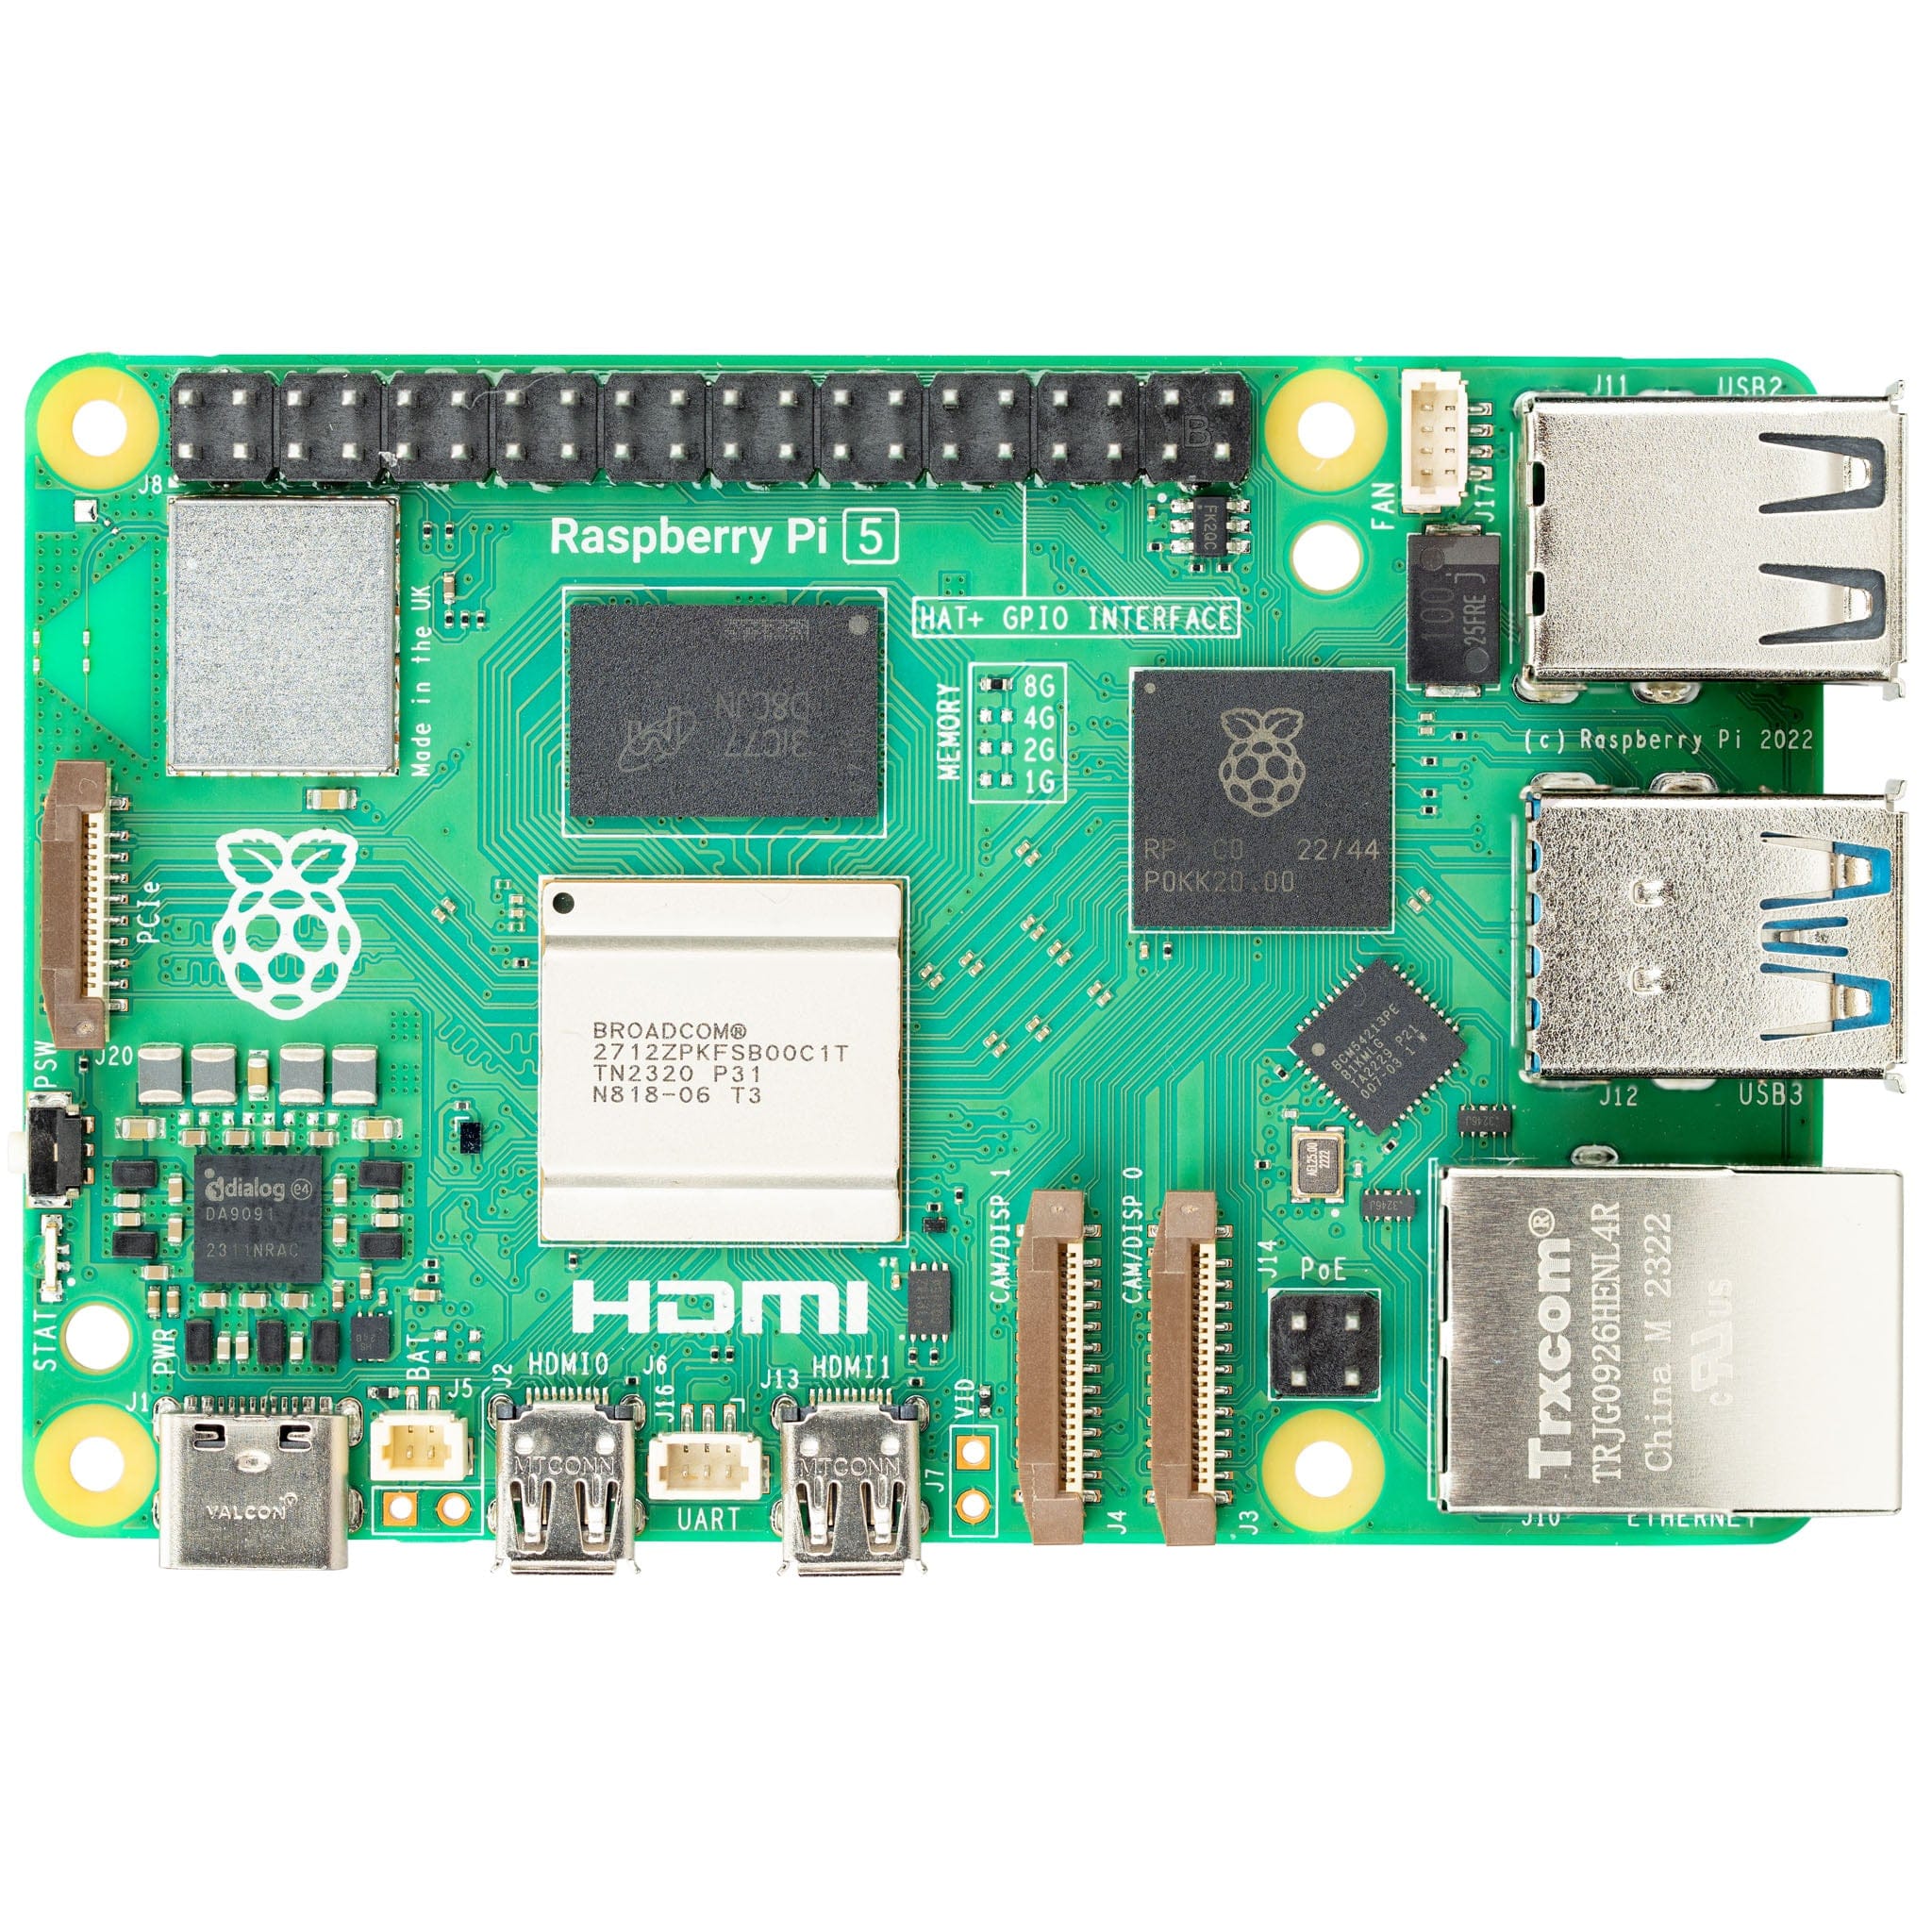
You will need the contents of the case bag (two Perspex panels, the bag of fixings and rubber feet), your Raspberry Pi 5 and Pineboards/Pimoroni HAT of choice (see the product page for a list of compatible/tested HATs).
Now is also a good time to fit any coolers or NVMe devices, if you're using them.

Sort your fixings
The bag of fixings includes lots of different lengths and sizes to allow this case to be used with a wide range of add-ons, and also includes some spares in case you lose one.
We strongly recommend sorting these into separate piles before starting, on a tray or similar. You should make piles for each fixing as follows:
Screws:
- 10x 6mm black nylon screws
- 5x 5mm black nylon screws
Standoffs:
- 5x 18mm F/F standoffs
- 5x 18mm M/F standoffs
- 5x 8mm F/F standoffs
- 5x 8mm M/F standoffs
- 5x 5mm M/F standoffs
- 5x 12mm F/F standoffs
- 5x 12mm M/F standoffs
- 5x 20mm F/F standoffs
- 5x 20mm M/F standoffs

Remove the film
We first need to remove the protective film from both sides of the Perspex parts.
Use your fingernail (not a tool - they scratch!) to start at one corner and try not to touch the clean faces from this point onwards:

HAT selection and case configuration
You have a couple of decisions to make here, which will determine how you assemble the case and which fixings you use:
- Which HAT/add-on board you're using
- Whether you want to have the top Perspex panel fitted or not
We work from the bottom up when assembling the case. The first few steps are the same, then things will change depending on your HAT/configuration.
We have designated HATs into 'pools' to refer to throughout the assembly guide. Find your HAT and make a note of the pool it belongs to:
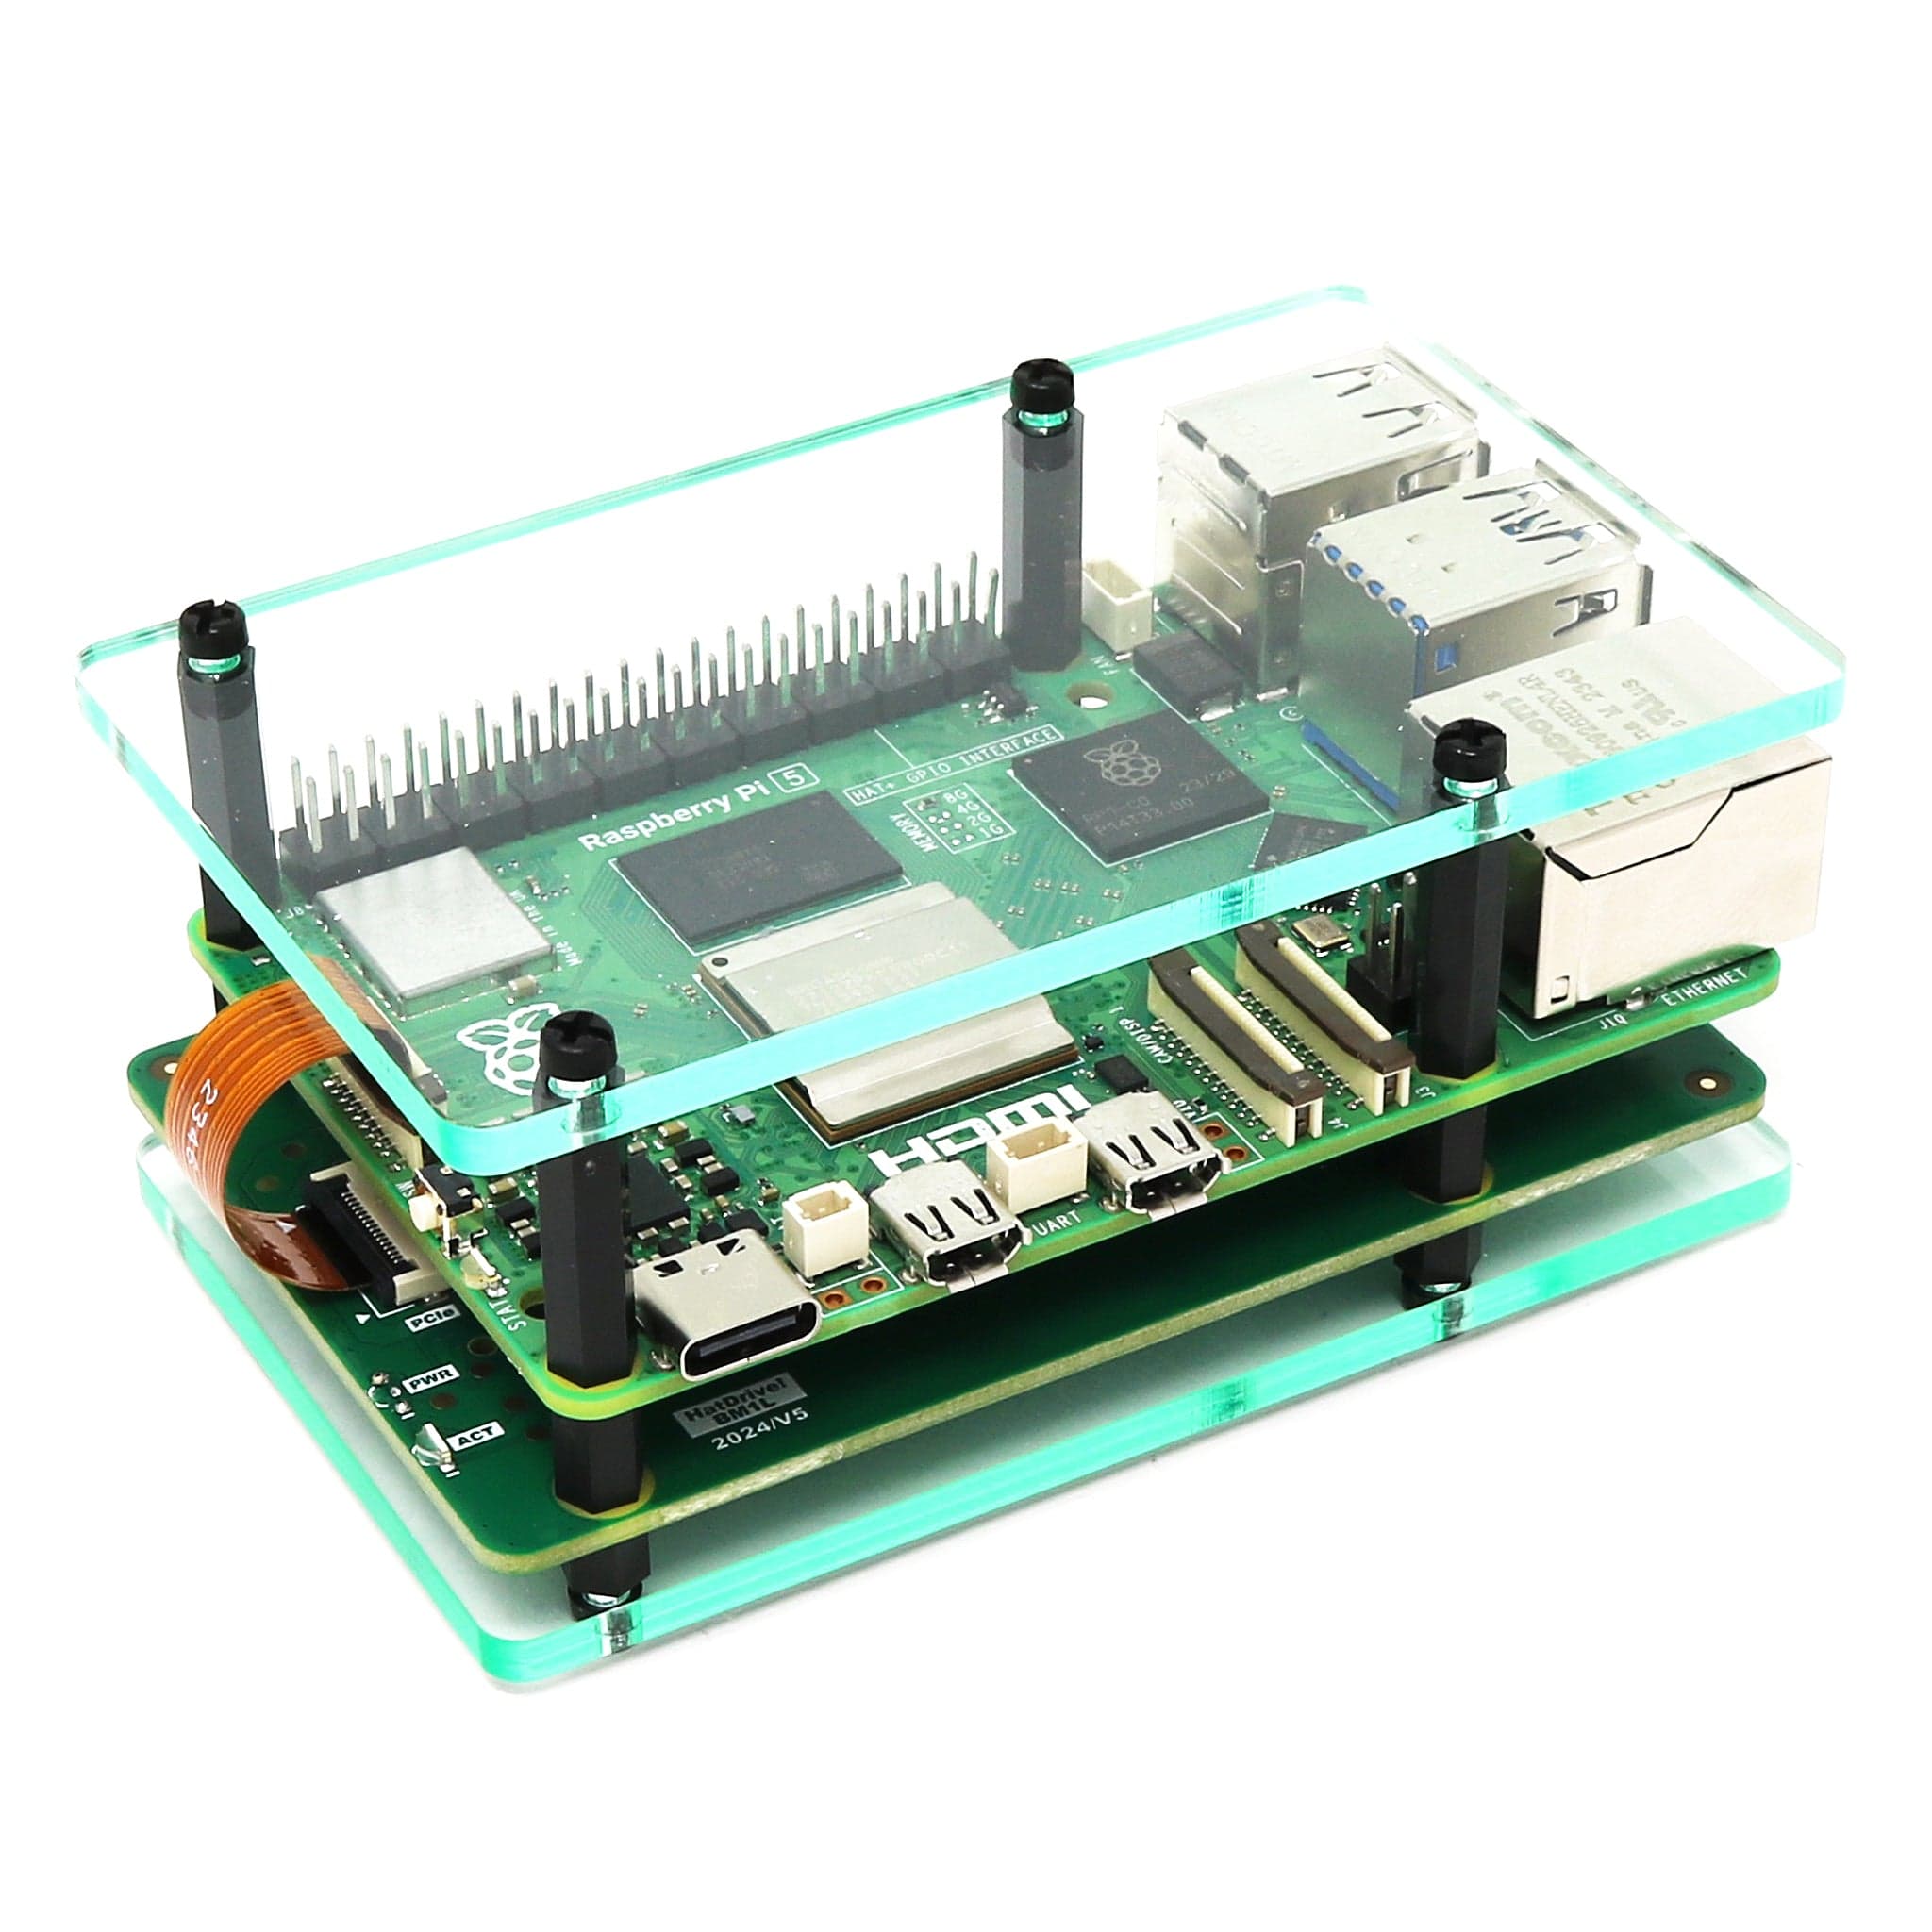
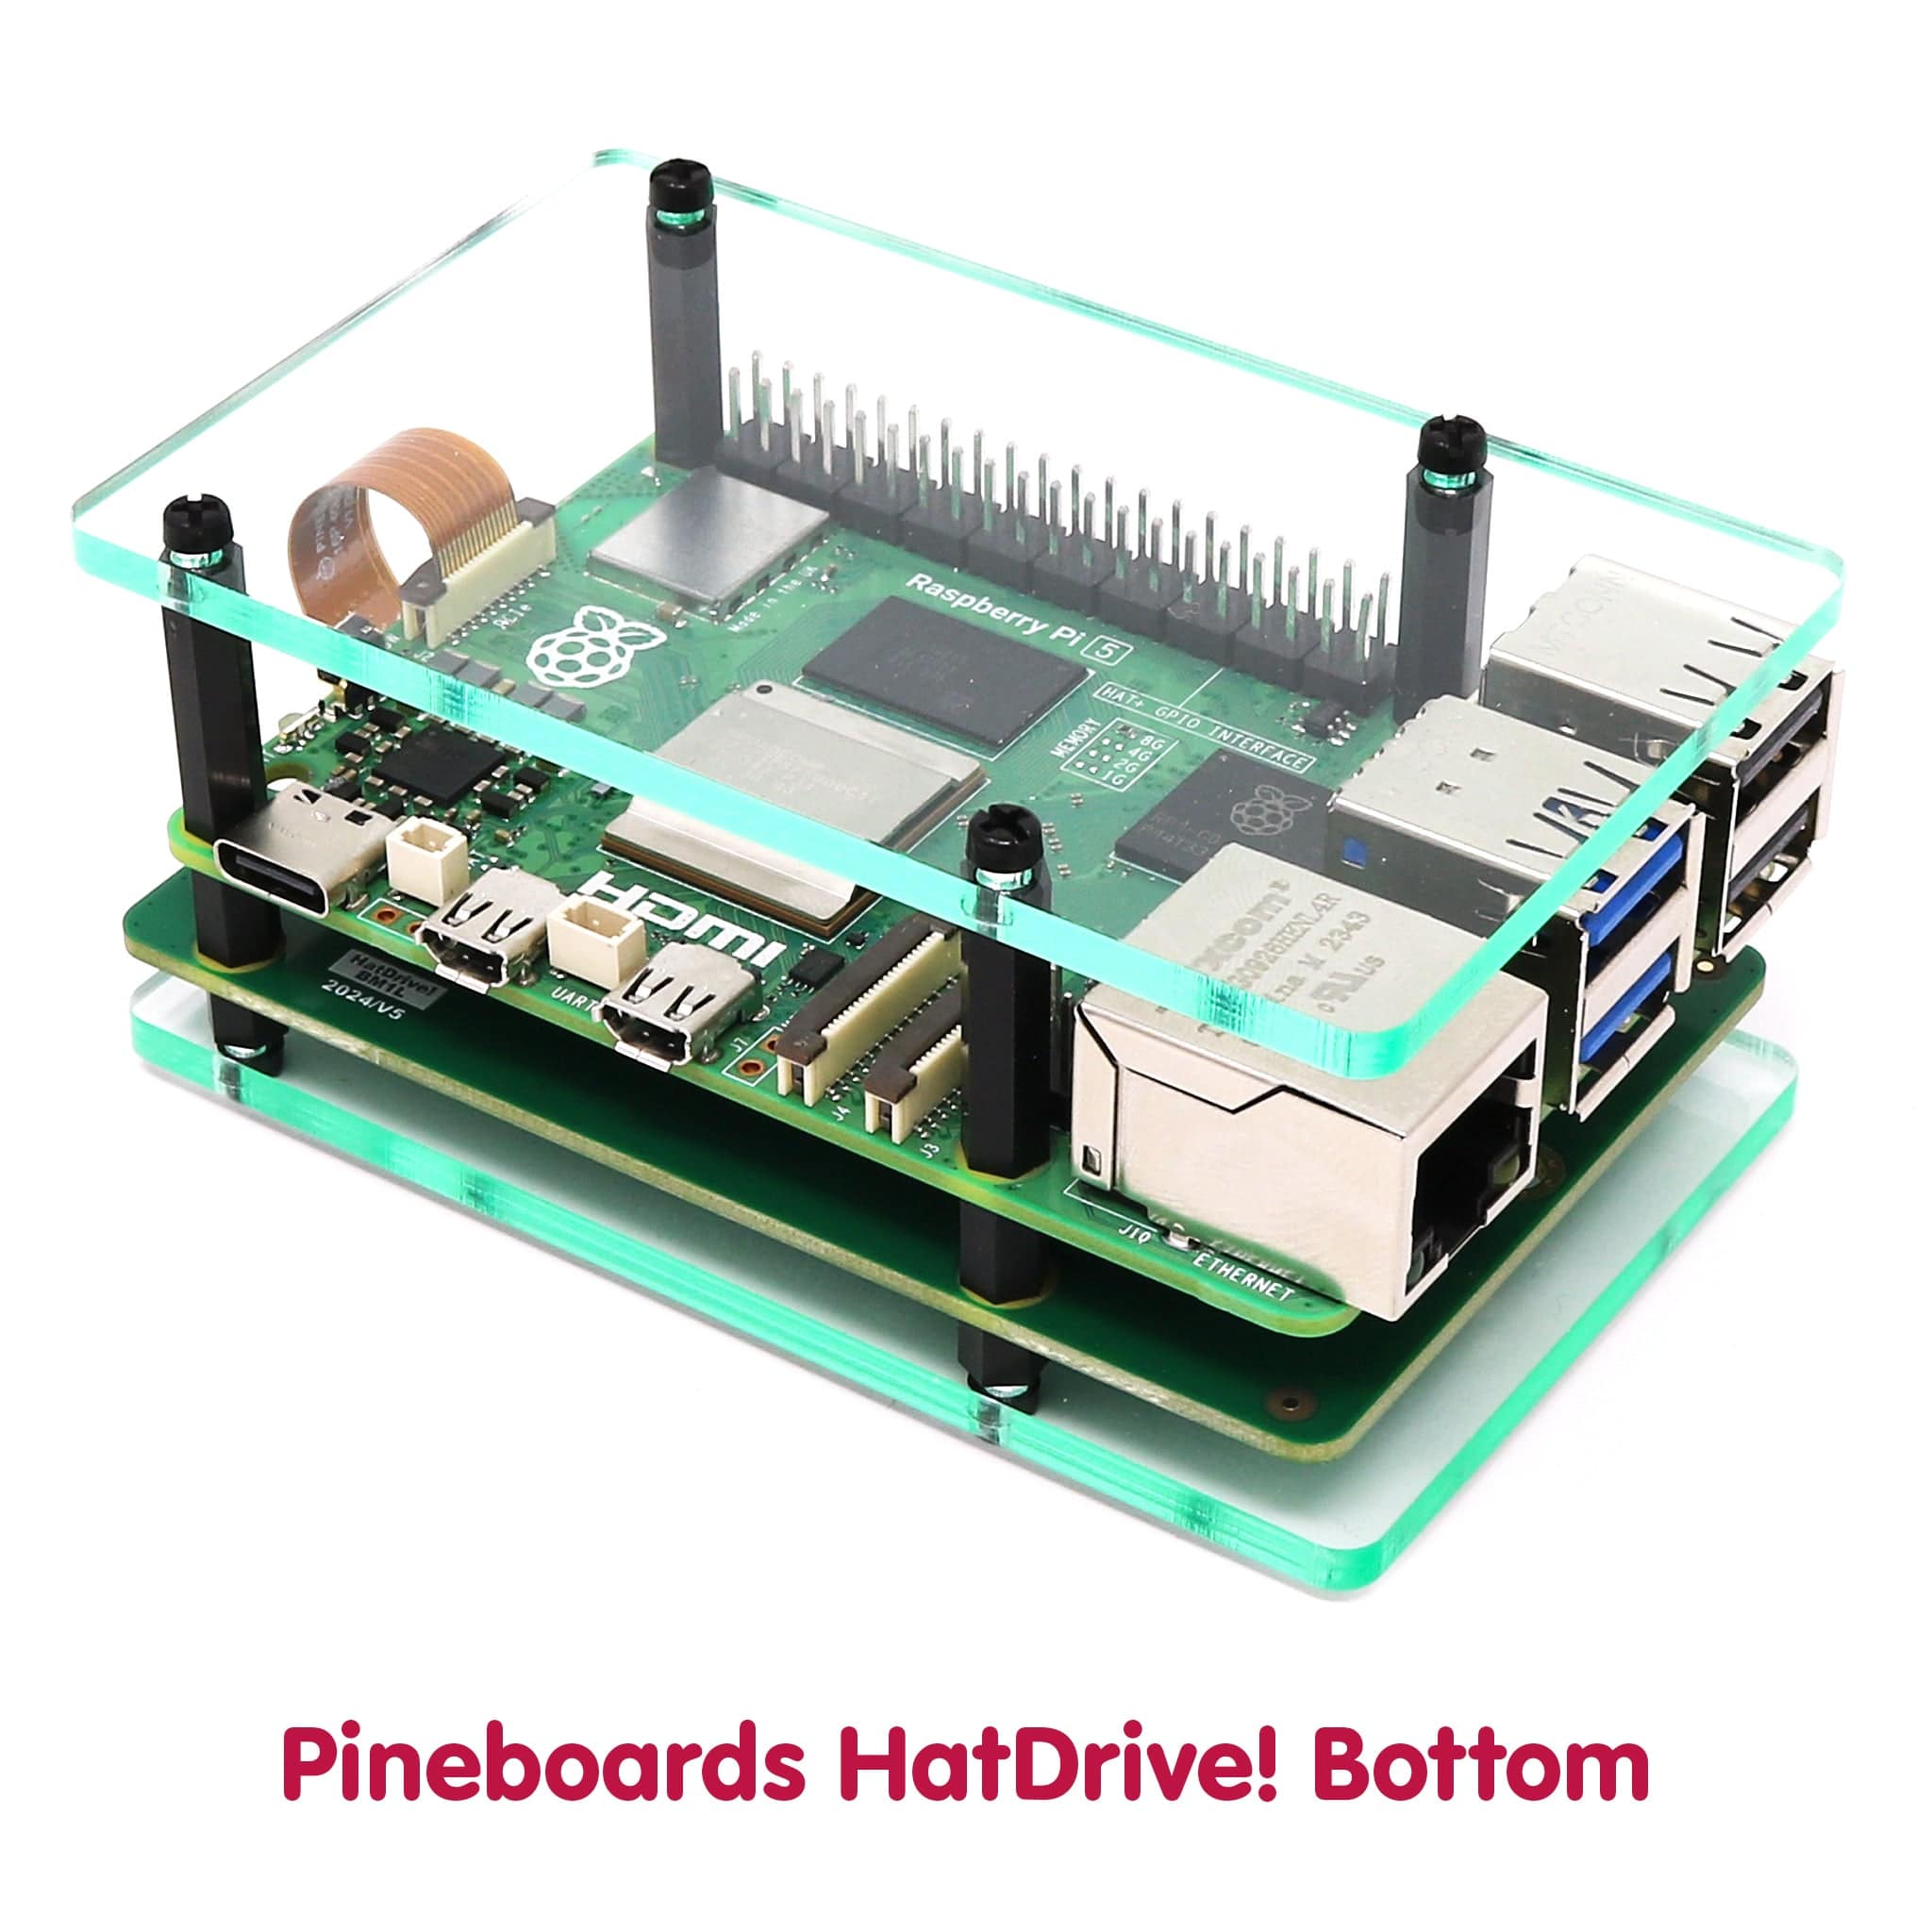
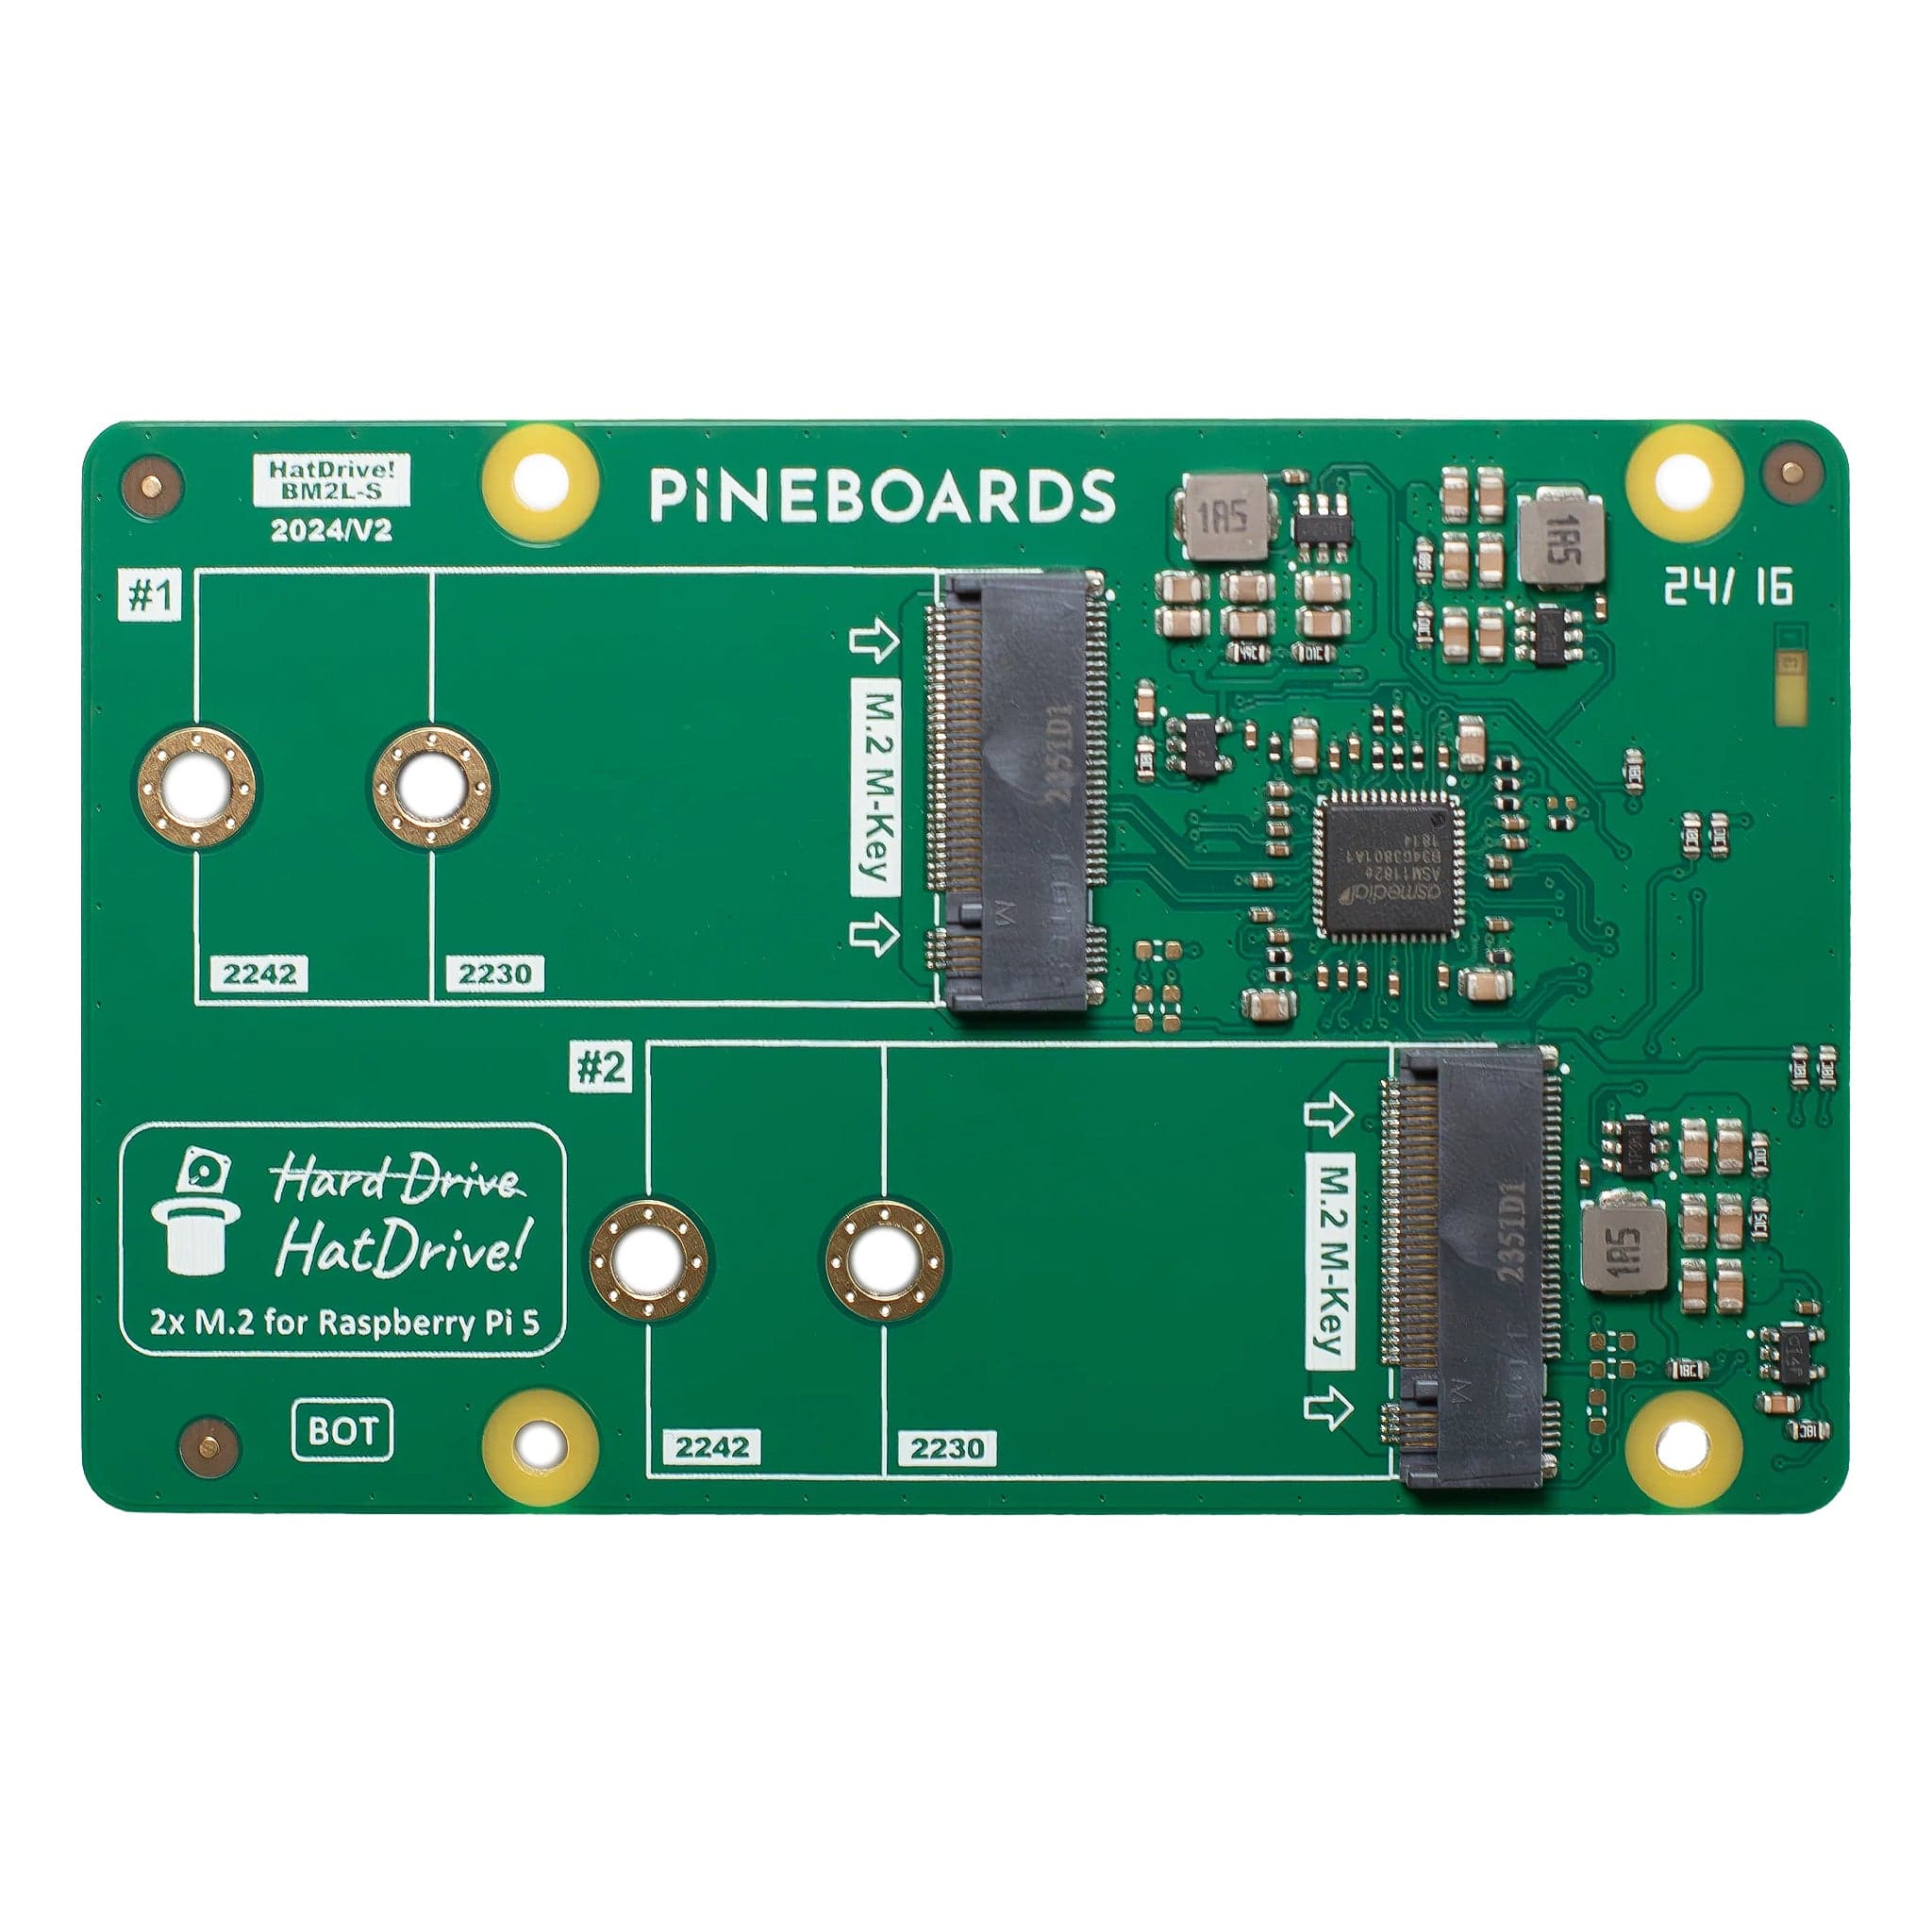
| Pool 1 | HatDrive! Bottom (105912) |
| HatDrive! Dual (105918) | |
| HatDrive! AI (105916) | |
| Hat! AI (105966) | |
| Hat mPCIe (105964) | |
| HatBRICK! Commander (10599) | |
| AI Bundle (Hailo 8L) (106038) | |
| Pimoroni NVME Base (PIM699) | |
| Pool 2 | HatDrive! NET 1G (105917) |
| HatNET! 2.5G (105910) | |
| Pool 3 | Pimoroni NVMe Base Duo (PIM704) |
| Pool 4 | HatDrive! Piano (105967) |
Assembly
Step 1
Grab four of the 6mm screws and pass them through the bottom of one of the Perspex panels:

Step 2
Now fit four of the 5mm Male/Female standoffs to the screw threads, like this:

Step 3
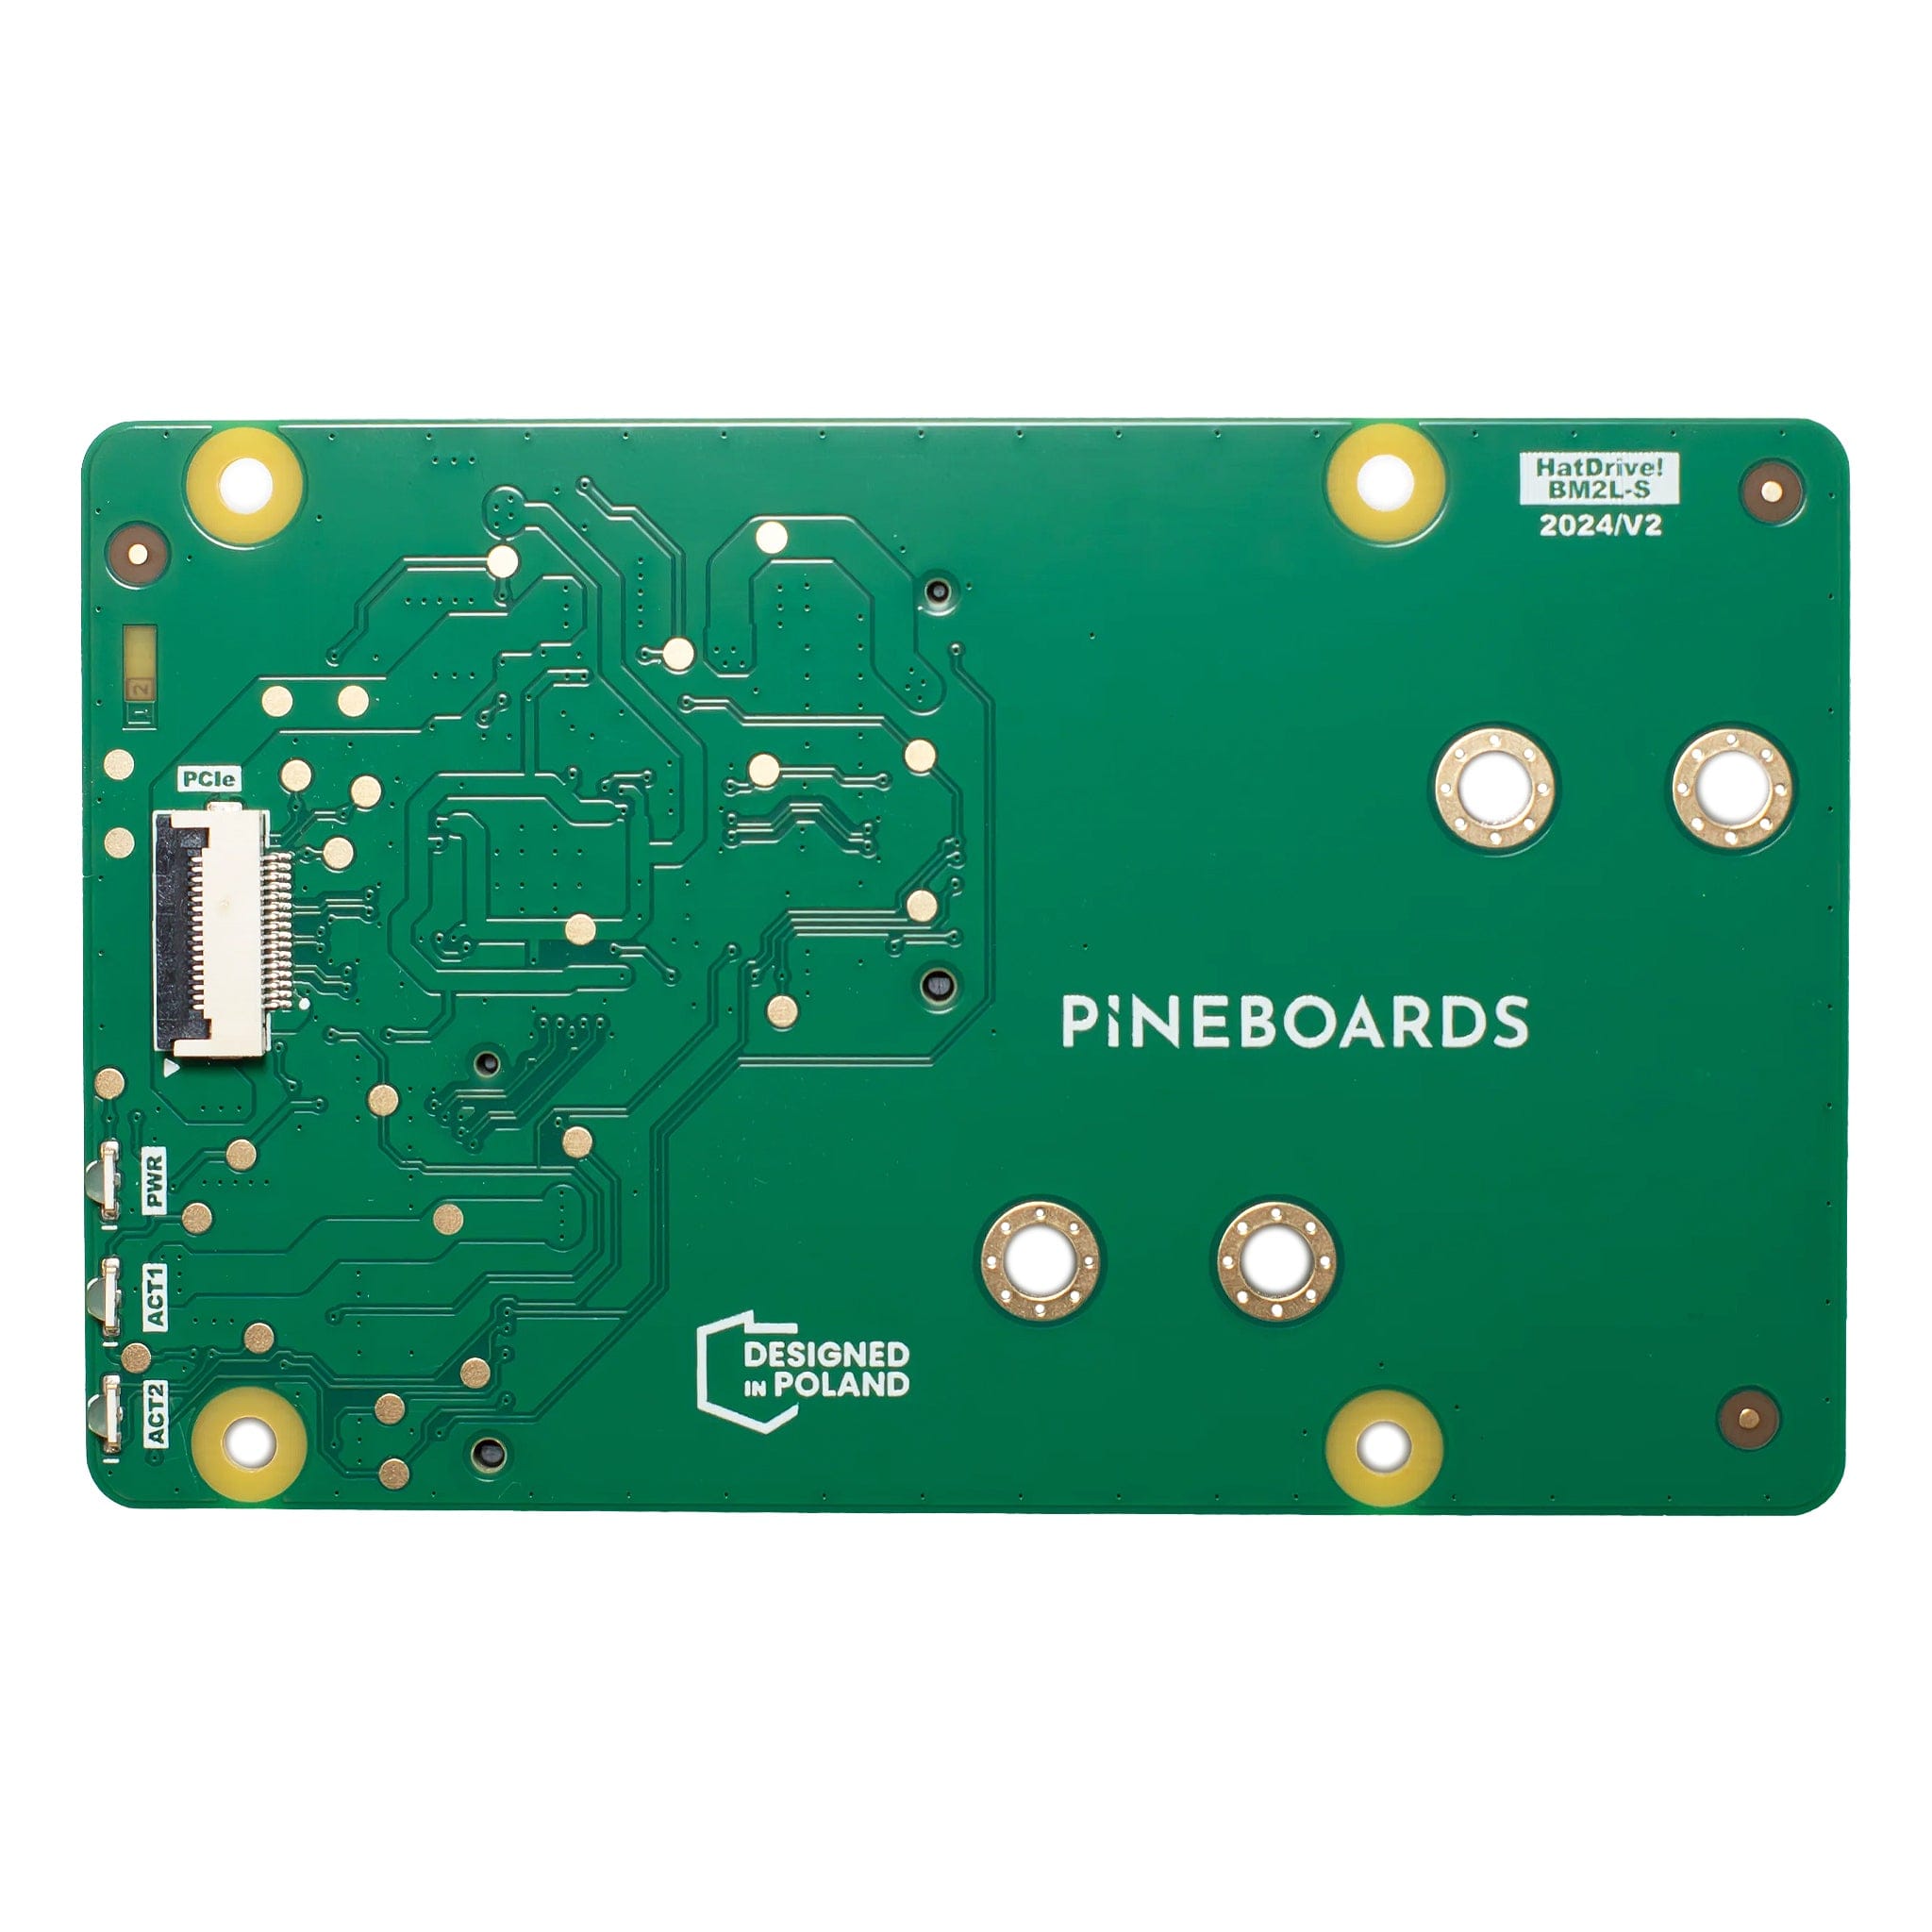
Fit your bottom board (i.e. HatDrive! Bottom, NVMe Base etc) on to these threads, making sure the PCIe connection is at the correct side as per the image below. It's usually worthwhile fitting the PCIe cable to the board at this stage too.
**Pool 4 - fit your Raspberry Pi instead.**

Step 4
We now need to fit the standoff that will fit between your bottom board and Raspberry Pi.
**Pool 4 - this will fit between your Raspberry Pi and HAT.**
First, connect your bottom board to your Raspberry Pi using your PCIe cable (this will have come with the board).
Now select the correct standoff using the table below depending on pool your HAT is in, and your desired configuration:
| With Top Panel | No Top Panel | |
| Pool 1 | 8mm Male-Female | 8mm Female-Female |
| Pool 2 | 18mm Male-Female | 18mm Female-Female |
| Pool 3 | 12mm Male-Female | 12mm Female-Female |
| Pool 4 | 20mm Male-Female | 20mm Female-Female |
Fit that standoff and then fit your Raspberry Pi on top - like this:

Step 5
We now need to fit the standoff that will fit between your Raspberry Pi and the top Perspex Panel.
If you're not fitting the top Perspex panel, you can just finish up by securing your Raspberry Pi with four 6mm screws and you're done!
All 'pools' use the same standoffs between the Raspberry Pi and the top Perspex layer - the 18mm Female-Female standoff.
Fit this to the exposed threads, add the Perspex top layer, then finally secure everything with four 6mm screws - like this:

Now just stick on the rubber feet to the underside and you're all done!
Keep the remaining fixings in case you want to try a different configuration or HAT later on (there's also a few spares in there in case you lose one).
Need a longer PCIe Cable?
If you're not entirely happy with the tight fit on the PCIe cable with some HAT configurations, longer cables are available both from Pineboards and Pimoroni:


2 comments
The Pi Hut
@Charlie Anstey – It’s not designed that way, but if you have a range of M2.5 fixings available, you could probably make it work.
@Charlie Anstey – It’s not designed that way, but if you have a range of M2.5 fixings available, you could probably make it work.
Charlie Anstey
Does this kit support multiple RPi5s being stacked? It makes sense that it would, just looking for confirmation.
Does this kit support multiple RPi5s being stacked? It makes sense that it would, just looking for confirmation.