
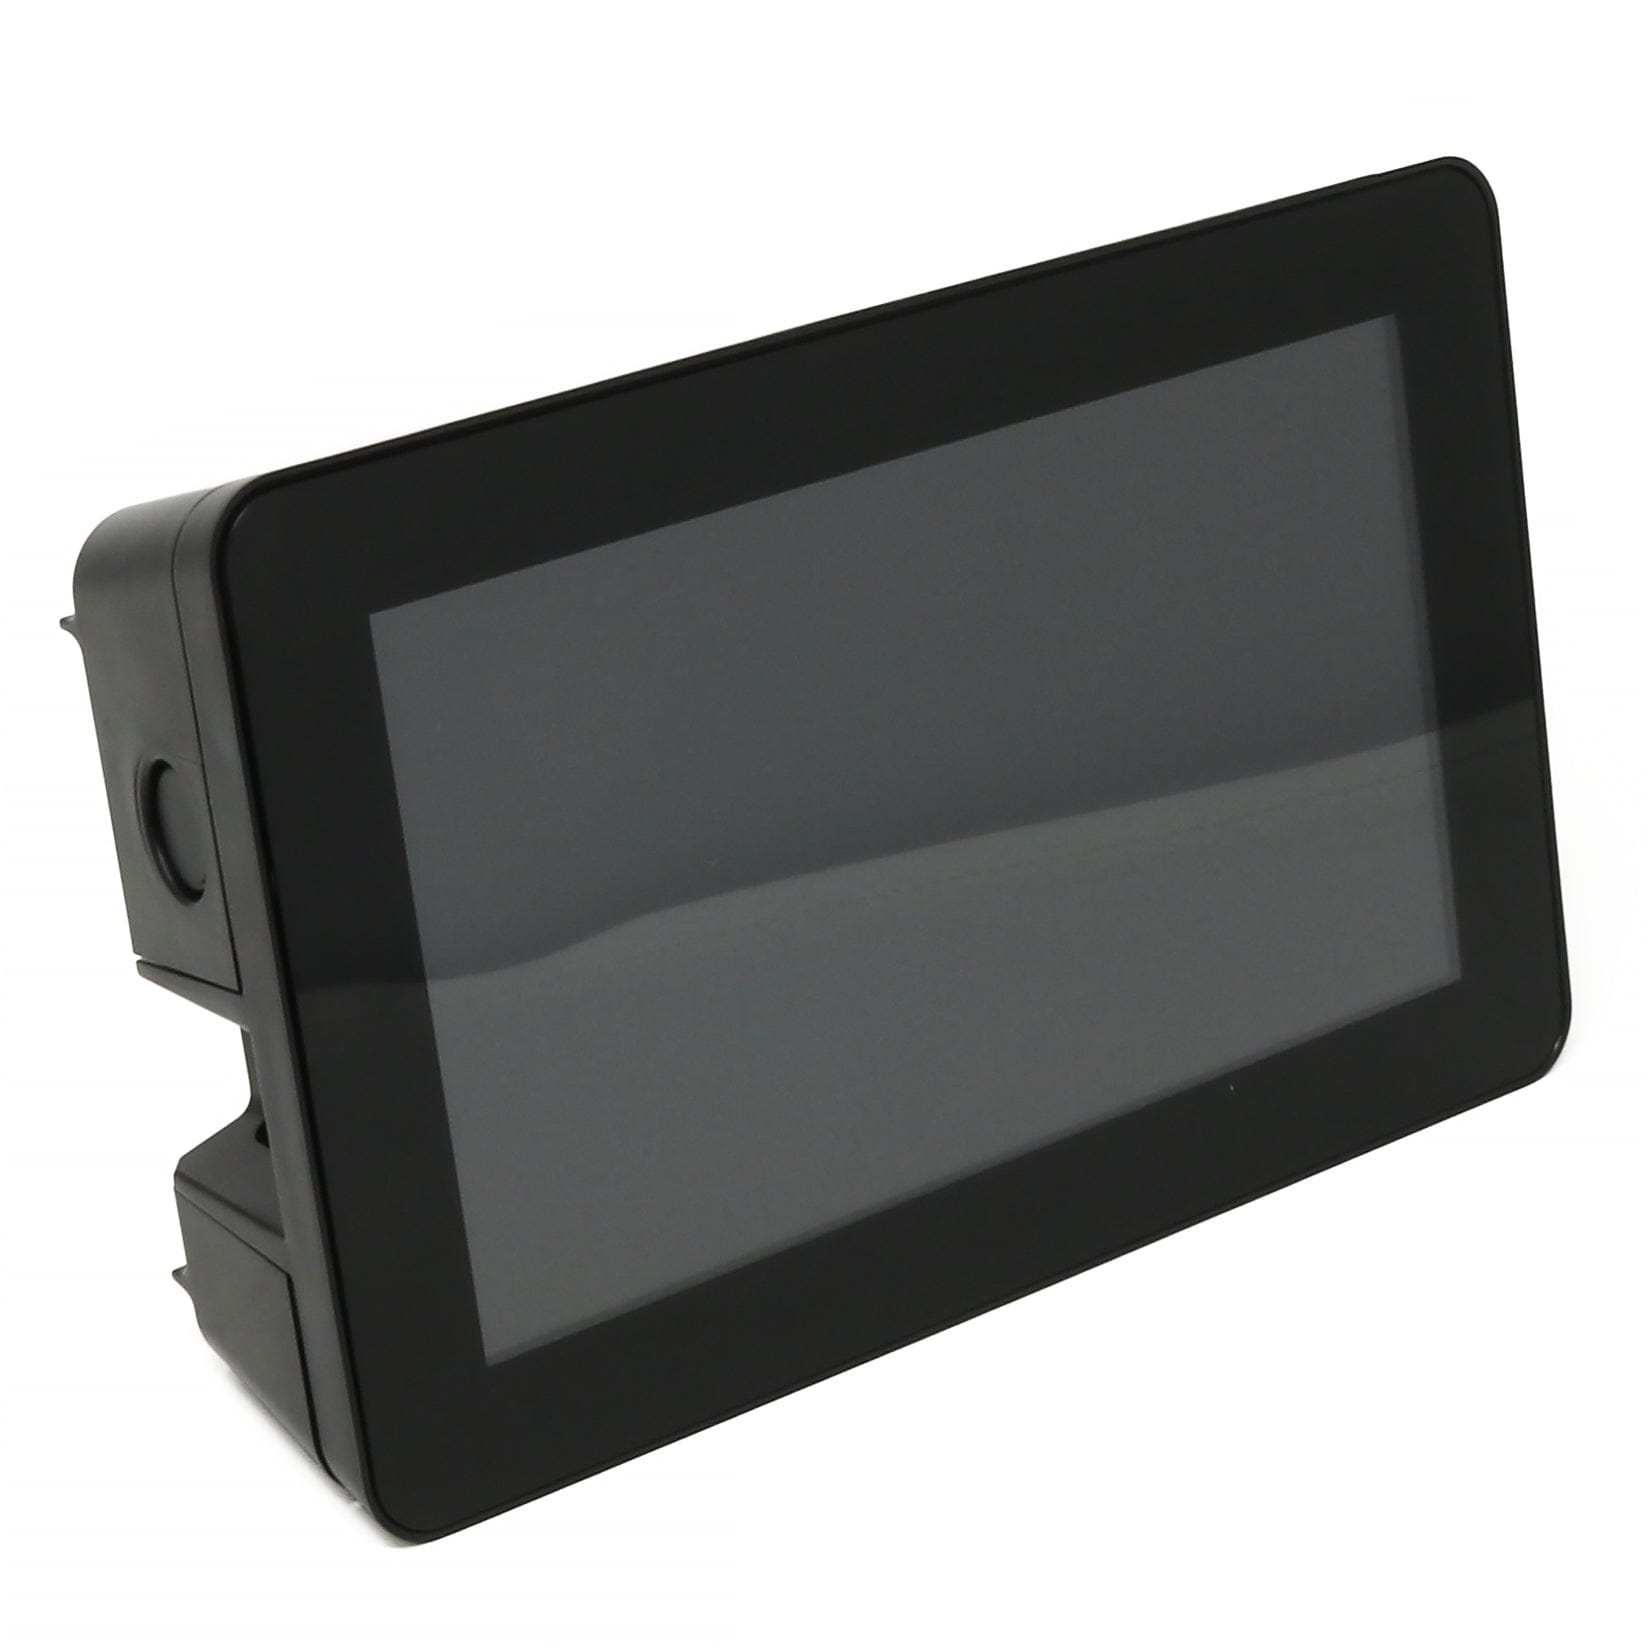
Assembly Guide for OneNineDesign Touch Display 2 Case
This guide will show you how to assemble your OneNineDesign Touch Display 2 Case, for the Raspberry Pi Touch Display 2 (7" version).
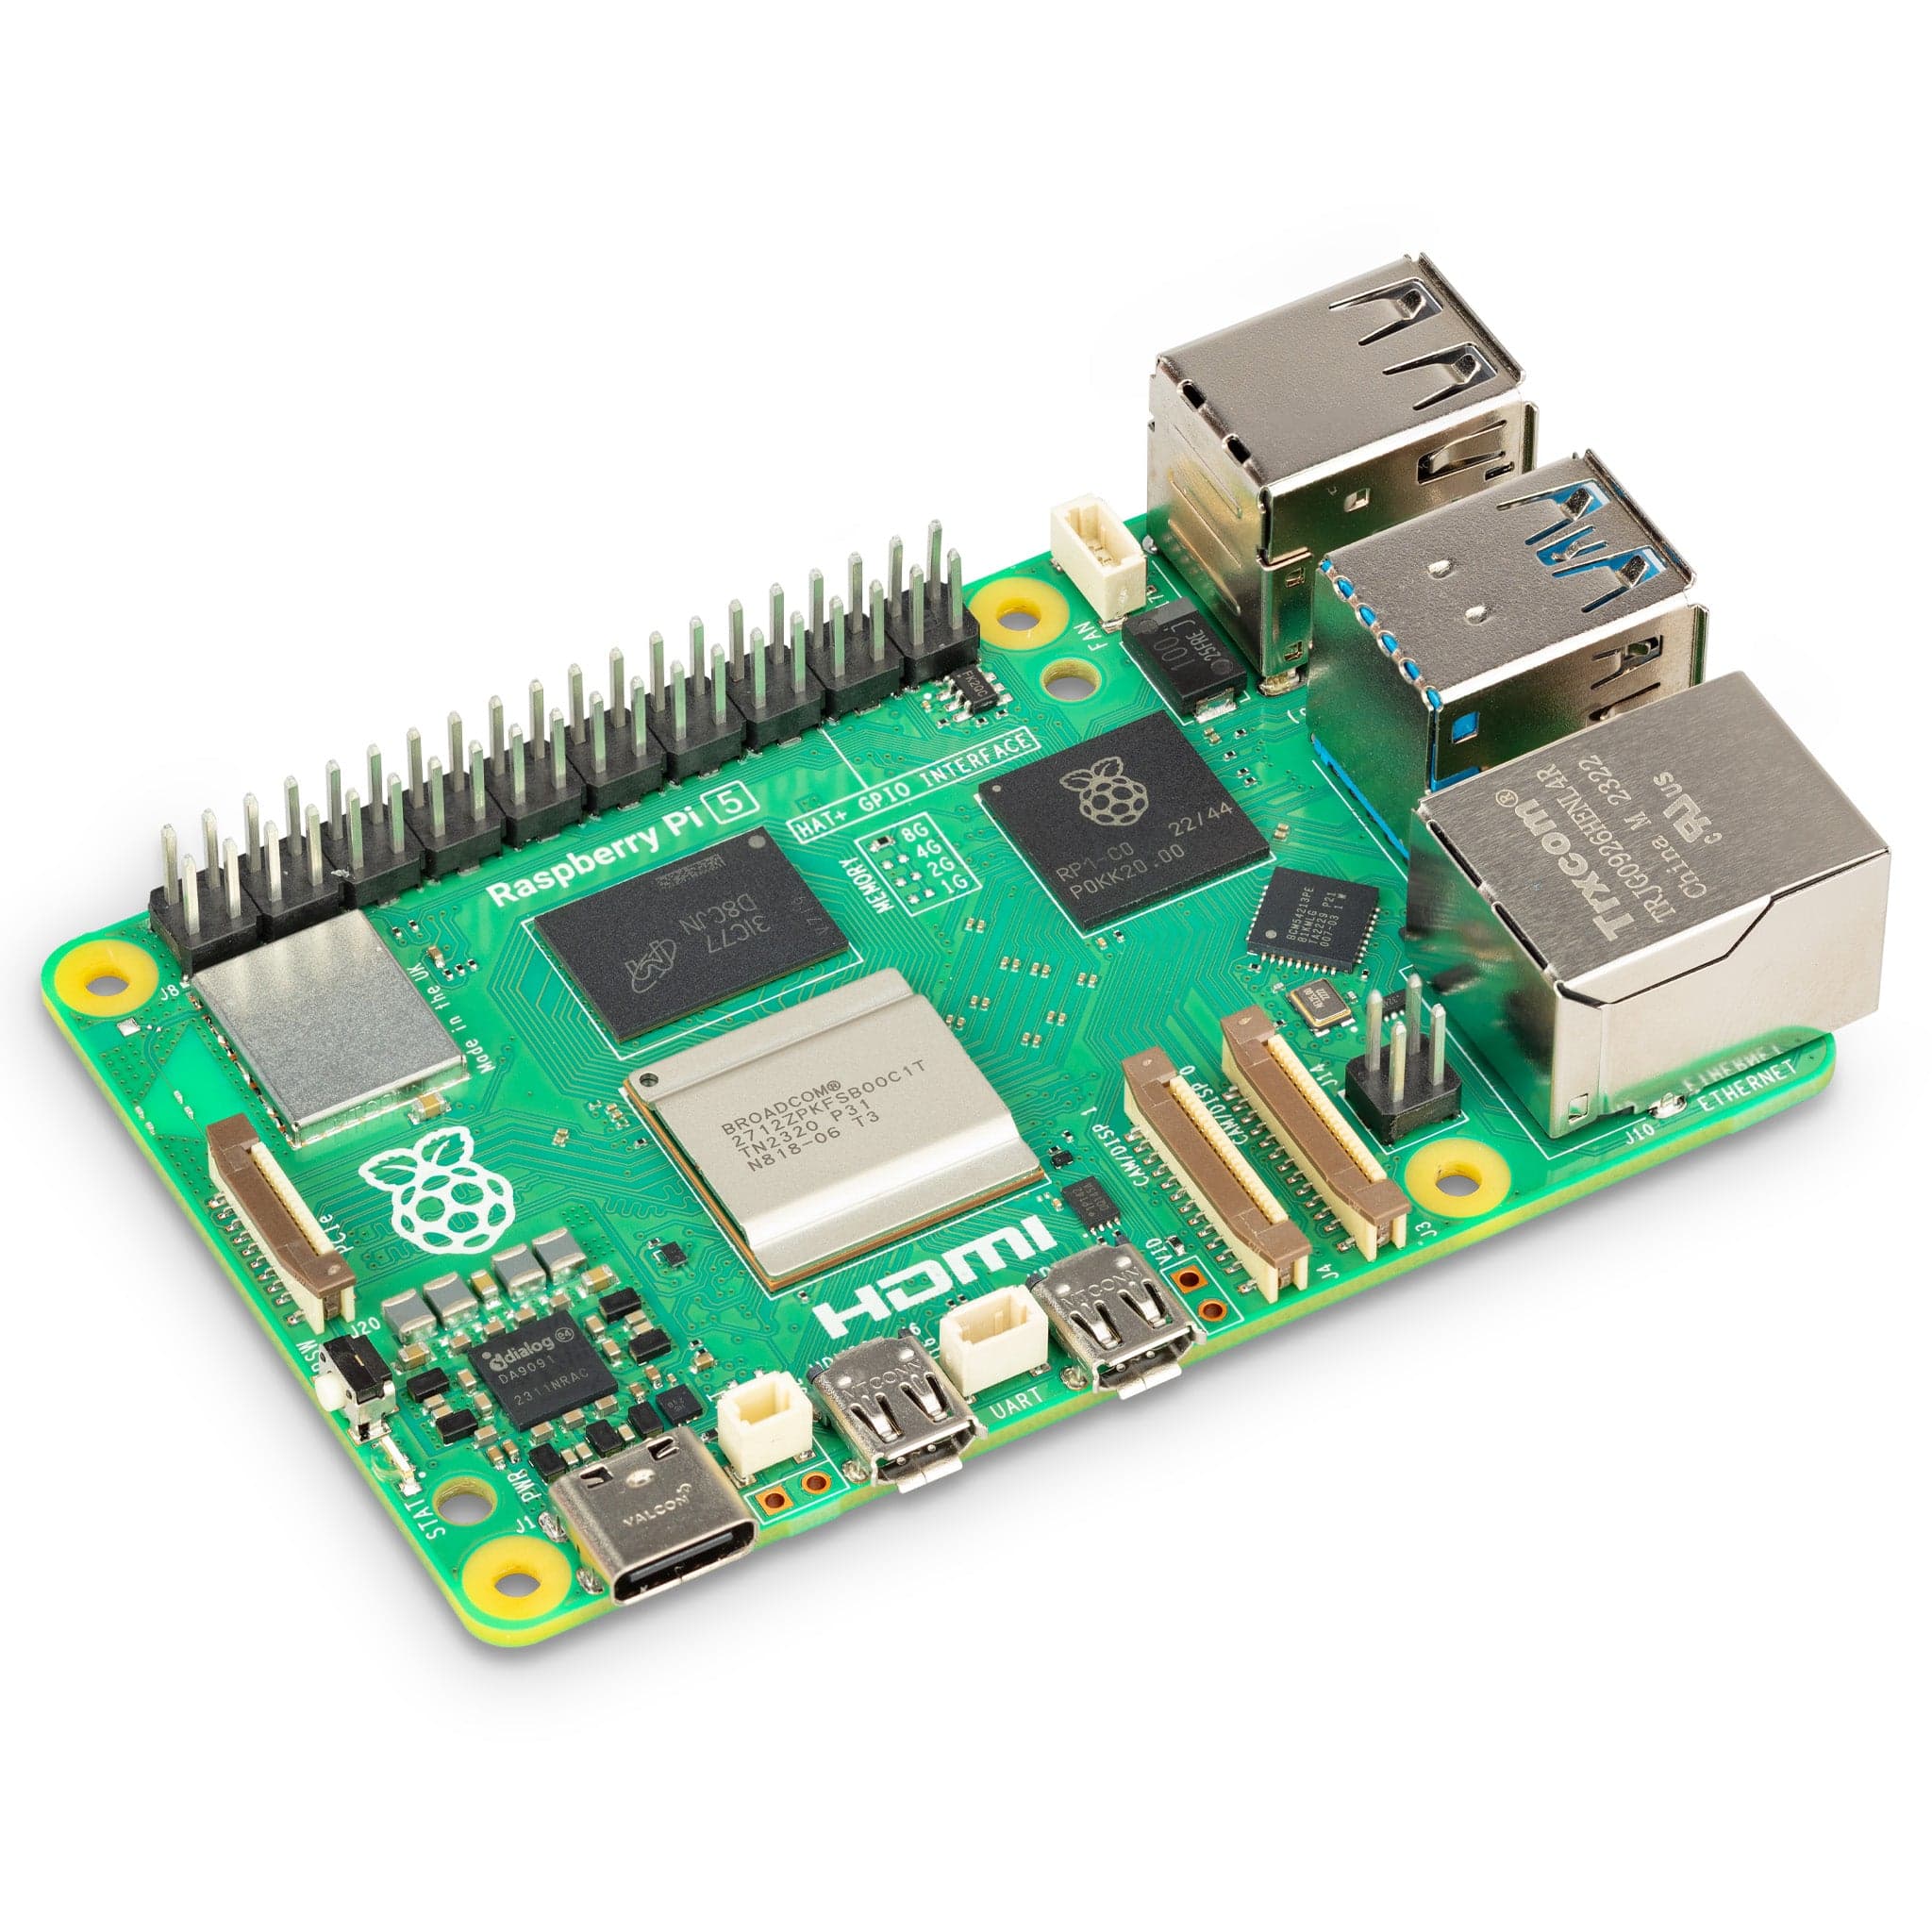
The case can accommodate either a Raspberry Pi 4 or Raspberry Pi 5, and is compatible with the Raspberry Pi Active Cooler, most HATs, and a wide range of USB accessories.
We'll cover the assembly process step by step, including when to fit accessories and cables, and selecting your orientation/cable exits and wall mounting options.
Tip: the manufacturer also has a quick assembly sheet available here, we won't be offended if you prefer this method 🤭
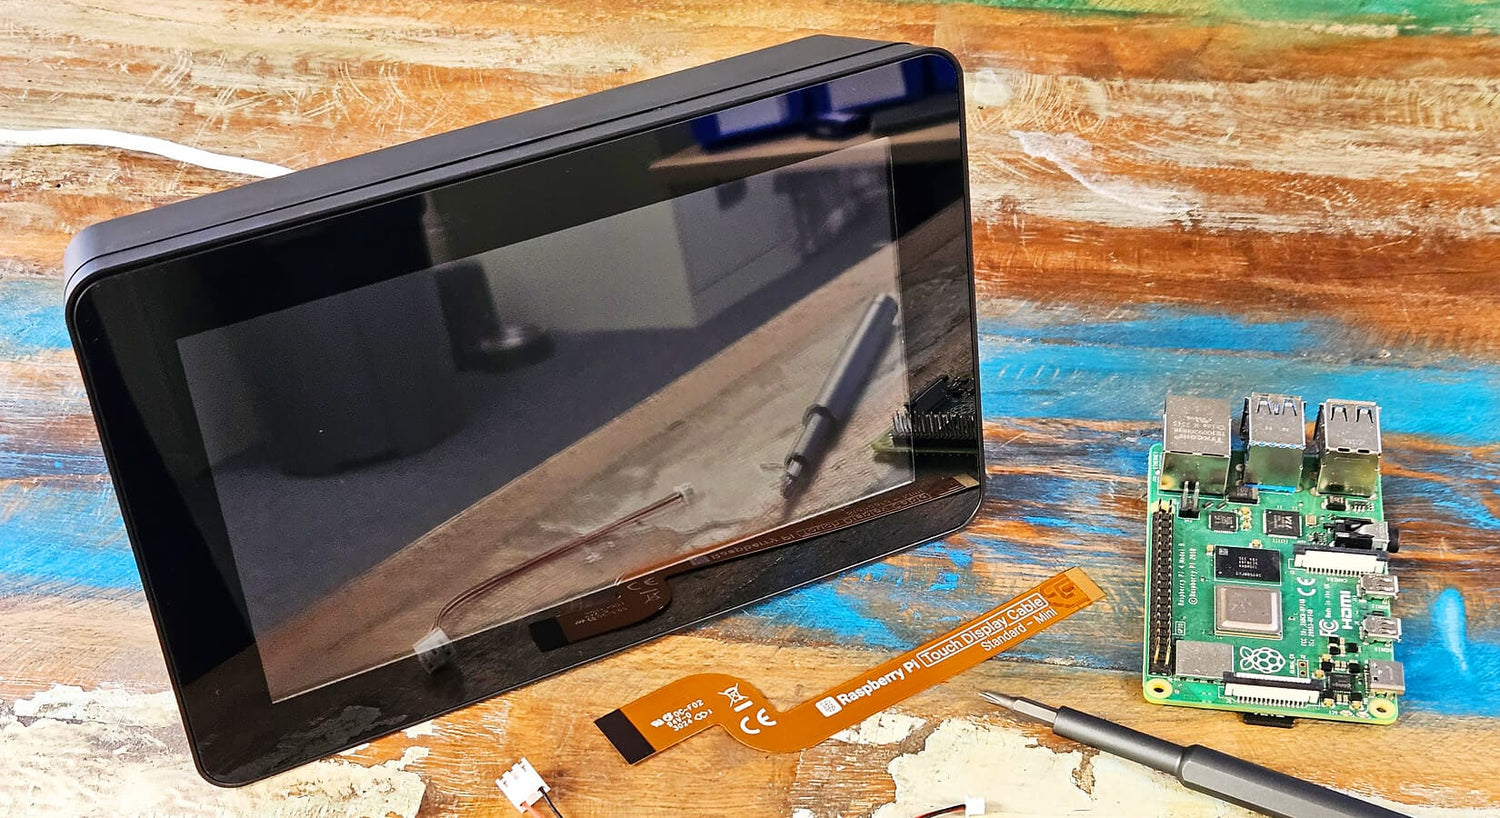
Parts Check
You will need:
- OneNineDesign Touch Display 2 Case
- Raspberry Pi 5 or Raspberry Pi 4
- Raspberry Pi Touch Display 2 - 7" version
- Including original cables and fixings
You may also need:
- Active Cooler for Raspberry Pi 5
- Power Supply
- MicroSD card
- USB Flash Drive
-
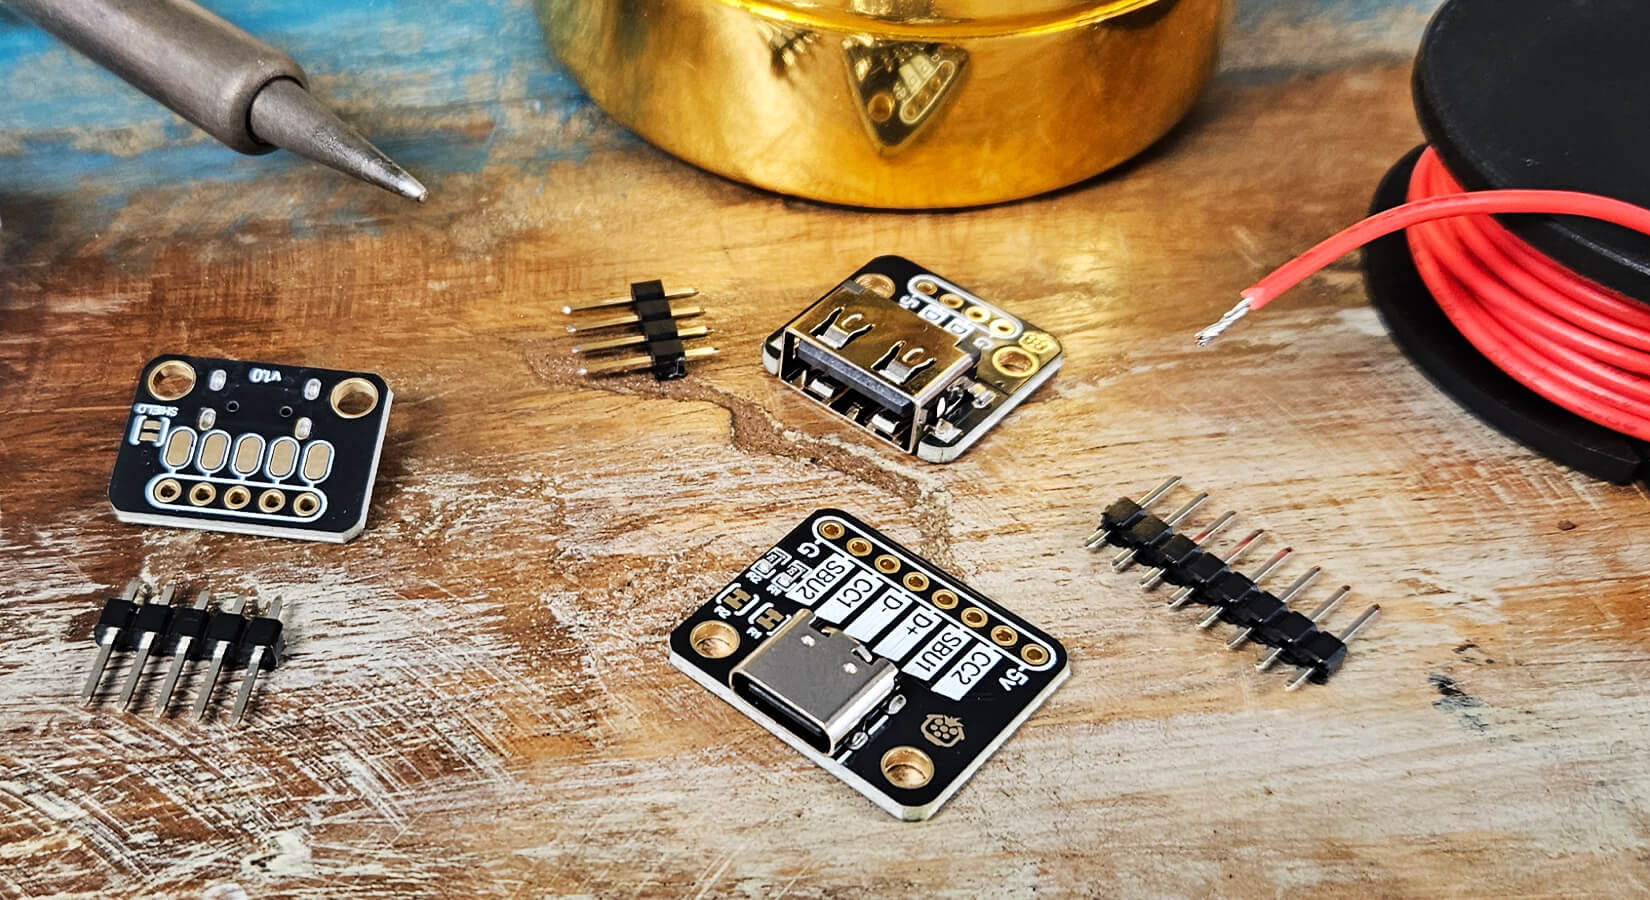
USB Power Breakout for Raspberry Pi Touch Display 2
Assembly
We are using a Raspberry Pi 5 in this assembly guide, however the case is also compatible with the Raspberry Pi 4 (you just use a different DSI cable from the pack - the white one).
Important - when resting your display face down during assembly, ensure it's on flat, soft surface that can't scratch or crack the display - such as a microfibre cloth of clean tea towel.
Step 1
Not really a step here, but something very important to highlight (again!) - you will need your original fixings and cables that were included in the Raspberry Pi Touch Display 2 box.
Raspberry Pi don't currently offer replacement packs for these, however it's something we'll speak to them about.

Step 2
Connect your Raspberry Pi to the display, this includes:
- Connecting the DSI cable to a DSI port
- On Raspberry Pi 5 you can connect to either of the DSI/CSI ports
- With Raspberry Pi 4, you need to use the specific DSi port next to the micro SD slot
- Fitting the power cable to the GPIO header (see the official display assembly guide for more details on the specific pins and orientation)
If you're using an Active Cooler or a HAT, now is the time to fit those too.

Step 3
Now grab the main body of the case (the part with the Pi-sized hole in it).
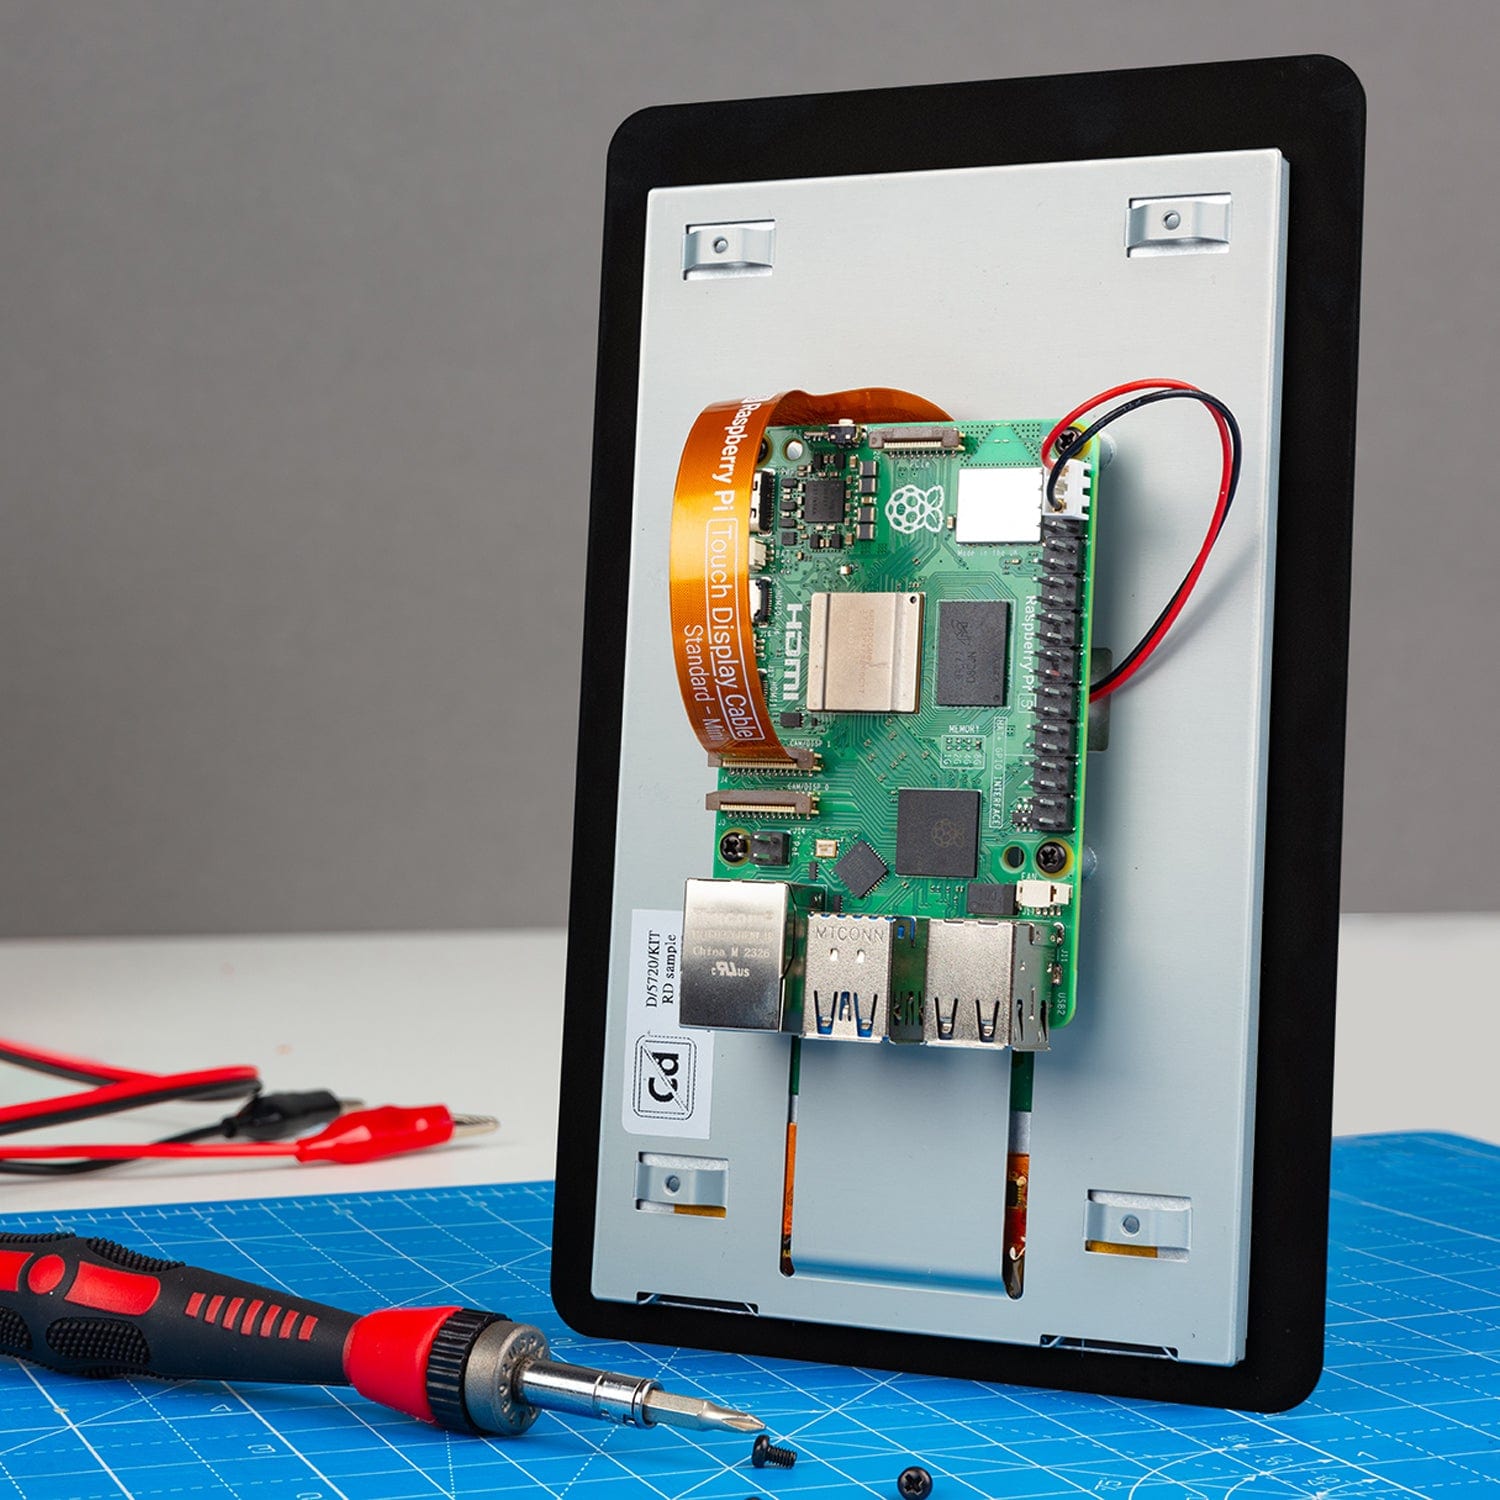
With your display resting on a flat, soft surface, hold the case body above the display, and pass the Raspberry Pi through the central hole - being careful with the cables to ensure none are pulled out of their ports:

Step 5
Once your Raspberry Pi is through the hole, we're going to be mounting it upside down (seems weird but stick with us here!).
You start by fitting the MicroSD side of the board into the left side, making sure the board pushes under the small clip:

Step 6
With the MicroSD side in place, push the USB side of the board down, and close the little 'gate' to hold it in place.
Note: The 'gate' does not click into place until the rear cover is fitted, so it's best to hold this together for the next few steps (until we fit the cover).

Step 7
Before we secure the display to the case body, we need to make sure that pesky DSI cable isn't blocking any of the mounting posts.
We've highlighted the main offender below. If your cable is peeking through like this, very gently push the cable to the side to allow the post to pass through:

This is what you're aiming for, no cable showing:

Step 8
With that awkward cable out of the way, secure the display to the case body using four of the black screws from your Raspberry Pi Display fixings pack:

Step 9
It's now time to fit any cables and accessories that you need to attach, before fitting the cover. This is also the time to choose where you want cables to route out of - the bottom/rear, or a side (for landscape or portrait mode).
Tip: Keep holding the 'gate' to hold the Raspberry Pi in place, especially when fitting cables. Otherwise there's a chance it will move out of place and cause a lot of avoidable frustration!
At minimum, you will need to connect a power supply and your OS media (MicroSD or USB stick), however you may want to consider fitting and routing:
- An Ethernet/RJ45 cable
- USB accessories
- GPIO cables (for external devices)
Note: Some Micro-HDMI cables have large bodies that won't fit with the cover on. This was a design compromise, as the expectation is that most users won't be using a HDMI monitor alongside this case.
You can easily pop the cover off and add more later, but it makes sense to do this now:


Step 10
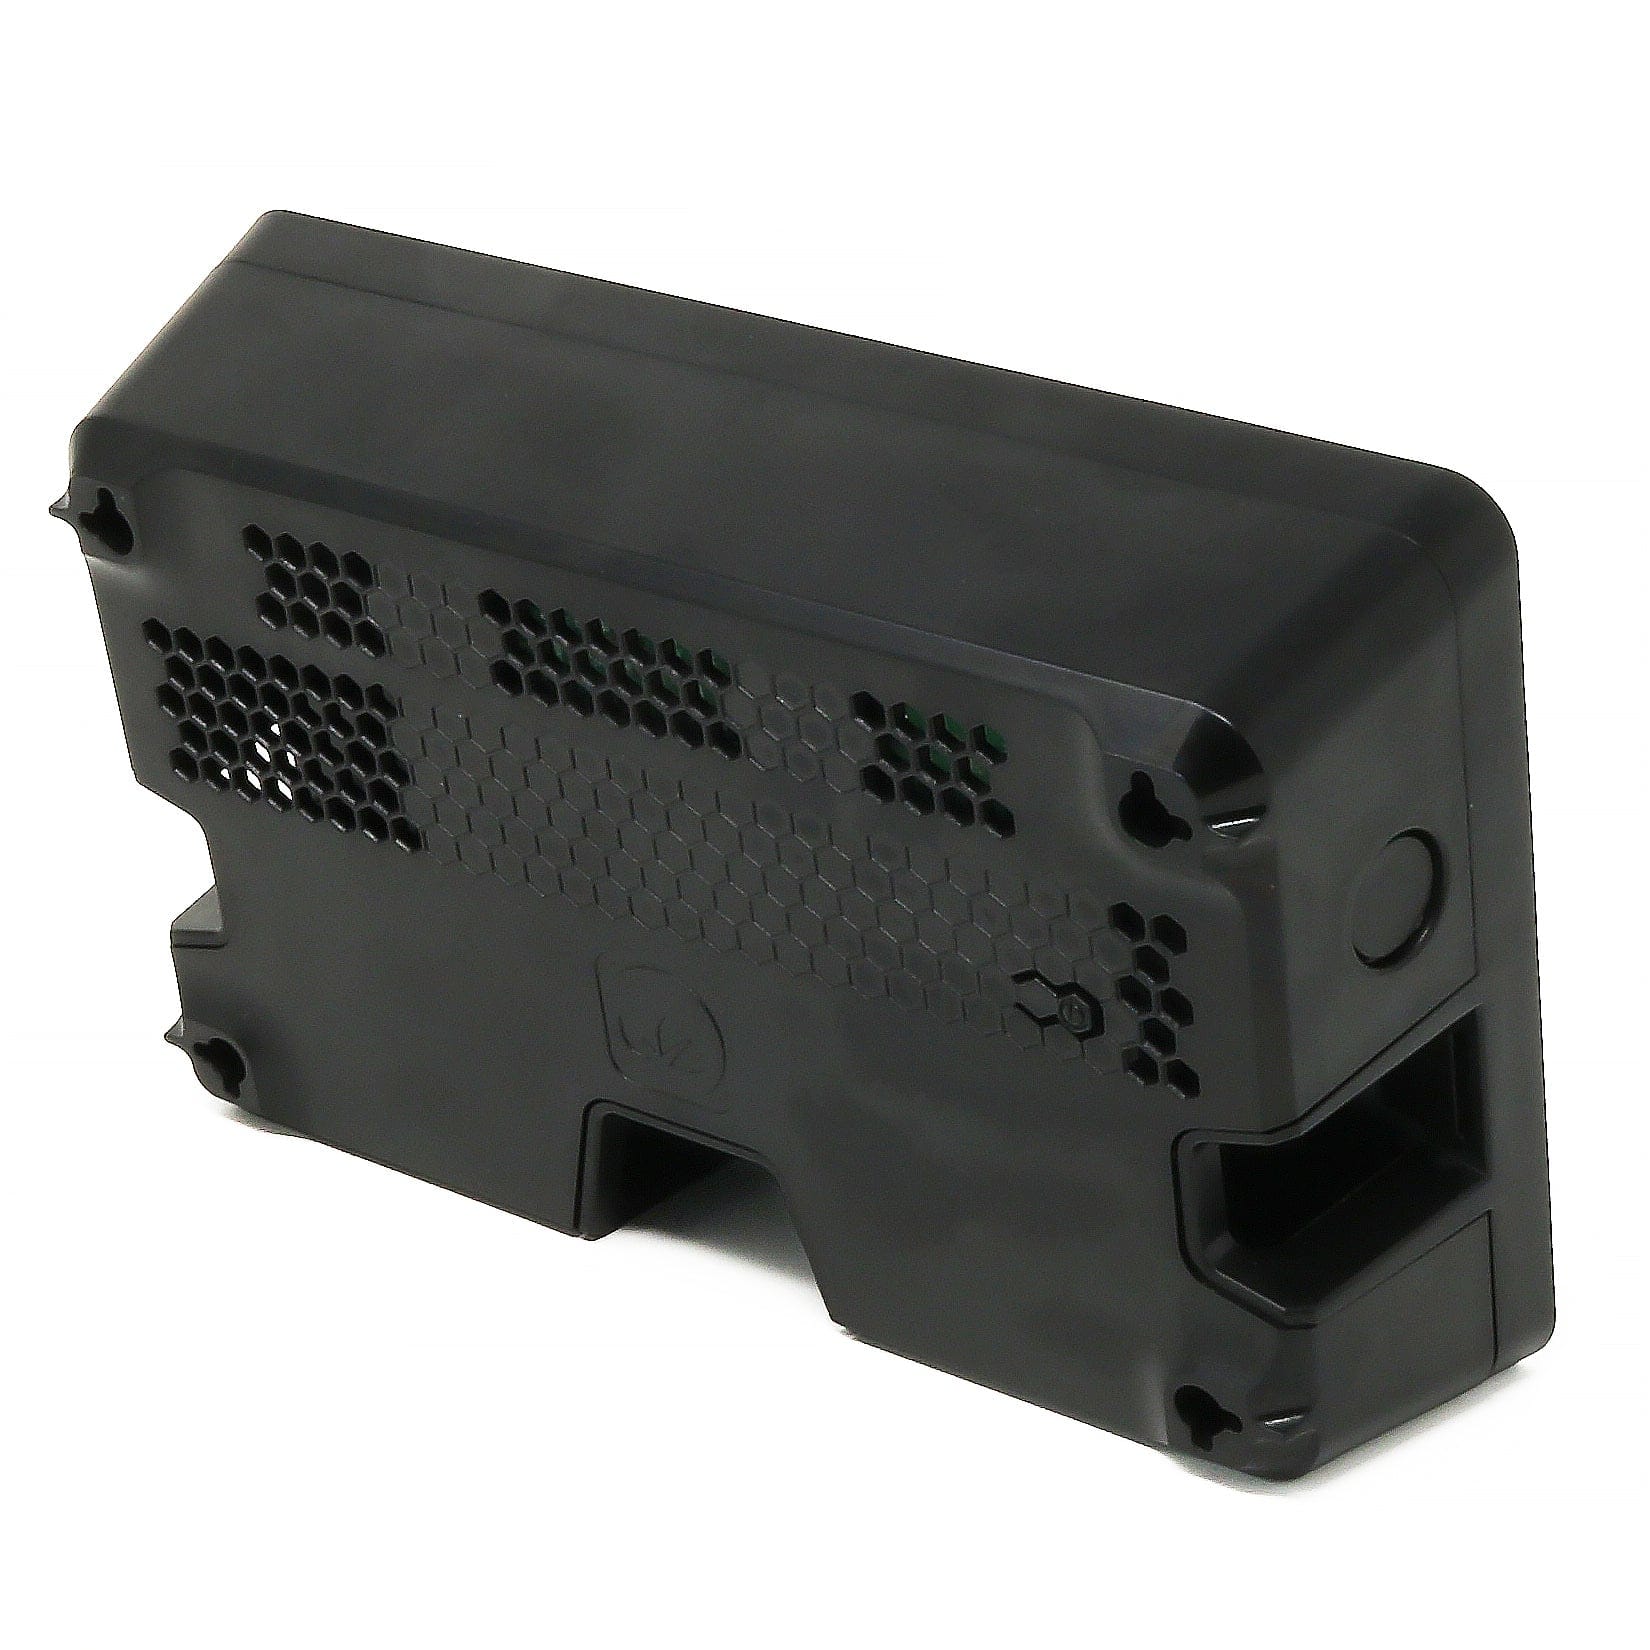
With your cables and accessories fitted, it's time to fit the rear cover. The cover simply snaps on - just make sure you have it the right way up.
If you're wall/panel mounting, secure the cover to the wall using the four corner mount holes (screw by hand or with a very light drill clutch setting to avoid breaking the plastic) , then press the main body against in the same way - ensuring it clicks into place.

To release the cover, gently press the two side buttons in and lift the cover away. You don't need to press hard, just enough to release the catches.

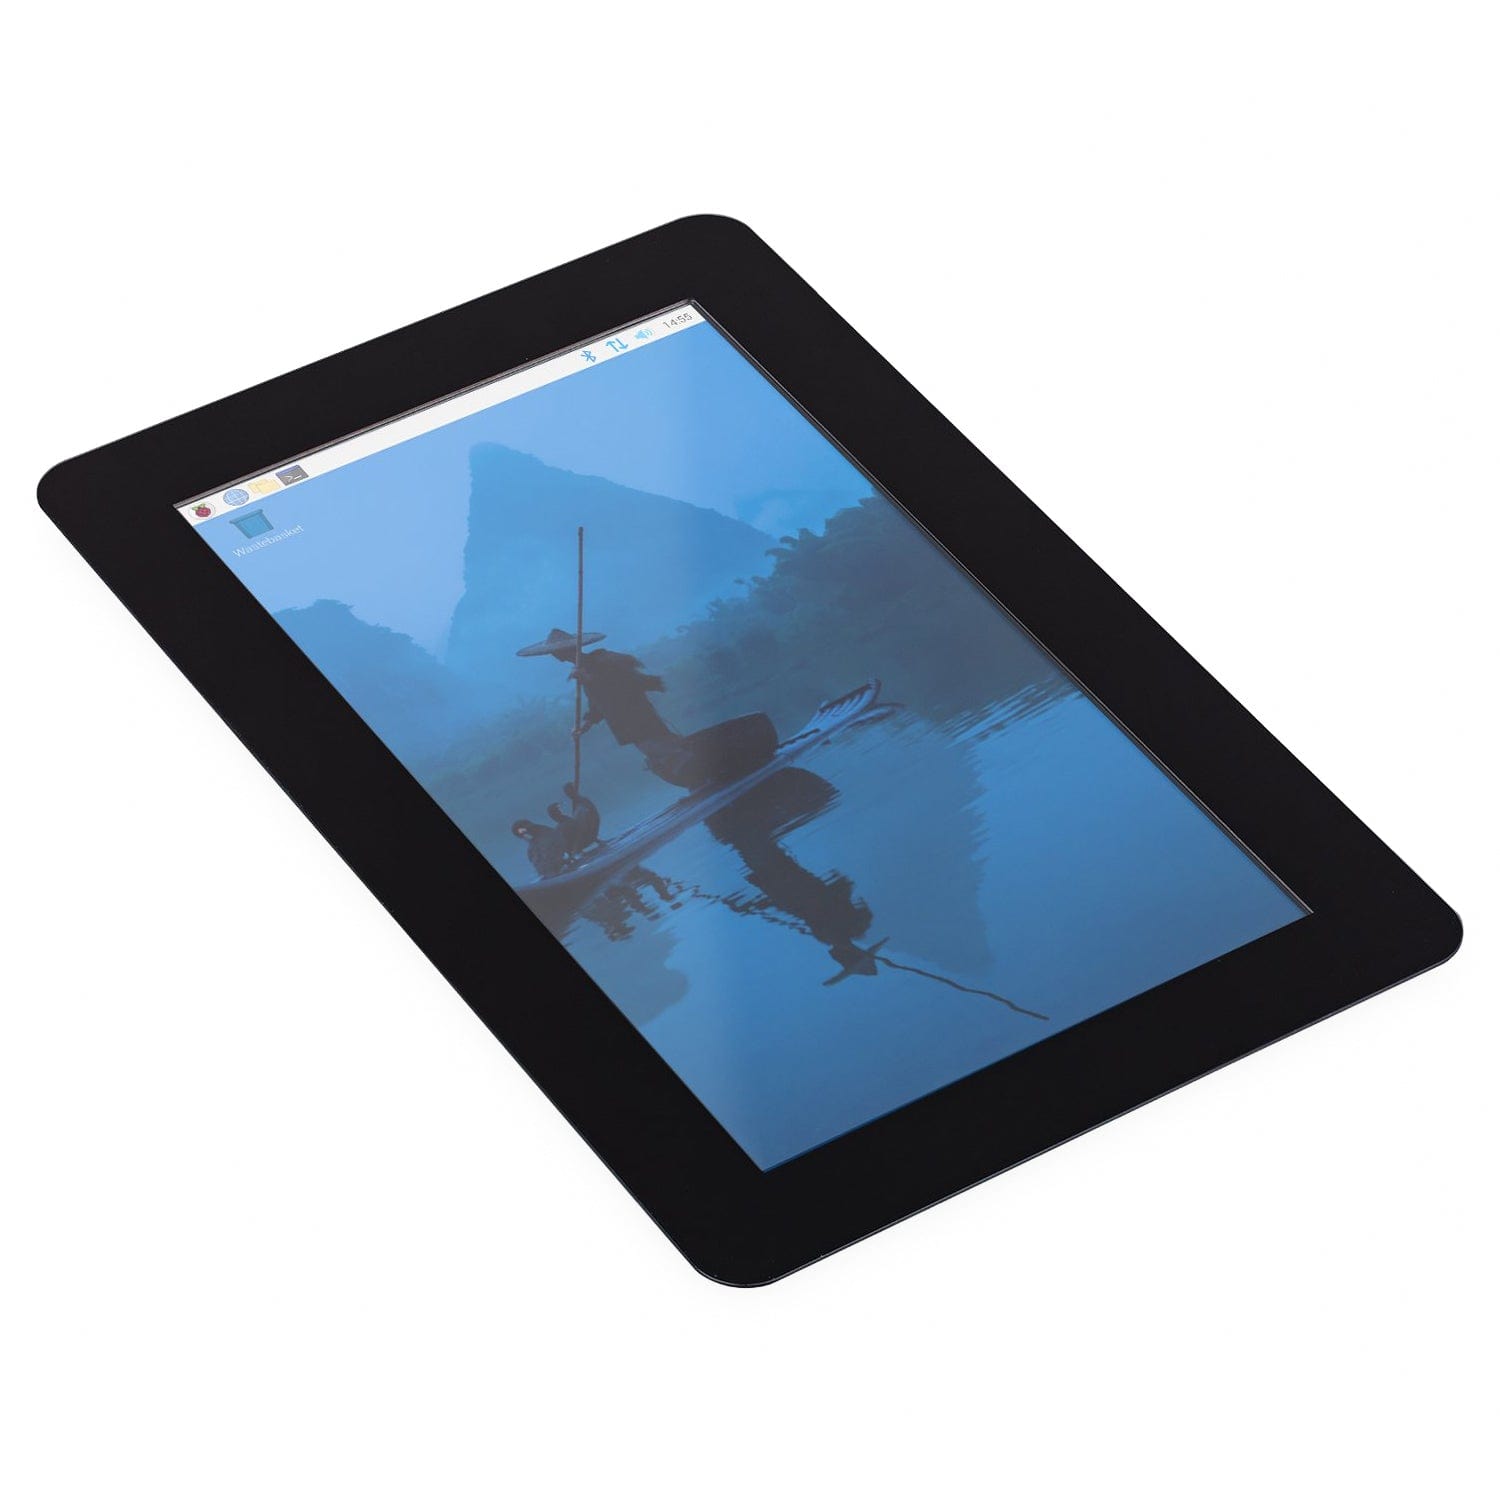
Job done!
That's it, all done!
We look forward to seeing what projects you make with this versatile enclosure. if you get stuck or have any issues, either leave a comment here or get in touch with our friendly support team.

5 comments
Jimbob
Got the white case. The pictures you have up are probably of a different revision of the case because as another poster mentioned the holes are in a different place.
I used the manufacturer’s PDF instructions and everything fits. White looks halfway decent. Thanks
Got the white case. The pictures you have up are probably of a different revision of the case because as another poster mentioned the holes are in a different place.
I used the manufacturer’s PDF instructions and everything fits. White looks halfway decent. Thanks
The Pi Hut
@Jo To – Not yet, and we’re not aware of any 5" model planned by OneNineDesign, however we have some options from KKSB coming to the store soon.
@Jo To – Not yet, and we’re not aware of any 5" model planned by OneNineDesign, however we have some options from KKSB coming to the store soon.
Jo To
Is there a version available for the 5” screen please?
Is there a version available for the 5” screen please?
The Pi Hut
@Bill Lewsey – It’s likely just a misunderstanding on the assembly – drop our support team a message via support.thepihut.com and they will help you with that (and will happily replace it if you have a faulty unit).
@Bill Lewsey – It’s likely just a misunderstanding on the assembly – drop our support team a message via support.thepihut.com and they will help you with that (and will happily replace it if you have a faulty unit).
Bill Lewsey
Hi,
I’ve just received one of your covers for the 7 inch touch screen and the mounting holes for the screen don’t line up at all, not even nearly, any ideas
Hi,
I’ve just received one of your covers for the 7 inch touch screen and the mounting holes for the screen don’t line up at all, not even nearly, any ideas