How to assemble the RTK motor board
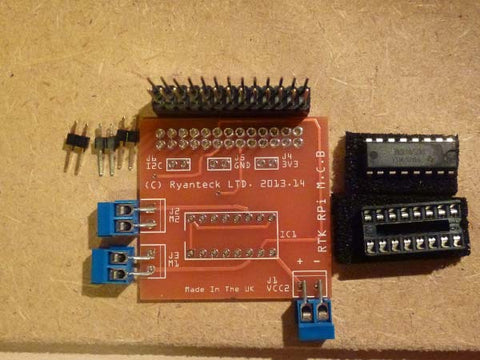
Assembly Instructions First start by confirming that you have all of the pieces out of the pack, it should contain: 1 X RTK-000-001 PCB 1 X SN754410NE (The IC) 1 X 16 Pin IC Socket 1 X 26 extra tall 26 way pin header 3 X Two Way terminal screw blocks 3 X Two Pin Headers

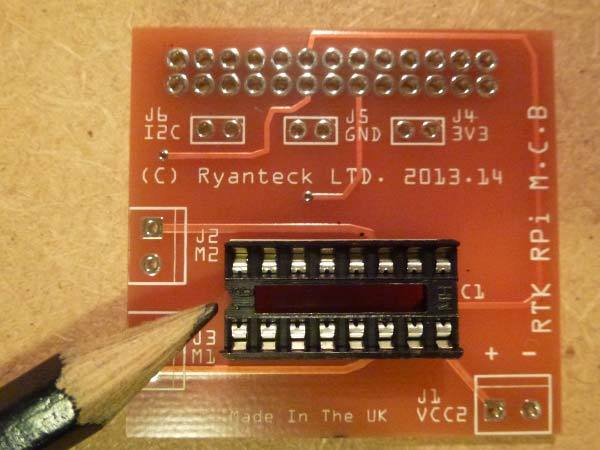
Soldering the IC Socket First start by soldering the IC socket to the board, to do this insert the socket in with the notch lining up on the PCB, turn upside down and then solder, the foam from the socket can help to keep the PCB stable while soldering as seen below.


Soldering the terminal blocks Next solder the terminal blocks, place the blocks in with the terminals pointing outwards and then solder one pin of each socket. By doing only one pin you are able to check that they all are flush to the board and if not amend by heating the pin up and then pushing the terminal block in place. 

Soldering the 26 Pin GPIO header Now we need to solder the hardest part of the kit, the 26 Pin GPIO header, we find it easiest to first fit the GPIO header onto the Raspberry Pi and then solder two pins from oposite corners to make the board flat and hold it for the other 24 pins. After then solder all of the pins making sure you are careful not to cause a bridge or accidently melt another piece of the board. This will take time to get correct so do not rush this step otherwise there is a high chance you can make a mistake. Placing the pins ready and then soldering the top left and bottom right pins.


Soldering the harder bottom row and then the top row.


Soldering the 2 Pin Headers (Optional) If you wish to also have the extra I2C, GND and 3V3 Pins then you can solder them on now, this may be tricky as you will need something to help keep the pins in place, a sponge normally can help or a piece of wood.


Fitting the IC Into the Socket Finally take the IC out of its foam and then insert into the socket, you will require to bend the pins slightly to fit it in. Make sure you fit it in with the notch aligning the notch on the socket (Closest to the two terminal blocks if the IC socket has been accidently put in the wrong way round). Wiring the board The battery pack goes into the terminal block in the bottom right labeled VCC2 with the Positive wire in the left side and Negative in the Right side. Then use a small phillips screwdriver to screw the terminal block shut to hold the cables in place. The motors are able to go into the motor sockets either way round, once programmed if you find a motor is going the wrong direction it can be solved by switching the motor's wires around in the same socket. Other Notes It is not recommended to put the black conductive foam from the IC socket and the IC on the board to protect any pins. The foam is conductive so could cause issues to the board or your Raspberry Pi. You can store with the foam on when not in use and when there is no power applied as long as there is no foam when power is applied. This board has been tested up to 12V at 0.5A a motor, even tough the chip is capable of more these are the guidelines we recommend. The motors we provide with 4AAs work perfectly fine with the chip getting warm, any higher voltages or ampage may cause the chip to get extremely hot.


