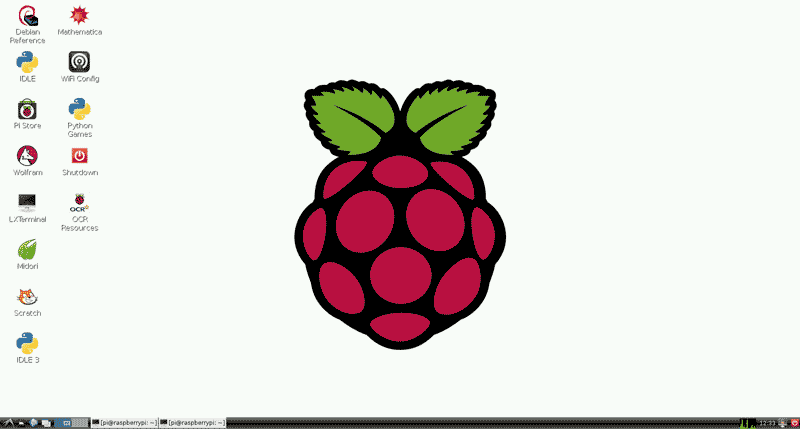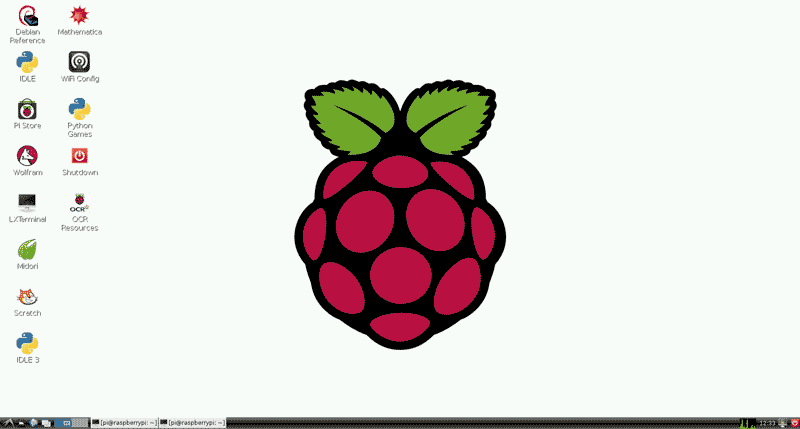
How To Take Screenshots On The Raspberry Pi

Installation Installation is simple, make sure you're connected to the internet and run the following commands
sudo apt-get update sudo apt-get install scrot
How To Use Once installed, to take a screenshot simply open up LXTerminal from the GUI and type the following. This will create your screenshot in your default user directory (usually /home/pi/)
scrot
If you want to add a delay before the screenshot is taken (for example if you want to close some windows, use the command below
scrot -d 10
If you want the screenshot to be saved in a different location, with a different name or in a different extension you can simply add the path, file name and extension to the command
scrot /home/pi/myscreen.png
Advanced Options Below is a list of advanced options available for scrot.


