Raspberry Pi Breadboard Assembly Instructions
The laser-cut parts of the case are protected by an adhesive film which needs to be removed before assembly.
Bill of Materials
- Raspberry Pi B+/2/3
- Half-Size Breadboard
- 5x Black Acrylic Pieces
- 2x Clear Acrylic Pieces
- 6x M3 x 25mm Nylon Screws
- 6x M3 Nylon Nuts
NOTE: Acrylic is a hard and stiff plastic which is sensitive to stress concentrations and shares a certain level of fragility with glass. Acrylic can scratch easily and should be cleaned with a mild solution of dish detergent and warm water. Never use cleaners unsuitable for acrylic. Never use a dry, abrasive cloth.
Here are the parts from the case kit:

Follow these images checking parts and orientation of the acrylic pieces. You will see a before and after image for each step. Make sure you have all the parts ready, shown in the before picture.

Start by stacking layers numbered 1,2 and 3. Layer 1 (the clear plate) should be placed down first.


Now place the Pi onto the stack. Layer 3 should sit around the Pi.


Stack the remaining plates in the order they have been numbered, finishing with the clear plate on top.


With the stack complete, we can now insert the nylon screws into each of the 6 mounting holes. Once inserted, flip it all over and secure with the nylon nuts. You may wish to trim the nylon screws down. If so, just snip with a pair of scissors.


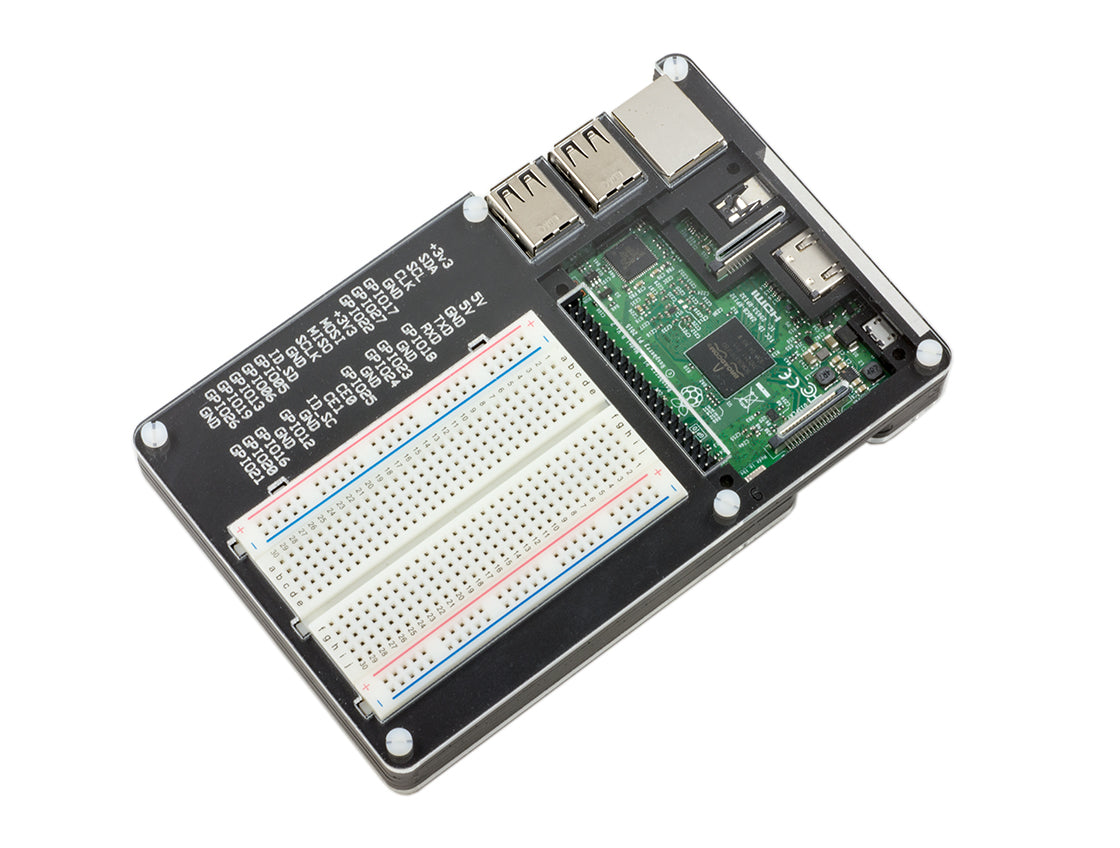
Last step is to simply add the breadboard, making sure the notches on the breadboard align with the cut outs in the case. You can optionally peel of the backing from the underside of the breadboard and stick it down for a more permanent solution.


