PicoUART6

8086SKU: 105883
Price:
Sale price £7
incl. VAT
excl. VAT
Stock:
In stock
Quantity:

Compatible with:

Awesome Extras

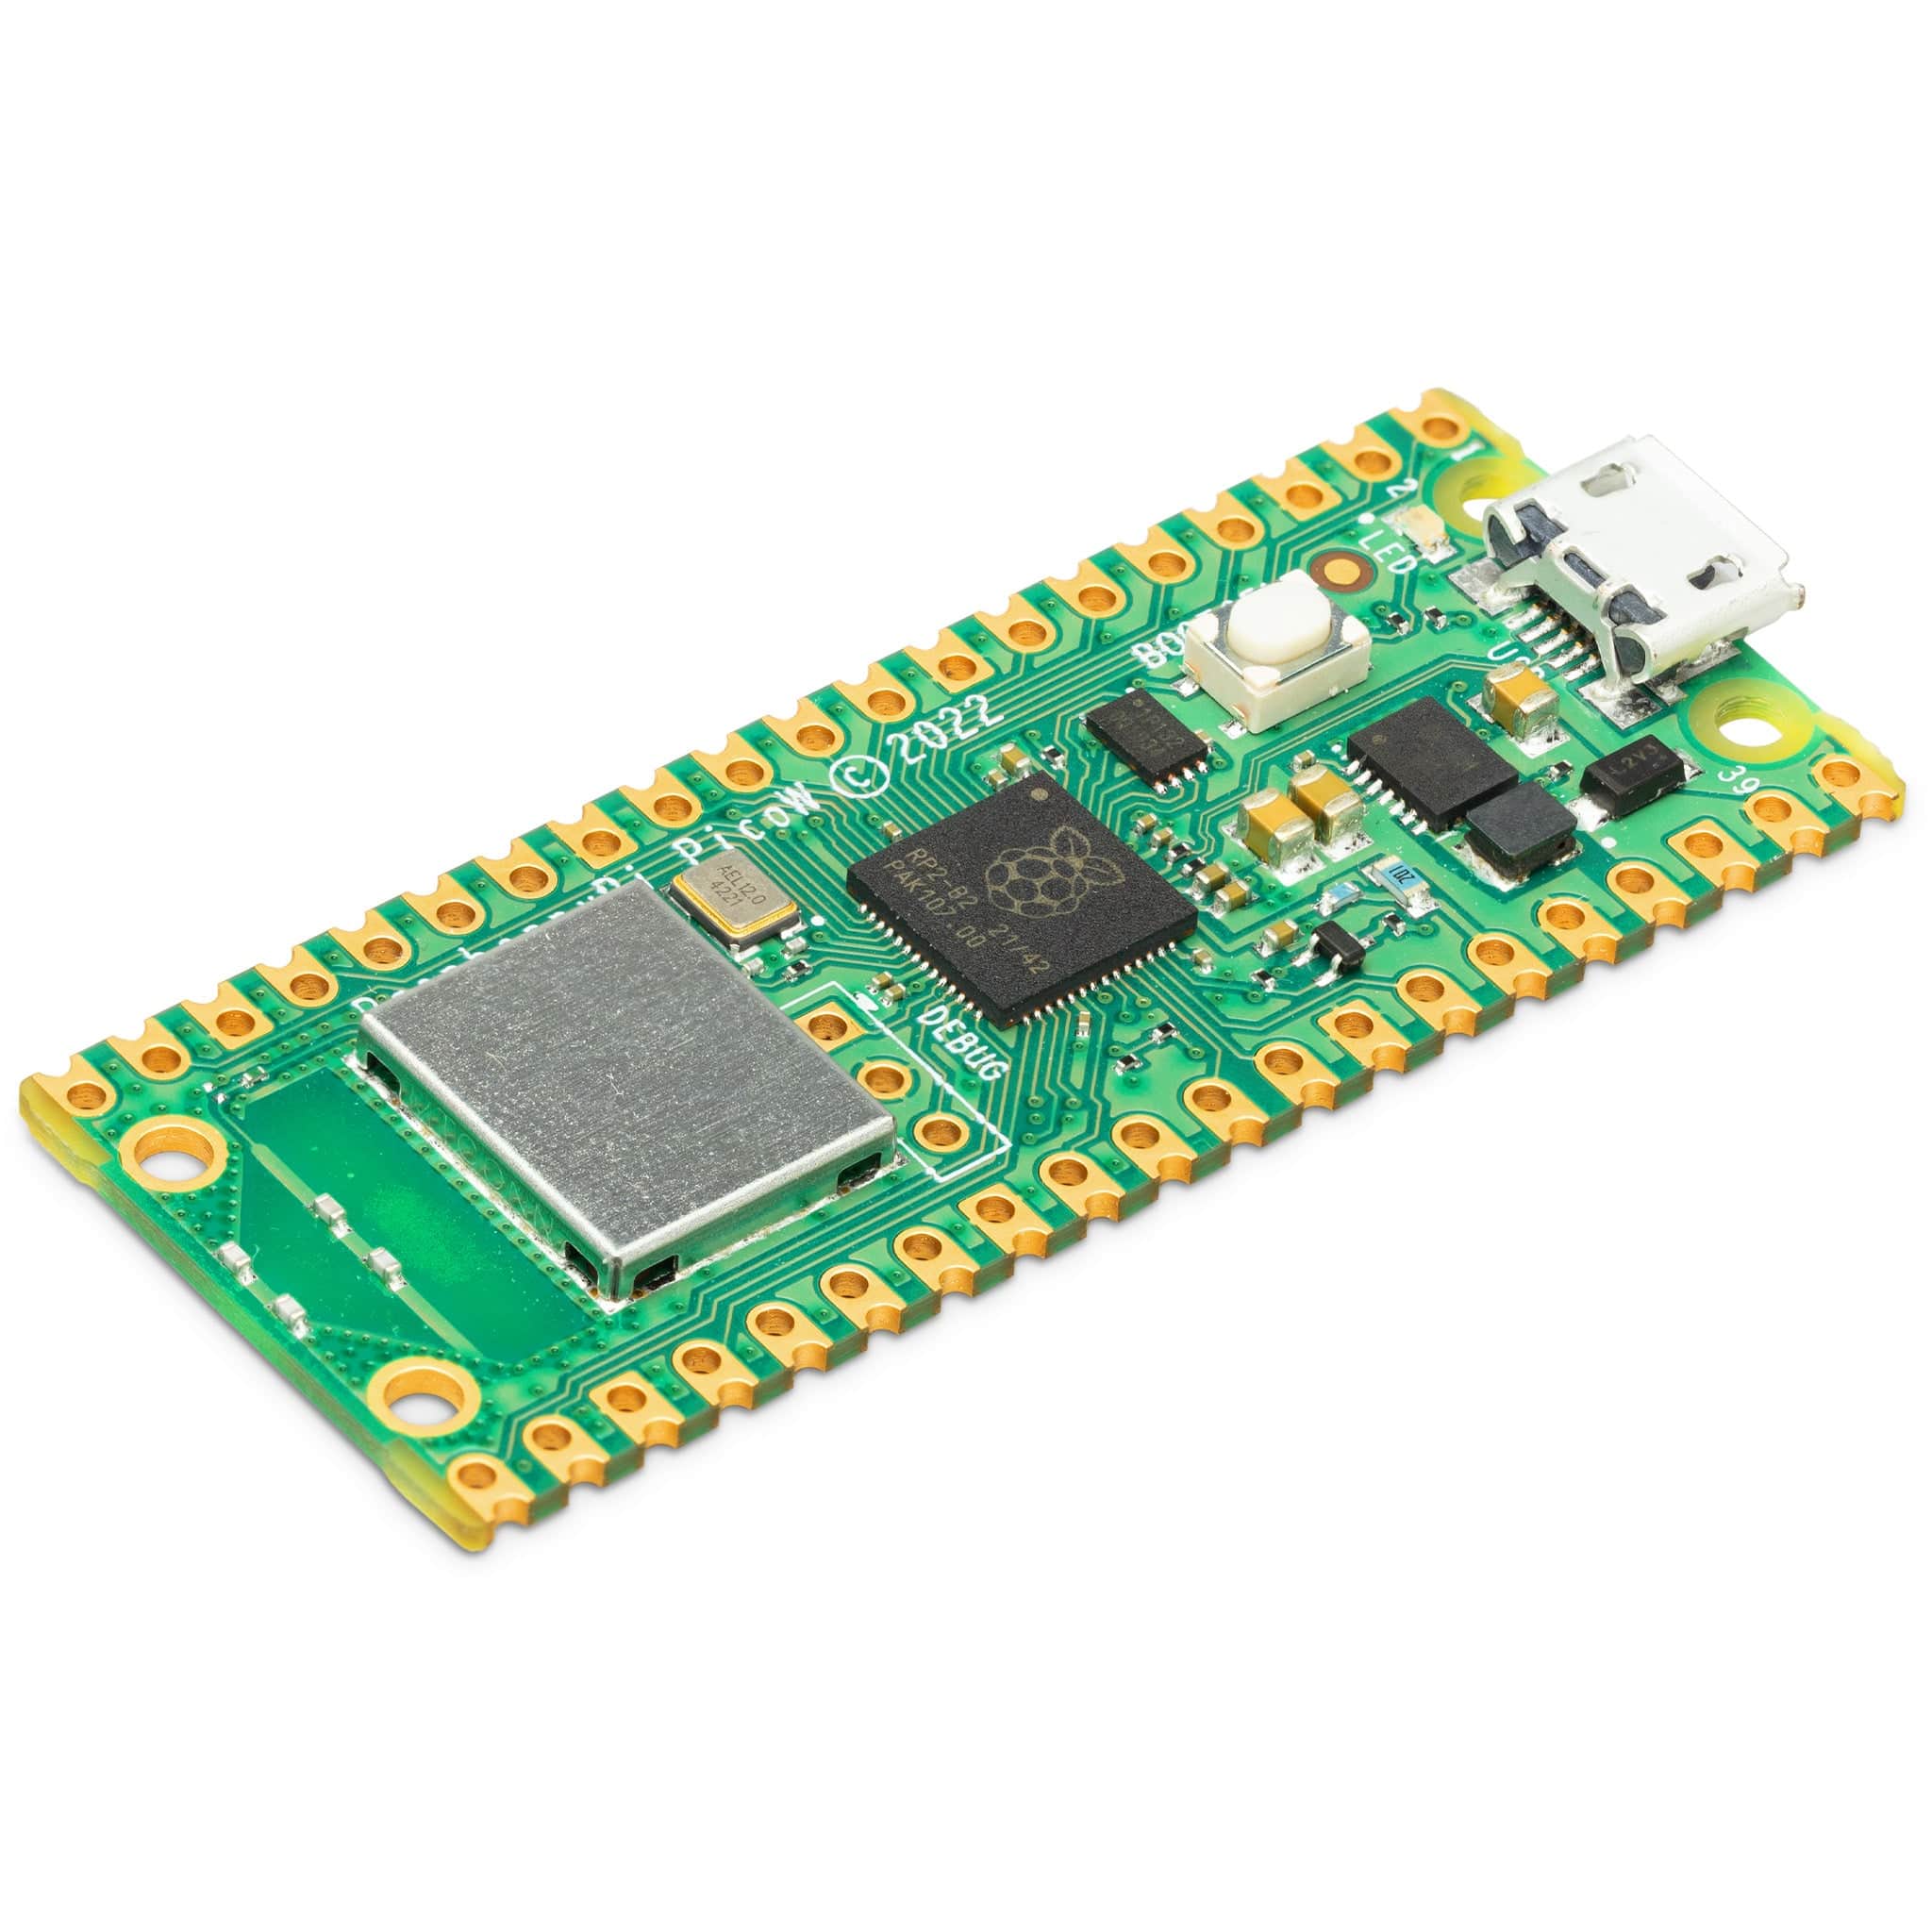
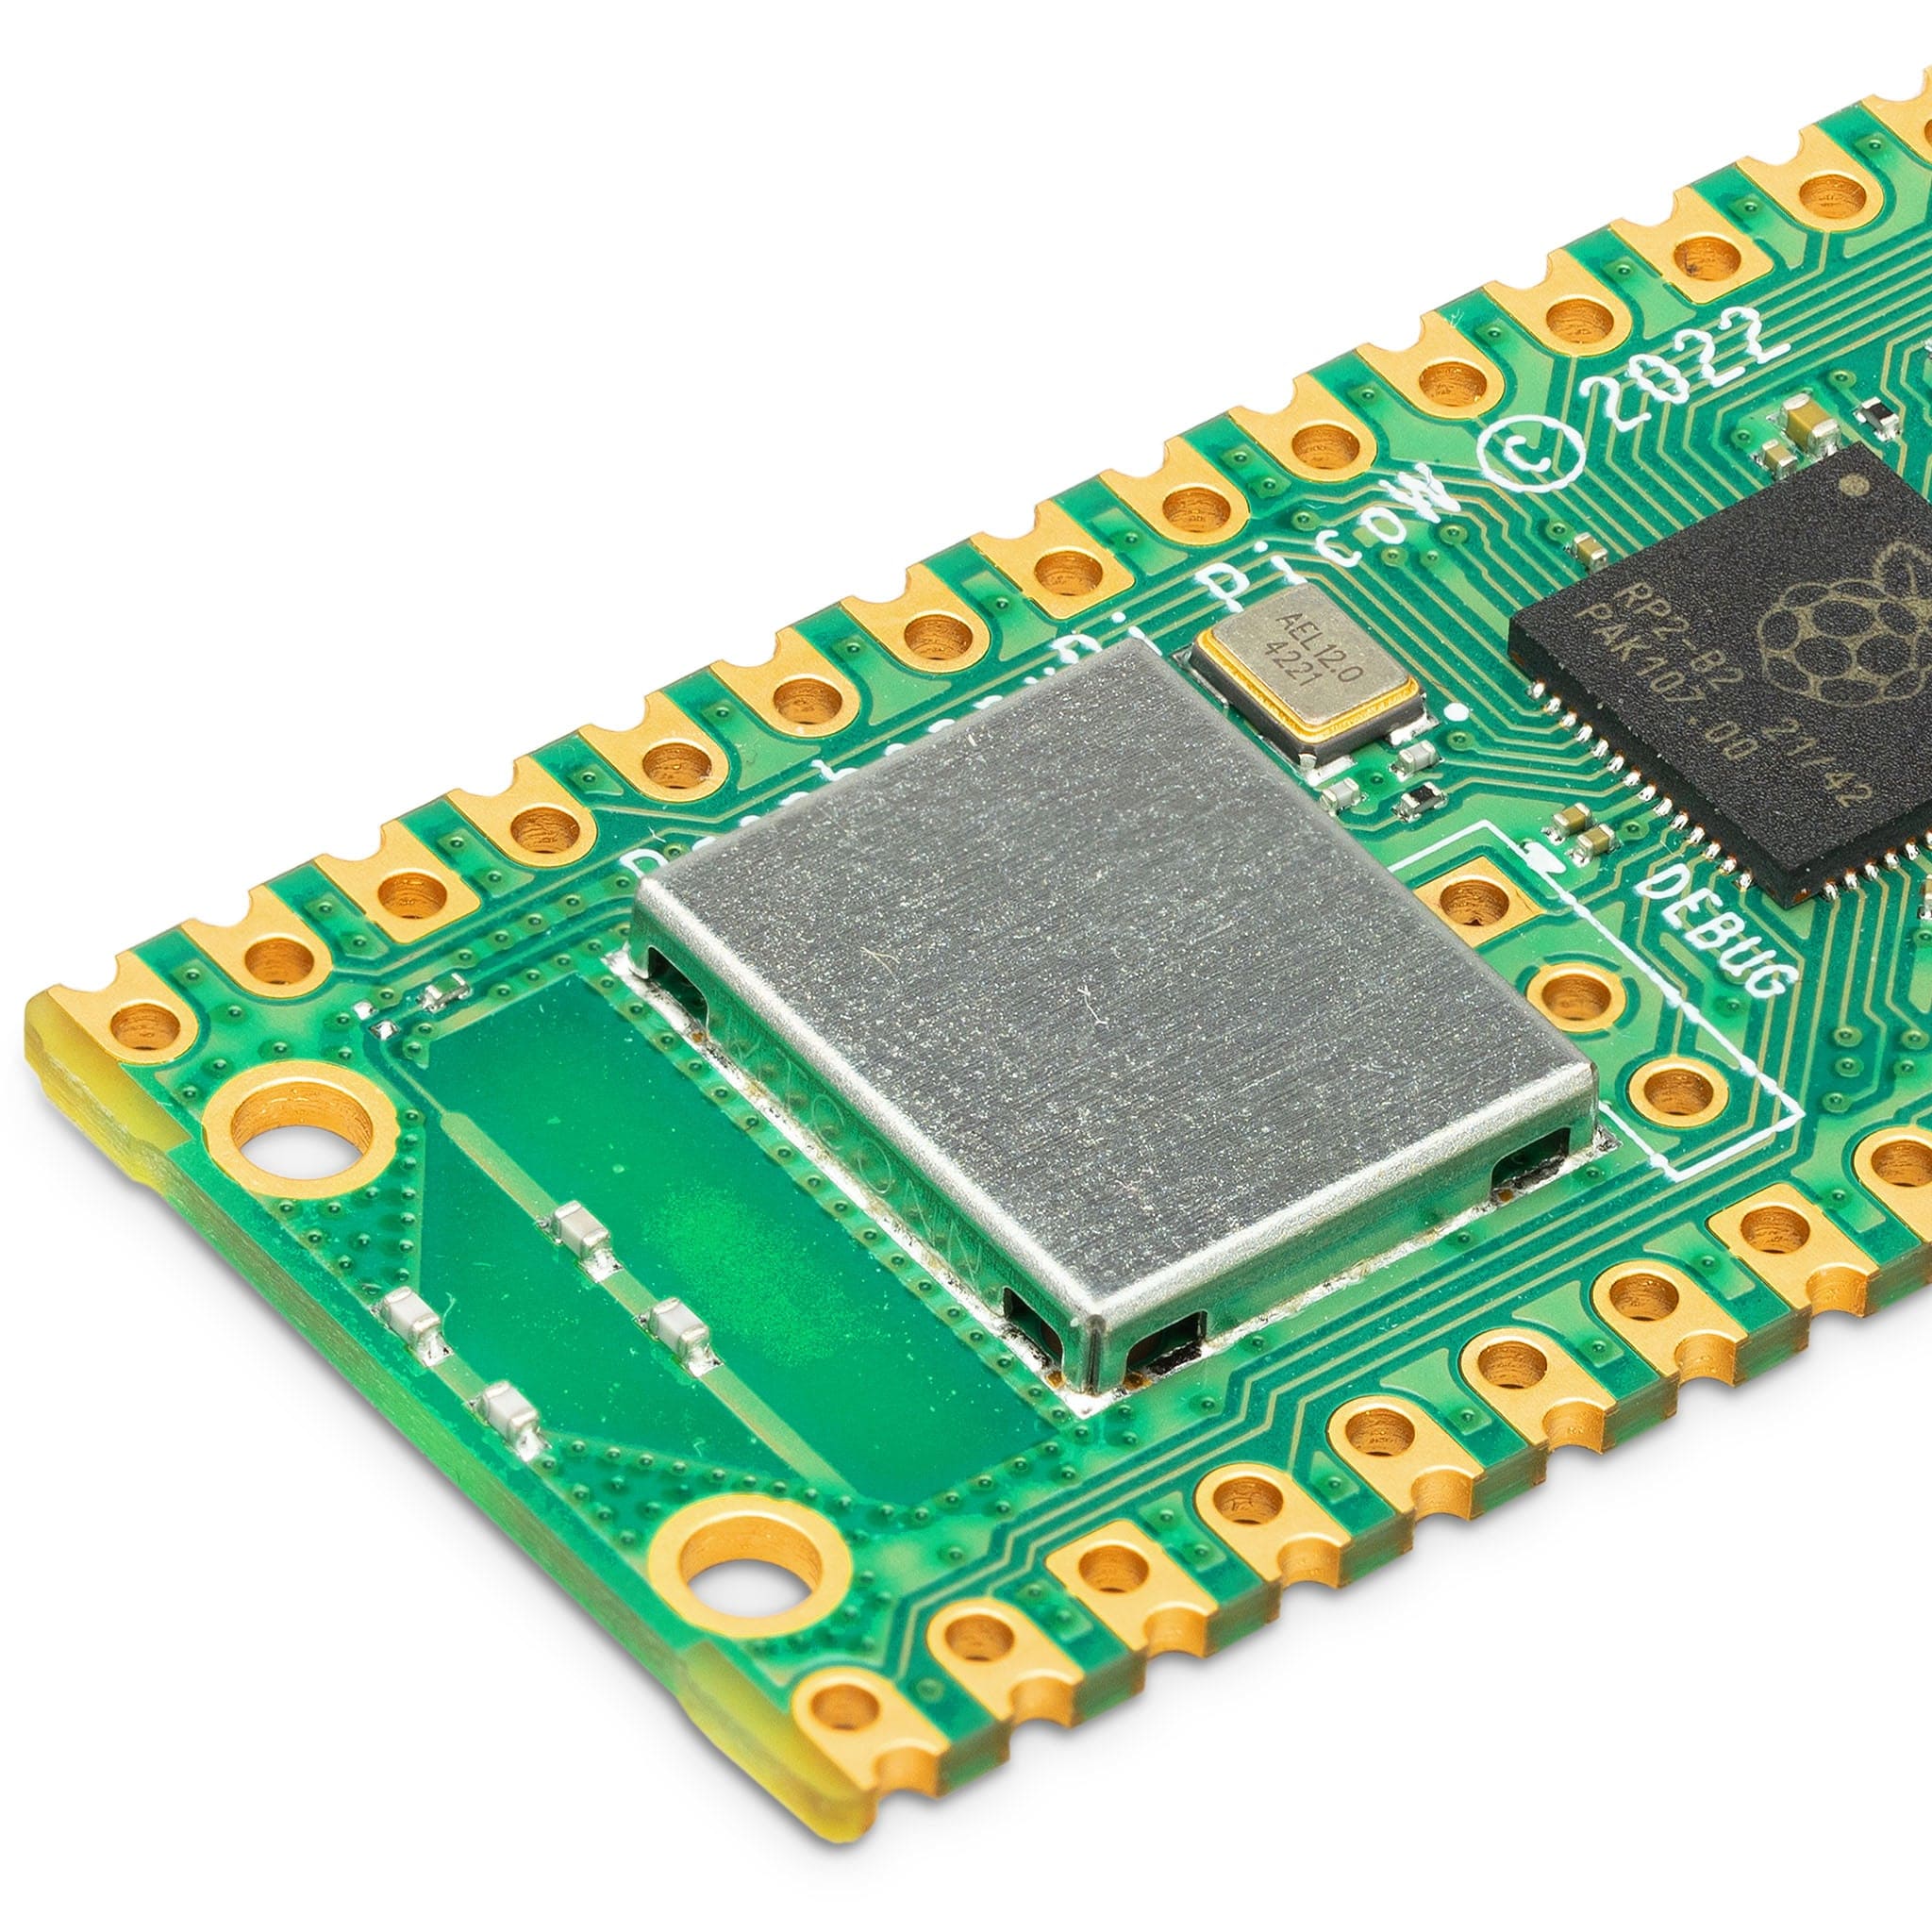
Raspberry Pi Pico W - The Pi HutRaspberry Pi Pico W - The Pi Hut
Raspberry PiRaspberry Pi Pico W
Sale priceFrom £5.80 incl. VAT excl. VAT
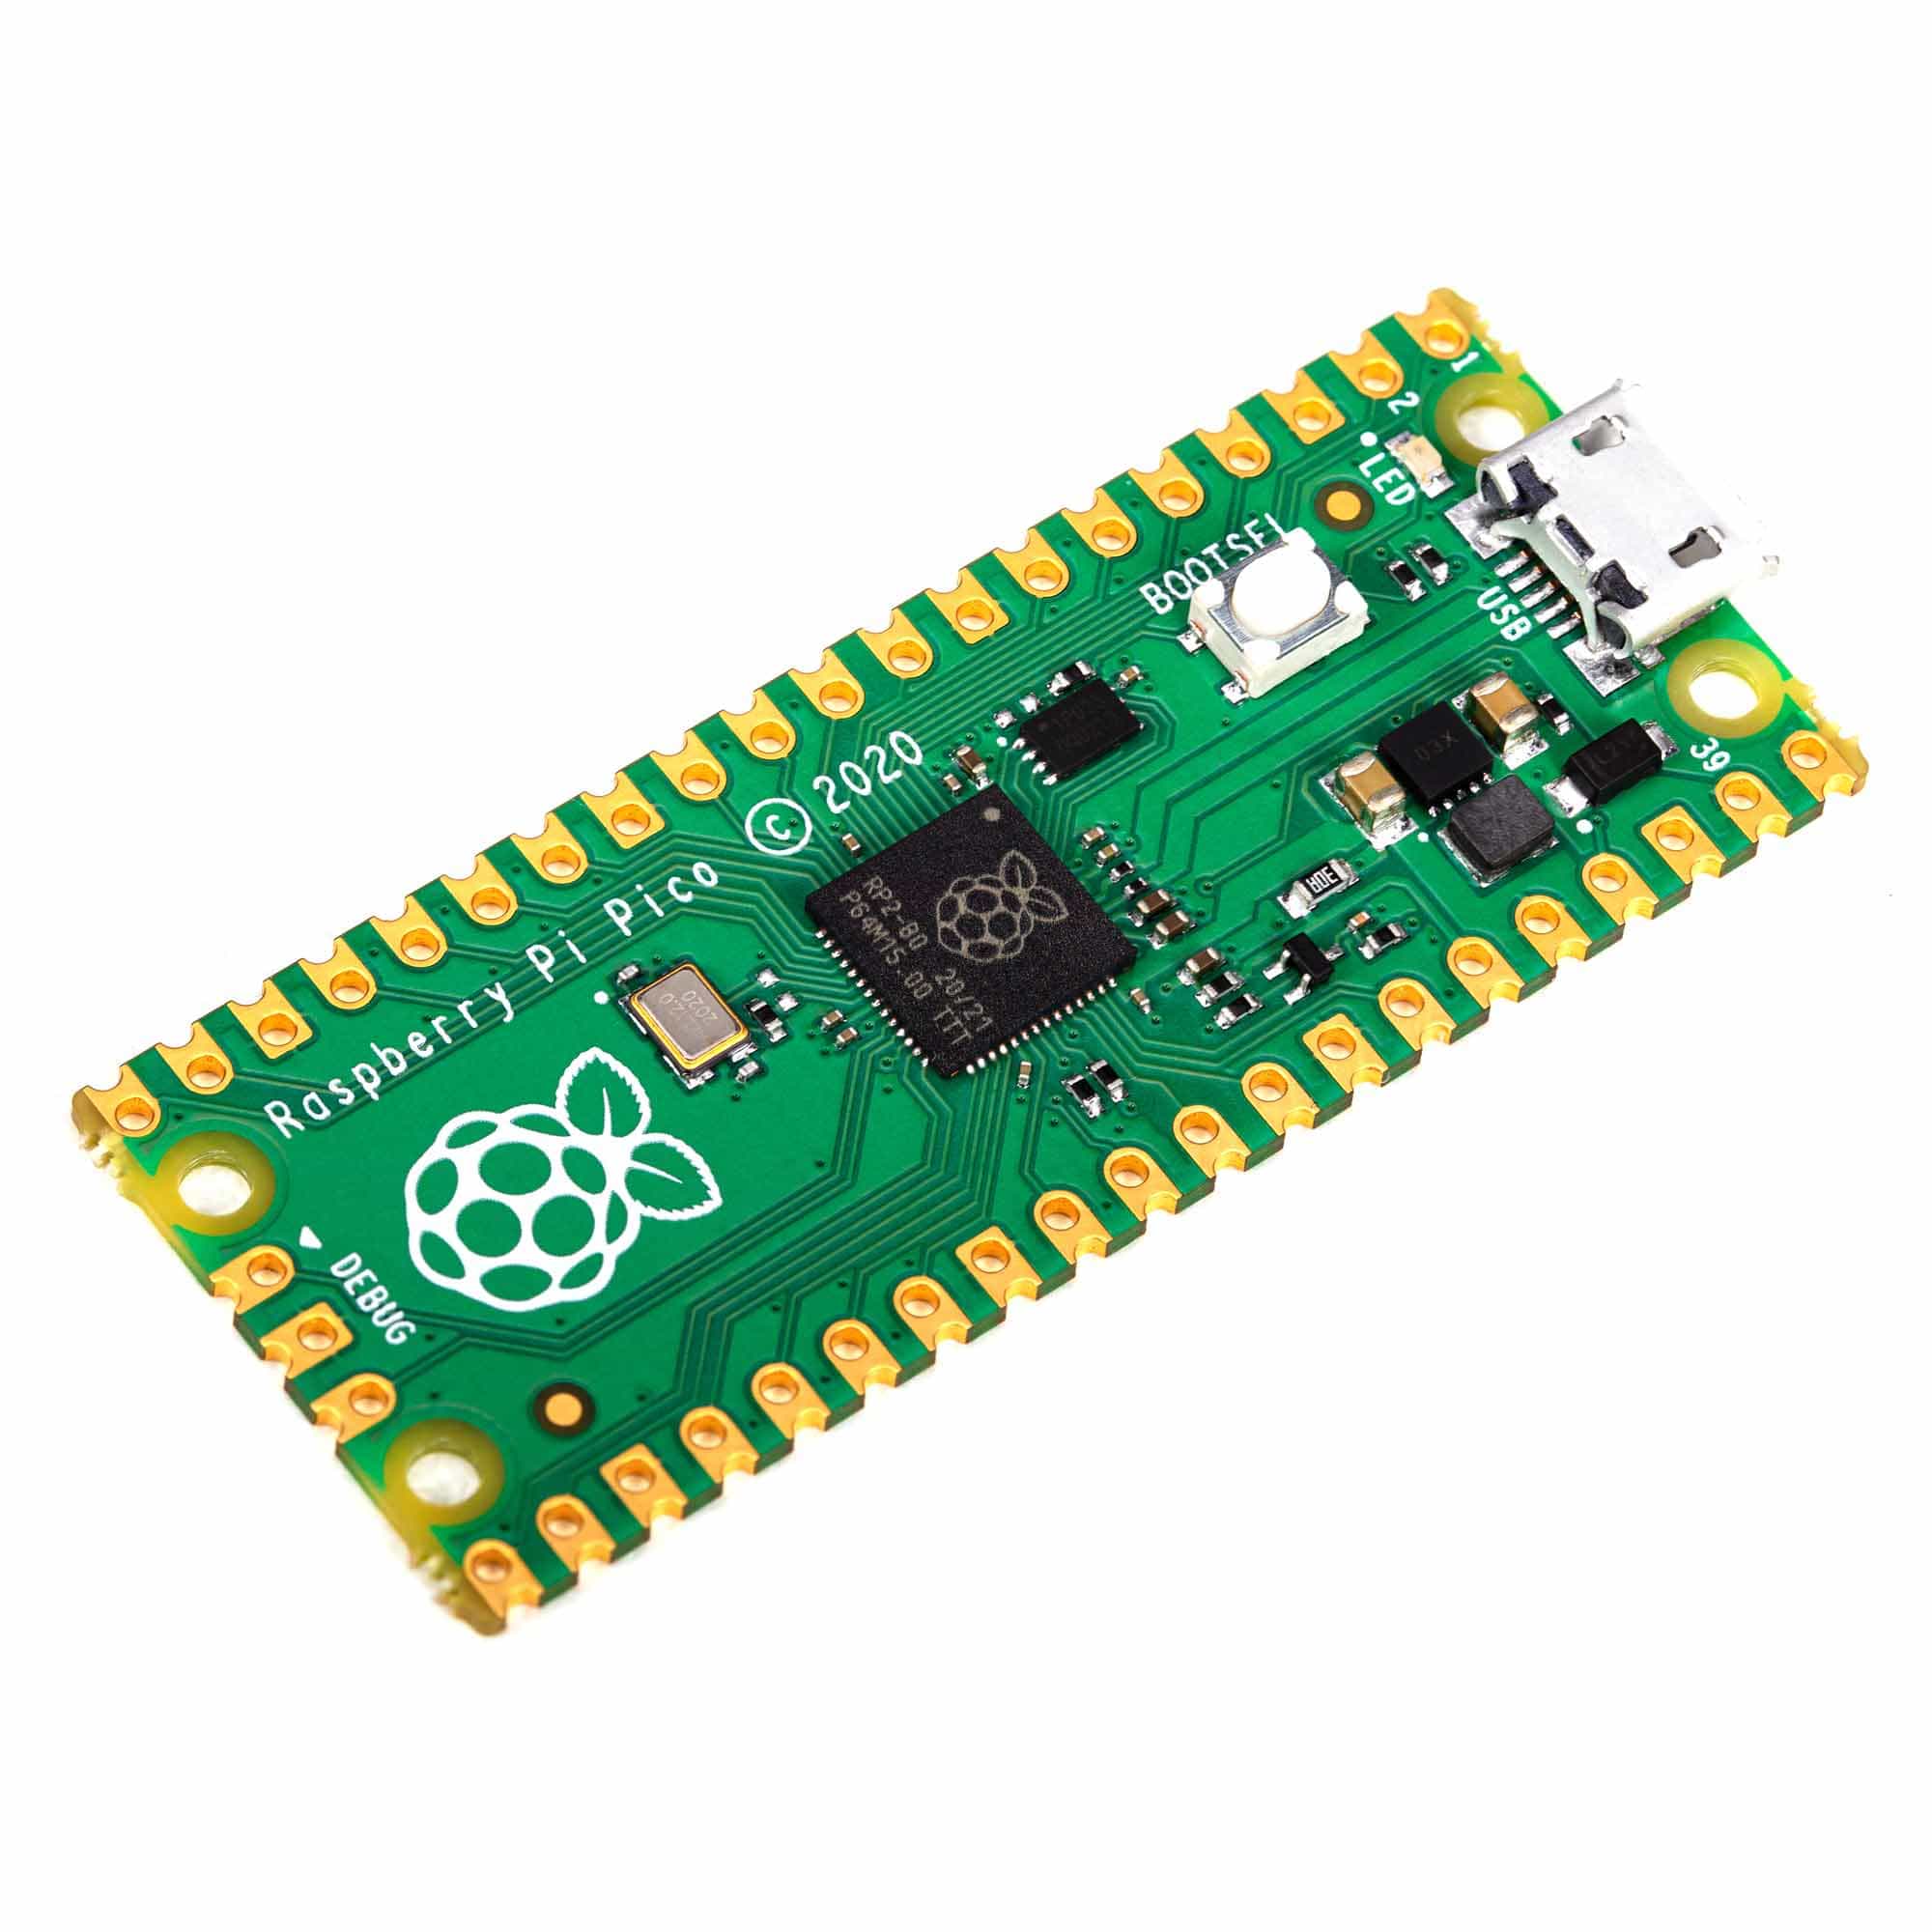
Raspberry Pi Pico - The Pi HutRaspberry Pi Pico - The Pi Hut
Raspberry PiRaspberry Pi Pico
Sale priceFrom £3.80 incl. VAT excl. VAT
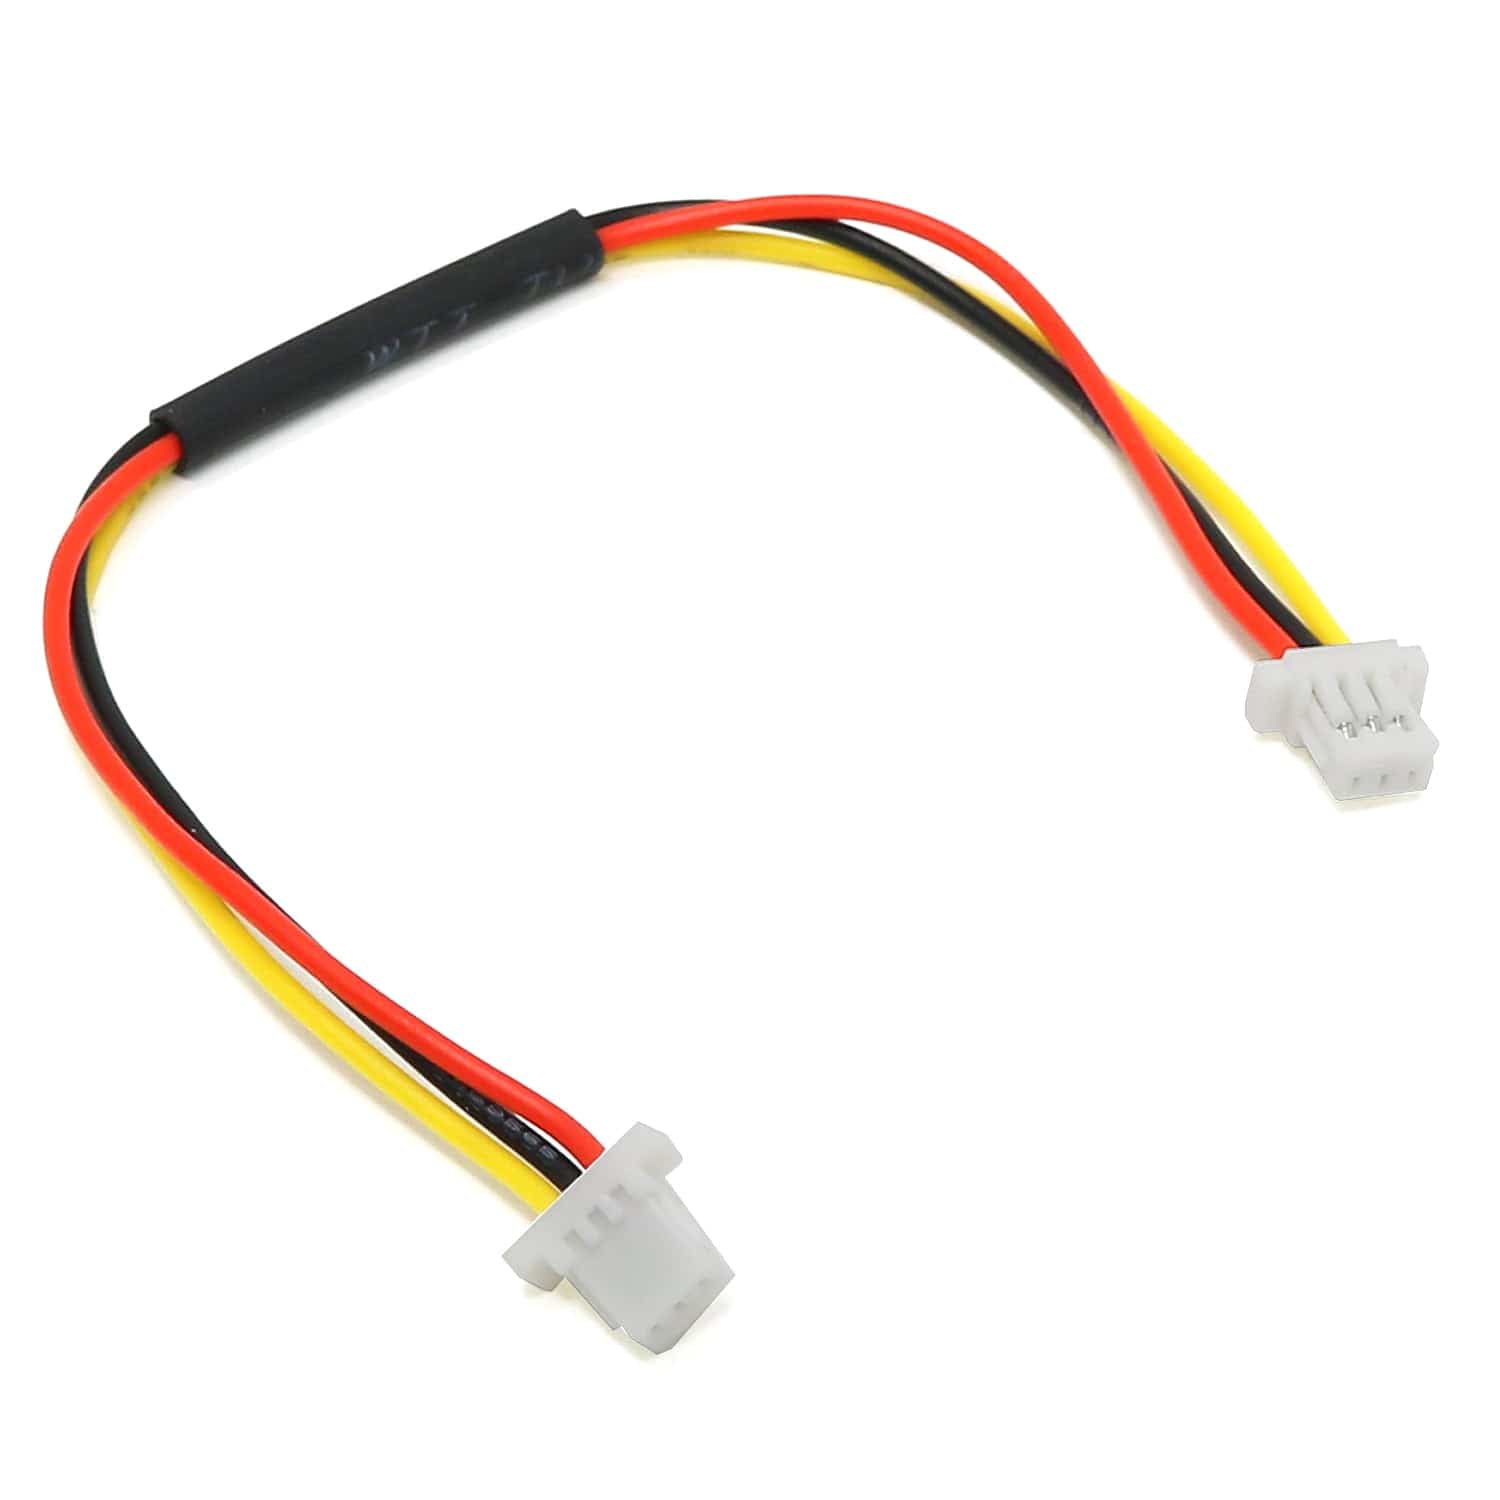
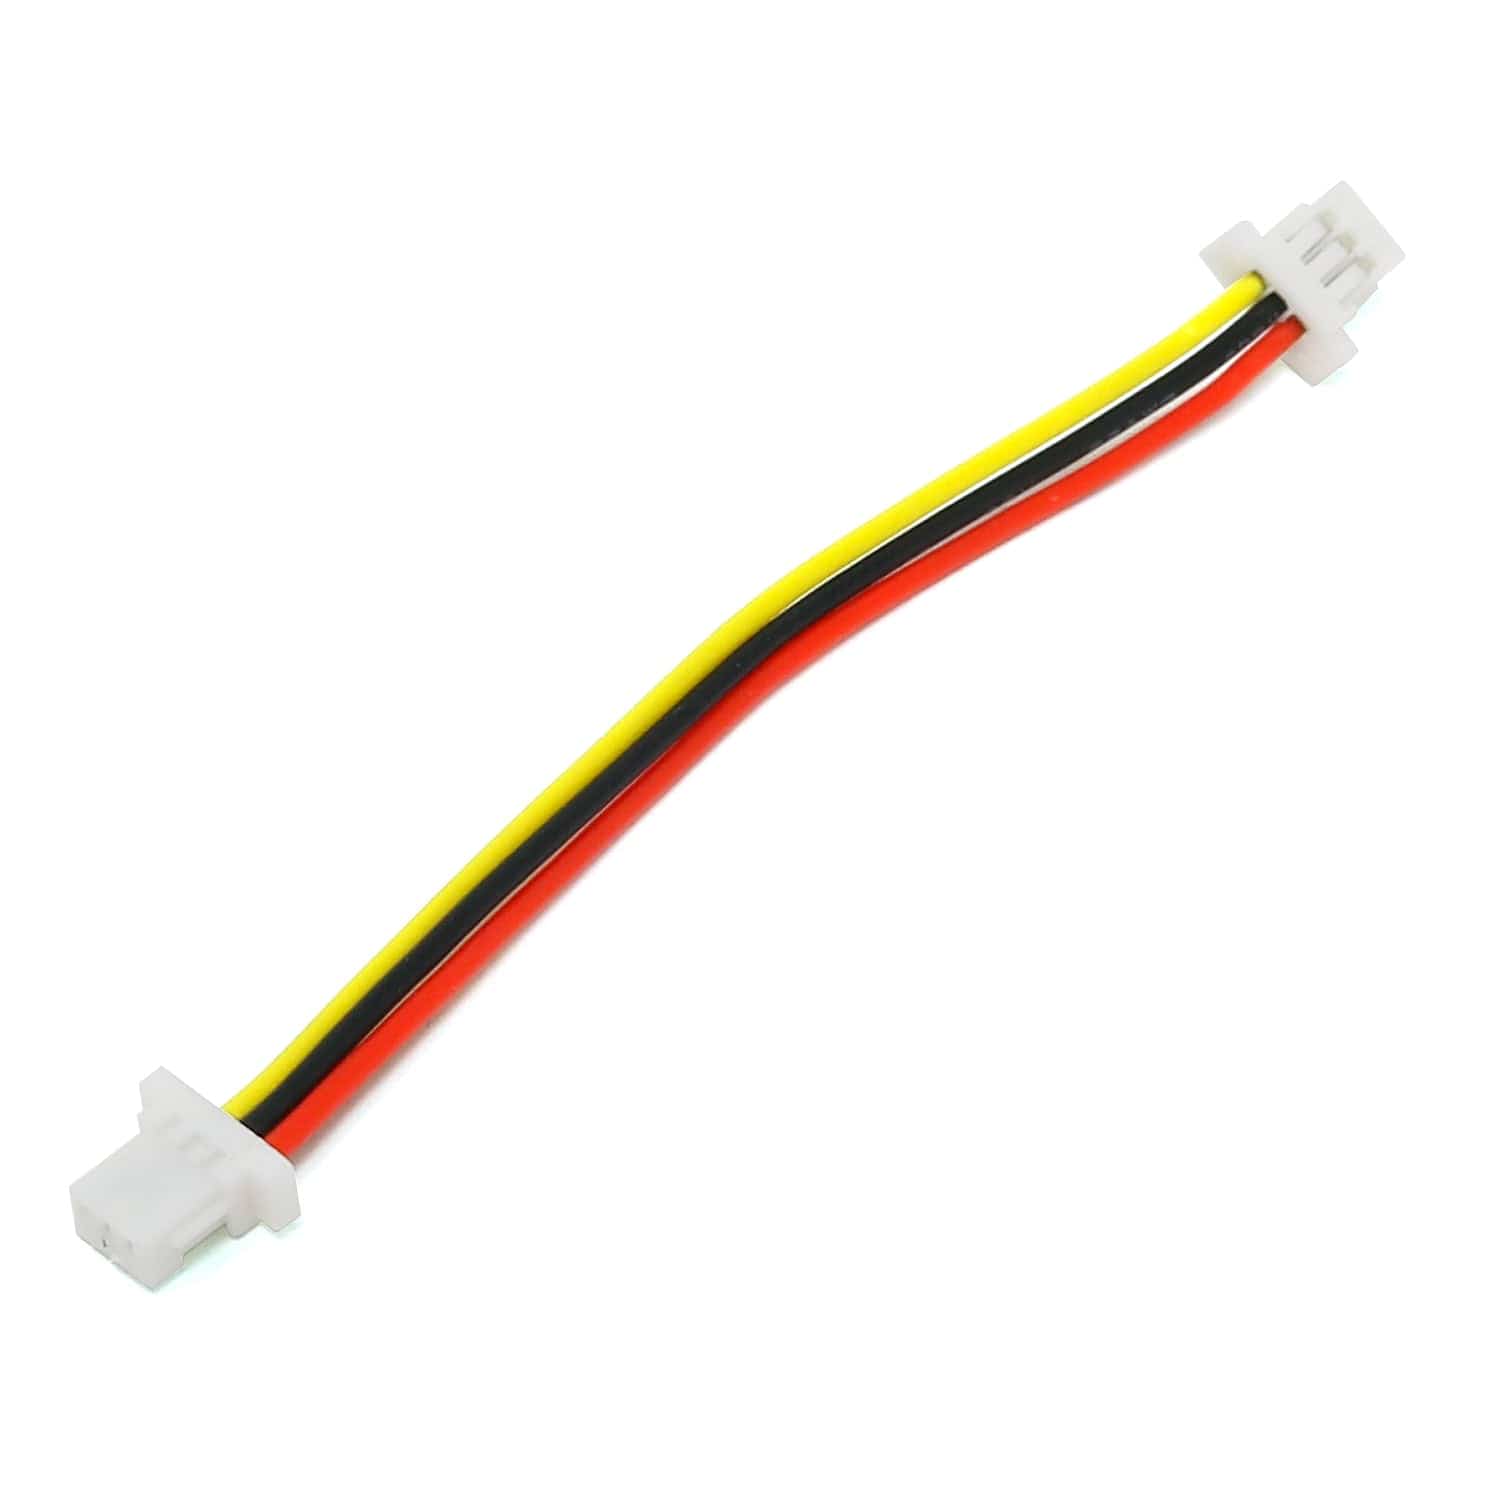
JST-SH to JST-SH 3-pin CableJST-SH to JST-SH 3-pin Cable
The Pi HutJST-SH to JST-SH 3-pin Cable
Sale priceFrom £0.80 incl. VAT excl. VAT
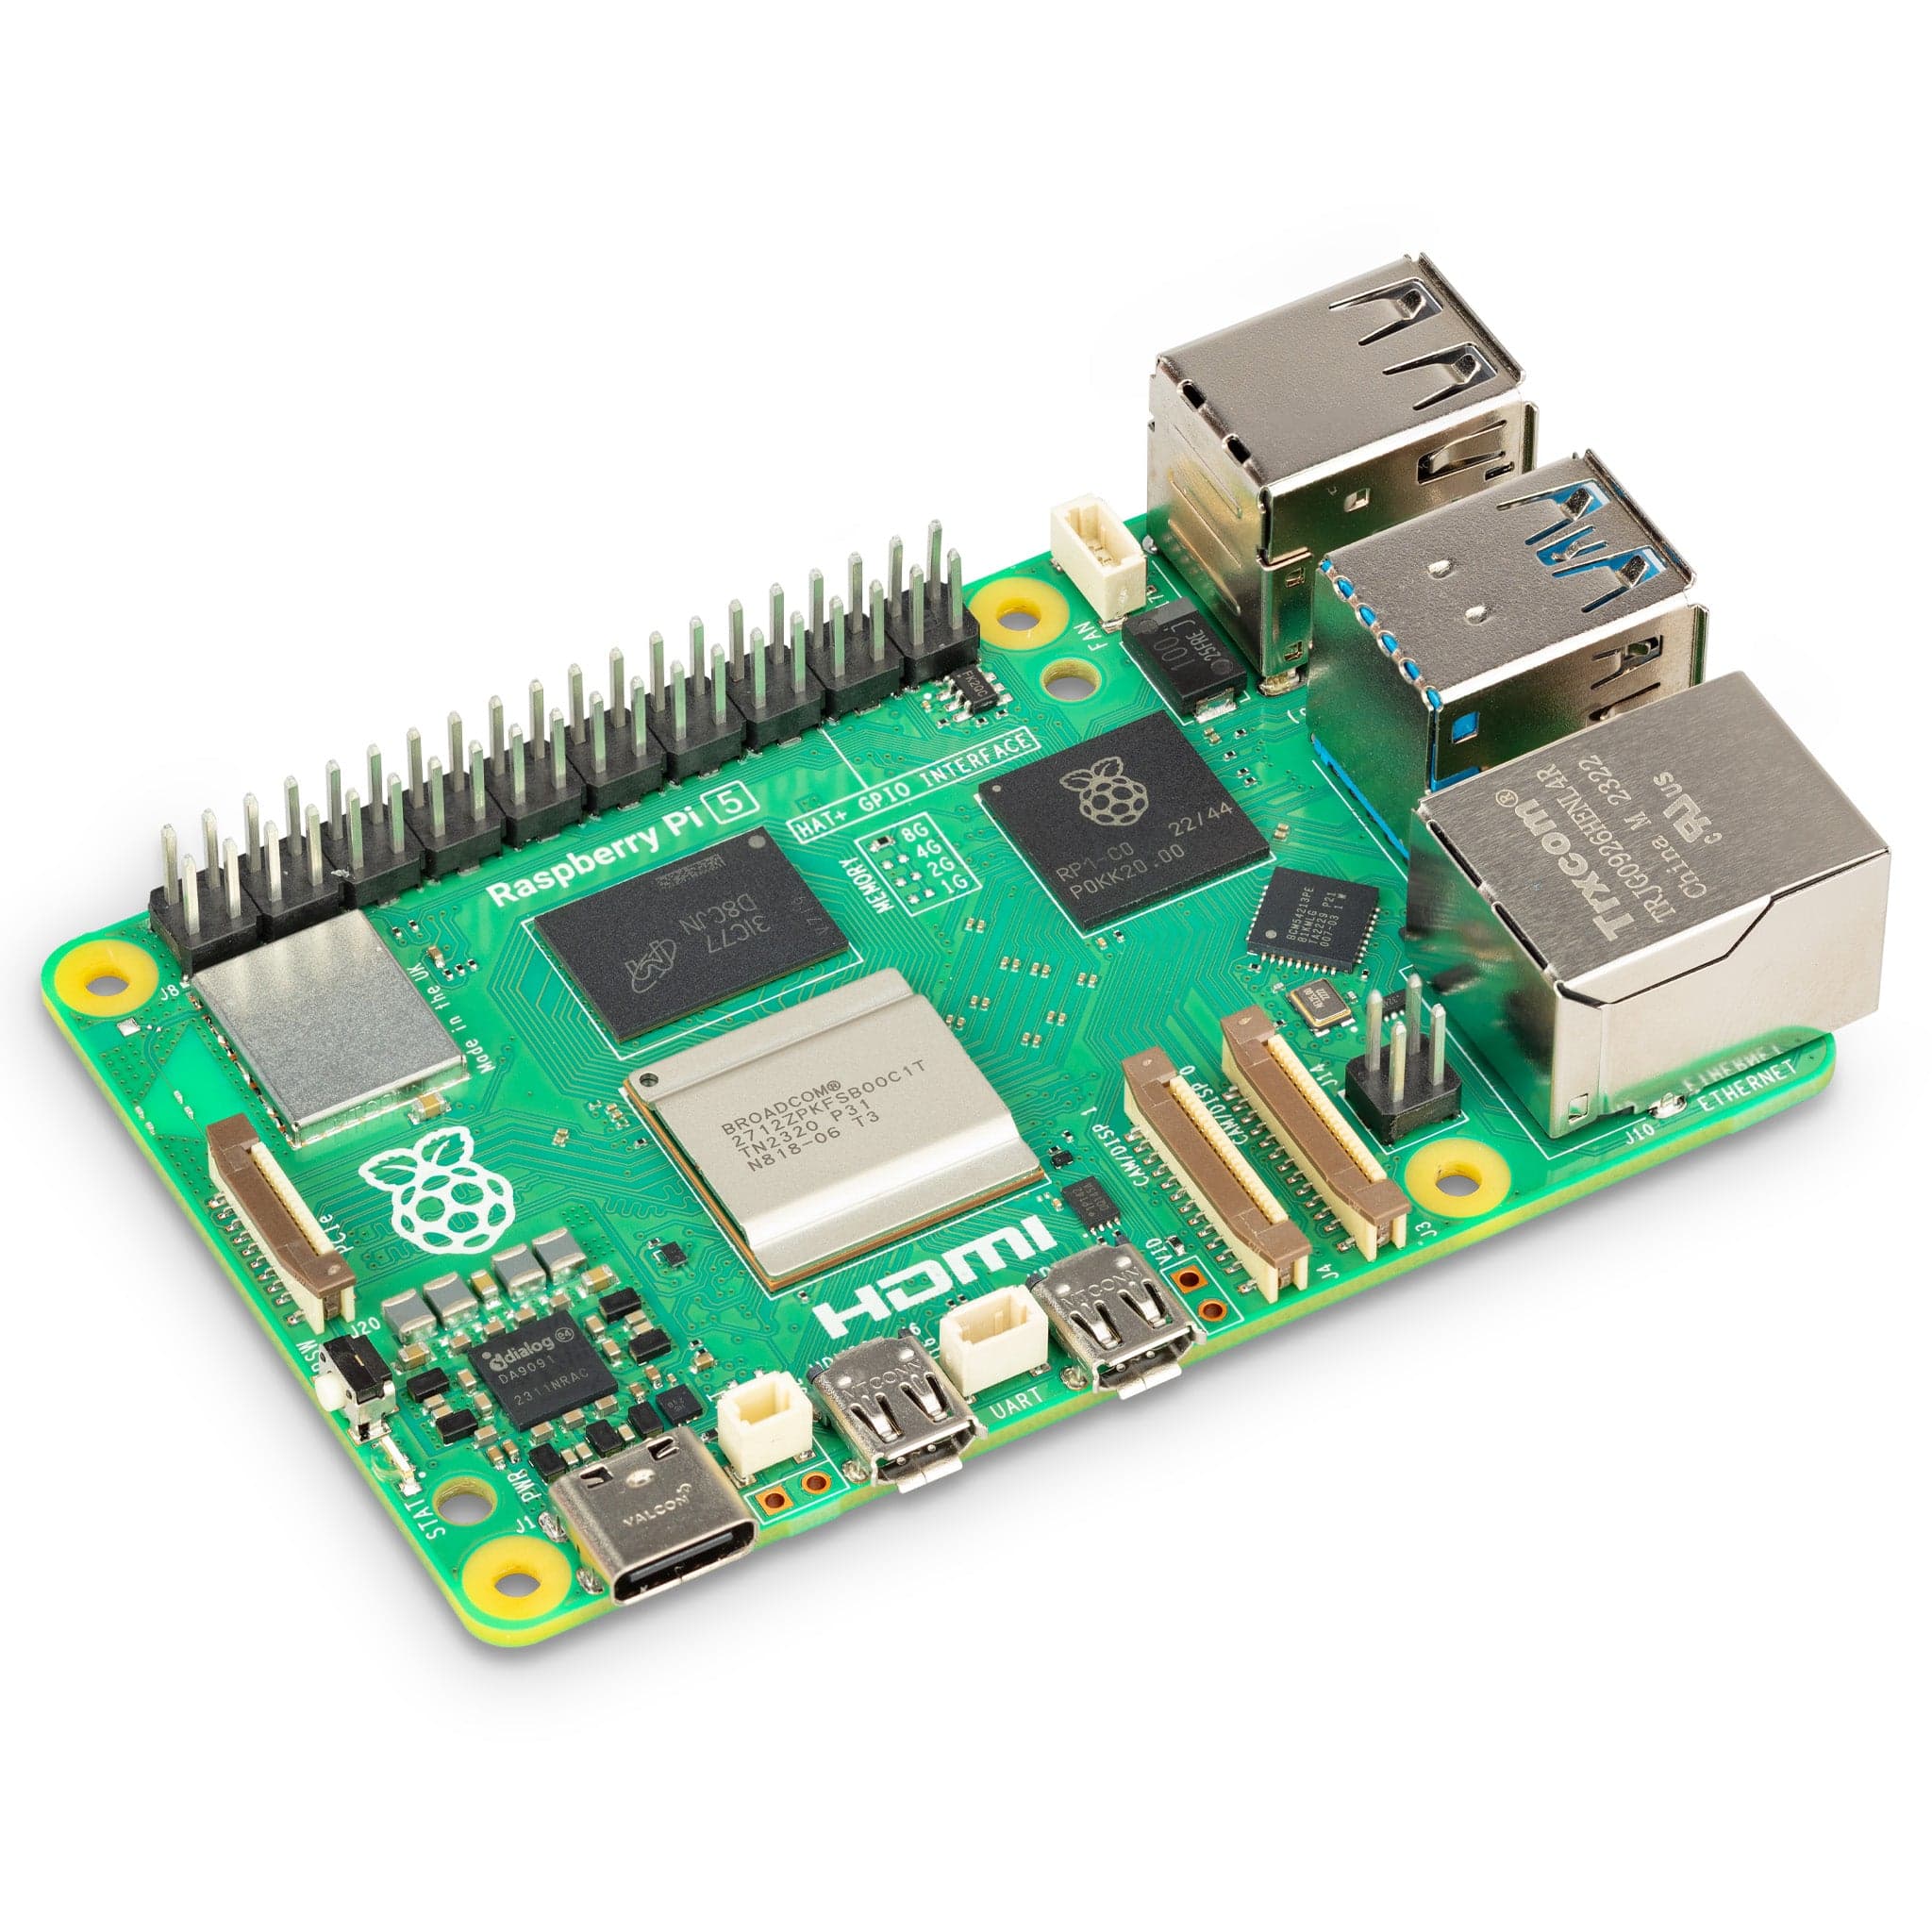
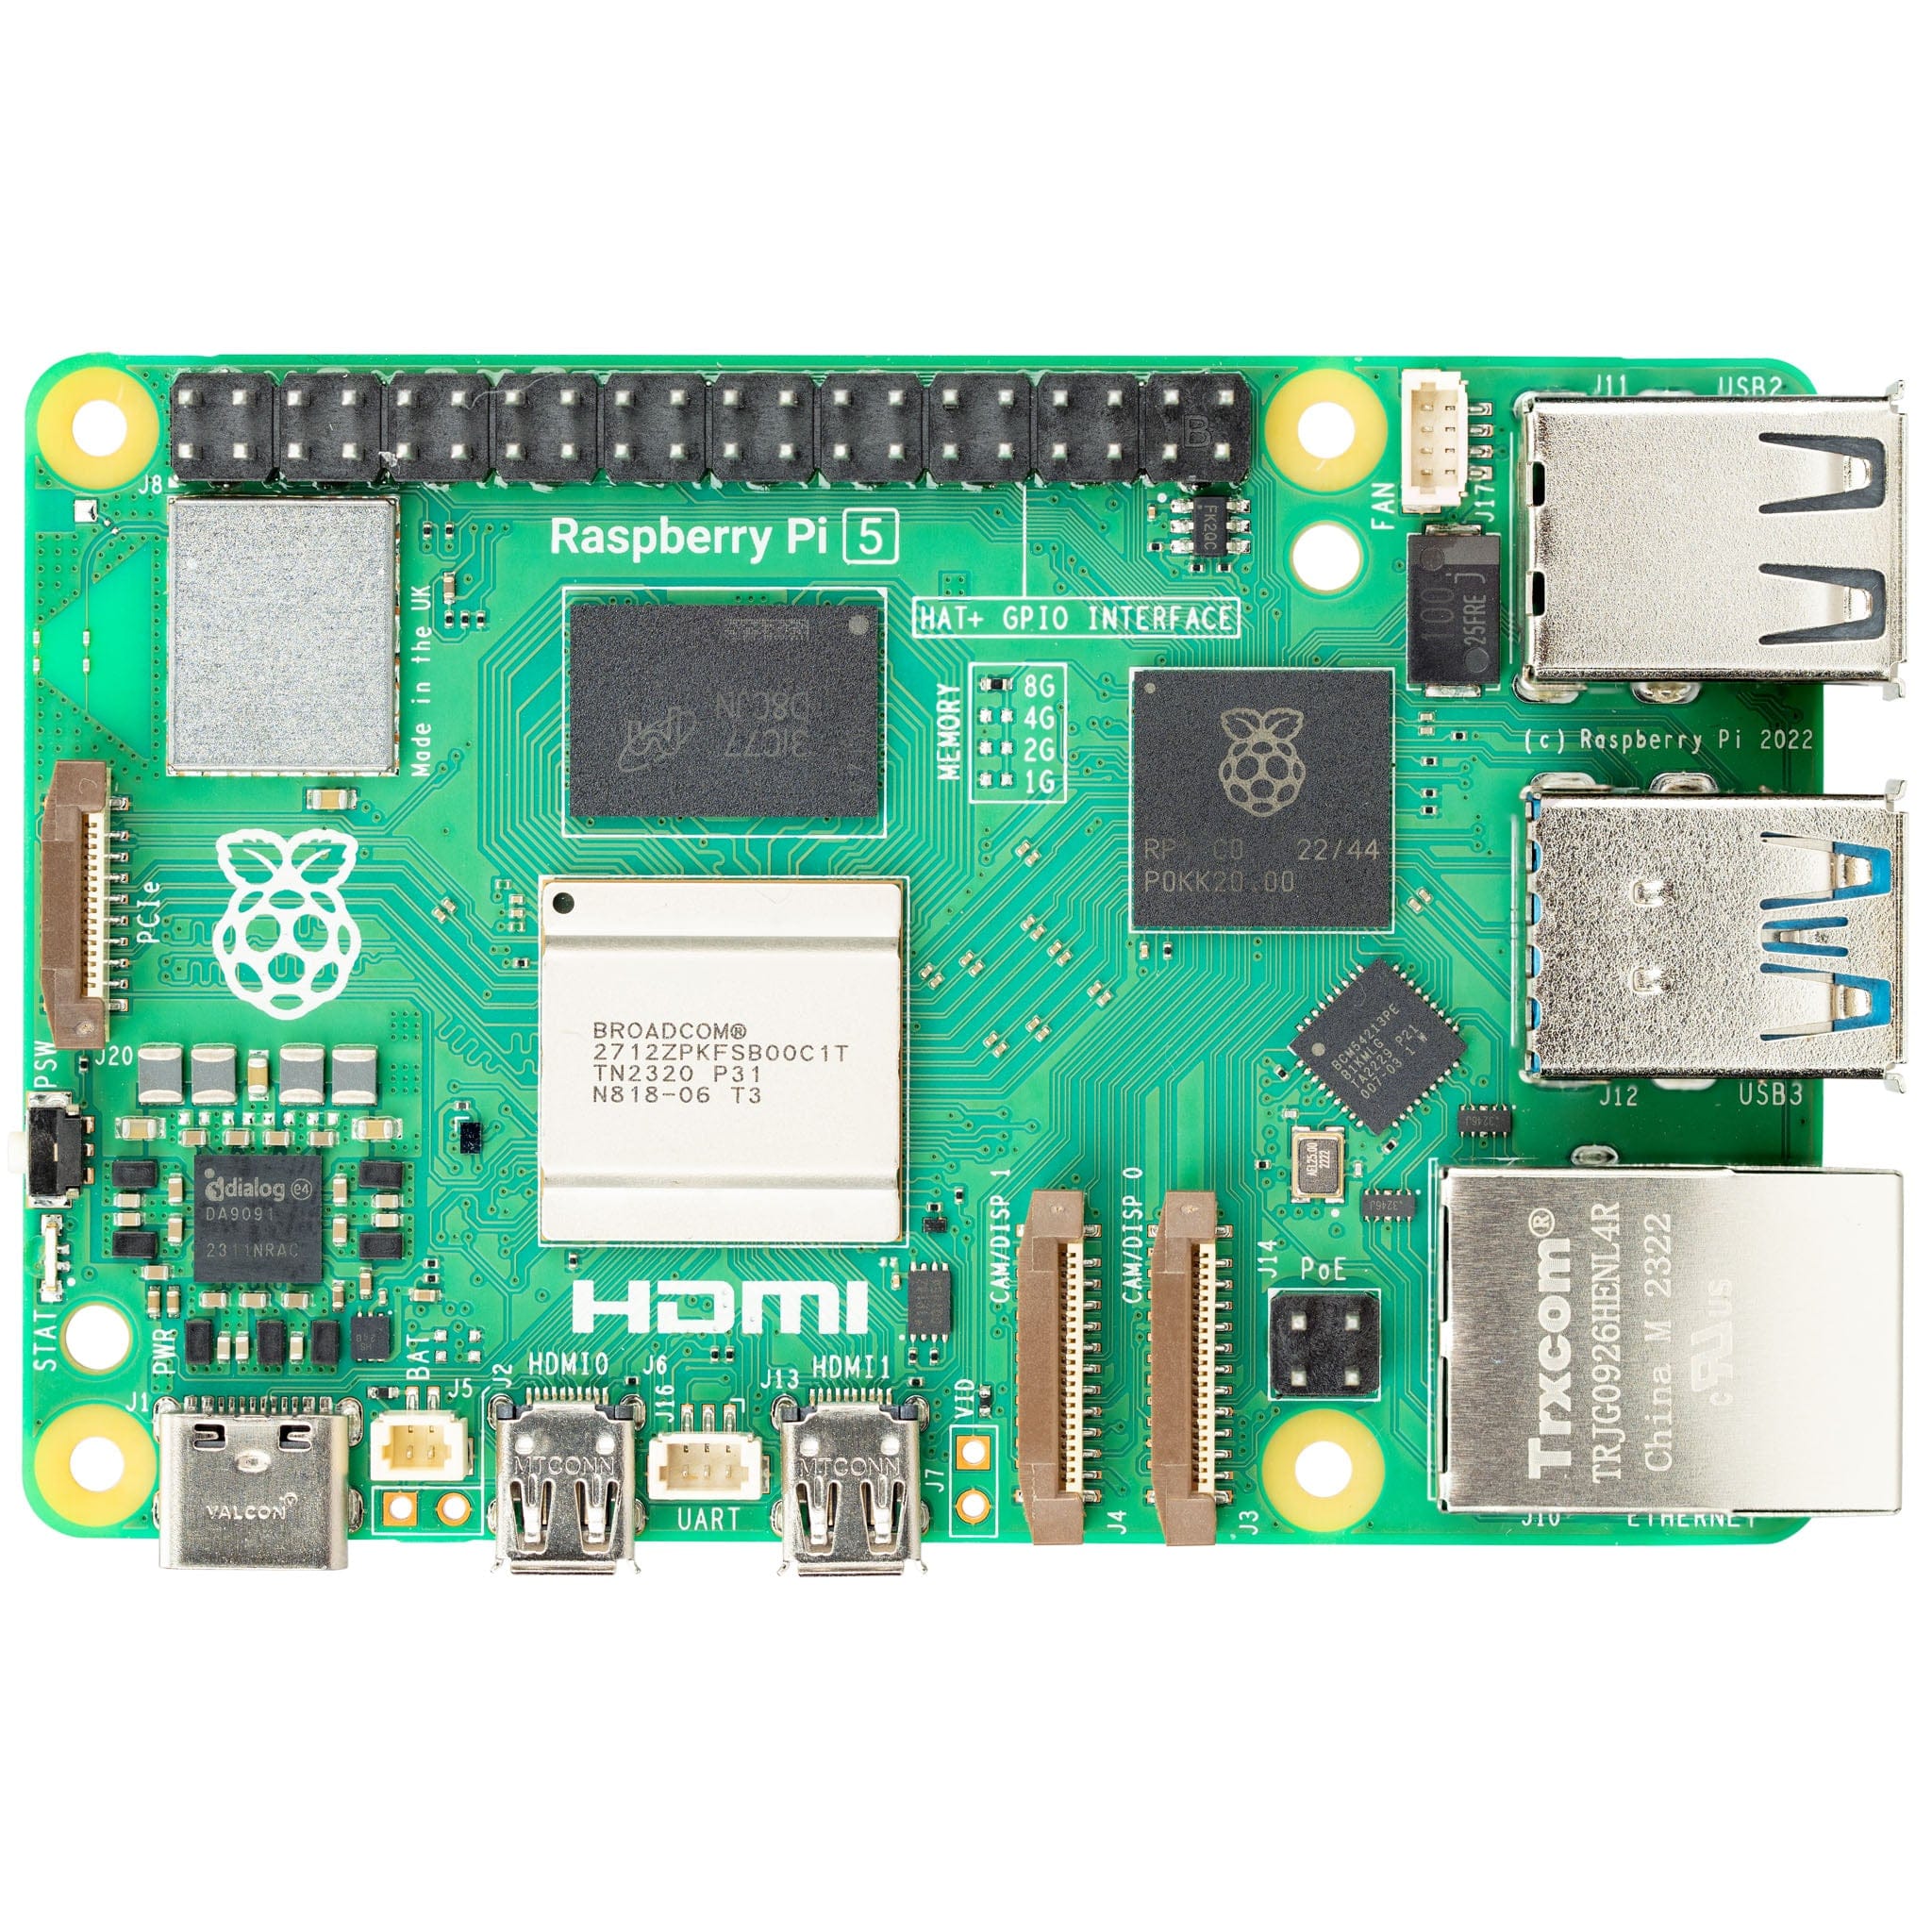
Raspberry Pi 5 - The Pi HutRaspberry Pi 5 - The Pi Hut
Raspberry PiRaspberry Pi 5
Sale priceFrom £46.50 incl. VAT excl. VAT
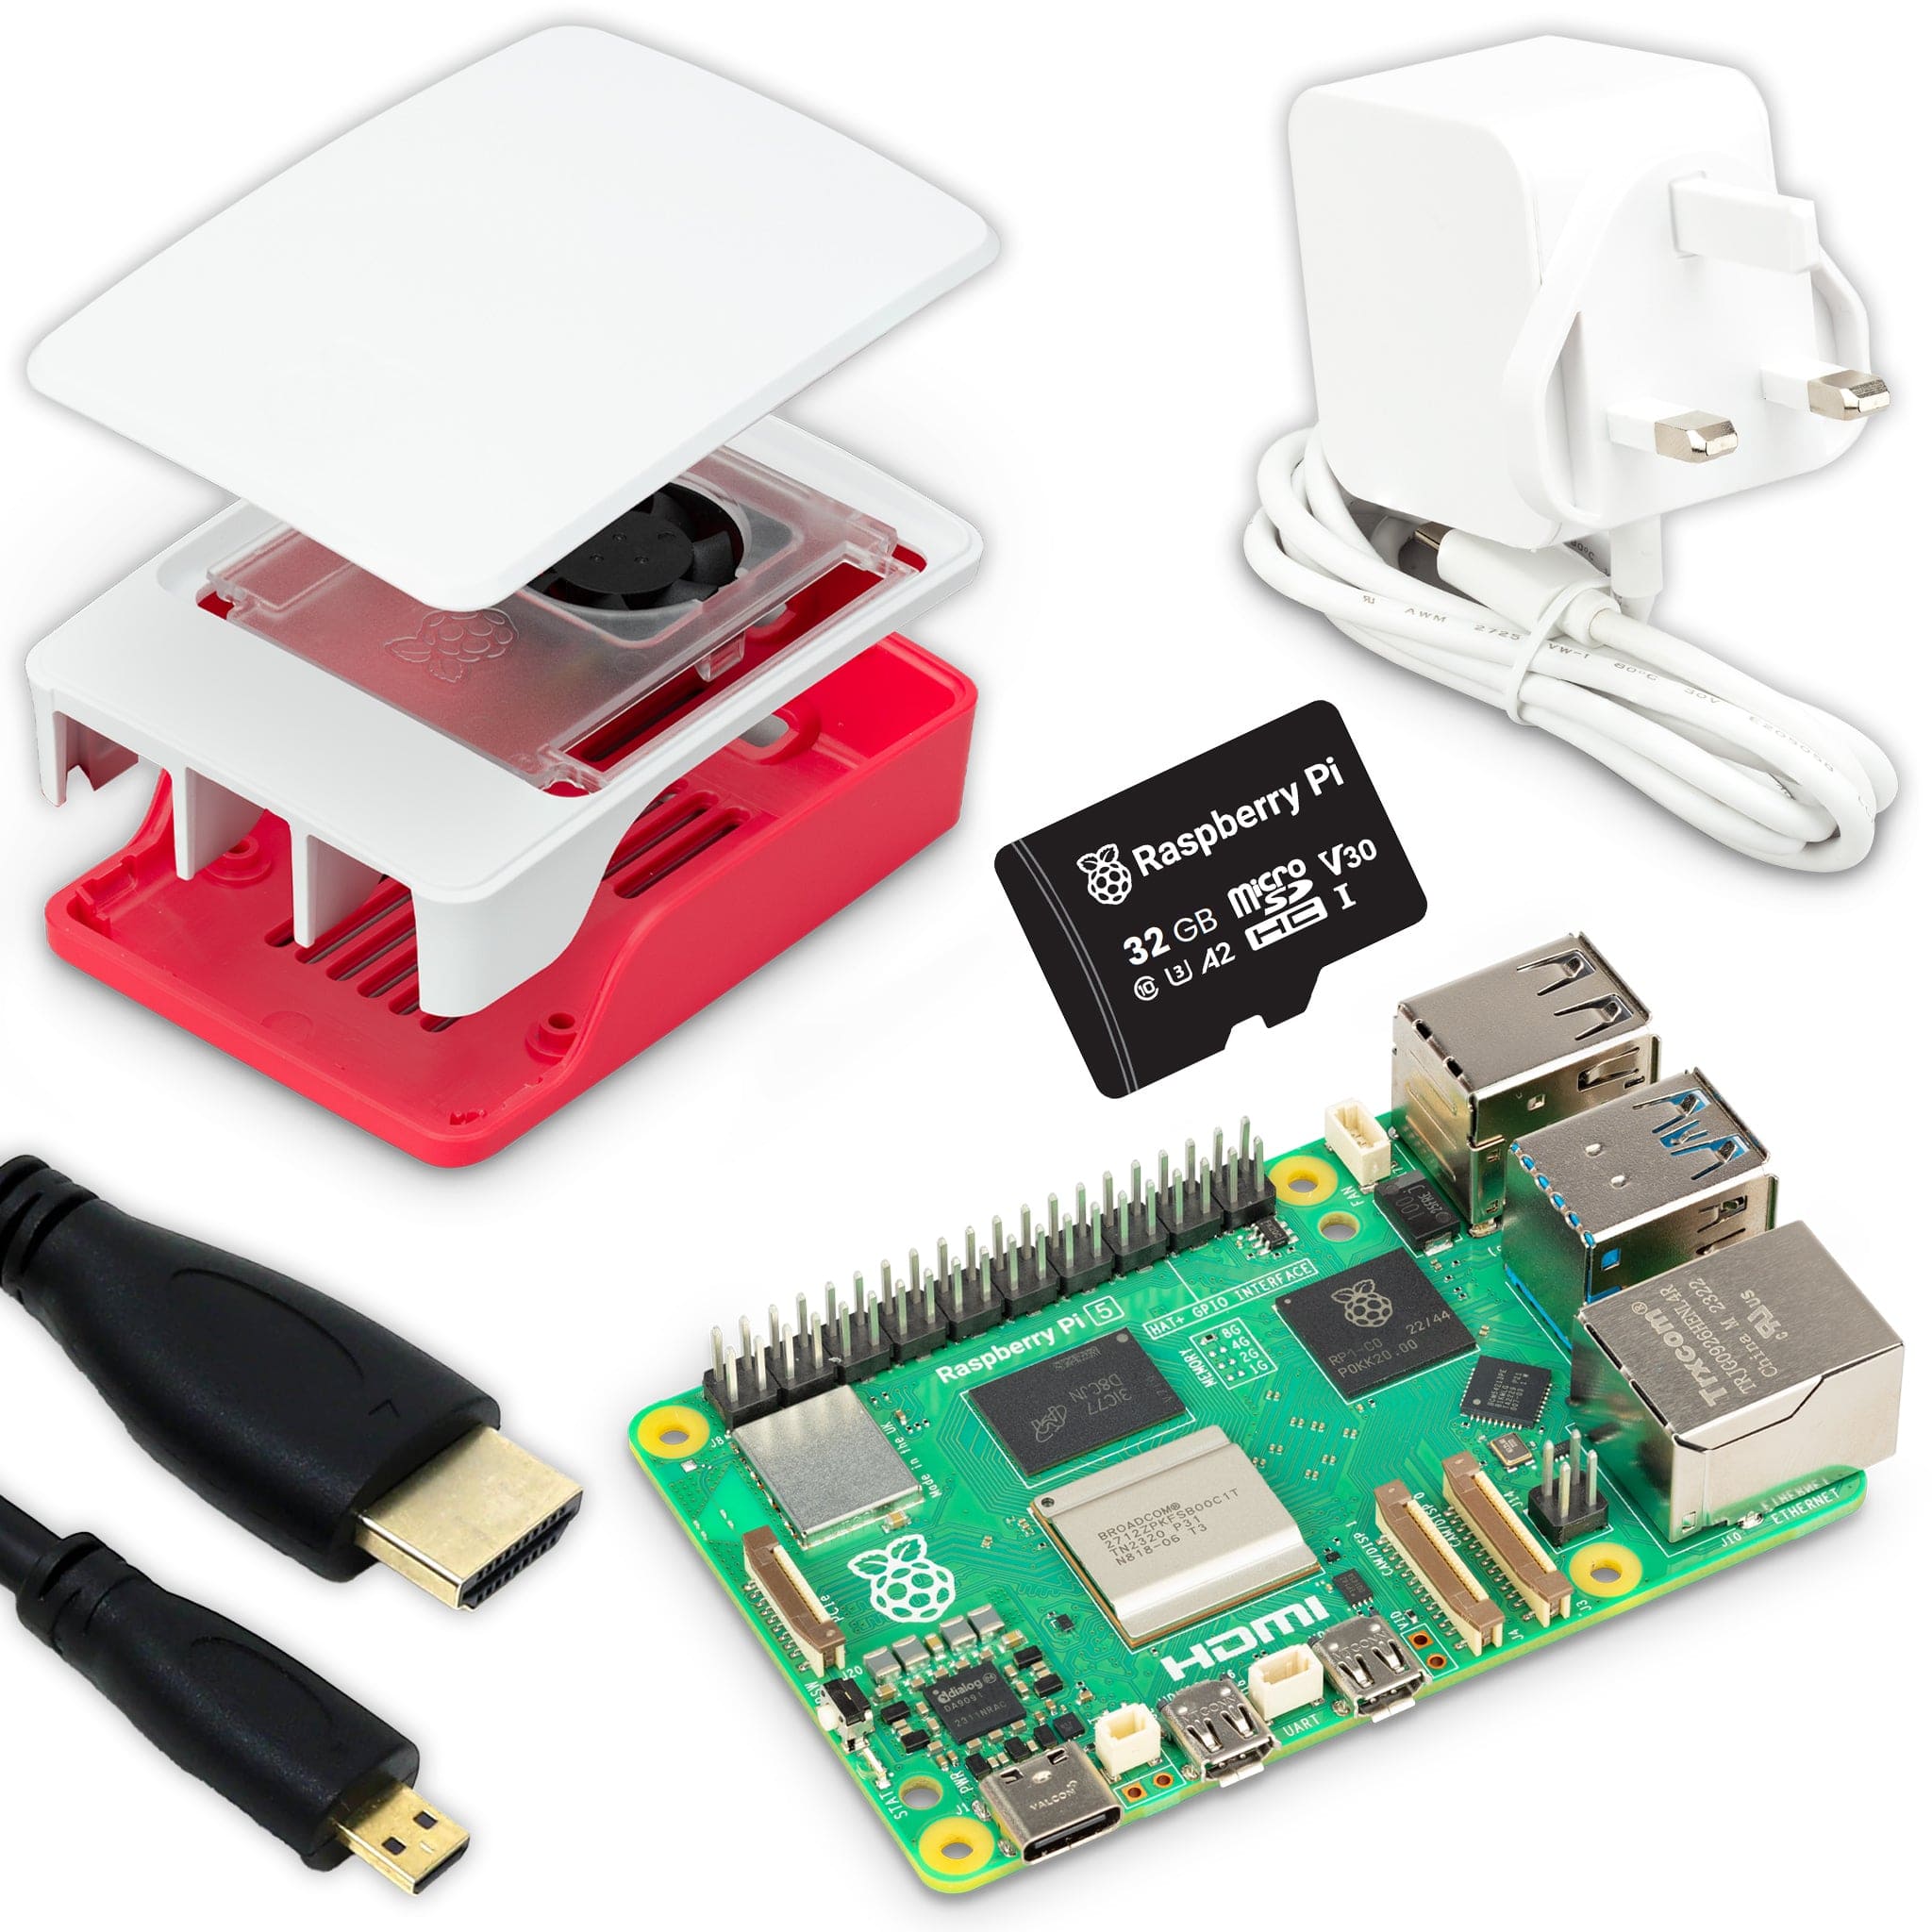
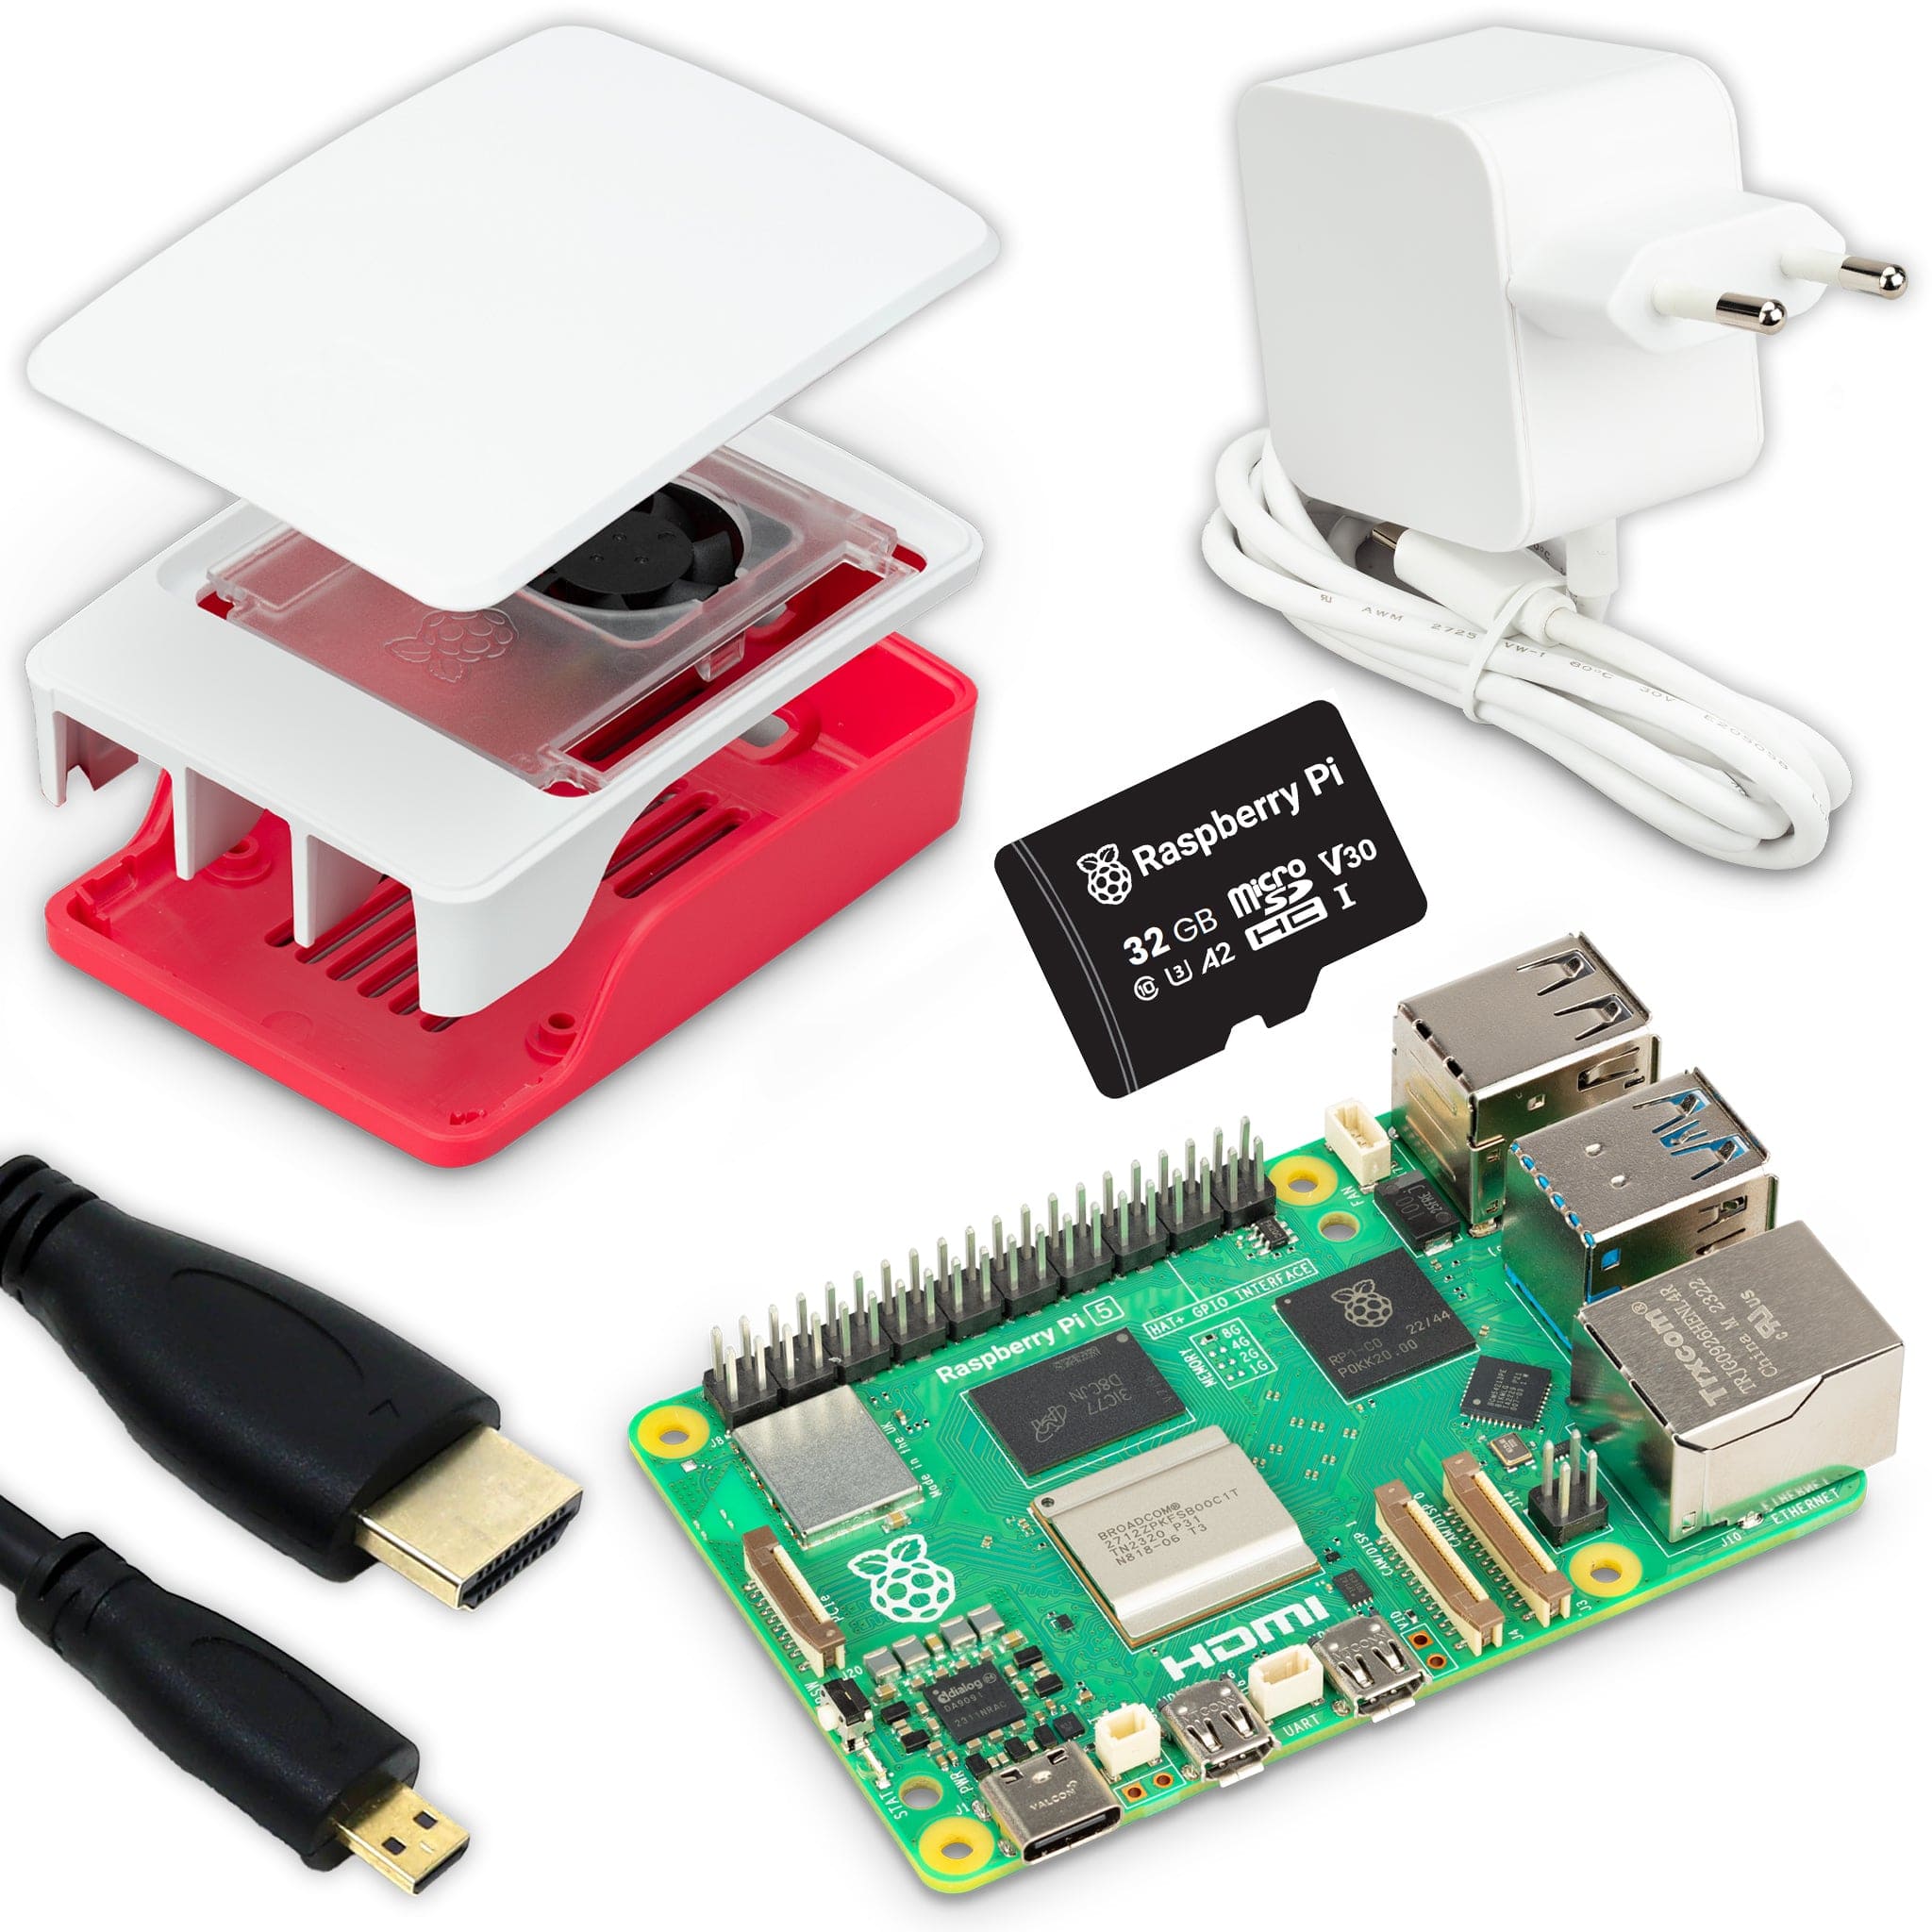
Raspberry Pi 5 Starter KitRaspberry Pi 5 Starter Kit
The Pi HutRaspberry Pi 5 Starter Kit
Sale priceFrom £81 incl. VAT excl. VAT
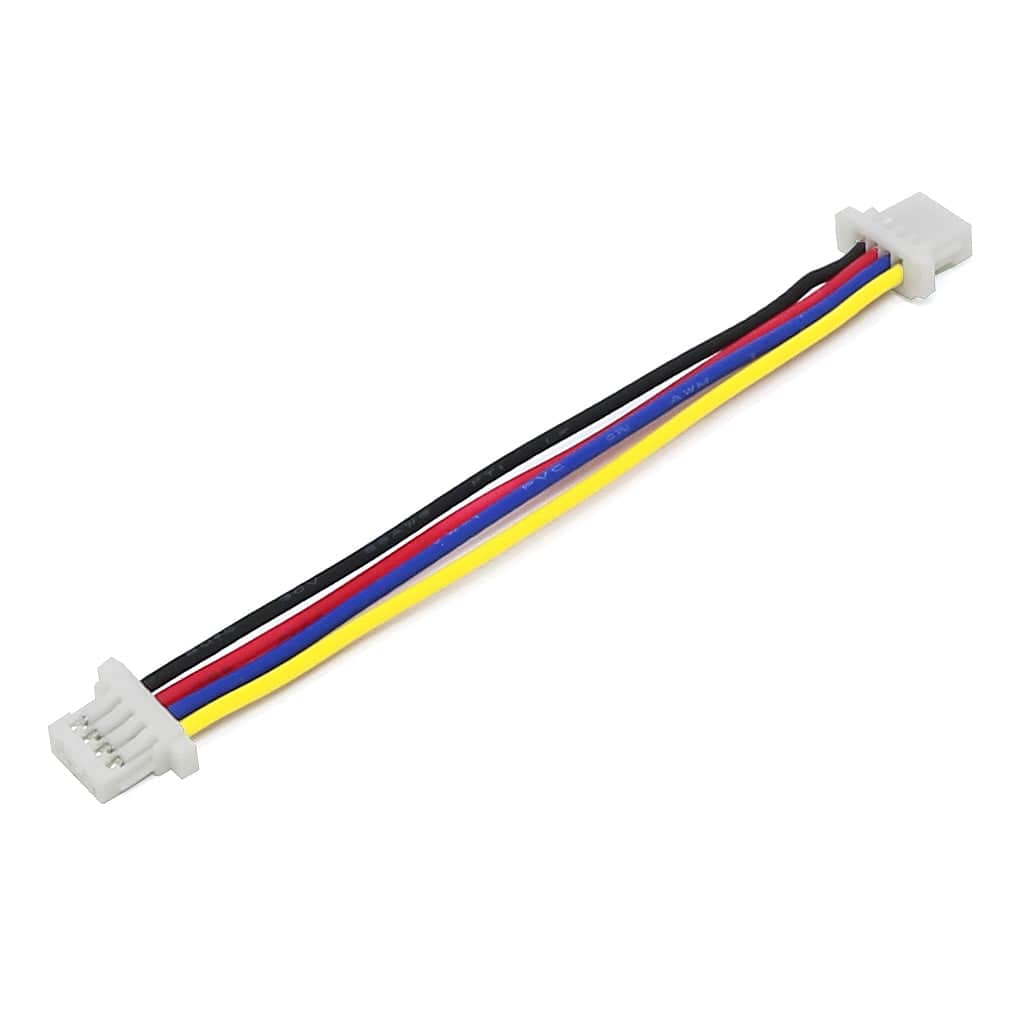
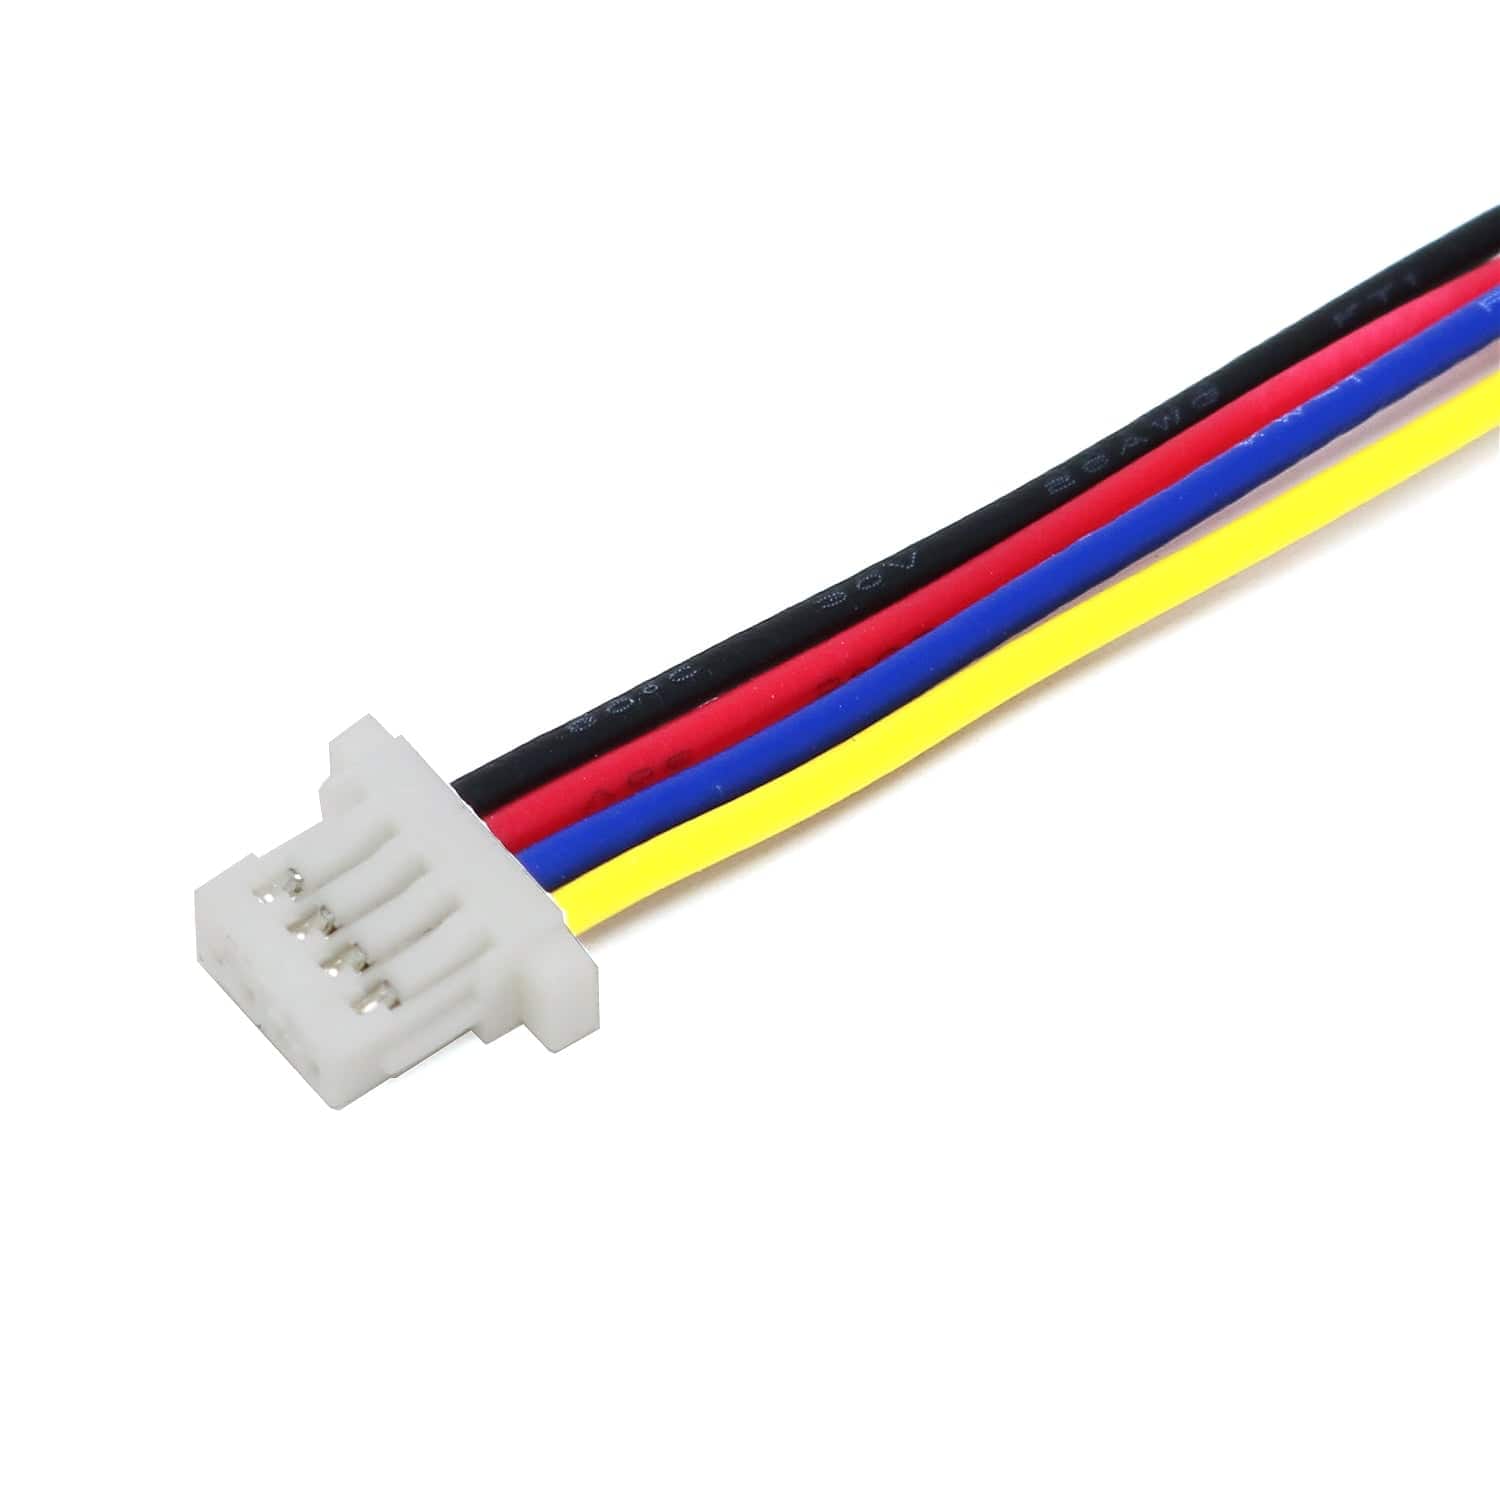
STEMMA QT / Qwiic Compatible JST-SH 4-Pin Cable (50mm) - The Pi HutSTEMMA QT / Qwiic Compatible JST-SH 4-Pin Cable (50mm) - The Pi Hut

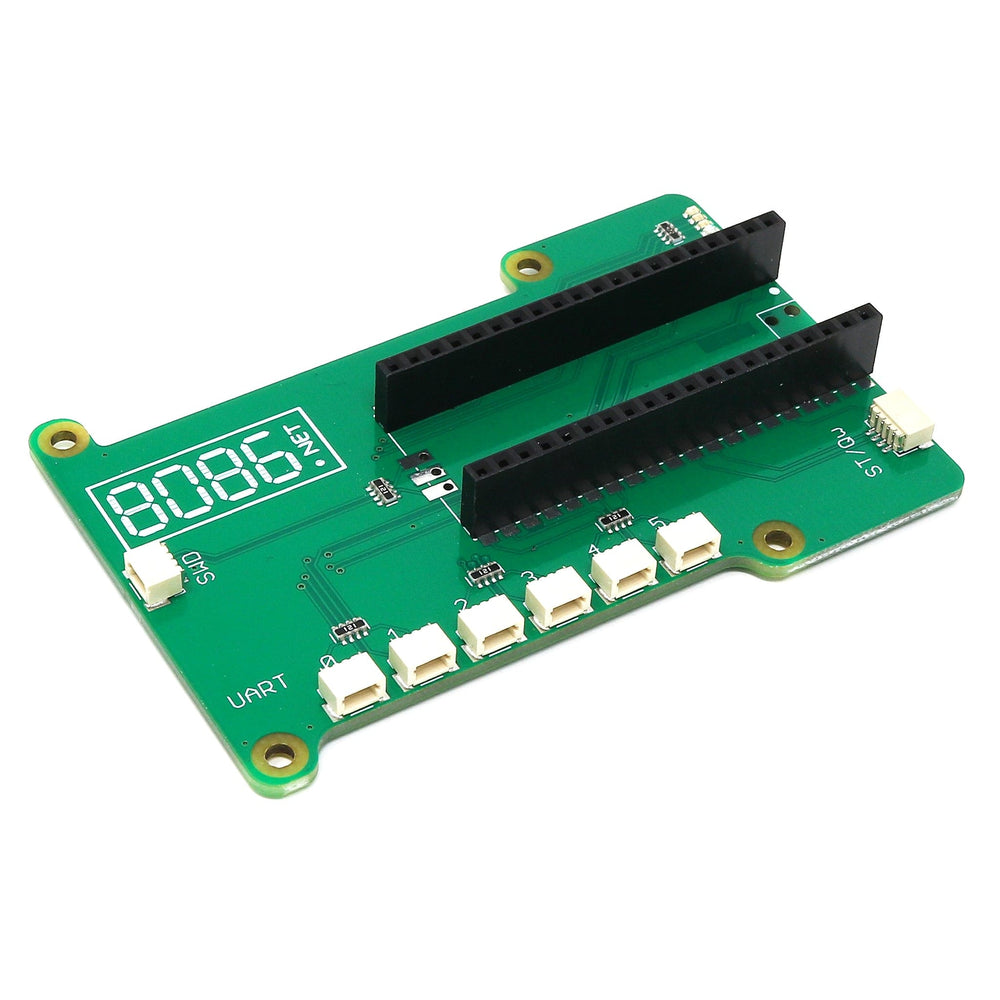
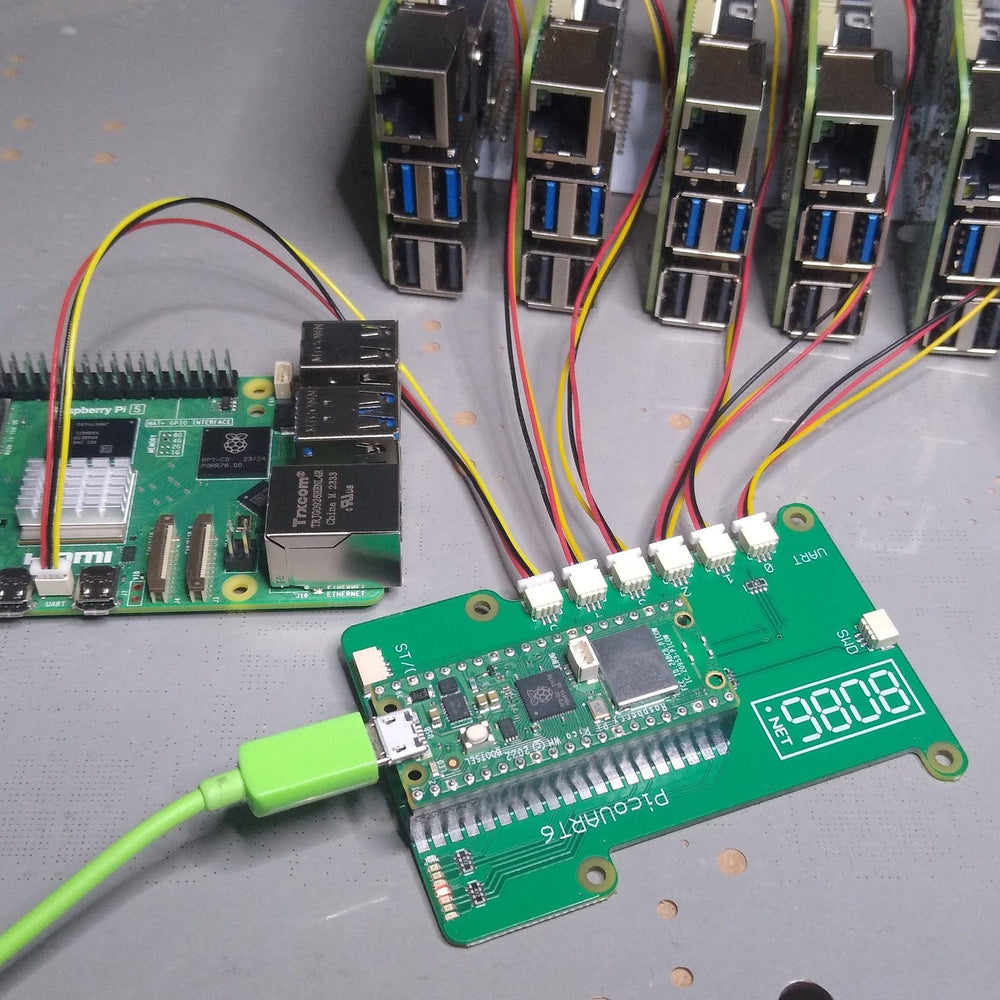
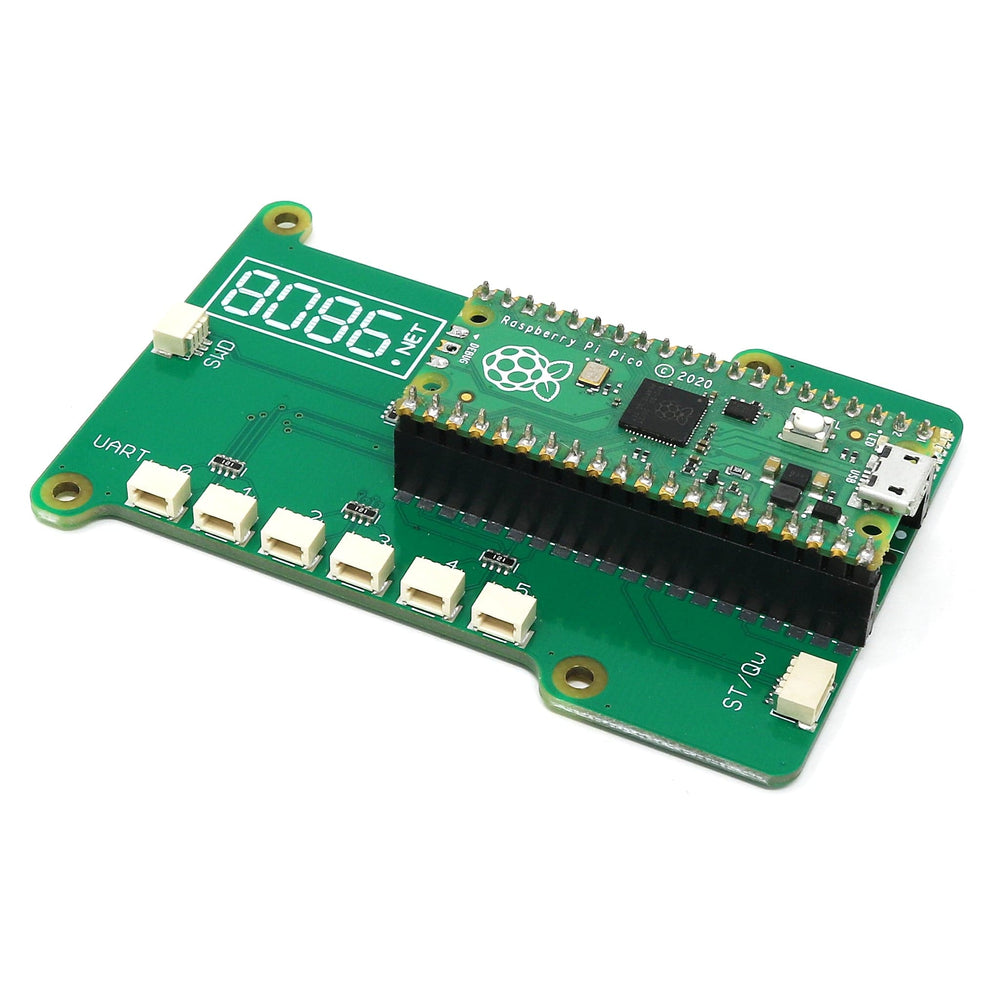
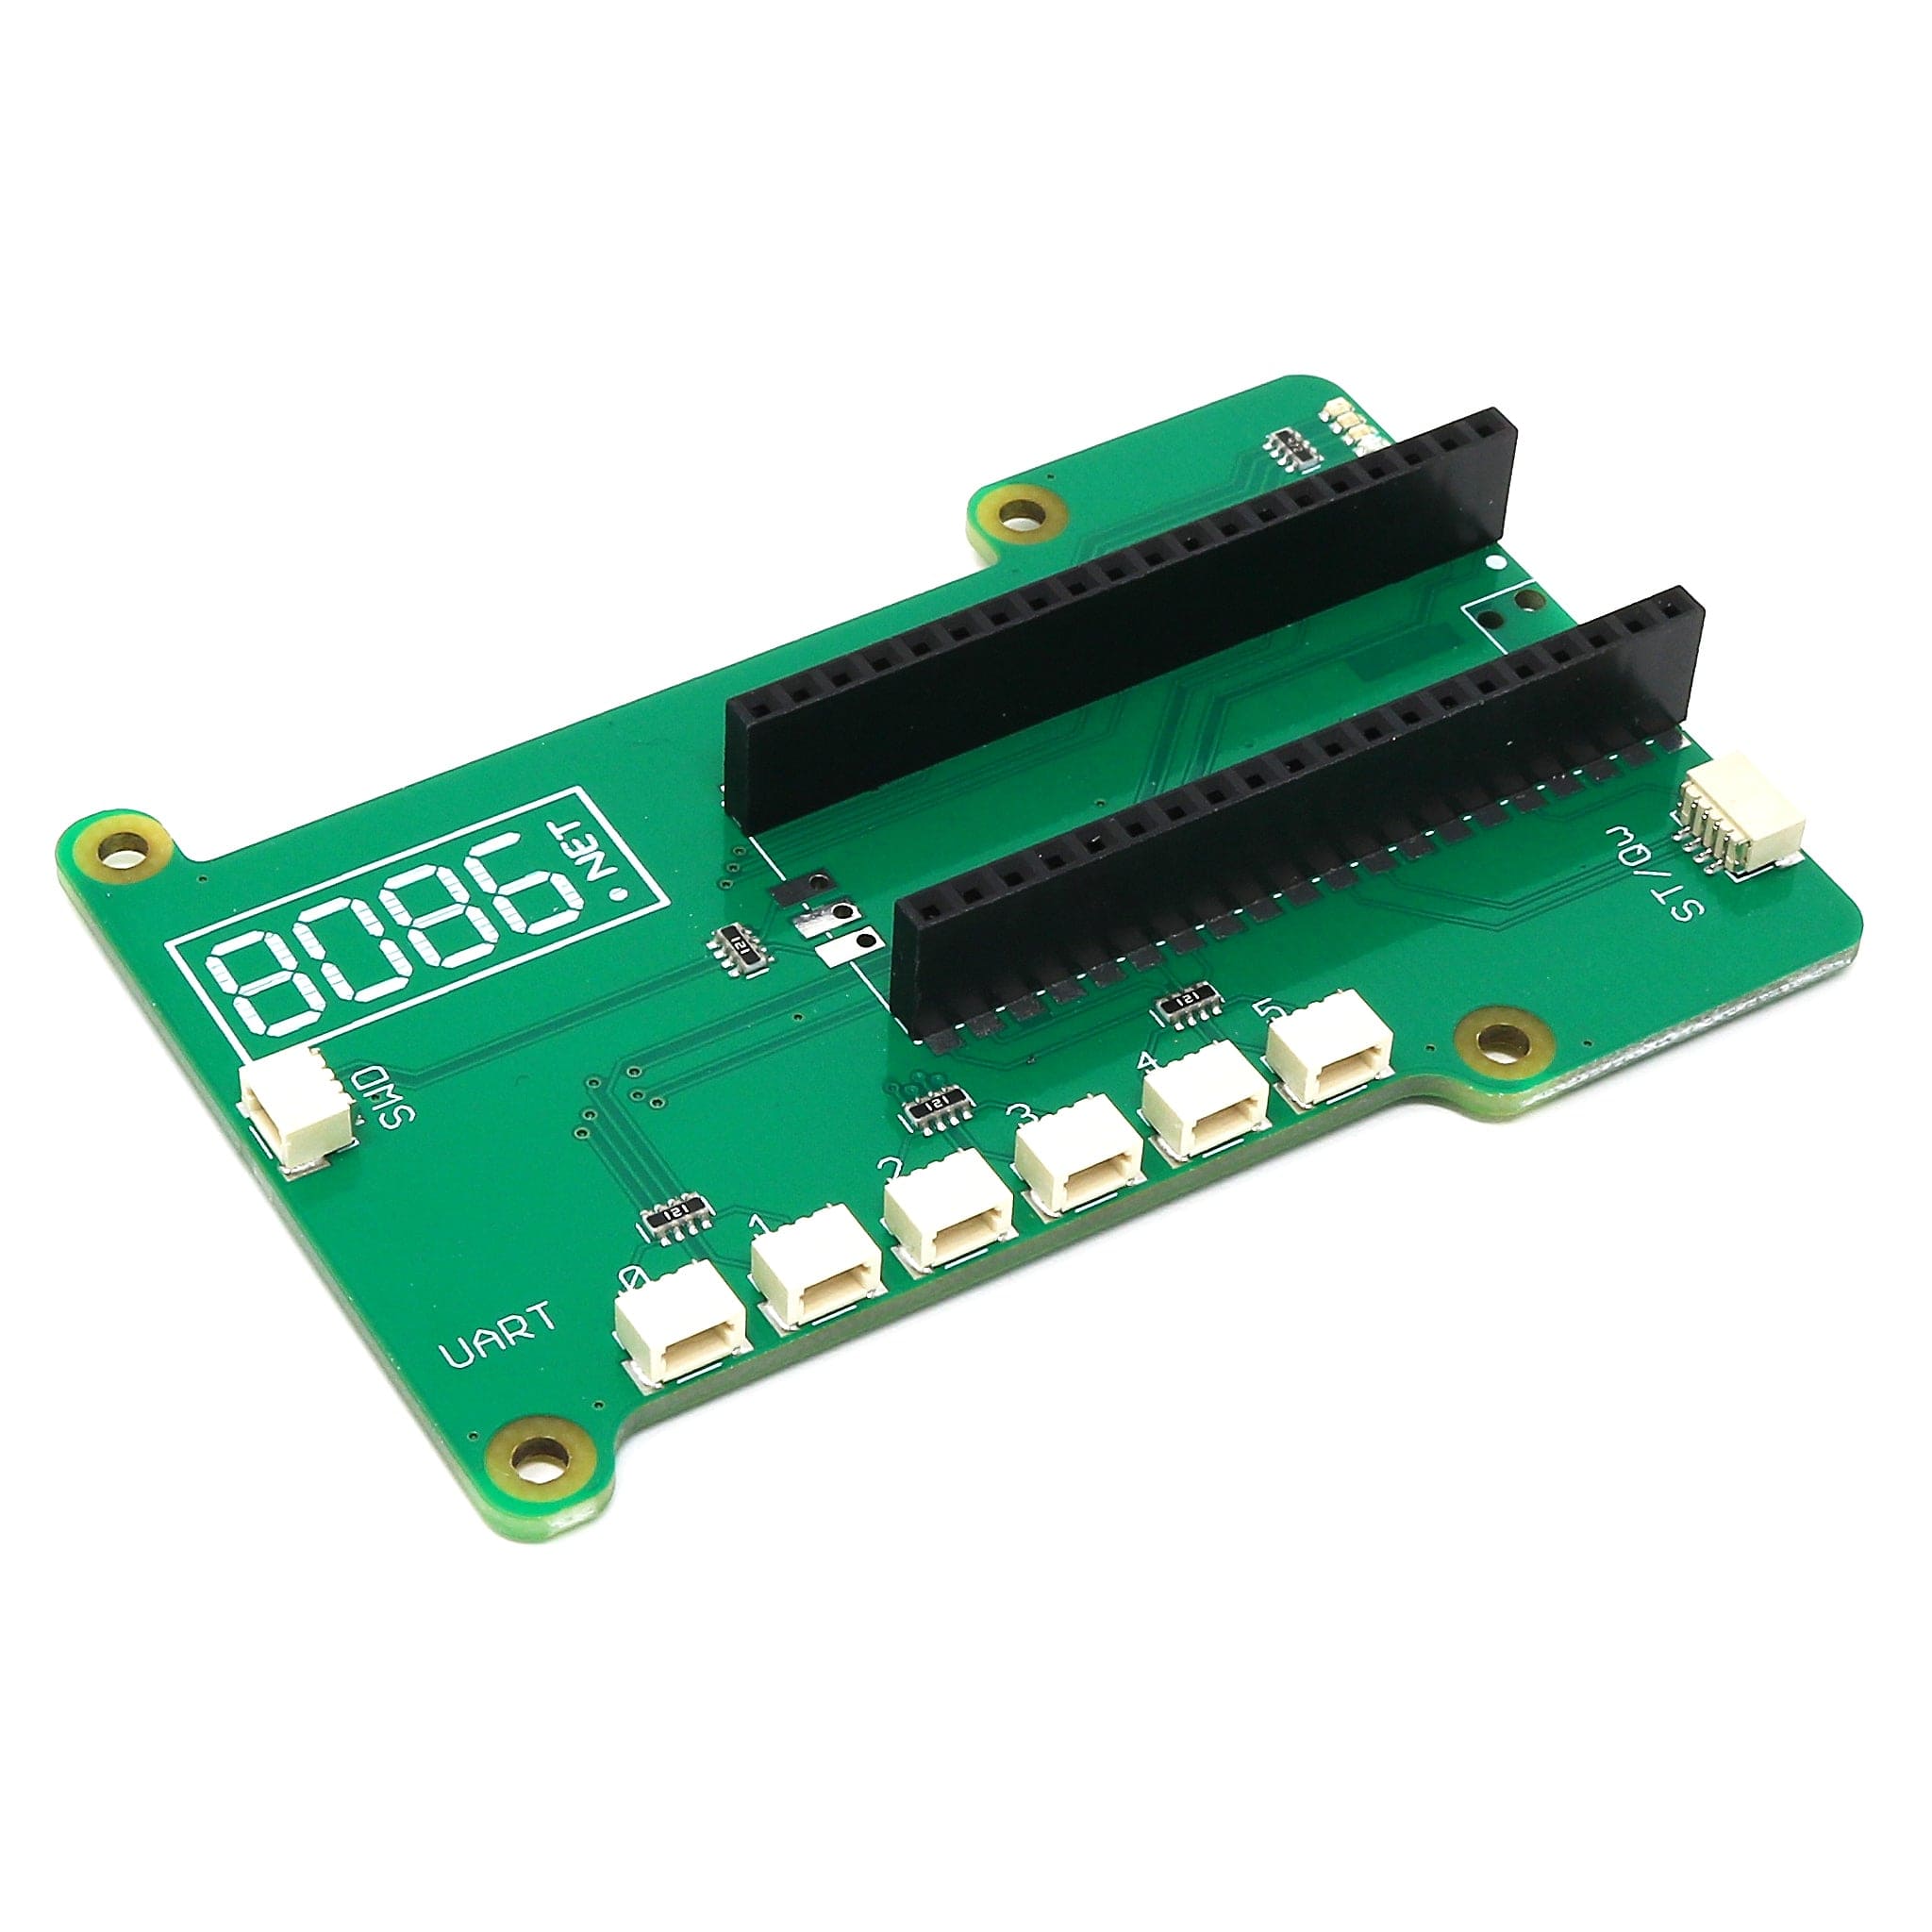
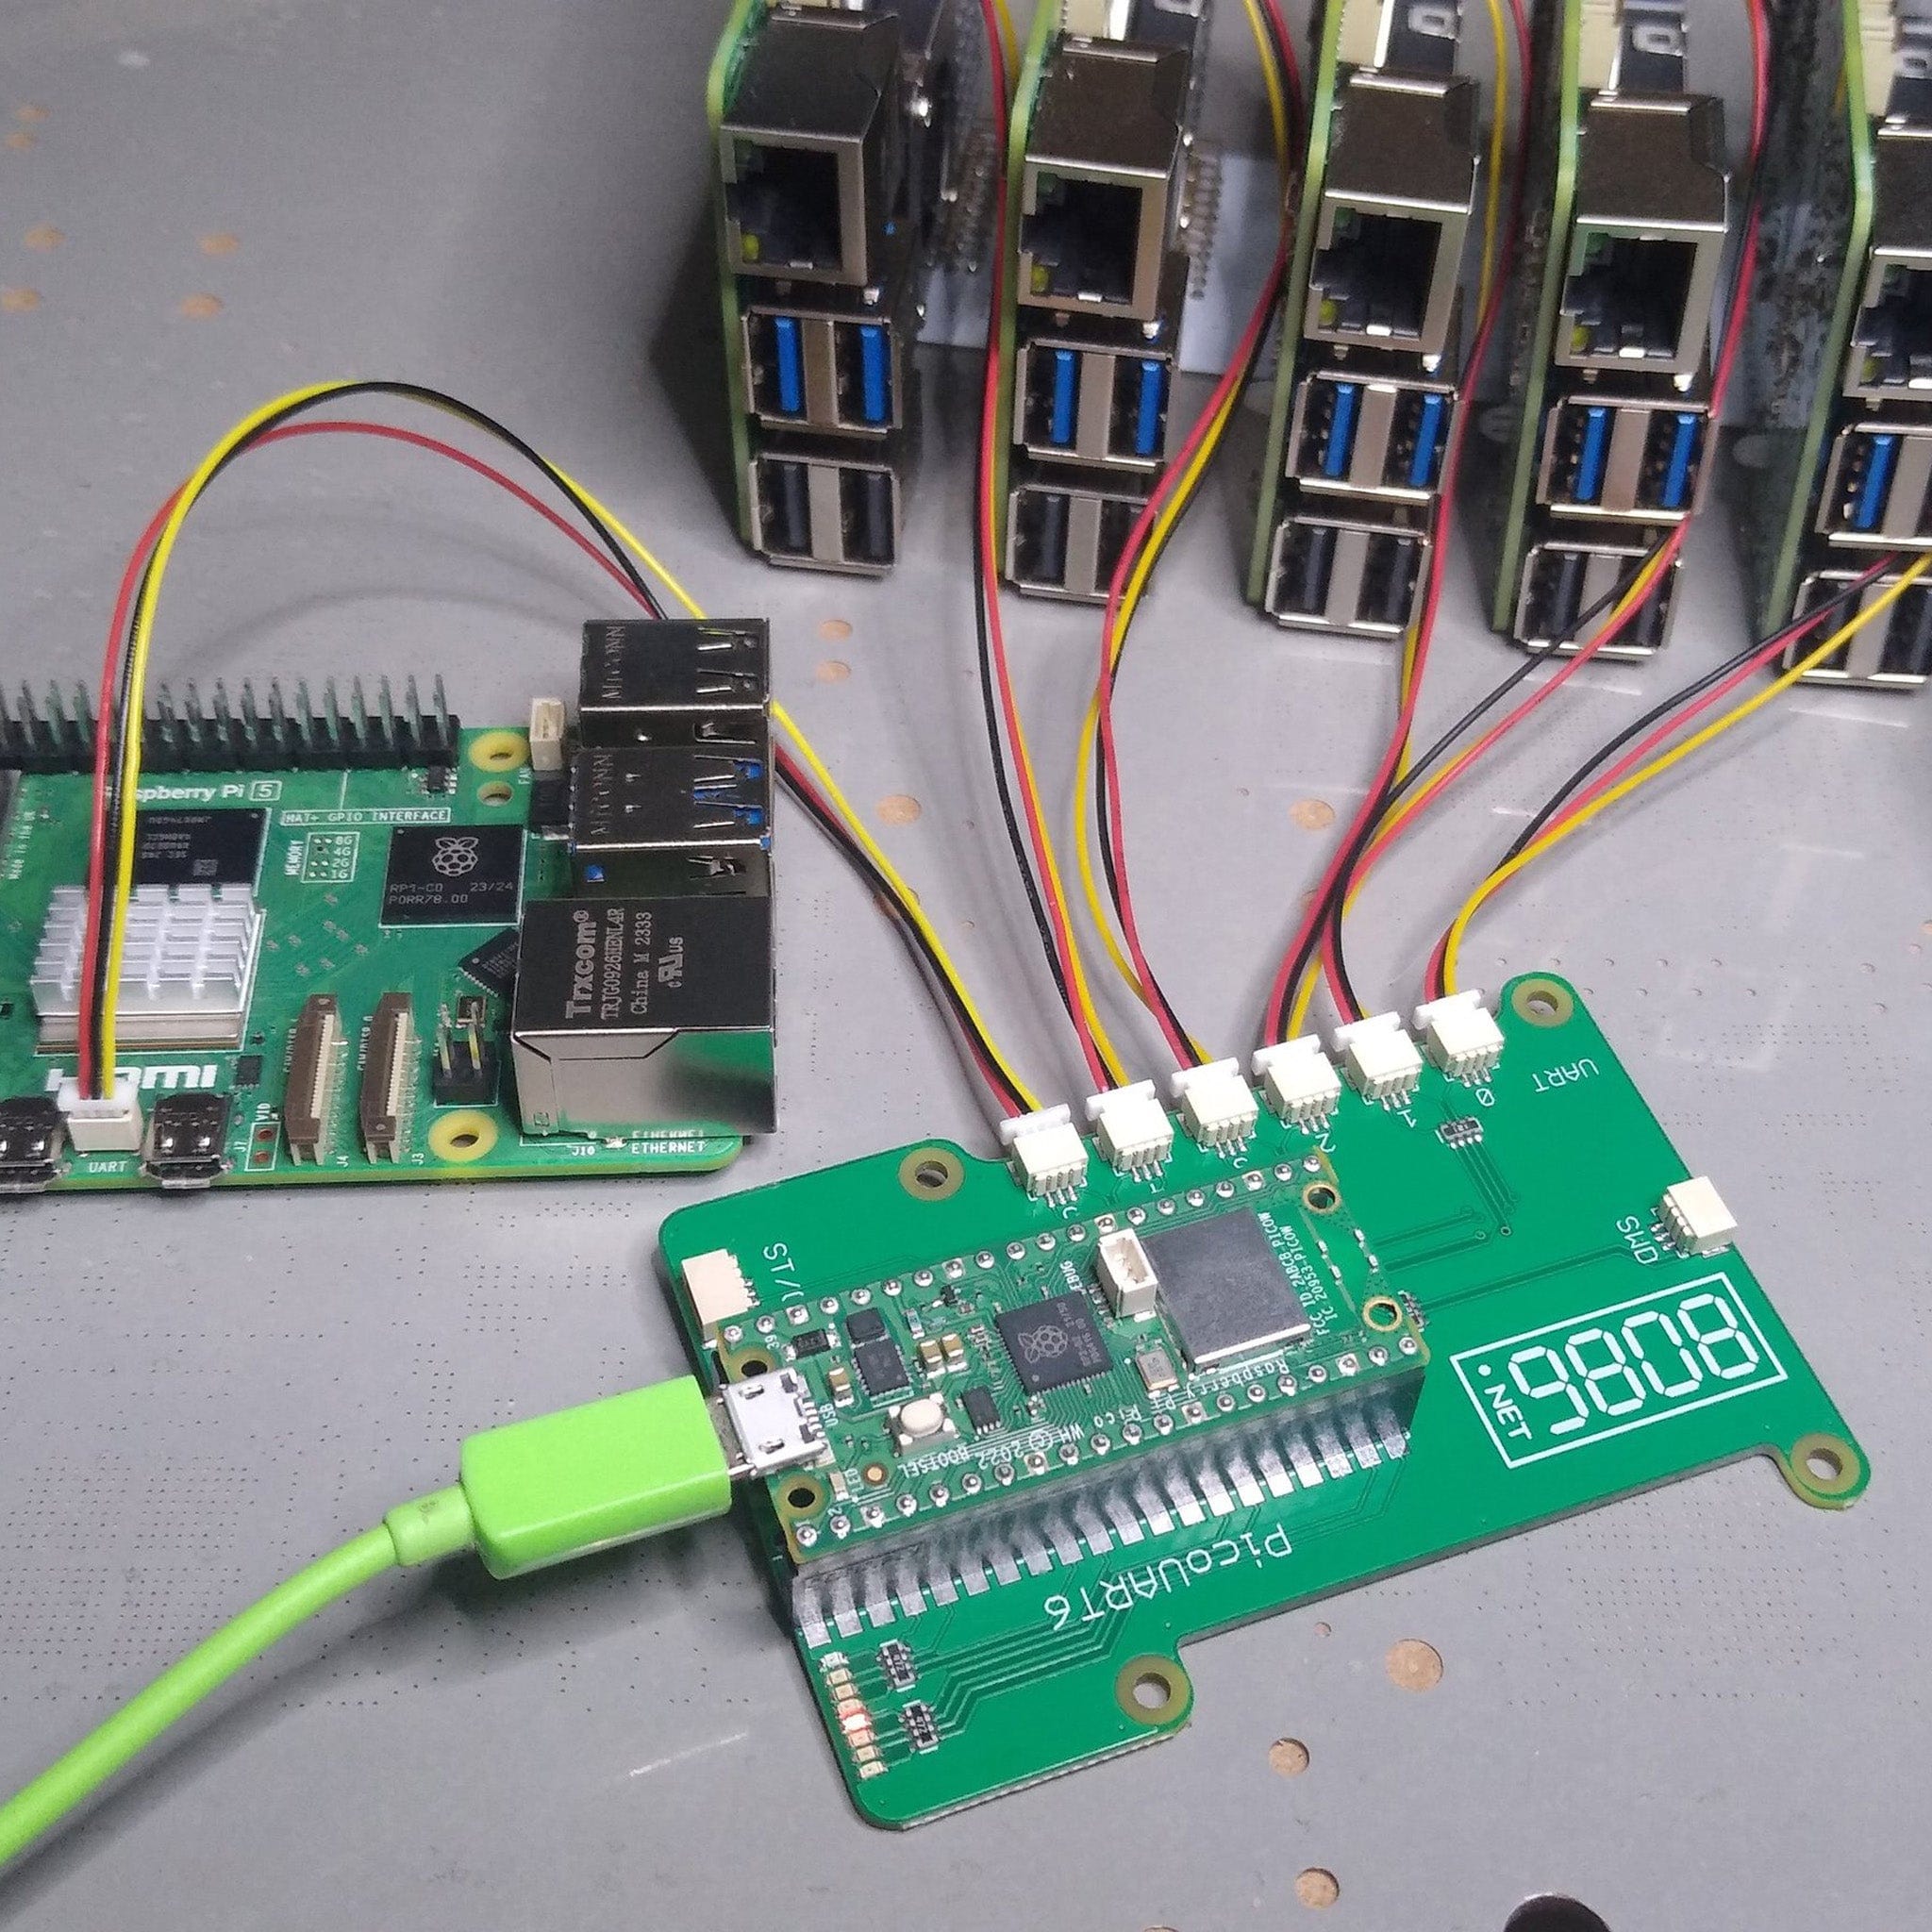
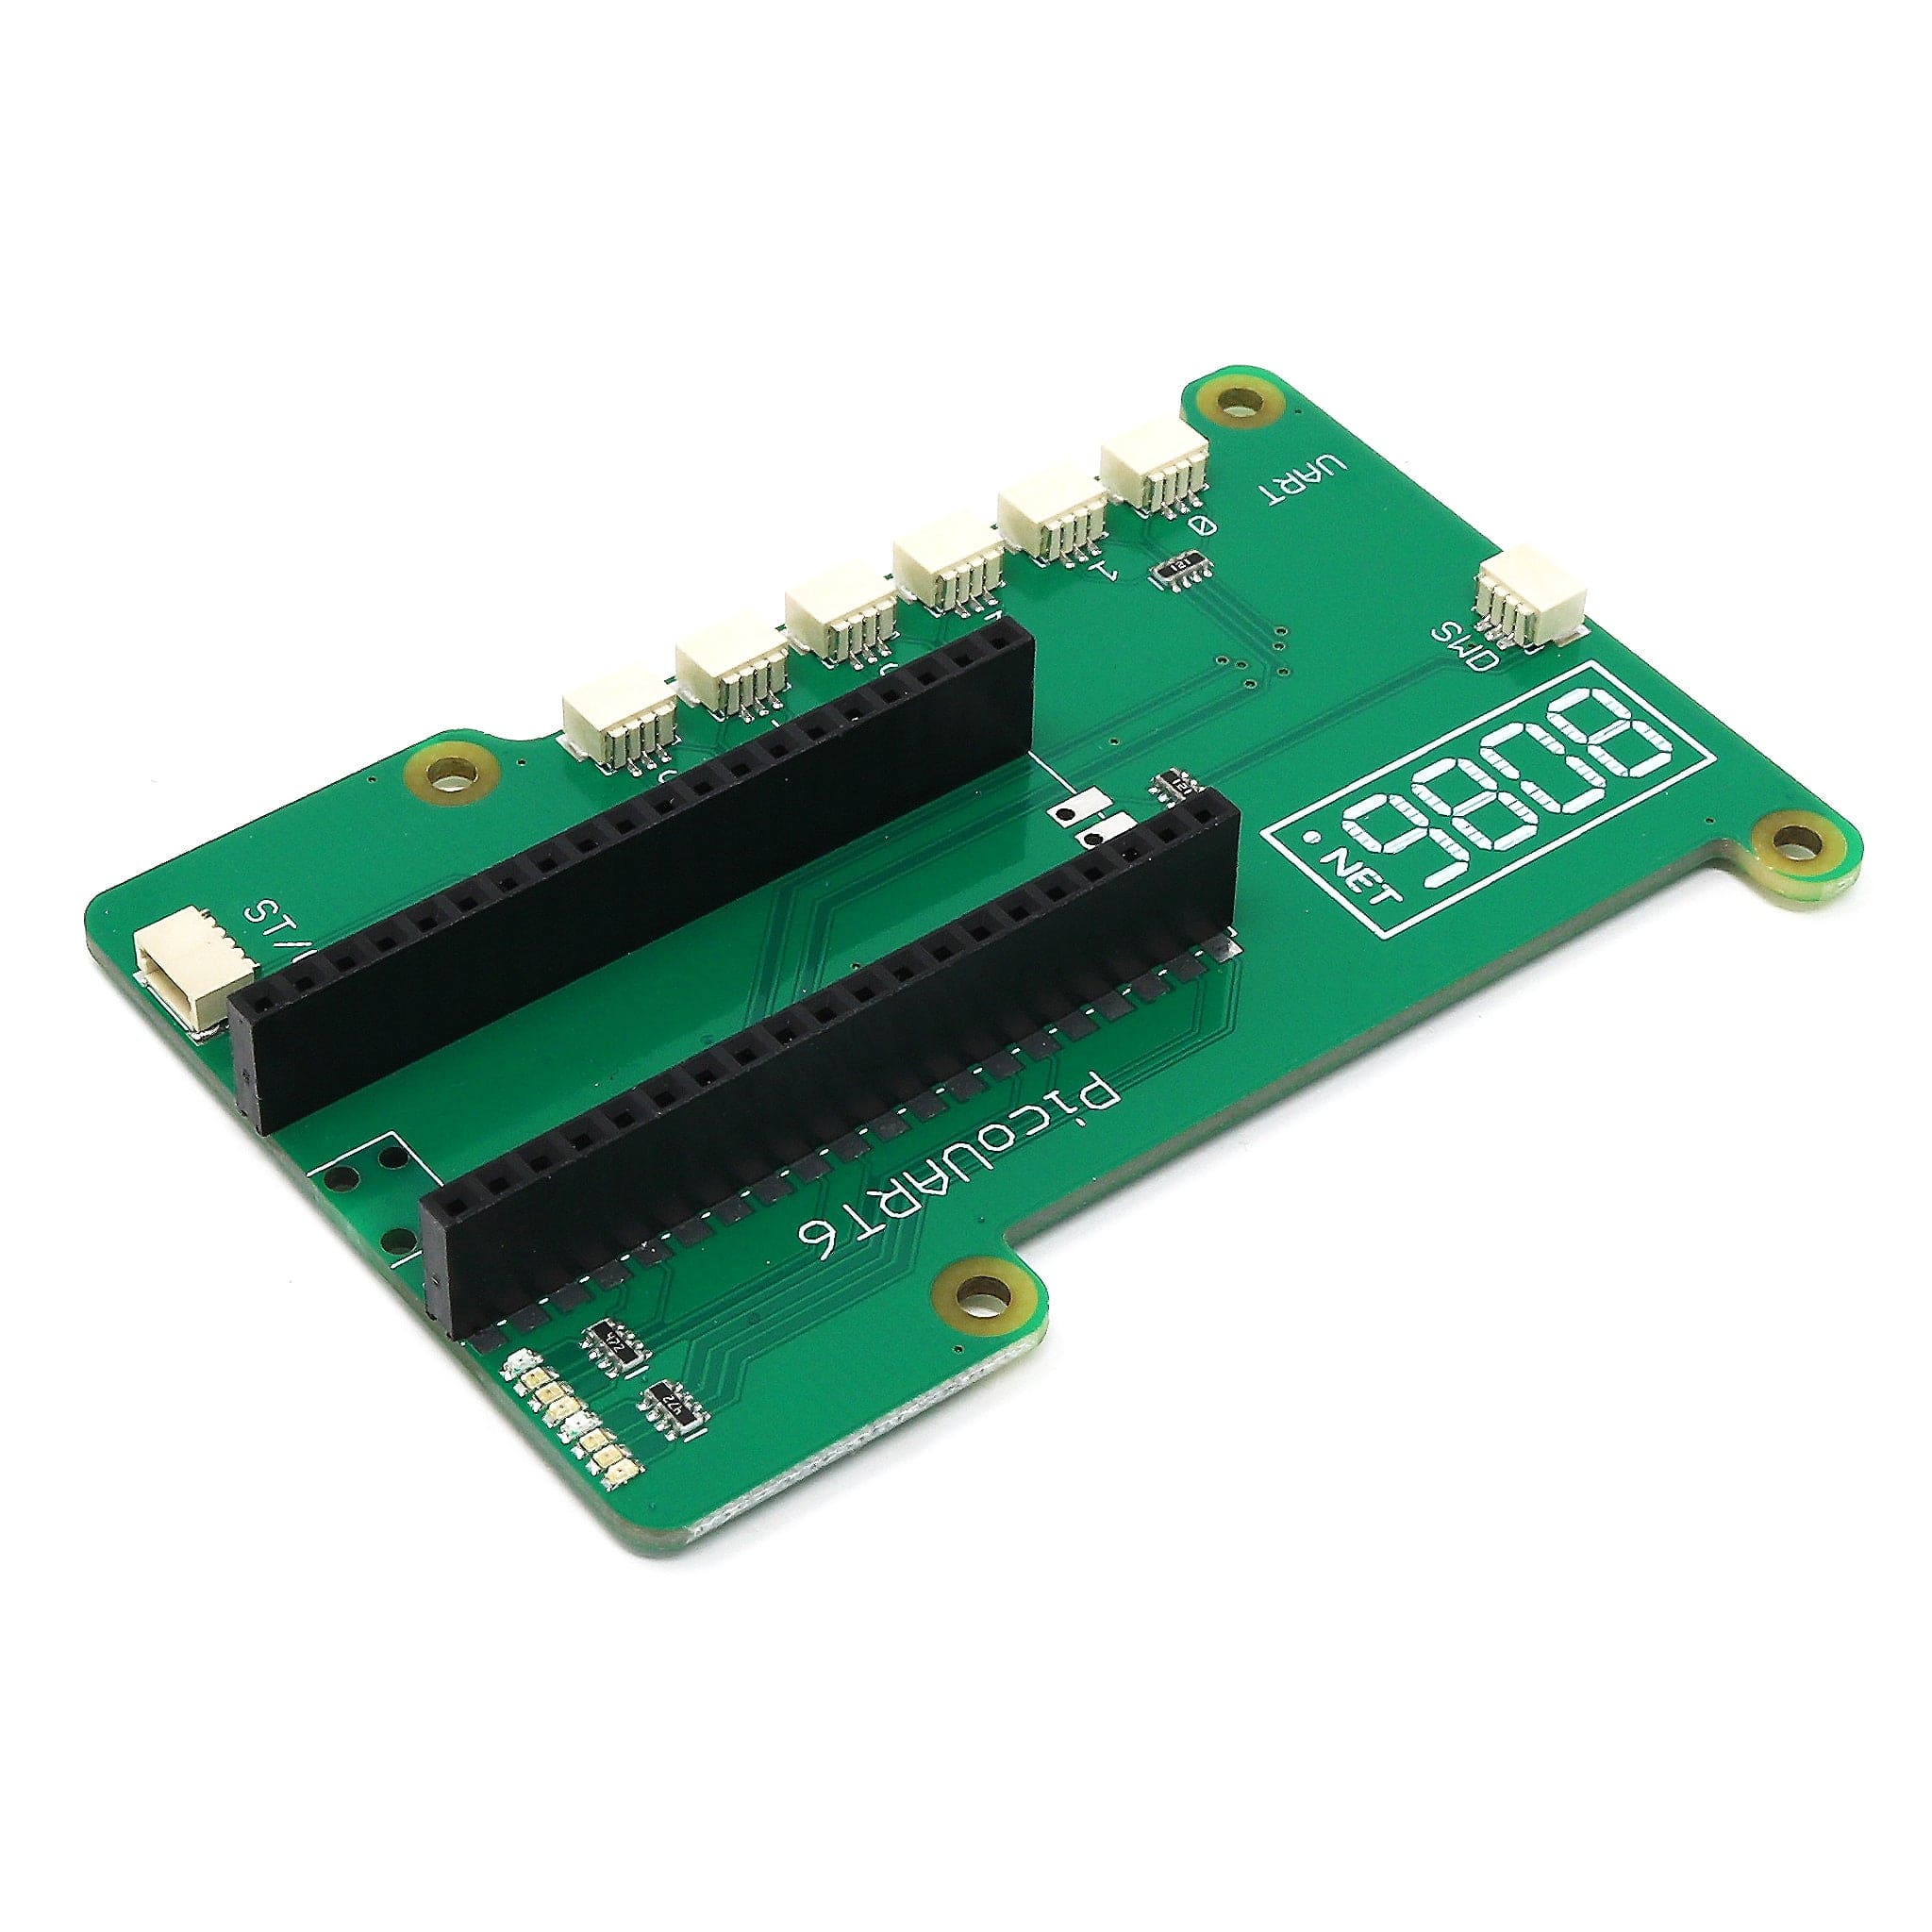
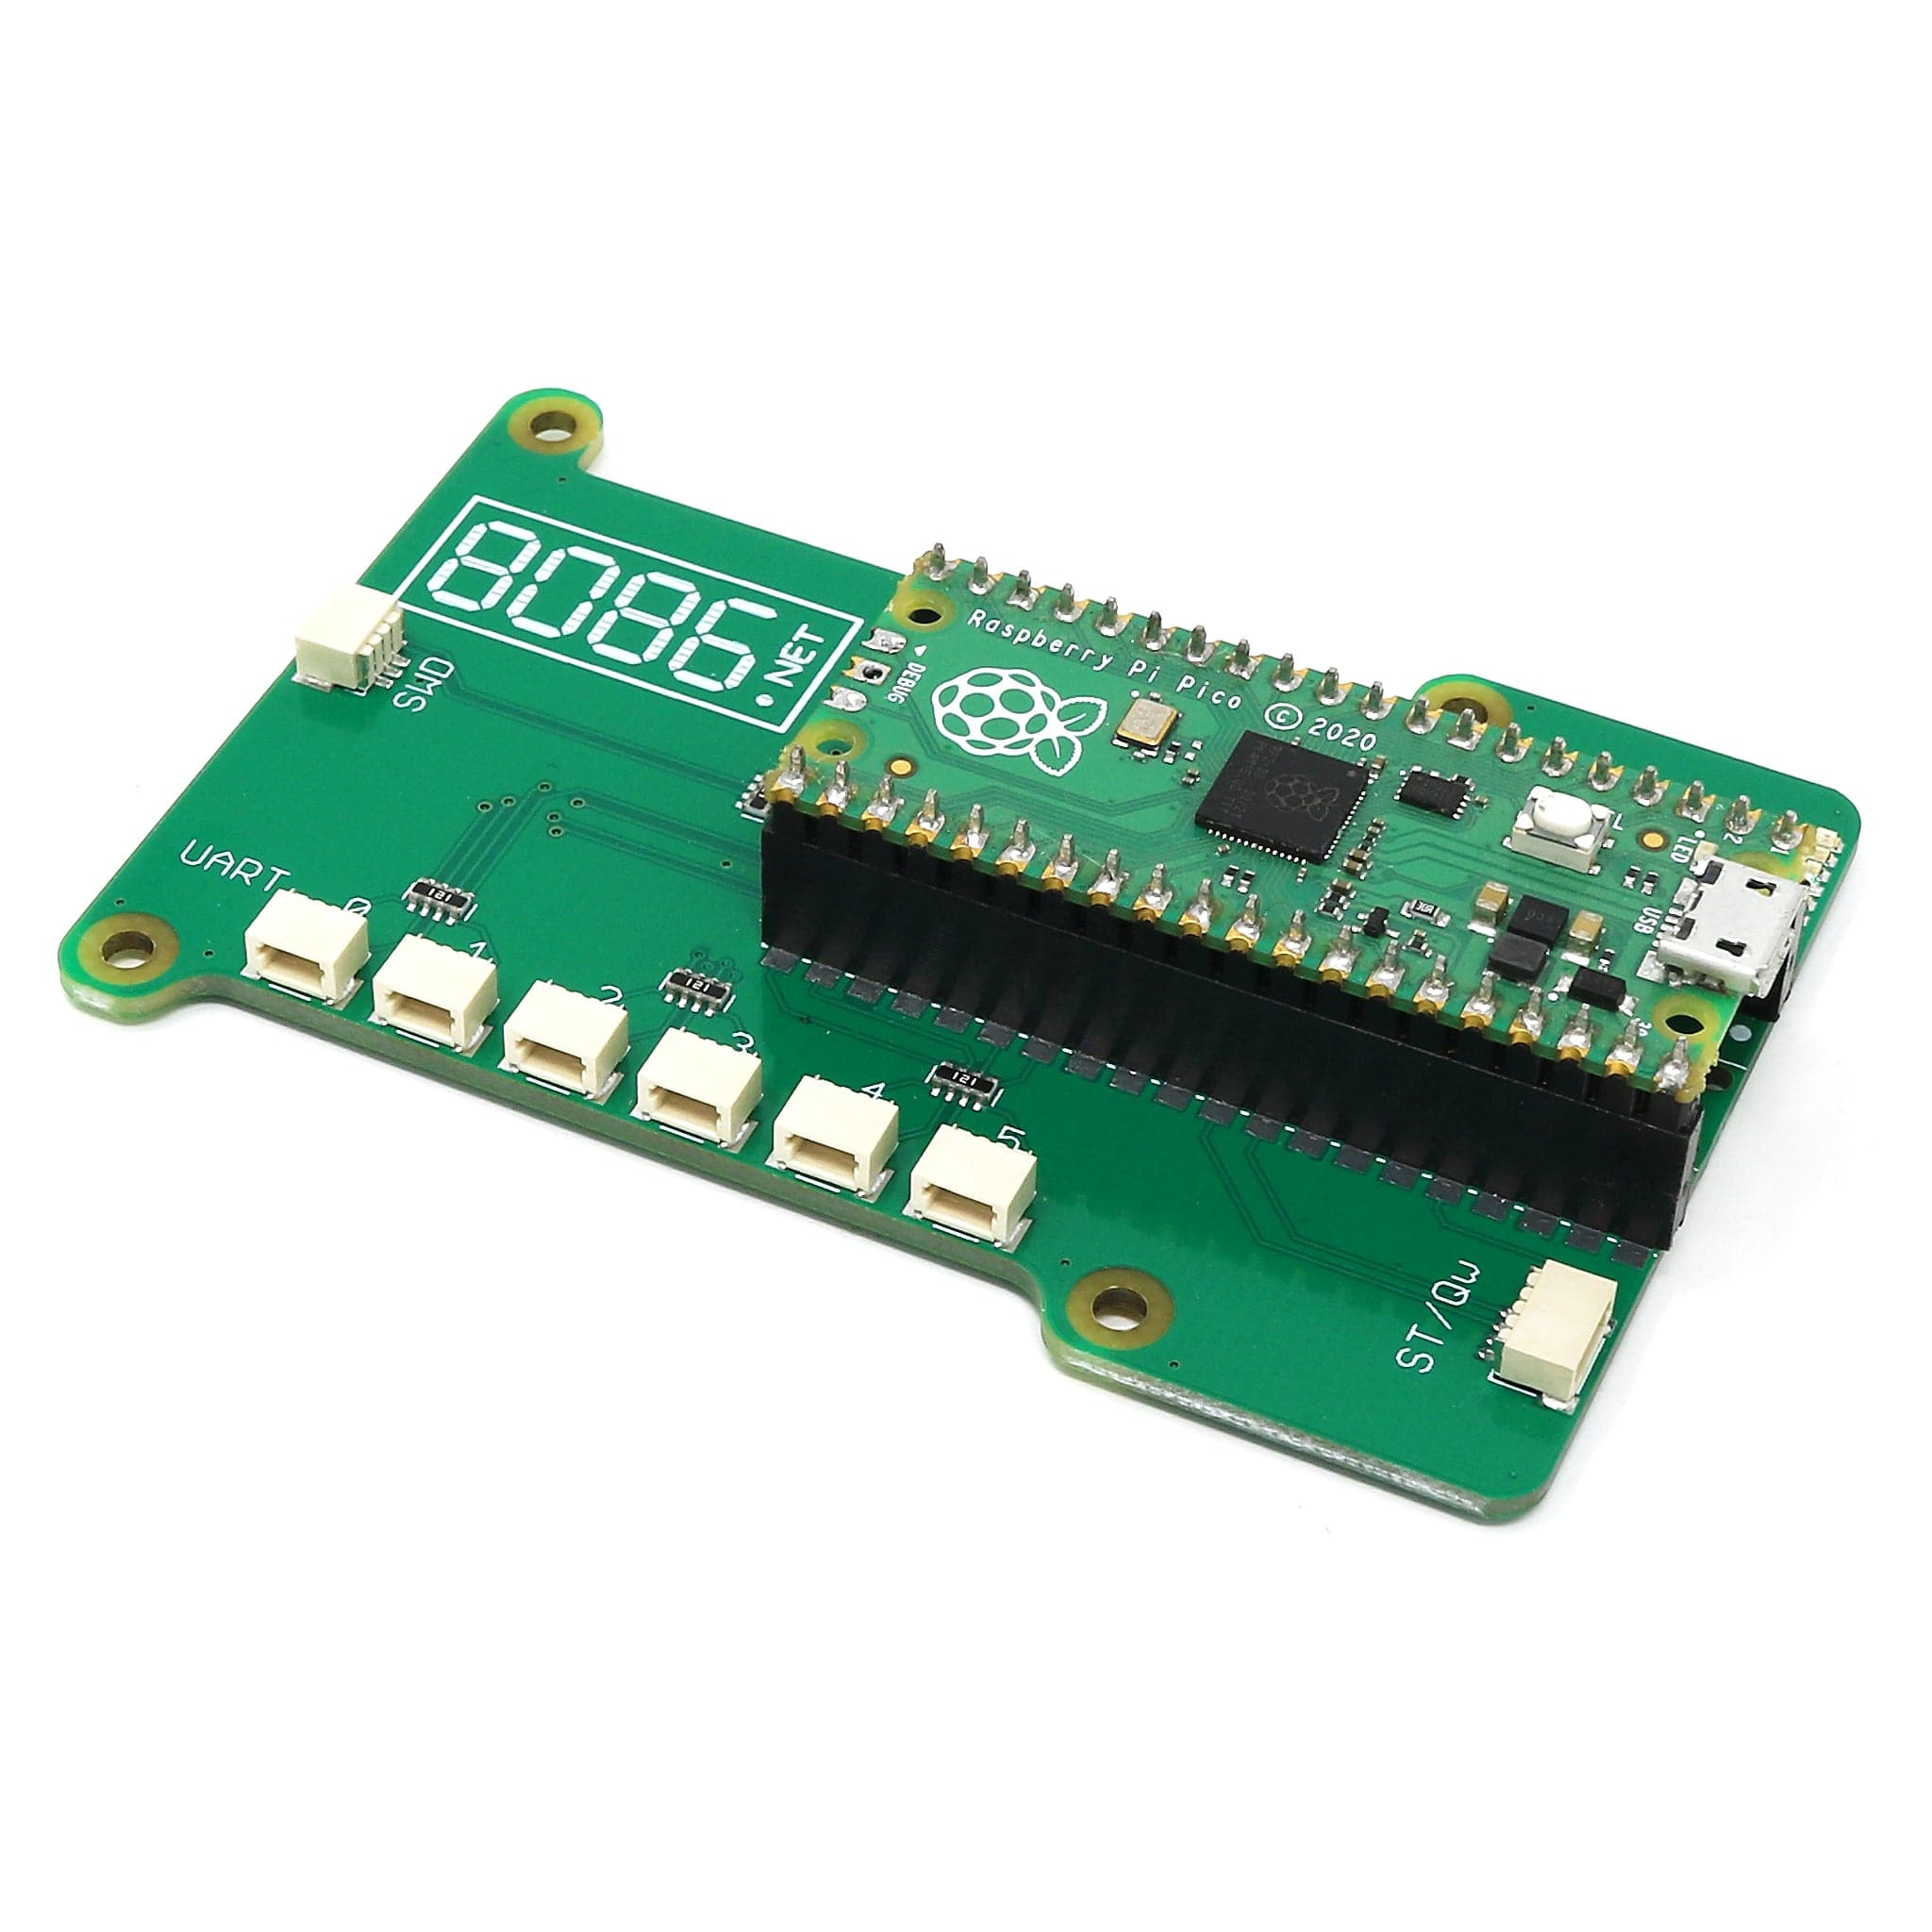
The PicoUART6 from 8086 provides the hardware side of a 6-port UART to USB (CDC) and I2C bridge to access multiple Raspberry Pi 5 console UART.

It can also be used with other 3.3V boards either following the UART Raspberry Pi 3-pin Debug Connector Specification or using a cable with a 3-pin JST SH compatible connector to 0.1" header for example. The mounting holes and cutouts in the PicoUART6 PCB allow it to be mounted onto a Raspberry Pi using M2.5 standoffs.

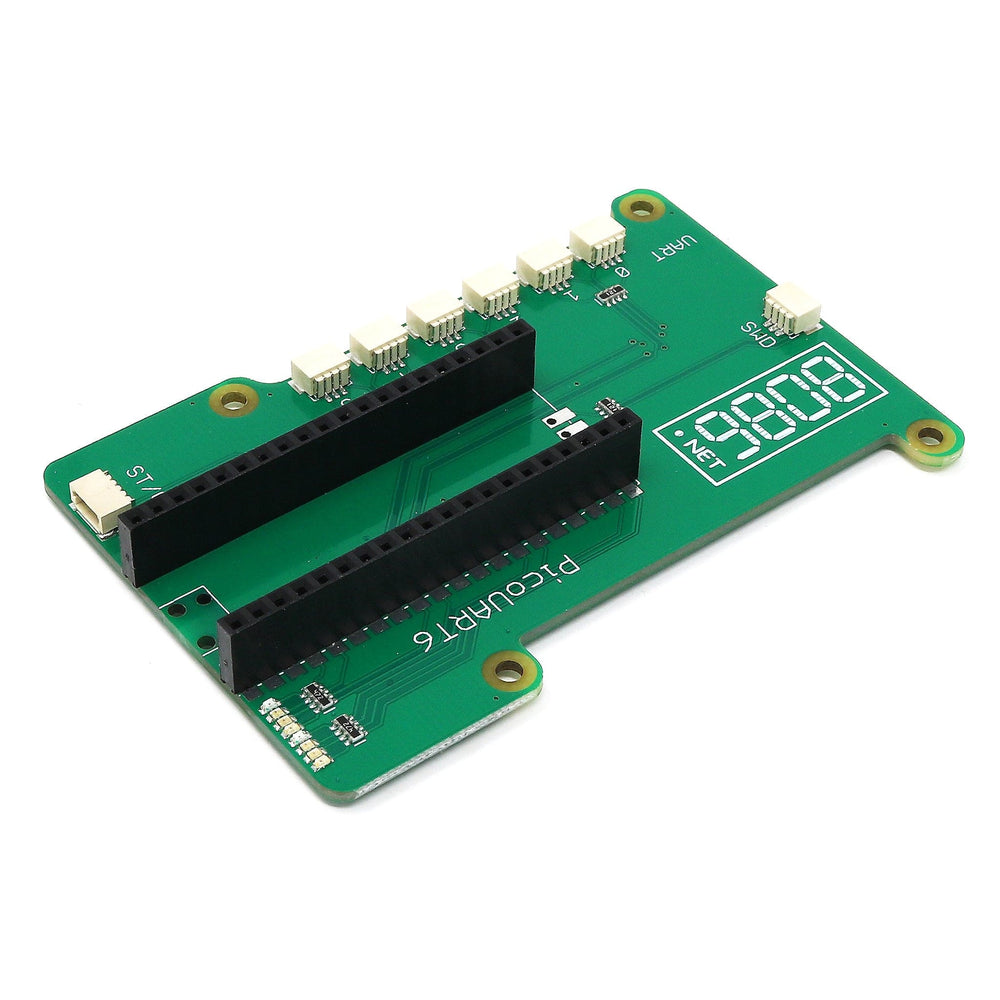
An SWD debug port (for debugging the onboard Pico) and STEMMA QT/Qwiic compatible connector for I2C (uses i2c-tiny-usb driver available on Linux) are also provided.

Pico and cables not included
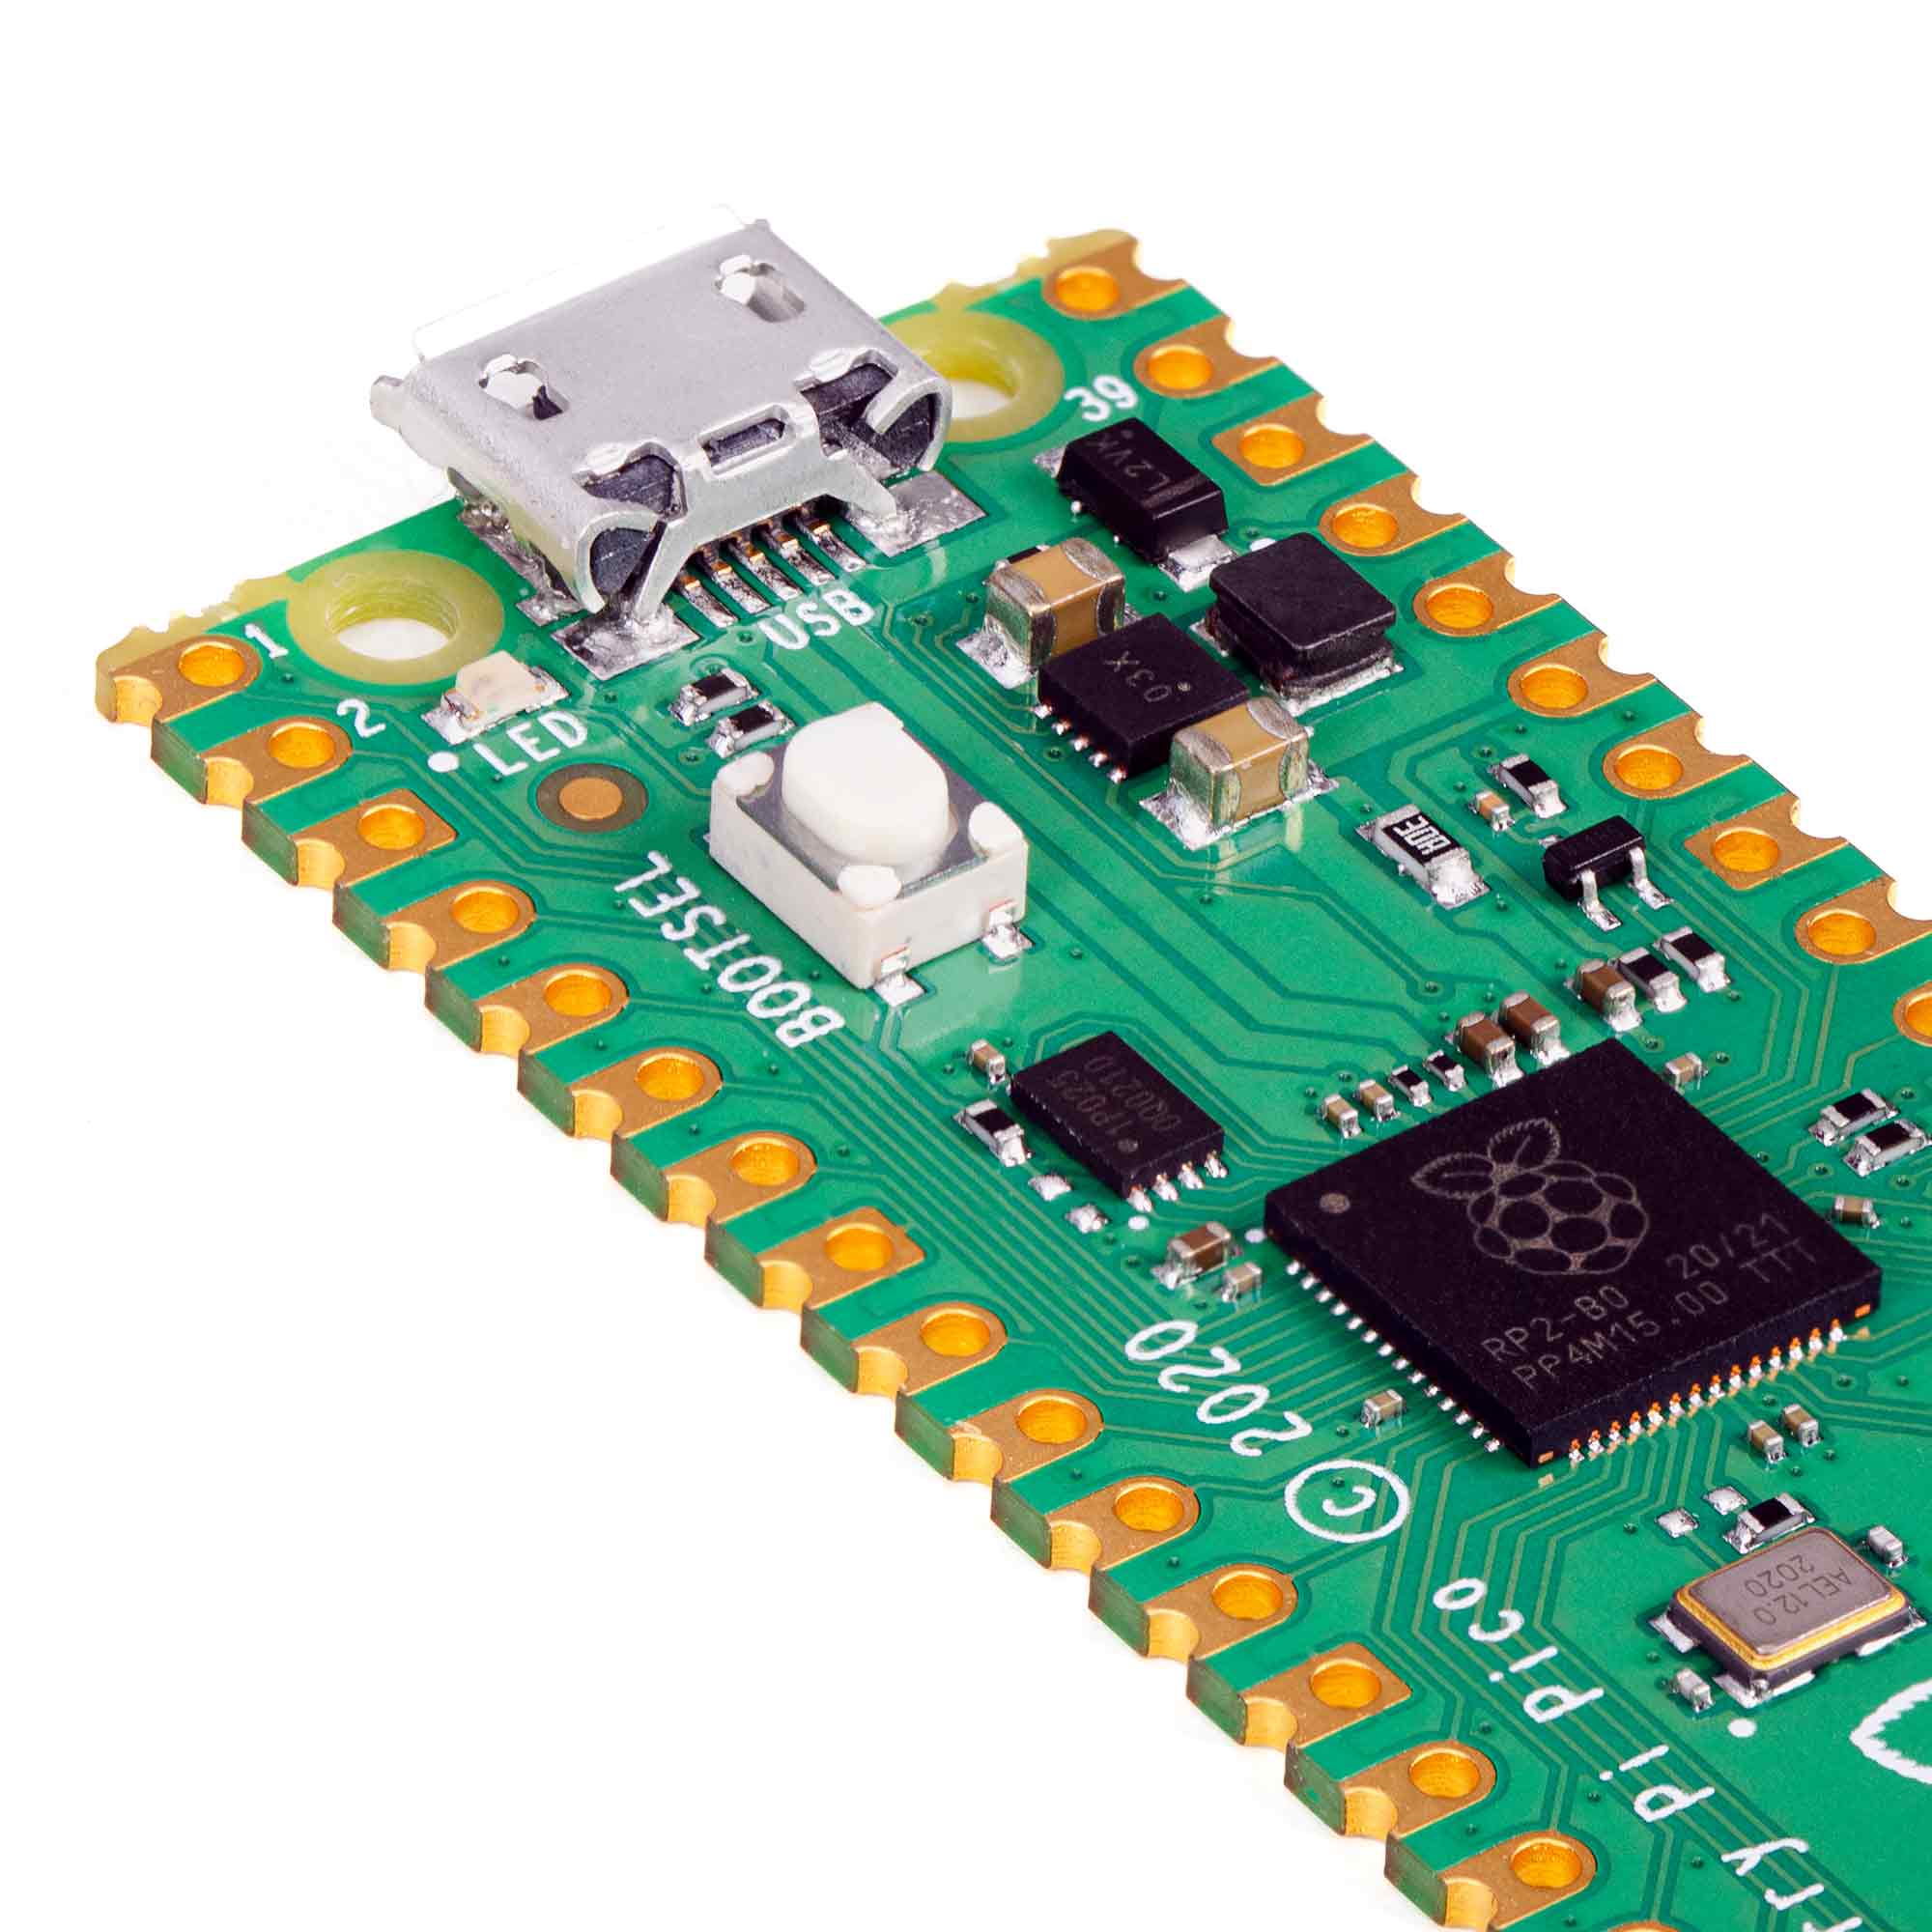
Using the PicoUART6

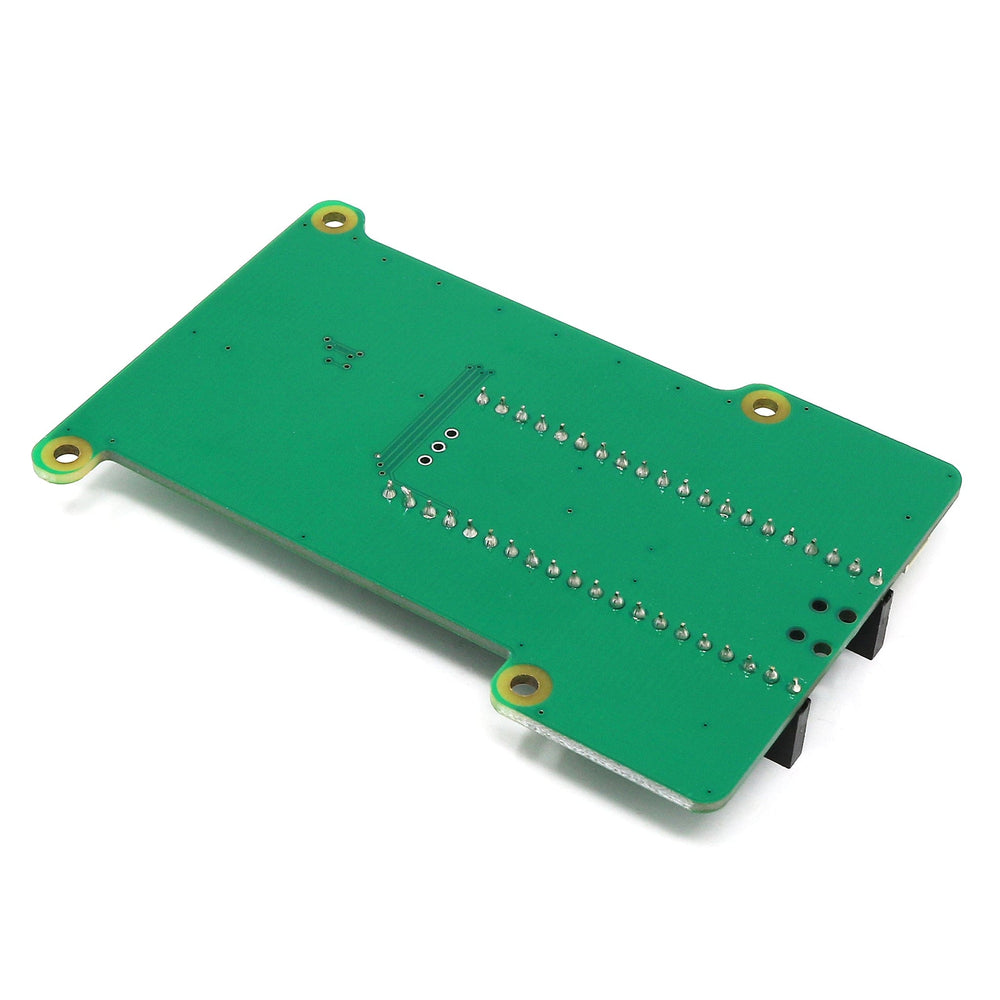
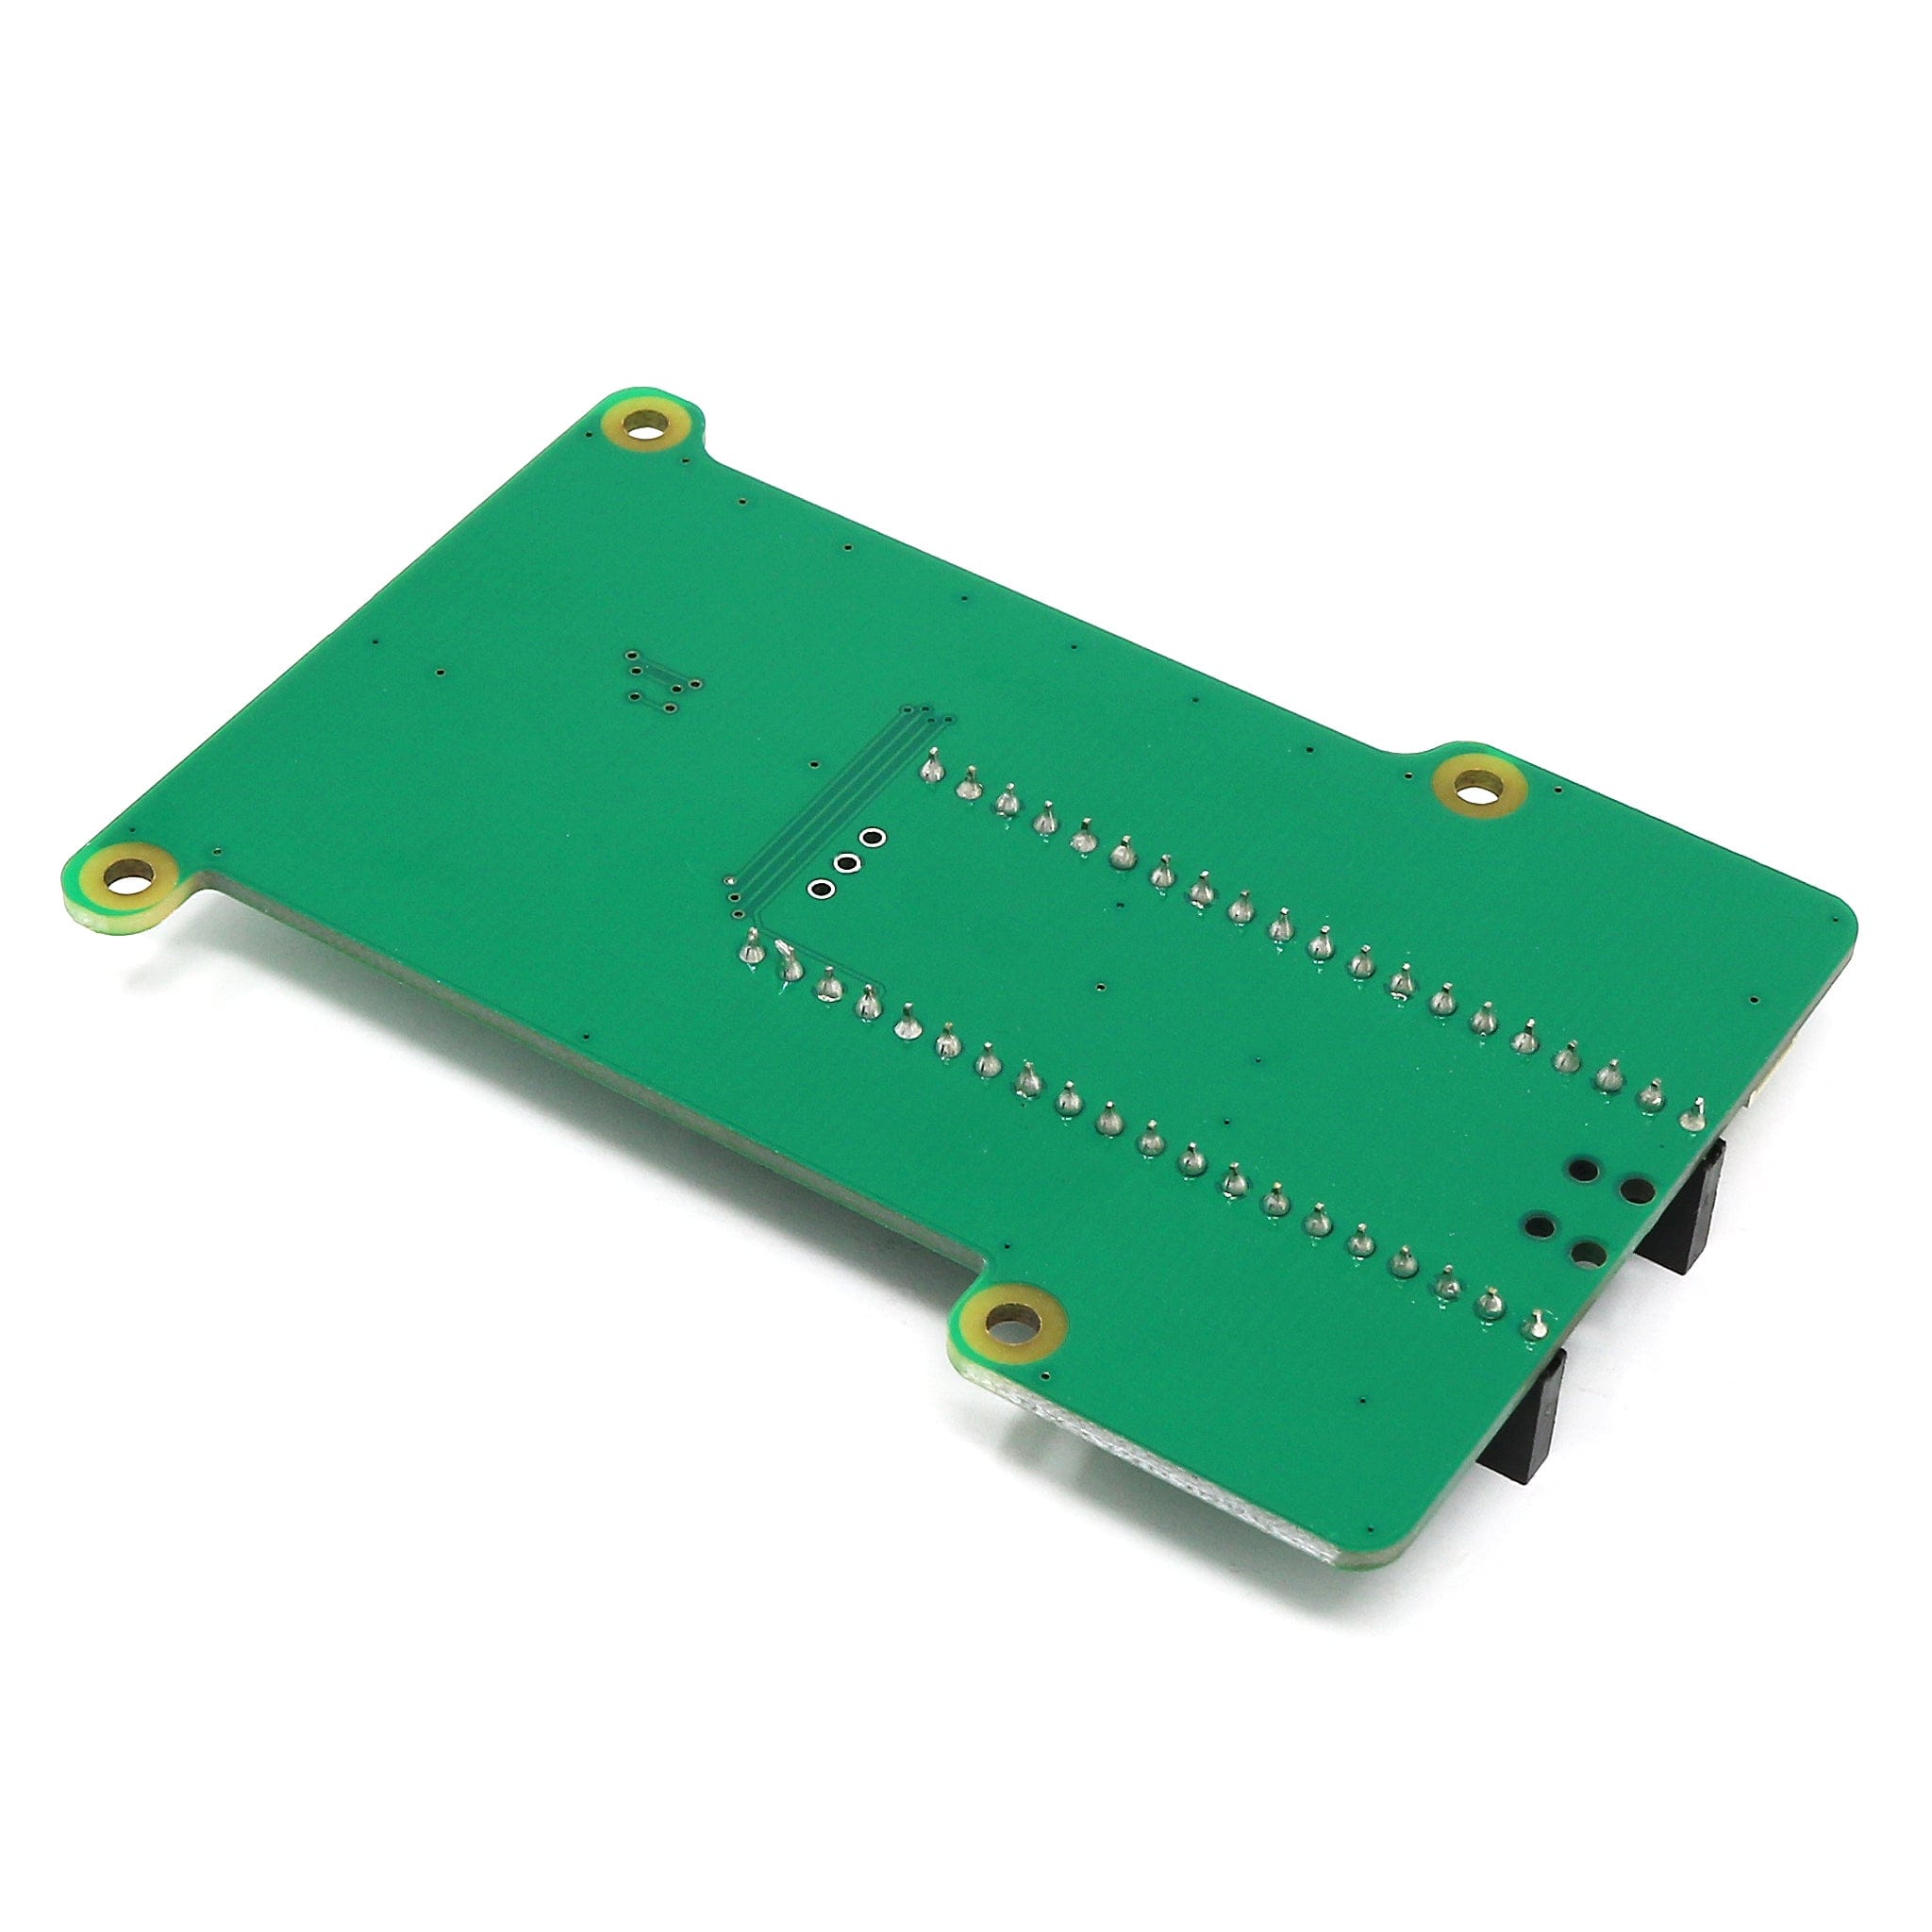
To use the PicoUART6 you'll first need to solder a Raspberry Pi Pico (not included) onto the PicoUART6 or solder two 20-way 0.1" header sockets to the PicoUART6 and then use a Raspberry Pi Pico H with pre-populated headers.

USB and UART Cables are NOT included

Firmware

To upload the pico-sexa-uart-bridge firmware to the Raspberry Pi Pico.

  1. Press and hold the BOOT button whilst plugging a USB cable from the Pico into your computer, then release the BOOT button.
  2. After a few seconds an RPI-RP2 drive should appear.
  3. Save the latest release .uf2 file onto the RPI-RP2 drive.
  4. The RPI-RP2 drive will then disappear and when it connects back to the computer you should see 6 USB Serial ports.

Resources

Package Contents

  • 1x PicoUART6 board

Pico and cables not included
Payment & Accreditations

Payment methods
Visa Mastercard Maestro PayPal Amazon Klarna

Your payment information is processed securely. We do not store credit card details nor have access to your credit card information.

Accreditations