Login / Signup
Cart
Your cart is empty
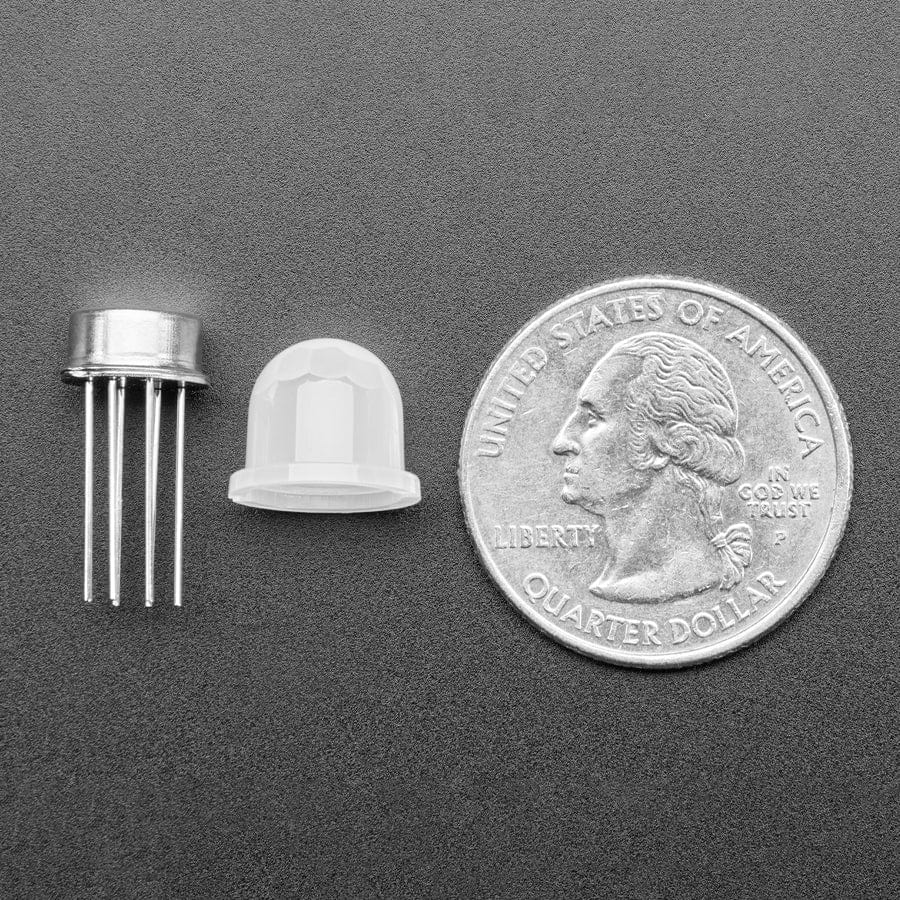
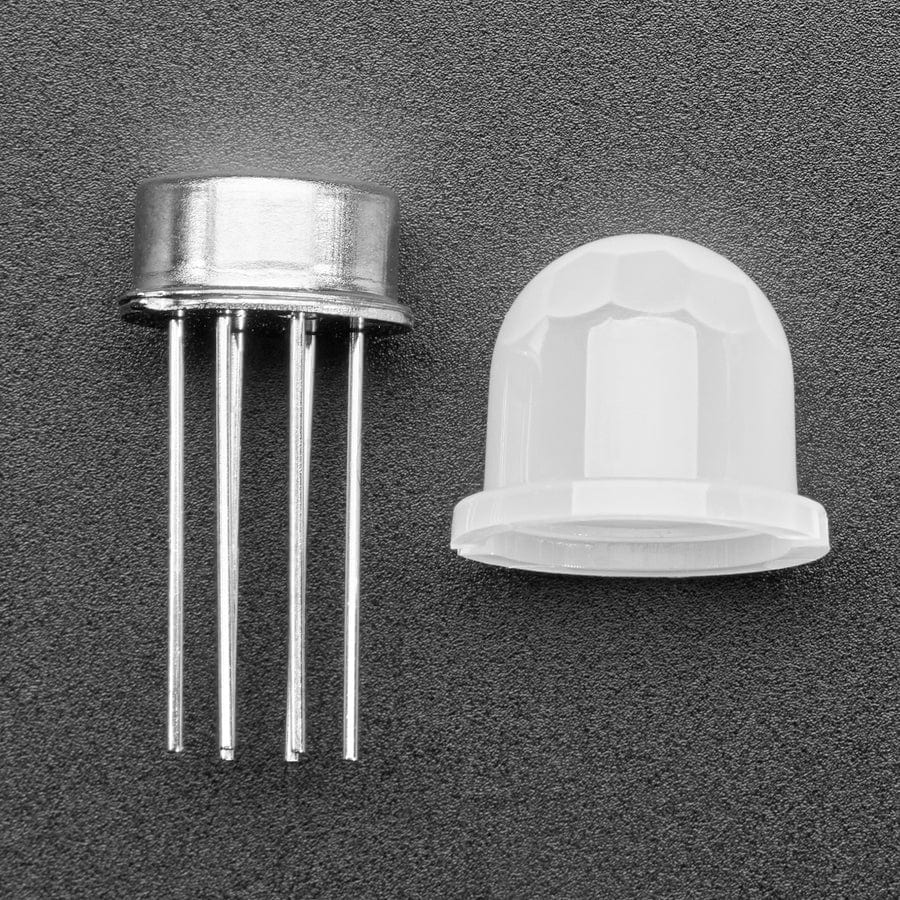
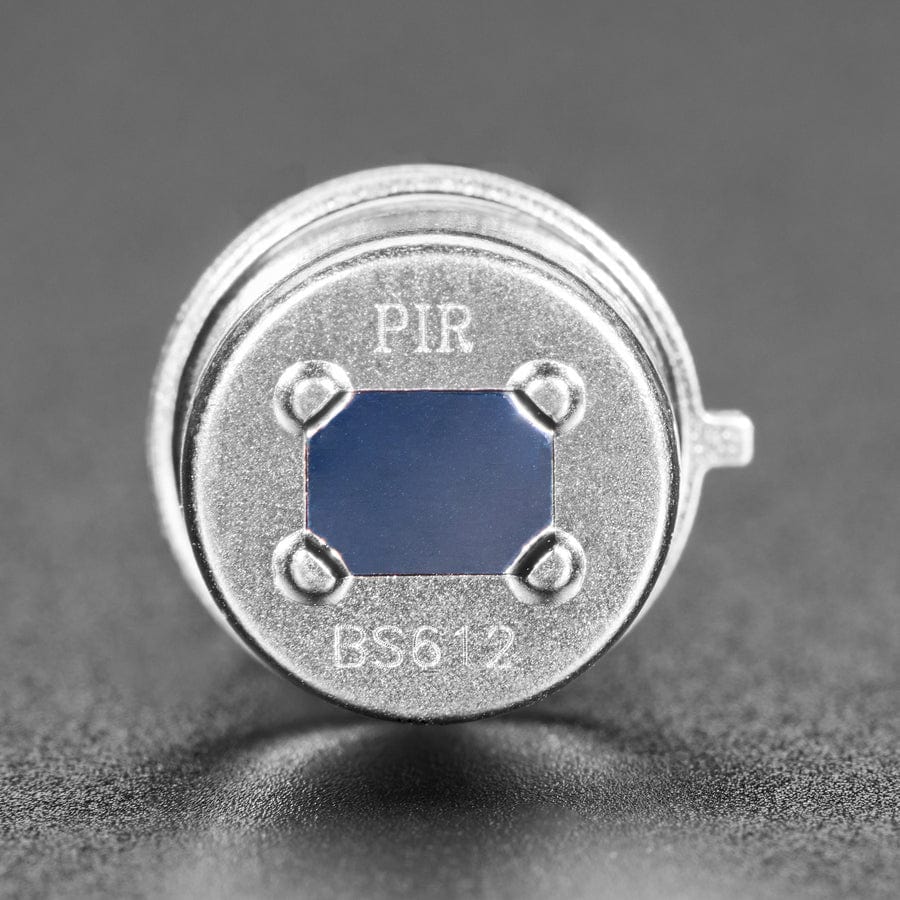
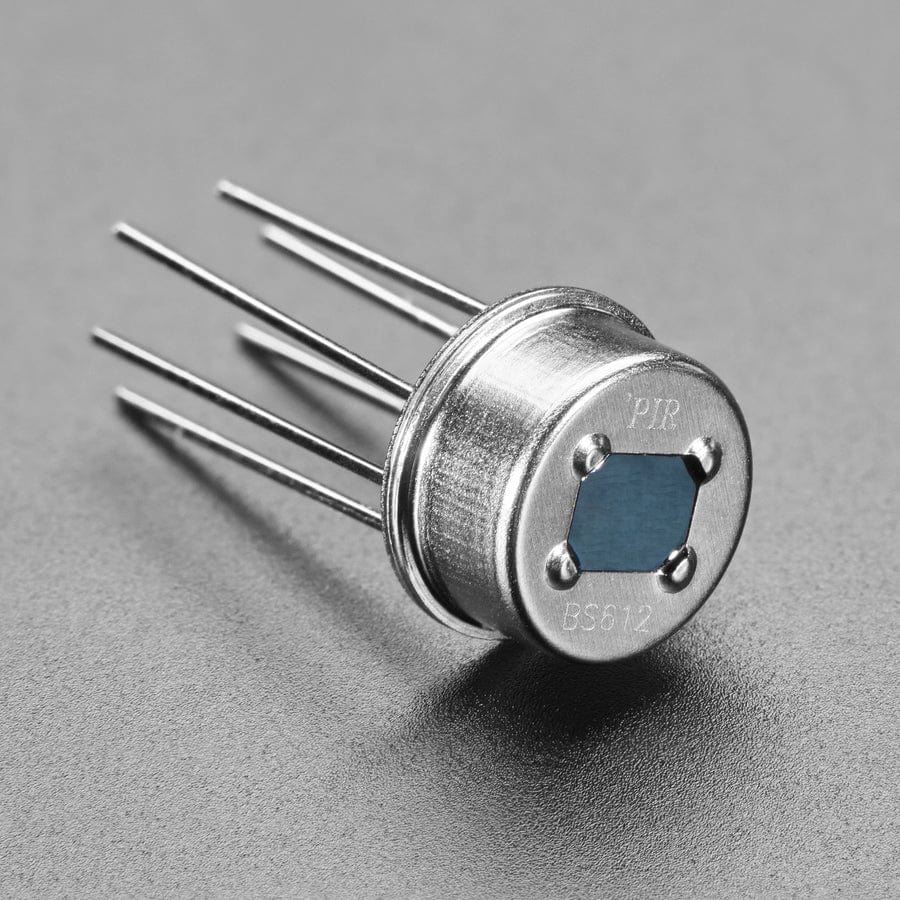
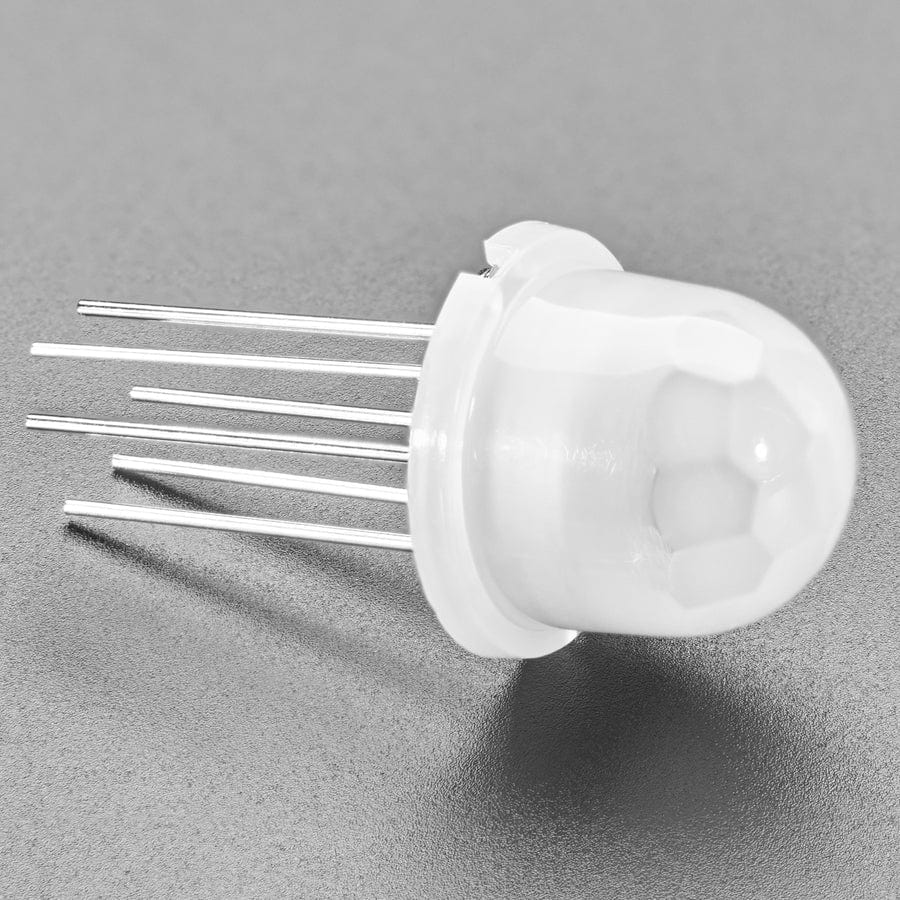
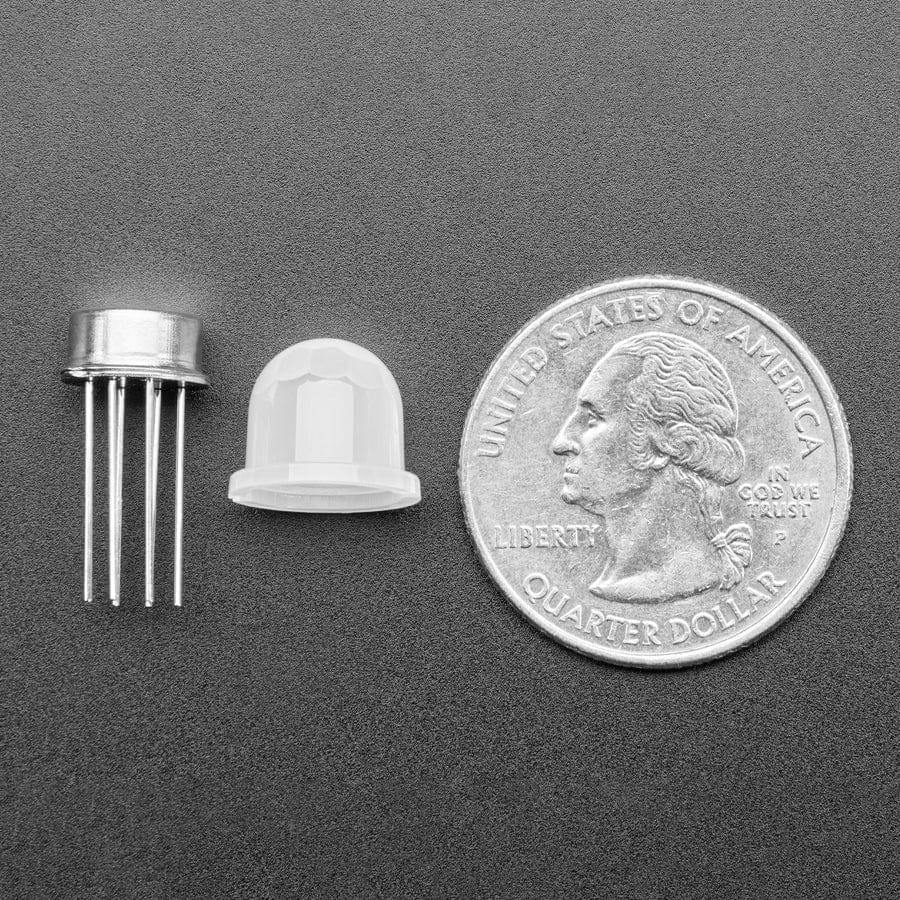
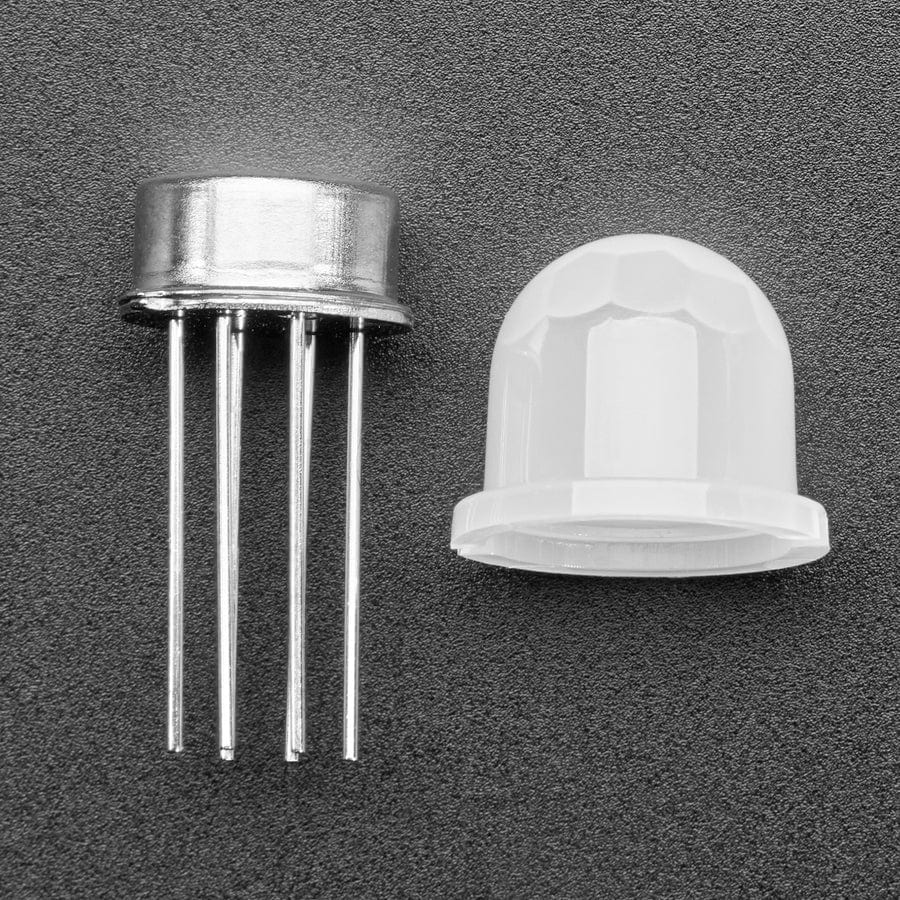
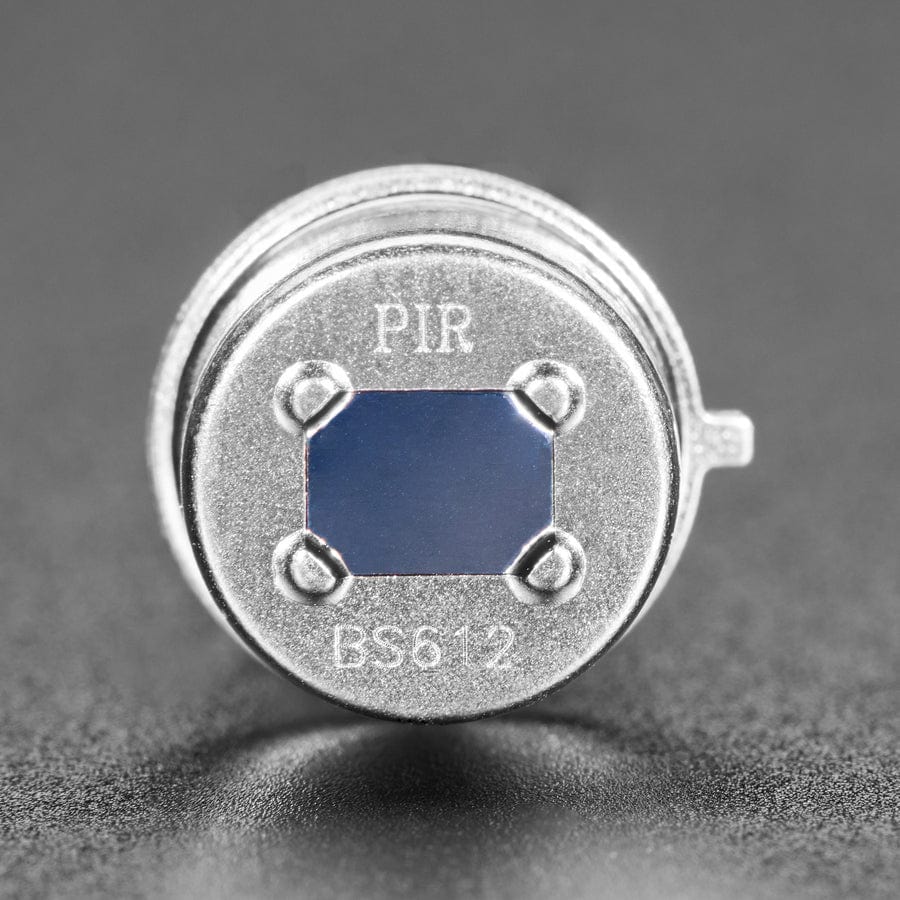
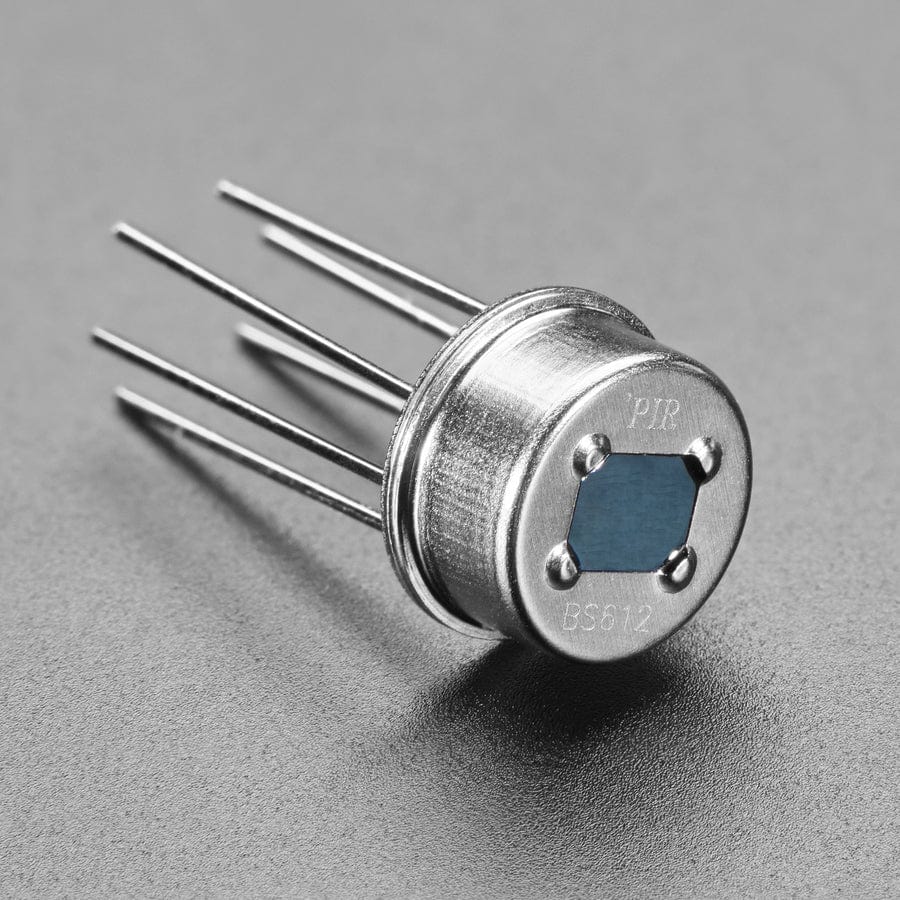
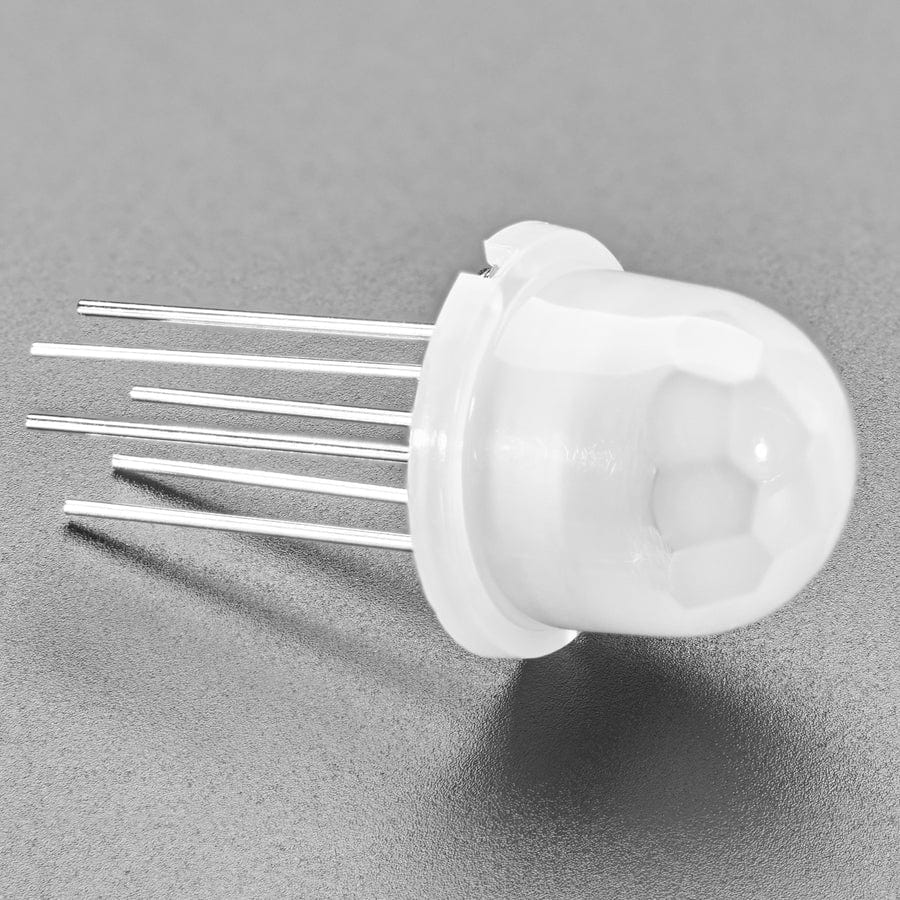
PIR sensors are used to detect motion from pets/humanoids from about 5 meters away (possibly works on zombies, not guaranteed). This sensor is much smaller than most PIR modules, which makes it great for unobtrusive projects. It's also fully contained and very configurable. After you've provided power and ground, you can use the remaining 3 pins to configure whether the sensor is enabled (OEN), how sensitive the PIR should be to motion (SENS) and how long the output is active for (ON TIME). Even though there are 6 pins, the wires are flexible and long so the sensor is breadboard or perfboard friendly.
Runs on 3.3V power - so make sure if you're interfacing with an Arduino or other 5V chip, you power it from the 3V regulator. The digital signal output is 3.3V high/low.
You can change the length of time the signal pin stays high by connecting a resistor divider to the ONTIME pin, from 2 seconds (0V) up to one hour (VDD a.k.a. 3.3V) - see the datasheet 'TIME pin voltage range center' table for recommended resistor values.
You can also change the sensitivity of the PIR element by connecting a resistor divider to the SENS pin, from 0V (most sensitive) to VDD/3.3V (least sensitive) - see the datasheet 'SENS pin voltage' table for details.
To use, see the datasheet pin-out diagram:
The snap-on lens is focused to 5 meters away with a 120-degree spread but should work from about 3 to 8 meters. These are smaller than our standard PIR modules, and you'll find the performance is OK but not as great as the larger modules, for example not having as wide of a range and taking longer to trigger.
The BS sensor window is 4mm x 3mm. We also carry the BL412 PIR sensor which has a larger sensing element (so it will be more sensitive) but does not have the extra configuration pins...or just check out our motion sensor section for more options!
PIR sensors and the Raspberry Pi sometimes don't get along - if you're having false trigger reports, make sure the PIR Sensor is far away from the Pi


