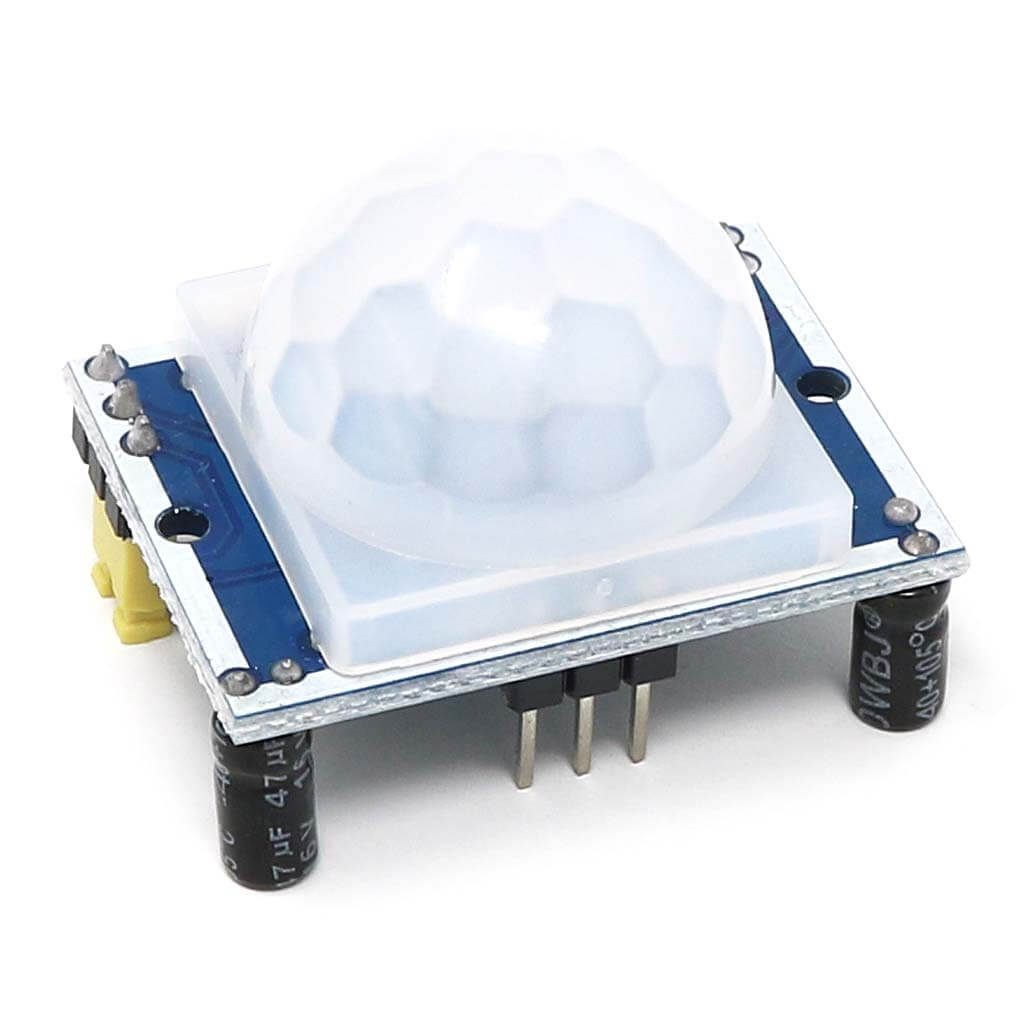
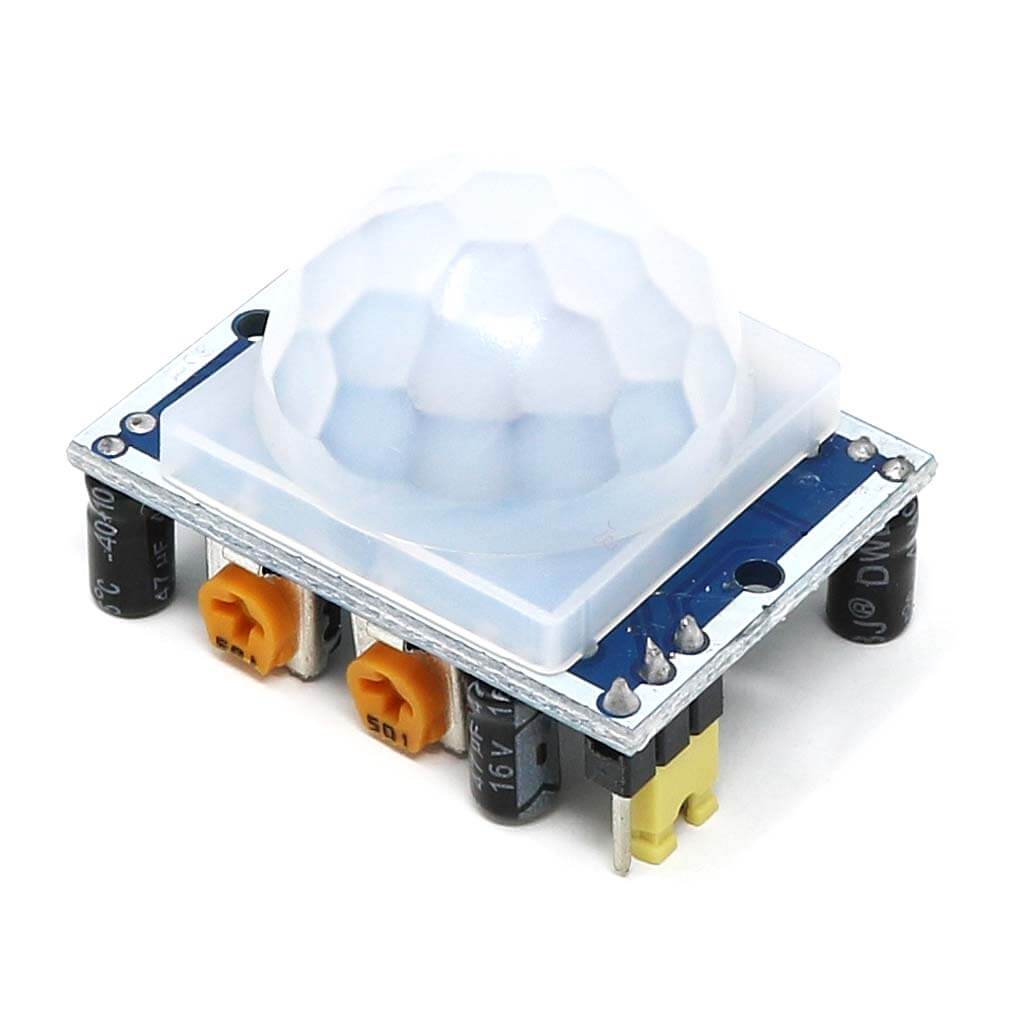
PIR Motion Sensor Module
Price:
Sale price
£3
Stock:
Quantity:
Login / Signup
Cart
Your cart is empty
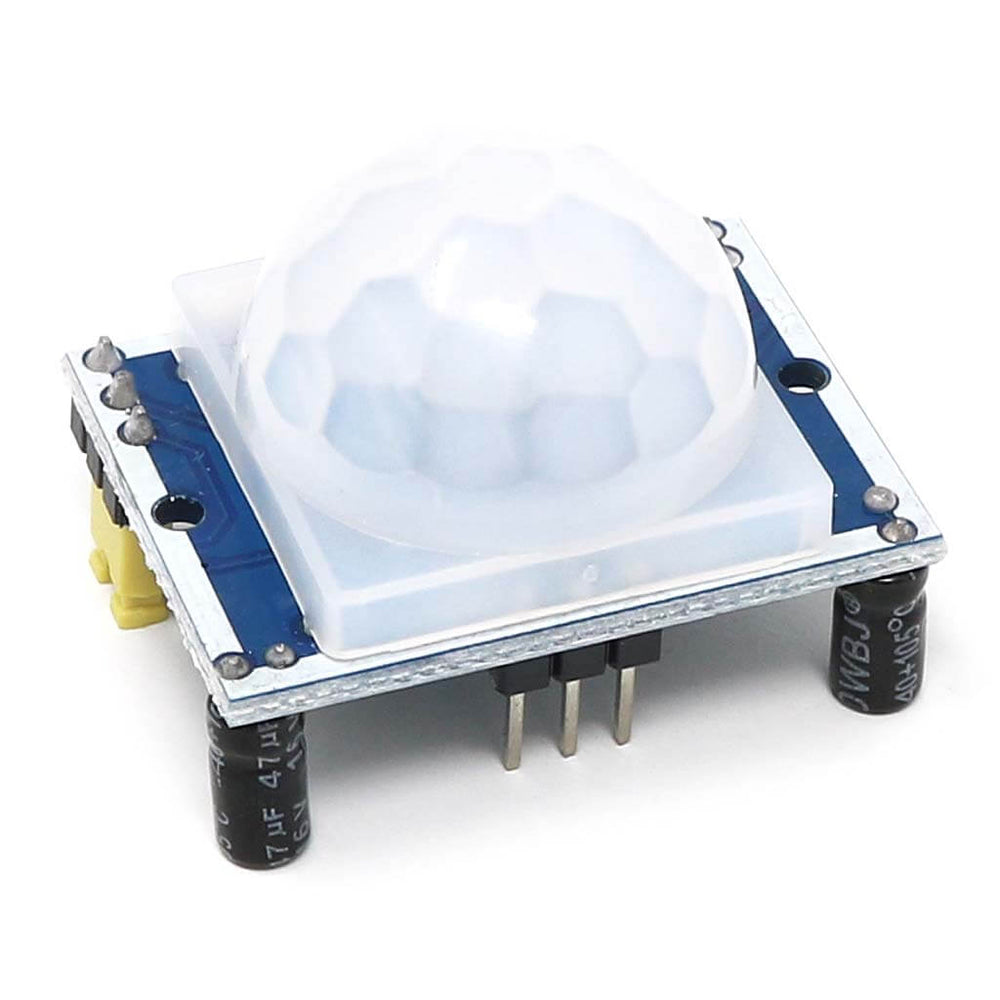


PIR sensors are one of the most popular sensors used with the Raspberry Pi and Arduino projects. They're affordable, easy to code, have endless online examples and make some of the coolest projects!
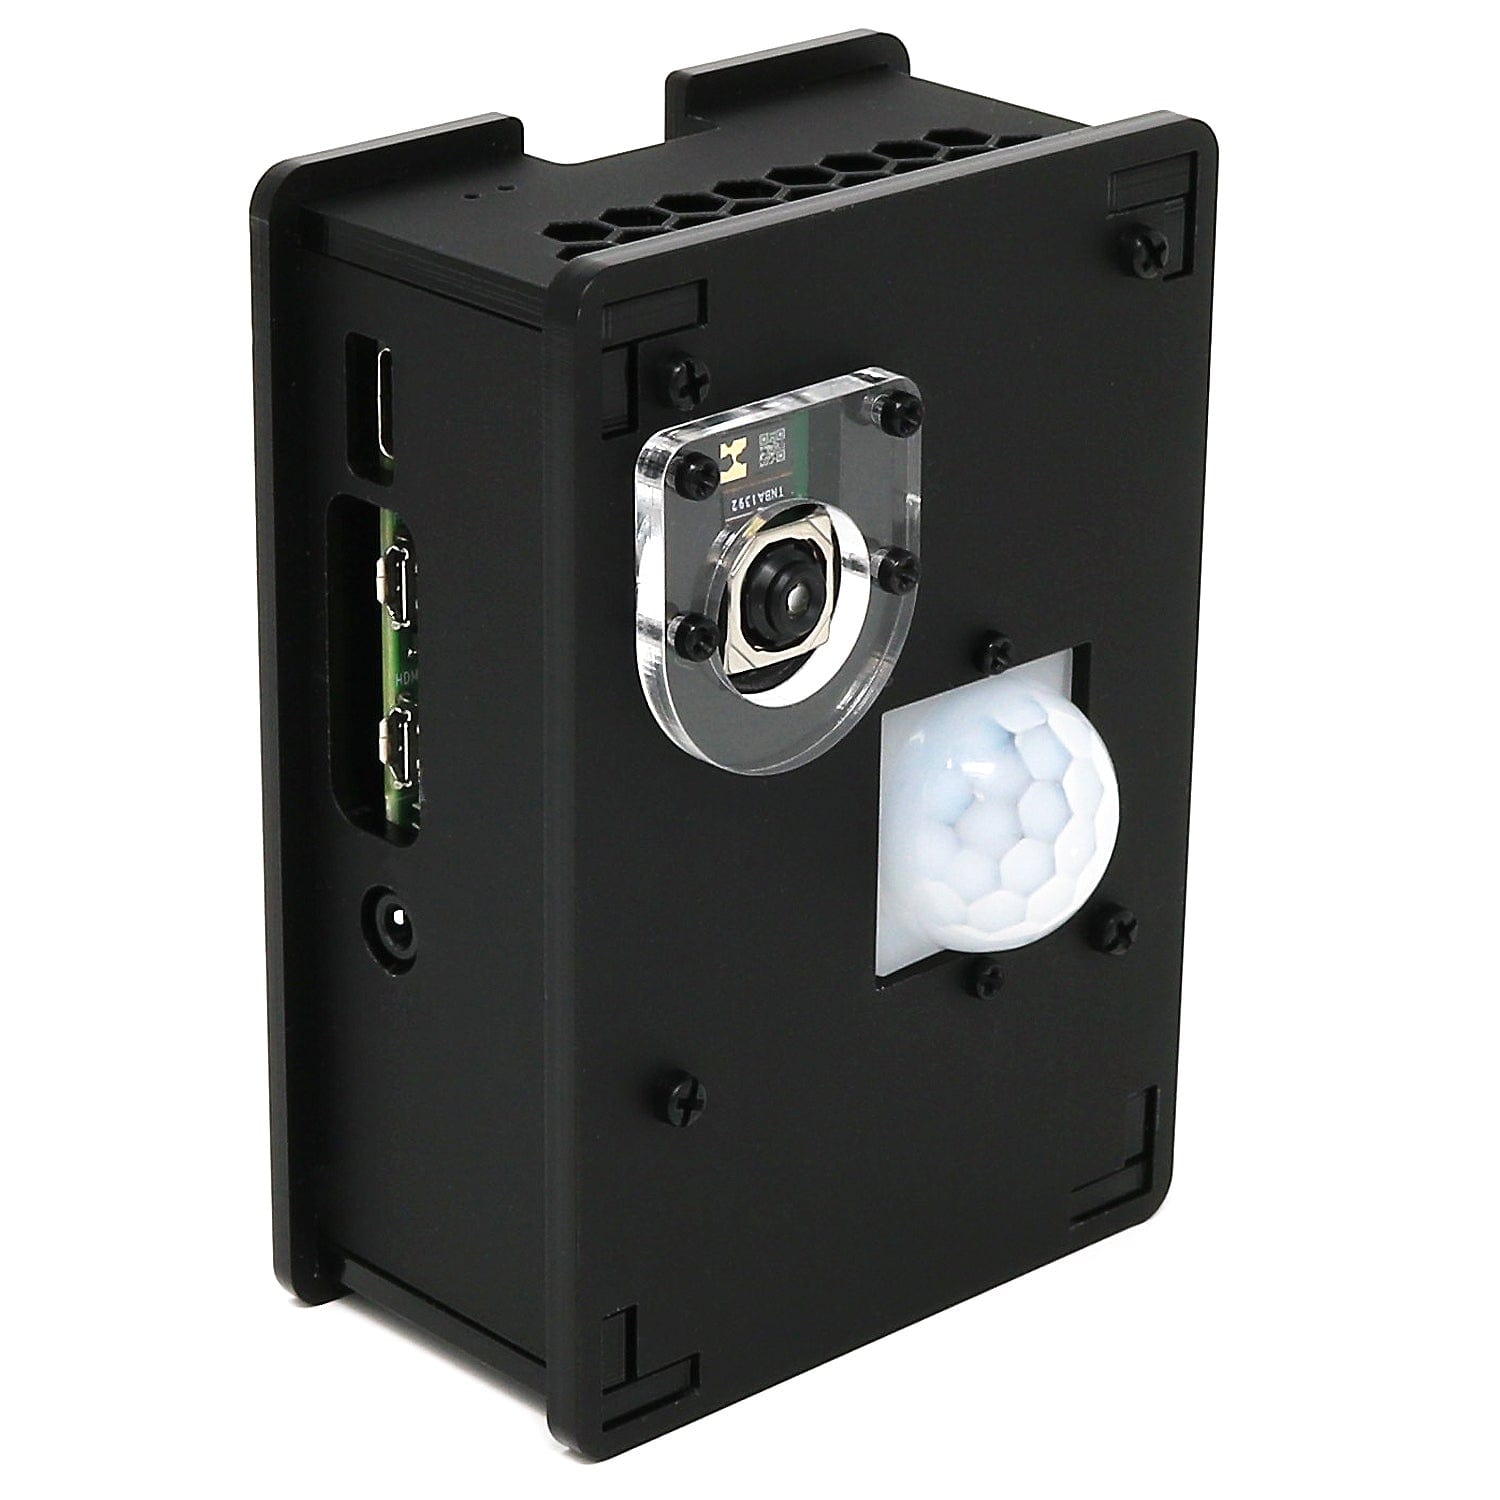
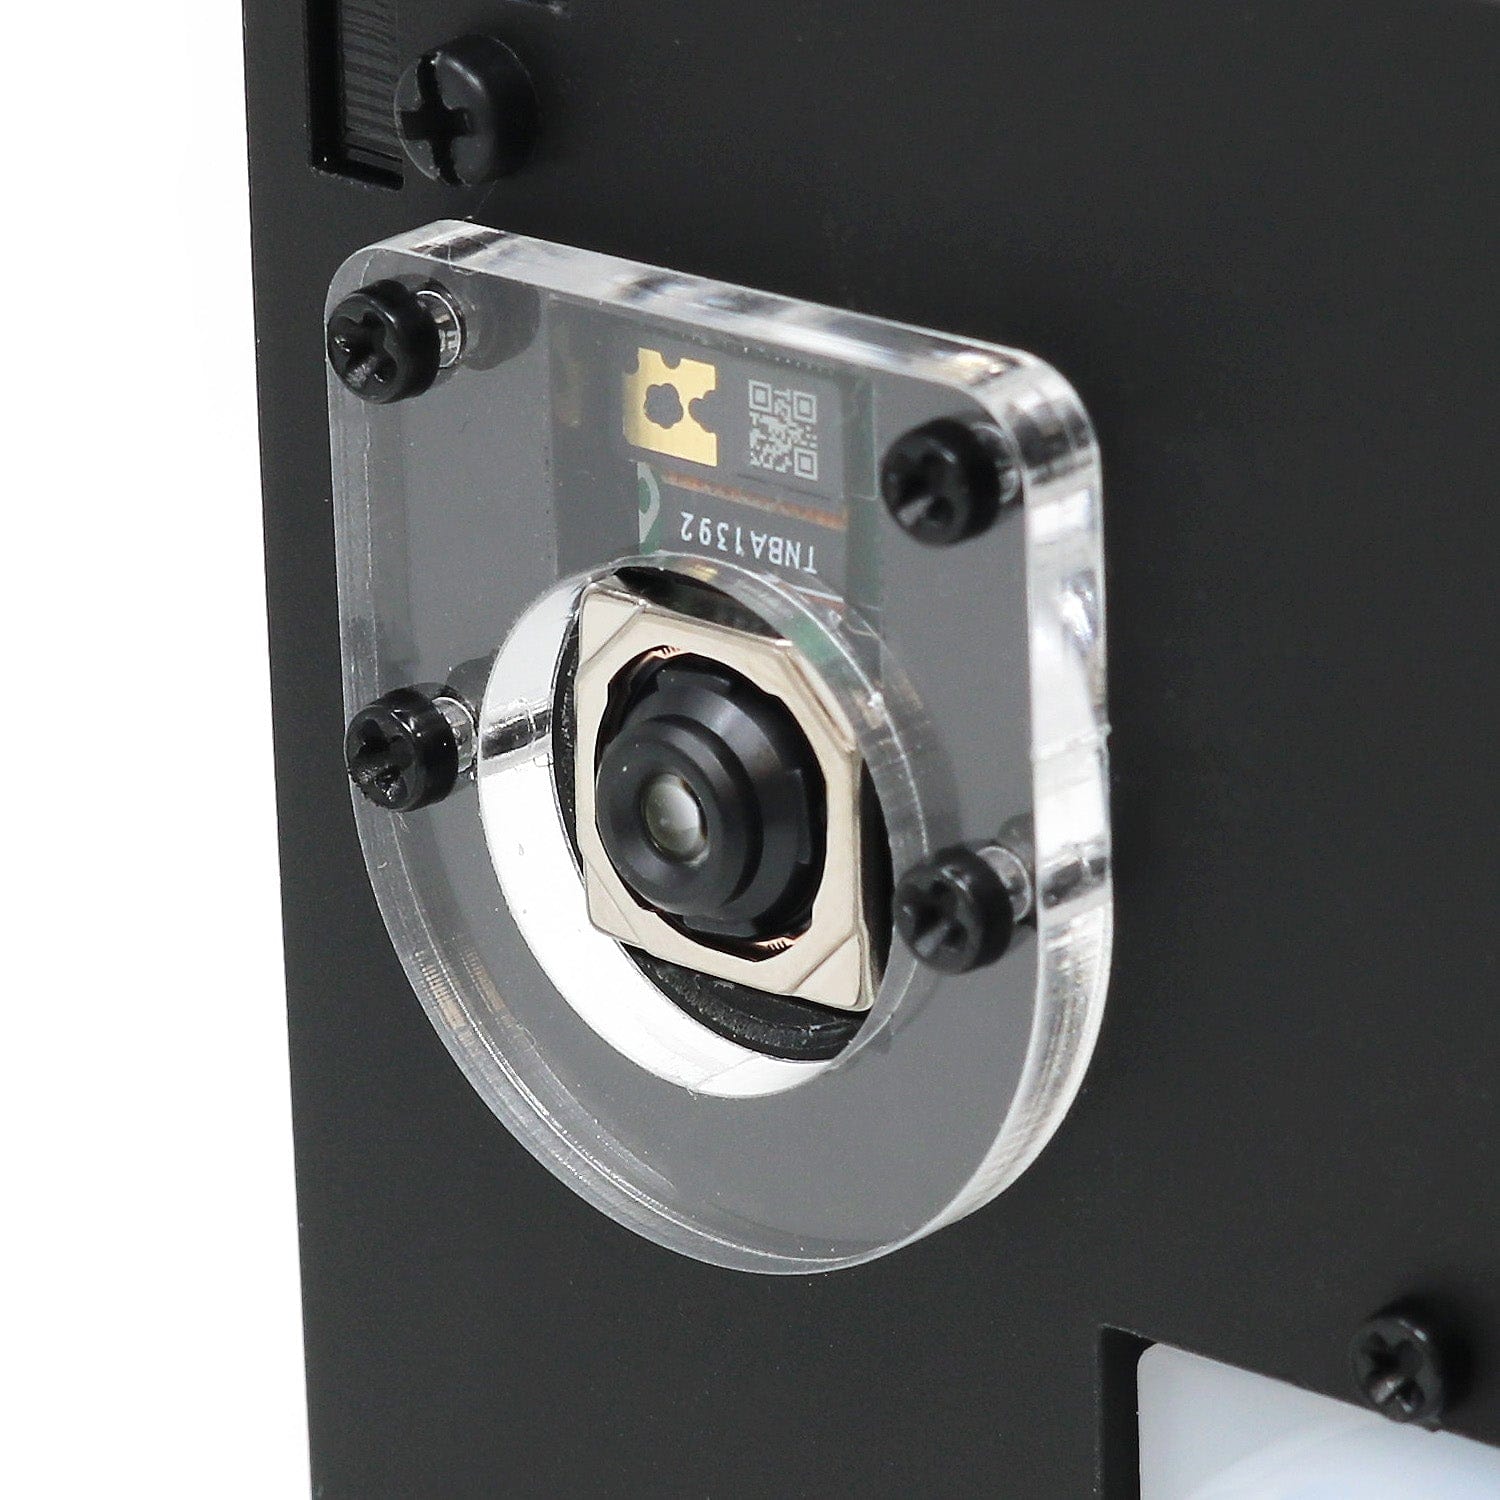
Use these sensors to detect movement in front of your project! We use these sensors in our Raspberry Pi PIR Camera Case!
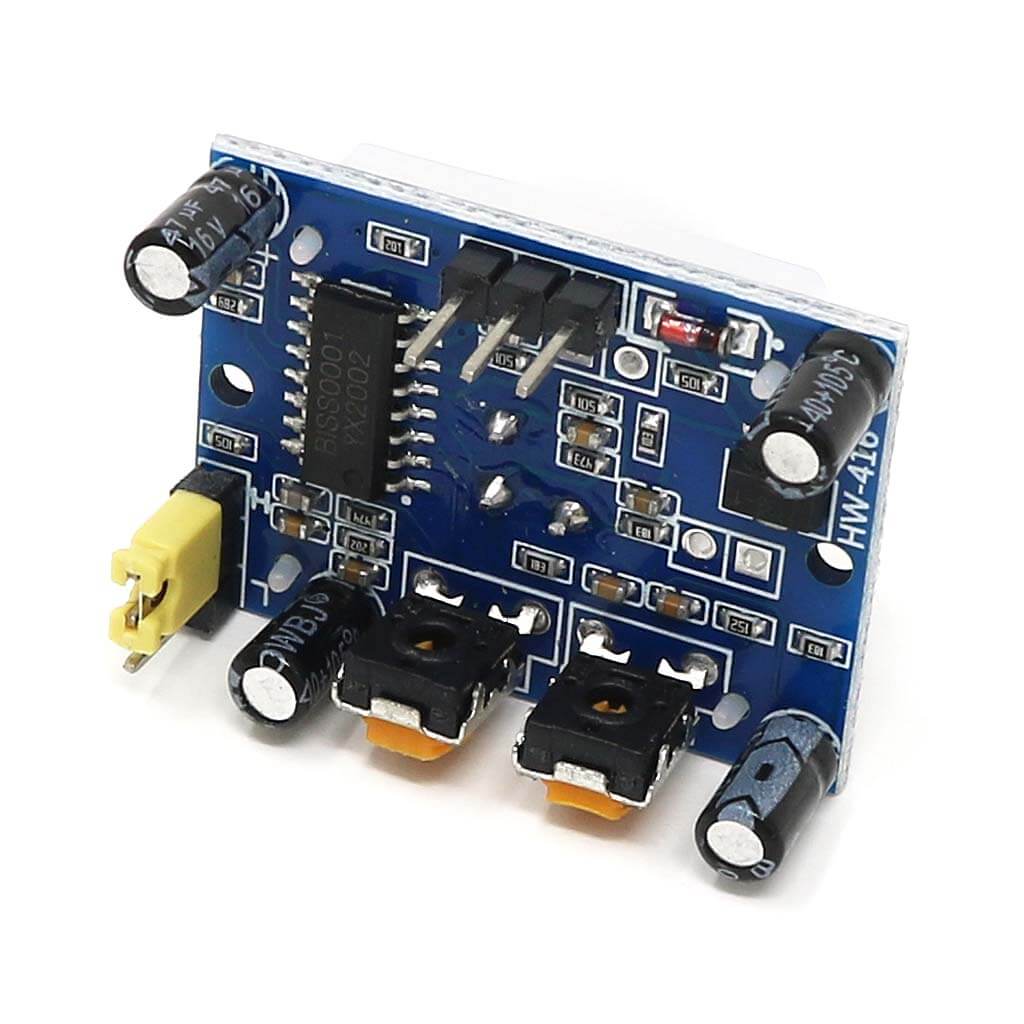
You may need to pop the top white plastic dome off of the sensor to see the pin assignments. In the image below we show the usual order of the pins:
| PIR Pin | Recommended Raspberry Pi Pin |
| Left pin ("GND") | Physical pin 6 (GND pin) |
| Middle pin ("OUT") | Physical pin 11 (GPIO 17) |
| Right pin ("VCC") | Physical pin 4 (5V) |

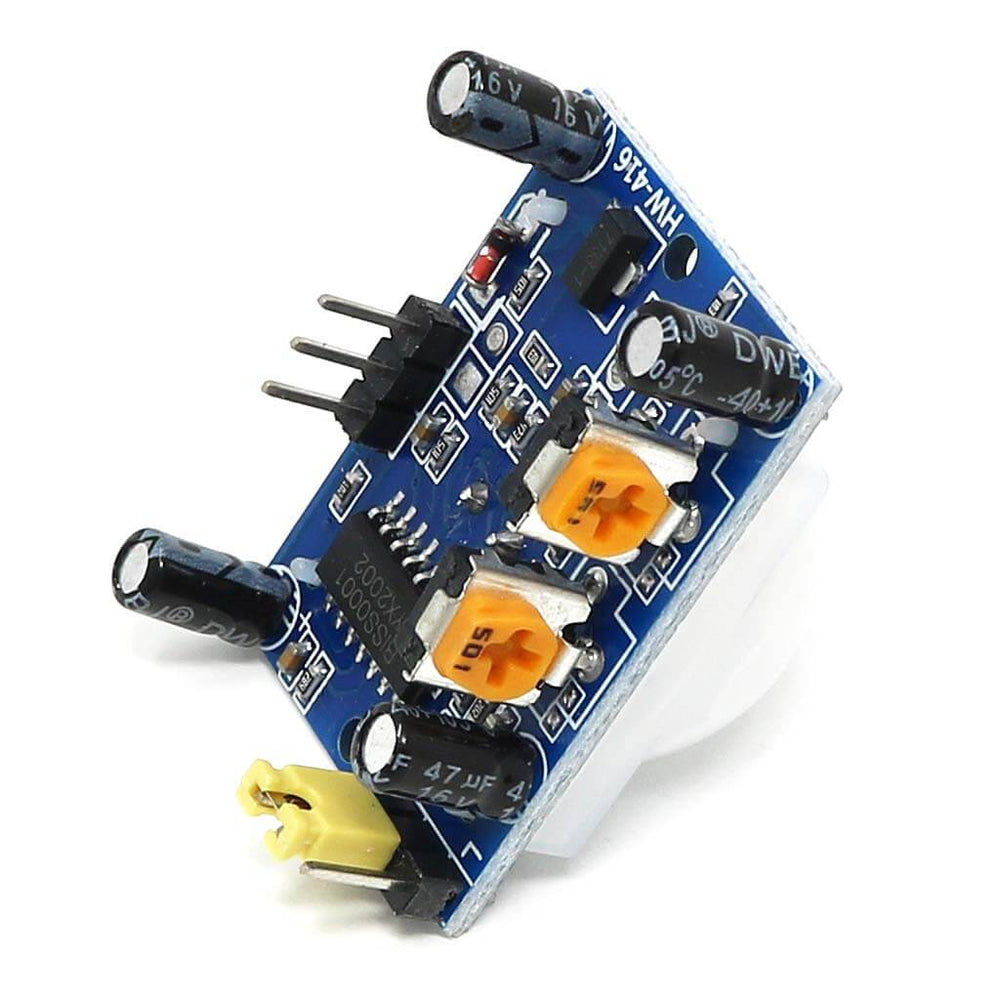
The two dials control delay (how long before it checks for movement again) and sensitivity.
When looking straight at the dials with the dome at the top, the left dial is used for the delay (most leave this as is) and the right is the sensitivity. Turning that right dial anti-clockwise will reduce sensitivity.
The pin header and jumper selector can be used to set to re-triggering options. 'H' is the default as this is what most users require and most tutorials you find will be set to 'H', however you can change this:
Following customer feedback, as of 04/02/2022 we are now shipping a module with a triggering pin header and selection jumper (previously a solder pad).
Your payment information is processed securely. We do not store credit card details nor have access to your credit card information.