Login / Signup
Cart
Your cart is empty
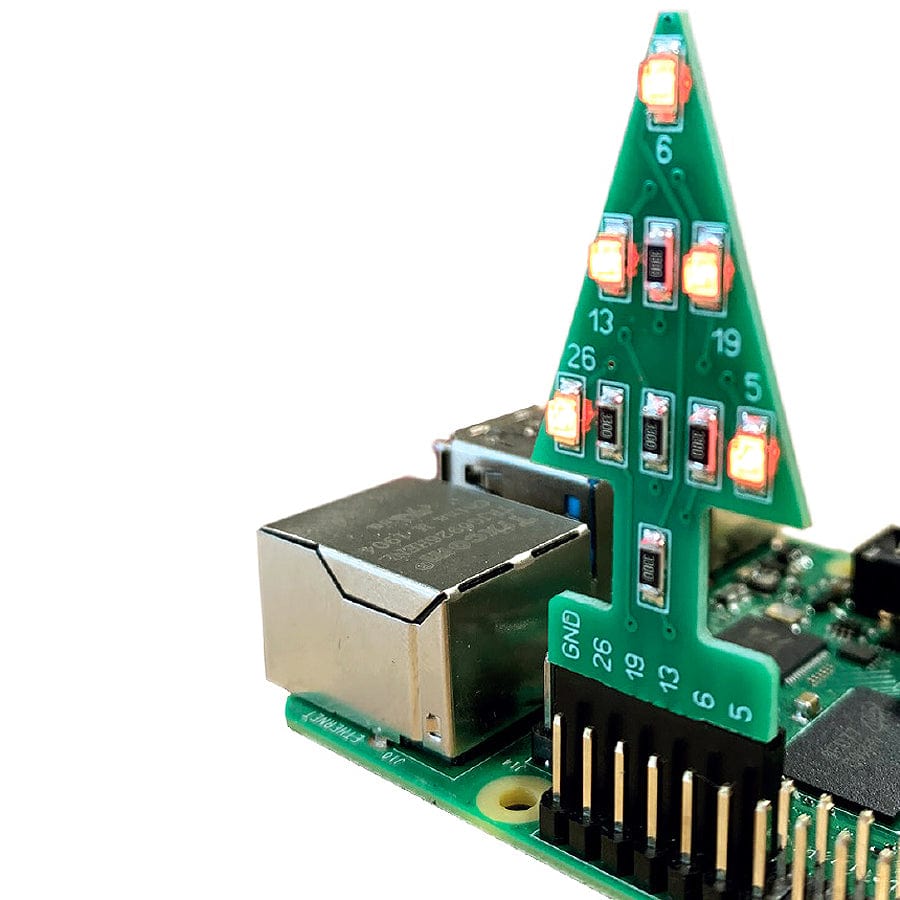
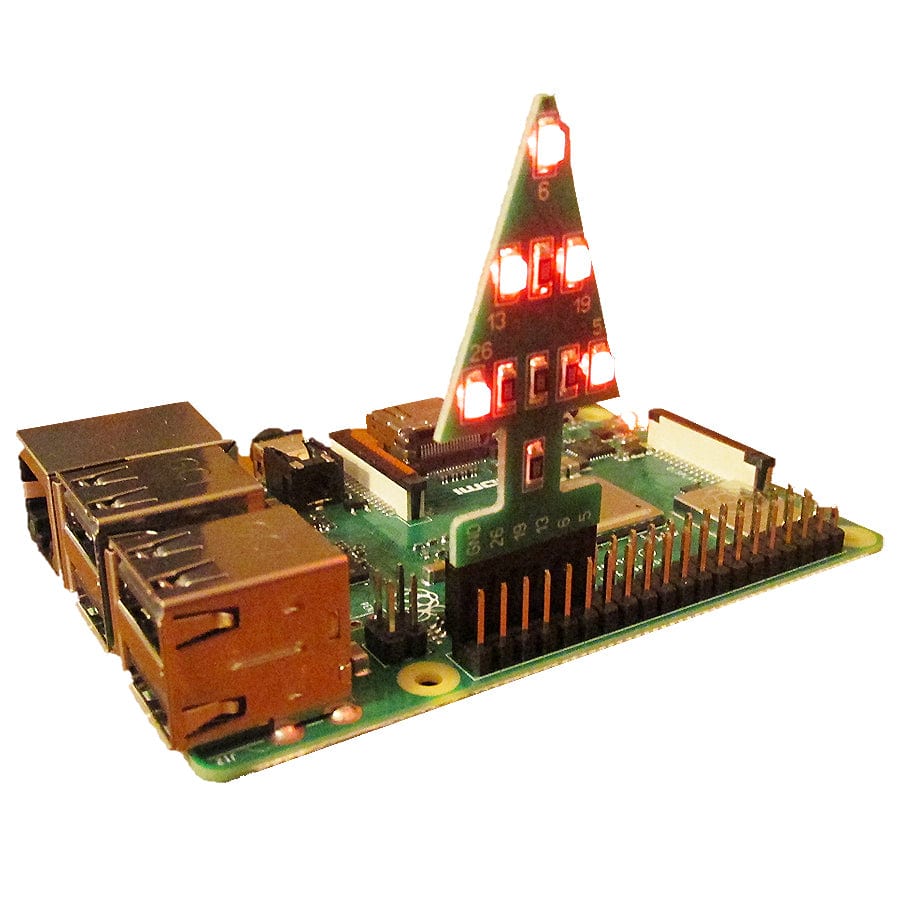
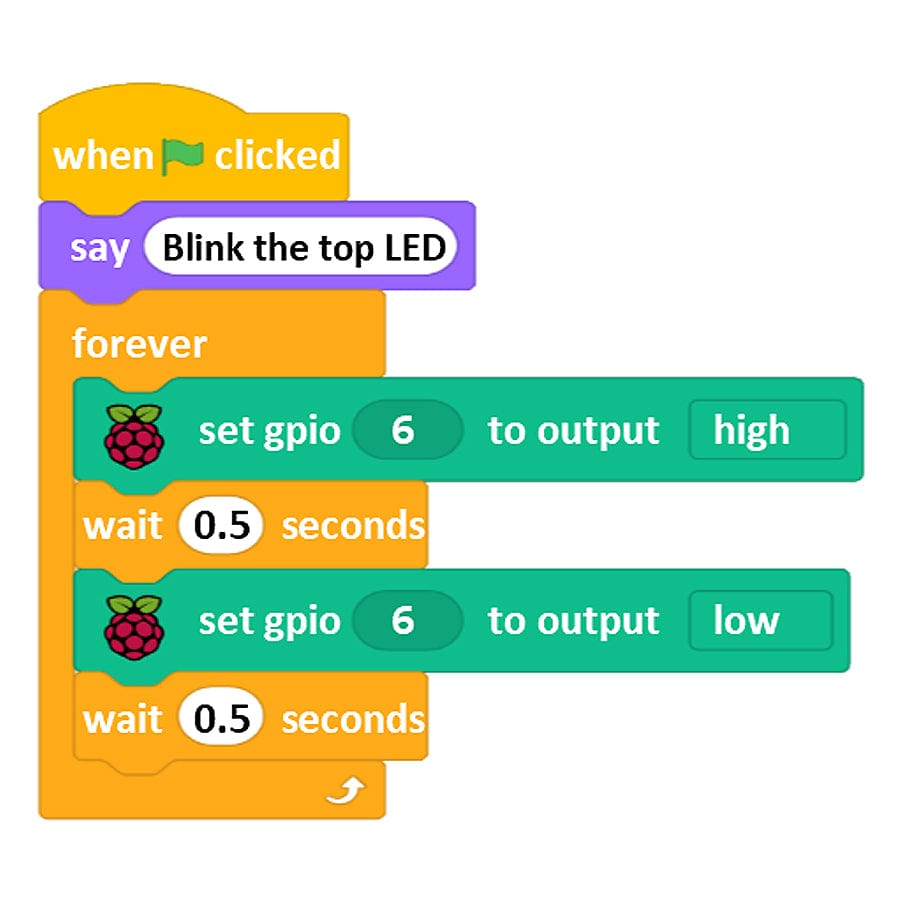
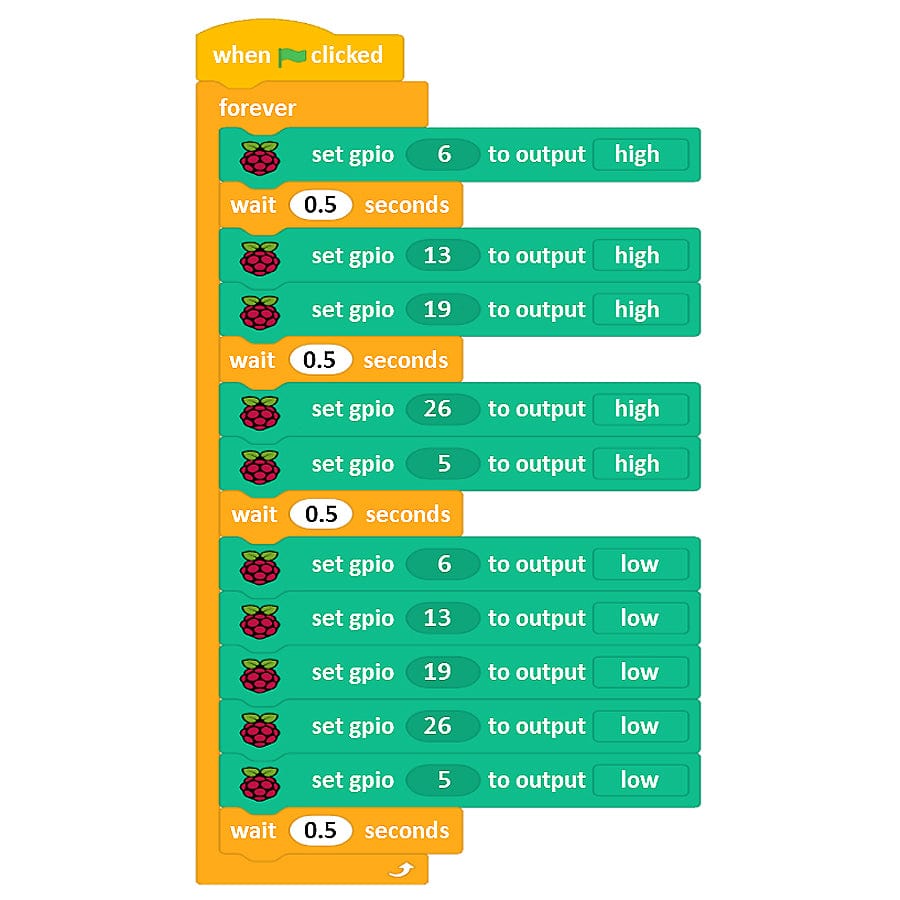
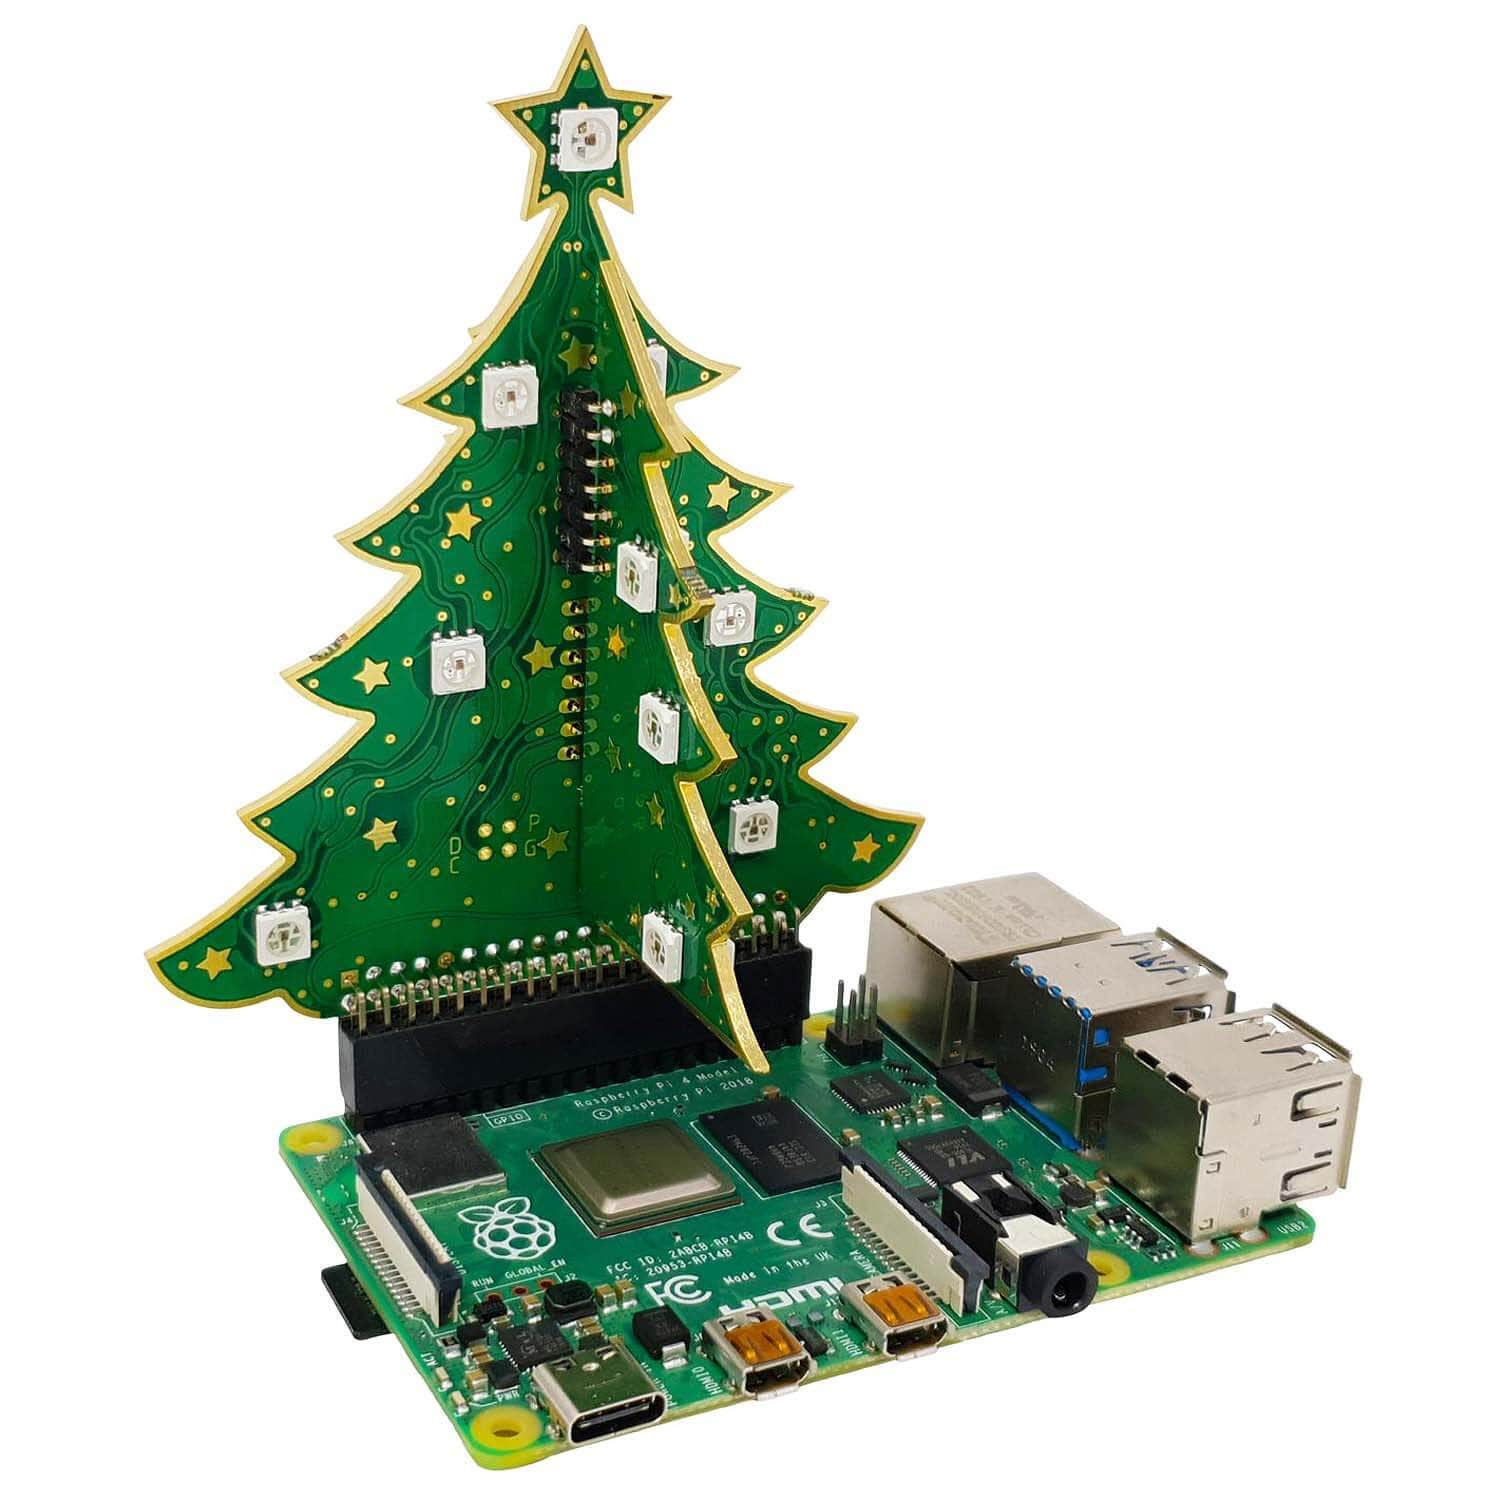
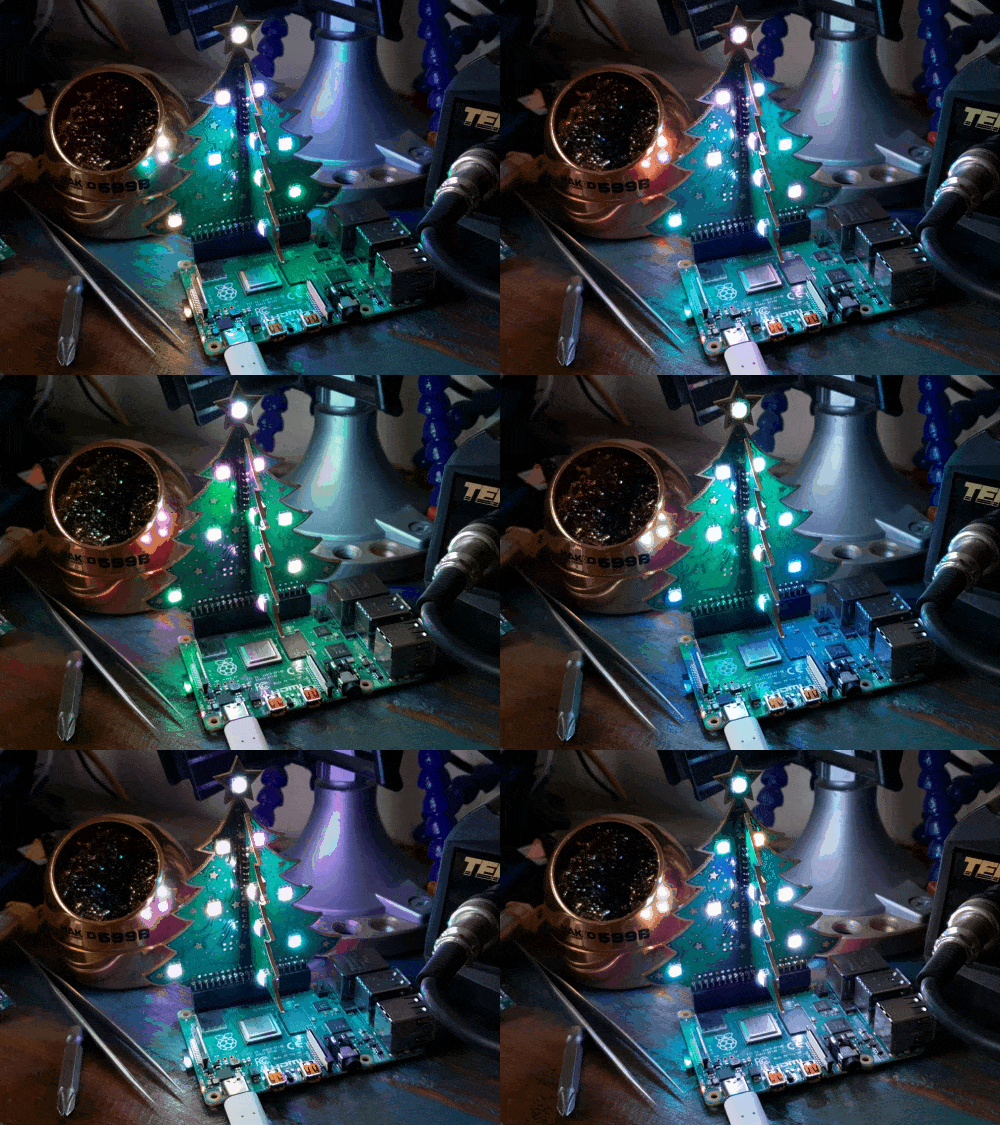
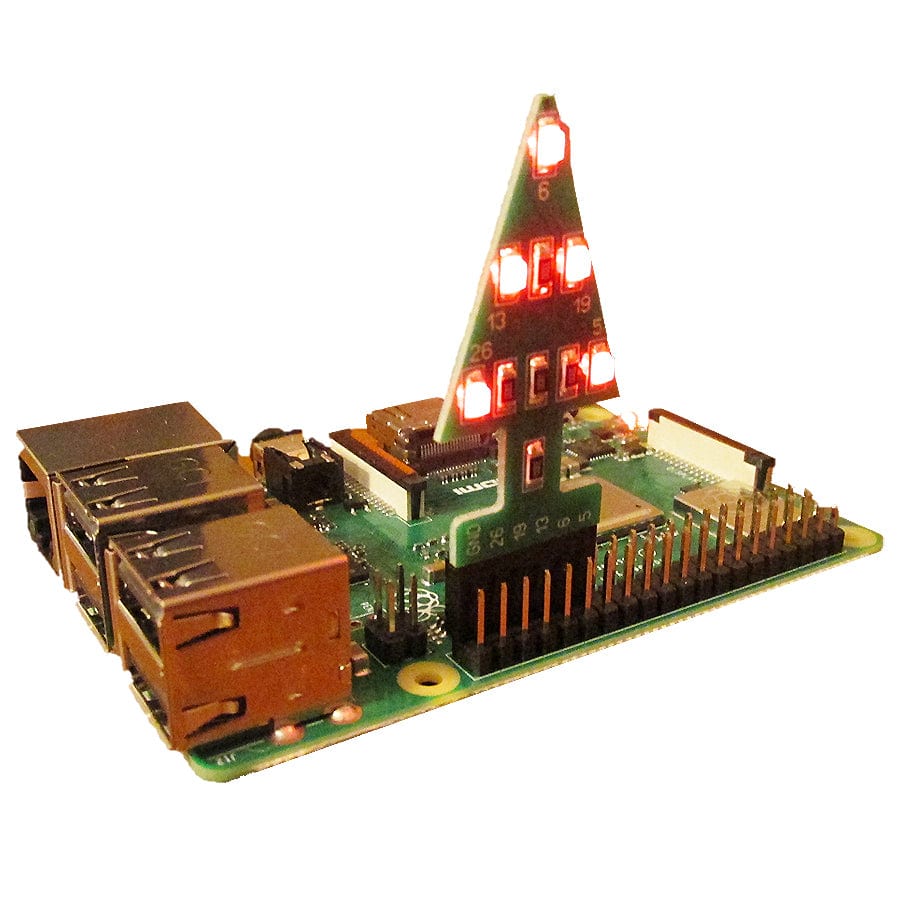
We're stocking this super-cute mini GPIO Xmas Tree for the Raspberry Pi this year as an uber-affordable way to add a little festive fun to your projects, as we all know that December can be expensive enough as it is!
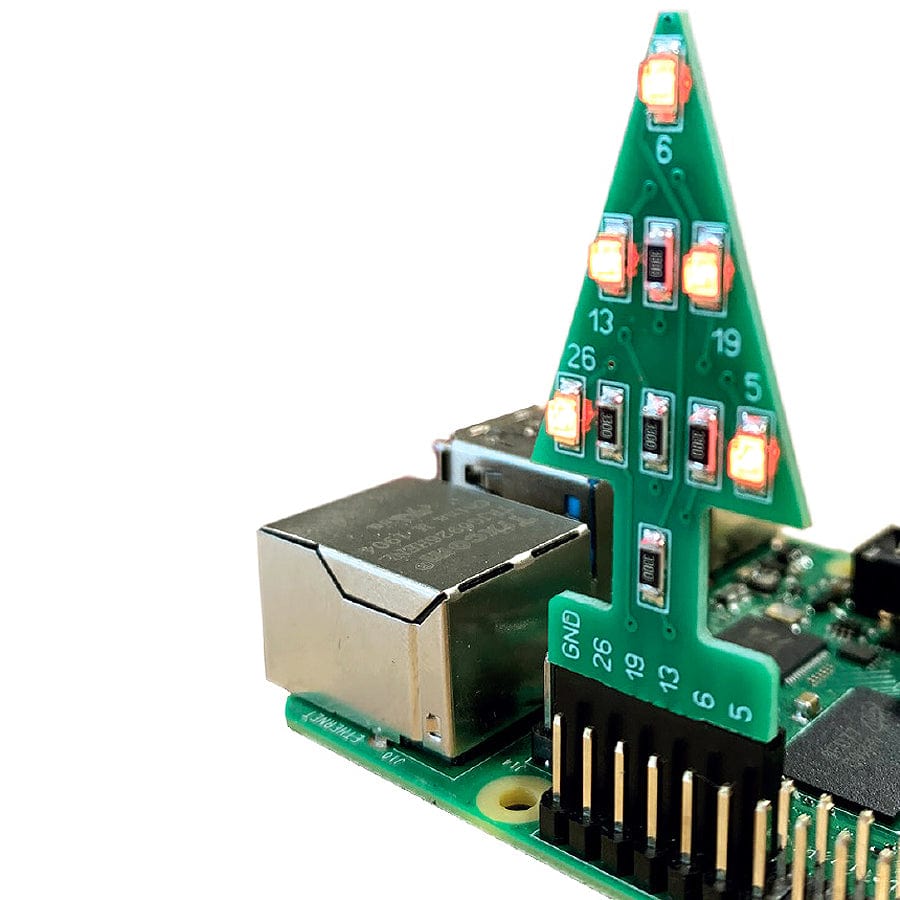
The Mini GPIO Xmas Tree for the Raspberry Pi includes 5 LEDs that can be controlled from a simple Scratch or Python program. When programming your tree, you need to know the GPIO pin number associated with each LED (see below). Setting a GPIO to output high will turn the LED on whilst setting it low will turn it off - easy!
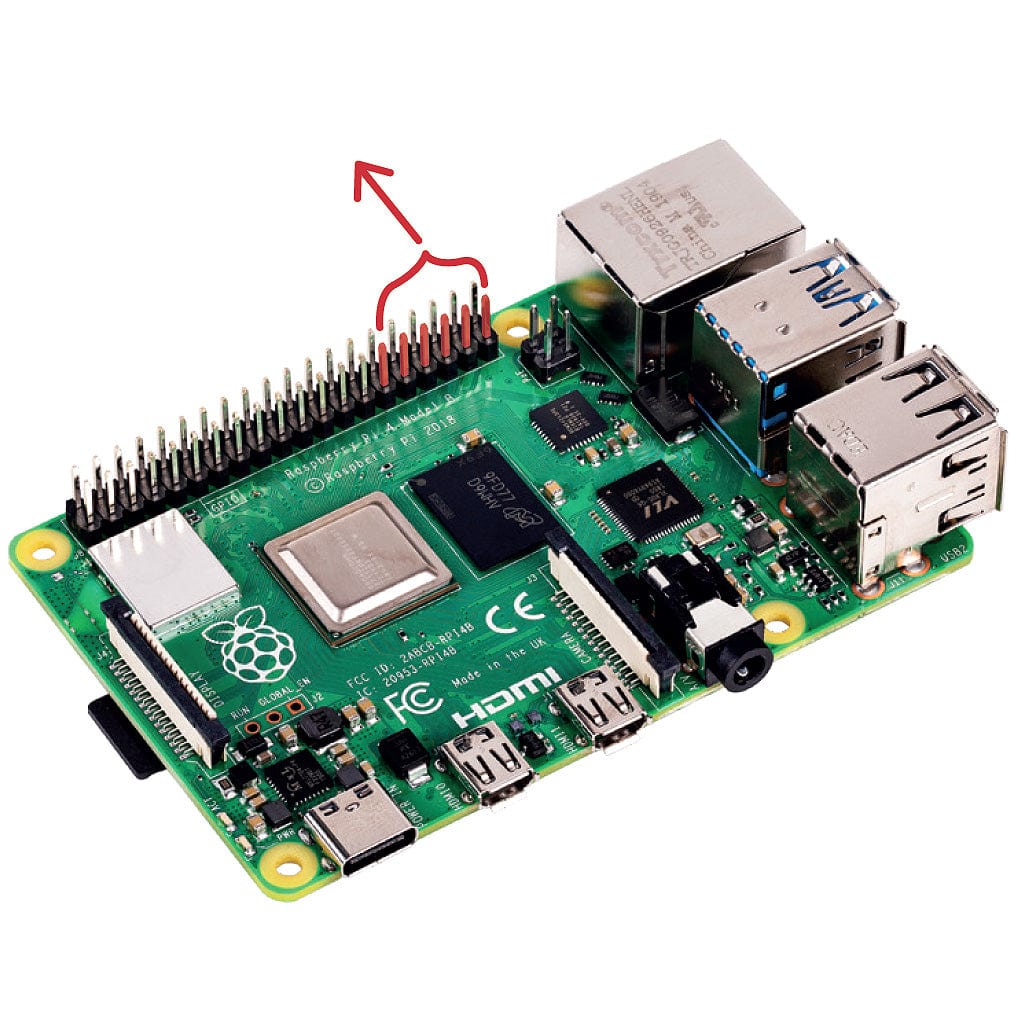
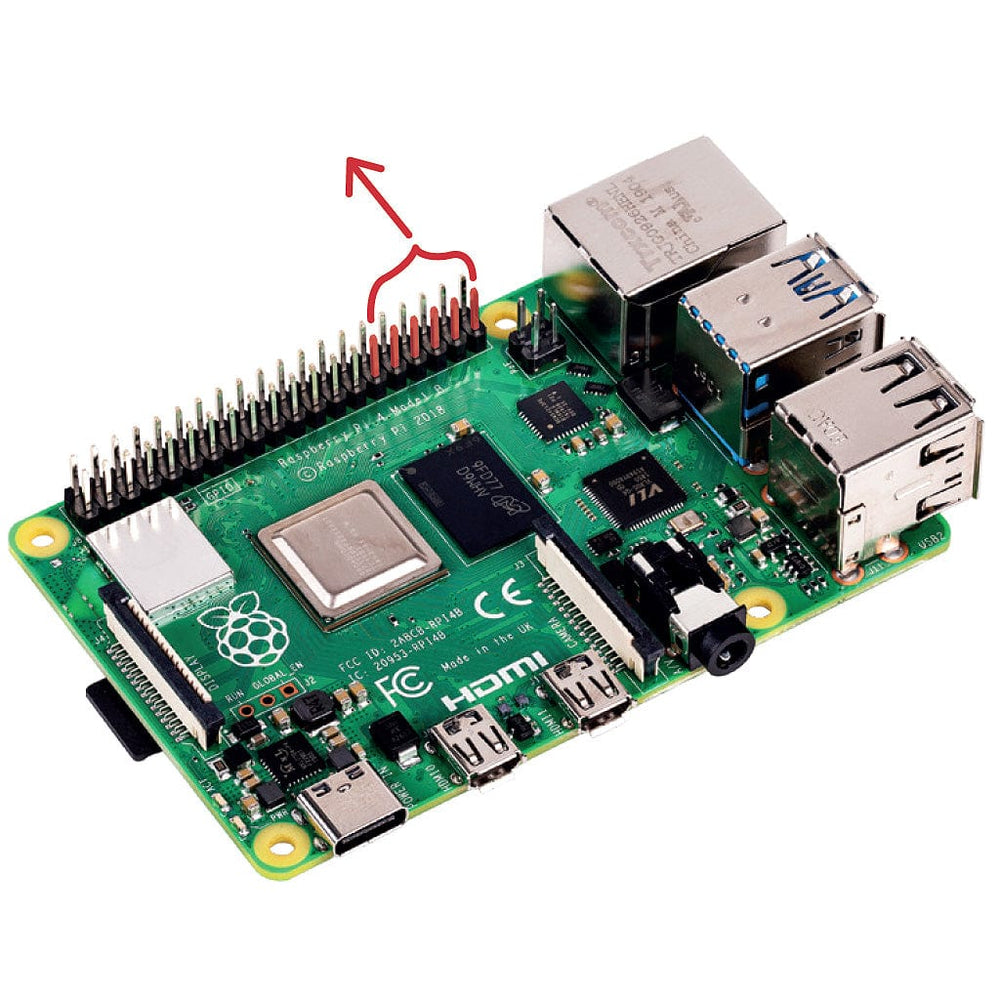
The tree should be connected to the six GPIO pins as shown here. Ensure the LEDs are facing outwards like this:
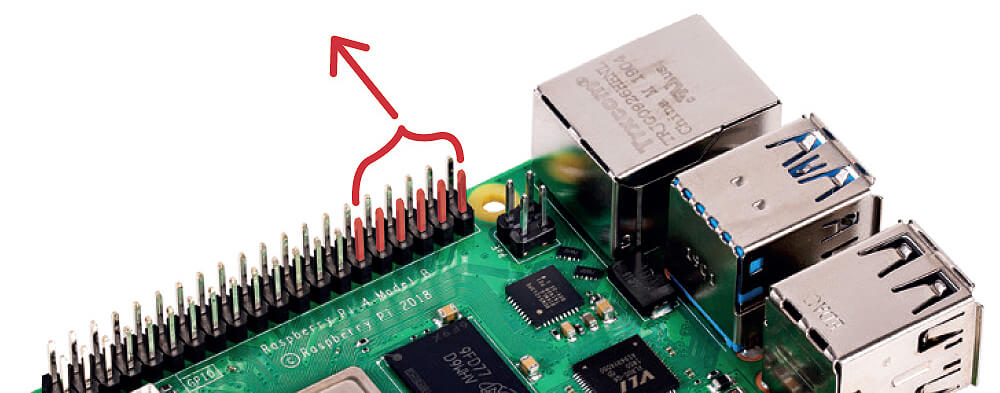
The GPIO numbers for each LED are as follows:

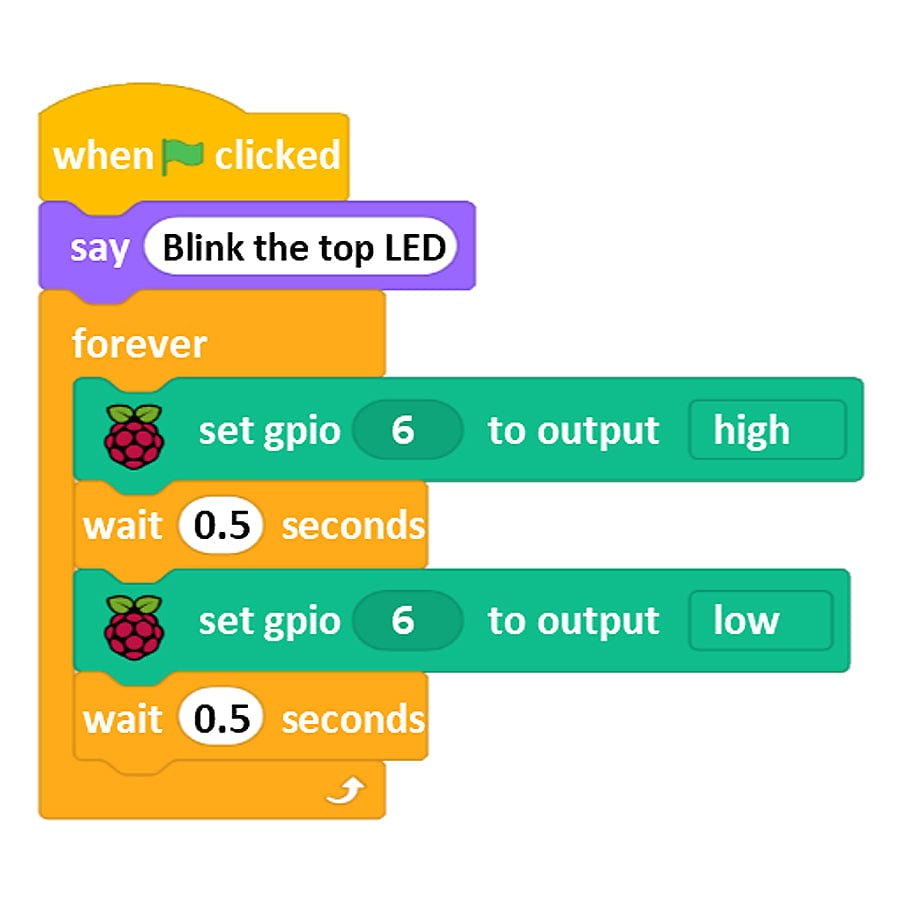
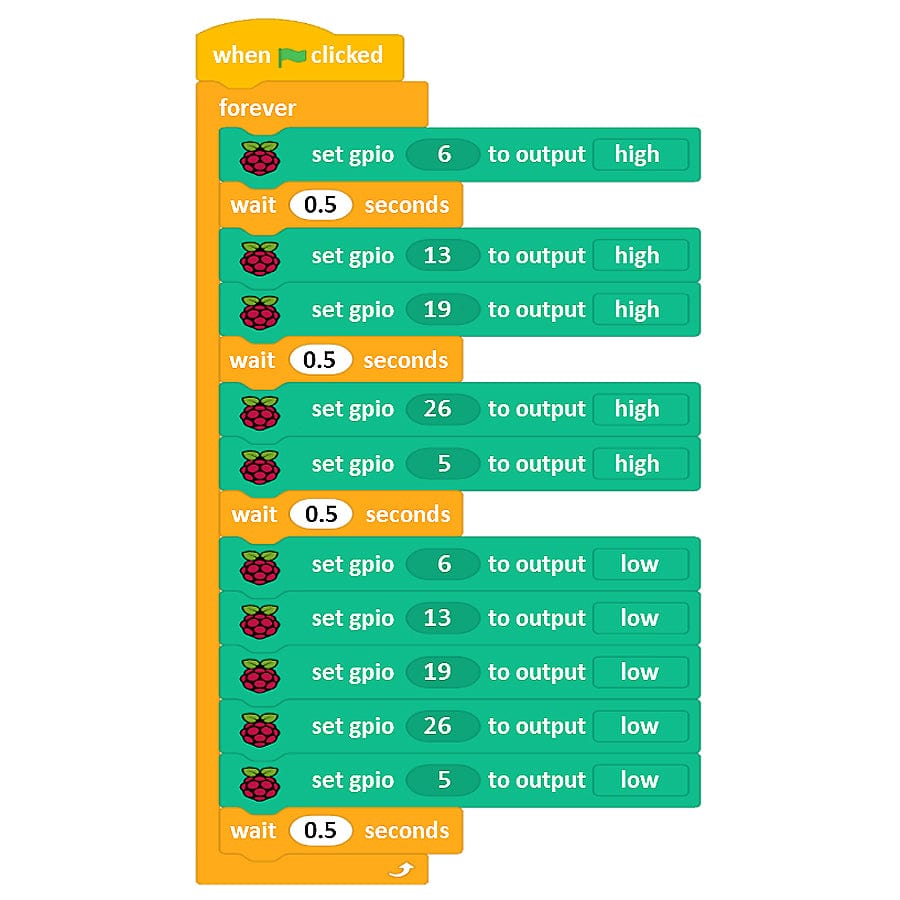
Do you want to use Scratch 3 to control the LEDs on your tree? If so, click the Add an Extension icon, find Raspberry Pi GPIO and click on it. You can then drag blocks to construct either of the sample programs shown below


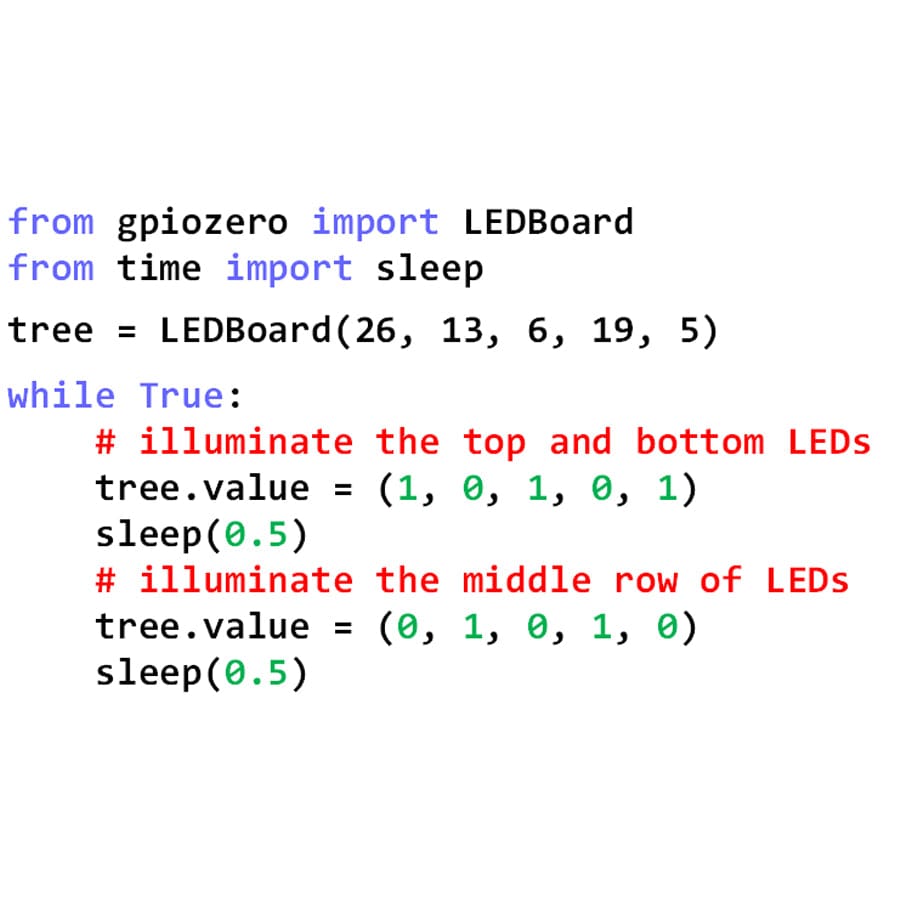
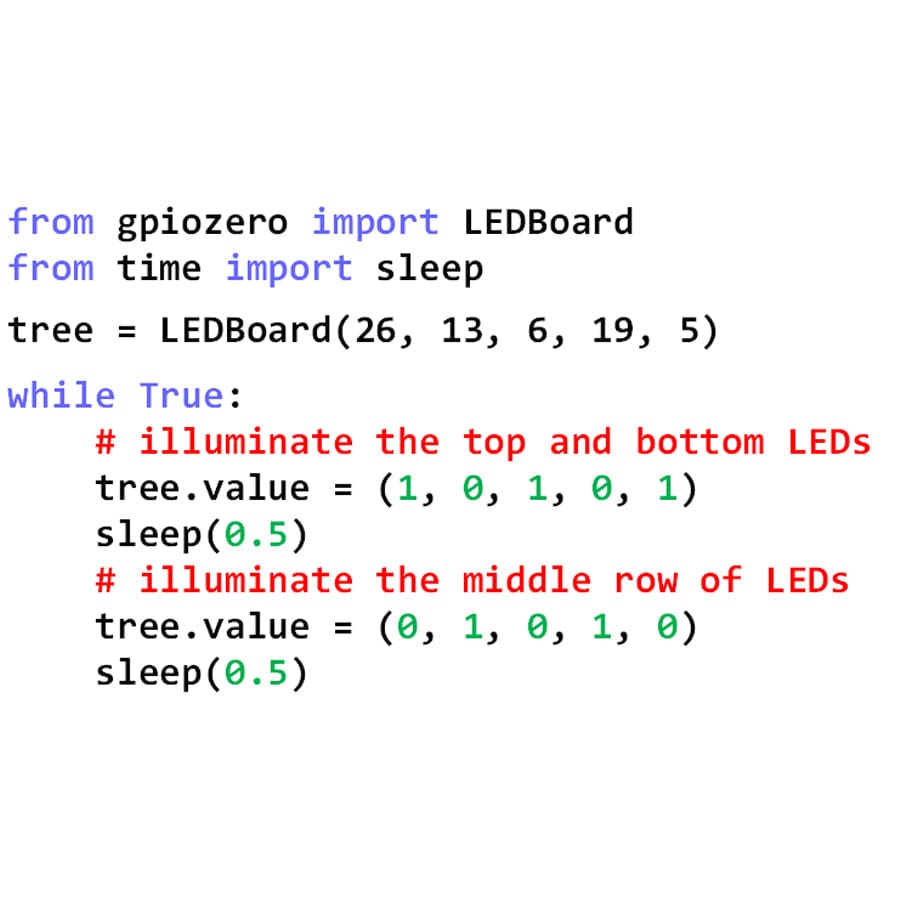
To control the tree using Python, open Thonny and enter this example code:
from gpiozero import LEDBoard
from time import sleep

tree = LEDBoard(26, 13, 6, 19, 5)

while True:

    # illuminate the top and bottom LEDs
    tree.value = (1, 0, 1, 0, 1)
    sleep(0.5)

    # illuminate the middle row of LEDs
    tree.value = (0, 1, 0, 1, 0)
    sleep(0.5)
Each LED is wired through a 330-ohm resistor, meaning you can use this with other development boards such as the Raspberry Pi Pico by simply connecting manually with jumper wires to your board's GPIO pins and writing code to control the GPIO pins HIGH/LOW.
Here is the circuit diagram for the tree:

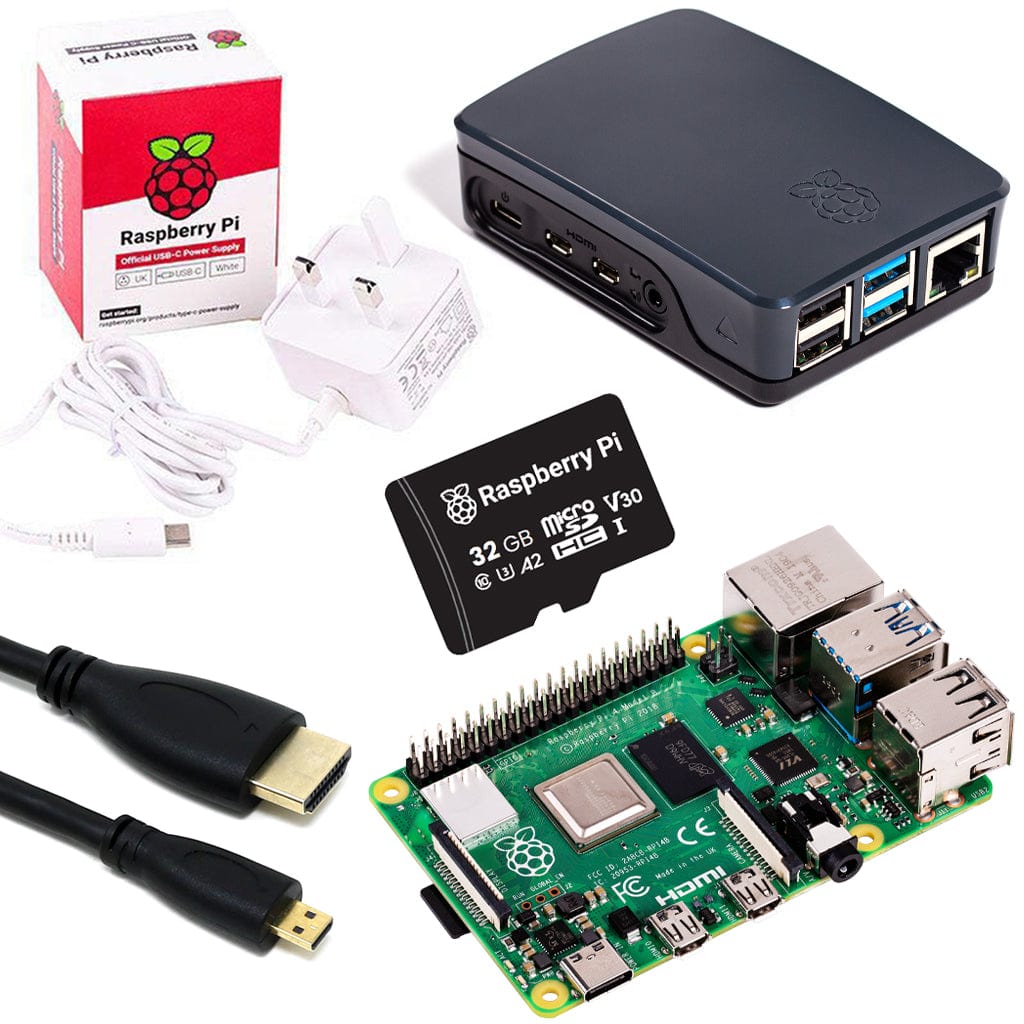
Raspberry Pi/wires not included


