
I/O Learning HAT with Full Node-RED Tutorial [discontinued]
Price:
Sale price
£48.70
Login / Signup
Cart
Your cart is empty
![I/O Learning HAT with Full Node-RED Tutorial [discontinued] by Sequent - The Pi Hut](http://thepihut.com/cdn/shop/files/i-o-learning-hat-with-full-node-red-tutorial-sequent-104955-40476984180931_1000x.jpg?v=1684159161)
![I/O Learning HAT with Full Node-RED Tutorial [discontinued] by Sequent - The Pi Hut](http://thepihut.com/cdn/shop/files/i-o-learning-hat-with-full-node-red-tutorial-sequent-104955-40476984246467_1000x.jpg?v=1684159886)
![I/O Learning HAT with Full Node-RED Tutorial [discontinued] by Sequent - The Pi Hut](http://thepihut.com/cdn/shop/files/i-o-learning-hat-with-full-node-red-tutorial-sequent-104955-40476984279235_1000x.jpg?v=1684159158)
![I/O Learning HAT with Full Node-RED Tutorial [discontinued] by Sequent - The Pi Hut](http://thepihut.com/cdn/shop/files/i-o-learning-hat-with-full-node-red-tutorial-sequent-104955-40476984148163_1000x.jpg?v=1684159889)
![I/O Learning HAT with Full Node-RED Tutorial [discontinued] by Sequent - The Pi Hut](http://thepihut.com/cdn/shop/files/i-o-learning-hat-with-full-node-red-tutorial-sequent-104955-40476984213699_1000x.jpg?v=1684161500)
This add-on board for the Raspberry Pi teaches you how to control automation interfaces using Node-RED. From "Hello World" to PID looks, it is the ideal teaching platform for students, teachers or hobbyists.
The HAT equips your Raspberry Pi with all the common interfaces needed to connect to the automation world. Although the variety of sensors and actuators is almost unlimited, they can all be grouped into three categories, based on their electrical interfaces:
A separate I/O accessories kit is available for purchase. Using each of the kit items is described at length in the Tutorial. Each accessory is equipped with a pluggable mating connector and can be used with the examples in the Tutorial.
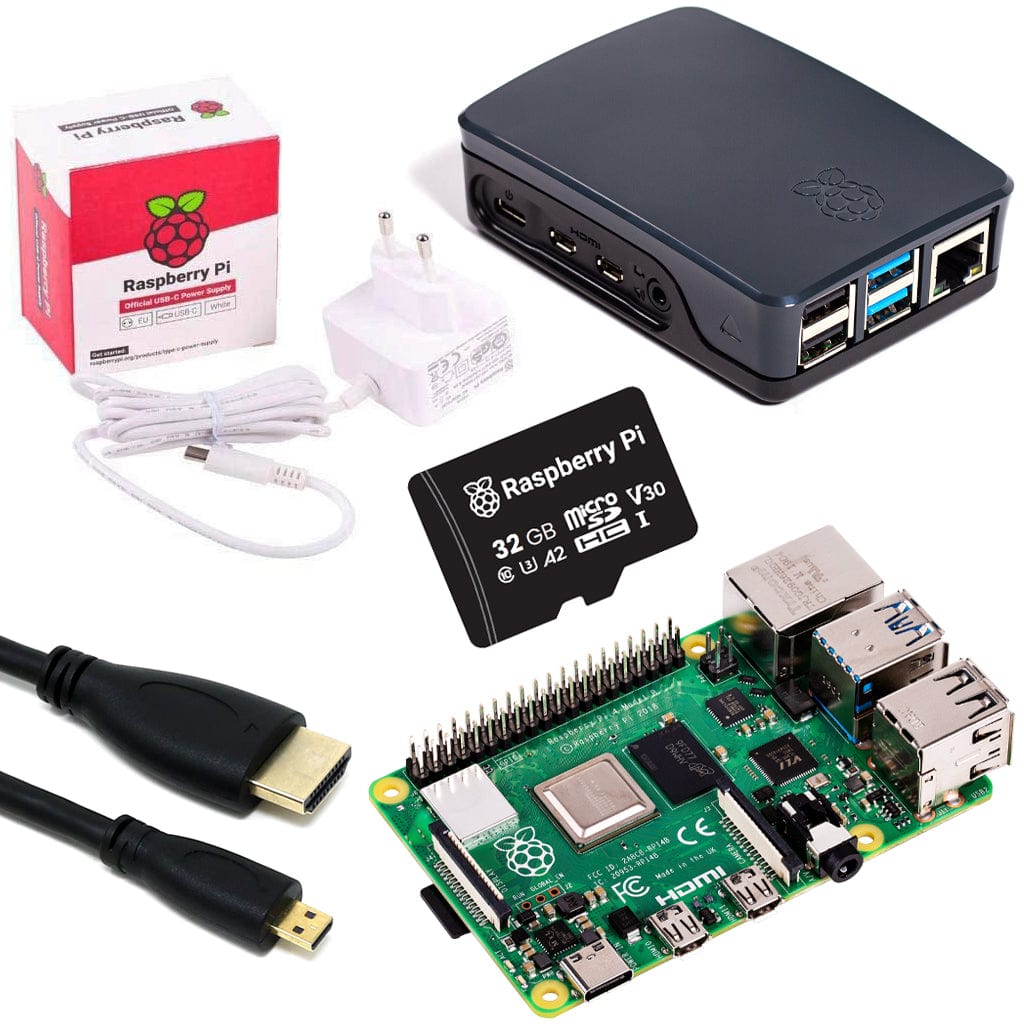
The I/O Learning Card needs 5V/50mA to operate with the relays off, or 200mA with both relays on. It is powered by the Raspberry Pi through the GPIO connector. A Raspberry Pi power supply able to provide a minimum 3A is recommended.
The Card contains a standard RS485 transceiver which can be accessed by the serial port of the Raspberry Pi. MODBUS protocol can be run on Raspberry Pi to access industry-standard sensors and actuators.
Pluggable connectors ease connecting the card to external devices. All the connector plugs are included in your kit.
Nine LEDs on the bottom edge of the card show you the status of the inputs and outputs.
Zero to 10V Input can be used to sense voltage levels from devices such as thermistors, humidity sensors, or photoresistors. Zero to 10V output can be used for actuating industry standard devices such as lighting controllers.
Widely used industry standard 4-20mA current loops can be used to control remote devices over long distances with high noise immunity.
A pushbutton is provided to be able to add manual input to any system. The button can also be used by Node-RED or other Raspberry Pi programming in an arbitrary manner. The first Tutorial lesson gives some examples from saying "Hello World" to sending SMS or email messages.
The Motor port can drive a 5V/100mA DC Motor. You can learn how to control the speed and the direction of the motor from the command line, Python or Node-Red graphical user interface.
Since we ran out of processor resources, the servo ports are multiplexed with the analog output ports. The servo ports connectors consist of a 2x3 jumper where you can plug directly any of the readily available servos at Amazon or elsewhere.
The card is designed such as all inputs and outputs are in symmetrical pairs and can be self-tested with a loopback cable. The exceptions are the Motor and Servo ports, which cannot be tested with the cable. The self-test software detects automatically the position of the cable and reports accordingly the test results.
The following tests can be performed:
You can write your own application using the Command Line or Python Library provided. No programming is required if you use the Node-Red nodes we supply. You can drag and drop the functional blocks to design your application.
Node-RED is a programming tool for wiring together hardware devices, APIs and online services in new and interesting ways. It provides a browser-based editor that makes it easy to design flows using nodes from a large library covering a wide range of automation tasks.
The Learning Kit native Node-RED nodes included in the repository make it easy to interface with the hardware.
The Tutorial will help you use the Learning Kit with Node-RED without writing a single line of code. It will show you how to use Node-RED to control each of the interfaces of the Learning Kit. It will start by building simple flows using pushbuttons and LEDs and advance to the point where you can control devices over the internet.
You can start learning Node-RED today without waiting for the Learning Kit. You will start by sending "Hello World" greetings to your screen or your speakers, and advance to sending emails and SMS messages to your smartphone.
Your payment information is processed securely. We do not store credit card details nor have access to your credit card information.
![I/O Learning HAT with Full Node-RED Tutorial [discontinued] by Sequent - The Pi Hut](http://thepihut.com/cdn/shop/files/i-o-learning-hat-with-full-node-red-tutorial-sequent-104955-40476984180931.jpg?v=1684159161&width=2048)
![I/O Learning HAT with Full Node-RED Tutorial [discontinued] by Sequent - The Pi Hut](http://thepihut.com/cdn/shop/files/i-o-learning-hat-with-full-node-red-tutorial-sequent-104955-40476984246467.jpg?v=1684159886&width=2048)
![I/O Learning HAT with Full Node-RED Tutorial [discontinued] by Sequent - The Pi Hut](http://thepihut.com/cdn/shop/files/i-o-learning-hat-with-full-node-red-tutorial-sequent-104955-40476984279235.jpg?v=1684159158&width=1500)
![I/O Learning HAT with Full Node-RED Tutorial [discontinued] by Sequent - The Pi Hut](http://thepihut.com/cdn/shop/files/i-o-learning-hat-with-full-node-red-tutorial-sequent-104955-40476984148163.jpg?v=1684159889&width=1500)
![I/O Learning HAT with Full Node-RED Tutorial [discontinued] by Sequent - The Pi Hut](http://thepihut.com/cdn/shop/files/i-o-learning-hat-with-full-node-red-tutorial-sequent-104955-40476984213699.jpg?v=1684161500&width=1500)
