Adafruit PiTFT Plus 320 x 240 2.8" TFT + Capacitive Touchscreen
Price:
Sale price
£43.20
Stock:
Login / Signup
Cart
Your cart is empty


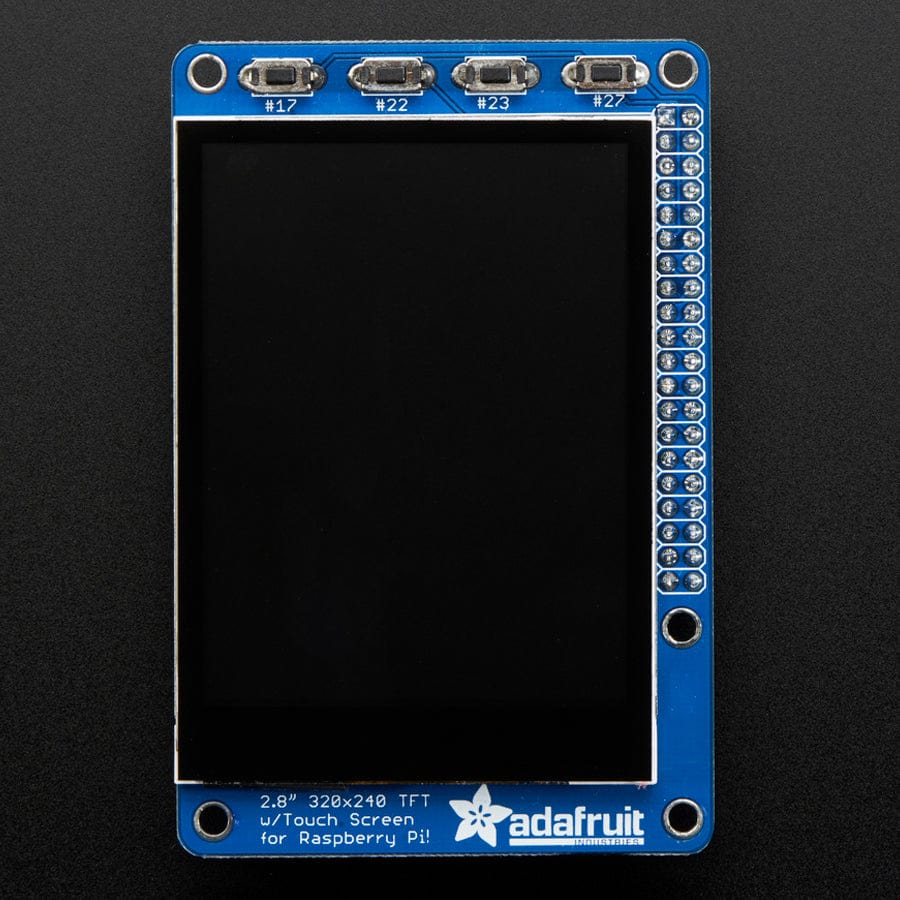


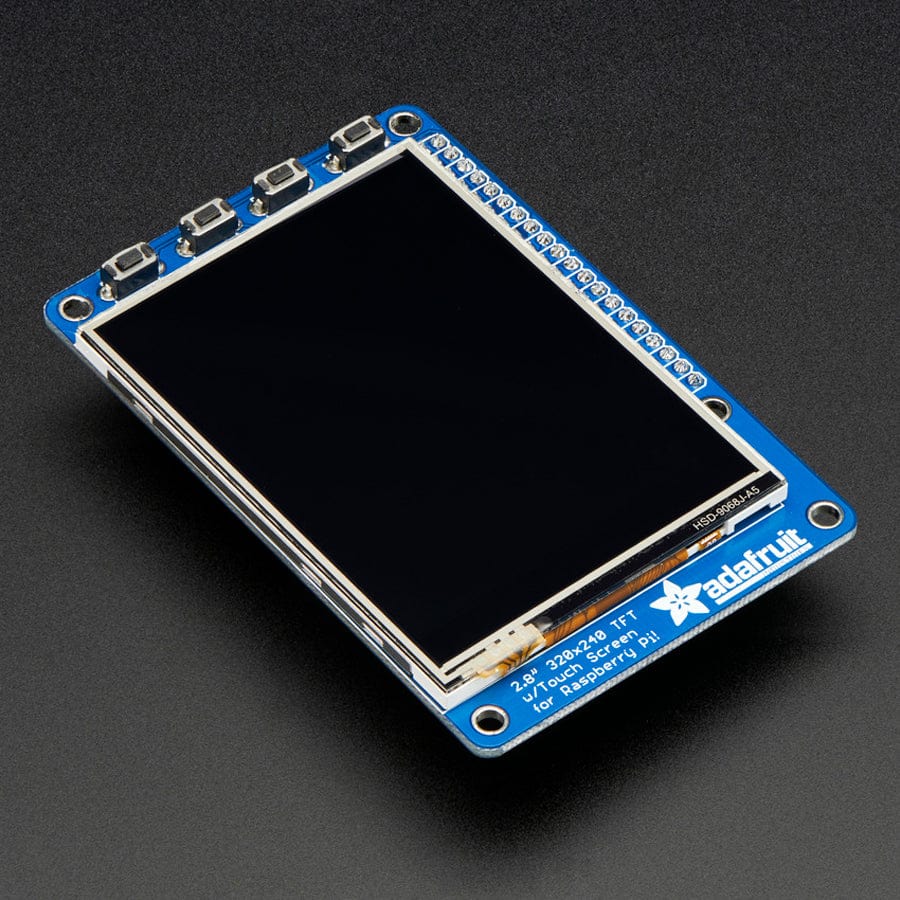
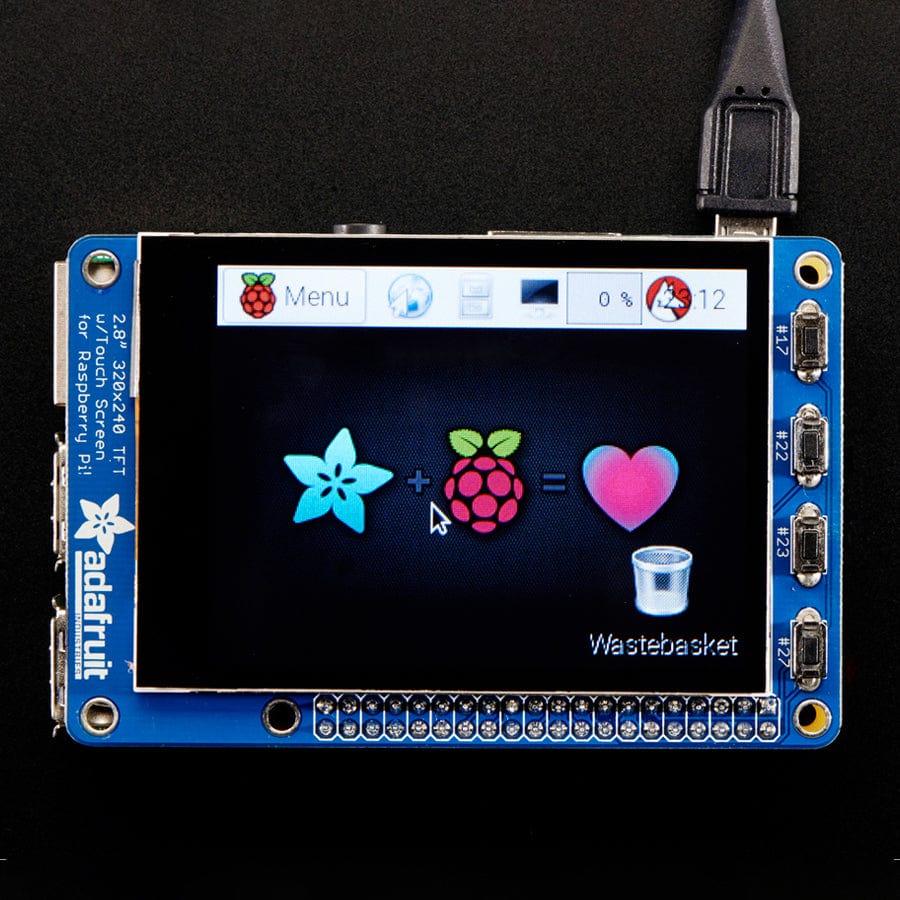
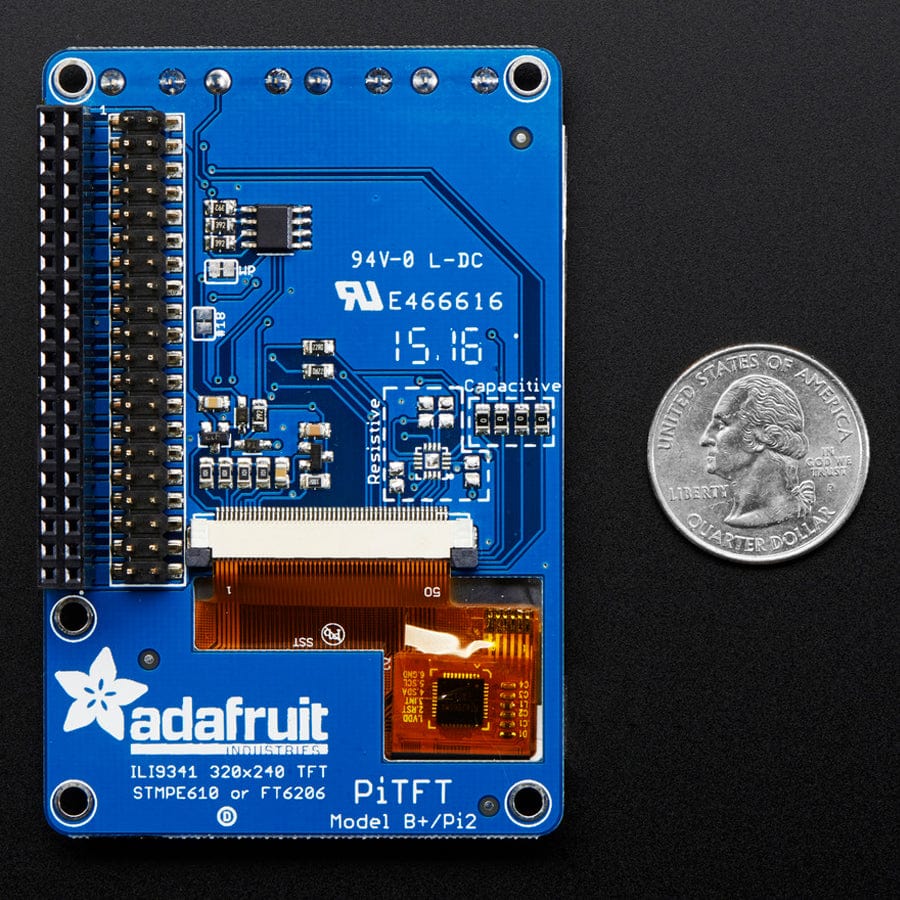
Is this not the cutest little display for the Raspberry Pi? It features a 2.8" display with 320 x 240 16-bit colour pixels and a capacitive touch overlay. That's right, instead of a resistive touchscreen, which requires a fingernail or stylus, you can now use a fingerpad. The screen looks much nicer, with a black bezel and glass overlay. If you don't need a capacitive touchscreen, check out the resistive touch version.
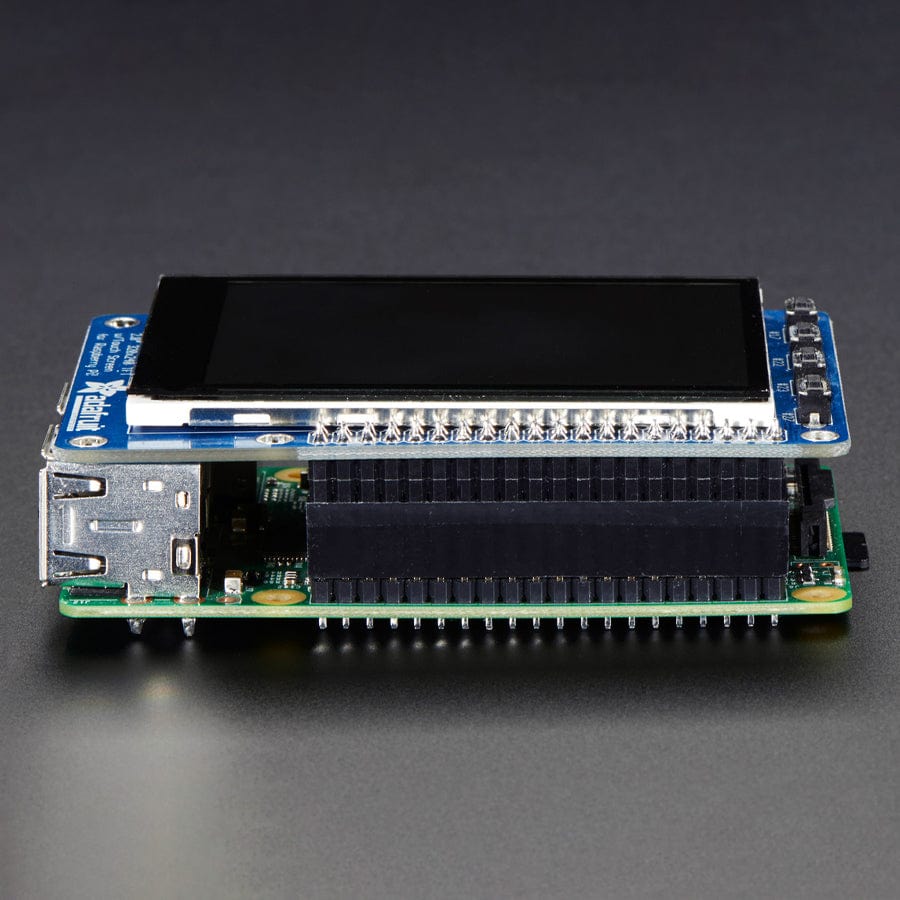
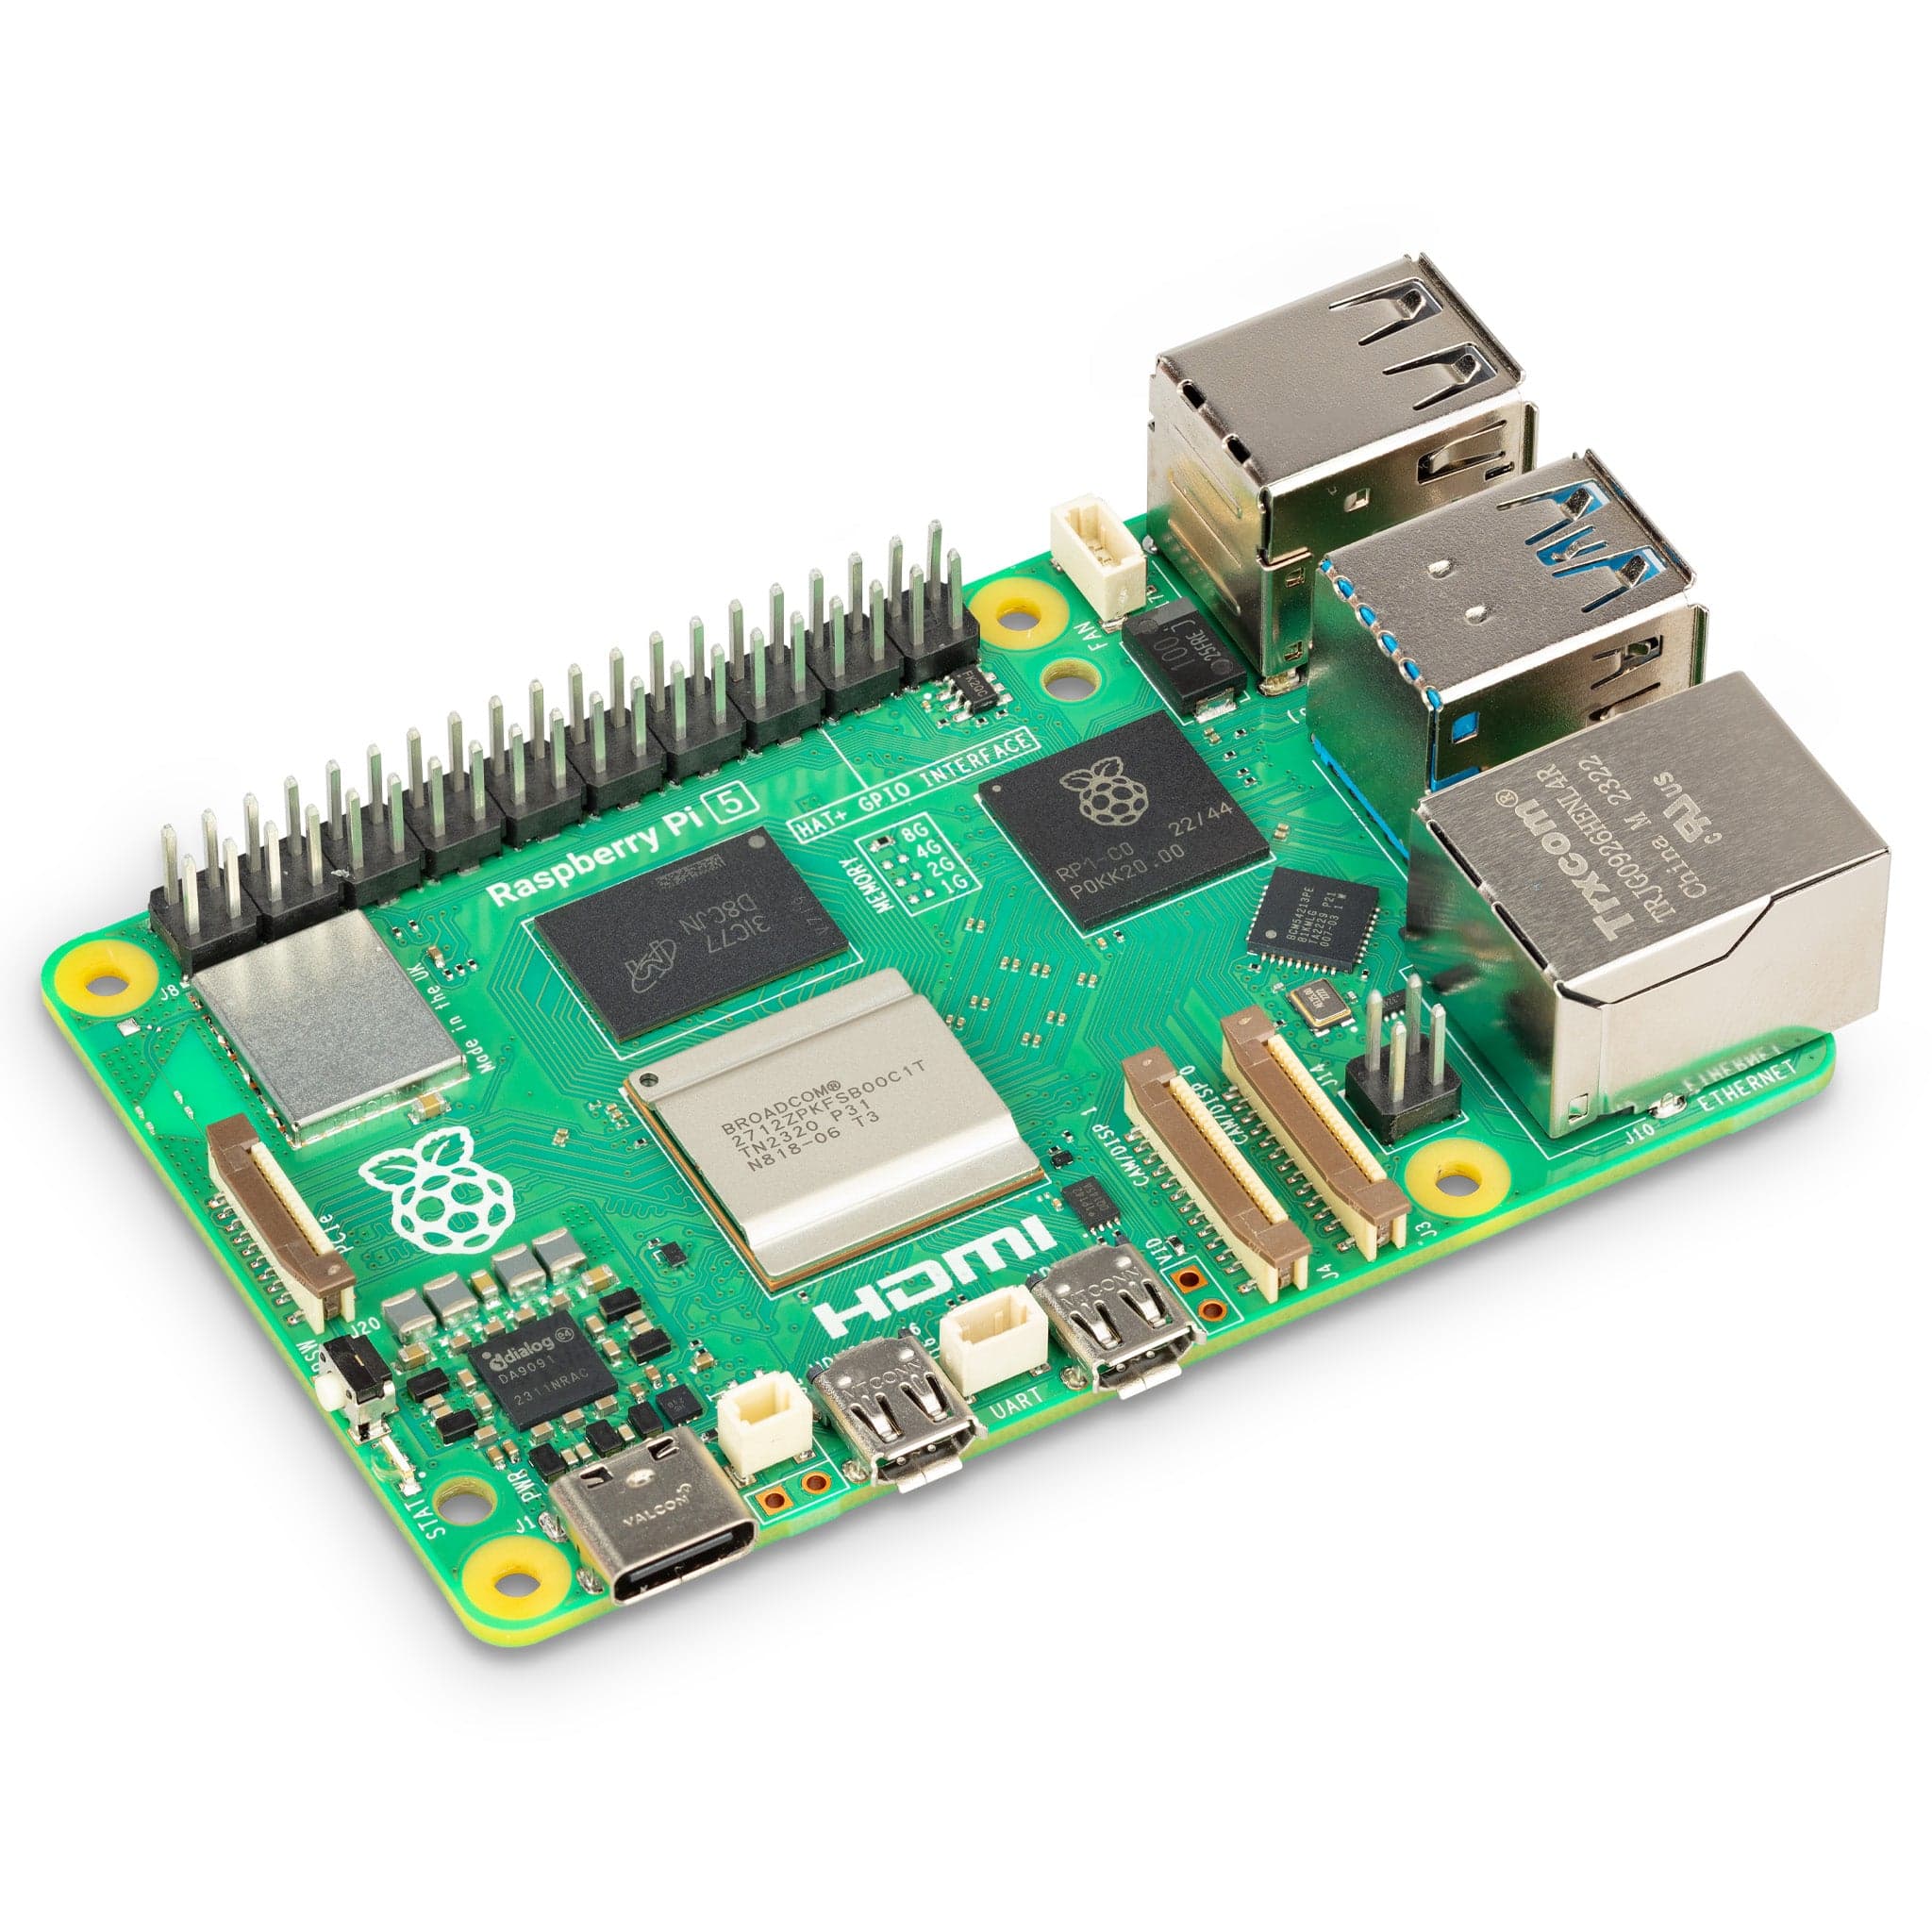
This updated design fits perfectly onto the Pi 5, Pi 4, Pi Zero, Pi 3, Pi 2 or Model A+, B+! (Any Pi with a 2 x 20 connector) Not for use with an old Pi 1 with a 2 x 13 connector. This version also has all 40-pin GPIO pins brought out so you can connect a 40-pin GPIO cable underneath.
The display and touchscreen use the hardware I2C Pins (SDA & SCL), SPI pins (SCK, MOSI, MISO, CE0), and GPIO #25 and #24. All other GPIO are unused and you can still share the I2C pins with sensors, LED drivers, etc. Since we had a tiny bit of space, there are 4 slim tactile switches wired to four GPIOs, that you can use if you want to make a basic user interface. For example, you can use one as a power on/off button.
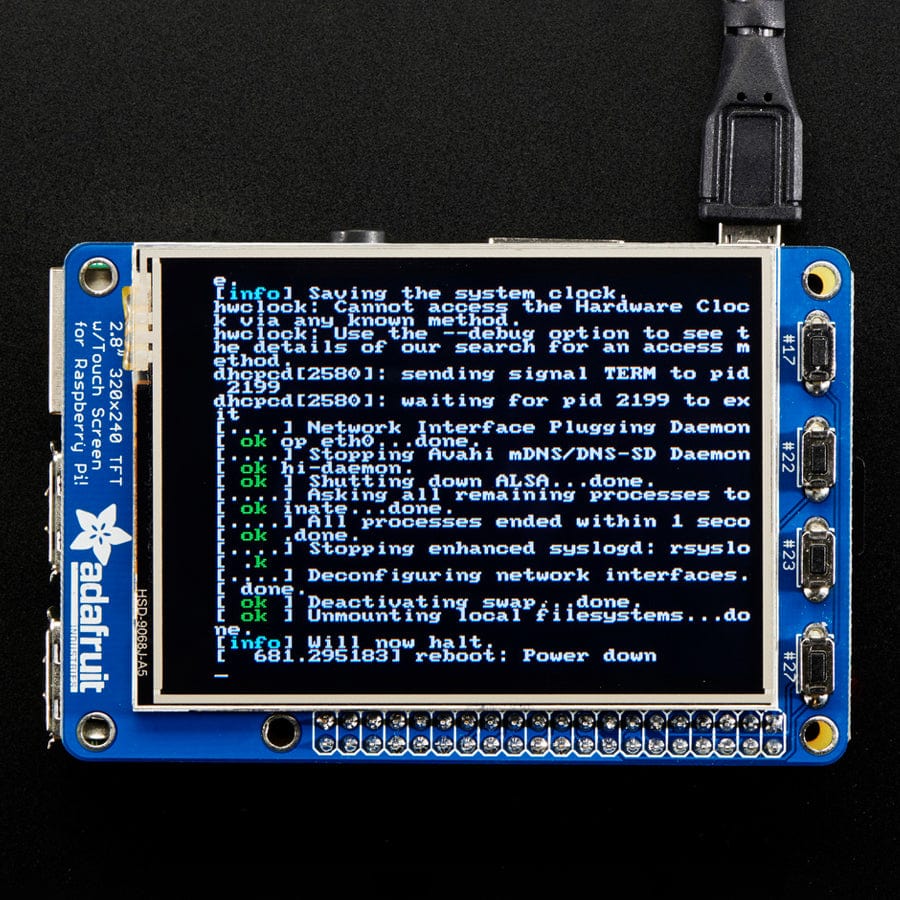
Use it for console access or easily pop up X11 onto the PiTFT for a mini monitor, although it's rather small at 320 x 240. Instead, we recommend using PyGame or other SDL-drawing programs to write onto the frame buffer.
Check out our detailed tutorial on how to play videos, display images, and otherwise customise your PiTFT.
Note: Raspberry Pi computer is NOT included!
Your payment information is processed securely. We do not store credit card details nor have access to your credit card information.