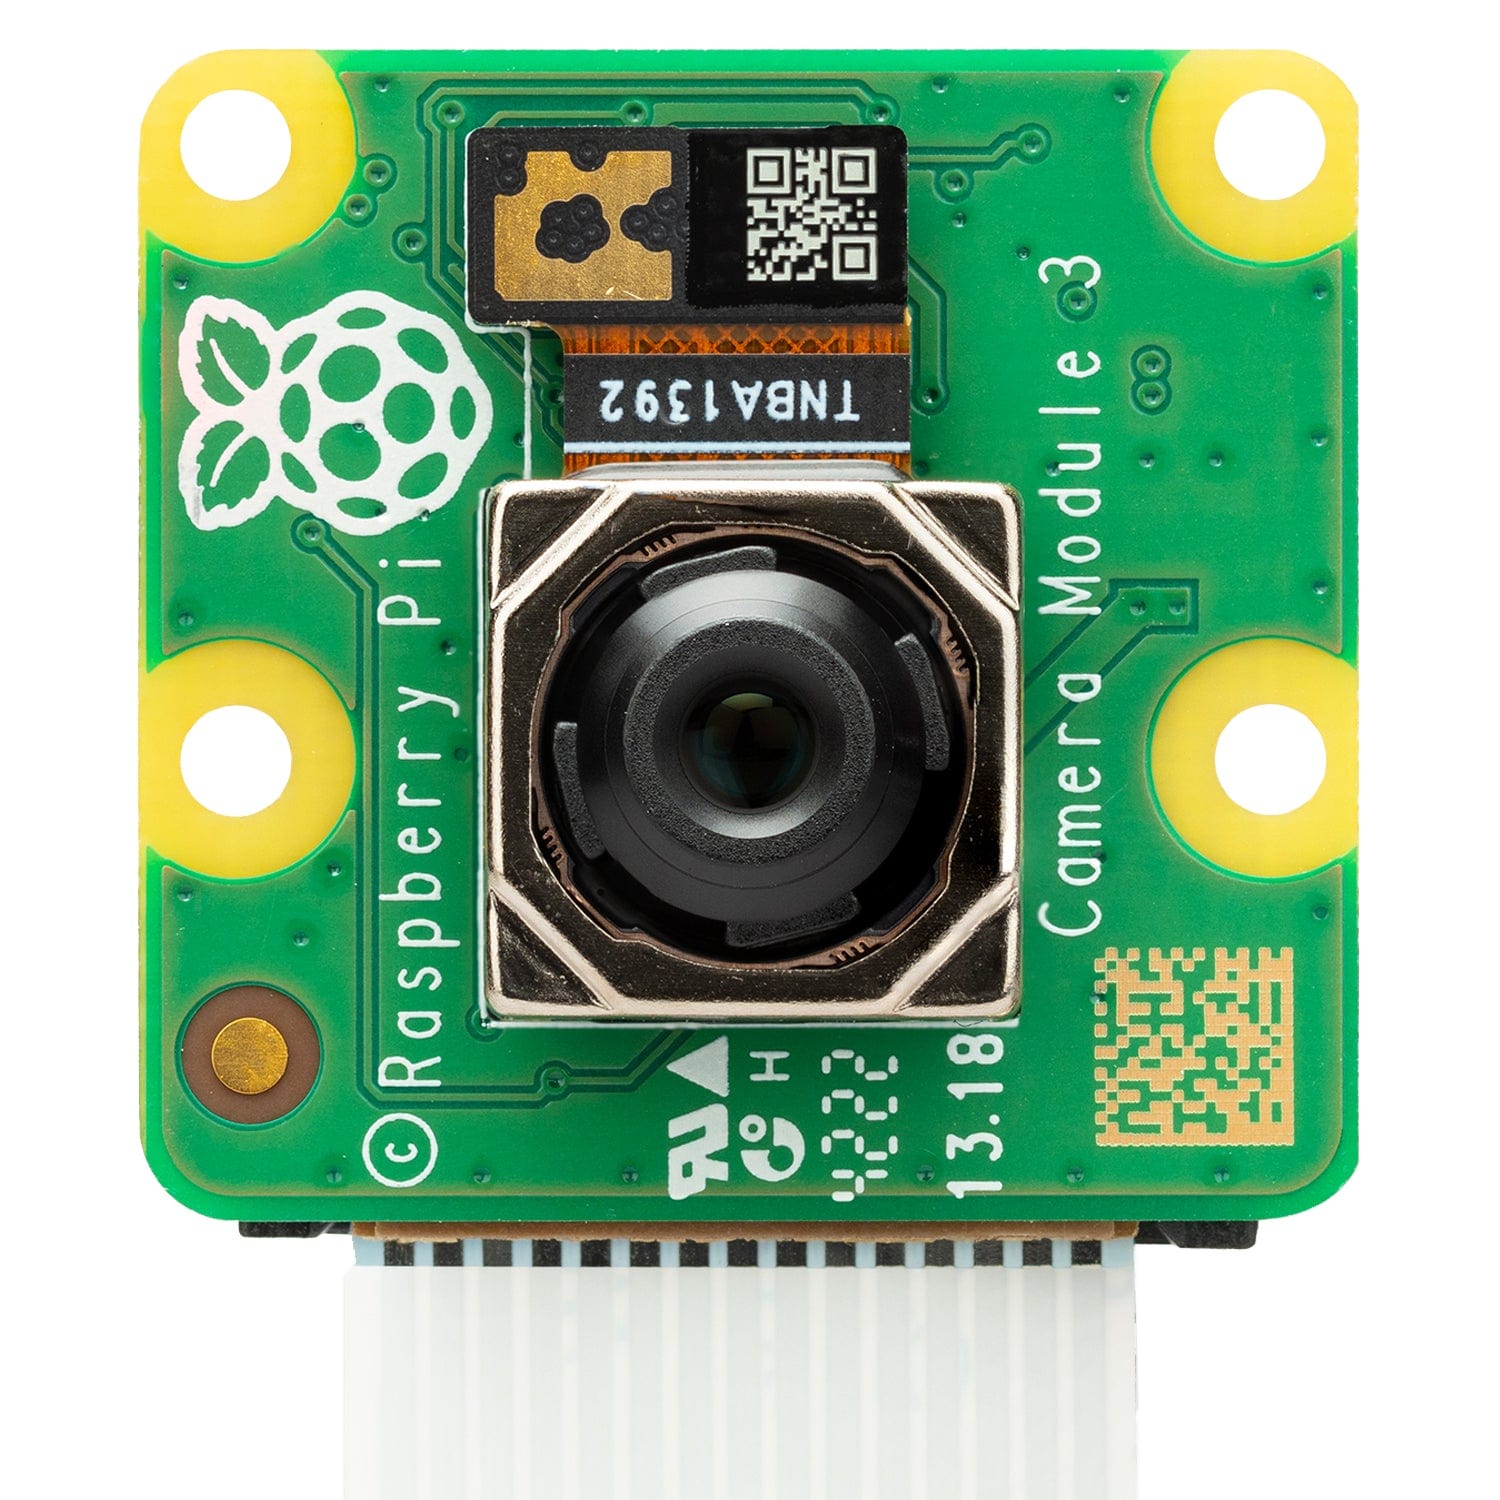
Panel Mount Kit for Raspberry Pi Camera Module 3
Price:
Sale price
£3
Stock:
Quantity:
 Skip to content
Login / Signup
Cart
Your cart is empty
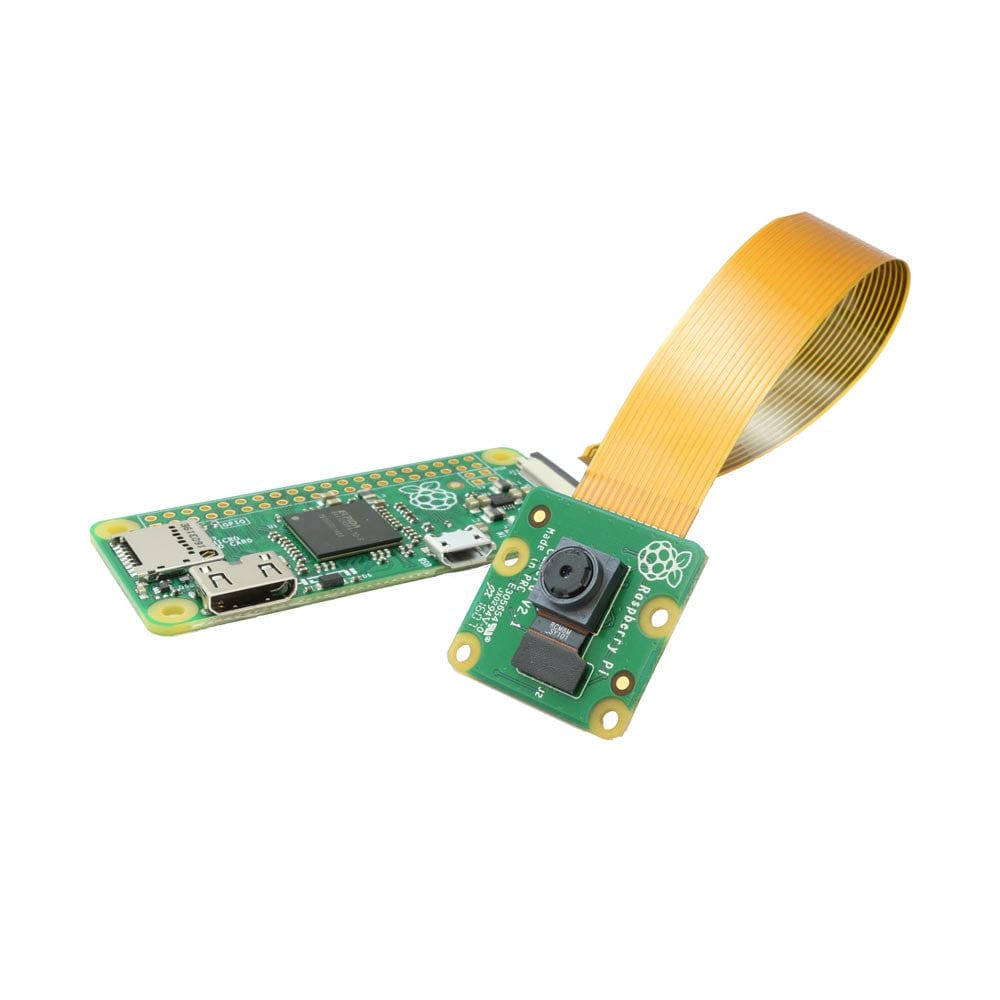
We've lost count of how many times we've tried to mount a camera module onto a panel or enclosure but struggled to drill the very small M2 holes right at the edge of the camera board, and don't even mention trying to get a nice clean cut-out for the lens!
Mounting these tiny yet awesome cameras onto thick wood and other brittle, cumbersome materials is just not fun!
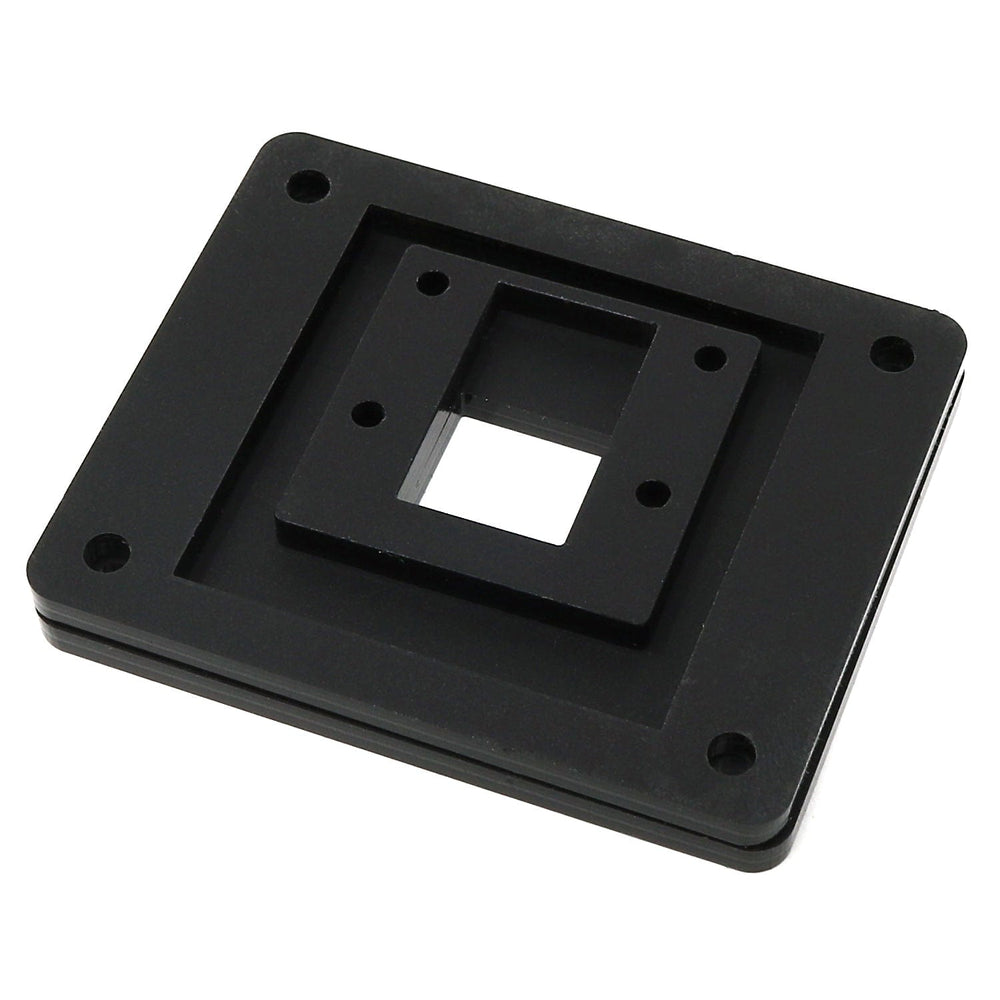
...and that's why we came up with this little affordable Camera Mounting Kit! A quick, easy and forgiving way to mount your camera module (not included) with clean results!
Dimensions file available here.
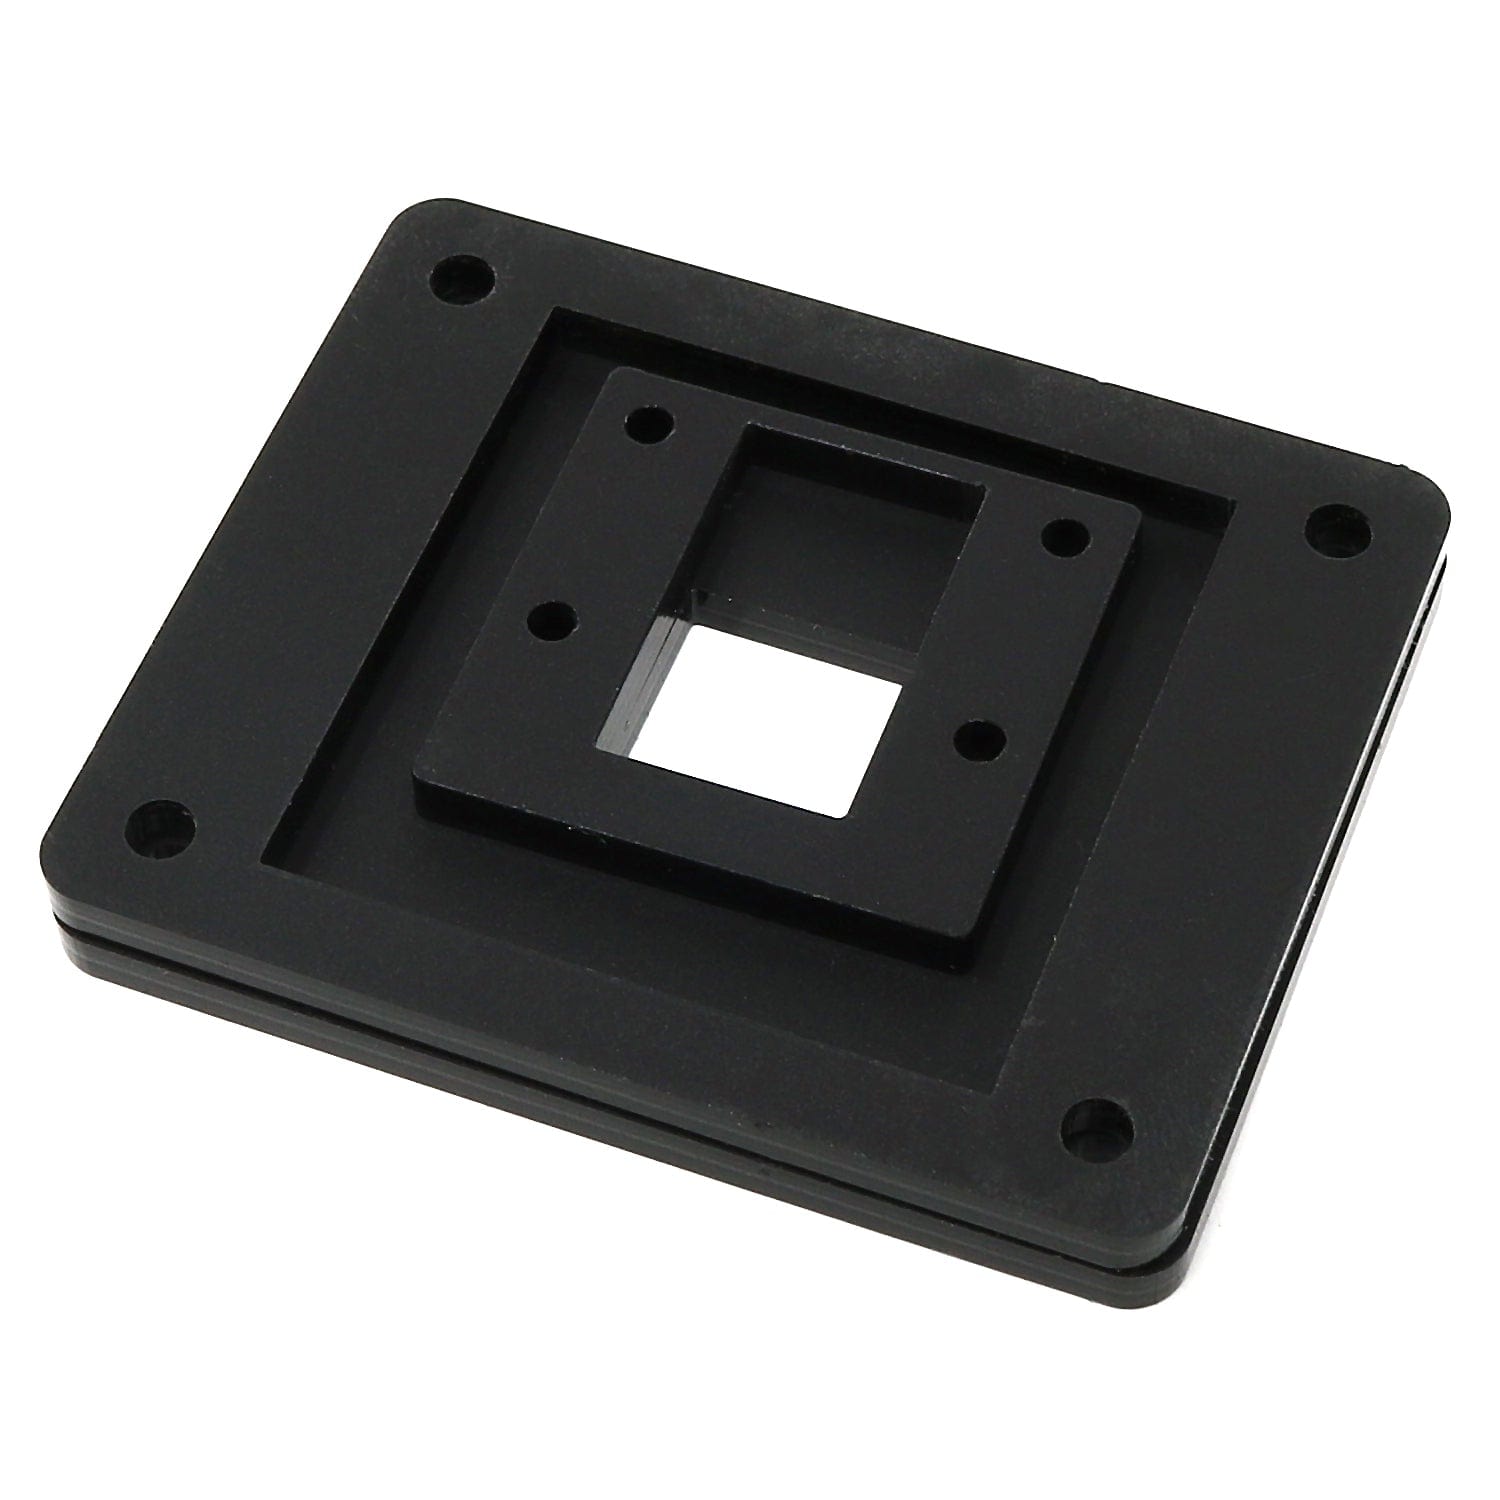
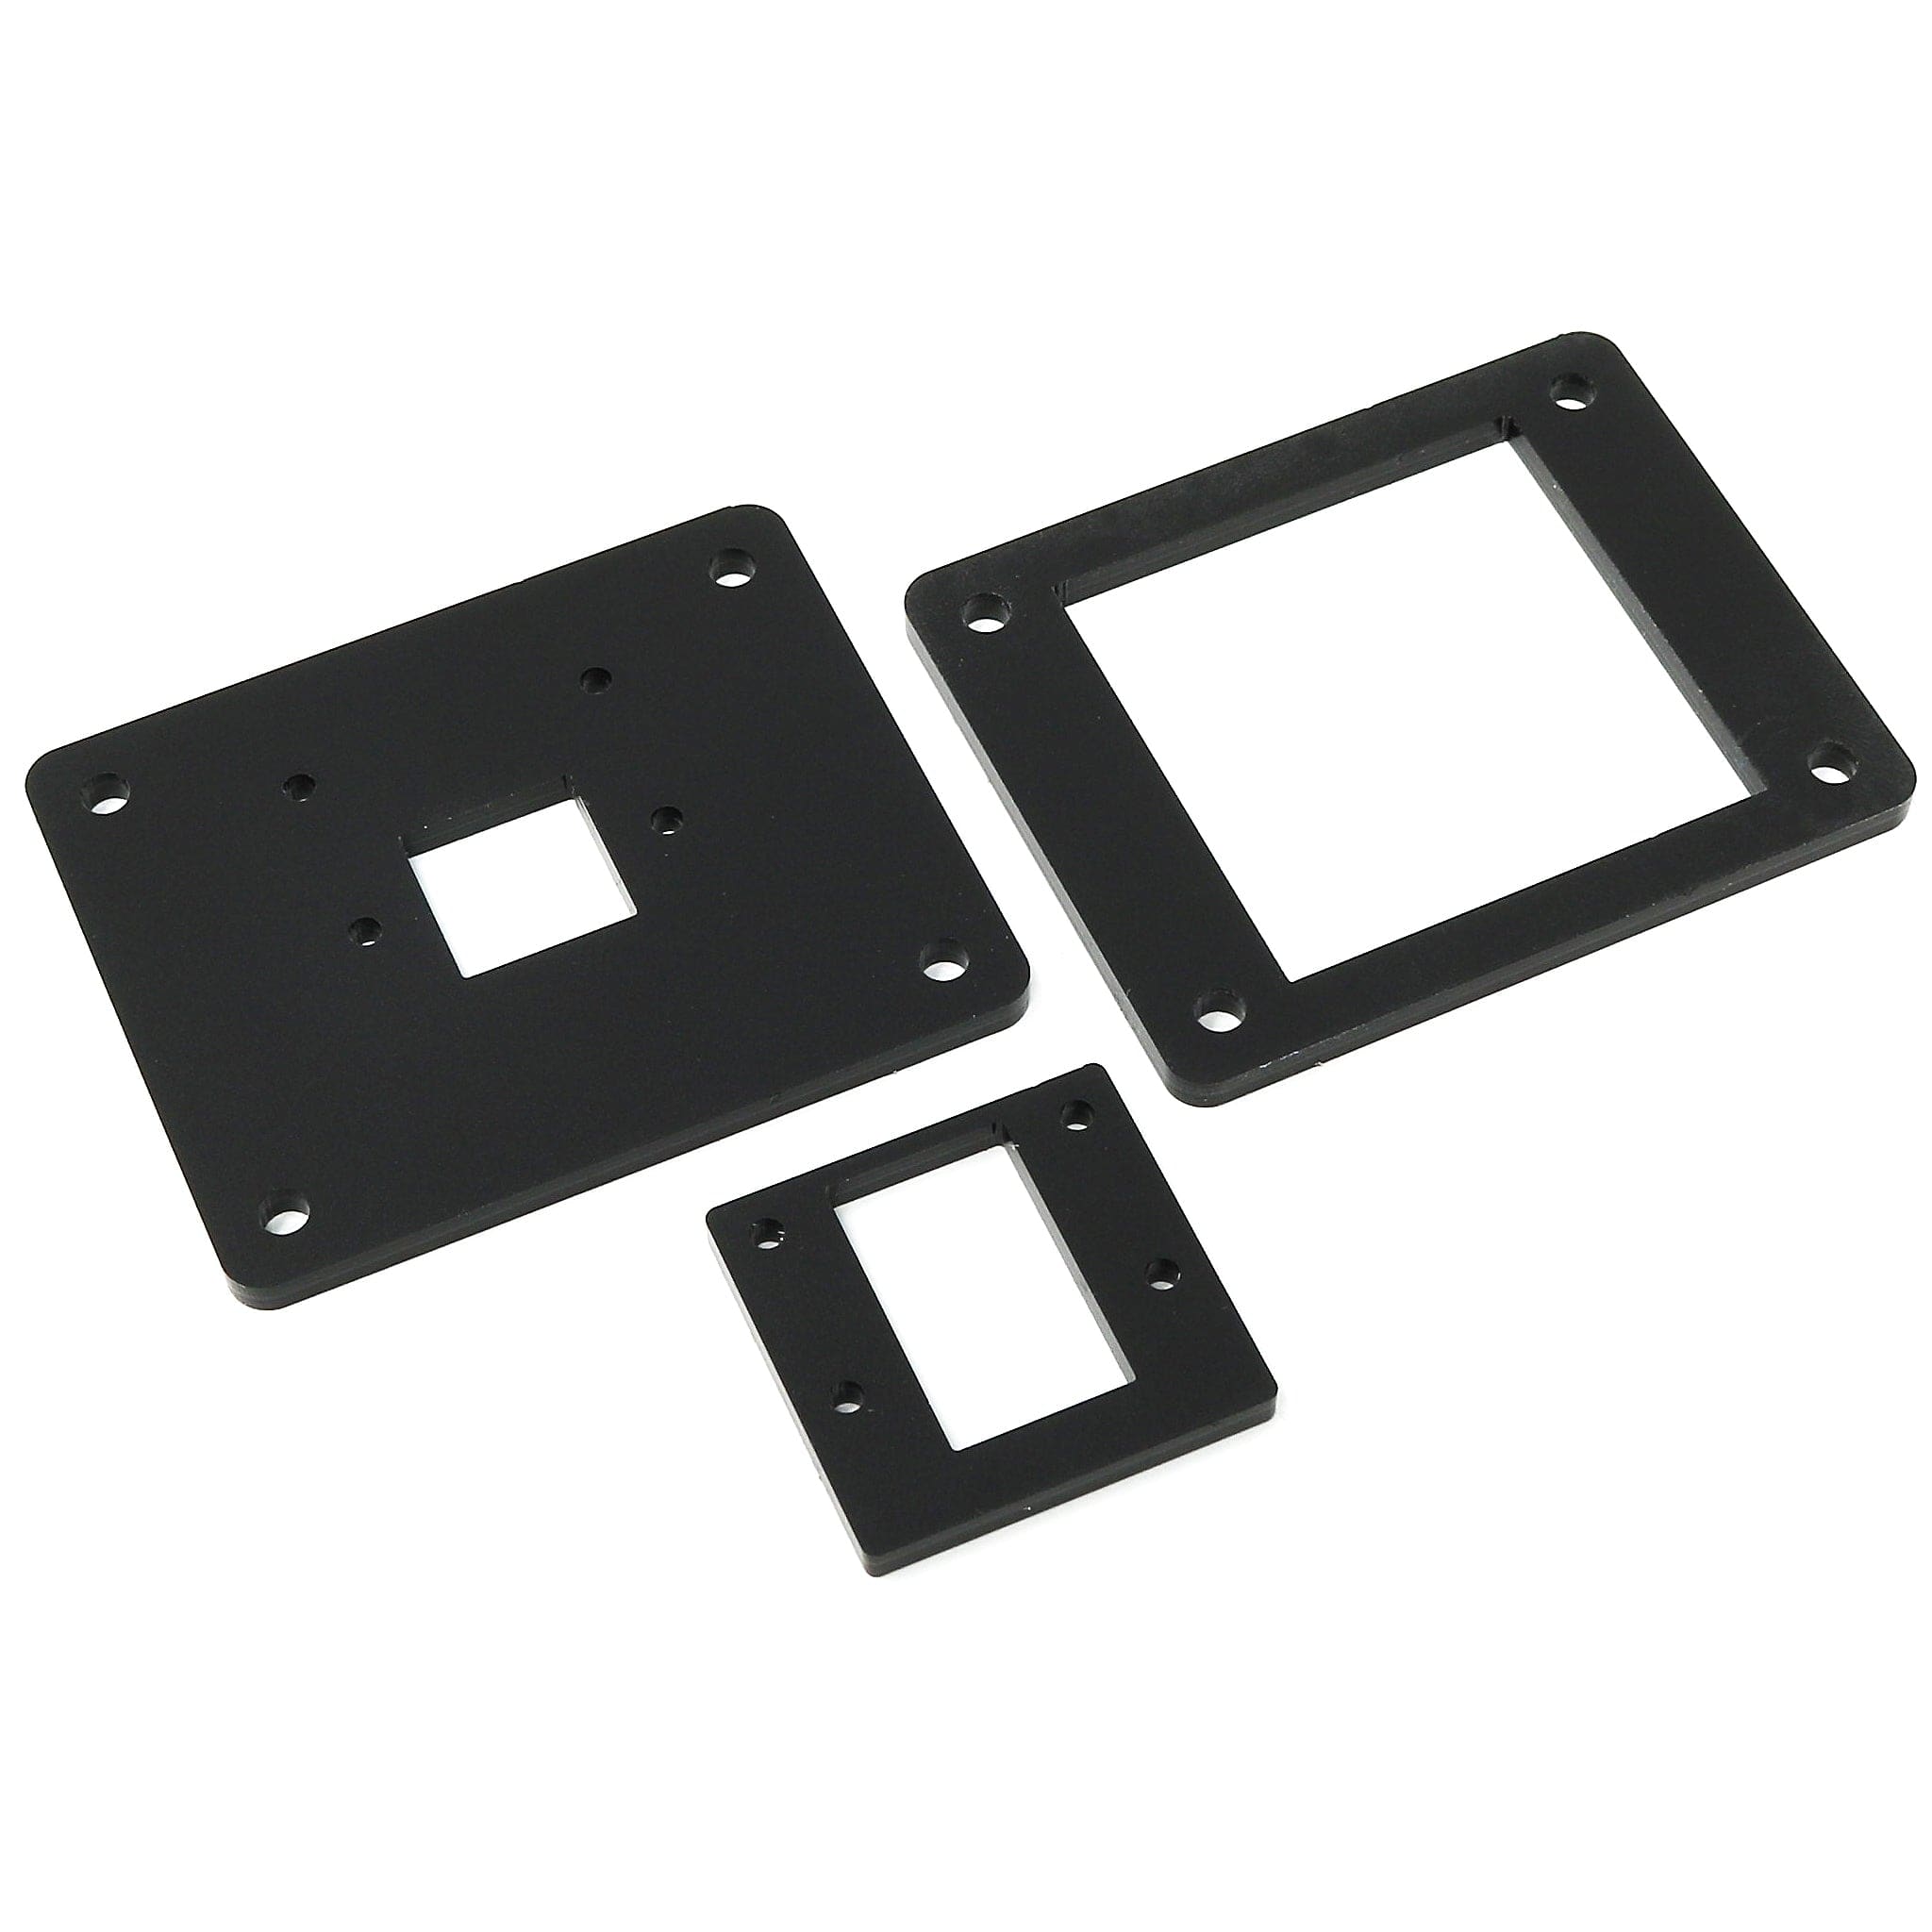
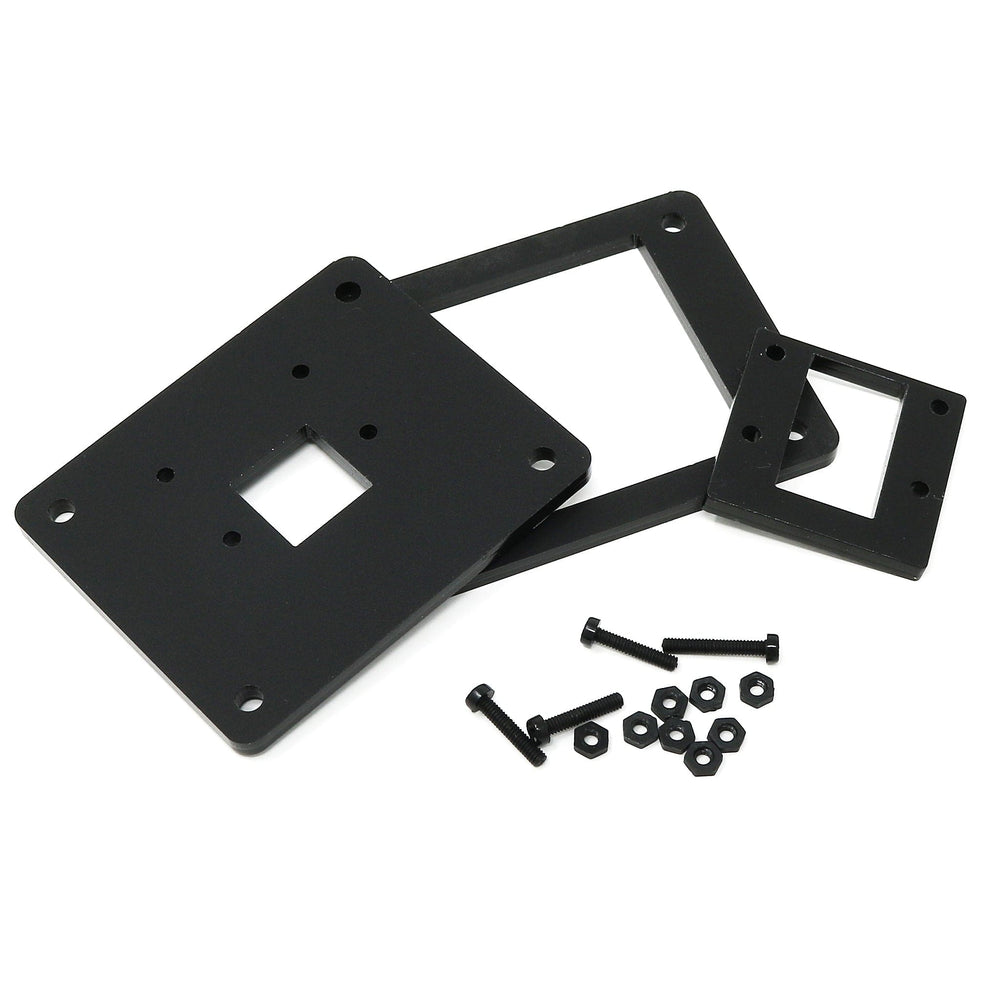
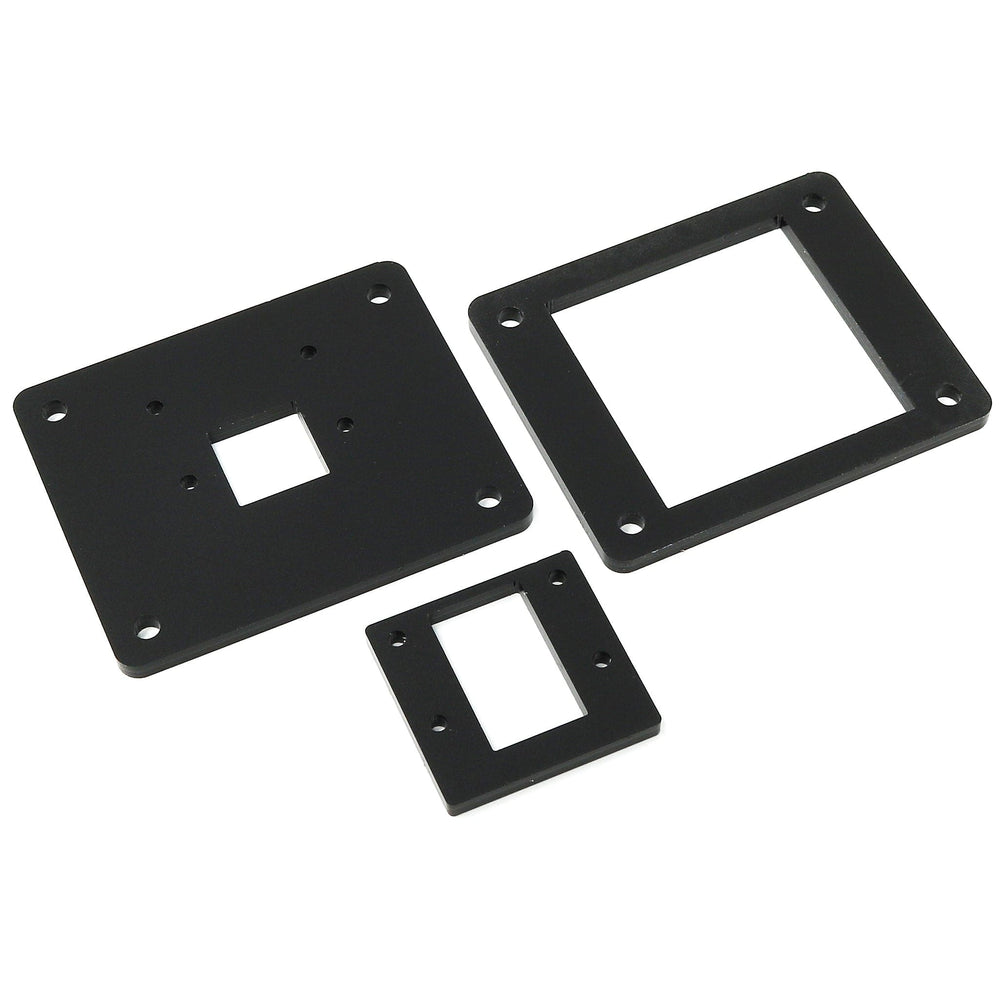
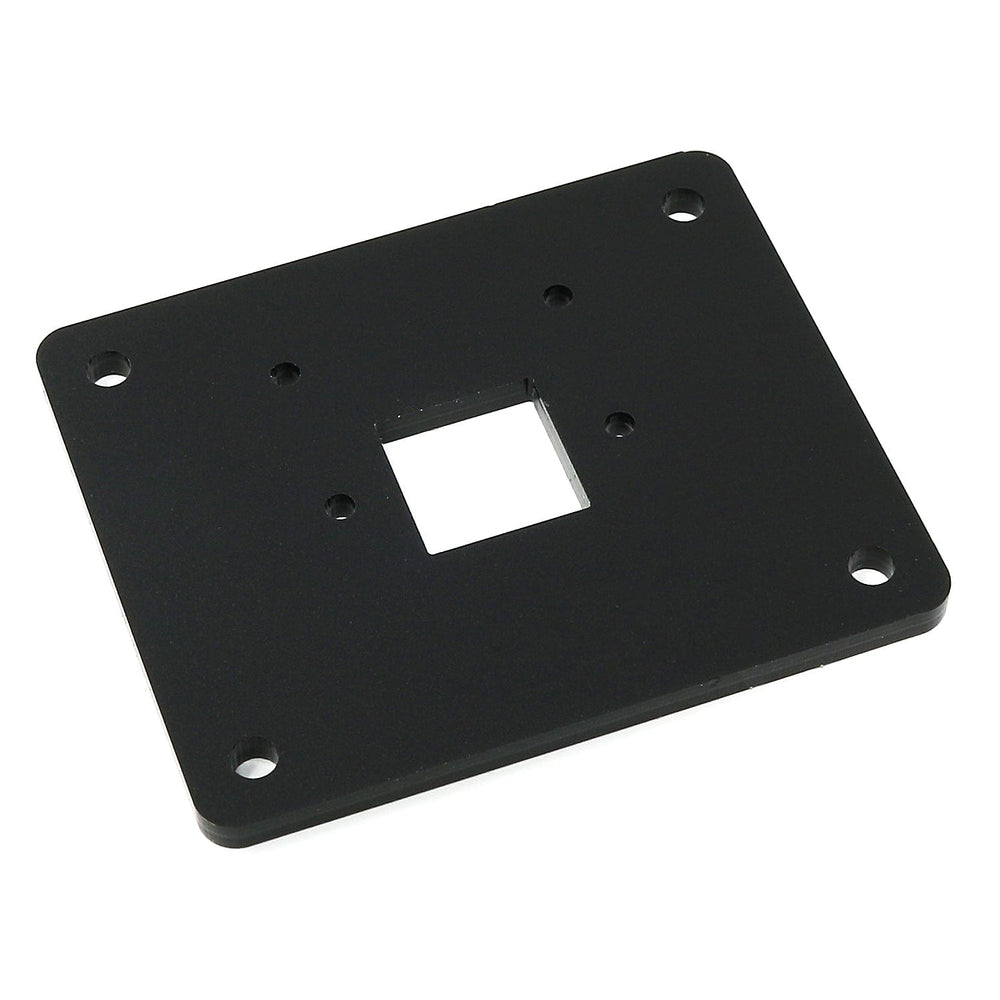
This simple kit gives you:
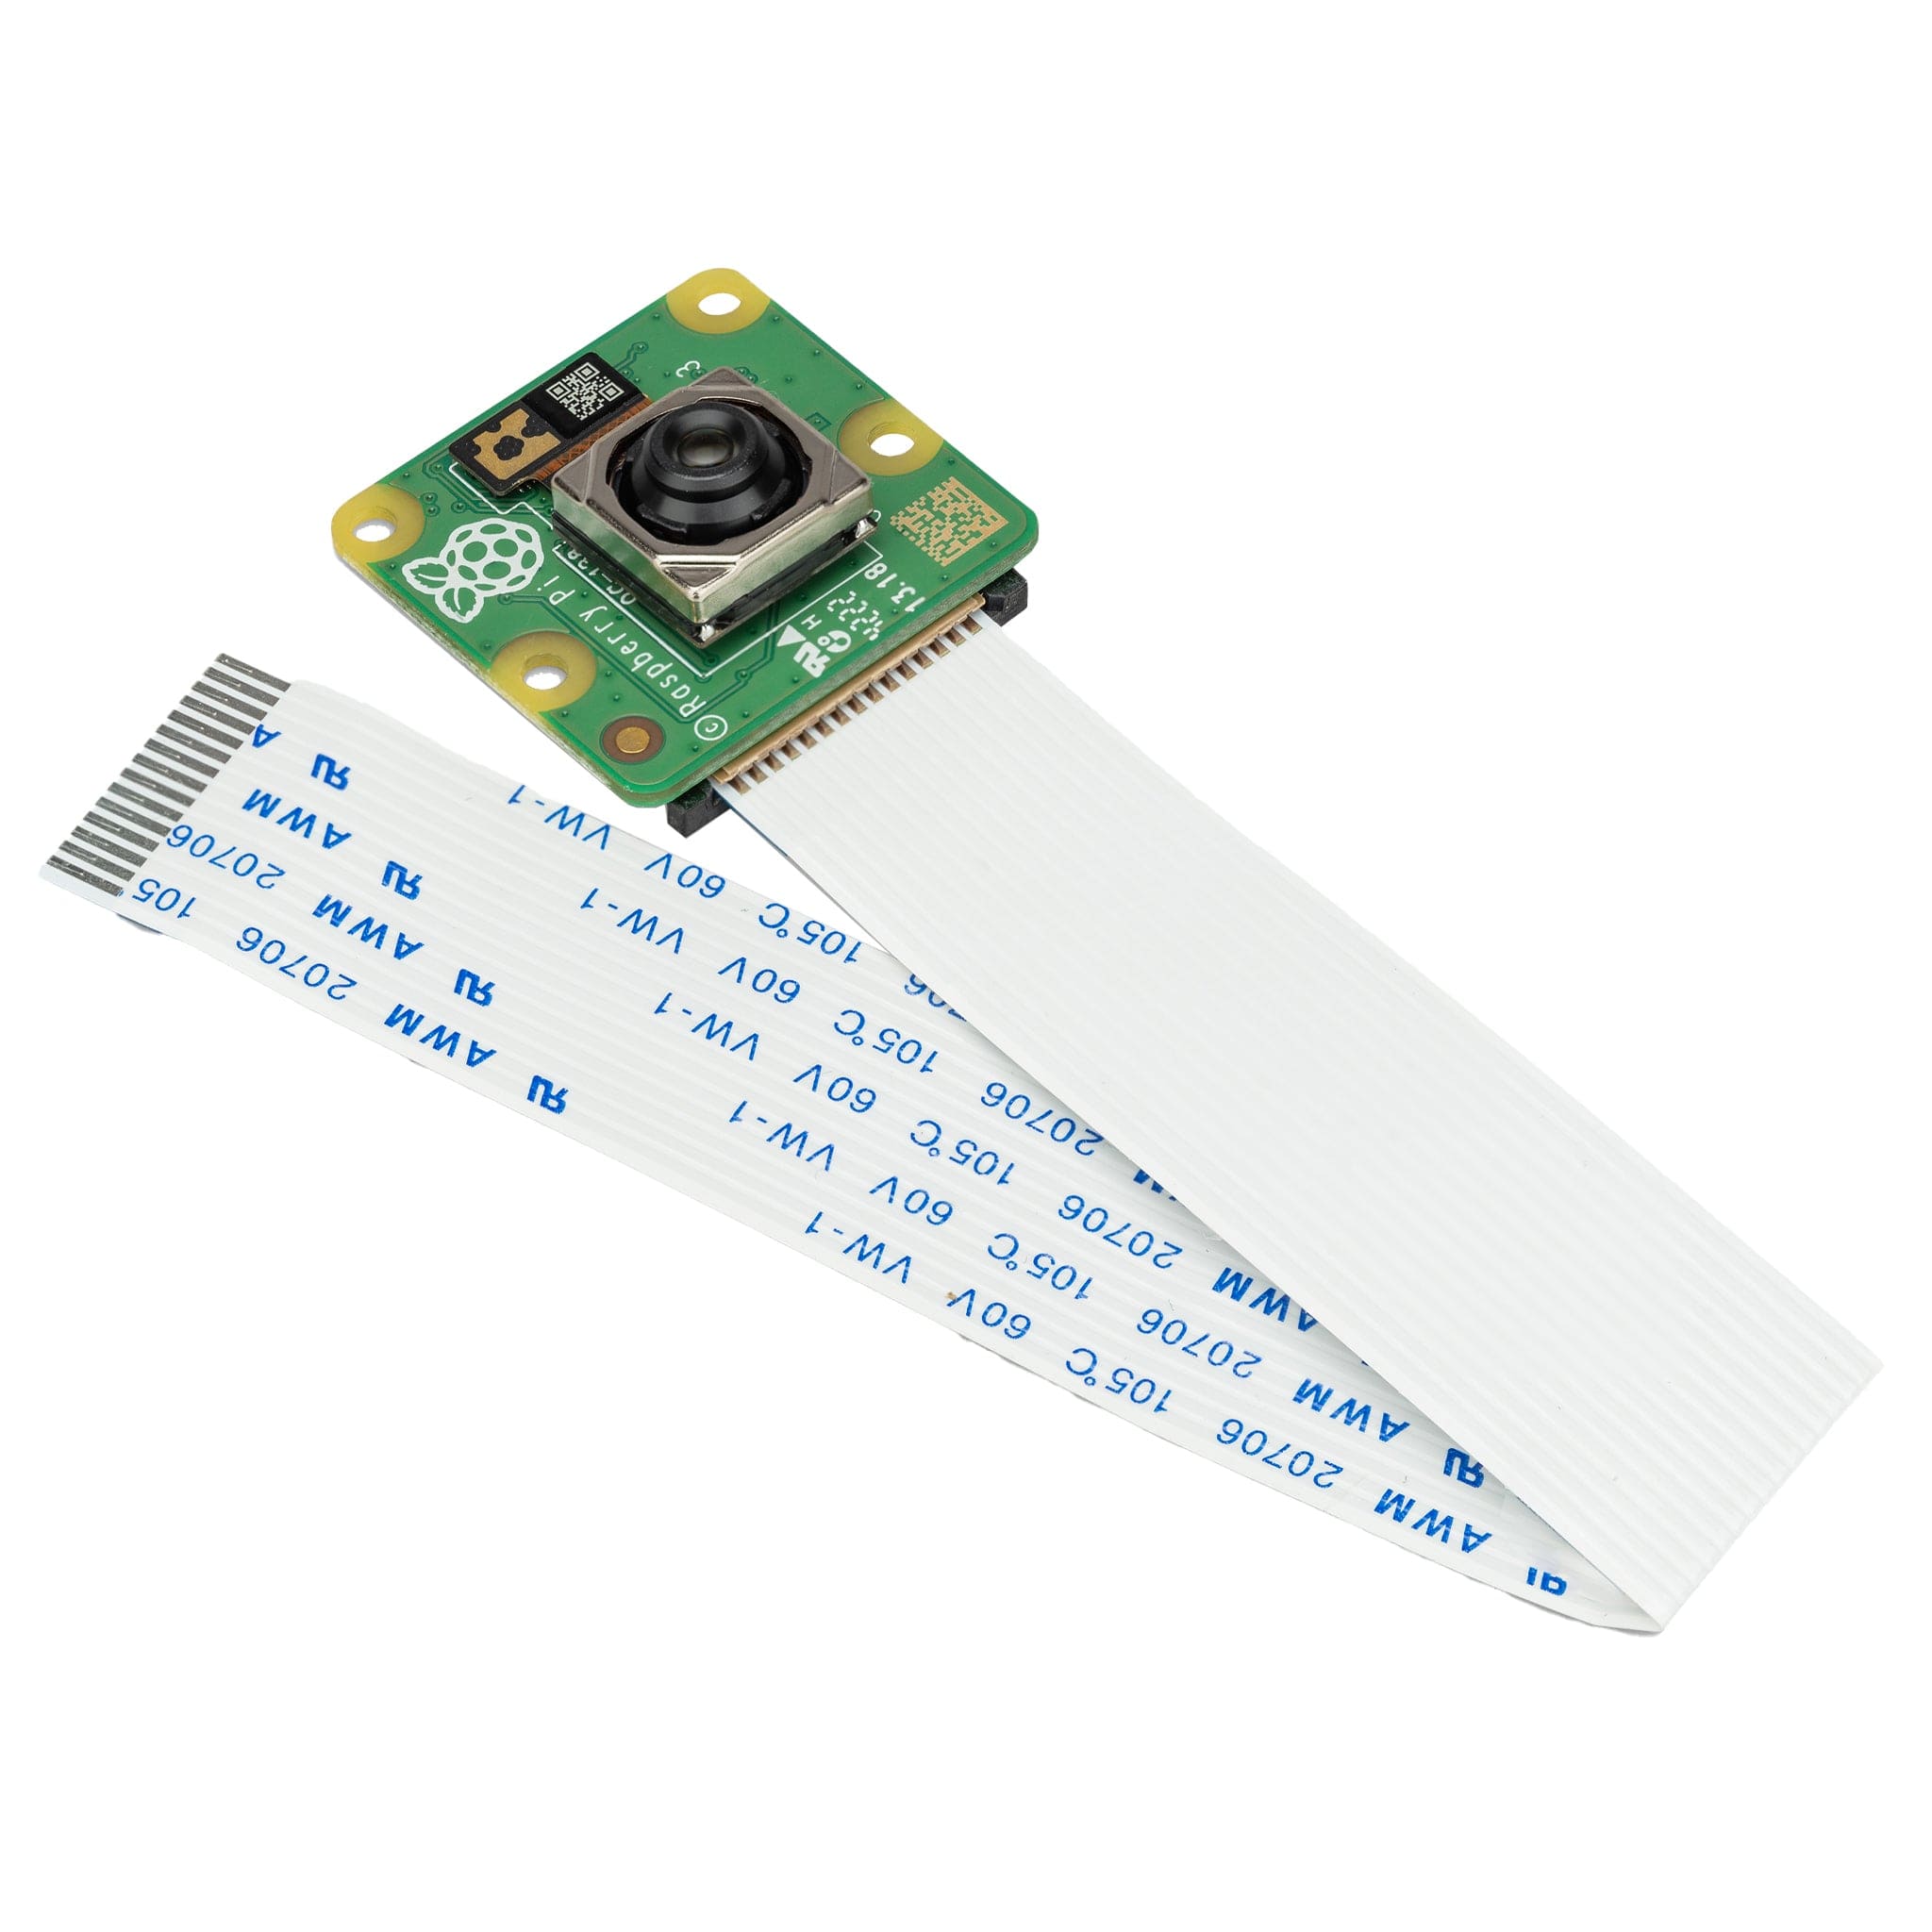
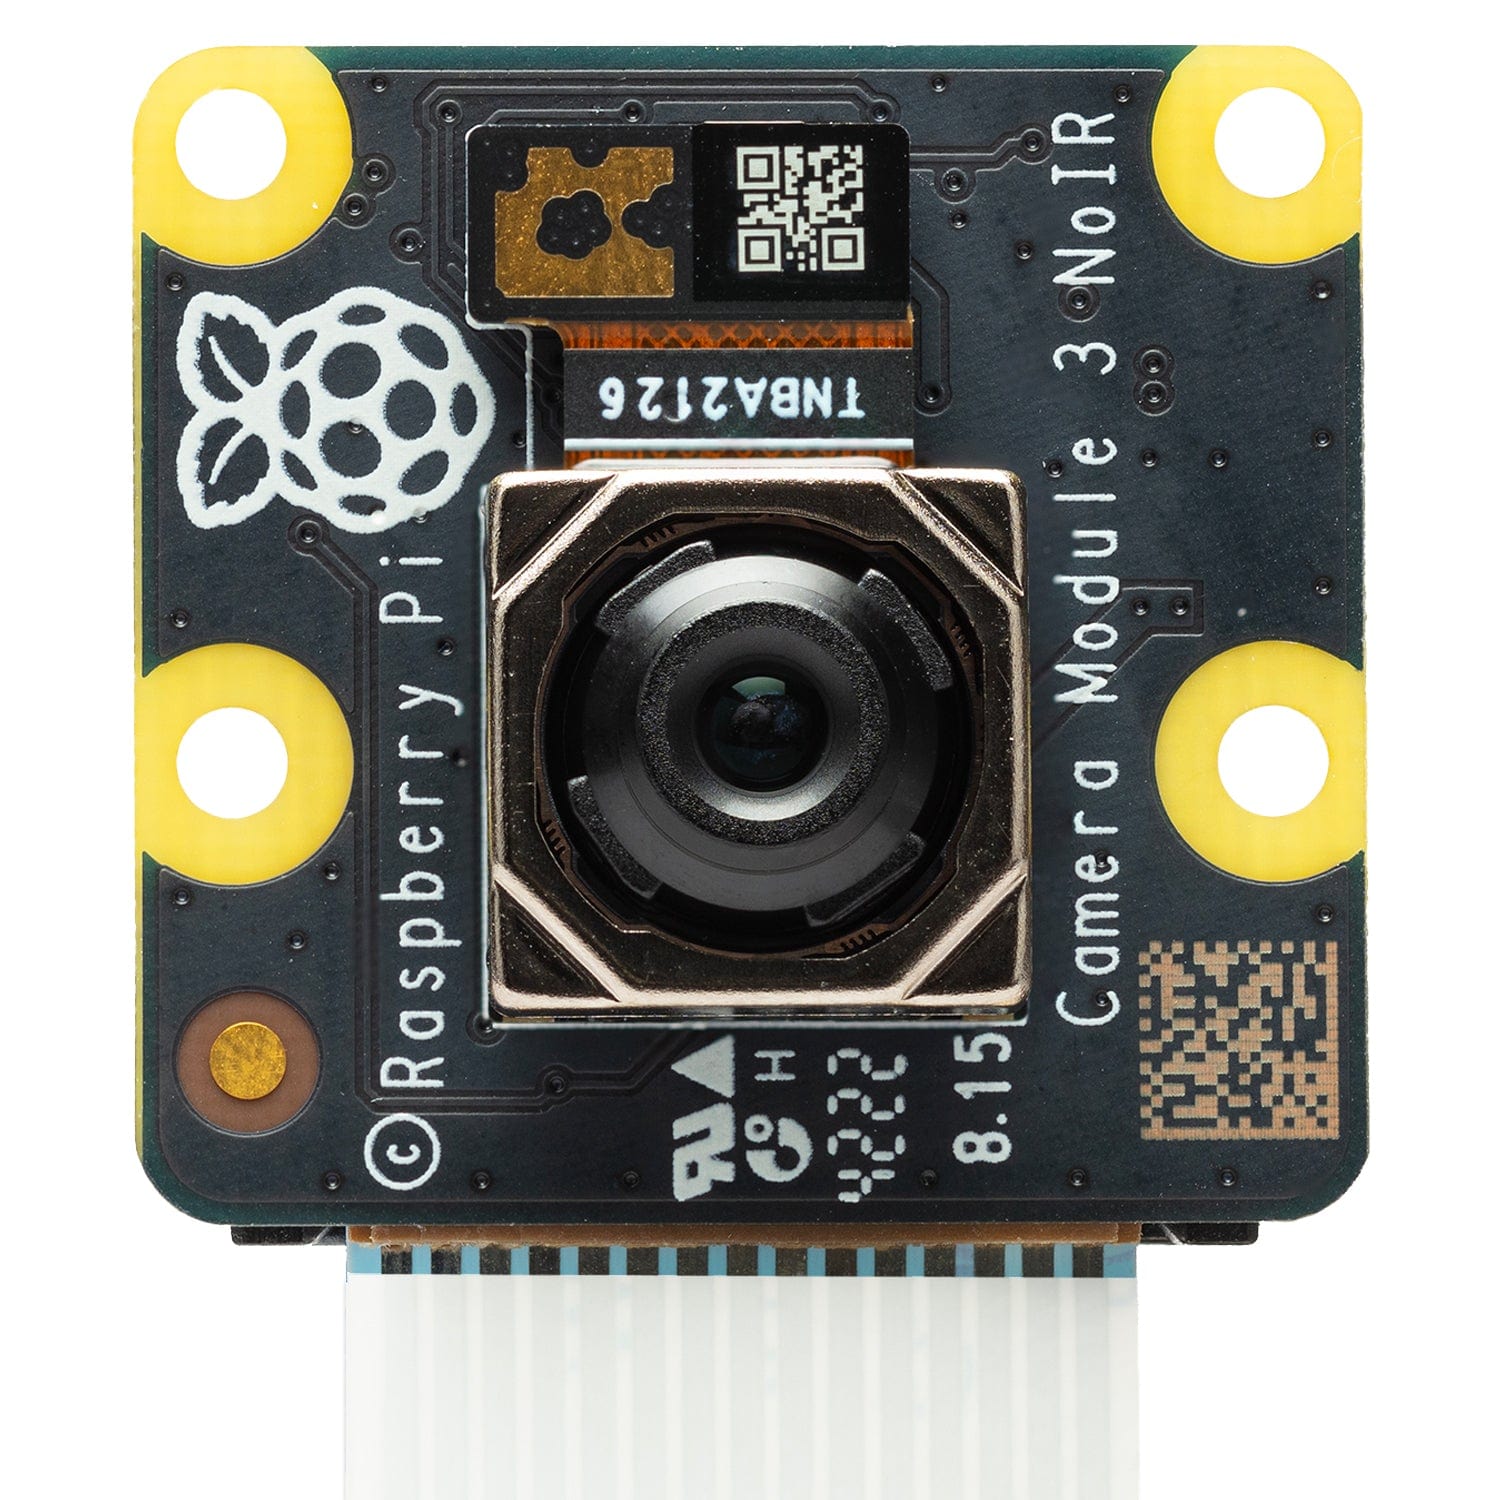
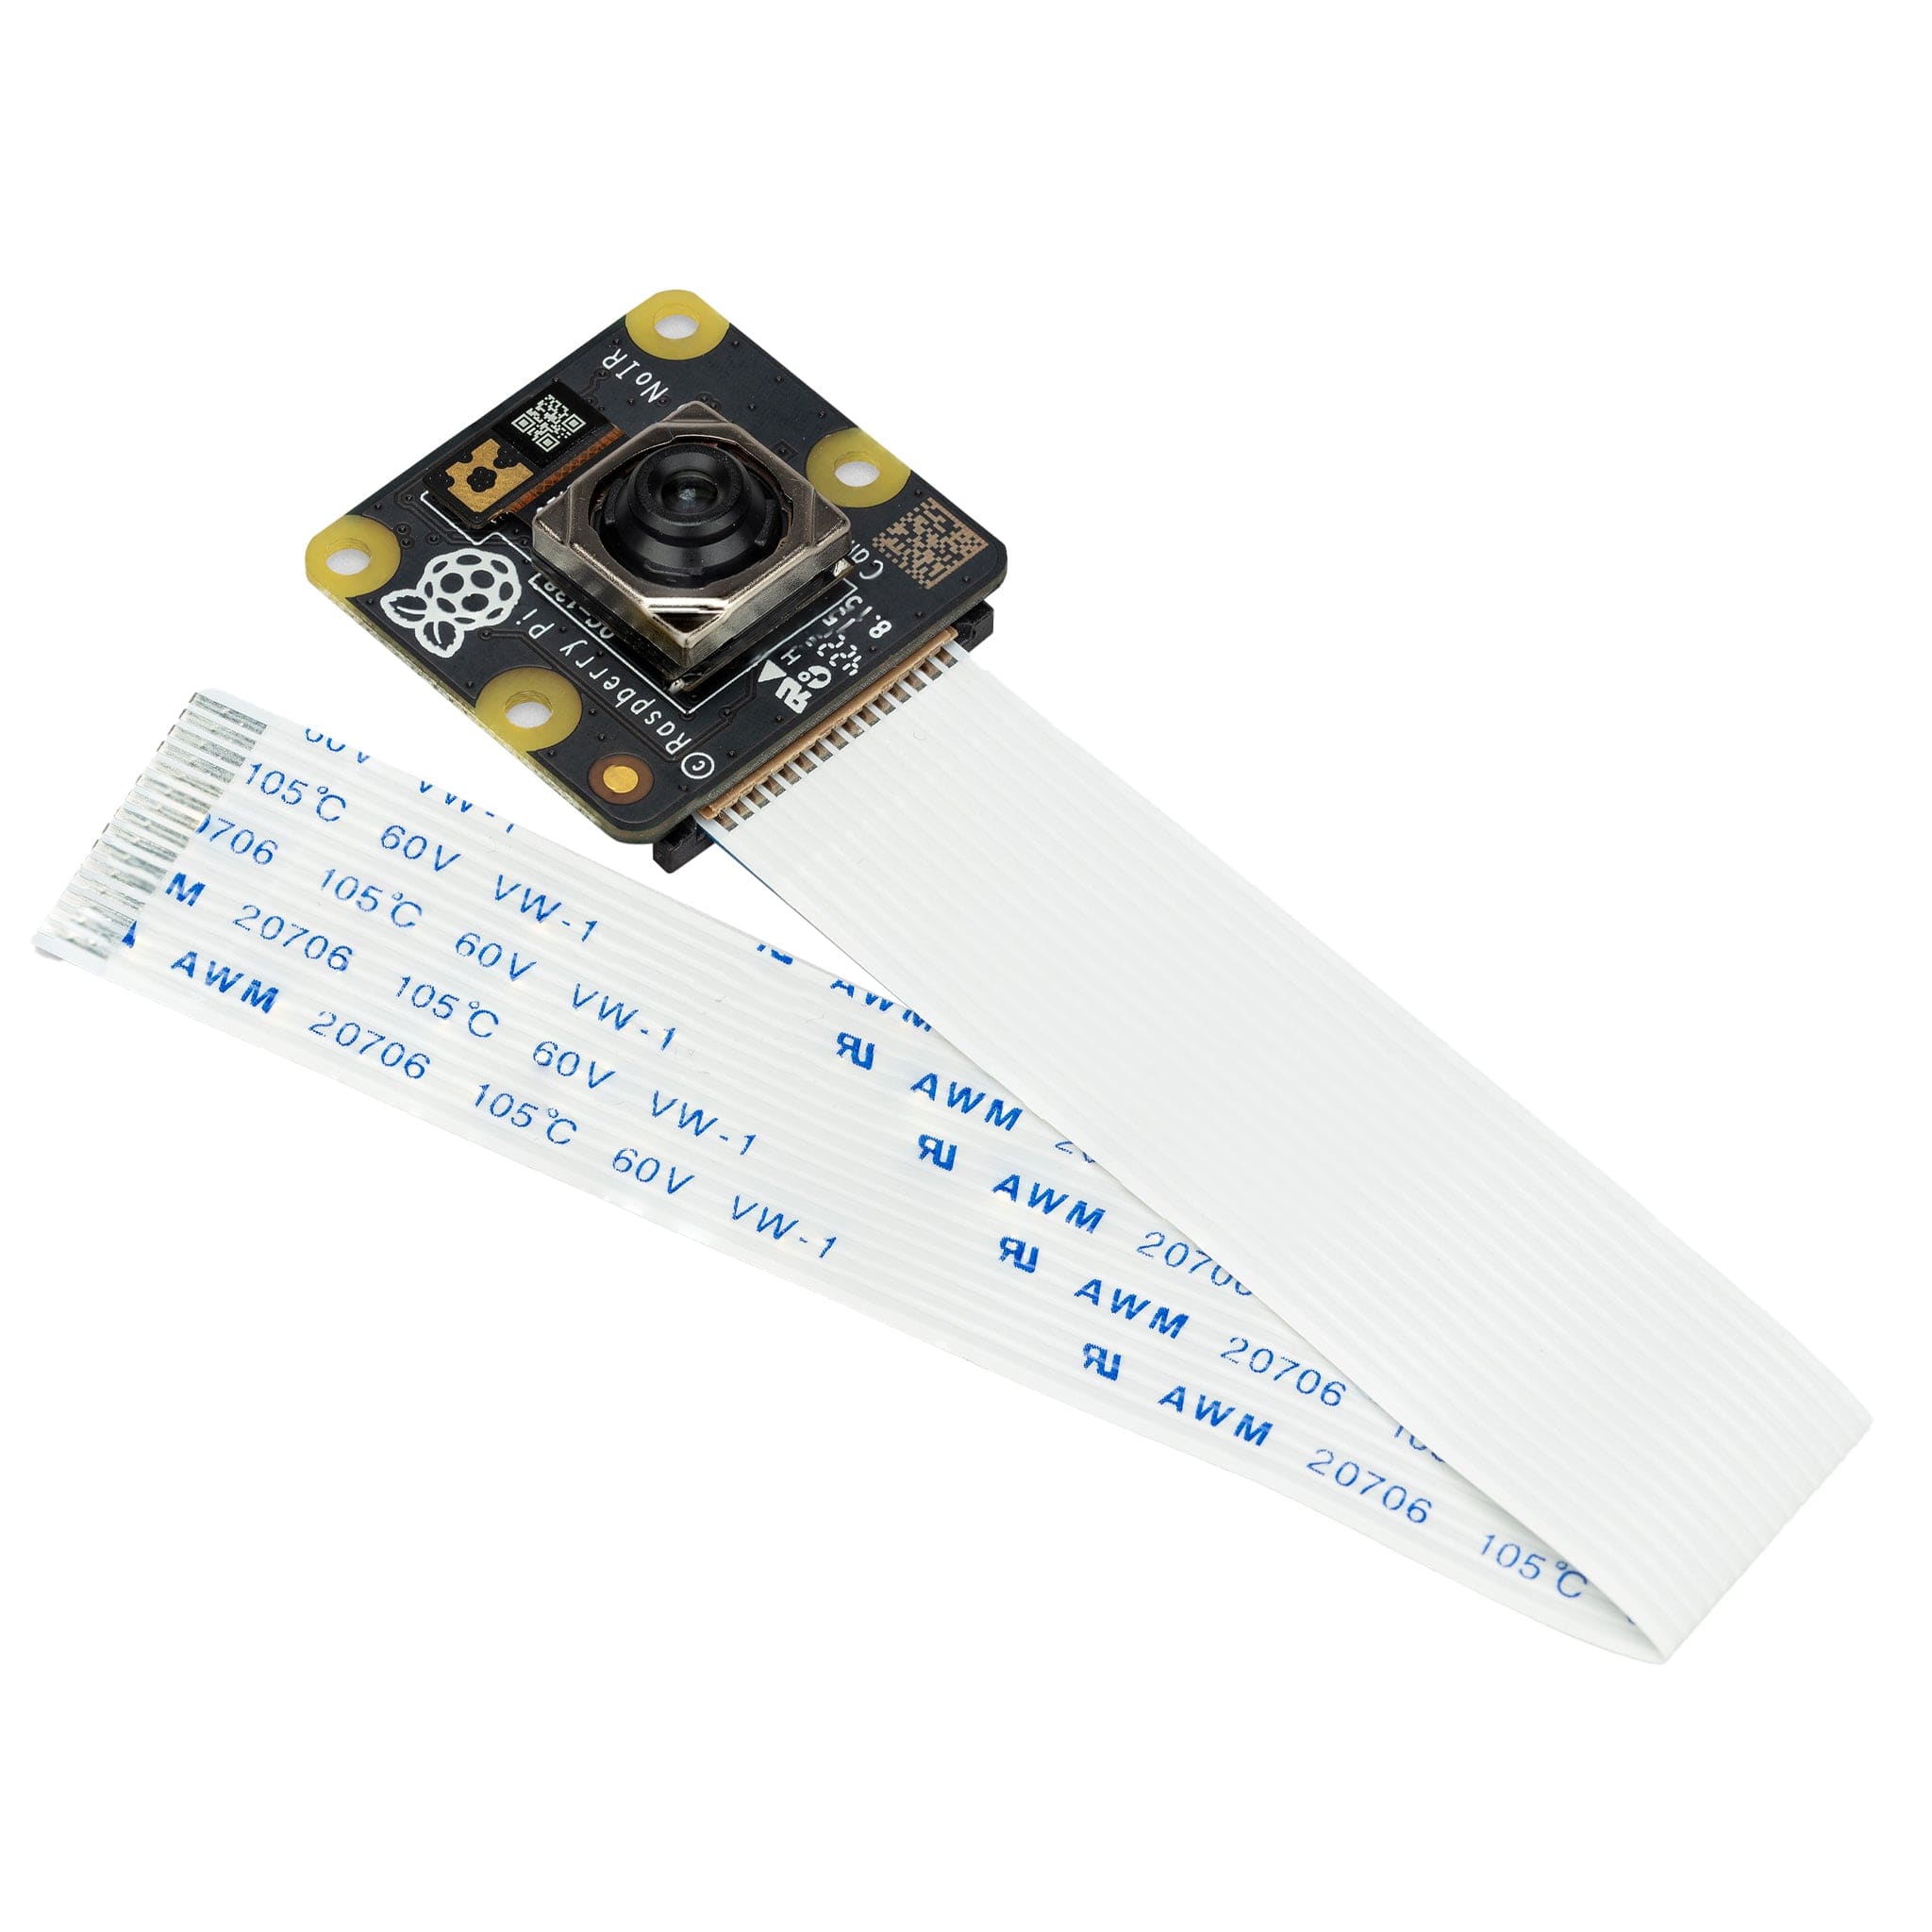
The camera module is not included!
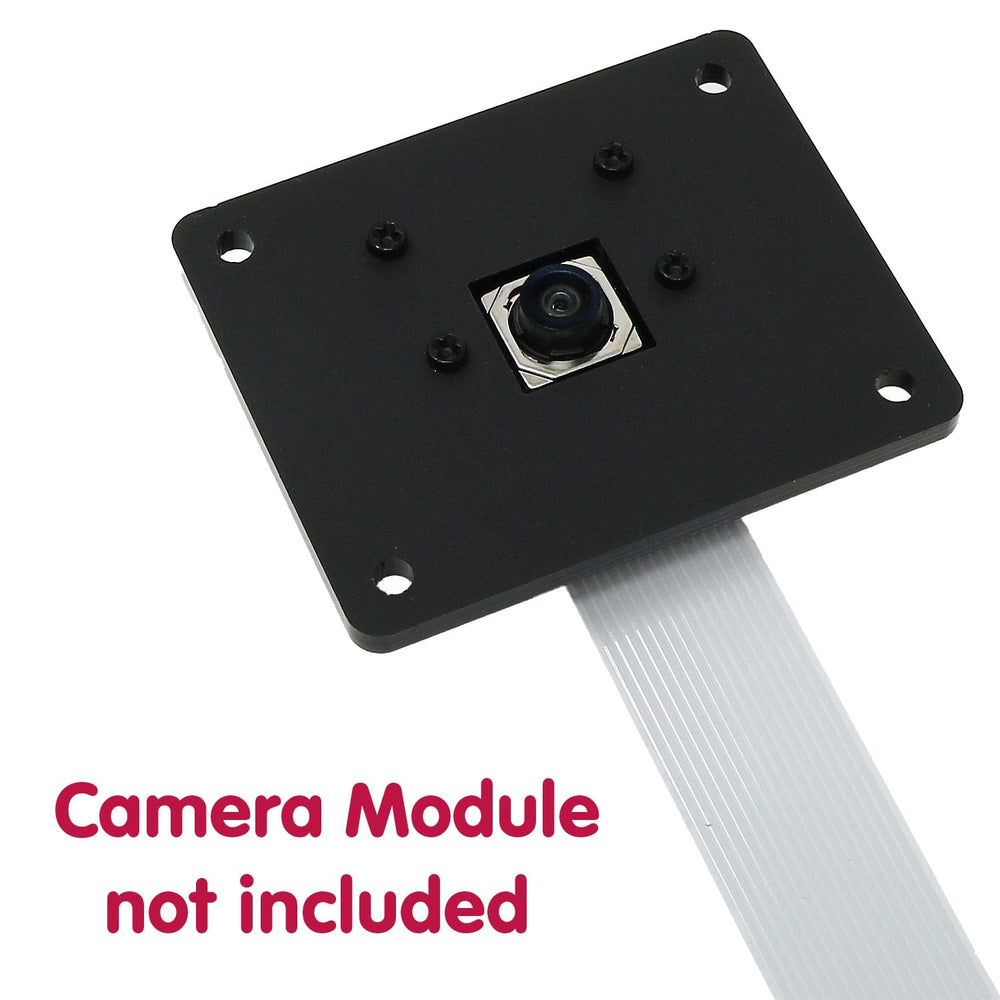
With your template holes cut, simply mount your camera module 3 to the mounting plate and secure it to your project with 4x M3 screws and nuts (not included...because everyone will be mounting to different thickness materials).
Fun fact: We cut these 10 at a time, which is a bit of a pain, but it means we can use the slim side off-cuts from other products we laser-cut that would otherwise go to waste.
Some warnings/advice before you start:
OK, let's begin. First, peel the protective backing off of the plastic parts in your kit:

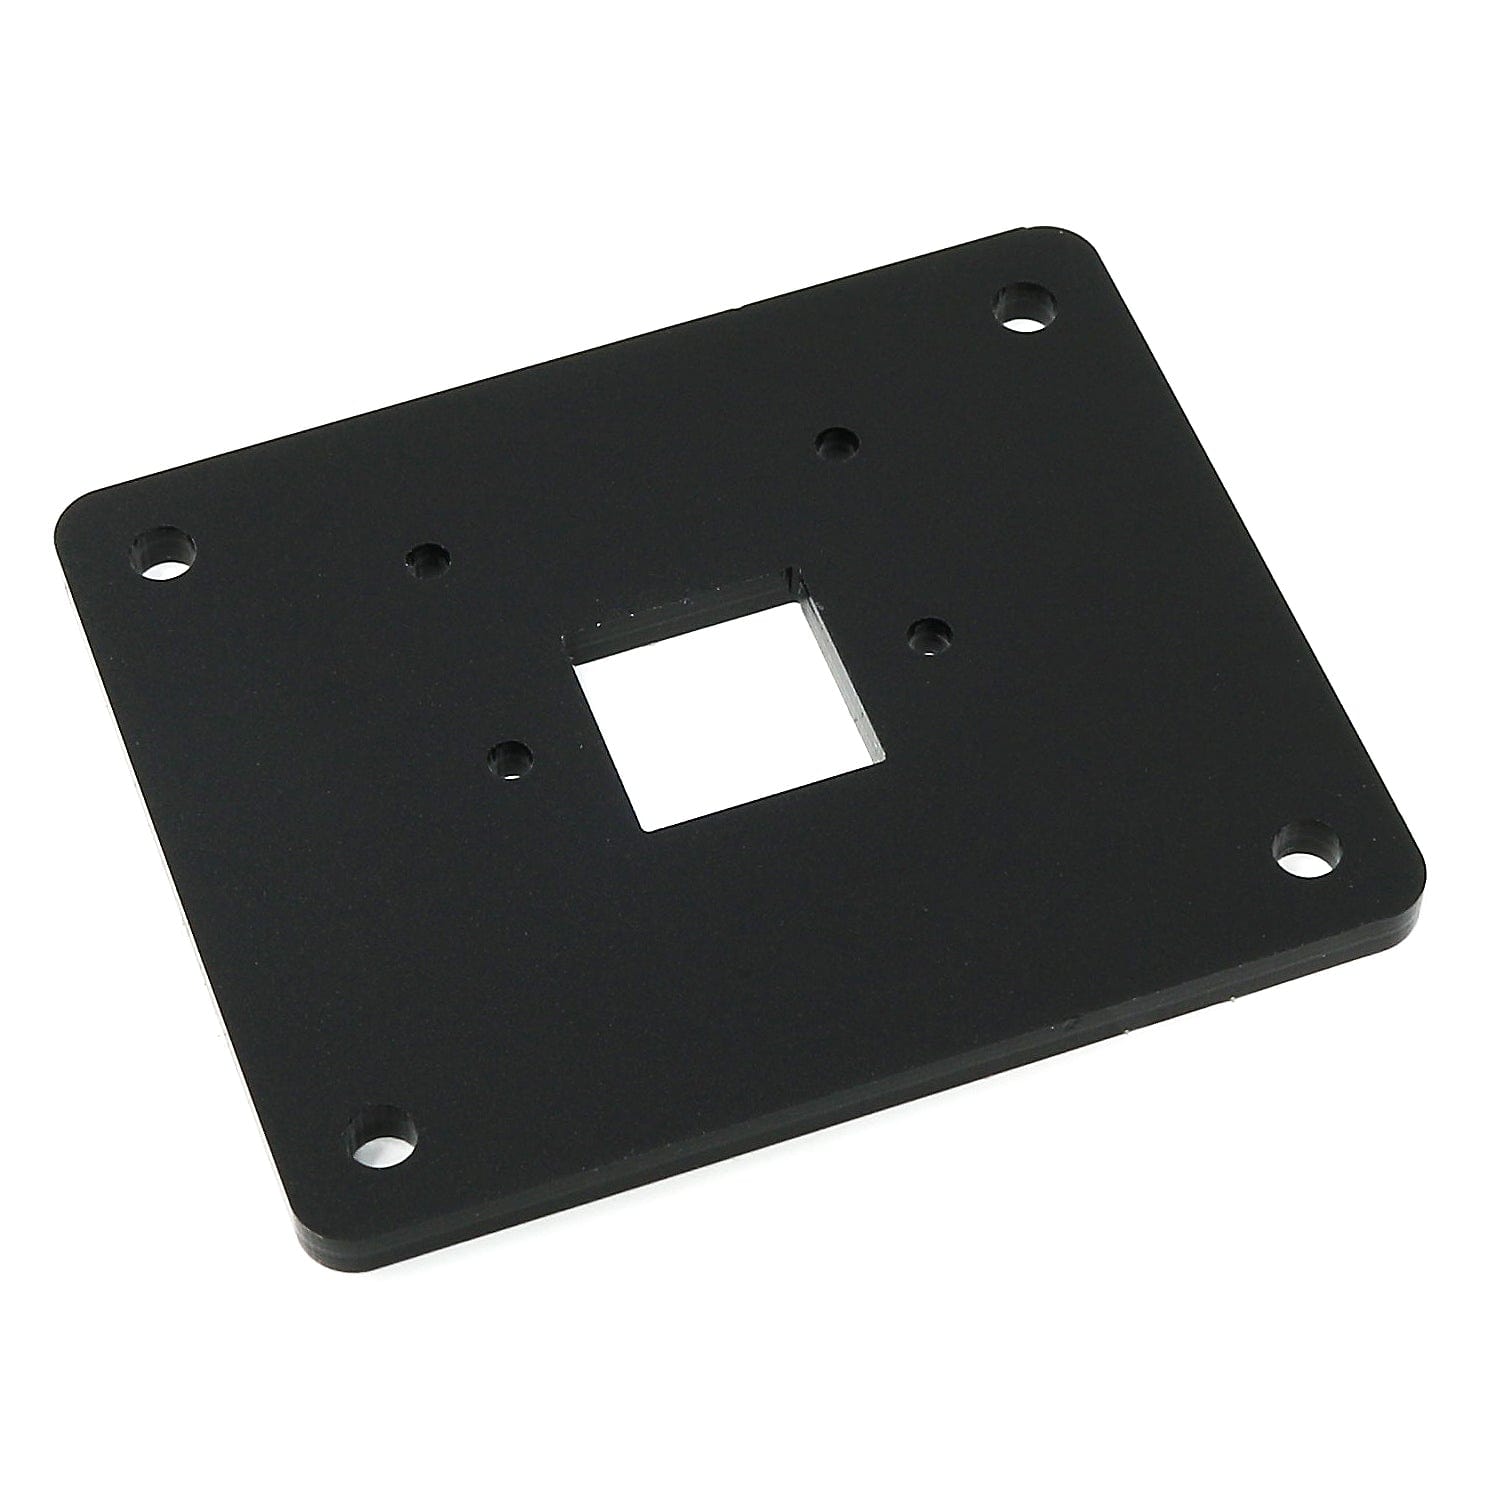
Now grab your enclosure or panel and use the template piece to mark your cut holes. Mark the inside of the main large hole, and the four screw holes:
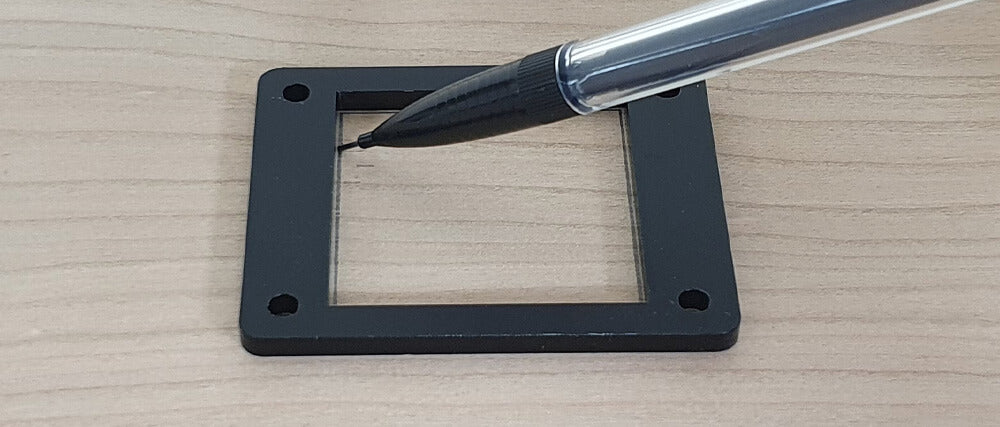
Cut/drill your cut-out and holes (we used our laser...we had it running anyway...). The main large cut-out hasn't got to be perfect, we designed this with a good few mm of tolerance in mind:

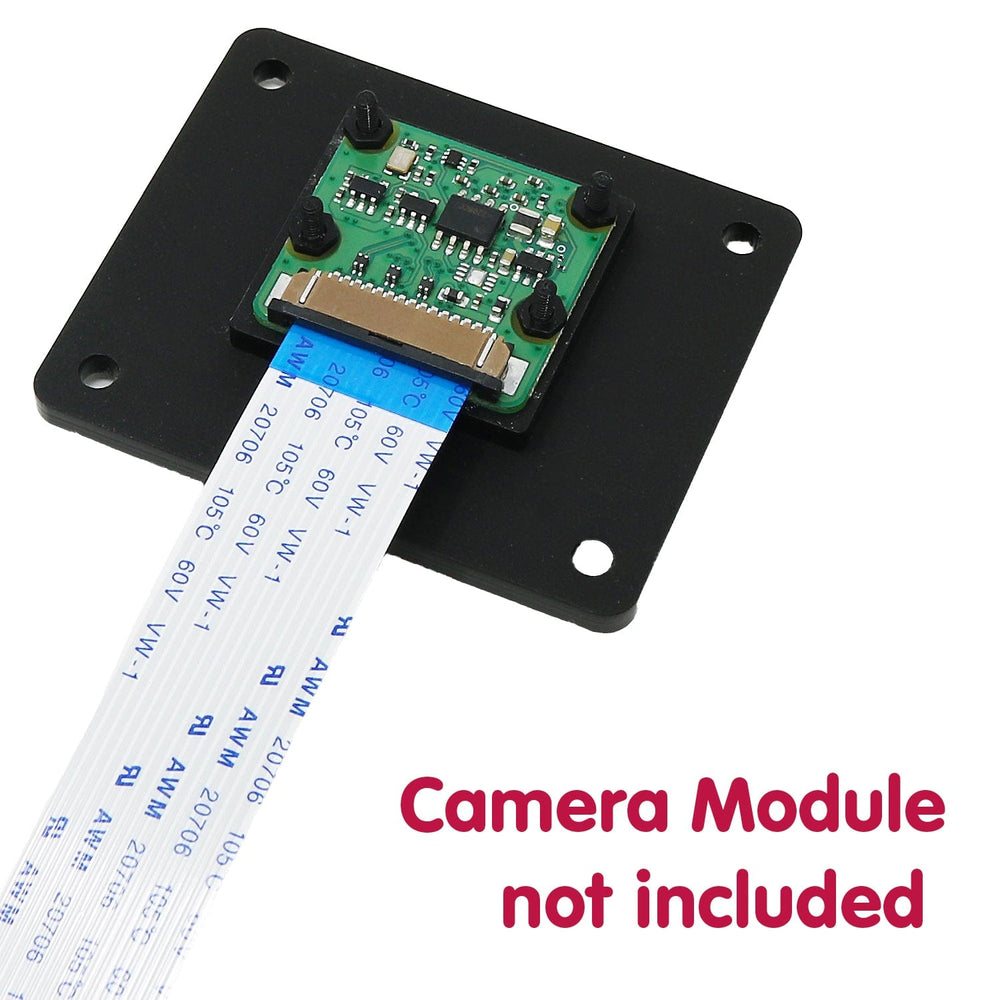
Fit your camera module to the spacer and mounting plate using the included bag of M2 screws and nuts (this part IS fiddly, but if the big ol' sausage fingers seen below can manage it, you'll be fine):


Now poke the camera cable through the hole, place your mounting plate over your cut-out and secure it with M3 screws/nuts (the metal M3 fixings seen below are not included, you'll probably want black ones anyway). DO NOT OVER-TIGHTEN (especially if you're using metal fixings) or you'll crack the Perspex!

Your payment information is processed securely. We do not store credit card details nor have access to your credit card information.