LipoPiZero+ Low-Profile Mobile Power pHAT for Pi Zero [discontinued]
Price:
Sale price
£22.80
Regular price
£24
 Skip to content
Cart
Your cart is empty
![LipoPiZero+ Low-Profile Mobile Power pHAT for Pi Zero [discontinued] by Uropanet - The Pi Hut](http://thepihut.com/cdn/shop/products/lipopizero-low-profile-mobile-power-phat-uropanet-103808-29107411615939_1000x.jpg?v=1646423114)
![LipoPiZero+ Low-Profile Mobile Power pHAT for Pi Zero [discontinued] by Uropanet - The Pi Hut](http://thepihut.com/cdn/shop/products/lipopizero-low-profile-mobile-power-phat-uropanet-103808-29107411943619_1000x.jpg?v=1646423116)
![LipoPiZero+ Low-Profile Mobile Power pHAT for Pi Zero [discontinued] by Uropanet - The Pi Hut](http://thepihut.com/cdn/shop/products/lipopizero-low-profile-mobile-power-phat-uropanet-103808-29107412959427_1000x.jpg?v=1646423119)
![LipoPiZero+ Low-Profile Mobile Power pHAT for Pi Zero [discontinued] by Uropanet - The Pi Hut](http://thepihut.com/cdn/shop/products/lipopizero-low-profile-mobile-power-phat-uropanet-103808-29107413450947_1000x.jpg?v=1646423296)
![LipoPiZero+ Low-Profile Mobile Power pHAT for Pi Zero [discontinued] by Uropanet - The Pi Hut](http://thepihut.com/cdn/shop/products/lipopizero-low-profile-mobile-power-phat-uropanet-103808-29107413713091_1000x.jpg?v=1646423299)
![LipoPiZero+ Low-Profile Mobile Power pHAT for Pi Zero [discontinued] by Uropanet - The Pi Hut](http://thepihut.com/cdn/shop/products/lipopizero-low-profile-mobile-power-phat-uropanet-103808-29107414499523_1000x.jpg?v=1646887870)
![LipoPiZero+ Low-Profile Mobile Power pHAT for Pi Zero [discontinued] by Uropanet - The Pi Hut](http://thepihut.com/cdn/shop/products/lipopizero-low-profile-mobile-power-phat-uropanet-103808-29107414696131_1000x.jpg?v=1646887872)
![LipoPiZero+ Low-Profile Mobile Power pHAT for Pi Zero [discontinued] by Uropanet - The Pi Hut](http://thepihut.com/cdn/shop/products/lipopizero-low-profile-mobile-power-phat-uropanet-103808-29107414892739_1000x.jpg?v=1646887879)
![LipoPiZero+ Low-Profile Mobile Power pHAT for Pi Zero [discontinued] by Uropanet - The Pi Hut](http://thepihut.com/cdn/shop/products/lipopizero-low-profile-mobile-power-phat-uropanet-103808-29107415122115_1000x.jpg?v=1646422923)
![LipoPiZero+ Low-Profile Mobile Power pHAT for Pi Zero [discontinued] by Uropanet - The Pi Hut](http://thepihut.com/cdn/shop/products/lipopizero-low-profile-mobile-power-phat-uropanet-103808-29107416105155_1000x.jpg?v=1646422924)
![LipoPiZero+ Low-Profile Mobile Power pHAT for Pi Zero [discontinued] by Uropanet - The Pi Hut](http://thepihut.com/cdn/shop/products/lipopizero-low-profile-mobile-power-phat-uropanet-103808-29107416531139_1000x.jpg?v=1646422928)
![LipoPiZero+ Low-Profile Mobile Power pHAT for Pi Zero [discontinued] by Uropanet - The Pi Hut](http://thepihut.com/cdn/shop/products/lipopizero-low-profile-mobile-power-phat-uropanet-103808-29107416957123_1000x.jpg?v=1646422930)
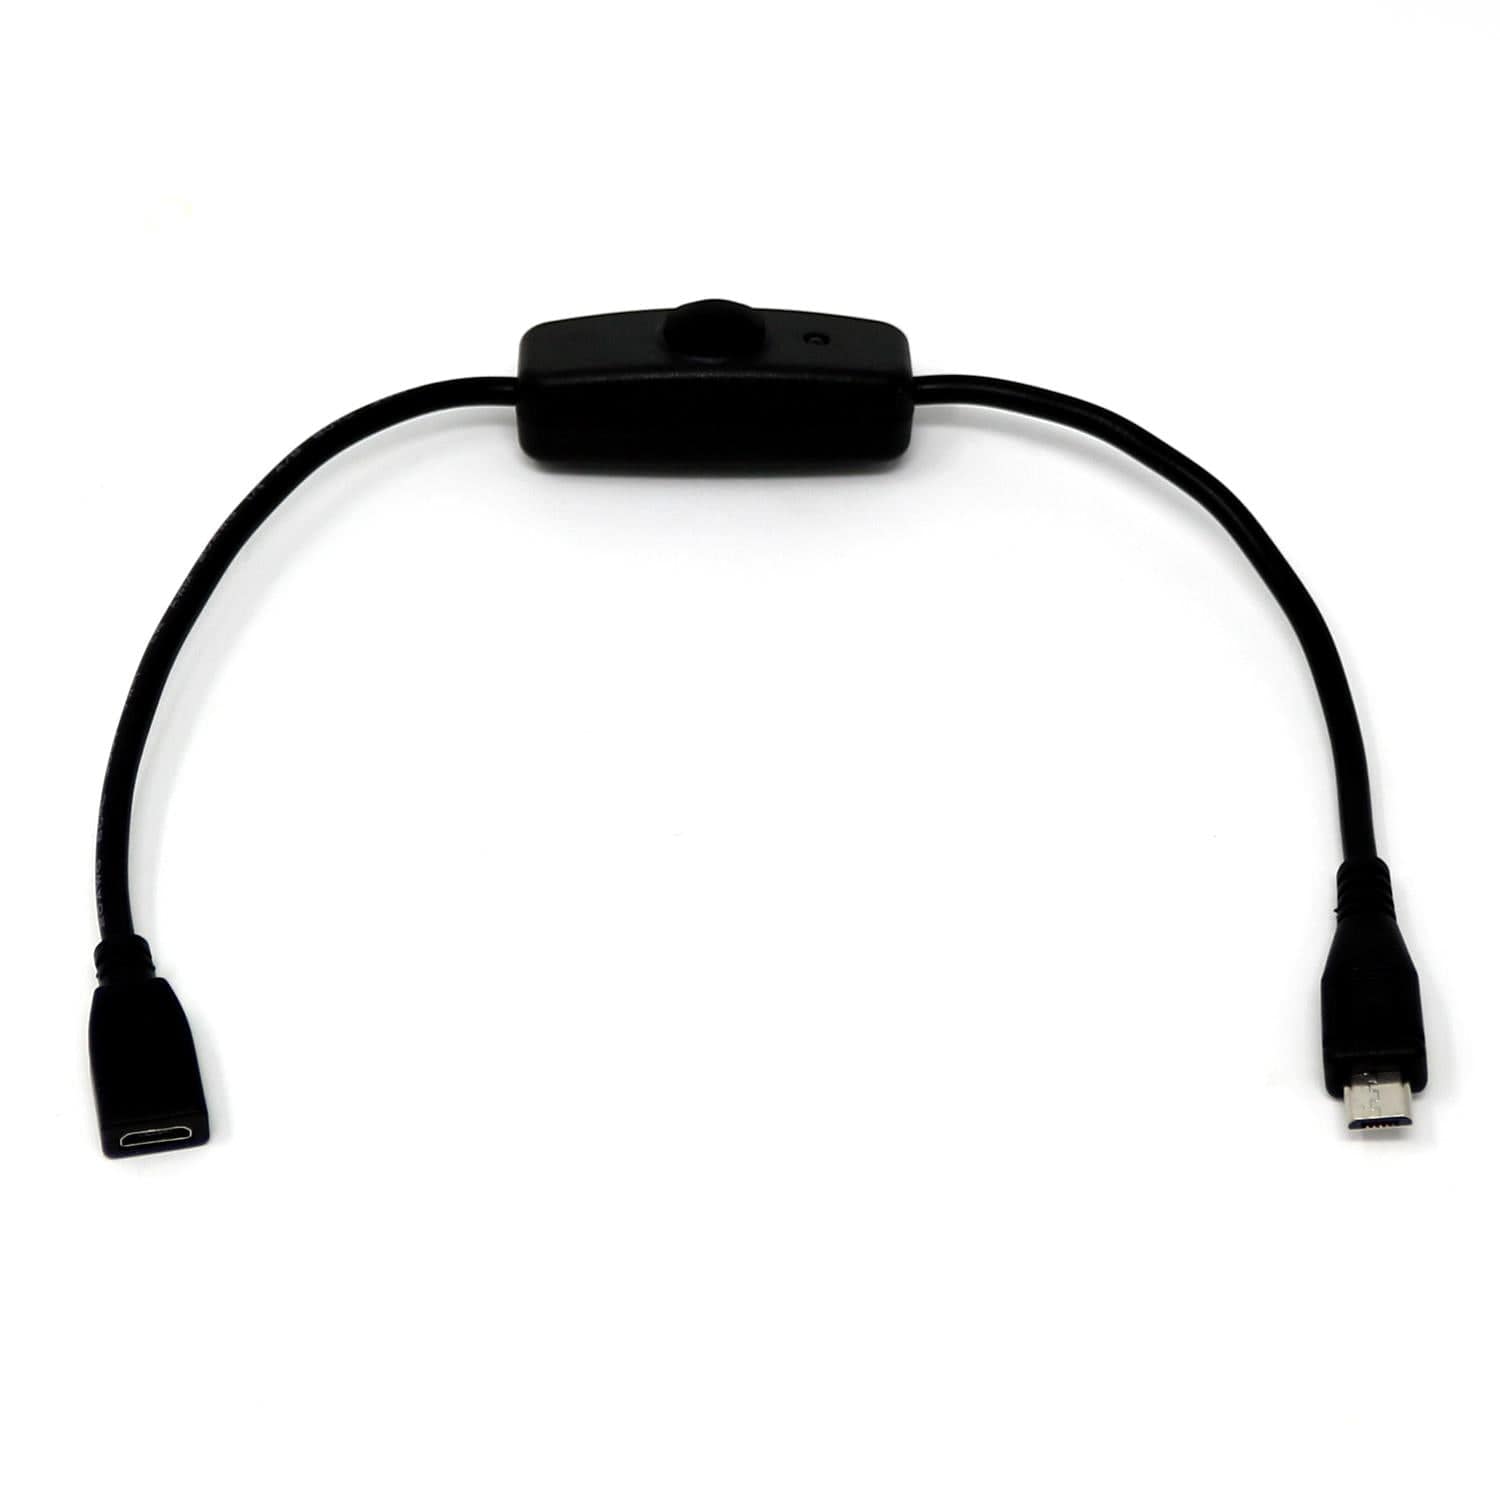
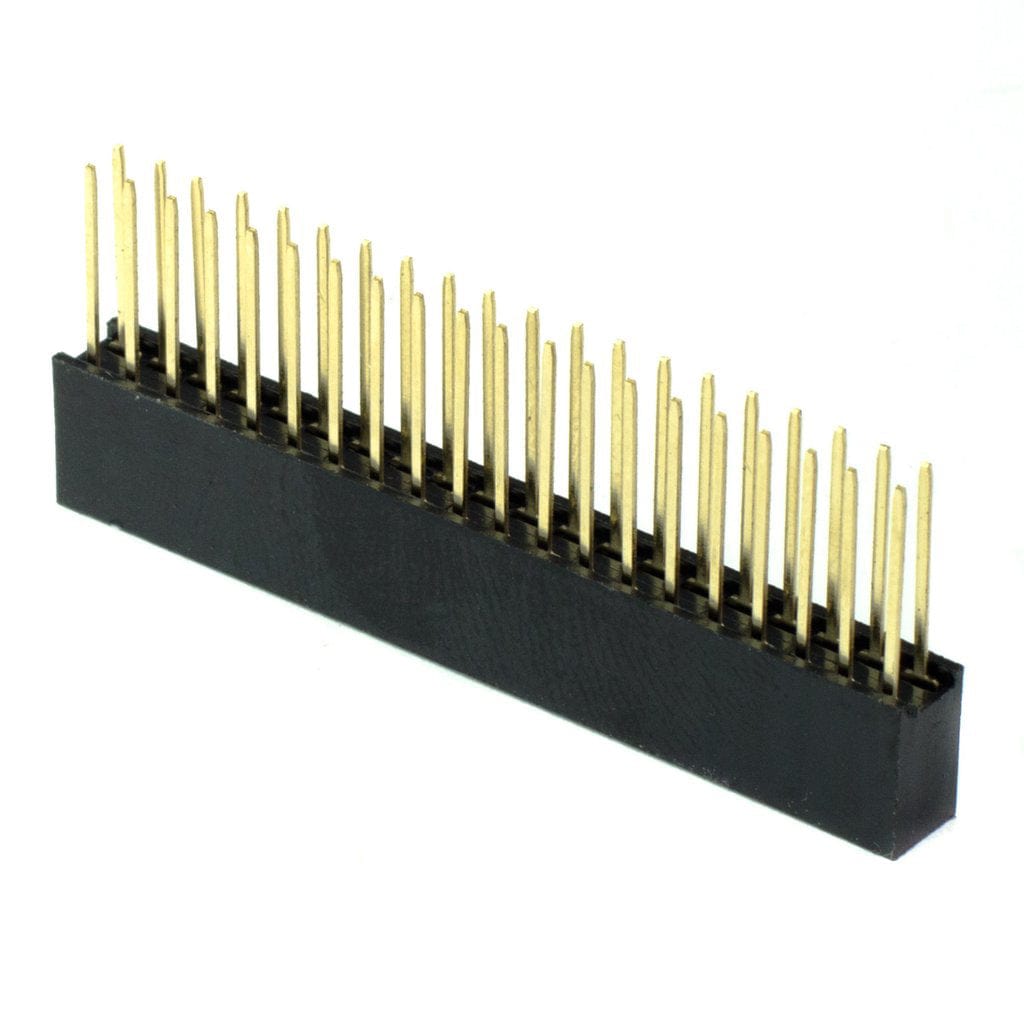
The LipoPiZero+ board is a multifunction mobile power board for your Raspberry Pi Zero, Raspberry Pi 3A+ or Raspberry Pi 2/3 (without PoE pins). It's a combined battery boost + charger + RTC with lots of additional handy features (see the long list below!).
Thanks to its very low profile and additional functionality, it's one of the best solutions for your mobile battery-powered Pi Zero project.
The board will also fit the Raspberry Pi 4 or 3B+ if you add a tall push-fit stacking header (otherwise those pesky PoE pins get in the way).
Just check out the great list of features of this board below!
LiPo battery, Raspberry Pi and optional GPIO push-fit header not included
Plug the LipoPiZero+ board into the Raspberry Pi board
Connect battery
You can use either a Lithium Polymer or Lithium-Ion 3.7V rechargeable battery. Only use this board with rechargeable batteries!
Enable boost converter output and i2c
Add the following lines to the file "/boot/config.txt":
gpio=14=op,dh
dtparam=i2c_arm=on
Turn the Raspberry Pi on
Press the pushbutton on the LipoPiZero+ board for ~1 second.
To read battery voltage
Download and run python example script:
wget https://uropanet.com/lipopi/downloads/mcp3021.py

chmod 755 mcp3021.py

./mcp3021.py
Returns battery level as a percentage number (0 to 100%).
./mcp3021.py -v
Returns battery level as a voltage level (3.2V to 4.2V).
GPIO input 3-way slide switch
Uses GPIO22, GPIO27, GPIO17 header pins which need to be configured as inputs and pulled down to 0. See python example script "lipopizero.py" below.
GPIO output general purpose LED's
Uses GPIO23, GPIO24, GPIO25 header pins which need to be configured as outputs. See python example script "lipopizero.py" below.
Shut down Pi board
The on-board pushbutton can be used to gracefully shut down the Pi board. When the pushbutton is pressed, the GPIO18 pin (which needs to be configured as input and initially pulled down to 0) will be pulled up to 1. This can be handled by your script to run the "shutdown -h now" command. See python example script "lipopizero.py" below.
Low battery status
When the battery voltage goes below 3.2V, the GPIO4 pin (which needs to be configured as input and is normally high) will be pulled down to 0. This can be handled by your script to run the "shutdown -h now" command. See python example script "lipopizero.py" below.
Python example script
Download and run the following script:
wget https://uropanet.com/lipopi/downloads/lipopizero.py

chmod 755 lipopizero.py

./lipopizero.py
Install lipopizero.py as a service:
wget https://uropanet.com/lipopi/downloads/lipopizero.service

sudo cp lipopizero.service /lib/systemd/system/

sudo cp lipopizero.py /usr/local/sbin/

sudo systemctl enable lipopizero.service

sudo systemctl start lipopizero.service
Recharging the battery
The battery can be charged with a +5V power supply with the Raspberry Pi board either switched on or off.
You can use either microUSB socket (NOT BOTH at the same time). If the Pi board is running from the battery when the USB power is plugged in, it will switch automatically to the external power supply and will start recharging the battery at the same time. If the Pi board was off when the USB power is plugged in, the Pi board will boot up as normal. When unplugging the USB power, the Pi board will automatically switch again to battery power and stay on.
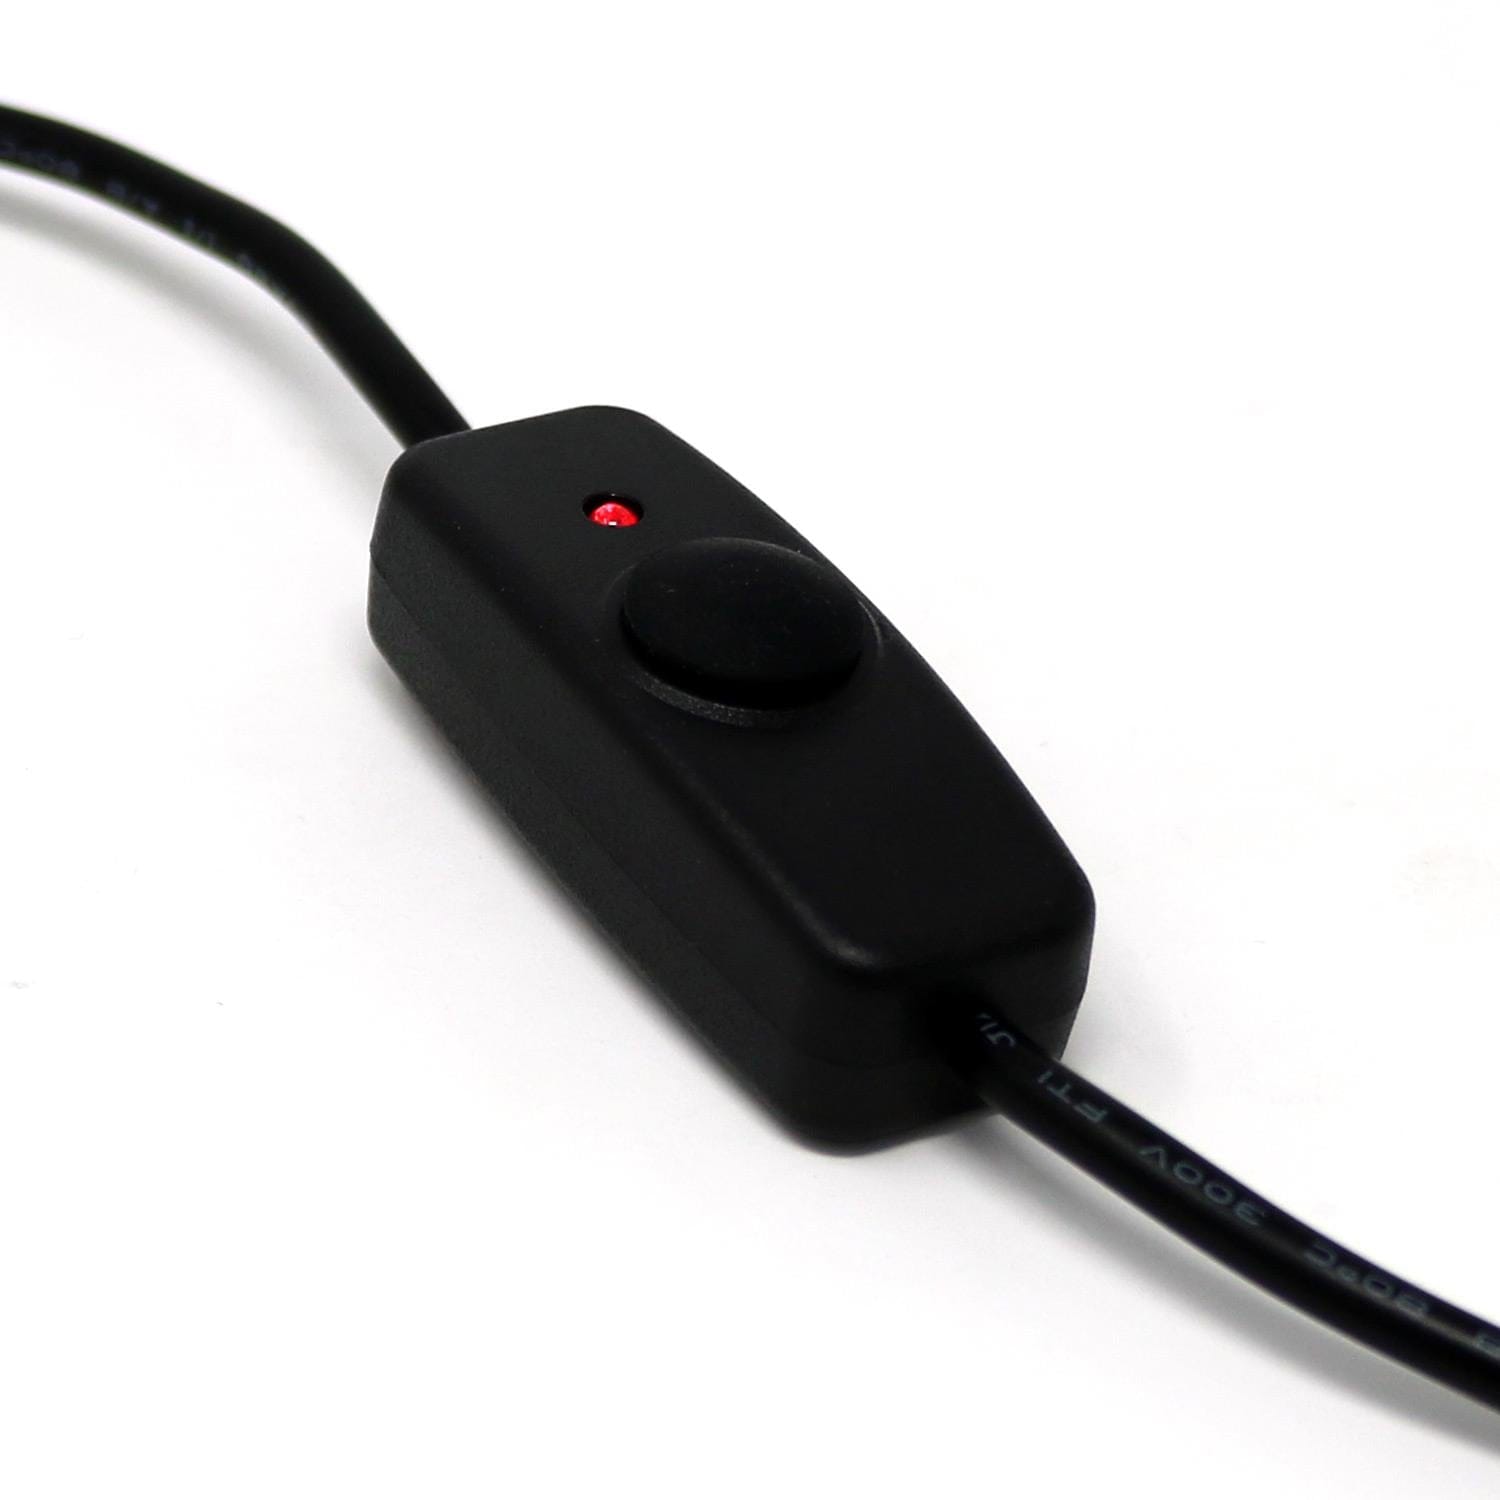
When the battery is charging, an amber LED will be on. When the battery is fully charged, the amber LED will turn off and a green LED will turn on. Also, during normal operation, when the battery goes below 3.2V, a red LED will turn on. When that happens, it is recommended to shut down the board gracefully using the script above.
If configured as in input, the value of the GPIO5 pin indicates whether the Pi is using the battery (value=1) or the external power supply (value=0).
Using the RTC clock
First, insert a CR1025 coin battery into the battery holder.
Add the following lines to the "/etc/rc.local" file:
modprobe rtc_ds1307
echo ds1307 0x68 > /sys/class/i2c-adapter/i2c-1/new_device
To read the current time from the RTC clock:
sudo hwclock -r
To write the system time to the RTC clock:
sudo hwclock -w
To copy the time from the RTC clock to the system time:
sudo hwclock -s
Using an external pushbutton to switch on/off the Pi board
An external pushbutton can be connected to the LipoPiZero+ board to replace the on-board one. To this end, a Molex 53261-0371 connector is present on the board. The duplicate the action of the on-board pushbutton, the external pushbutton needs to be connected to pins 2 and 3 of the Molex connector (see picture below). A Molex 15134-0302 receptacle to receptacle 3-way cable can be used for this purpose.

Using a TTP223 capacitive touch sensor to switch on/off the Pi board
To use an external capacitive touch sensor such as the TTP223 breakout board, the two 0 ohm resistors on the bottom of the board (circled in red) need to be removed with a soldering iron. Additionally, the other 3 pairs of pads need to be connected with a small blob of solder. This is shown in green in the image below.

Once this has been done, make the following connections using for instance the same Molex 15134-0302 receptacle to receptacle 3-way cable between the onboard Molex 53261-0371 connector and the external TTP223 breakout board:
Your payment information is processed securely. We do not store credit card details nor have access to your credit card information.
![LipoPiZero+ Low-Profile Mobile Power pHAT for Pi Zero [discontinued] by Uropanet - The Pi Hut](http://thepihut.com/cdn/shop/products/lipopizero-low-profile-mobile-power-phat-uropanet-103808-29107411615939.jpg?v=1646423114&width=1500)
![LipoPiZero+ Low-Profile Mobile Power pHAT for Pi Zero [discontinued] by Uropanet - The Pi Hut](http://thepihut.com/cdn/shop/products/lipopizero-low-profile-mobile-power-phat-uropanet-103808-29107411943619.jpg?v=1646423116&width=1500)
![LipoPiZero+ Low-Profile Mobile Power pHAT for Pi Zero [discontinued] by Uropanet - The Pi Hut](http://thepihut.com/cdn/shop/products/lipopizero-low-profile-mobile-power-phat-uropanet-103808-29107412959427.jpg?v=1646423119&width=1500)
![LipoPiZero+ Low-Profile Mobile Power pHAT for Pi Zero [discontinued] by Uropanet - The Pi Hut](http://thepihut.com/cdn/shop/products/lipopizero-low-profile-mobile-power-phat-uropanet-103808-29107413450947.jpg?v=1646423296&width=1500)
![LipoPiZero+ Low-Profile Mobile Power pHAT for Pi Zero [discontinued] by Uropanet - The Pi Hut](http://thepihut.com/cdn/shop/products/lipopizero-low-profile-mobile-power-phat-uropanet-103808-29107413713091.jpg?v=1646423299&width=1500)
![LipoPiZero+ Low-Profile Mobile Power pHAT for Pi Zero [discontinued] by Uropanet - The Pi Hut](http://thepihut.com/cdn/shop/products/lipopizero-low-profile-mobile-power-phat-uropanet-103808-29107414499523.jpg?v=1646887870&width=1500)
![LipoPiZero+ Low-Profile Mobile Power pHAT for Pi Zero [discontinued] by Uropanet - The Pi Hut](http://thepihut.com/cdn/shop/products/lipopizero-low-profile-mobile-power-phat-uropanet-103808-29107414696131.jpg?v=1646887872&width=1500)
![LipoPiZero+ Low-Profile Mobile Power pHAT for Pi Zero [discontinued] by Uropanet - The Pi Hut](http://thepihut.com/cdn/shop/products/lipopizero-low-profile-mobile-power-phat-uropanet-103808-29107414892739.jpg?v=1646887879&width=1500)
![LipoPiZero+ Low-Profile Mobile Power pHAT for Pi Zero [discontinued] by Uropanet - The Pi Hut](http://thepihut.com/cdn/shop/products/lipopizero-low-profile-mobile-power-phat-uropanet-103808-29107415122115.jpg?v=1646422923&width=1500)
![LipoPiZero+ Low-Profile Mobile Power pHAT for Pi Zero [discontinued] by Uropanet - The Pi Hut](http://thepihut.com/cdn/shop/products/lipopizero-low-profile-mobile-power-phat-uropanet-103808-29107416105155.jpg?v=1646422924&width=1500)
![LipoPiZero+ Low-Profile Mobile Power pHAT for Pi Zero [discontinued] by Uropanet - The Pi Hut](http://thepihut.com/cdn/shop/products/lipopizero-low-profile-mobile-power-phat-uropanet-103808-29107416531139.jpg?v=1646422928&width=1500)
![LipoPiZero+ Low-Profile Mobile Power pHAT for Pi Zero [discontinued] by Uropanet - The Pi Hut](http://thepihut.com/cdn/shop/products/lipopizero-low-profile-mobile-power-phat-uropanet-103808-29107416957123.jpg?v=1646422930&width=1500)